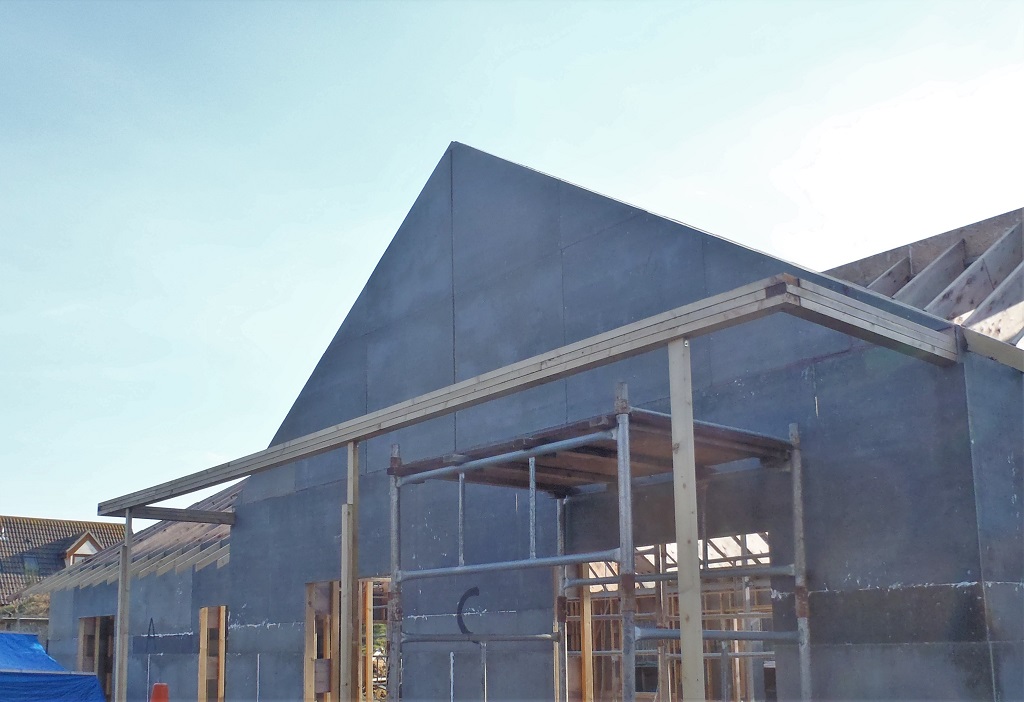
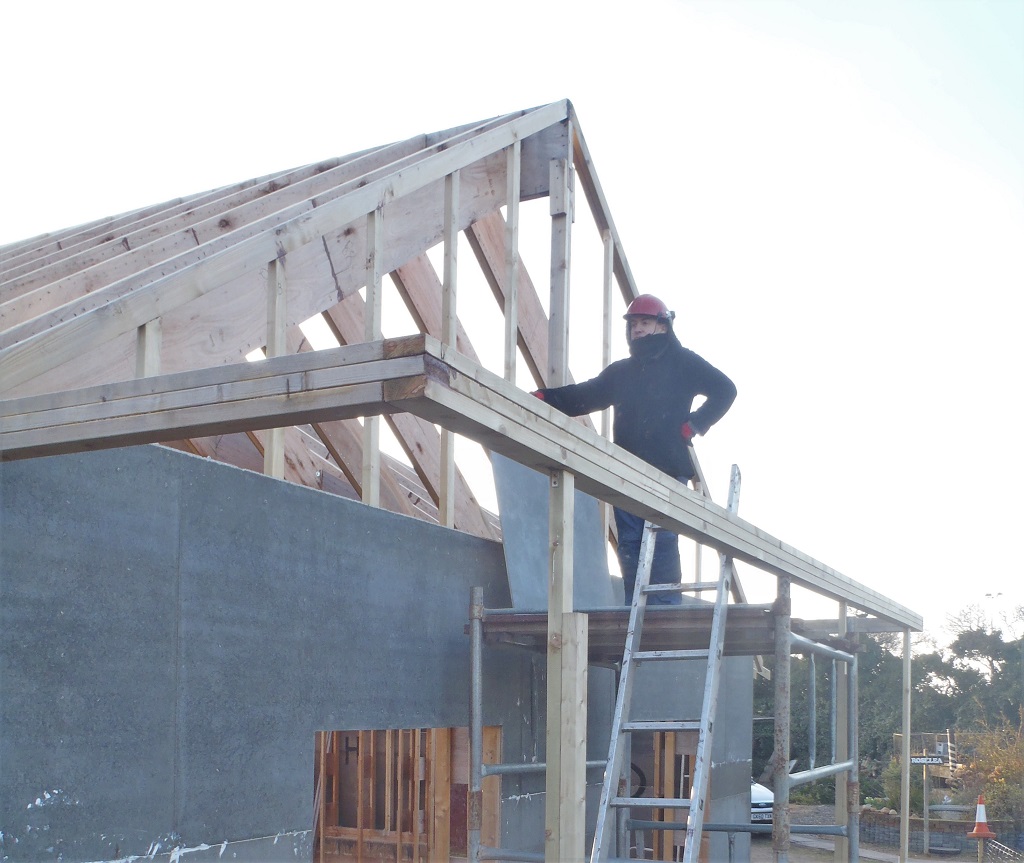
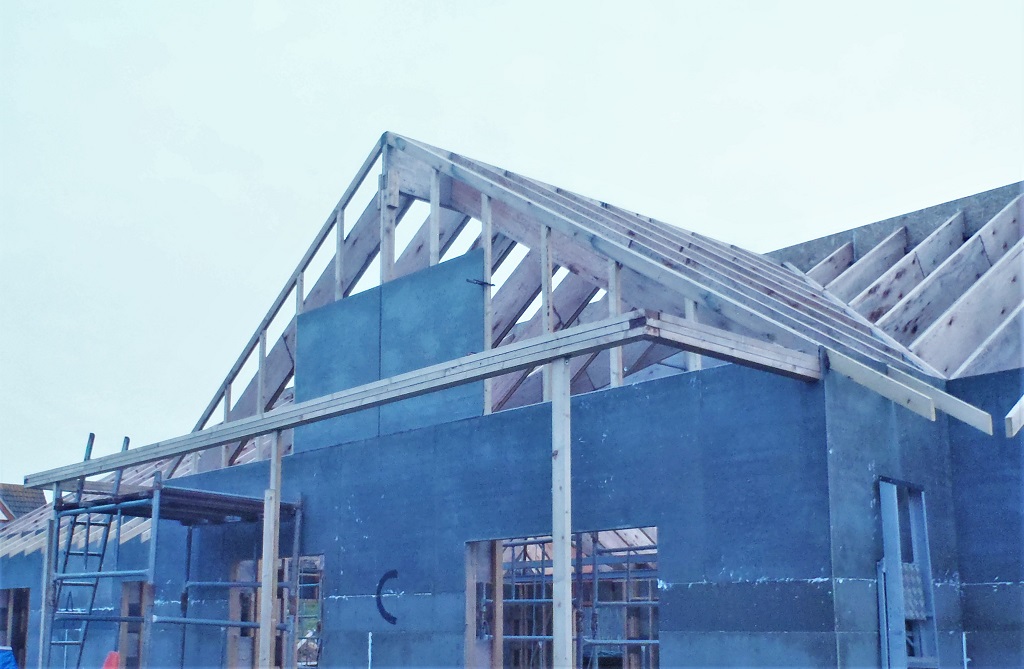
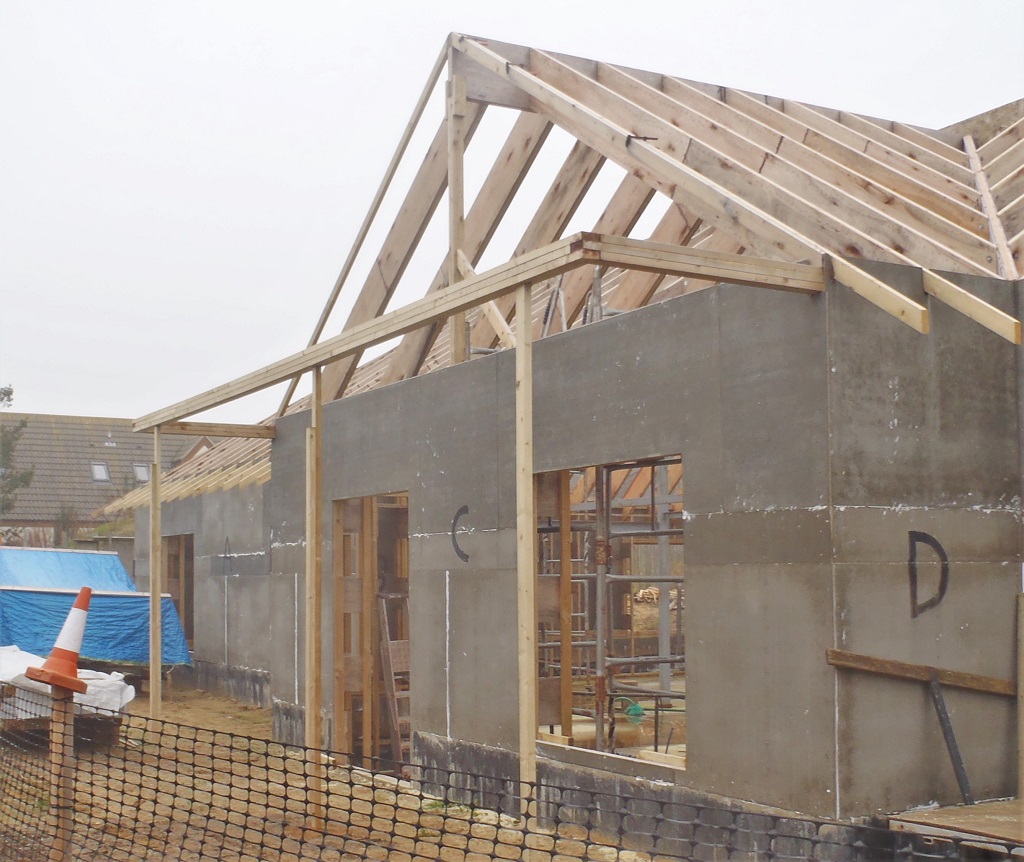
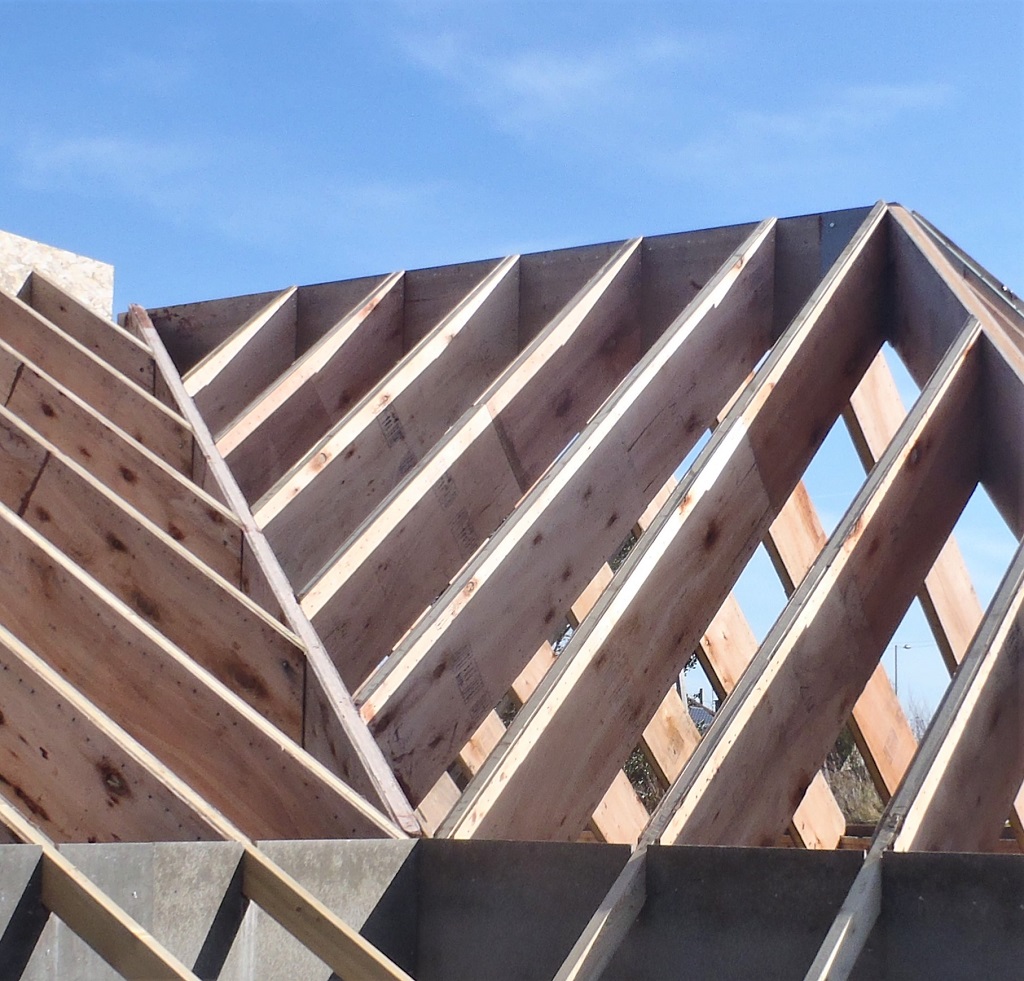
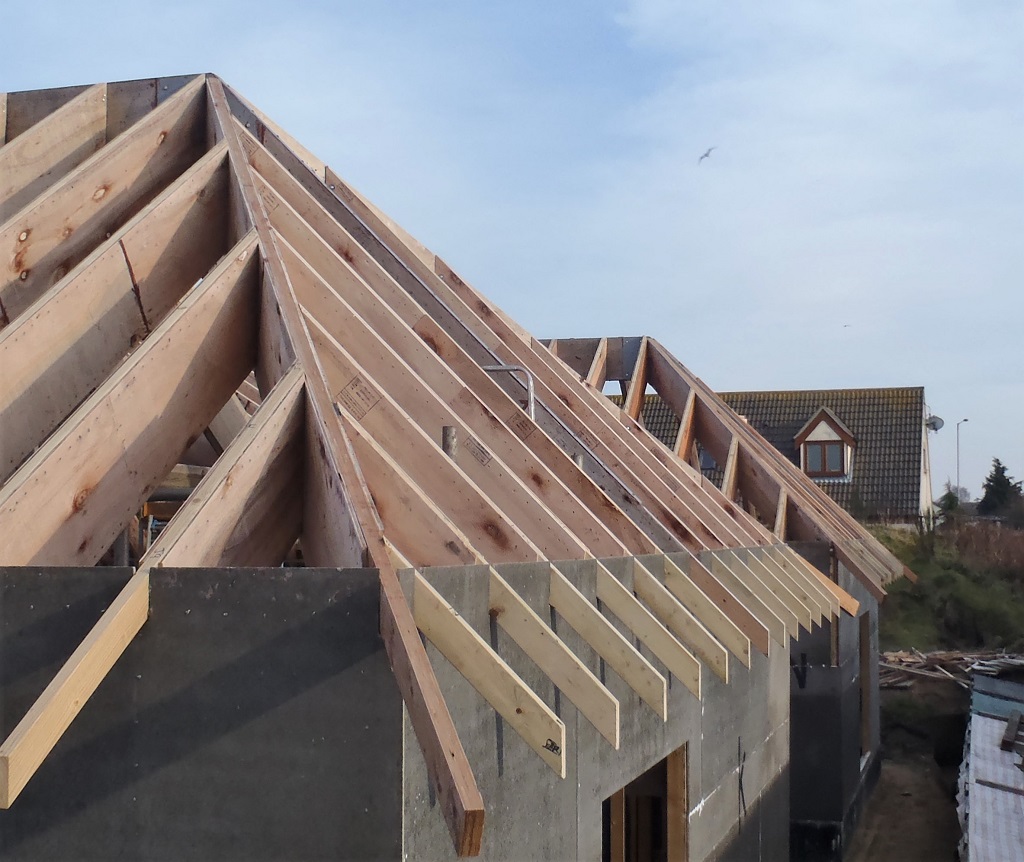
Today was the day of working out and implementing a method that will produce a set of two rafters, that will form the diagonal hip support beam from the point of the C wall and down to the gutters in the corner of the porch roof over our Front Door.
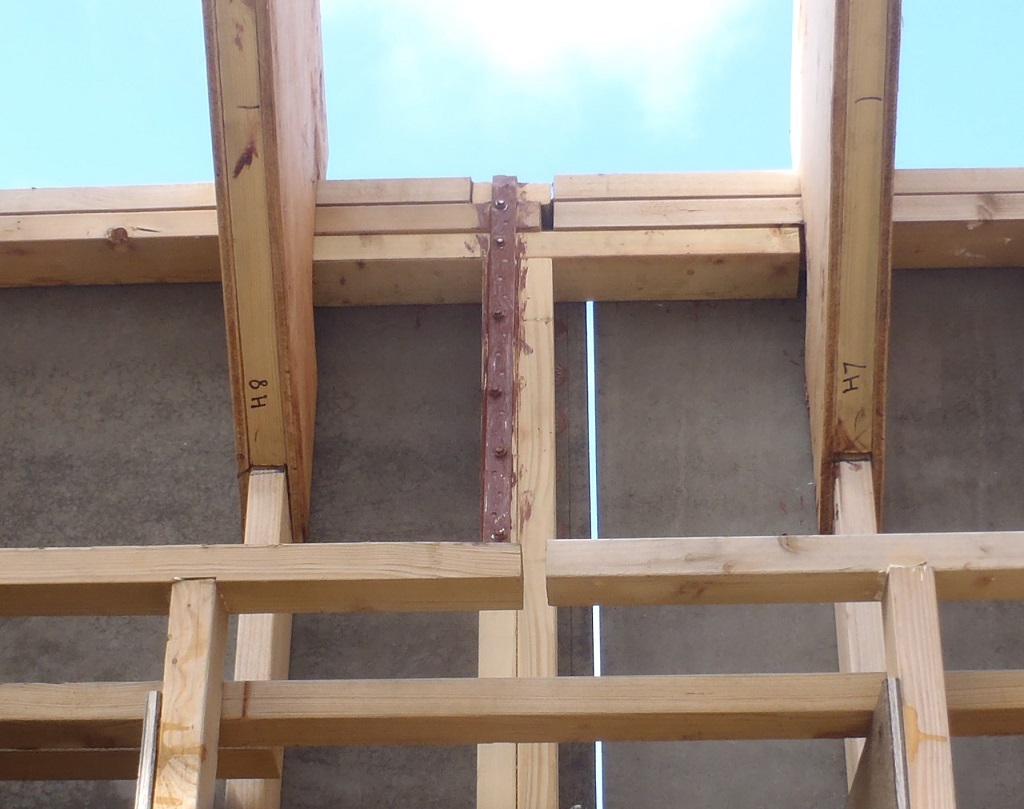
But first, we took out our “C7” rafter we made last night and got that up installed, glued and screwed to await for the next parts to made.
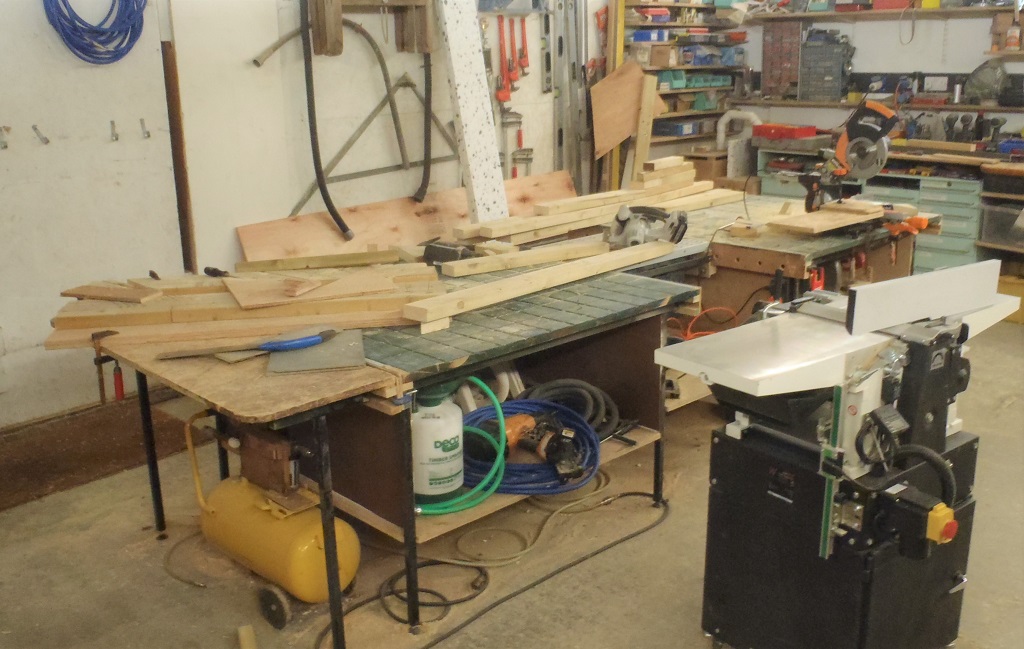
So back in the workshop, the first task was to set up the big planer machine so we could pass through the top edge of the manufactured hip beam and get two different sloping angles along the length. We made a wooden jig out of plywood and some blocks of wood to form a sloping support at the required 55.6 degrees angle, to guide the timber into the planer. The other angle we needed was a much shallower angle at 10.8 degrees and we could use the metal fence mechanism that came with the planer itself.
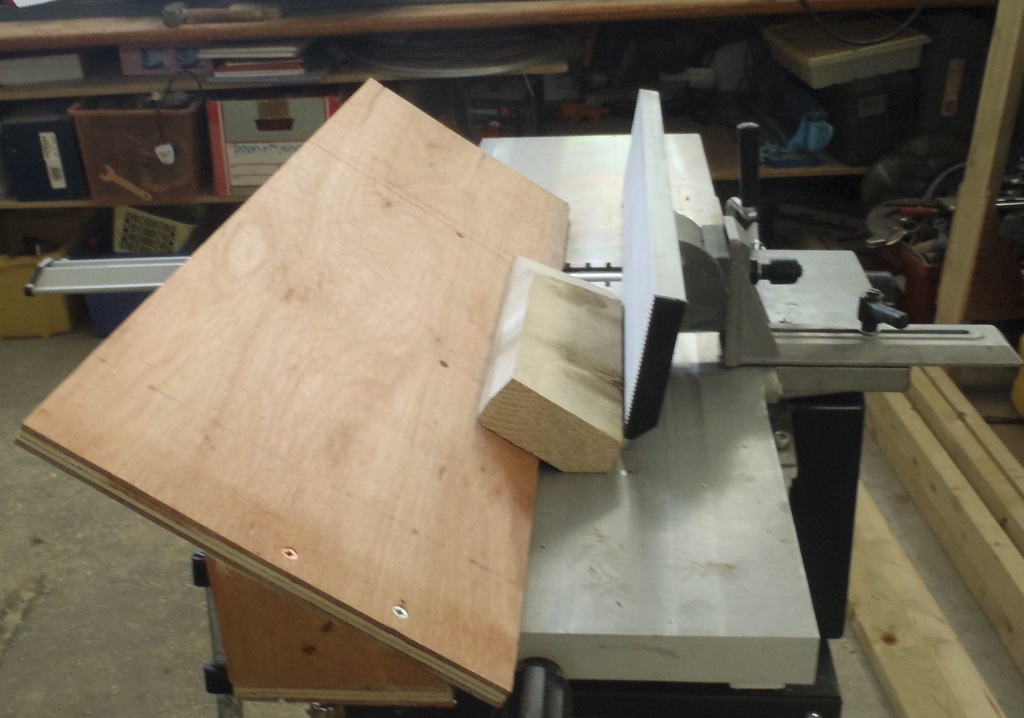
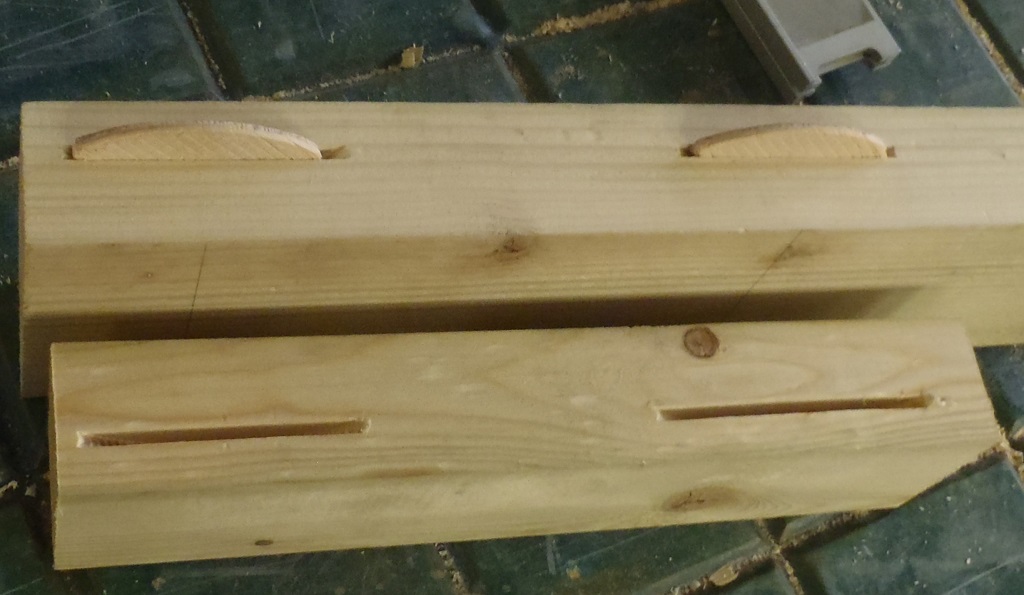
Planer-set-up-and-sample-piece-planed
We made a test piece which we cut in half with a 32 degree angle on our chop saw. Then proceeded to cut a very, very shallow angle by hand, measuring at 17 degrees, using lots of muscle power and pencil lines to remove a large thin slice off.
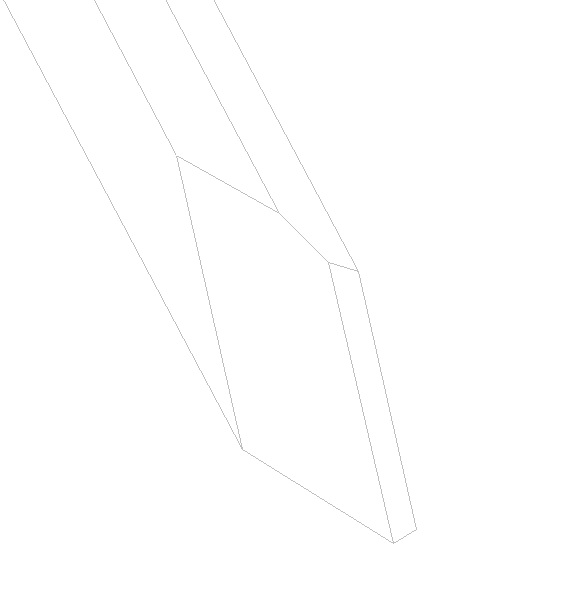
End-of-Porch-Hip-CAD
(As you can see from the technical drawing above, it is quite a complicated finished piece of work)
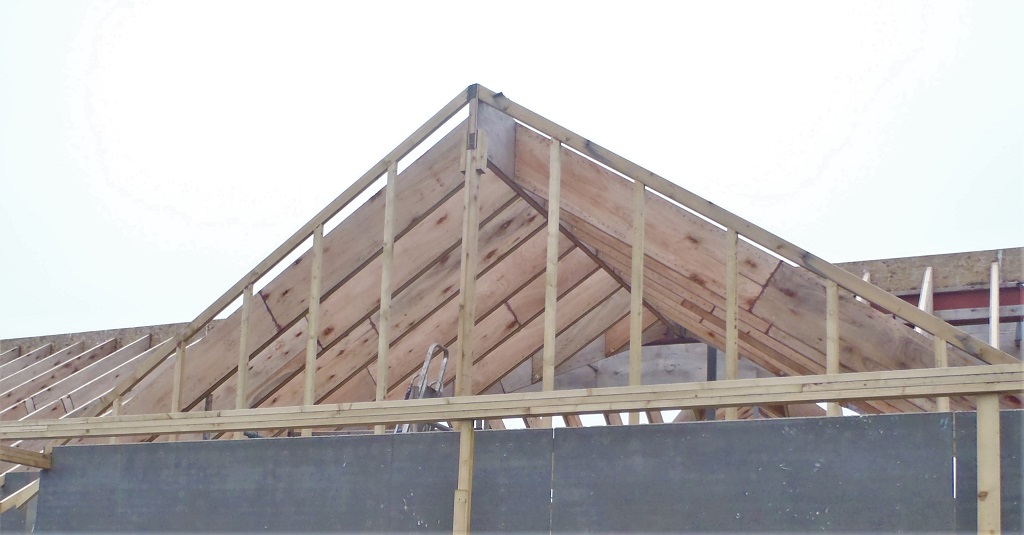
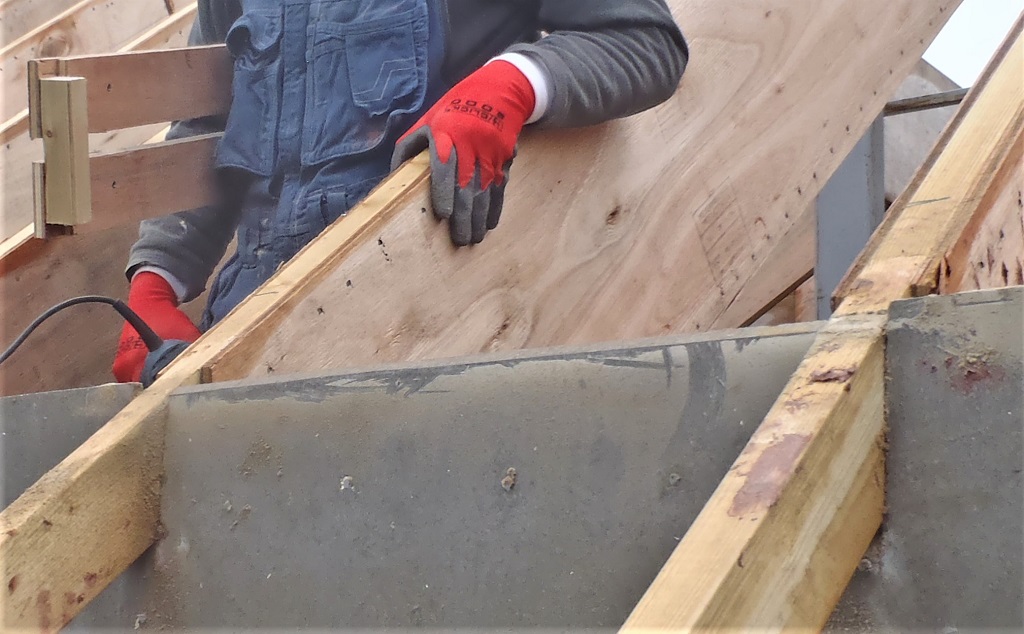
To check our finished test piece, we took it outside to compare it against the C7 rafter and it’s not too bad, not bad at all, if we are allowed to say so!!
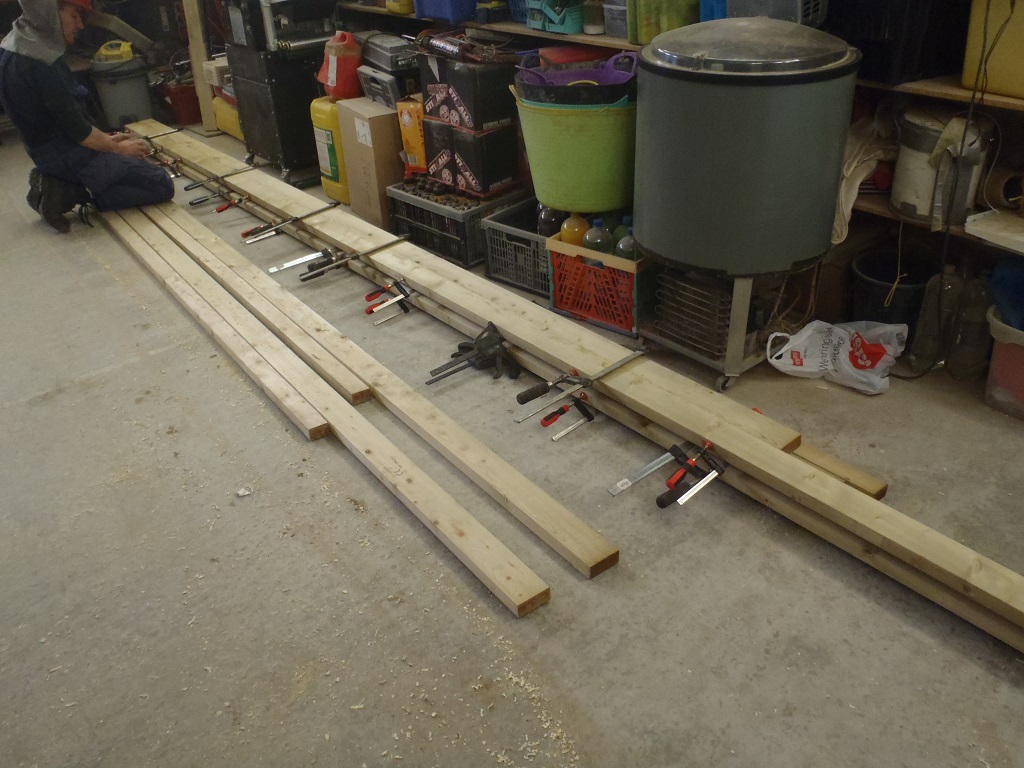
After lunch, it was time to tackle the big job of taking our 5.5metres long timber and getting it through the planer machine but we had some difficulties in getting it to just plane at all in the first place. The nature of the planning machine, as it is designed to do, is to plane flat any piece of timber and remove curves and other deviations and our long timber pieces had a slight curve in them. We didn’t mind these slight warp off the true straight line but it meant that the planer couldn’t do the work we wanted done! So back to plan A, which was to use our mobile electric planer instead, and after clamping our rafter to the edge of the work-tables, we managed to get the two sloping angles cut into the top edge of the two rafters.
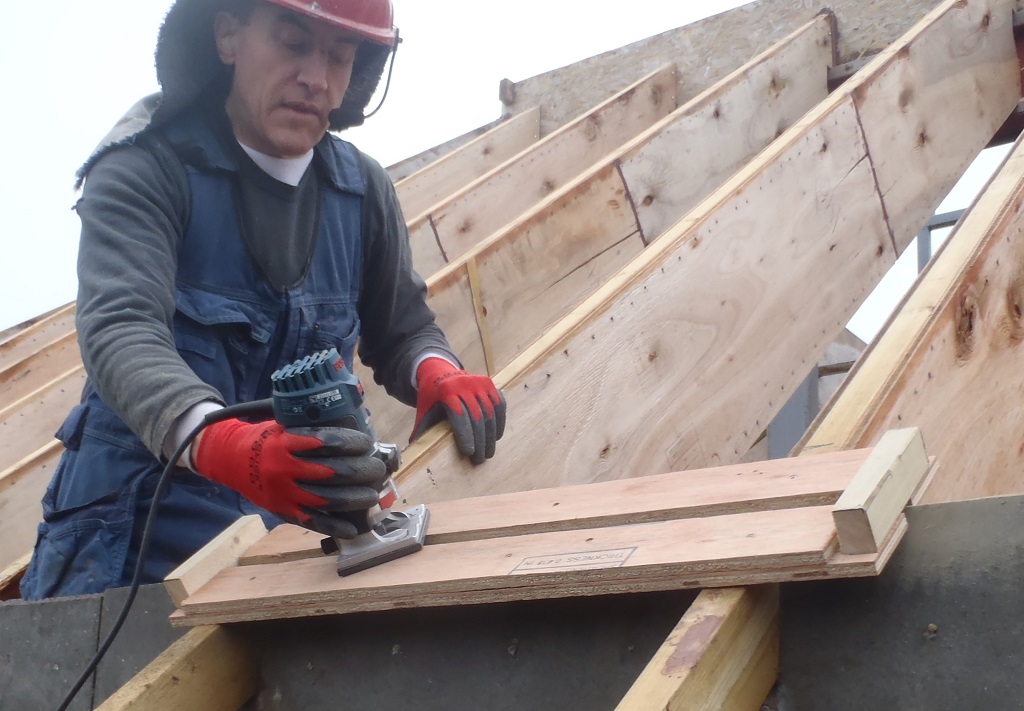
Finally, to finish off the work for the day, we got our Bevel Slicing saw machine out and set this up to cut that very, very shallow angle, using the old templates (re-adjusted to fit these new rafters) and proceeded to slice the ends off the top of the rafters.
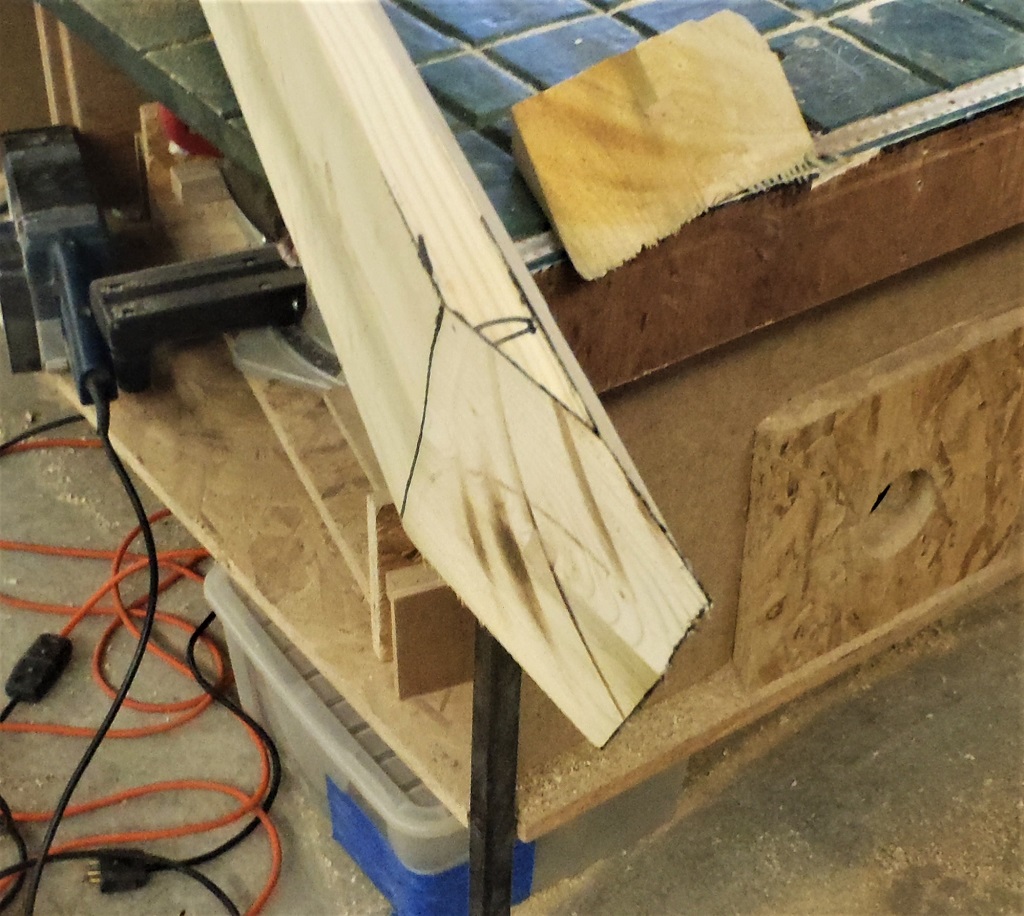
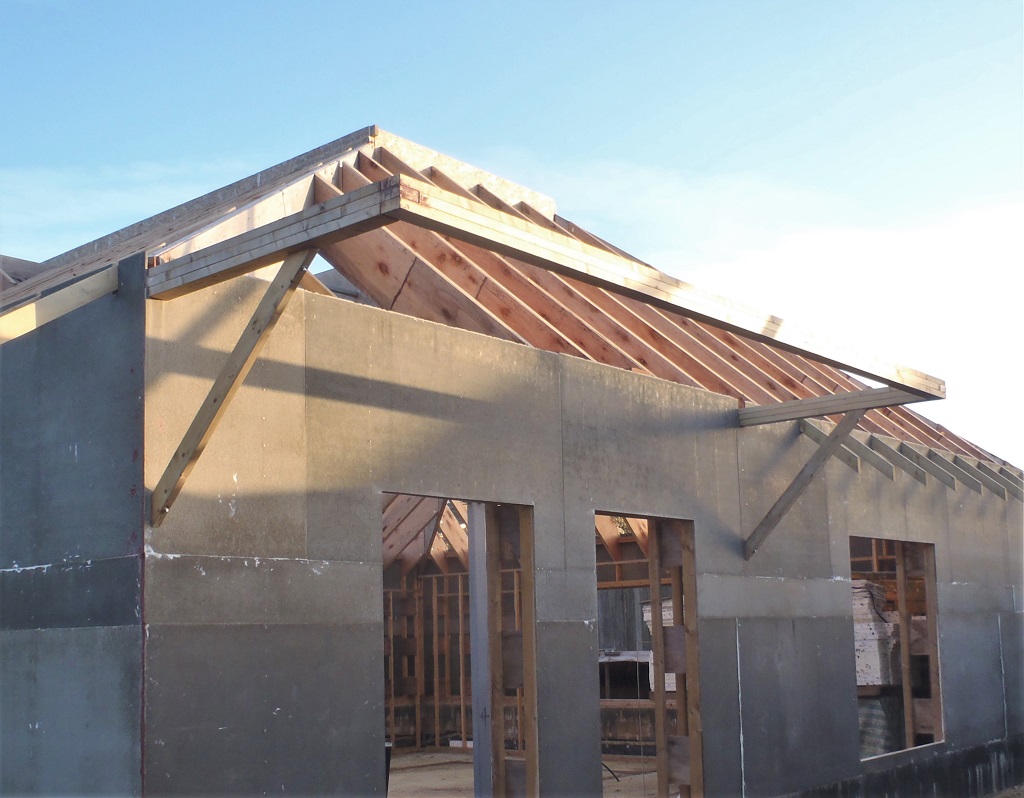
End-of-Porch-Hip-as-made
This almost concluded the work on these rafters, tomorrow, w we will cut a little bit off at the top ends and then cut the Bird’s mouths in at the exact measured distance and this would finally see the completion of making these complicated rafters and get them installed out there!! Phew!