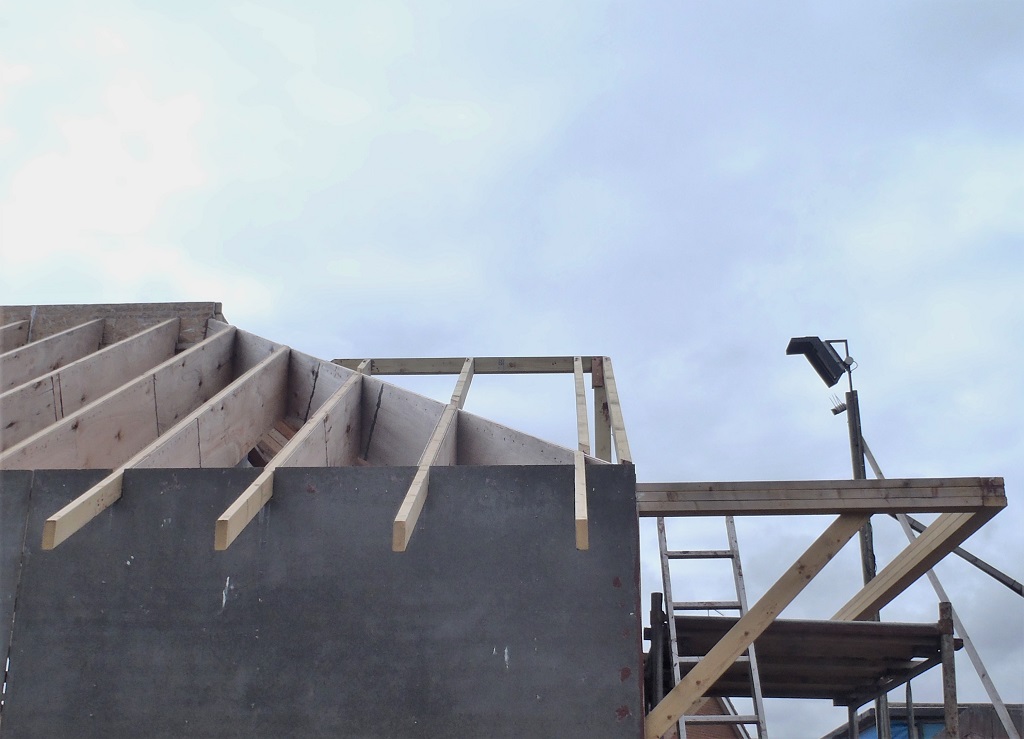
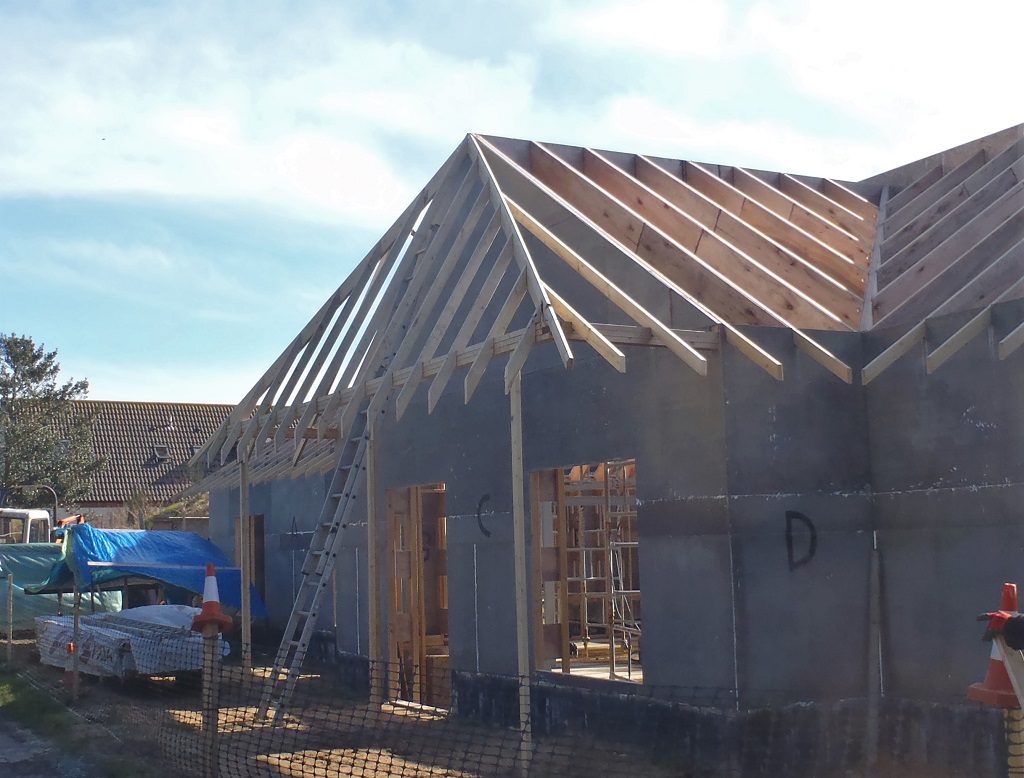
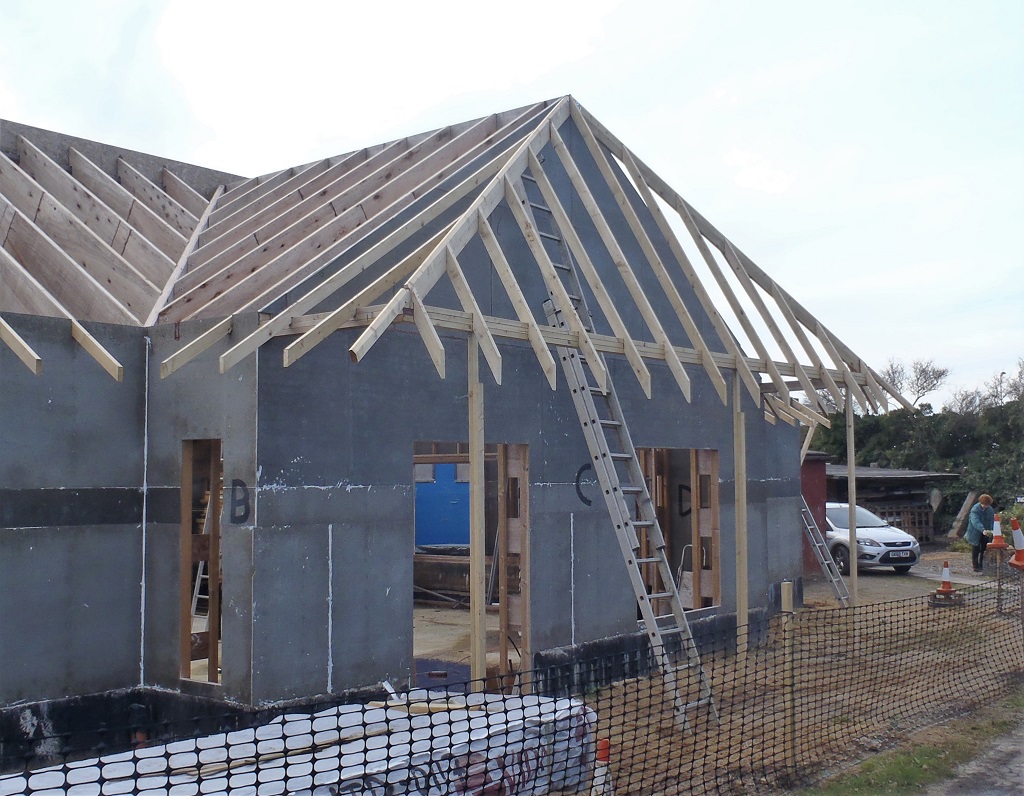
This morning with patchy sunshine but quite warm, we went and glued and screwed up a collection of cement boards to cover up the gable wall framework we installed last week for the Side Door Porch. The 12mm thick sheets, two of them, had a groove routed along the long edge and then cut in half so we could handle them by ourselves, as they are very heavy, about 50kg per full sized sheet so even half length, they are still 25kg!!
We put four of them up in a line, on the existing tongue edge of the cement boards lower down, and sliced off the over-lapping sticking out bits.
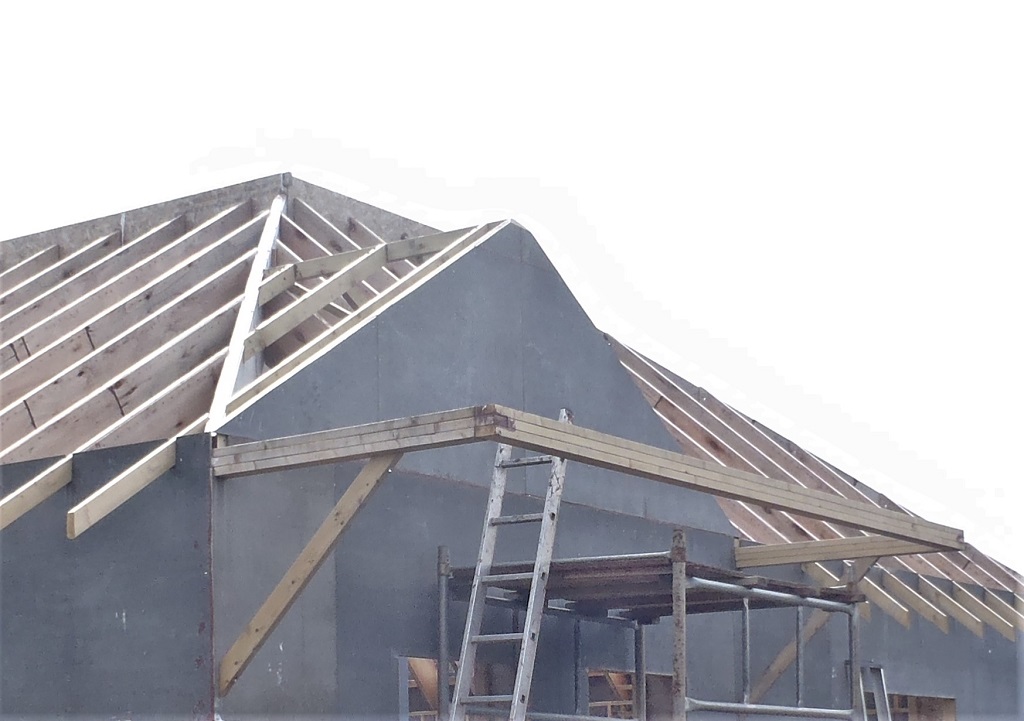
Side-porch-Gable-boarded
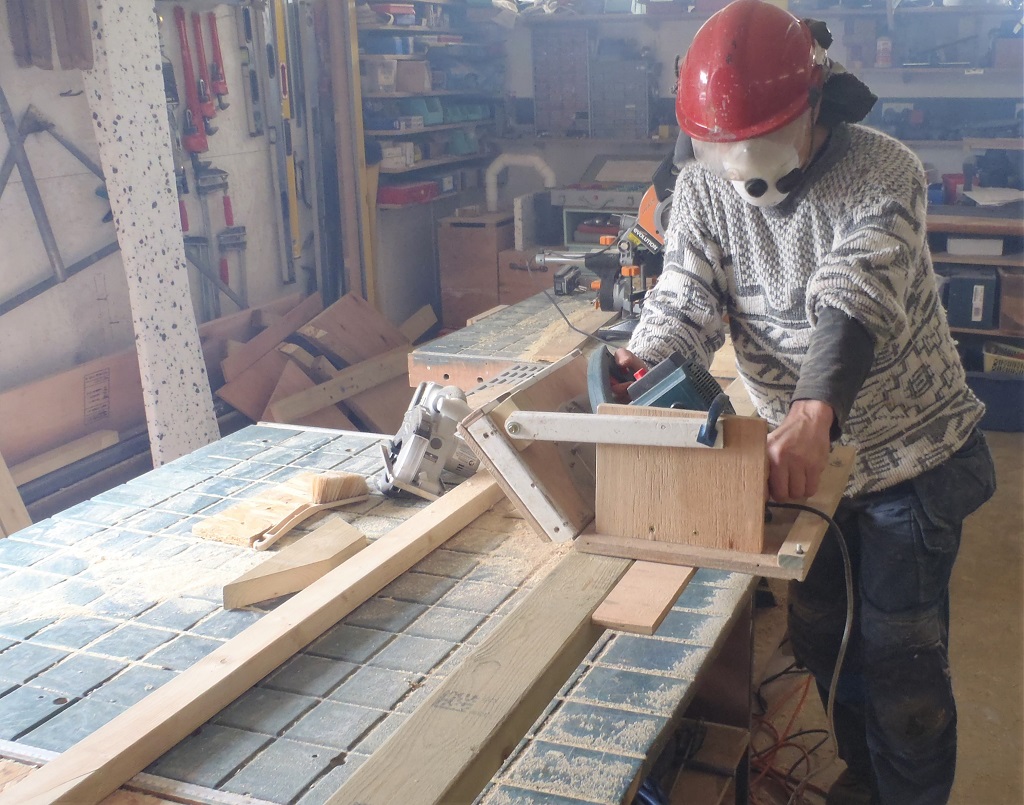
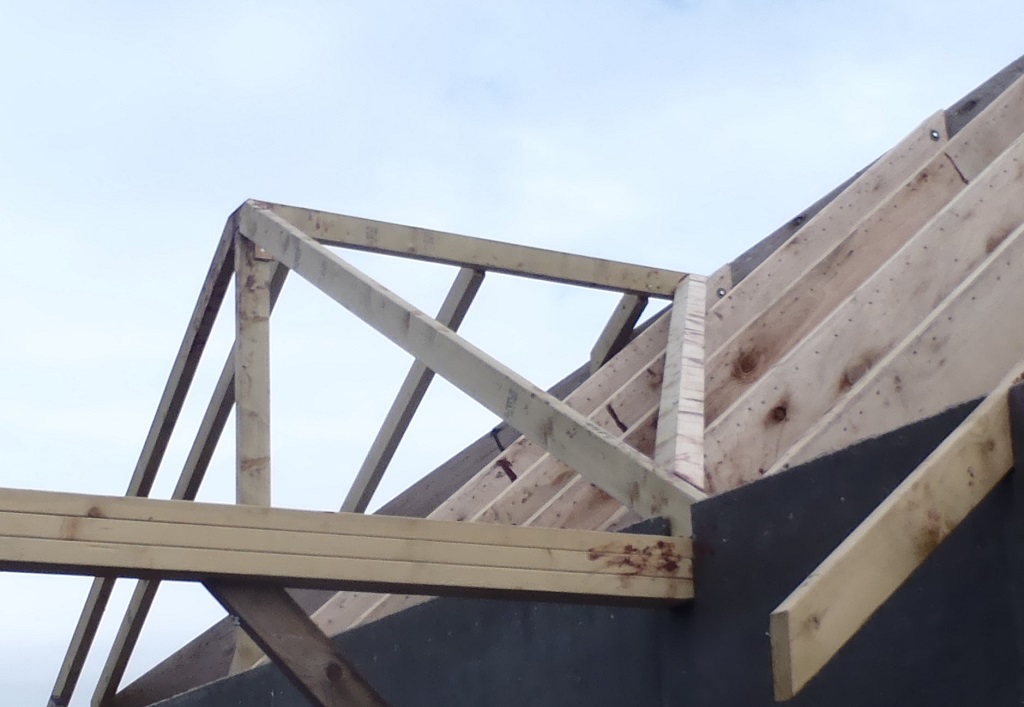
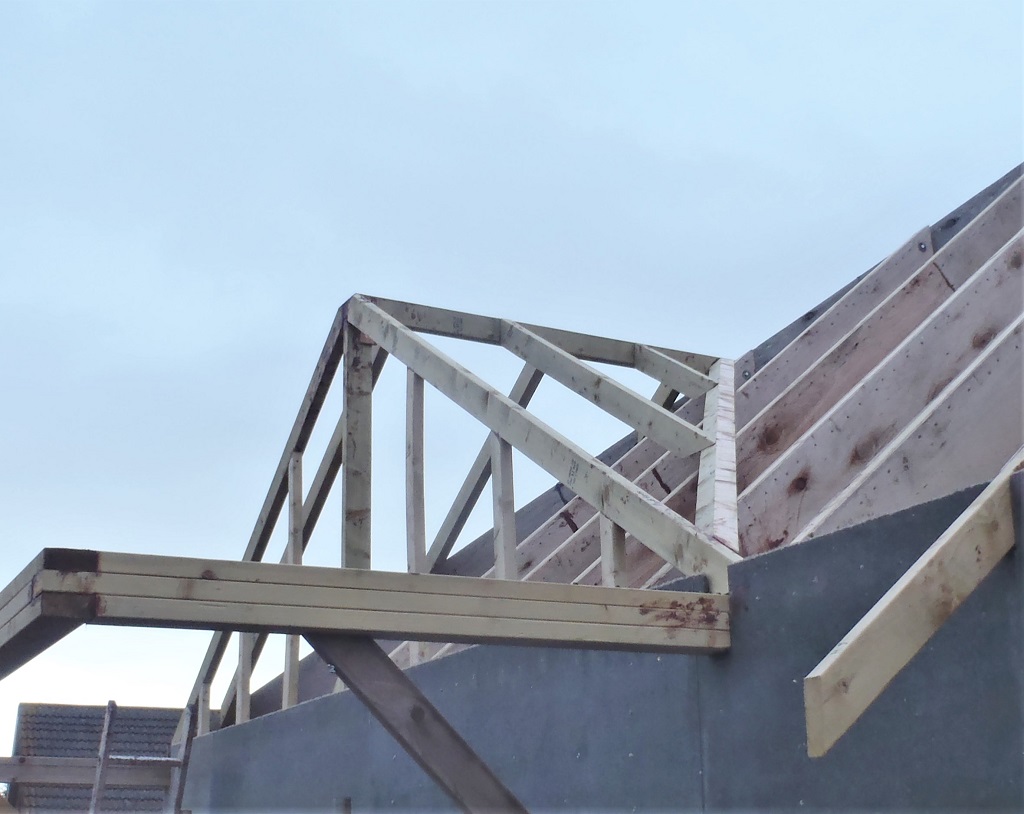
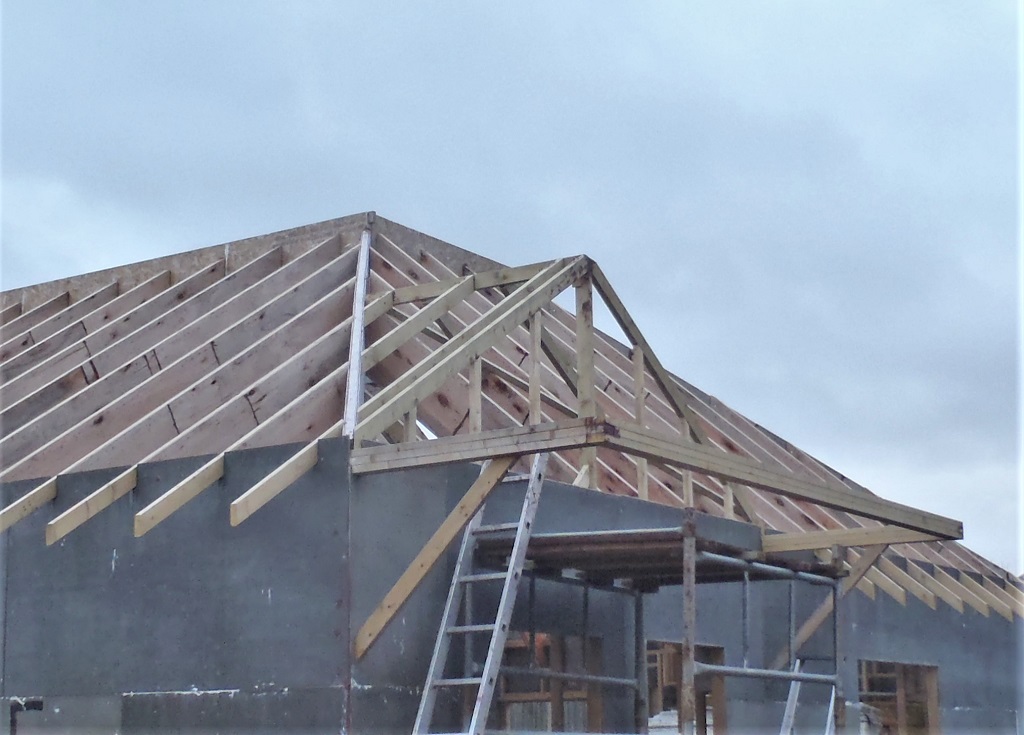
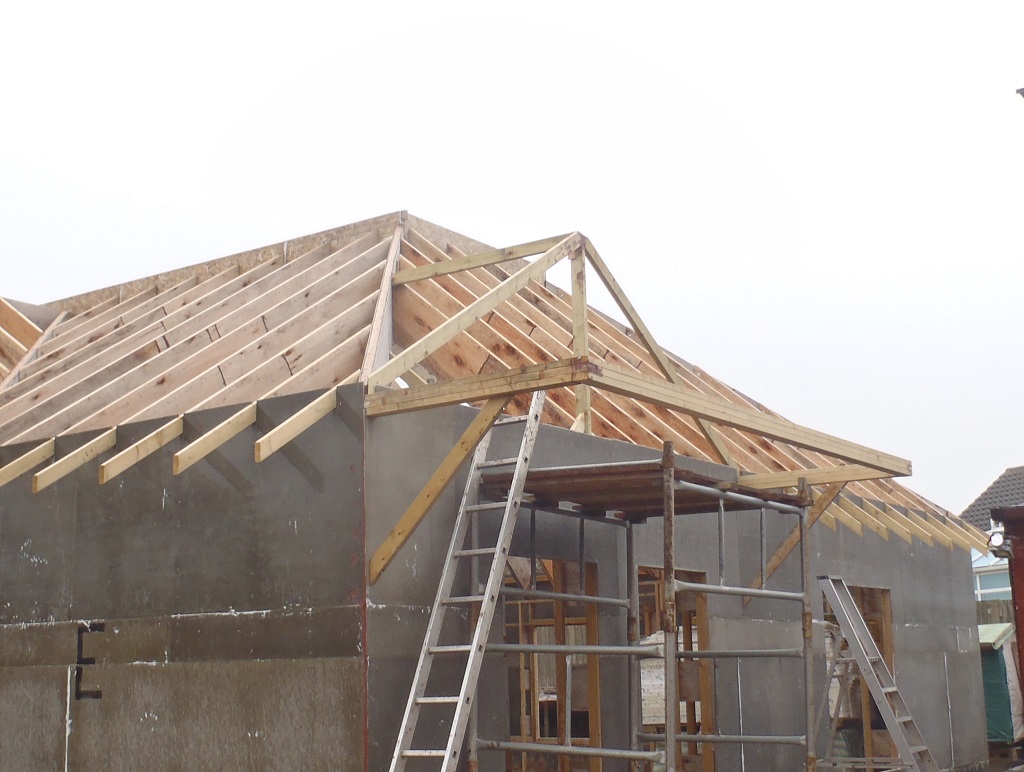
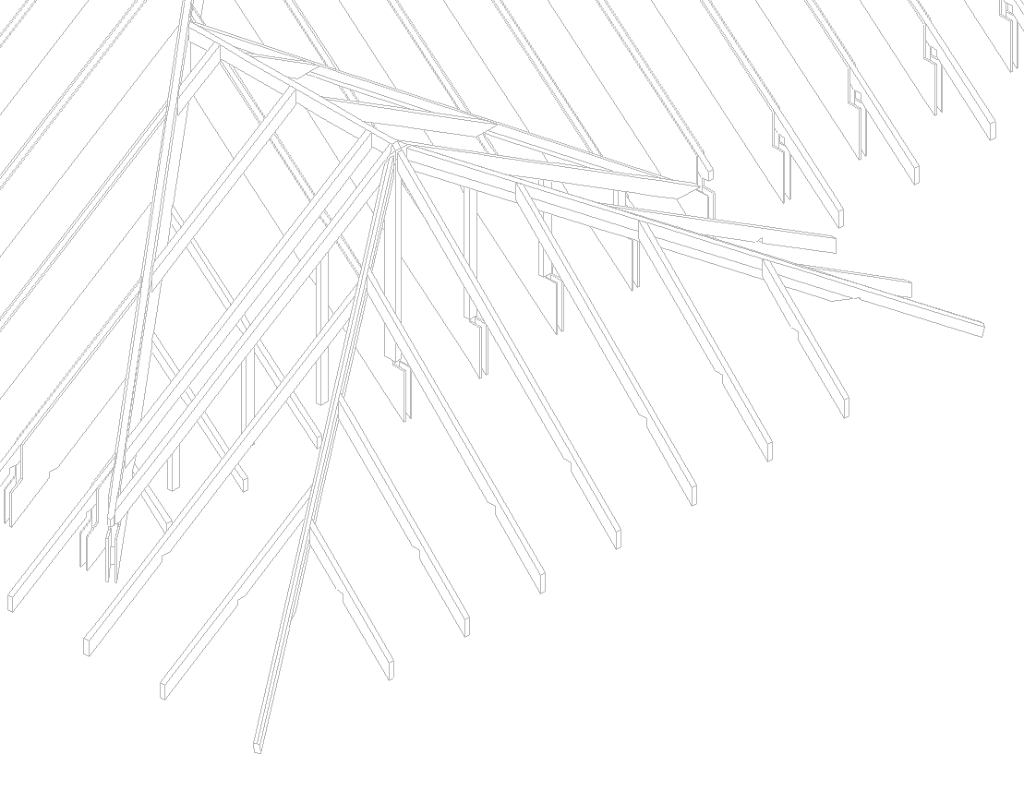
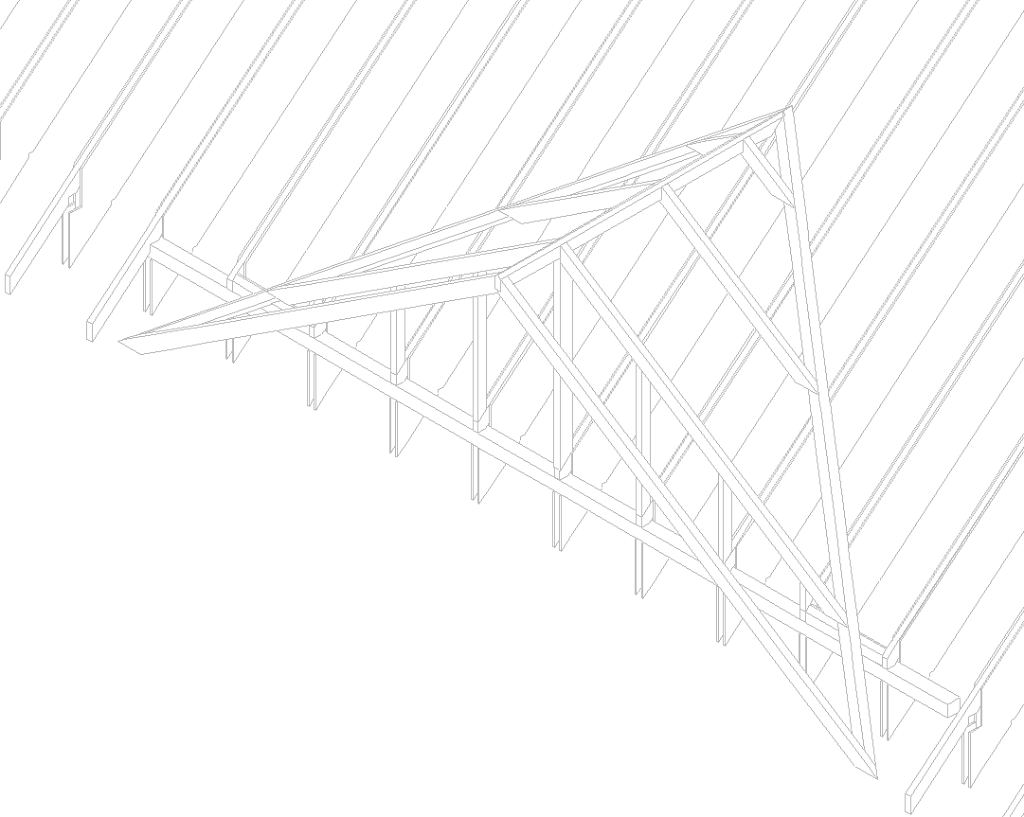
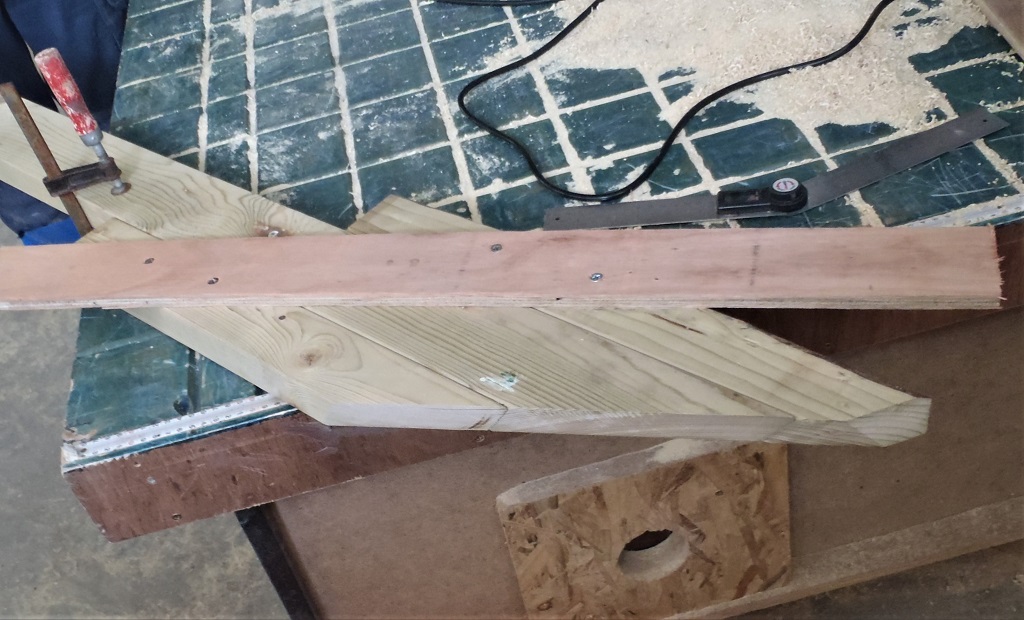
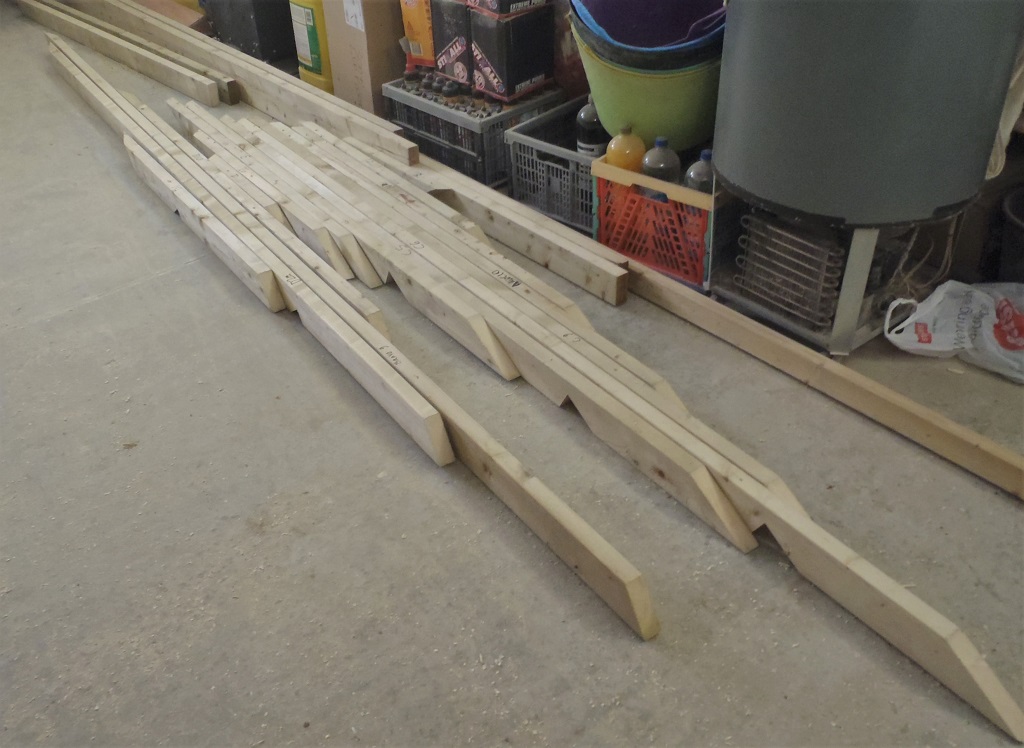
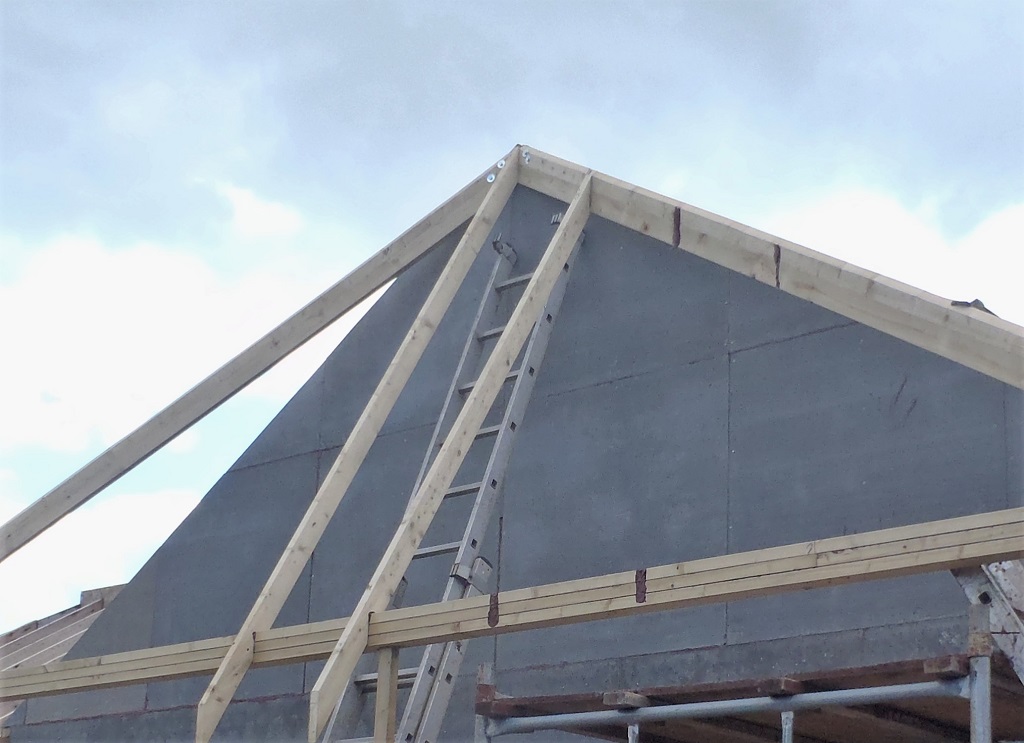
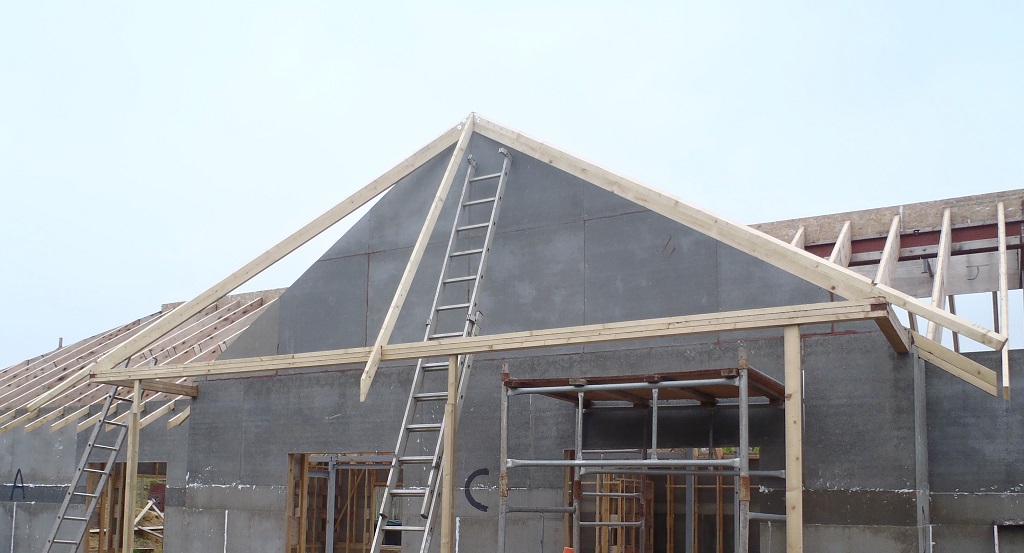
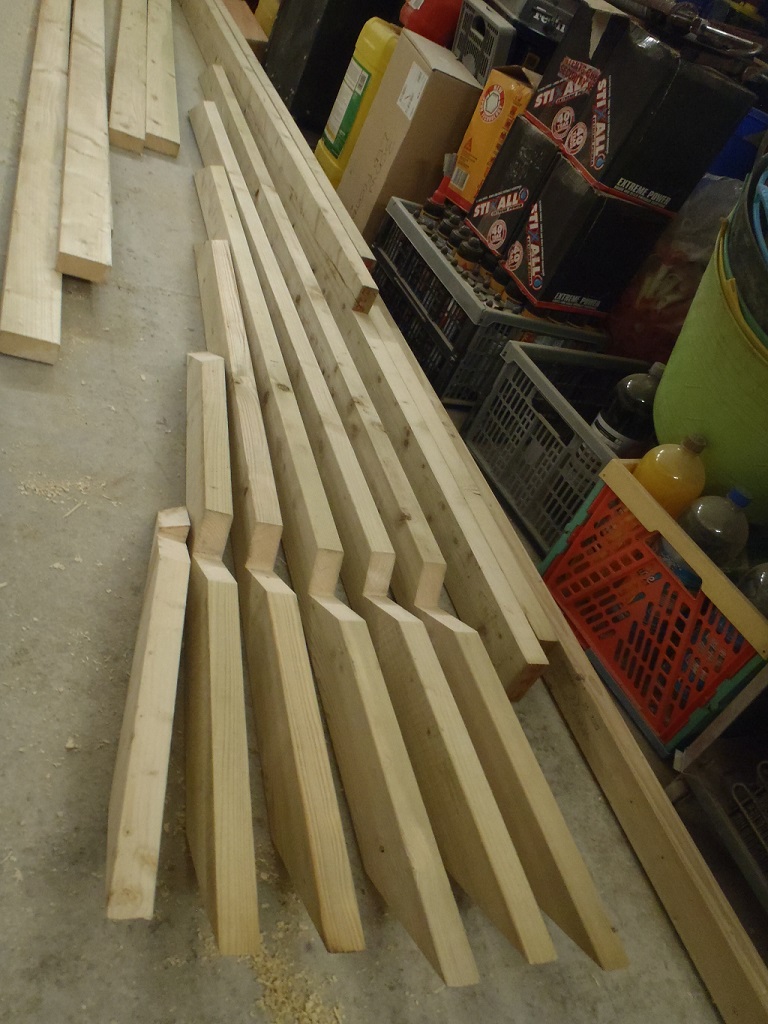
This afternoon, we got our Hip Rafters that we had made a couple of weeks ago, and planed the two sloping angles along the top edge. We did this using our mobile electric planer which took about an hour to do. Then we sliced the top end off to form the angled vertical end and got out our Bevel Slicing Machine to take off a very thin 58 degree wedge. The drawing indicated that the length from the top down to the bird’s mouth (2970mm) and we cut the little notch. Then going outside, we cut a little flat notch bits off the outer corners of the sticking out framework parts of the Porch. We stopped as it was past our end of work day time but also we had a delivery to interrupt us too!! We will carry on tomorrow!