Blog

  • Bevel Angles Sliced On K Rafters and Small Tidy Up On Last Five N Rafters

    This morning, we did the final stage of preparing the completed rafters before they will go out and installed up into the Roof. The “K” section, twelve rafters (ten full sized and two top-flange only ones) had the bevel angled sliced off the ends of the rafters, plus with bolt clearance holes drilled through too.
    Then, we planed the ends of the remaining five “N” rafters, the ends that will go up and sit against the “O” Ridge beam. We would like to have a flatter surface for the glue to spread more evenly and get a stronger joint.

    Final-Rafters-made

    Final-Rafters-made


    This really concludes the work in our workshop for the manufacture of all these roof rafters, for both the heavy duty LVL diagonal rafters (17 of them) and 176 of the regular full sized rafters, plus a half dozen of top-flange only rafters. The next job, apart from installing these rafters when the (ugh!) weather allows us, is to build out the porch over the front door area and the back door too, plus a “Dormer” like roof extension over the conservatory section of the roof, using just 89mm CLS timber.

  • All O and Half of N Rafters Are Installed and The Final Four of K Are Now Made!

    We started the day off, in the morning sunshine, by installing the rest of the “O” Rafters (six of them) and doing the first three of the “N” rafters before we stopped for lunch.

    Rafters-N7-to-N9-and-O-Rafters-Installed

    Rafters-N7-to-N9-and-O-Rafters-Installed


    We had to some servicing work on our septic processing unit after lunch which took a couple of hours and then we carried on in the workshop to complete the final four “K” Rafters to complete all twelve of those.
    The-last-Rafters-being-made

    The-last-Rafters-being-made

    This completes the construction of the 172 composite rafters which make of the major parts of the roof.
    The next job, on Monday, is to install the remaining five “N” rafters up into the roof (weather permitting) and then cut the angled bevel ends on all the “K” rafters before we install them over Monday and Tuesday.

  • Covering of Section I and J Roof is Progressing

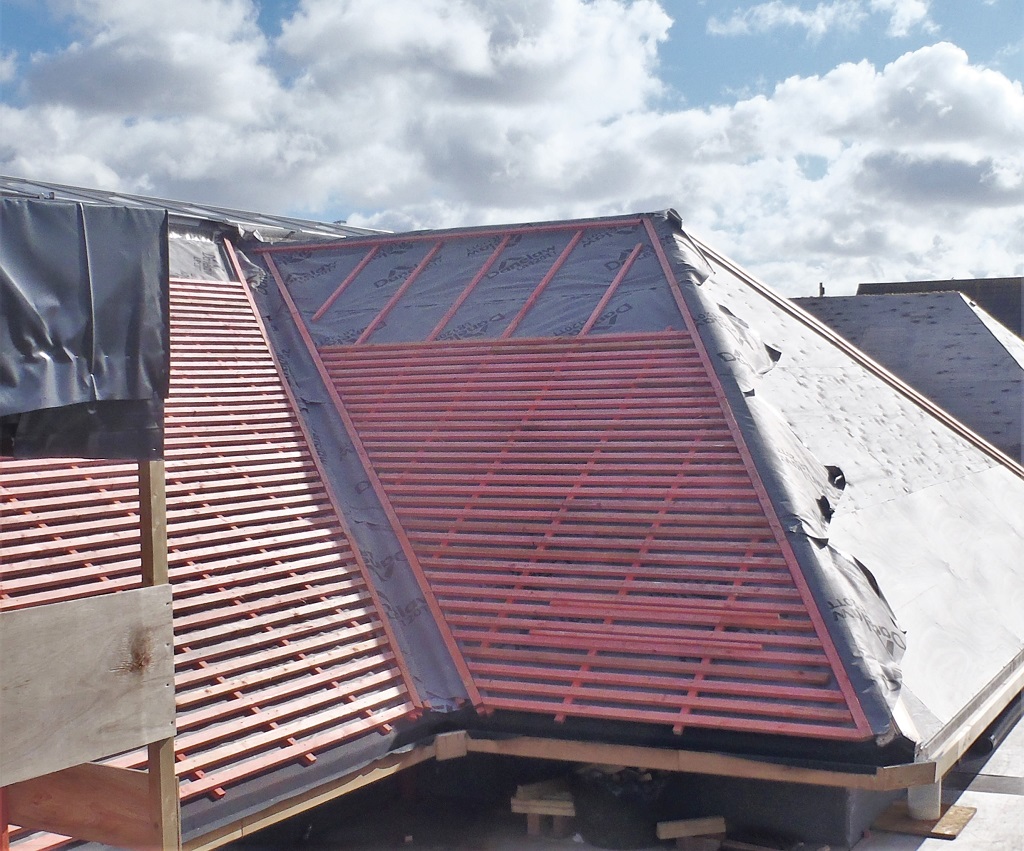
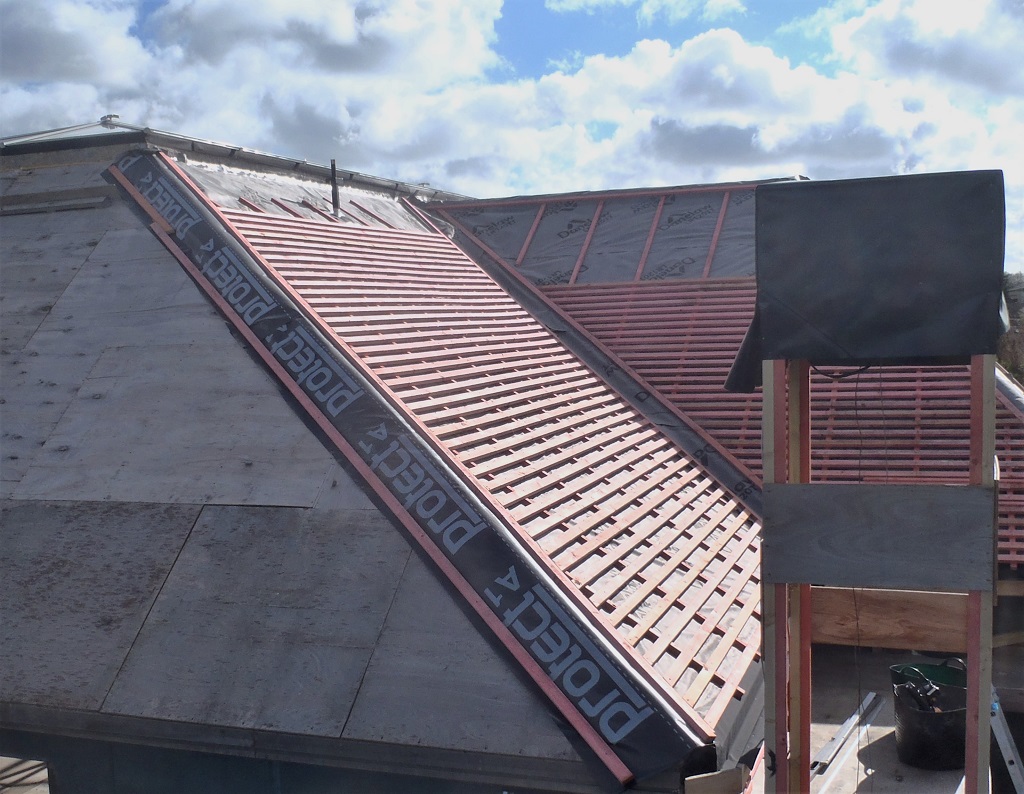
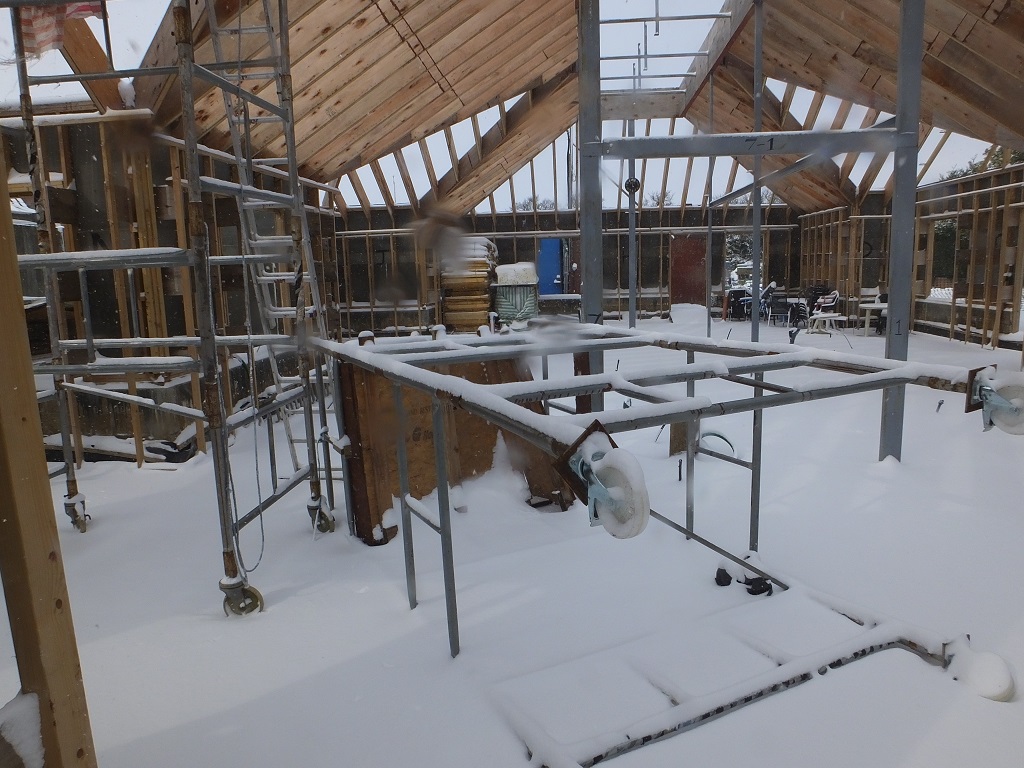
    This week, we continued with the task of nailing up rows and rows of battens on top of the breathable plastic membrane on the I and J section of the roof.

    Covering of Section I and J Roof is Progressing

    Battens-nearly-finished-on-J

    Covering of Section I and J Roof is Progressing

    Battens-nearly-finished-on-I


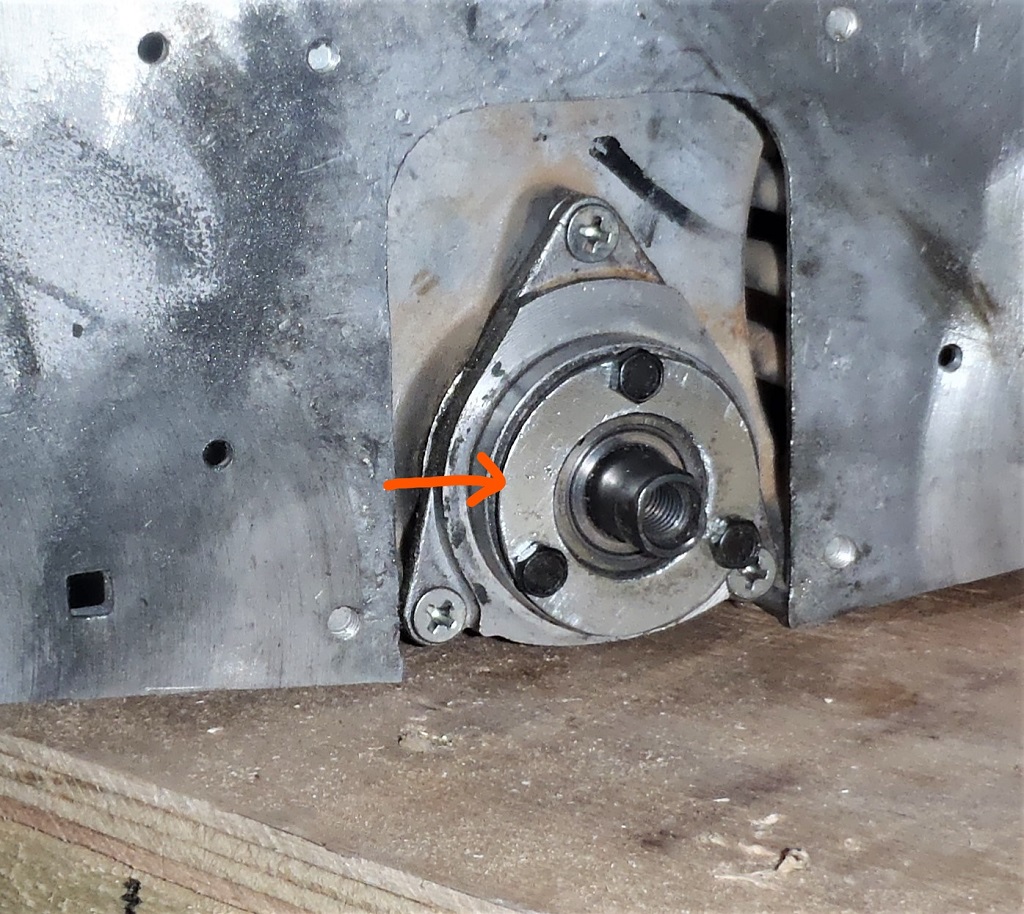
    We also had to do the chimney mounting pole where it came through the roof boards. The breathable membrane had to have a slit cut into it, to slide over the metal pole and then lay in a square rubber piece that had a small square hole cut in the middle and stretched over the square pole too. The rubber went under the membrane above the pole and over the top of the membrane below the pole, to ensure that any water that had slipped past the slates would run off without entering into the house.
    Covering of Section I and J Roof is Progressing

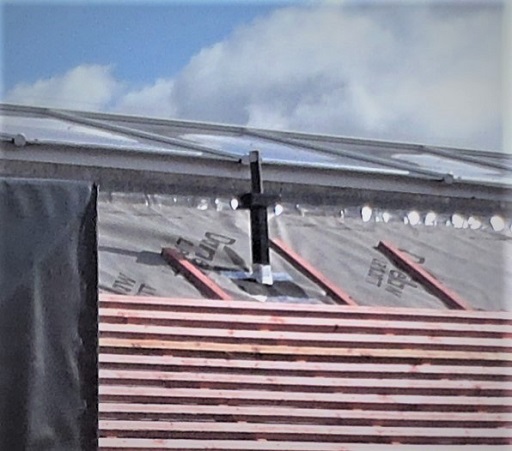
    Sealing-base-of-chimney-support


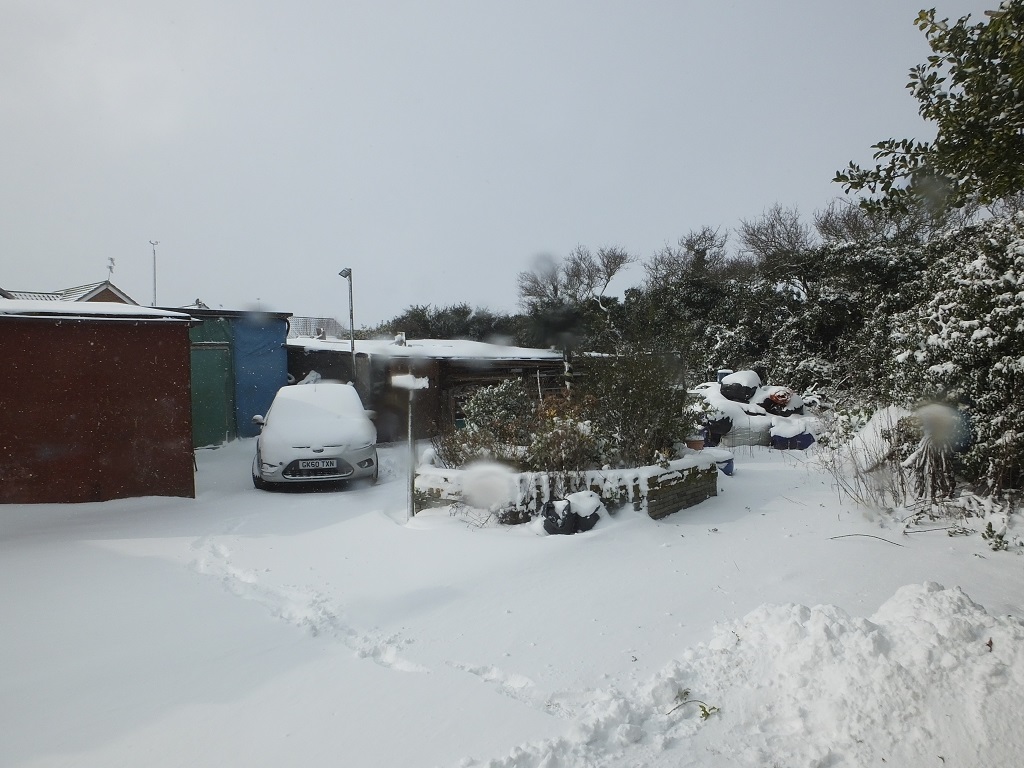
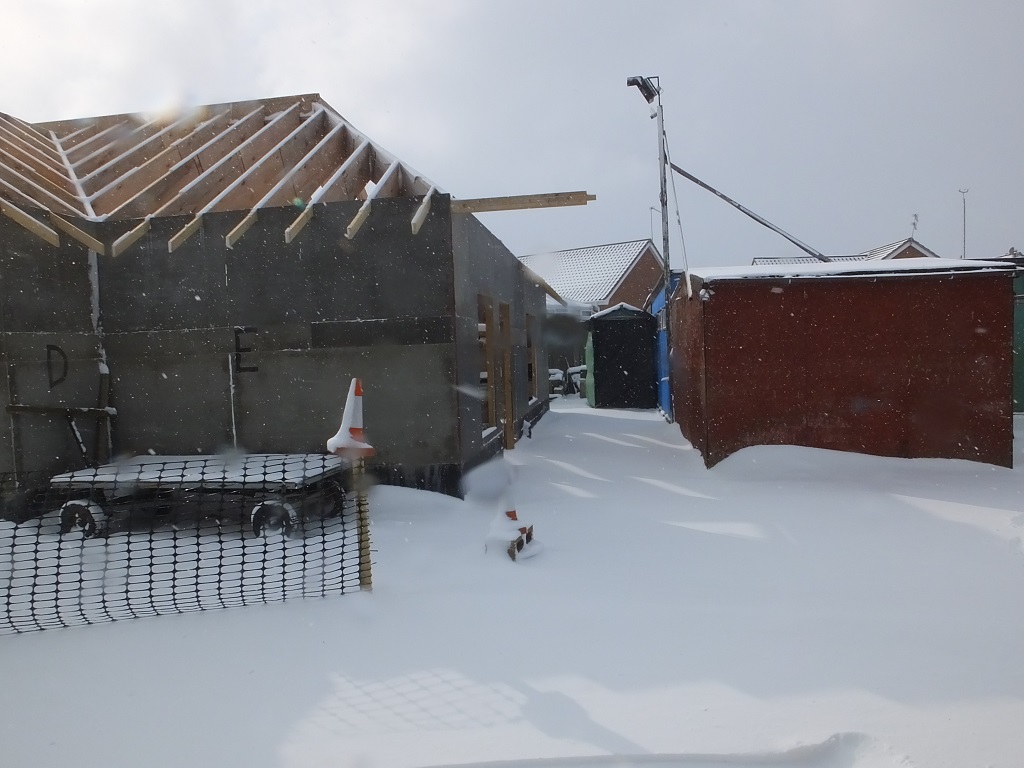
    Some of our days were interrupted by rain and other commitments but we managed to get a long morning of work in, here and there, before the forecasted rain arrived, or around our other commitments.
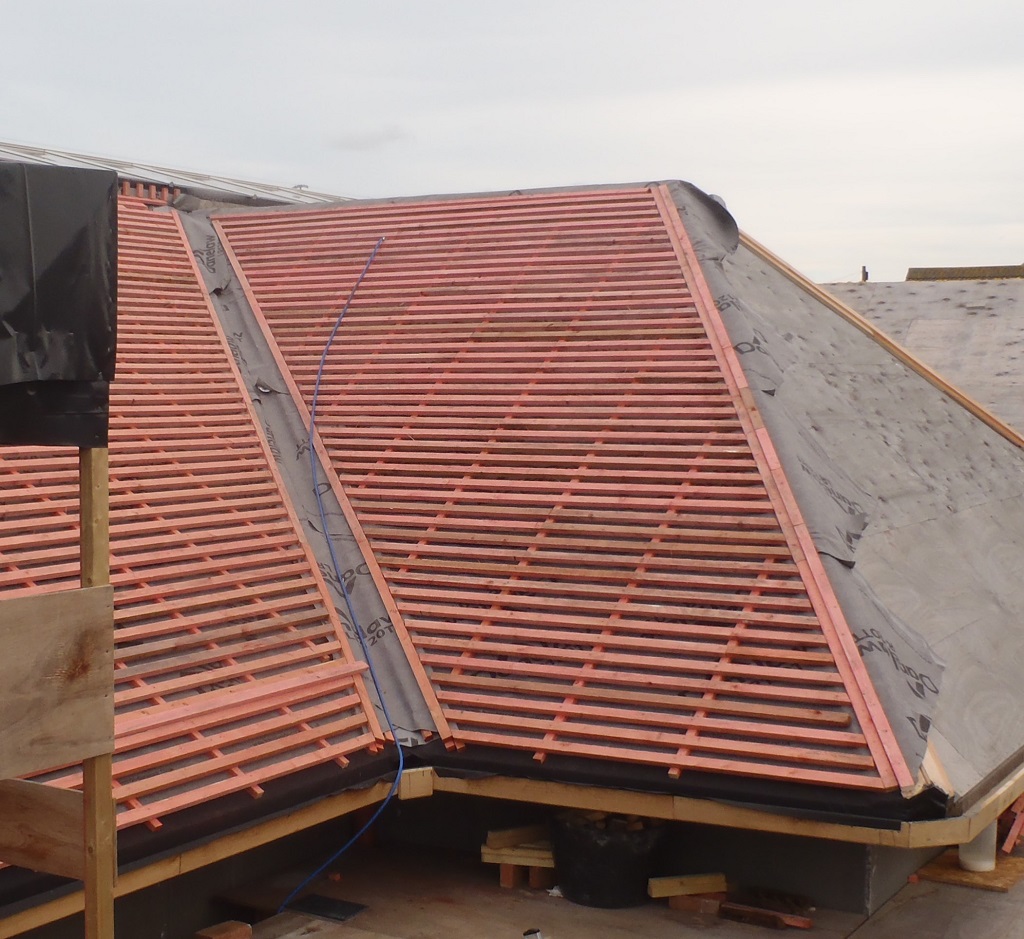
    Both the I and J sections are both complete, all tile battens are up, all spaced apart 112mm and ready for the Slates to go on.
    Covering of Section I and J Roof is Progressing

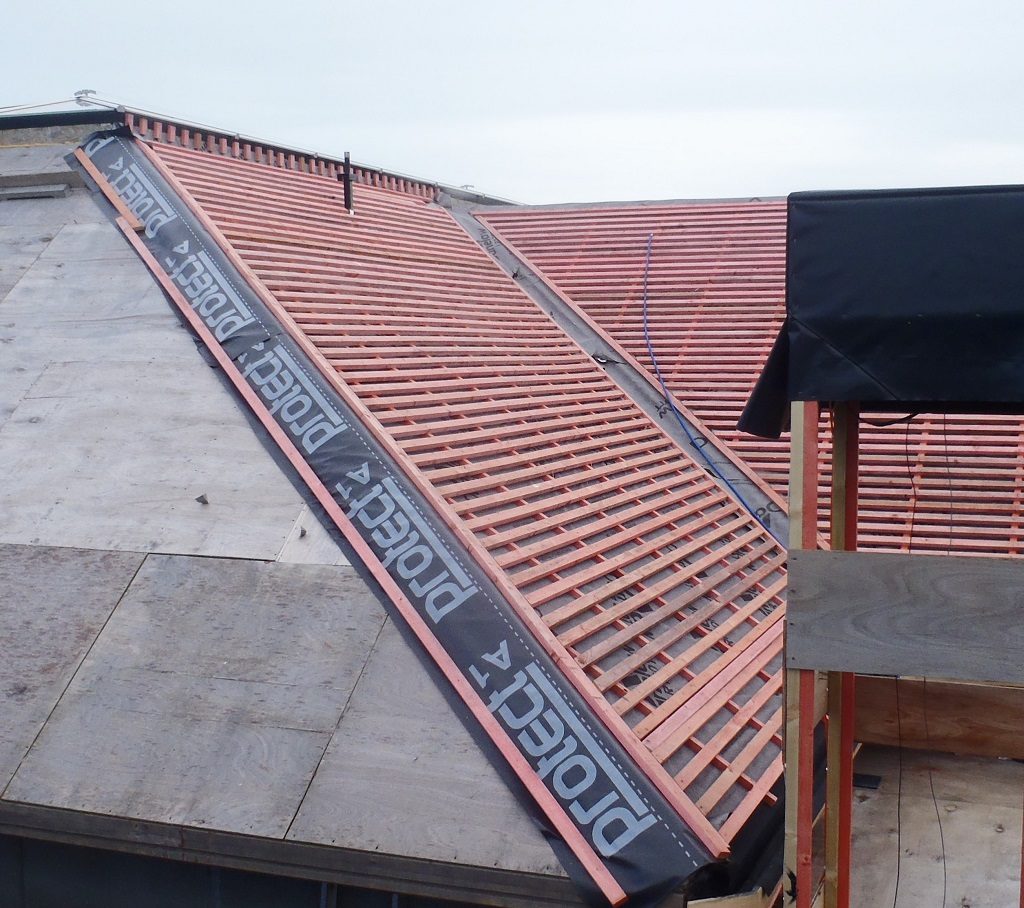
    Battens-finished-on-I

    Covering of Section I and J Roof is Progressing

    Battens-finished-on-J


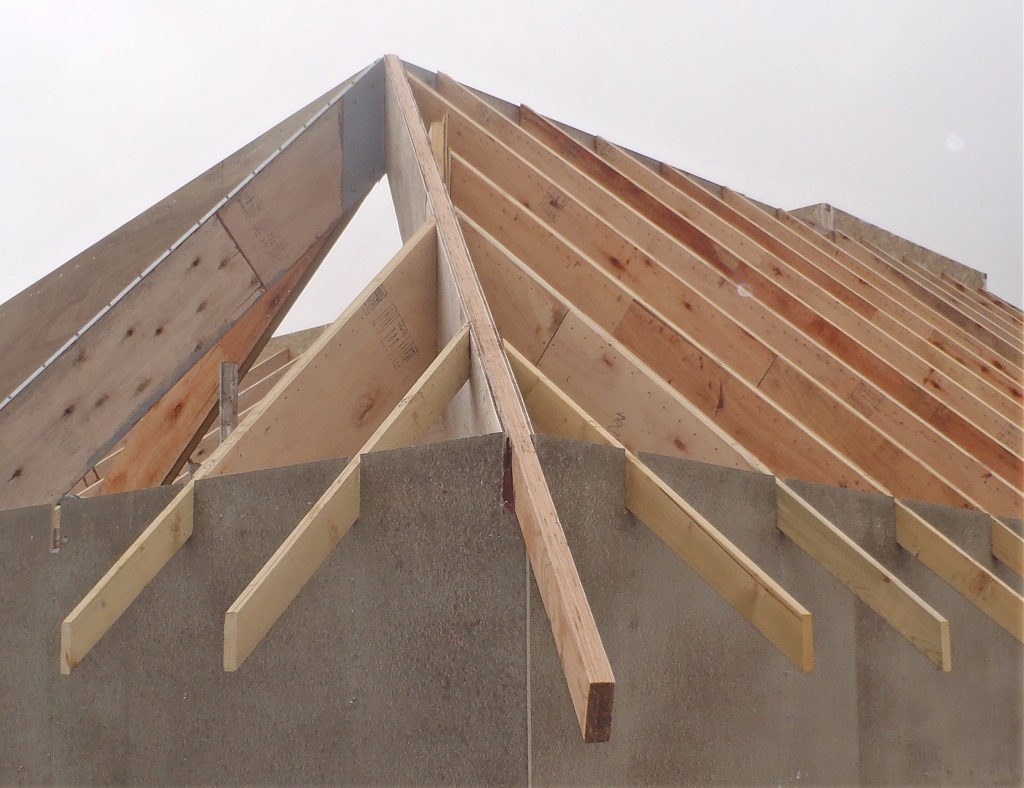
    But we had to fiddle with the valley trough modules to build up a 7 metre line up the inner corner of the roof, and interface the top end into the layers of rubber and breathable plastic membrane and slates so that any rainwater will be collected by the trough and not leak on to the roof boards (which of course is protected with another backup plastic membrane too).
    We are also talking about using Lead sheets to provide a very malleable material to shape around the complex angles at these points on the roof, for example, the three way intersection of the K roof and the Ridge line coming out from the house.
    Finally, we put up the support battens on the kerb, 100mm high pieces, screwed with stainless steel screws, spaced apart 150mm (half a slate so each slate can have two nails in it), to hold the flashing rubber membrane to seal the junction between the slope of the roof and the kerb. These battens also reinforces the security of holding our breathable membrane into place and not get ripped during strong winds.

    The last job started on Saturday, was designing and making various tools to help with the process of shaping the slates, a box container underneath the guillotine tool, to hold the sharp pieces of rubbish (and not scatter across the roof surface and make a mess in among the wooden battens and membrane). We will finish that on Monday and also make a tool to make the task of placing alignment marks up the tile battens much easier. These marks are spaced apart 204mm, the width of a slate plus one hook .

  • A Quick Three Rafters Installed Before Rain Arrives and Half of K Rafters Created

    In between rain showers, when the sun came out this morning, we got outside to firstly bring in six sheets of our 12mm plywood from our main stack (after these six sheets, we have 119 left). Then we got the final rafter installed right up in the far left back corner of the building (P2) and then went around the corner to do two of the O rafters (O9 and O8) before the rain came.

    Rafters-on-Corner-of-O-and-P

    Rafters-on-Corner-of-O-and-P


    We retired back to the workshop to slice up the six sheet of the plywood, to make 18 webbing strips to complete the final set of the “K” rafters. These then were measured and sliced to length with their 45 degree angled ends and wall notches cut out of them. That concluded the preparation stage and we then had time to make six out of the ten we have got to do.
    On Saturday, we will see what the weather is doing and either go outside to carry on installing more “O” rafters or carry on building the final four “K” rafters. We will see!!

  • N and O Have Been Bevelled, and K Now Being Prepared

    With the wet weather outside, we stayed dry in the workshop and carried on with the task of slicing angled bevel ends on the fourteen rafters we have already made, eight for the “N” section and six for the “O” section. Plus the one we did yesterday for the odd P2 rafter, we now have done a total of fifteen, all ready to be put up into the roof and get the Great Room all done.
    For our afternoon session, we started the job of preparing all the parts to make the final set of twelve “K” rafters. We brought in another five lengths of the 89mm CLS timber and along with the three (and a bit) lengths of the 63mm CLS timber we already had in the workshop, we then proceeded to chop them up into all the individual parts. Twelve of the 89mm wide ones to make the top flange with had the bird’s mouth cut into it, and ten parts of the 63mm wide ones for the bottom flange, all having the 45degrees angle ends.
    That concluded the day’s work and tomorrow, with the dryer weather, we will bring in six sheets of plywood and get them sliced up into eighteen more 400mm wide strips to make the webbing to go towards making the final 10 full-sized rafters.

  • Four More Rafters Are Up and Bevel Slicing Troubles!

    This morning, after a slight delay, we got outside and reassembled our platform on our tower and got up four more rafters to almost finish off the “P” section of the roof.

    Rafters-P18-to-P21-Installed

    Rafters-P18-to-P21-Installed


    That brought us up to lunch and the job for the rest of the day was to slice the bevelled ends to all the other rafters we have already made in the workshop.
    But .. ..
    We were slicing the first rafter of the 12 we got to do when the Bevel Slicing Machine started vibrating quite badly and when we looked at it we found that the blade was moving in and out of the gearbox. Oh Boy, Does this mean the gears have broken under the stress of slicing these very large items?
    So we took apart the saw and got inside to the gearbox and discovered that nothing was broken after all! it seems that one of the ball race had slipped and this made the axle move in and out and caused the saw blade to vibrate and bind in the saw cut.
    We realised that there should be a metal “washer” disc covering the ball race to stop it moving so we got a piece of metal, cut it into the circle shape, drilled three holes to fix it down and put a large hole in the middle for the axle to come through.
    Bearing-fixing-ring

    Bearing-fixing-ring


    We greased the gearbox and put everything back together and the quick tests passed with flying colours. We then finished off the rafter (P2) we were doing and that was the end of the day!
    That was close! We didn’t have to go out and buy another circular saw unit and tomorrow, we will continue to slice the rest of the rafters and get them outside to complete “N” and “O” sections.

  • Measured “K” Section and Created Last Two Rafters for “N”

    This afternoon, after the morning was occupied with other tasks, we got outside to firstly, rescue our fallen scaffolding tower, to push it back upright again. We did take off the wooden platform first to make the “top” end much lighter and it turned out to be quite simple and easy to push it back by hand.
    This allowed us the room to move the taller tower along to the “K” Ridge / angled parts to measure the final, yes the very final section of the roof, the “K” section which is over the back of the house and Bedroom Two. This set of numbers will go into our spreadsheet as usual and that will give us our final calculated set of numbers for the timber flanges and plywood webbing strips.
    Then, we returned to the workshop to assemble and create the last two rafters to complete the set for the “N” section over the Great Room.
    And finally, we did a quick service of our giant air compressor, to clean out the air filter and release the drain valve underneath the tank to let out the water. It has been several years since the last time and there seems to be about 600ml to 700ml of water! This water comes out of the air and there isn’t that much in a volume of air so we must have compressed rather a lot of it .. Wow!
    Tomorrow, we will either go outside and install more rafters to finish off the “P” section or if it is raining, we will cut the bevel ends on the “N” and “O” set of freshly made rafters and then carry on with preparing the parts for completing the final 12 (10 full sized plus 2 little top-flange only rafters) in the workshop.

  • Heavy Snow Showers and Freezing Temperatures

    Today, we woke up to more snow and deeper freezing temperatures! It never rose above -3°C all day and it now fallen even lower to -6°C!

    Snow every where 1

    Snow every where 1

    Snow-every-where-2

    Snow-every-where-2

    Snow-every-where-3

    Snow-every-where-3


    We had snow yesterday but now we have at least doubled the thickness out there!
    Snow-depth

    Snow-depth


    Even if we finished creating the two rafters we have to do in the workshop, we wouldn’t be able to install them up into the roof framework until all the snow has melted away!
    House full of snow 1

    House full of snow 1

    House full of snow 2

    House full of snow 2


    They say that the freezing snowy weather will continue for another four to five days at least!! Eek! Big Sigh!!

    ** Update ** Sunday 4th March **
    All the Snow have been melted away by the sudden turn in the weather. It got warm and lots of rain came! We should be able to resume work on the new week with no problems! Yippee!

  • Pretty Plywood Arrives and Five More Rafters Created

    This morning, our 75 sheets of pretty plywood arrived. The lorry managed to get down our Loke, and we placed our flat bed trolley alongside. We then pulled off the plywood, sheet by sheet. This allowed the delivery bloke to get off to his next port of call.

    Plywood-unloaded-onto-the-trolley

    Plywood-unloaded-onto-the-trolley

    We then moved half the pile by taking 3 sheets at a time and walked about 15 metres to our new storage tent. Eventually, we were able to move the trolley itself, with much slipping and sliding on the snow, and got the remaining sheets unloaded.

    Plywood-stored-away

    Plywood-stored-away

    This plywood is much nicer than the last lot (well we bought it as pretty)

    Plywood-has-a-decent-numer-of-plys

    Plywood-has-a-decent-numer-of-plys

    Nice-grain-on-Plywood

    Nice-grain-on-Plywood


    After lunch, we resumed in the lovely and warm workshop and created five more rafters.

    N-O-Rafters-made-so-far

    N-O-Rafters-made-so-far

    That’s was enough for Shaun’s back so tomorrow we will finish off the last two rafters and get ready for doing the “K” section by measuring the final set of rafters! Hurray!

  • Created Five More Rafters for Roof

    This afternoon, we resumed work on creating the last couple of dozen of rafters for the roof. We did Five more today before Shaun’s back had enough and didn’t want to overdo things.
    There are seven more to do in this current batch, which will finish off the roof area over the Great Room and leaves ten more rafters in the “K” section over the Bedroom Two area.

    Tomorrow, we have the delivery of our “nice” plywood coming from Diss (only about 30 miles away) and we hope it will make it with the snow arriving from Russia!! In the meantime, we will carry on with a few more rafters.