This afternoon, we changed our work schedule and skipped over the operation of lifting up the heavy K Ridge for another day as the morning was wet and had other commitment anyway. So this afternoon, we started the preparation task for doing the next two rafters, the JK and KL ones that goes right to the outside corners of Bedroom 2 and connecting back to the K Ridge.
We spent the time slicing up all the polystyrene foam sheets into the required pieces and strips to finish off all these special LVL rafters (9 strips of 240mm wide, 6 strips of 217mm ones and 3 strips of 197mm wide ones) and with the other strips we had already done last week, we now have all the polystyrene foam inserts to complete the job.
Then we went outside and took the opportunity to weigh our K Ridge rafter while it was sitting on the ground and sitting the bathroom scales under each end in turn, we got a total weight of 127kg! Yes Heavy man!! No wonder the K Ridge has been a beast to handle! Phew!
Finally, we unwrapped the LVL timber pile to pull out the next four pieces and brought them into our workshop. We concluded the day by putting together a snapshot of the required part of the drawings so we had a print out of the JK and KL rafters to hand to know what to measure etc. etc.
Tomorrow, weather permitting, we will resume the task of lifting the K Ridge into place and hopefully we have worked out a solution to which way to lift it so we clear all the obstacles and get it seated into position – at last!
Blog
-
Skip Over to Start Preparation Work for JK and KL Rafters
-
K Ridge Fun and Games!
Today, we tackled the big job of lifting up our Bent Rafter, the K Ridge that has a 45 degree bend in it’s length. It was tricky because the middle of the rafter at the elbow joint is the heaviest part but we needed this to go up first into the air and it wanted to keep flicking over as it naturally wanted the heavier bit lower down! We first tried lifting the rafter using just one motorised winch and even though we managed to get the wall end up and over the wall, we couldn’t lift up the other end high enough to get it engaging into the metal bracket on the steel I-Beam!!
We recorded a short video sequence of this Fun and Games we had today!We brought in our second tower into play and tried to help lift but we were struggling with the whole length of the rafter being just too long to go in straight! Also, the control box is on a short lead so we decided to abandon the day and bring in the motor winch to extend the cable with 10metres of 5-core mains wires so the we can try again on Monday and have both of us being near each end of the rafter and also keep our finger on the control box buttons to lift or lower and we push and heave the rafter around and get it in place!! We have also other ideas that would help us in the long run, a backup plan!
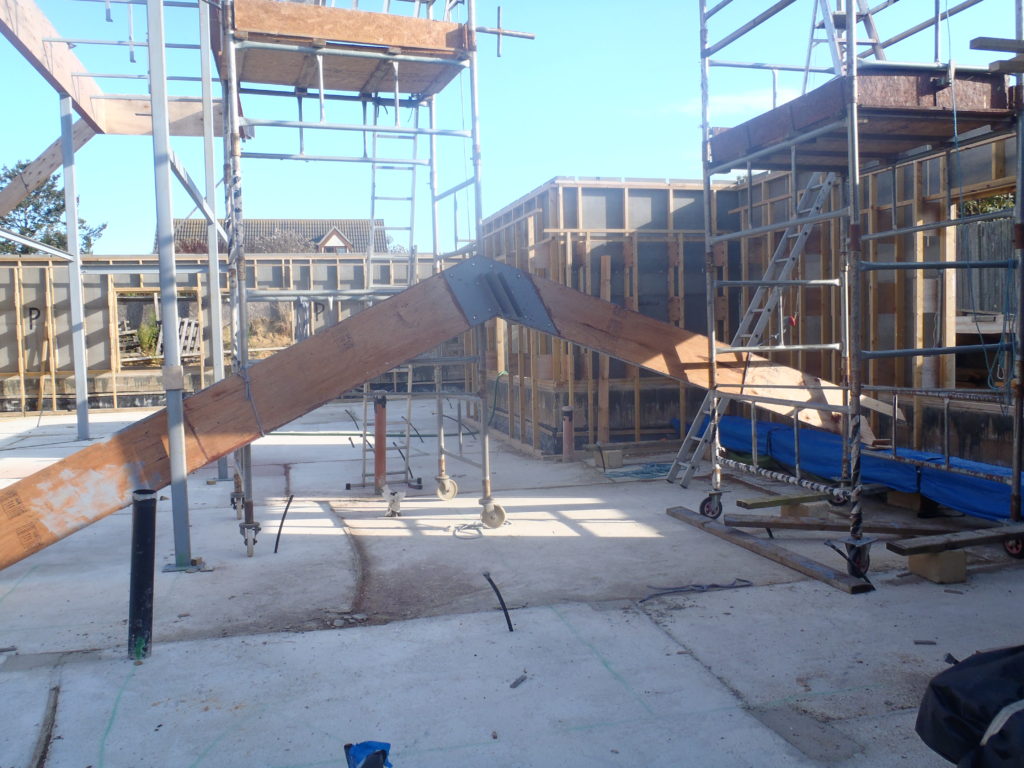
K-Ridge-down-again
We never did weigh this rafter but it’s jolly heavy!! Smile! -
Stephen Had Minor Fall Off Scaffolding Tower!
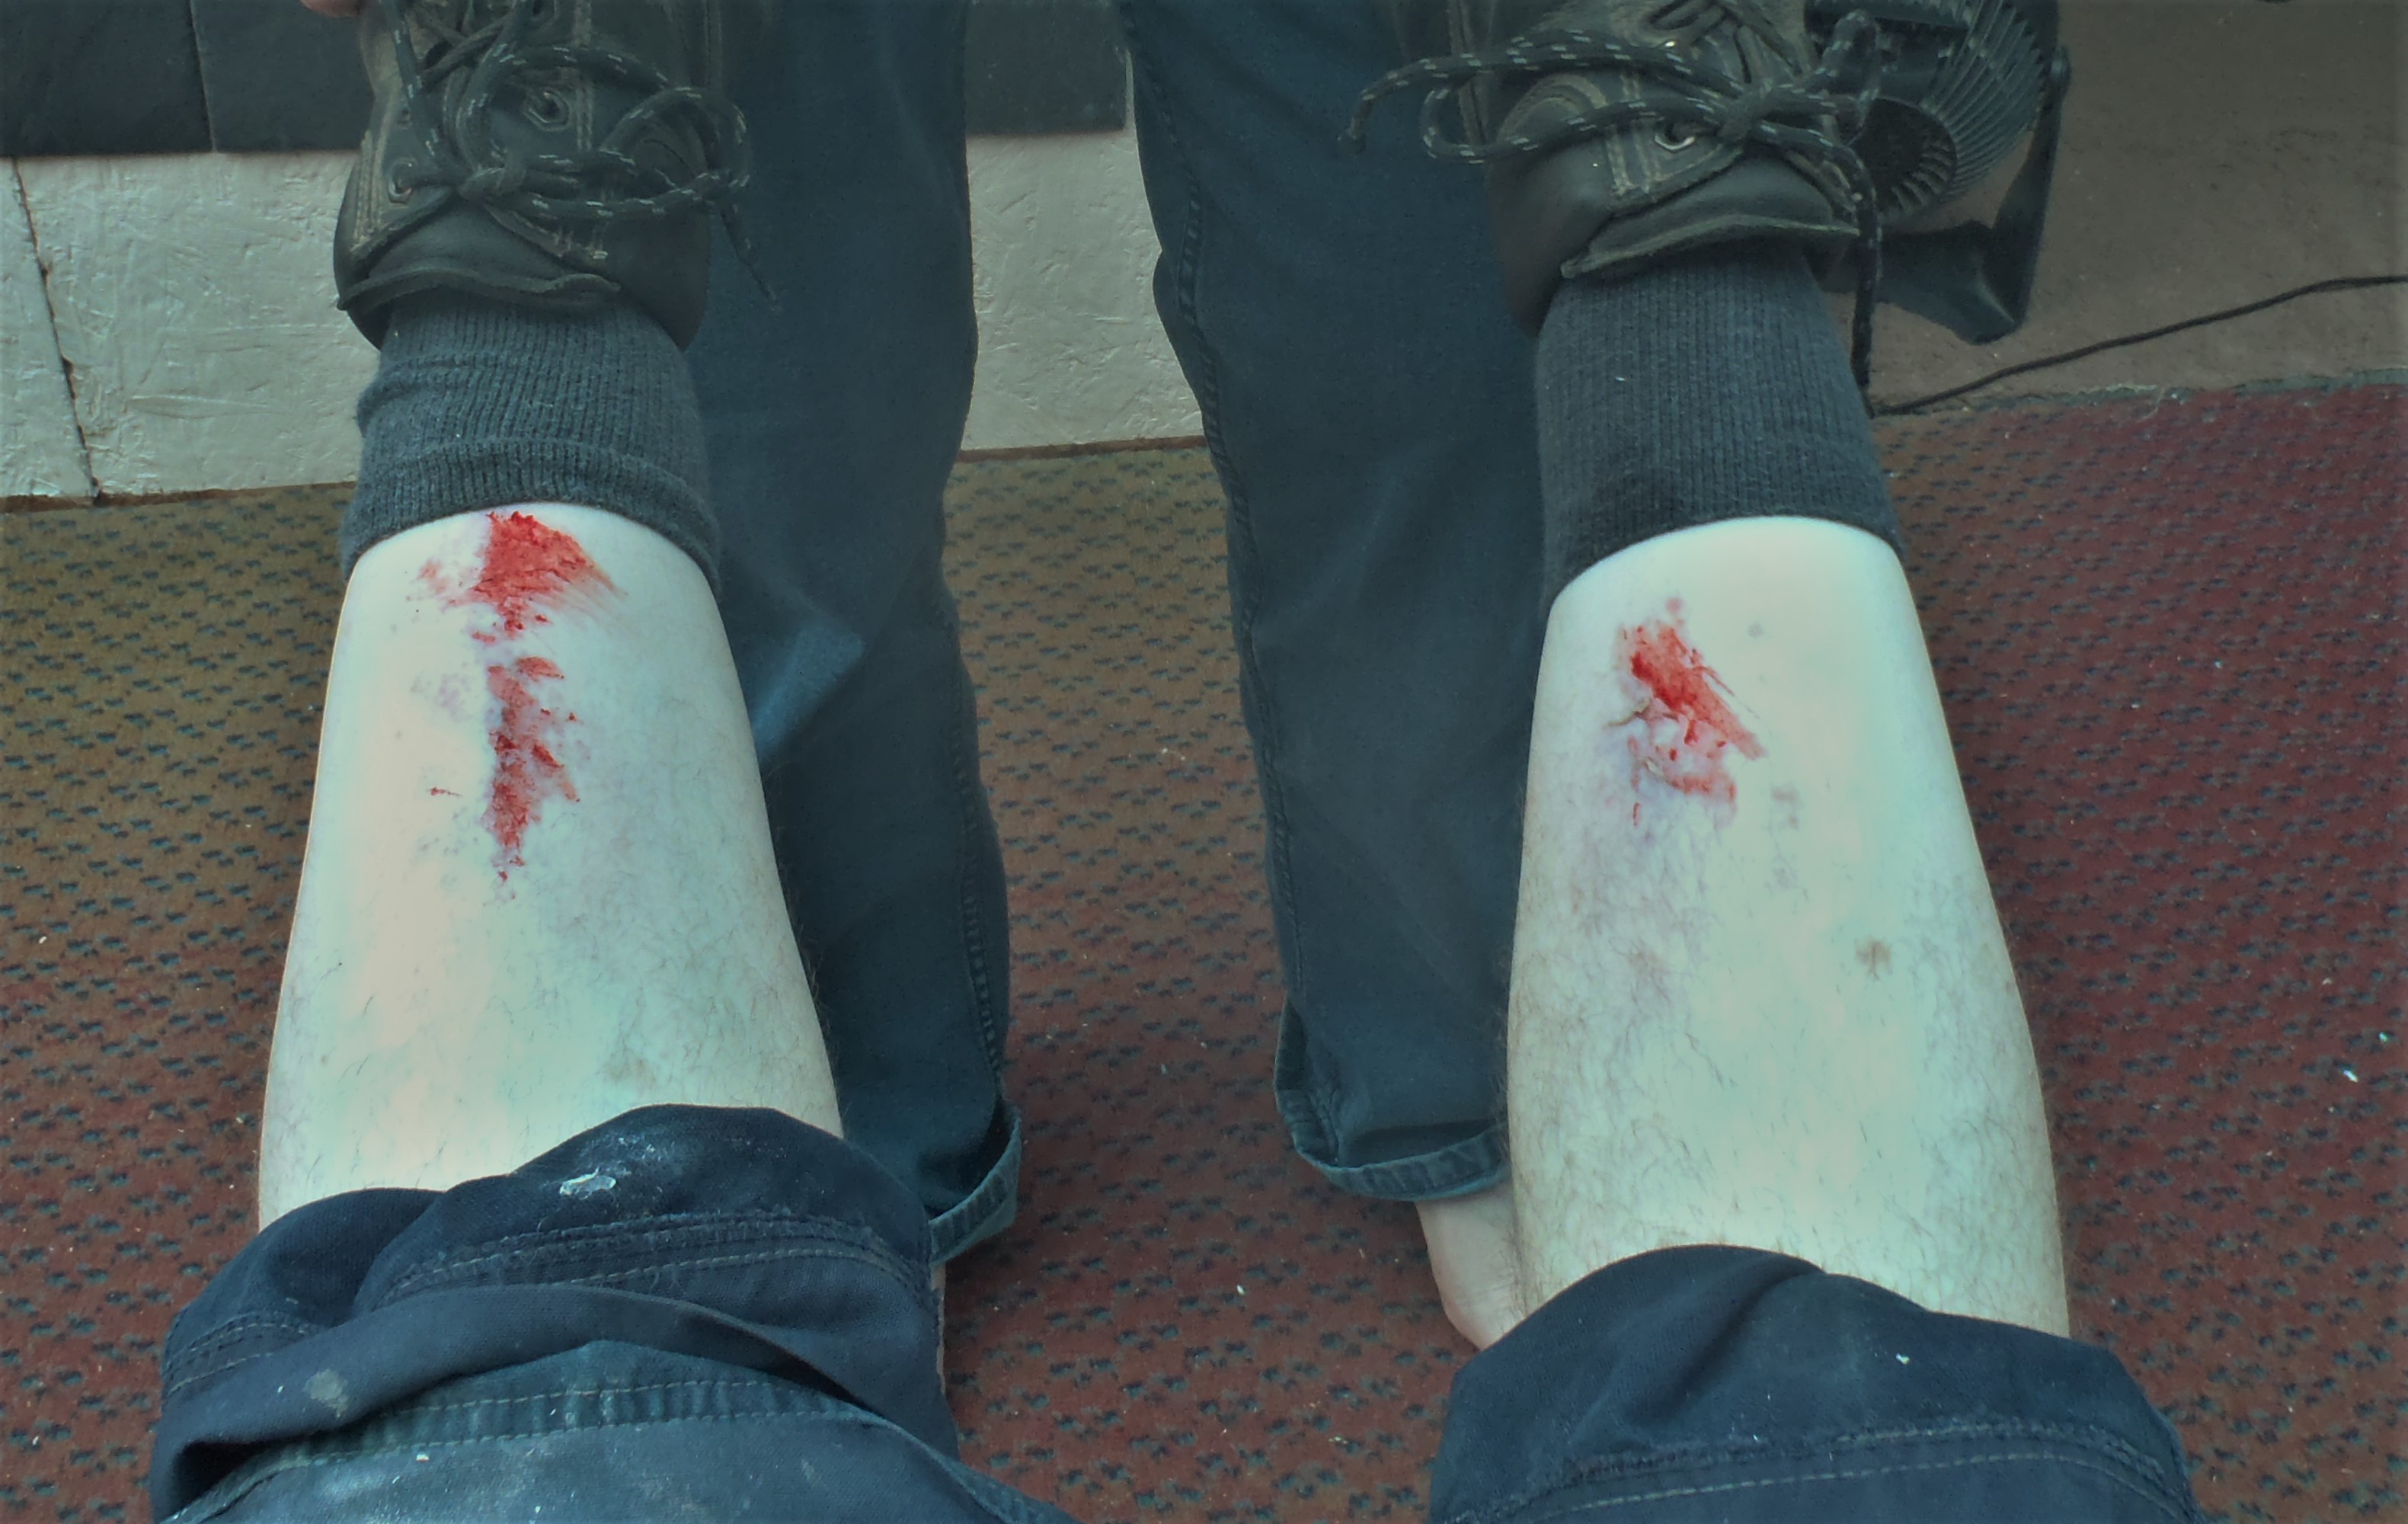
While climbing up the ladder on the second scaffolding tower, the tower suddenly moved along on its wheels and the ladder began to slip off the metal rail, starting to crash back down to the ground. Stephen grabbed the scaffolding tower itself and managed to save himself but in the process, banged his lower legs rather badly, scraping the skin off on both shins!

Stephens-Banged-n-Scraped-Shins

Stephens-Bandaged-Shins-
-
K Ridge All Glued and Bolted Together!
We had a lovely day of sunshine and we assembled our two part K Ridge into one solid piece with a 45 degree bend on it, ready for the final preparation tasks and lifting it into place tomorrow.
The two parts were carried out and placed on four trestles so we had plenty of room to fiddle with the metal elbow brackets to get them all lined up etc. Once we got that done, we brought out the long 6 metre steel strips and proceeded to put one at the time, along the edge of the rafter, including bending half way along around the elbow joint and then drilling pilot holes into the wood and finally drilling clearance 8mm holes for the 80mm coach screws to be inserted and tightened up.
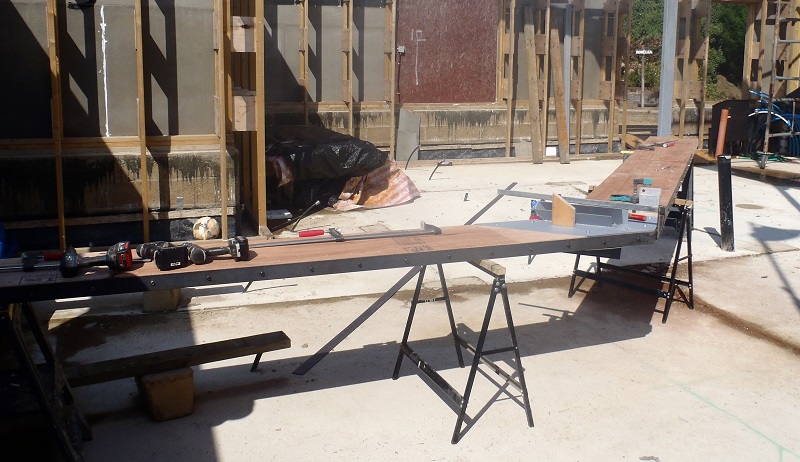
K-Ridge-Plates-and-First-strip-done
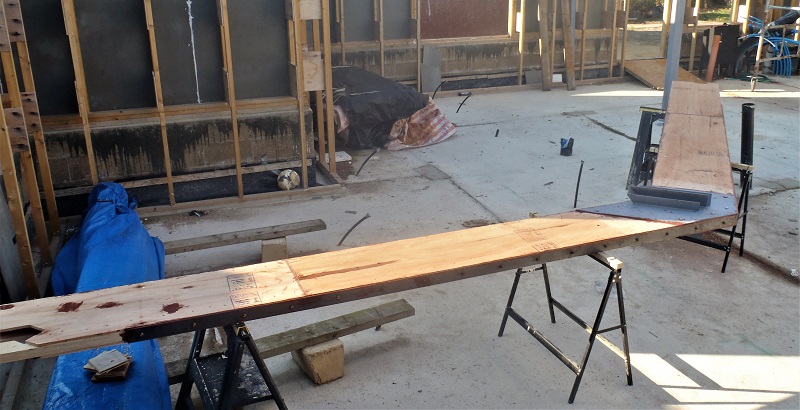
After lunch, we finished off the other steel strip (bending that one too and doing the drilling tasks again). We had to use a heavy club hammer to bash the steel strip to make it bend around the 45degree corner so it was as neat and sharp as possible.

K-Ridge-All-metal-work-fixed
Then, it was the messy job next .. the glue! Leaving the two steel strips attached to the two parts of the rafter to hold it all aligned, we removed the two big elbow brackets so we could clean them and apply a layer of glue on both the metal surface and the wood surface too. We decided that before we started gluing, we would do a bit more sanding of the surfaces of the plywood as they didn’t quite have the same thickness and there was a small step. Then all the dust was vacuumed up and now we could do the gluing! We used a notched trowel to spread the silicone glue evenly over the contact surface (both sides of the rafters etc.). Then we juggled to get everything back together again! It wiggled back easily enough and we got it all bolted together very tight indeed!
The next job was to remove each steel edge strip one at a time, to clean them, apply the glue and then put it back and tighten down all 32 bolts and squeezing the glue out! We did the same on the other strip! All the excess glue was tidied up and put into gaps here and there to make a smooth and neat finish.

K-Ridge-Everything-glued-1
K-Ridge-Everything-glued-2
Tomorrow, we will paint the bare metal surfaces with the metal rust protection paint and then lift it up and slot it into position .. just like that! We will also measure the weight of the whole thing to see what the finished article weighs, probably about 100kg – thank goodness that our motorised winch can handle up to 250kg – Phew!! -
K Ridge Smartened Up and First Fitting of Metal Elbow!
This morning, we planed the top and bottom edges of both part of the K Ridge Rafter. We wanted to make sure that these surfaces are clean and smooth to get maximum contact area to the metal strip (coming later on) and the wood and have plenty of glue connection to maximise strength. We also planed the middle joint to clean up bumps etc. caused during the manufacturing process.
After struggling to get both parts laid flat on the work bench, pushing one end right into the shelf to the wall – phew and the other end sticking half way out the main workshop doors on a roller support leg! We managed to join them together so we could lay down one of the metal bracket piece that makes up the elbow joint element.
We then put in pilot holes where the bolts are going to go, and using a portable drill press and our electric powered drill, we drilled 10.5mm holes through the flanges, all eight of them. after that, we managed to get both metal bracket pieces bolted together and tightened up.
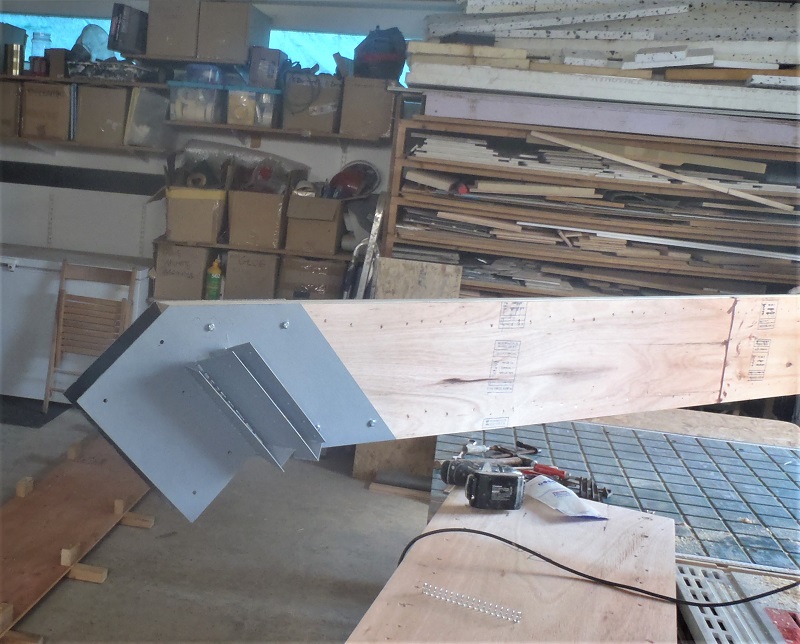
K-Ridge-Metal-plate-Test-fit-1
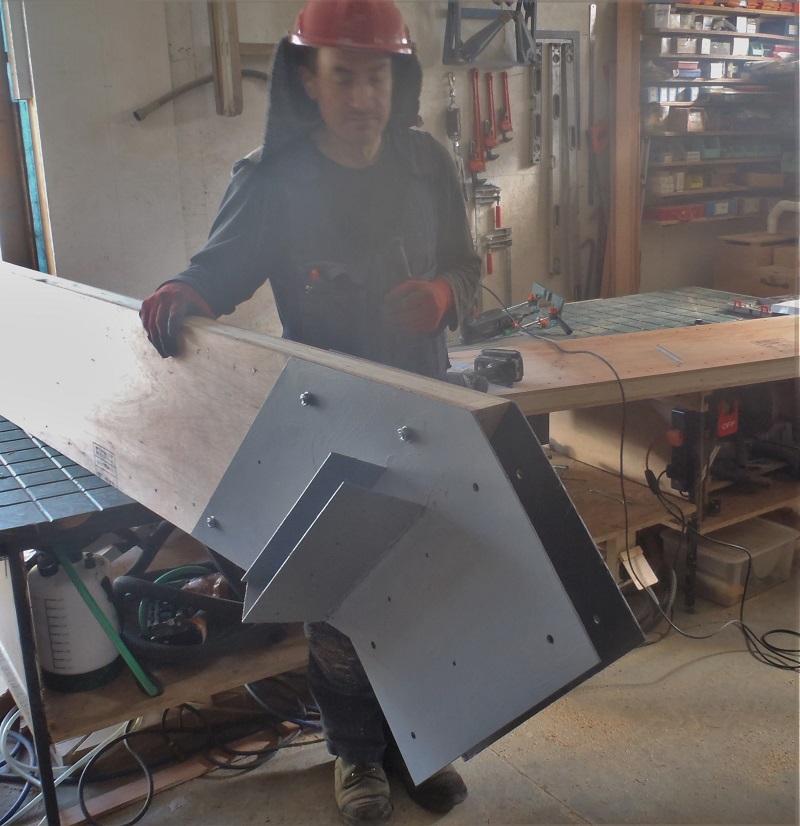
K-Ridge-Metal-plate-Test-fit-2
It is only a half day of work today because of other commitments so tomorrow, we will have to resume work outside as we just don’t have enough room inside the workshop! The other part needs to go in and have its own test fit too. Then the long narrow metal strips (5mm thick) will go along the top edge and bottom edge and bent at the elbow joint corners. Having done all this, everything is glued up and screwed and bolted all back together again! -
K Ridge (Part 1 and Part 2) Completed
Today, we cut down to the required lengths the LVL timber pieces with the appropriate angles on their ends for both parts of the K Ridge Rafter. This one has an elbow joint half way along as it follows the shape of the roof going over the extension at the back of the house. The elbow joint is reinforced with a solid metal brackets, two of them, to sandwich the rafter in between and bolted together when it is assembled and installed.
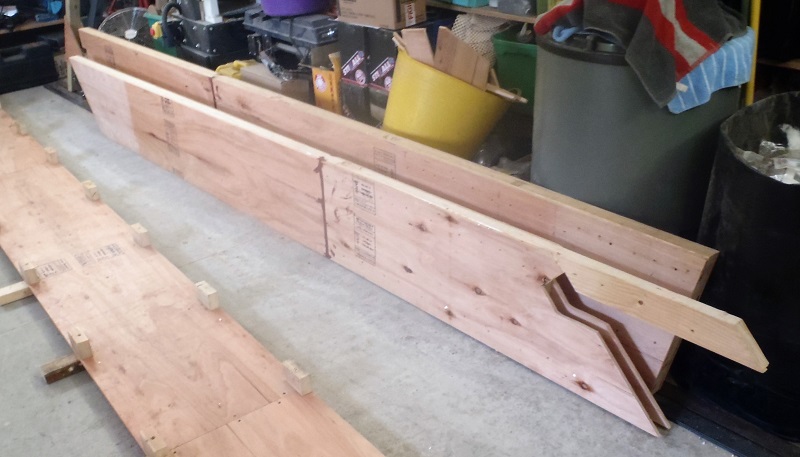
Ridge-K-Both-Parts
These two parts are fairly usual in their construction with noggings and the polystyrene foams inserts etc. so work went very well and we now have two completed sections and they will dry (the glue) overnight before we tackle the next task of fitting the metal brackets into place and drill clearance holes for the bolts tomorrow and making sure we get it all aligned up good and proper! -
Preparation for Next Set of Rafters Starts
These last two days has seen the start of the building the next set of rafters. The metal brackets pieces were painted to give them a semi protection against rust while they are exposed to the weather to until the roof is on!
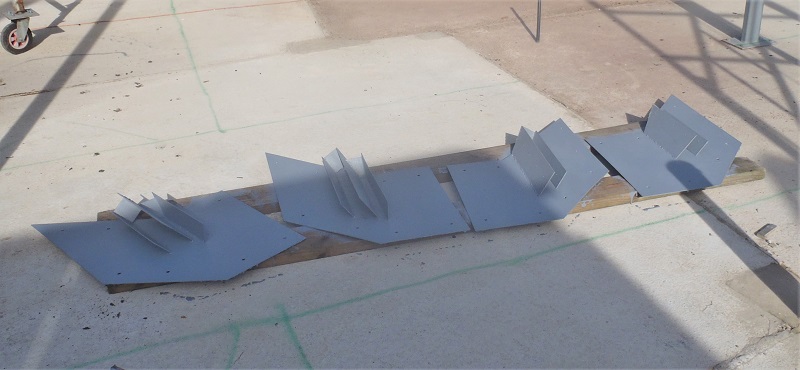
Splice-plates-painted
Then we sliced up some polystyrene foam blocks to make the inserts for the K Ridge and the O Ridge elements (including the angled bits going down to the walls). and finally, to finish off the first day yesterday, we measured the diagonal distances from the K wall corners and middle location, back to the central point on the steel I-Beam and analyse this against the drawings. It turned out to be pretty close, only 10mm offset for the two outside corners and 19mm offset in the middle of the K wall. This is close enough for us to continue to build the K Ridge and if there is any adjustment needed to be made, we can slice off little pieces off the beginning of the K ridge during installation.
Today, we sorted out all the plywood strips we had already made, also took all the “waste” plywood strips and moved them into our garden shed for storage and easier access. We spent all day slicing up more plywood sheets and other strips to generate all the webbing we will need to complete the remaining Special LVL Rafters, as follows:- 9 x 400mm wide
- 6 x 413mm
- 12 x 423mm (already done previously)
- 18 x 455mm (taken from 20 strips left-over pieces)
- 4 x 477mm (two already made with a further 2 today)
- 4 x 508mm wide and that’s it!
We tidied up the pile of these plywood strips and put all the ones that will make the O Ridge series of rafters and stored them in the garden shed. Also, we brought in four lengths of our LVL timber pieces, 3 x 4190mm and 1x 3500mm lengths. We got our template back into shape again and started with our first rafter, the K Ridge. This 477mm wide object has 4 strips of the webbing and sliced a shallow angle cut (only 10.5 degrees) on one end of the plywood. This end will be push into the metal bracket and joined onto the second part of the rafter, the K Angled, which goes down at a 45 degree slope to the wall.
Tomorrow, we will cut the LVL timber and then sand to get them ready for gluing and nailing. -
Ripped Up Neighbour’s Hedge!
After lunch today, we helped out our neighbour by driving our Mini Digger up the Loke and then proceeded to rip and grub out their Hedge fronting the Loke.
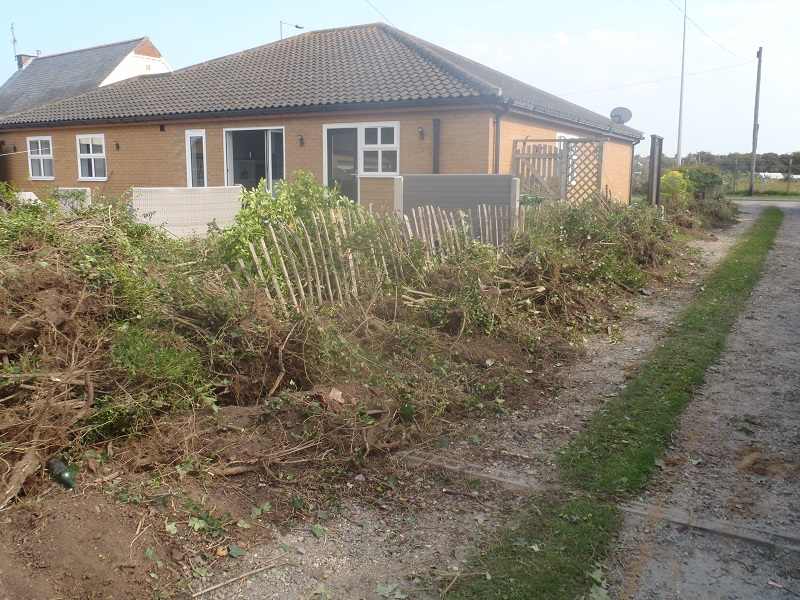
Neighbors-Hedge-grubbed-up
It was very rewarding for us, especially for the fact that we haven’t used the mini digger for months and months, but the machine started first time! It took only about 30 minutes to do the job! -
O ridge Metal work Finished
The metal splice plates for the O ridge have been welded together. More care was taken to weld them in short stages and swapping from one plate to the other resulting in almost no warping of the plate.
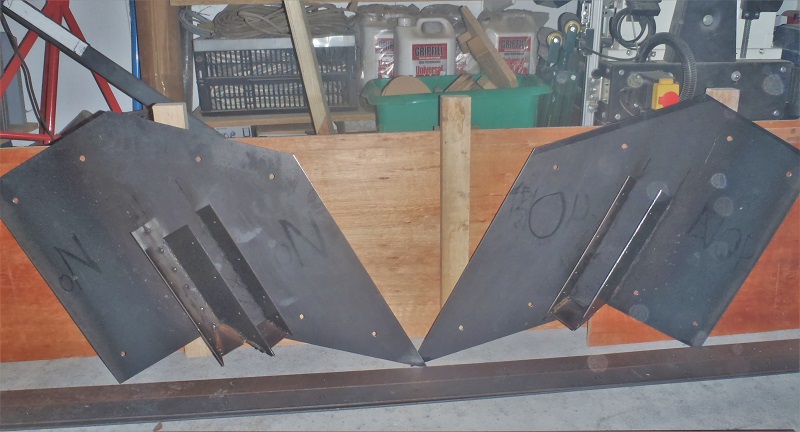
Ridge-O-Splice-plates-welded
Now we have to make the wooden parts of these beams…
-
K Ridge metal work Finished
The parts of the metal work for the K ridge were welded together, after they were finished it was noticed that the big metal plate had been distorted by the heat of the welding. We will have to investigate how to reduce this for the O ridge plates!
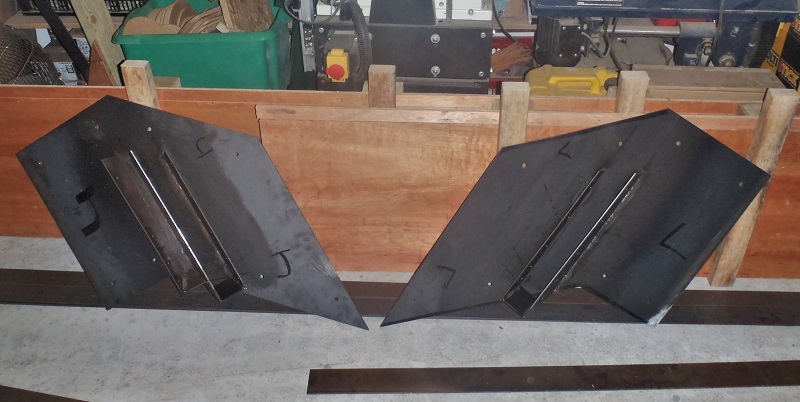
Ridge-K-Splice-plate-welded
Tomorrow we will make the parts for the O ridge and maybe start welding them.