Blog

  • Hoisting Crane Framework Is Constructed

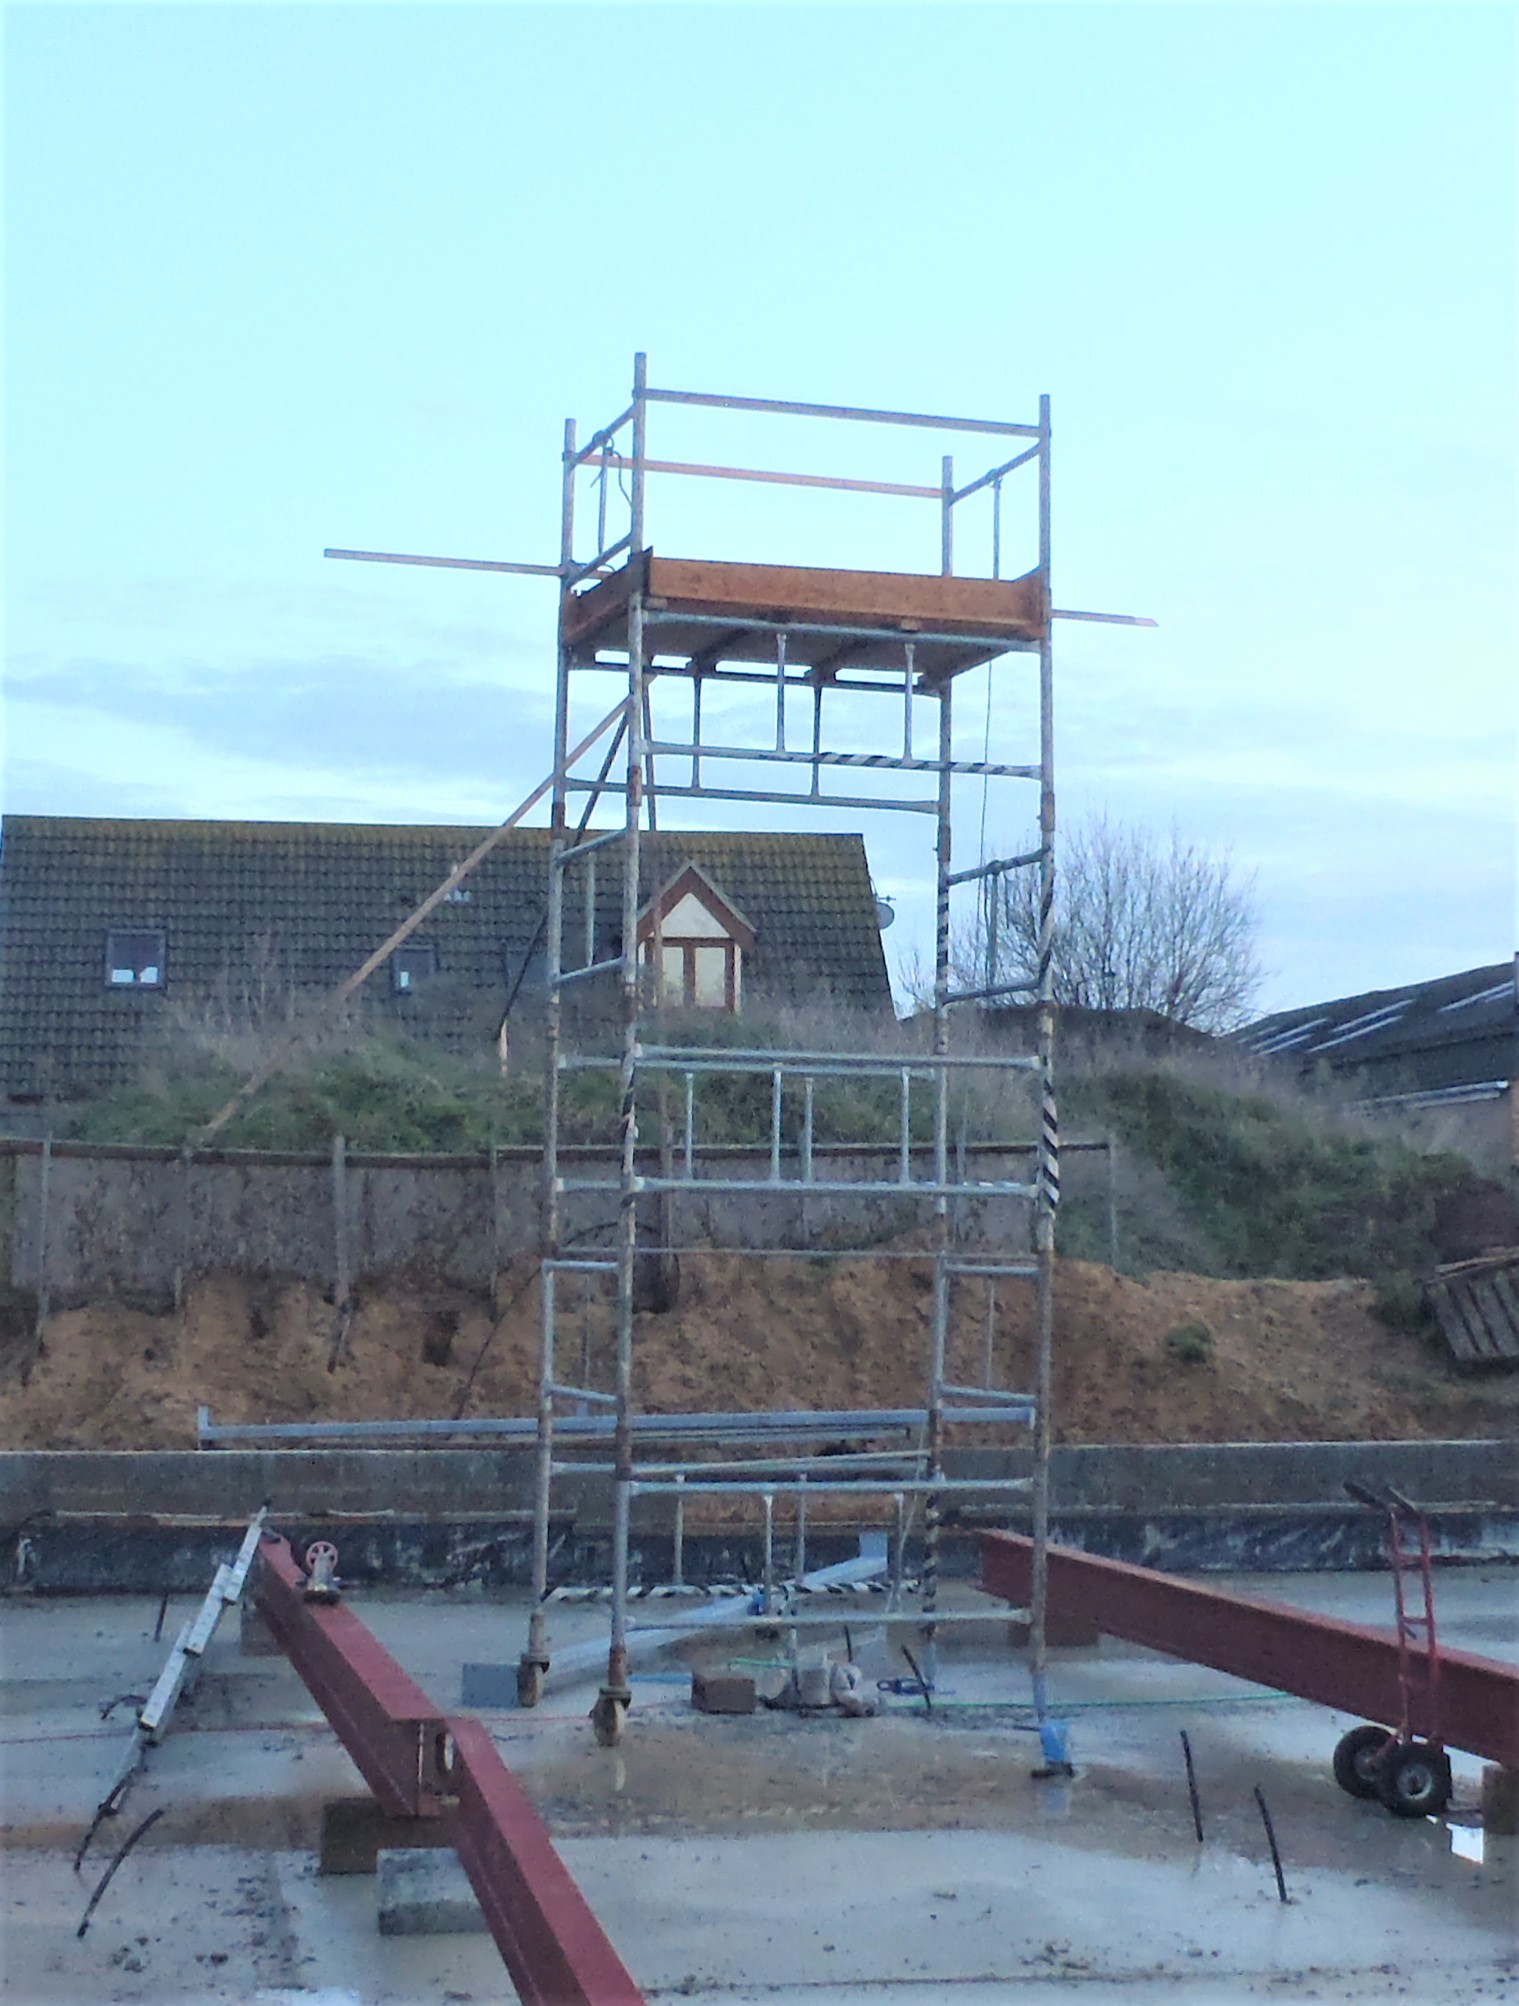
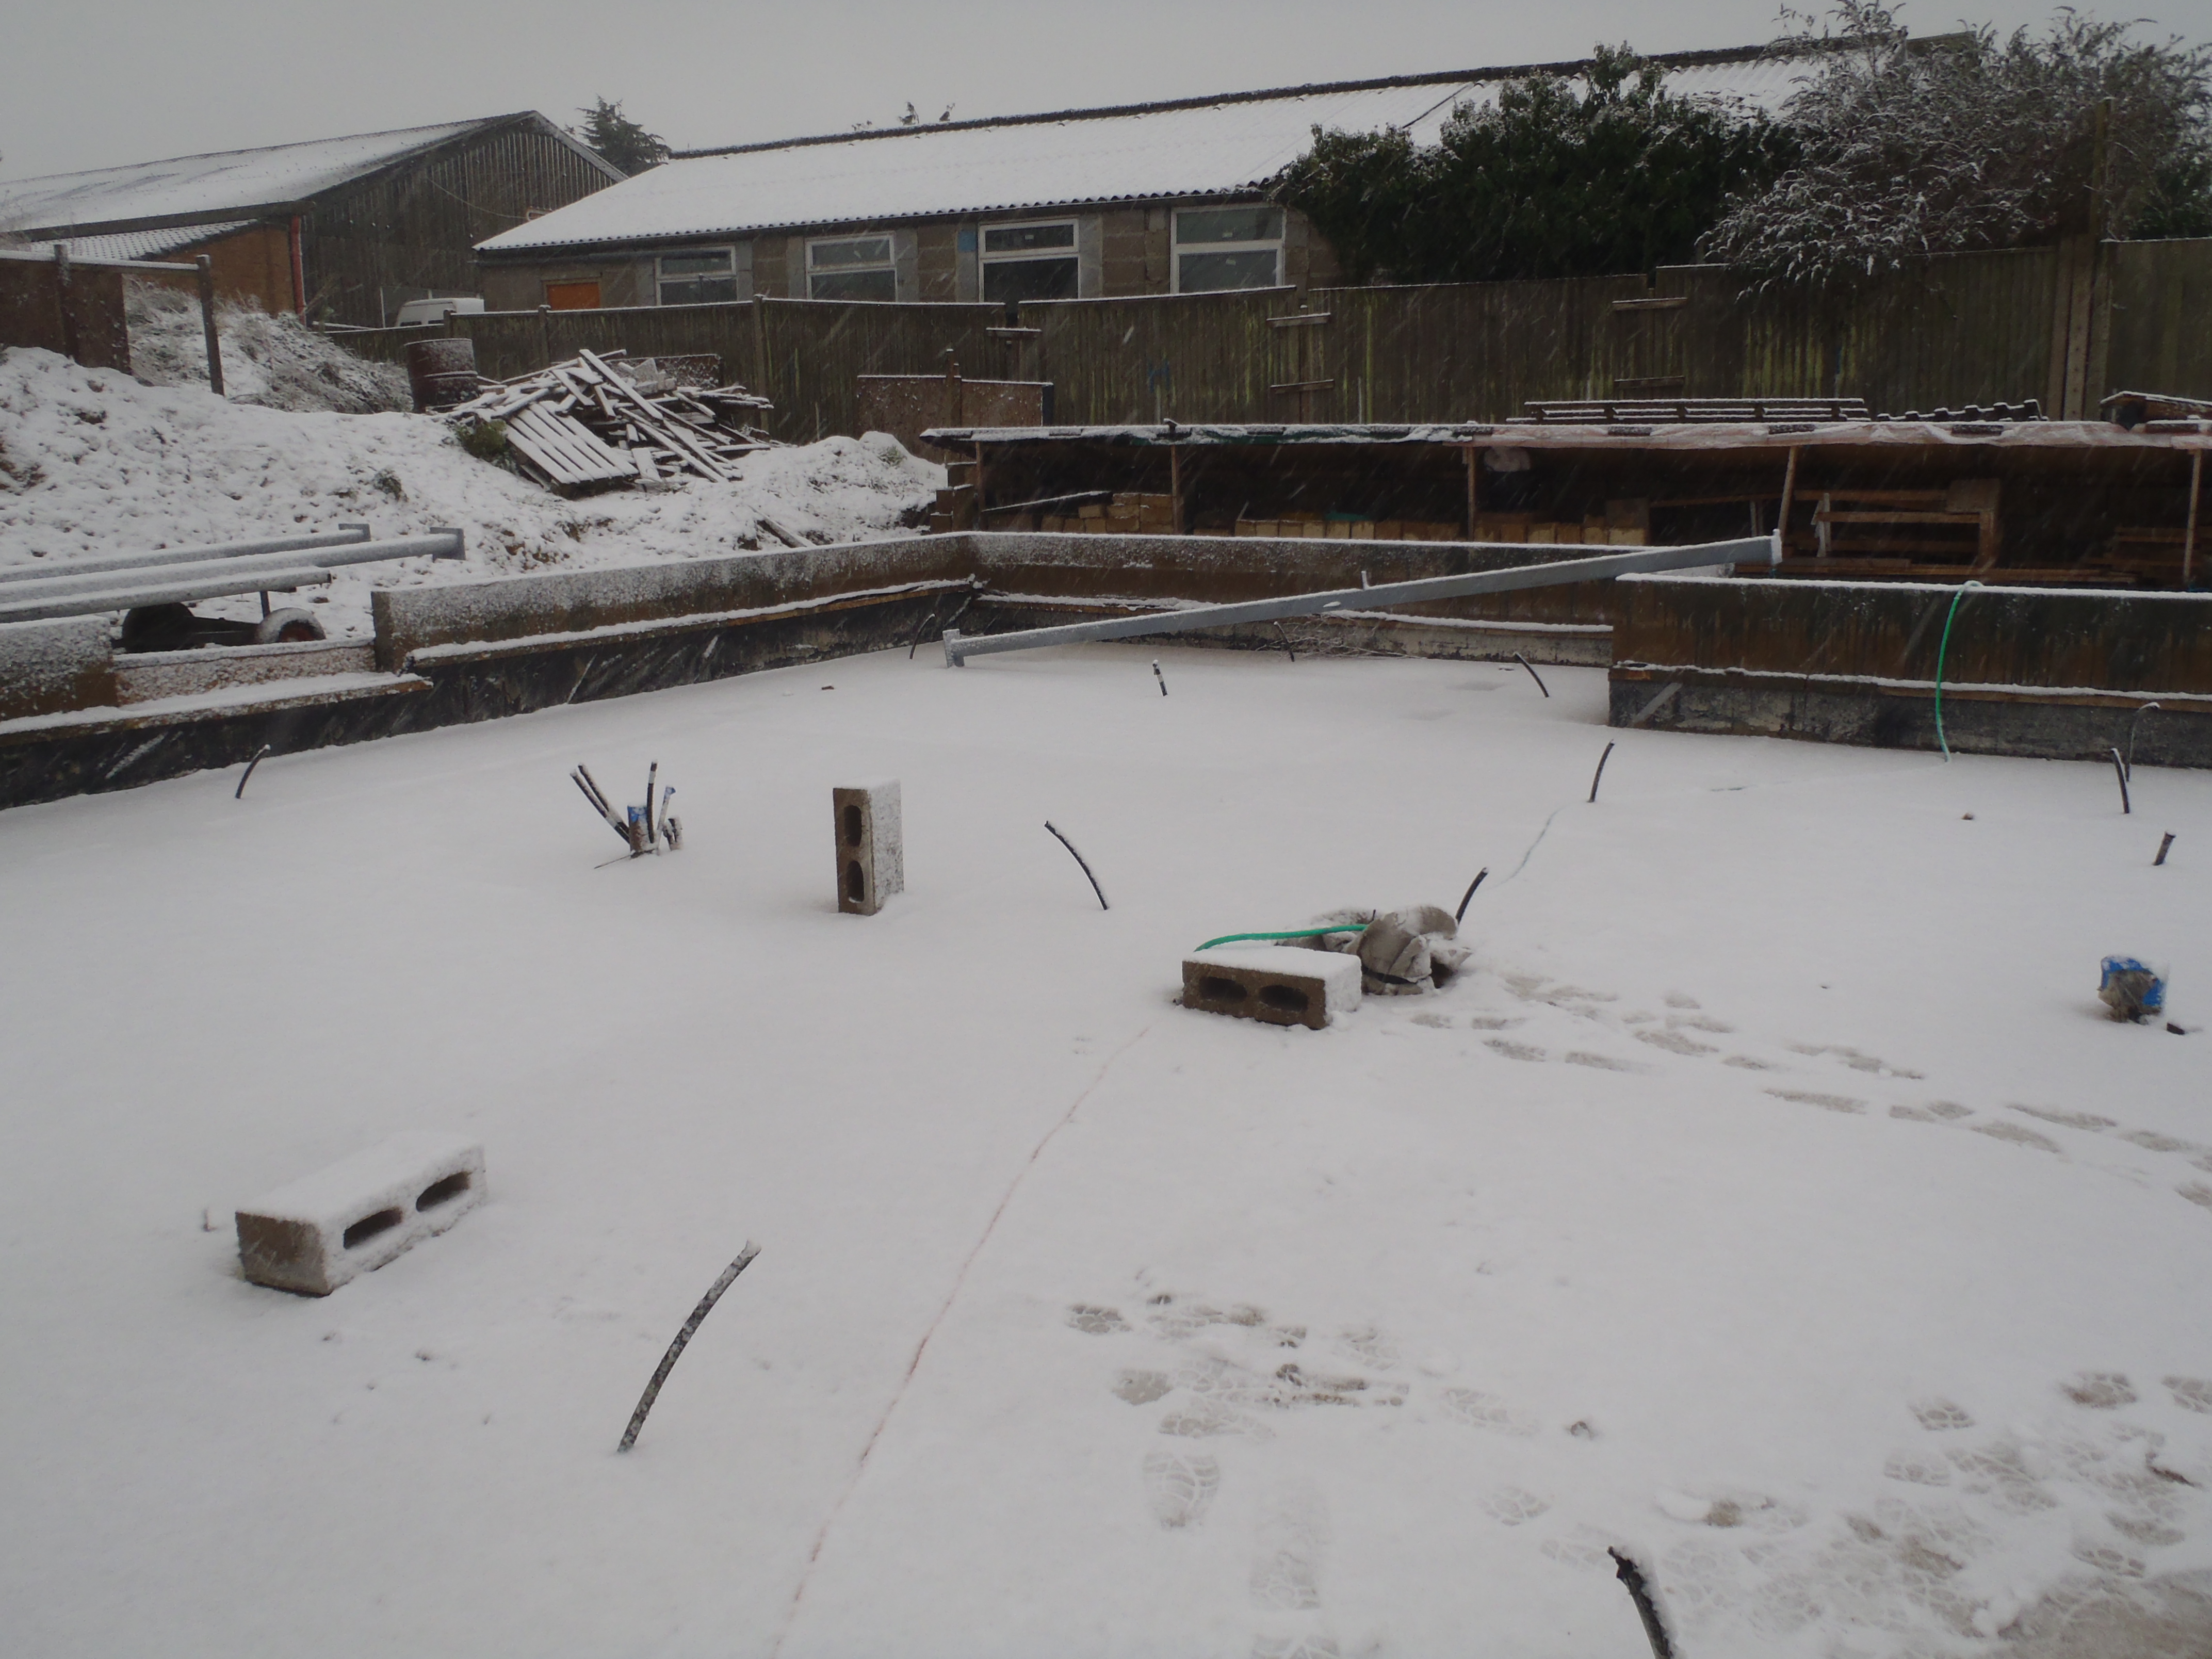
    Today, we worked on designing and building a simple crane/hoist framework so we can haul up our steel pieces into place.

    Using a steel pipe we had lying around (an old iron water pipe), we welded on a additional steel collar and support arm so that the whole vertical arm can slide down into the scaffold corner pole and hook around the horizontal bar to provide an anti-rotation lock.

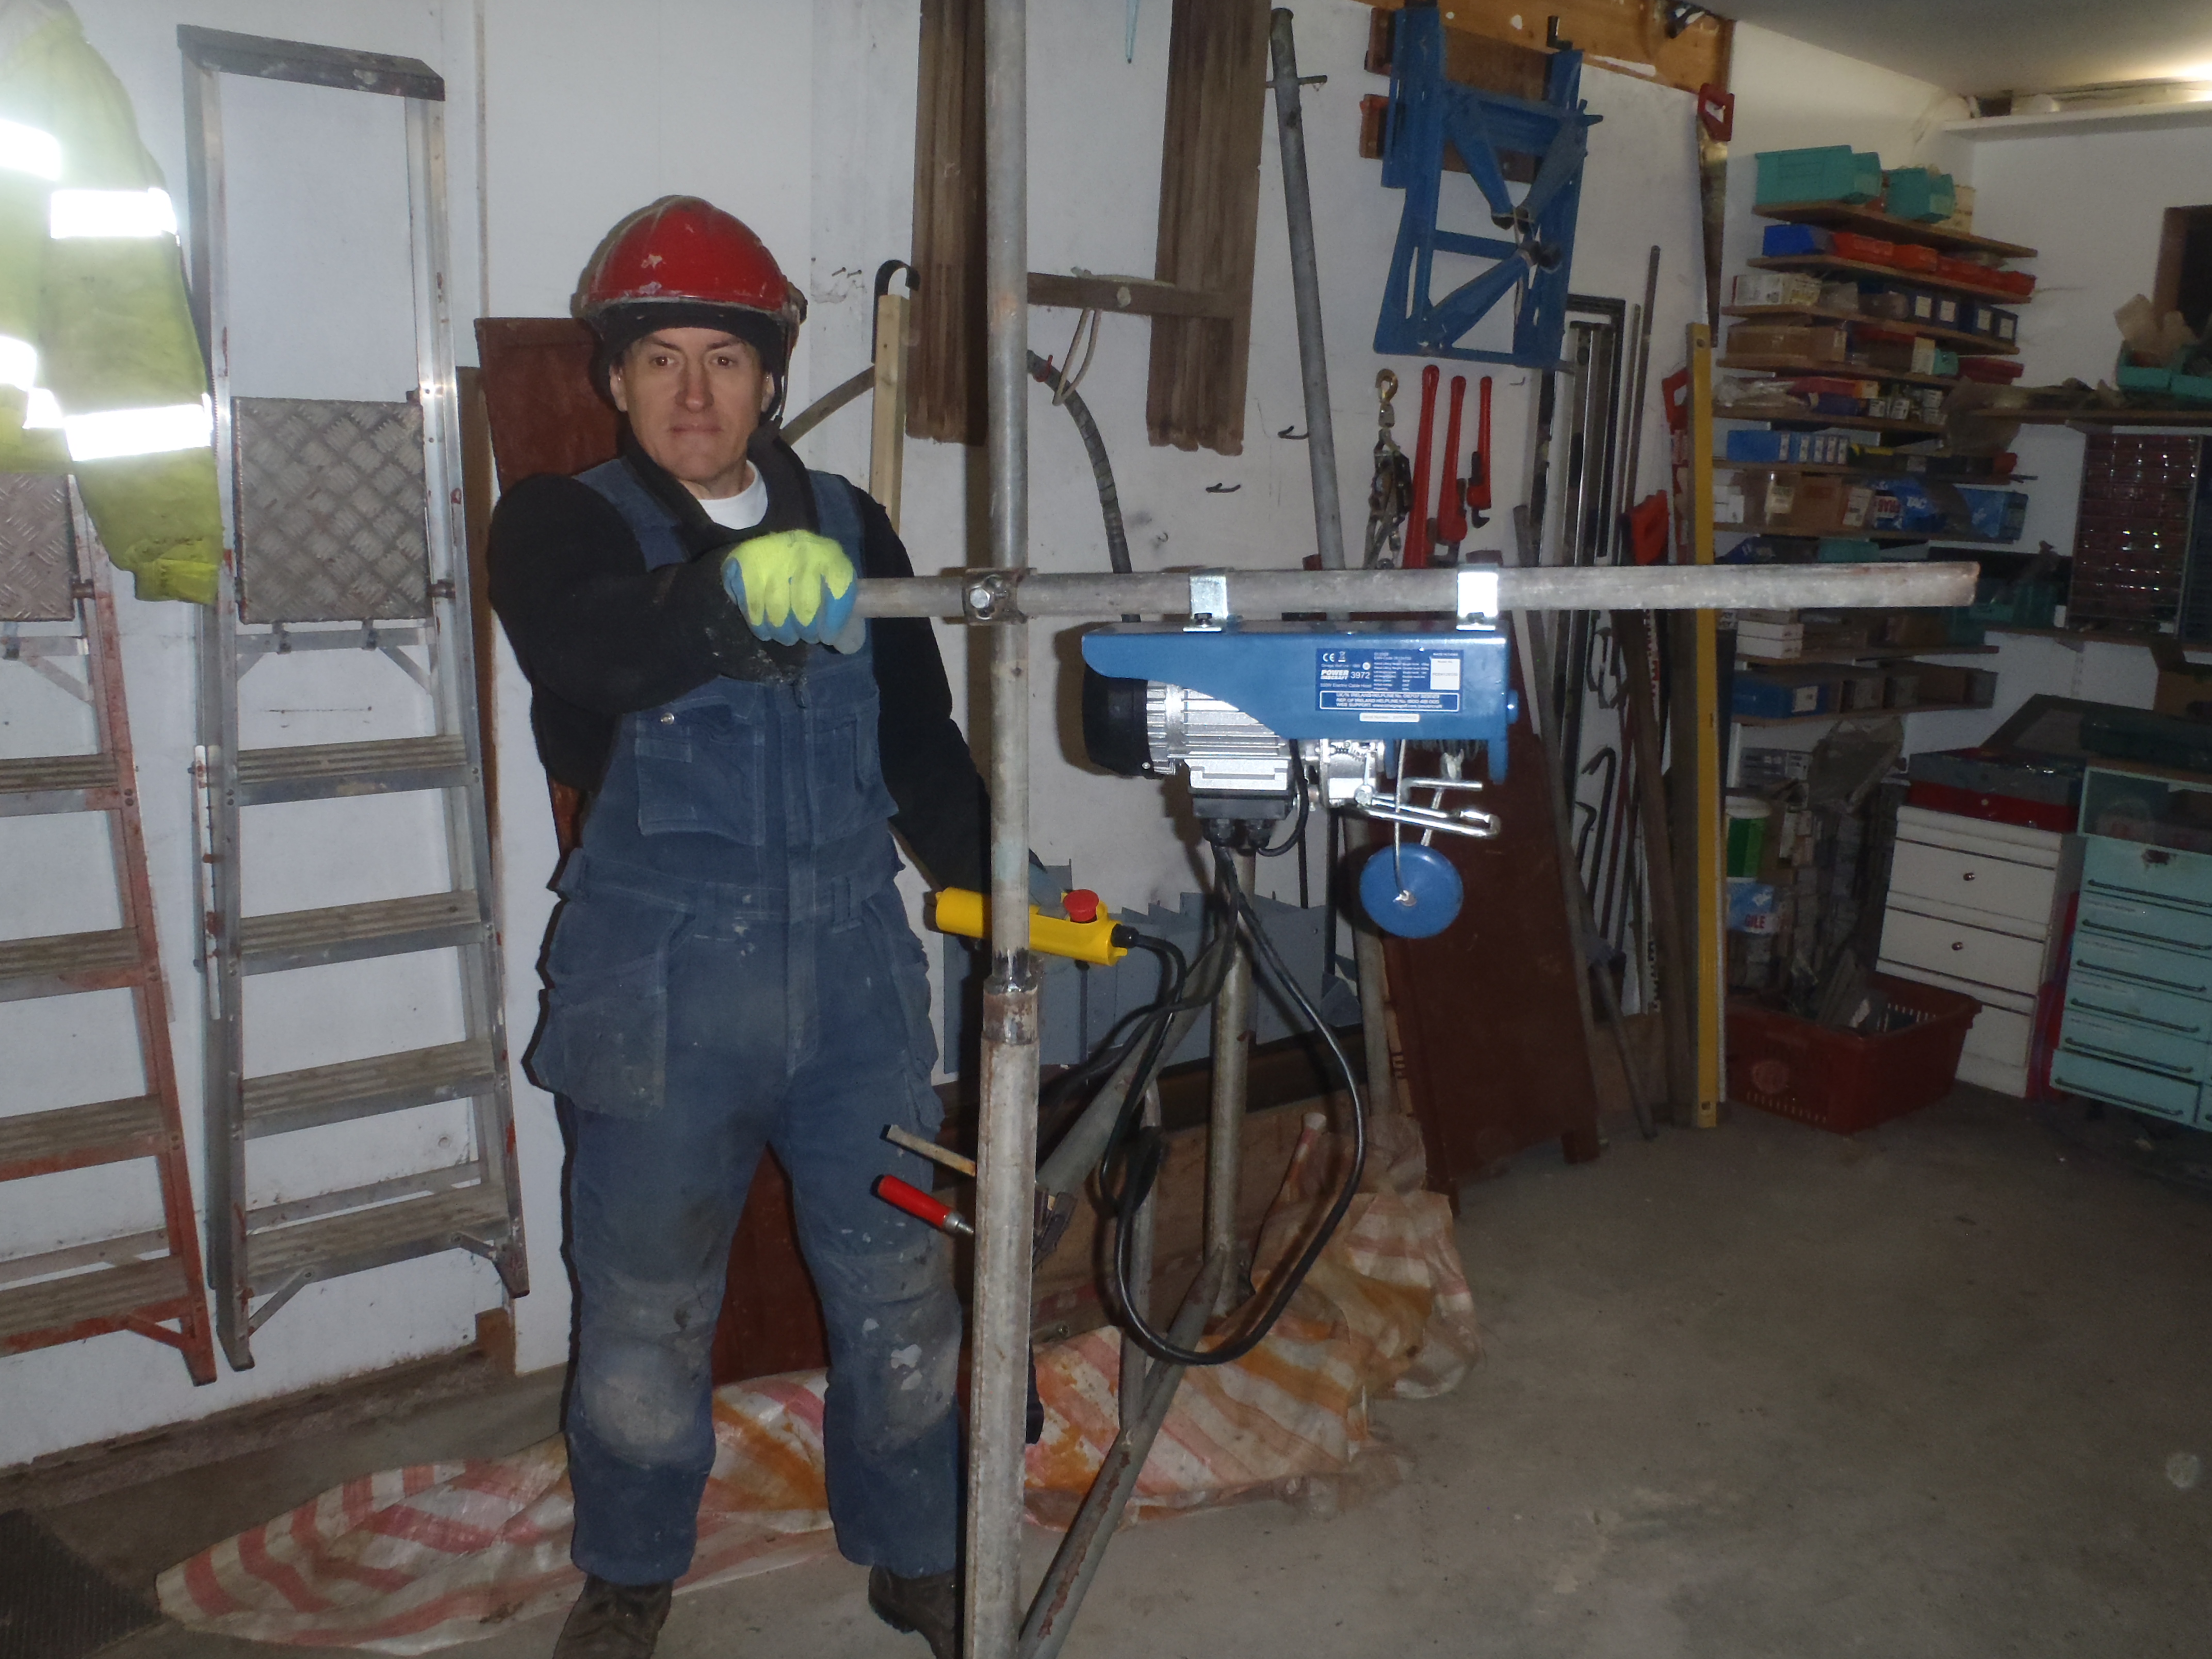
    Then, after welding together two more short tubular steel pieces, slightly larger in diameter this time, we made a a right angle bracket to both slide up and down the vertical pole and also have a horizontal pole sliding left and right too. Both can be cramped down tight using nuts welded onto the sides of the collars and a bolt driven through to engage onto the vertical and horizontal poles.

    Crane-Tower-exstension-and-winch-arm

    Crane-Tower-exstension-and-winch-arm

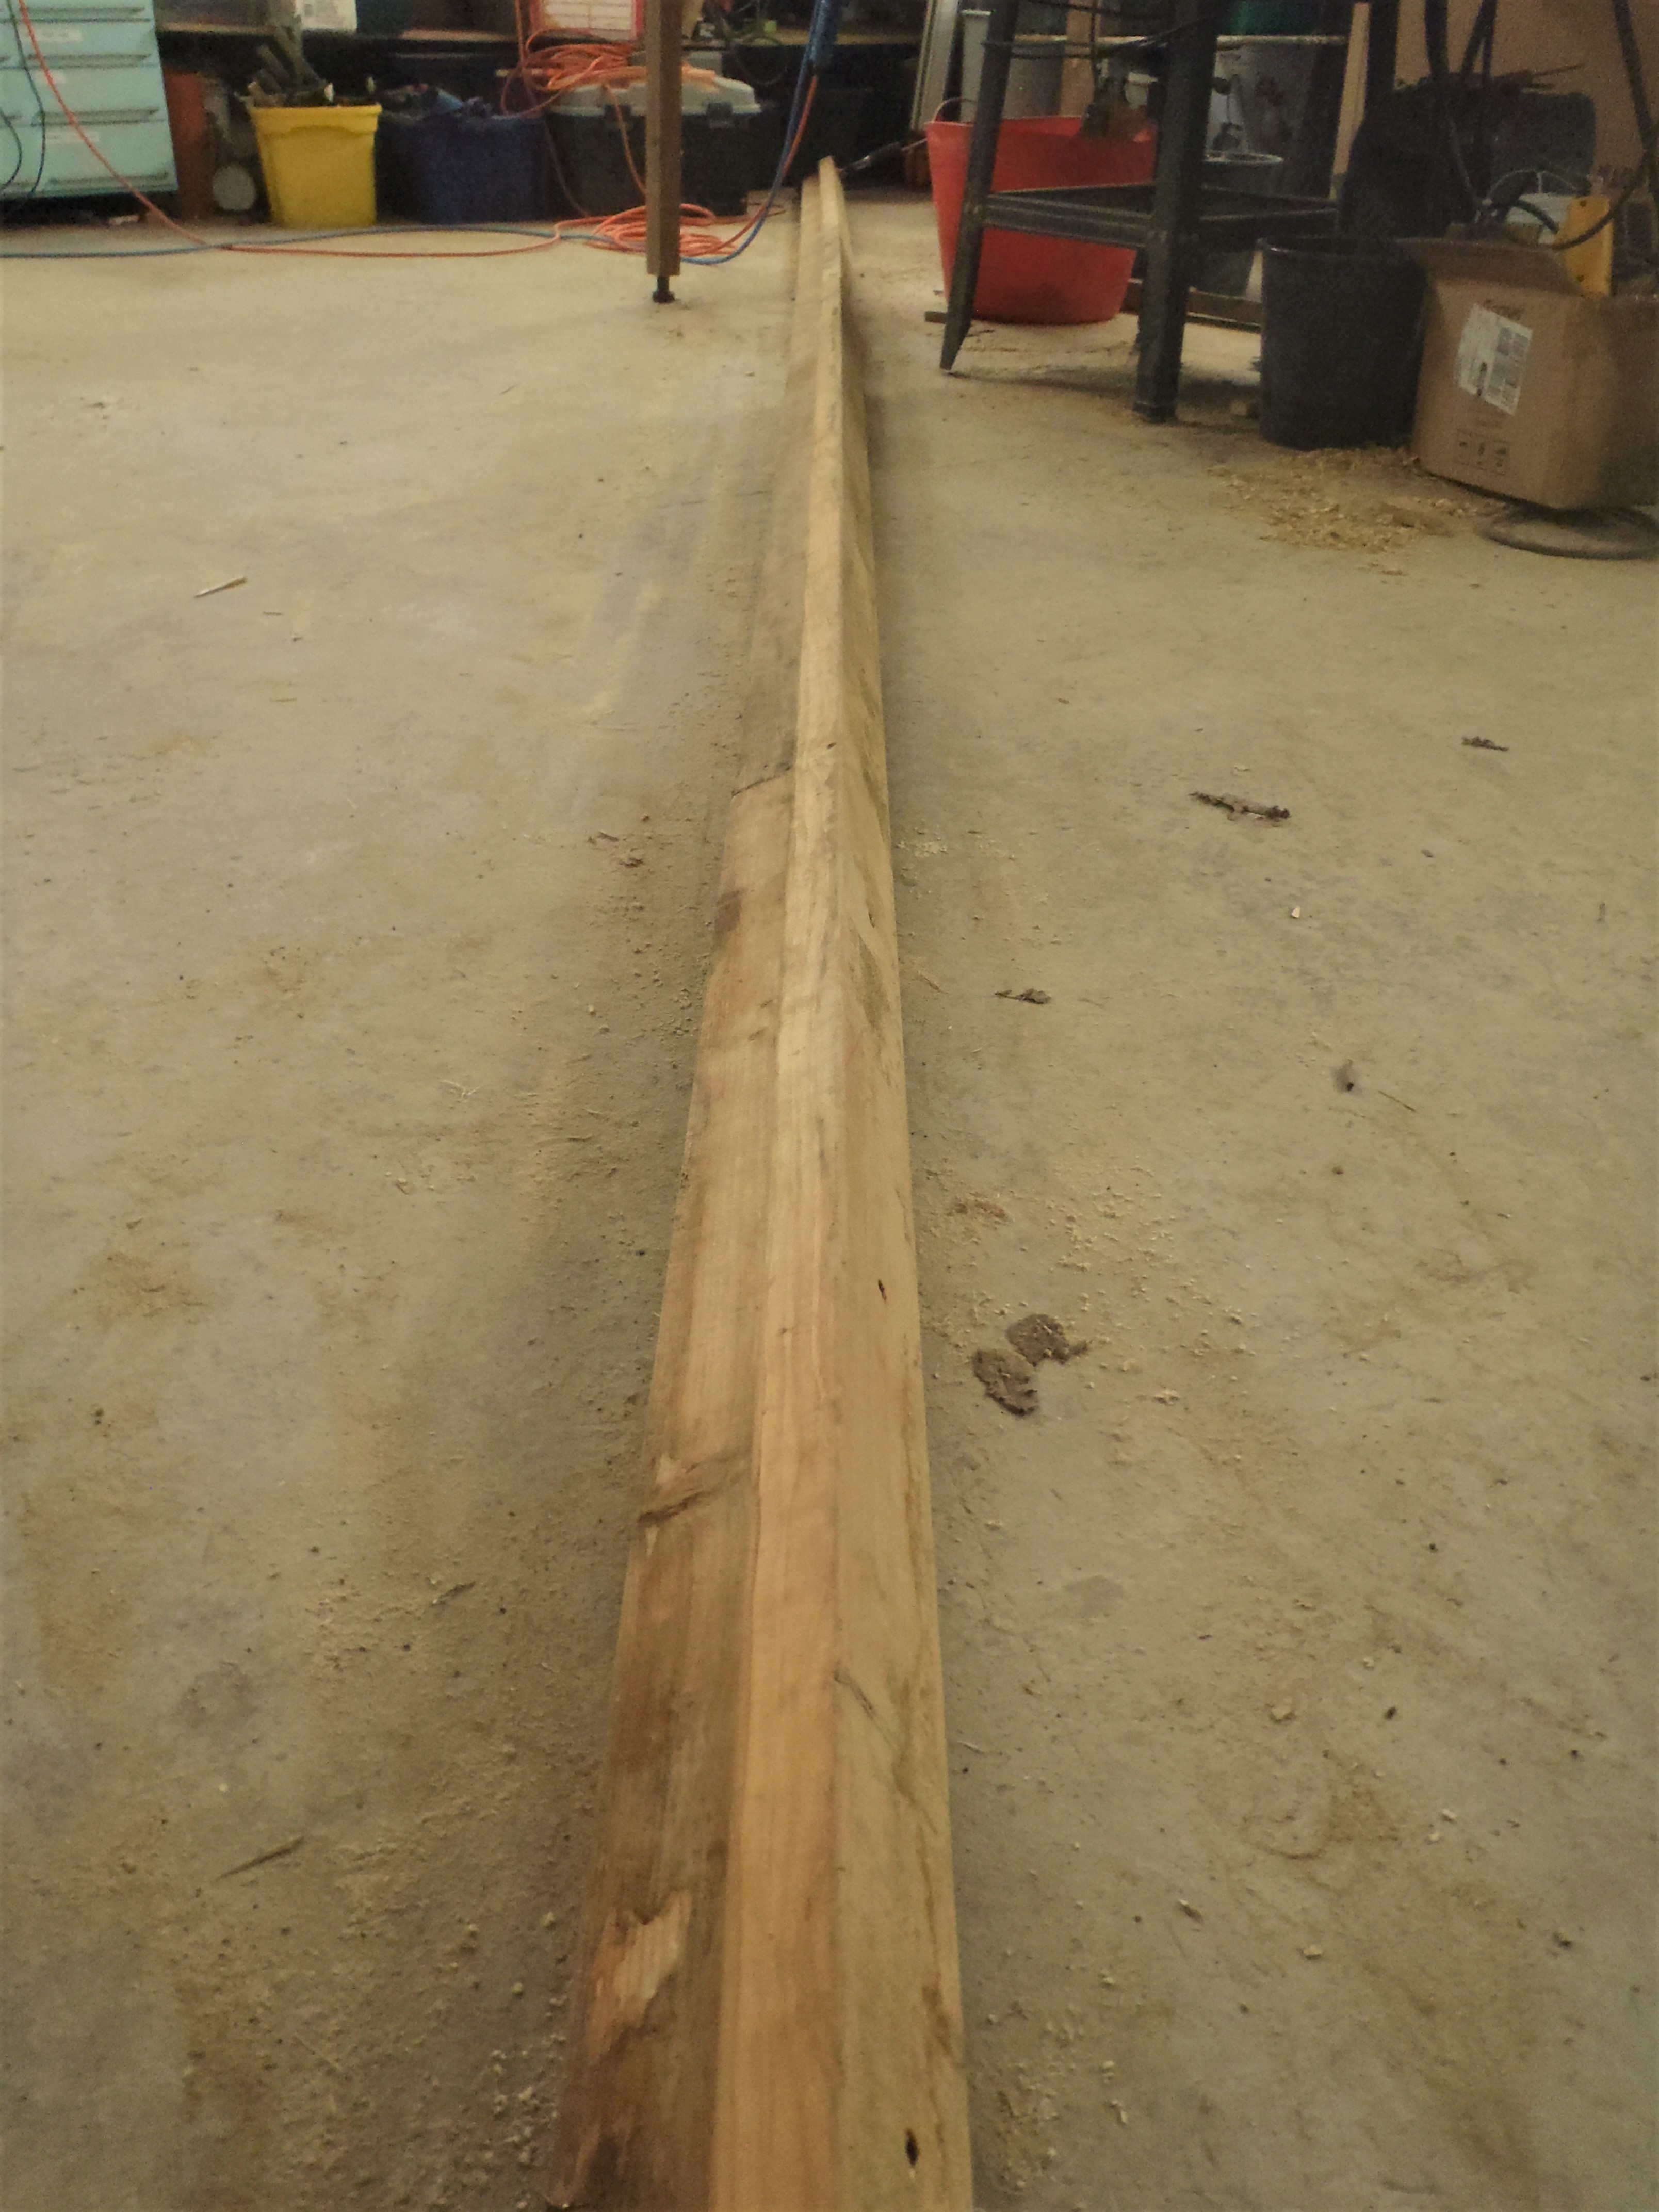
    The horizontal pole has the electric winch unit hanging from it and the other end of the pole will be clamped into the wooden 6.8metre leg we made on Saturday. That is the final step to finish off this mini crane module and then we will be ready to start lifting the very long (tall) legs up into their vertical positions!

  • Day 2 of Assembly of Roof Steel Framework

    We started today, in amongst the showers of snow and hailstones, by finishing off the scaffolding tower with the installation of the wooden  platform at the top. This took longer than we thought as we dropped a part and broke it.

    Scaffold-tower-with-platform

    Scaffold-tower-with-platform

    The next job was to lift each of the legs upright, we tried an arrangement of a rope and pulley hook up to lift up our first leg, number 1 leg at the Great Room end (it’s being one of the heavy one at 160kg) proved difficult to just simply rotate it upwards from its lying down position. The rope was tied to the top of the leg, went up to the top of the scaffold tower, through a pulley and back down to ground level to an electric winch. It was ok in pulling in the rope with plenty of power in the winding, but the scaffold tower started moving around and the leg slipped sideways a foot or two and landed back on the concrete. We were both well clear of the danger zone, we were back at the motorised winch and the control switch at least 10 metres away!

    So plan B!

    After thinking it through, we decided that we needed a separate crane arm and leg unit to do the job of lifting the legs and the I beams. Since we would have to make this module for dealing with the even heavier I beams, we would make it now and help us lift the 7 legs too! We spent the rest of the afternoon making a double T shape wooden leg measuring 6.8metres tall. It was constructed with a 89mm CLS and a 63mm CLS glued and screwed at right angled to form a T joint.

    Crane-Timber-leg

    Crane-Timber-leg

    This leg will form the second leg of the crane module, supporting a horizontal metal bar that has the winch hooked on it (this will allow a much more controlled pulling forces in just the vertical direction) and the other end of the horizontal bar will be fixed to our scaffolding which will form the first stable leg of our crane mechanism.

    We will need to do some metal welding to form the connection to the scaffolding tower but that’s not a difficult job and we will do that Monday.

  • Assembly of Steel Framework Starts At Last!

    Today, we started the big task of assembling the central steel framework that makes up the key structural core for the whole house. it was a very interesting start to the day, we had snow falling all morning and we were sloshing around in 2 inches by lunch time – Smile!

    Snow-on-Steel-beams

    Snow-on-Steel-beams

    Snow-on-everything

    Snow-on-everything

    Snow-on-everything-2

    Snow-on-everything-2


    We first constructed two little wheeled platforms, basically a plank of timber 2inch by 6inch and long enough to have two heavy duty castors bolted on. One had the fixed castors and the second one had the swivelling ones. See photo below.

    Wheel-boards

    Wheel-boards

    We managed to move all four steel I beams, one at a time, using the castor units and they are now resting on concrete blocks ready for the big job of being hauled up into the air to land on top of the legs.

    The final job of the day before we had to finish slightly early, was to erect one of our scaffolding tower in very cold and stiff winds, positioned at the Great Room end of the house.

    We will use the tower to help hold the first two legs upright and then use the second scaffold tower to lift up the third and fourth legs upright and tie them back to the first pair. We slowly will assemble all seven legs this way and have them all interlocked together and self-supporting before we tackle the Big Job of hauling up the I beams!! We hope the weather WILL be a little better – grin!!

    See the video below for the snow and us moving the I beams, then assembling the scaffold tower – phew!!

  • Platform Number 2 Completed

    We finished the 2nd platform today with a paint of exterior shed treatment which will help repel the rain water.

    The wooden safety hand rails were made using 50mm square timber, planed down  into an eight sided form, screwed with metal “hoops” made using 37mm wide by 3mm thick steel strips, started yesterday and finished off this afternoon.

    Painted-platforms-and-hand-rail

    Painted-platforms-and-hand-rail

    The 1st platform was checked over and we improved the kickboards, the narrow end ones, by adding a rotating anchoring arm to grip the metal tube of the scaffold, to hold them upright and not shake loose and flop down.

    Kickboard-fixing

    Kickboard-fixing

    As soon as the wood treatment is dry, hopefully tomorrow, we can then start the next job of moving the steel I beams around inside the house and get them approximately in the correct places. They are very heavy so will need careful handling and loads of leverage!

  • Quick Tidy Up

    We also spent some of the morning tidying up and doing minor servicing tasks around the site. We dismantled the painting tent and framework. We moved the 7 painted steel legs to around the house so each one is nearer to where they will be standing up.

    We also cleaned out the drainage sump to clear out the muck and cleaned the filter wrapped around the pump and replaced a rain protection bag over the ends some of the conduits etc.

  • Scaffold Platform Number 2 Being Constructed

    Today, we resumed work on our house building project after the disruptions of Christmas and new year holidays, some illnesses and a jury call up!! We needed another platform for our scaffold tower to go with the 1st one we made late last year (for doing the flood light) and the 2nd one will be used when we start assembling the steel framework.

    So the wooden OSB board was cut into 3 strips and using 89mm wide CLS timber, screwed and glued them together, to make 3 portable modules so we can haul each one up and down the scaffolding tower when we put a tower up.

    Scaffold-Platform-MK2-Construction

    Scaffold-Platform-MK2-Construction

    We will finish the job in the morning with the construction of “kick boards” around the edge of the platform to keep tools from being kicked and rolling off plus also to make sure our own feet never accidentally “miss” the edge and fall off!!!

  • Jury Service Stops Work!

     It was completely out of the blue a letter arrived in November to inform us that Stephen was required to make himself available for Jury Service at Norwich Crown Court for the first two weeks of January.

    He has now finished his Civic duty as of today (actually only doing a total of 5 days since 3rd January last week but serving on one jury) so we can now resume our building work and start assembling the steel work!

    It will be good to get going again after all the interruptions of illnesses, festive celebrations and the jury service we had in the last month!

  • Illness with a Cold Virus

     We had another round with the cold virus, putting Worker Shaun out of action this last week.

    Worker Stephen was able to carry on with only an occasional assistance to help move steel pieces.

  • The Legs All Painted

    We started to paint all the legs yesterday but ran out of paint, after ordering some more of the metal primer paint, we finished painting the last steel legs and making sure the bottom portions are double painted as they will sit in water during heavy rain showers etc.

    The painting tent has served its purpose now so we can take that down and move onto the next task of assembling the central framework of the roof.

  • Final Odd Jobs Completed

    Over the last couple of days, We took in the shortest steel I Beams into the workshop where a short piece of the top and bottom flanges, at both ends was cut away, (using the plasma cutter) so the now sticking out webbing can interlock at right angles to the sides of the longer I Beams and be bolted together (using a heavy duty right angle bracket).

    End-beams-cut-to-fit-inside-flanges-of-main-beams

    End-beams-cut-to-fit-inside-flanges-of-main-beams

    End-beam-with-joining-bracket

    End-beam-with-joining-bracket


    Also, we cut another piece off the 10mm thick plate to make a mounting bracket for the chimney “module” extension arm to be welded to. We just need to drill the 4 bolt holes through the plate and the top flange of the I Beam at the same time and that will be ready for completion nearer the time when we construct the roof itself.

    Then, taking more slices off the 10mm thick plate we got left over on our spare steel rack collection, we made 4 square foot plates with a 20mm thick bolt rod sticking up to form foots for the scaffolding tower along with matching nuts welded to the end of lengths of tubing. A pair of the tubes are clamped into the bottom of a scaffold tower on one side with a pair of wheels on the opposite side. We can then twist the foot around to balance up the tower and remove any annoying rocking motions etc. and make our lives safer.

    Scafold-tower-Wheels-and-Adjustable-feet

    Scafold-tower-Wheels-and-Adjustable-feet

    There are more steel work to do but that will be later on when we are building the roof proper, after all the perimeter walls are constructed.