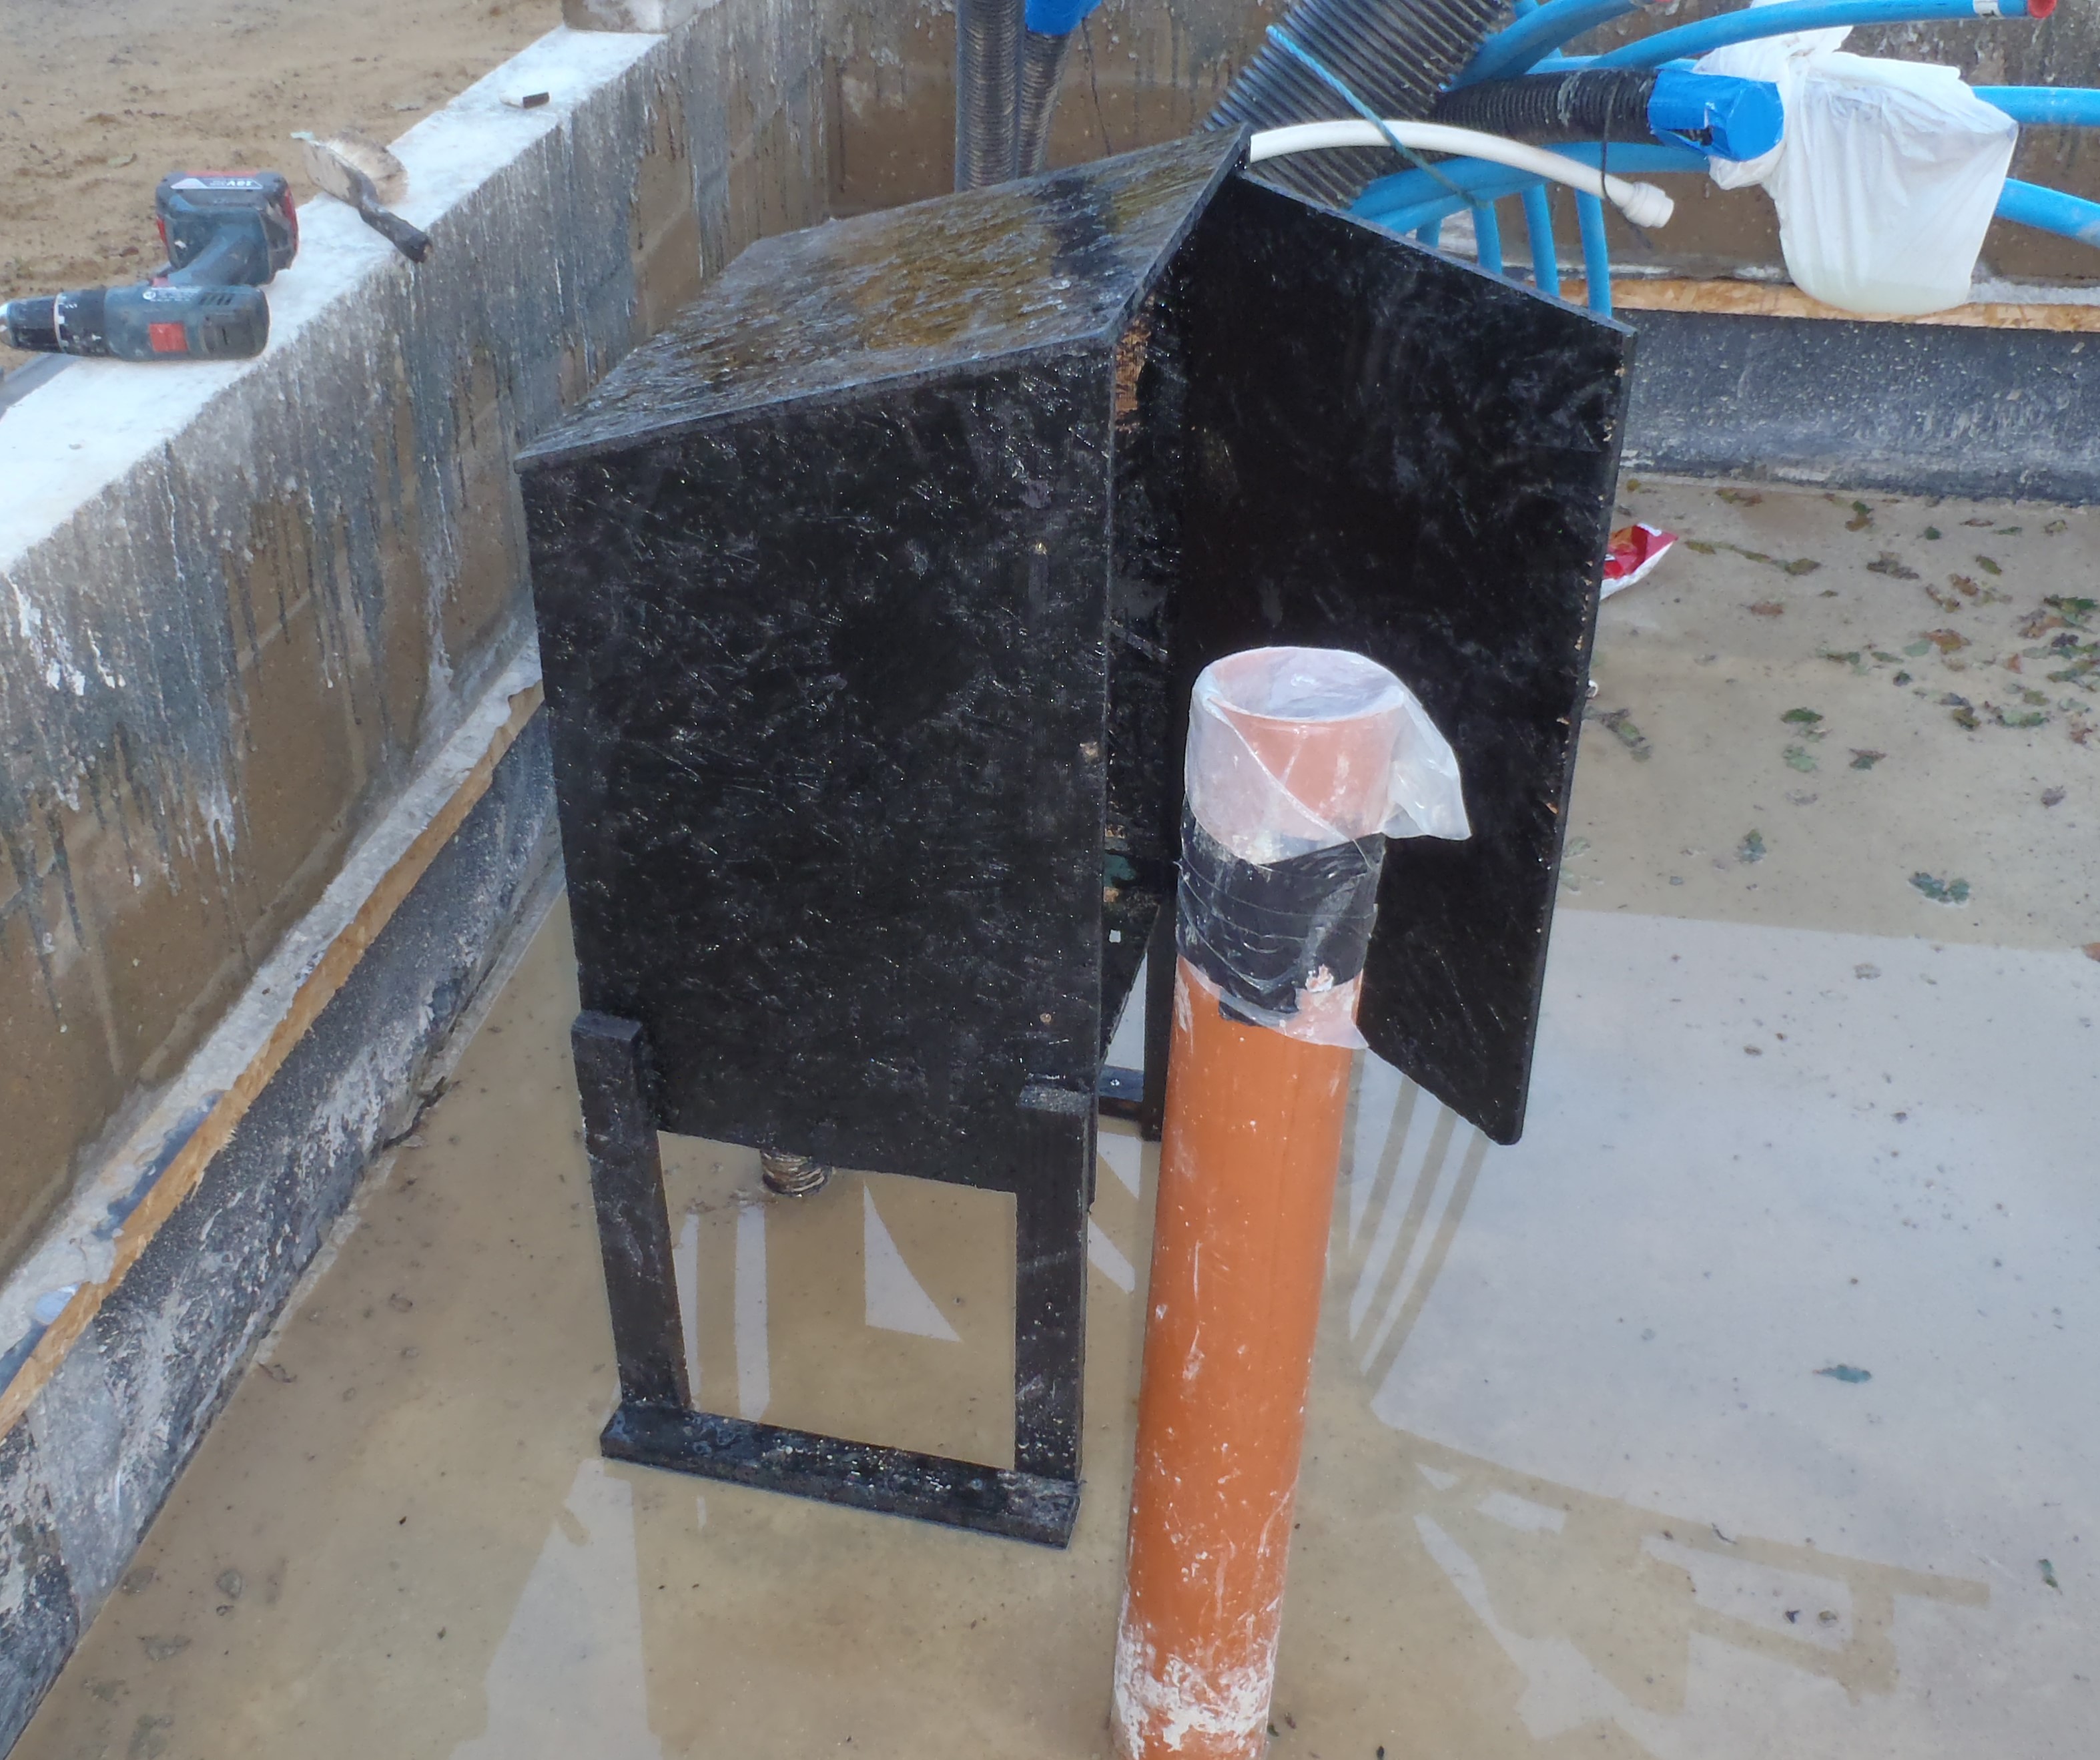
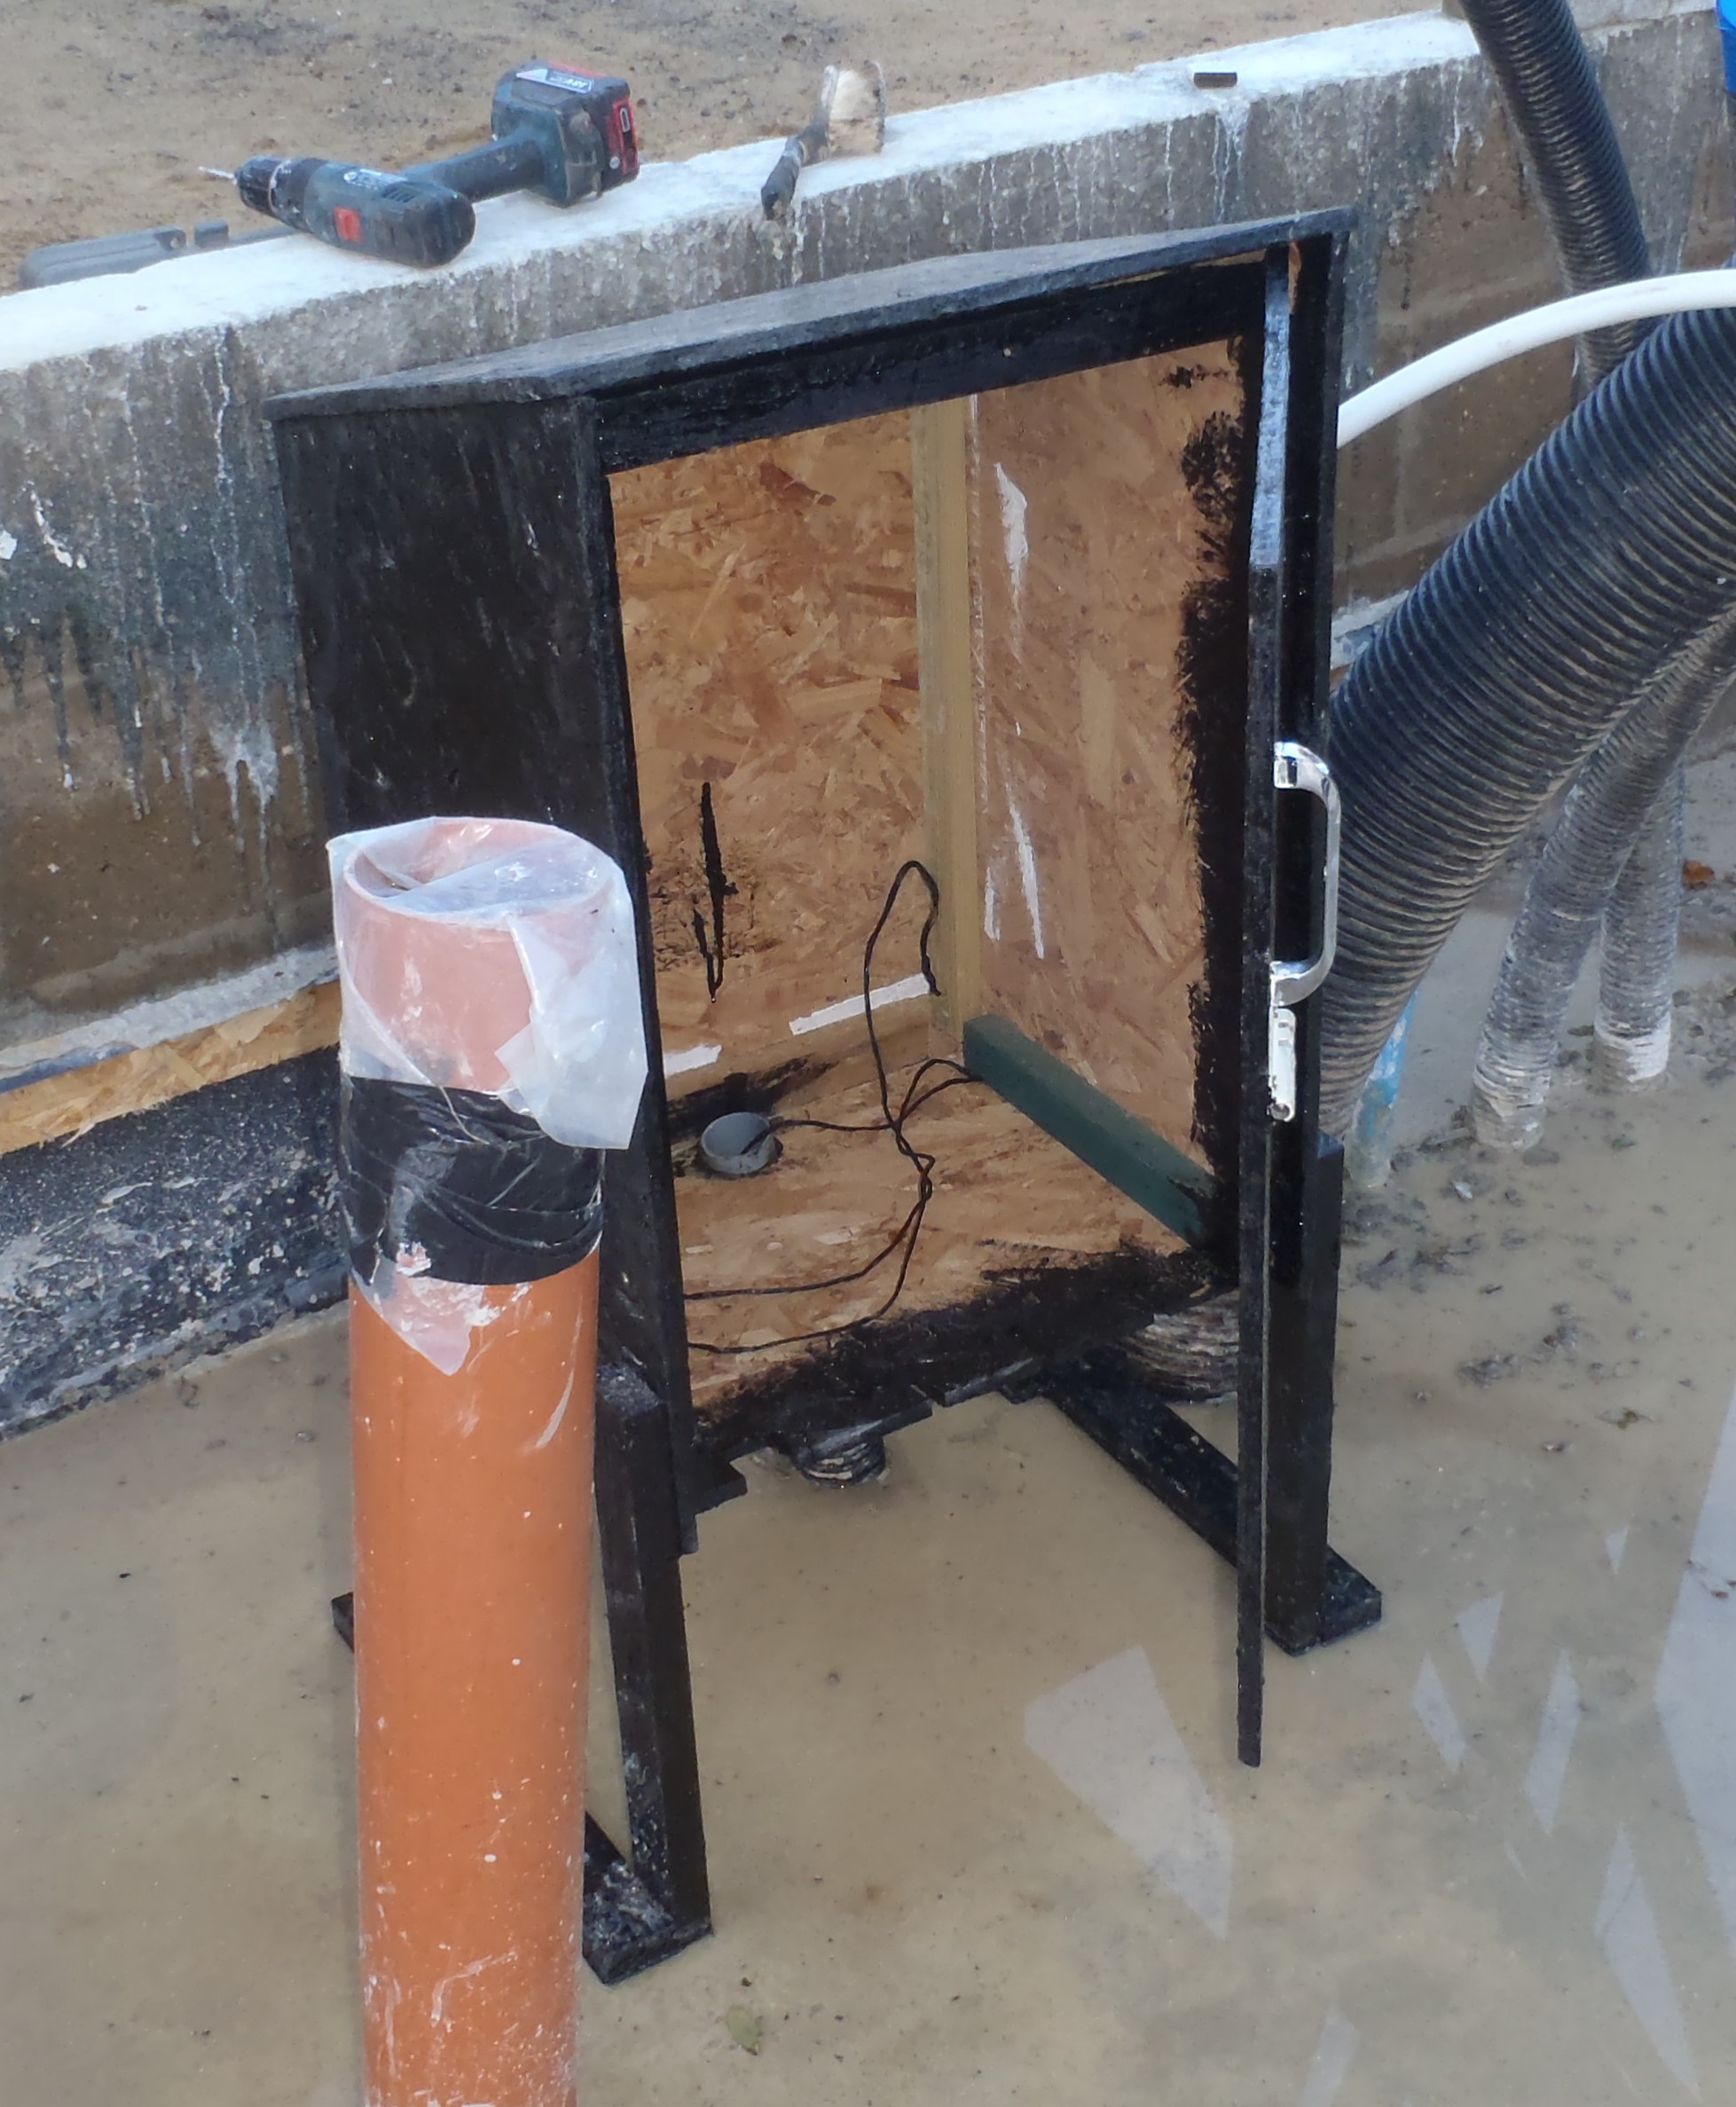
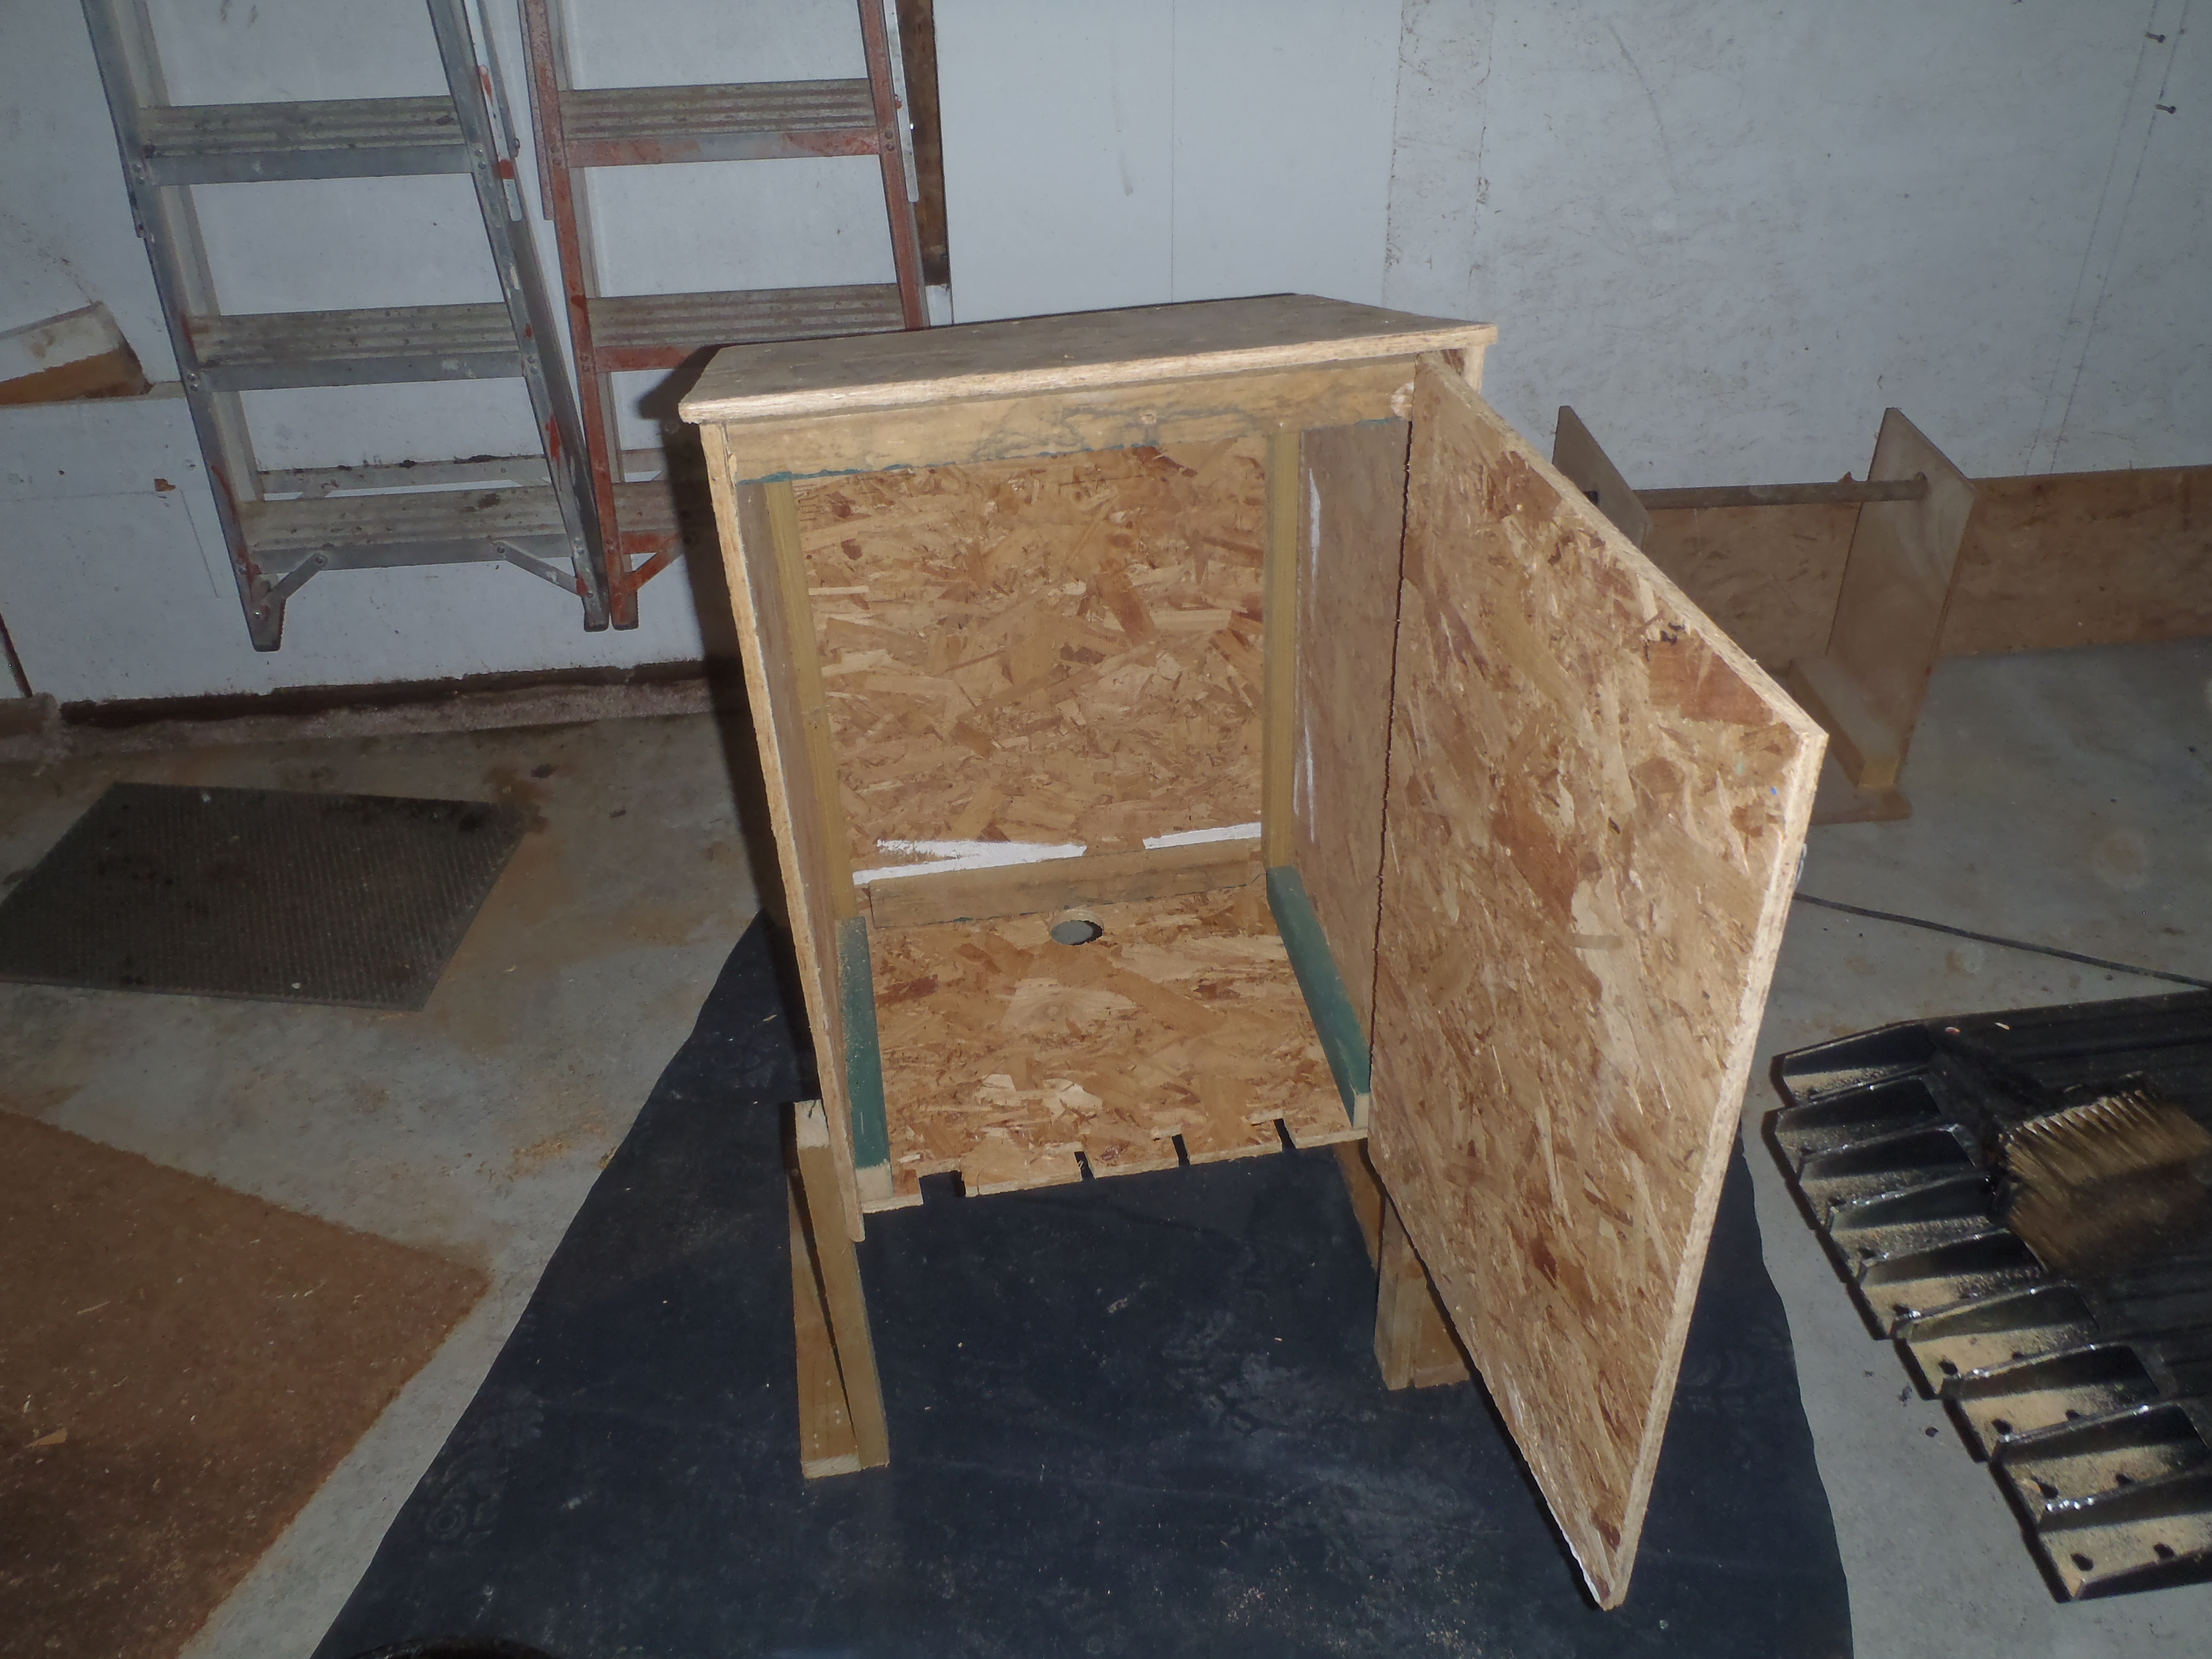
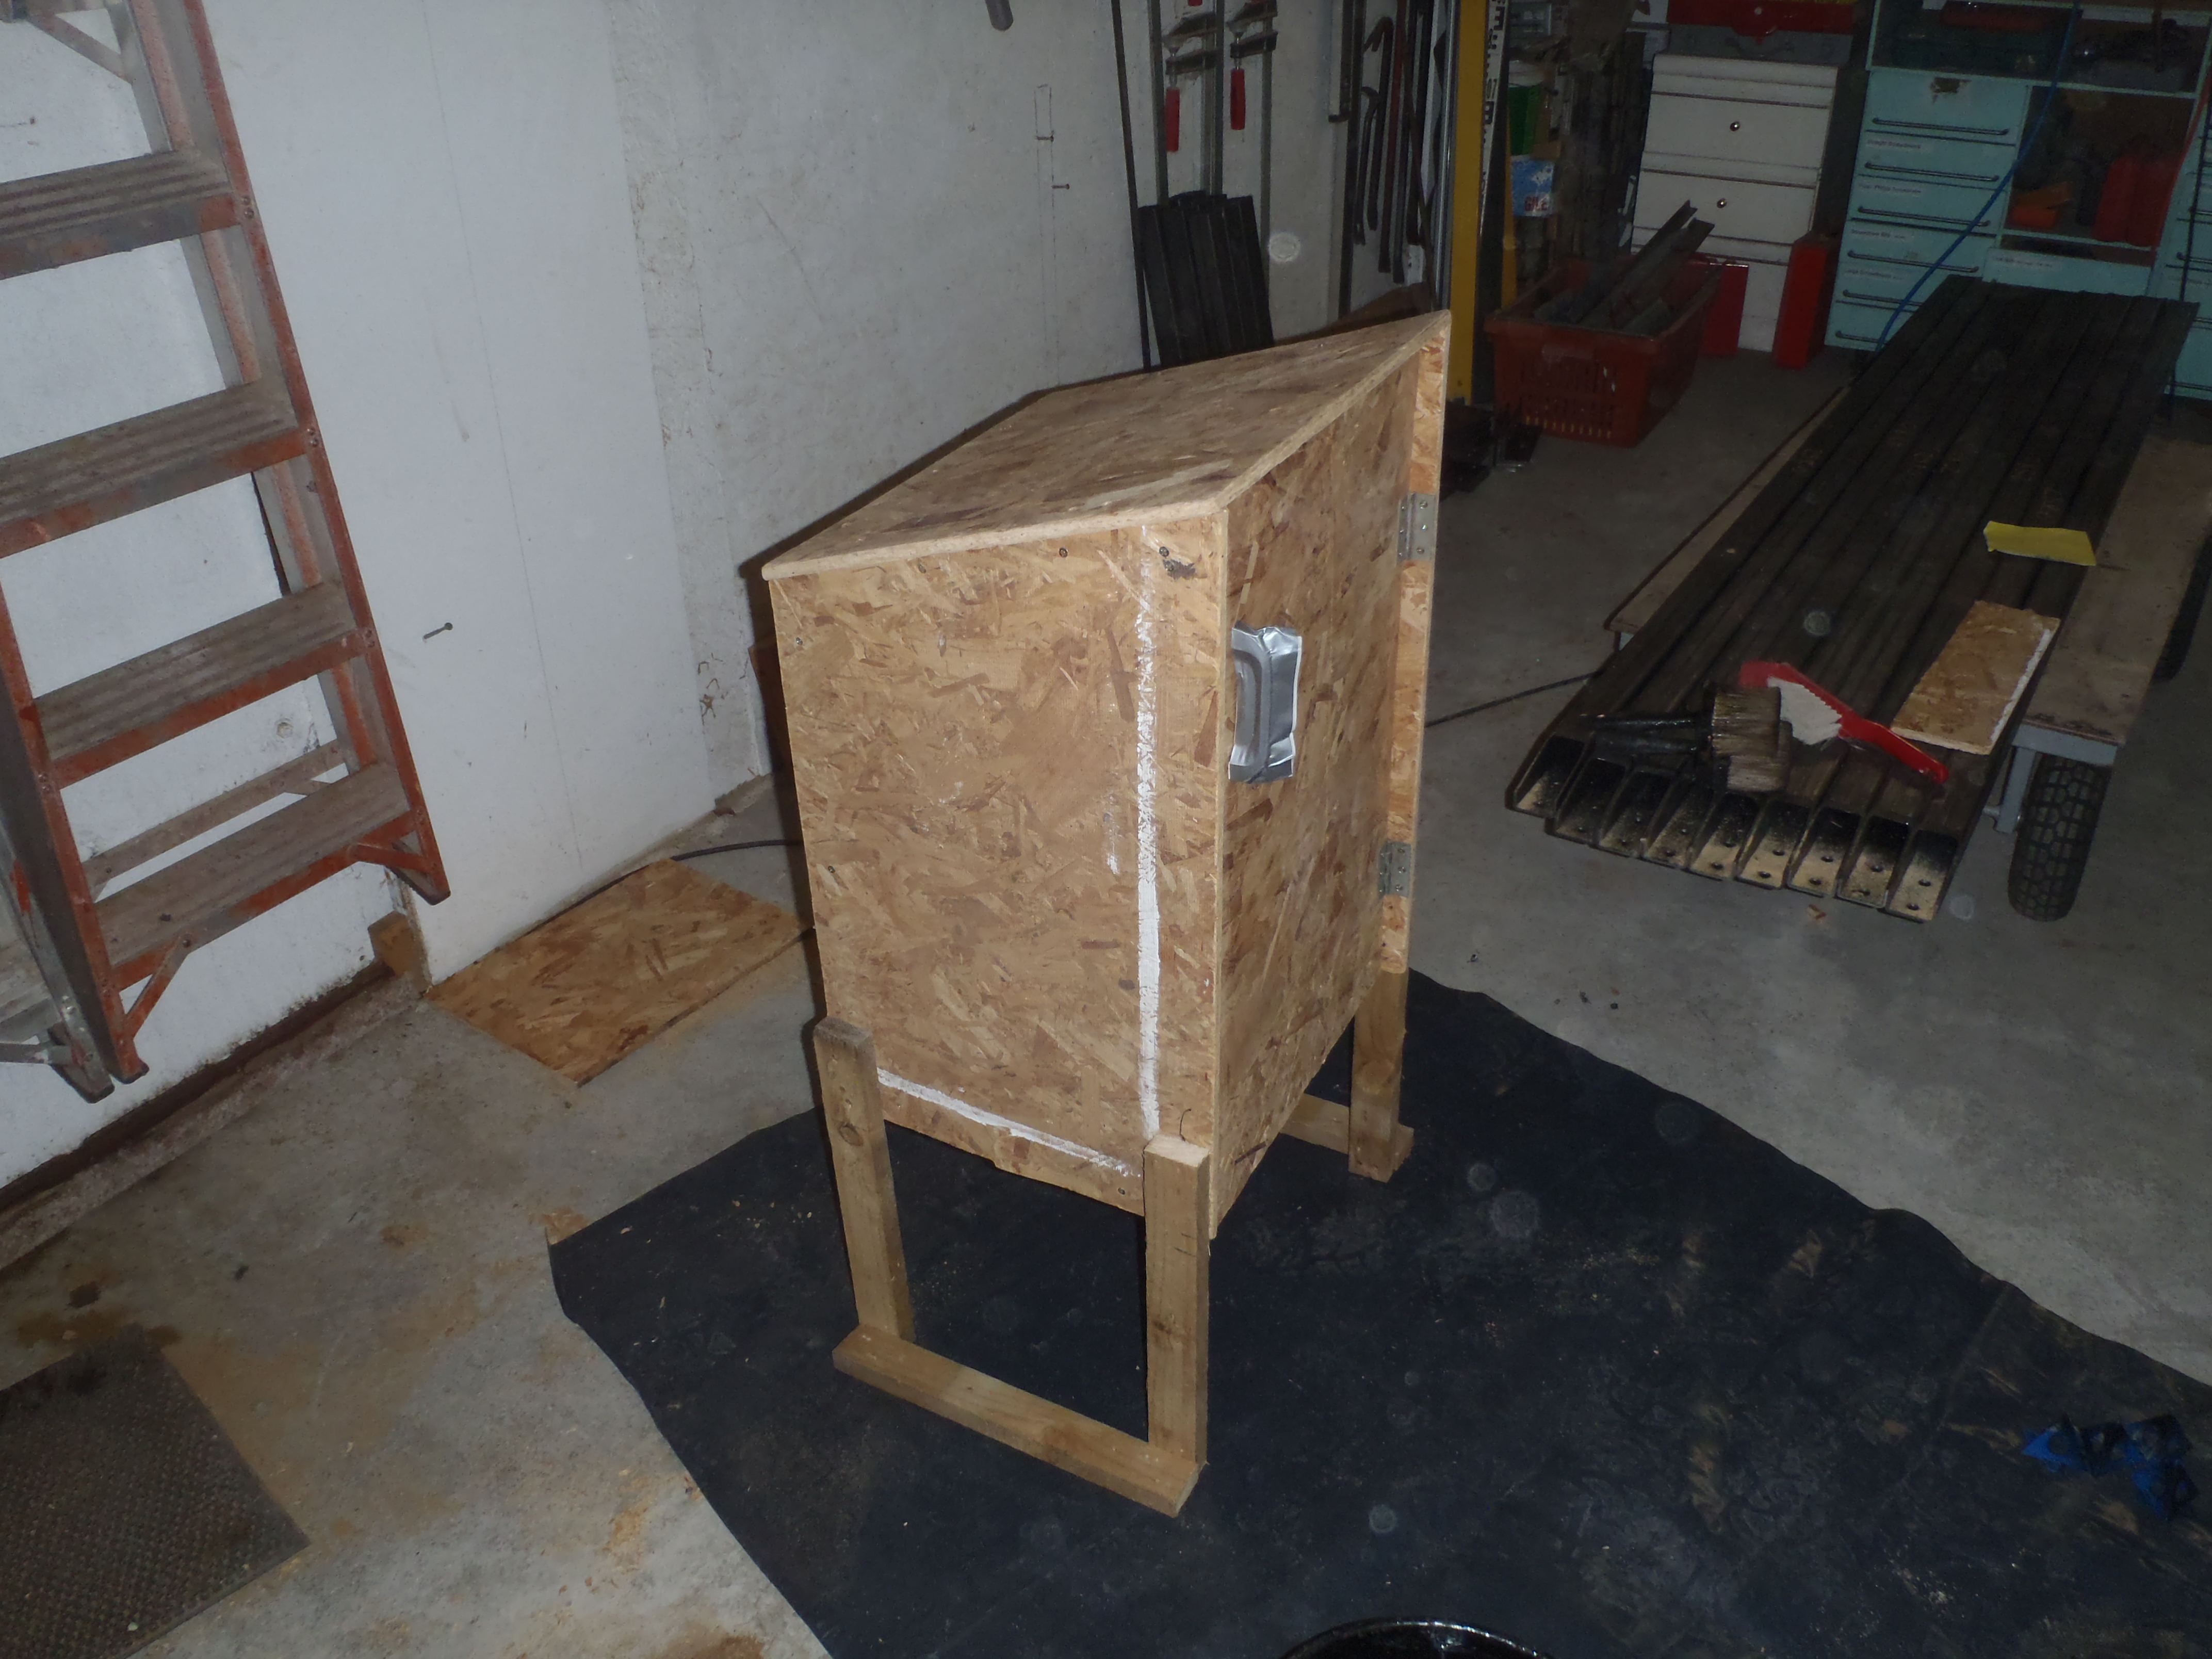
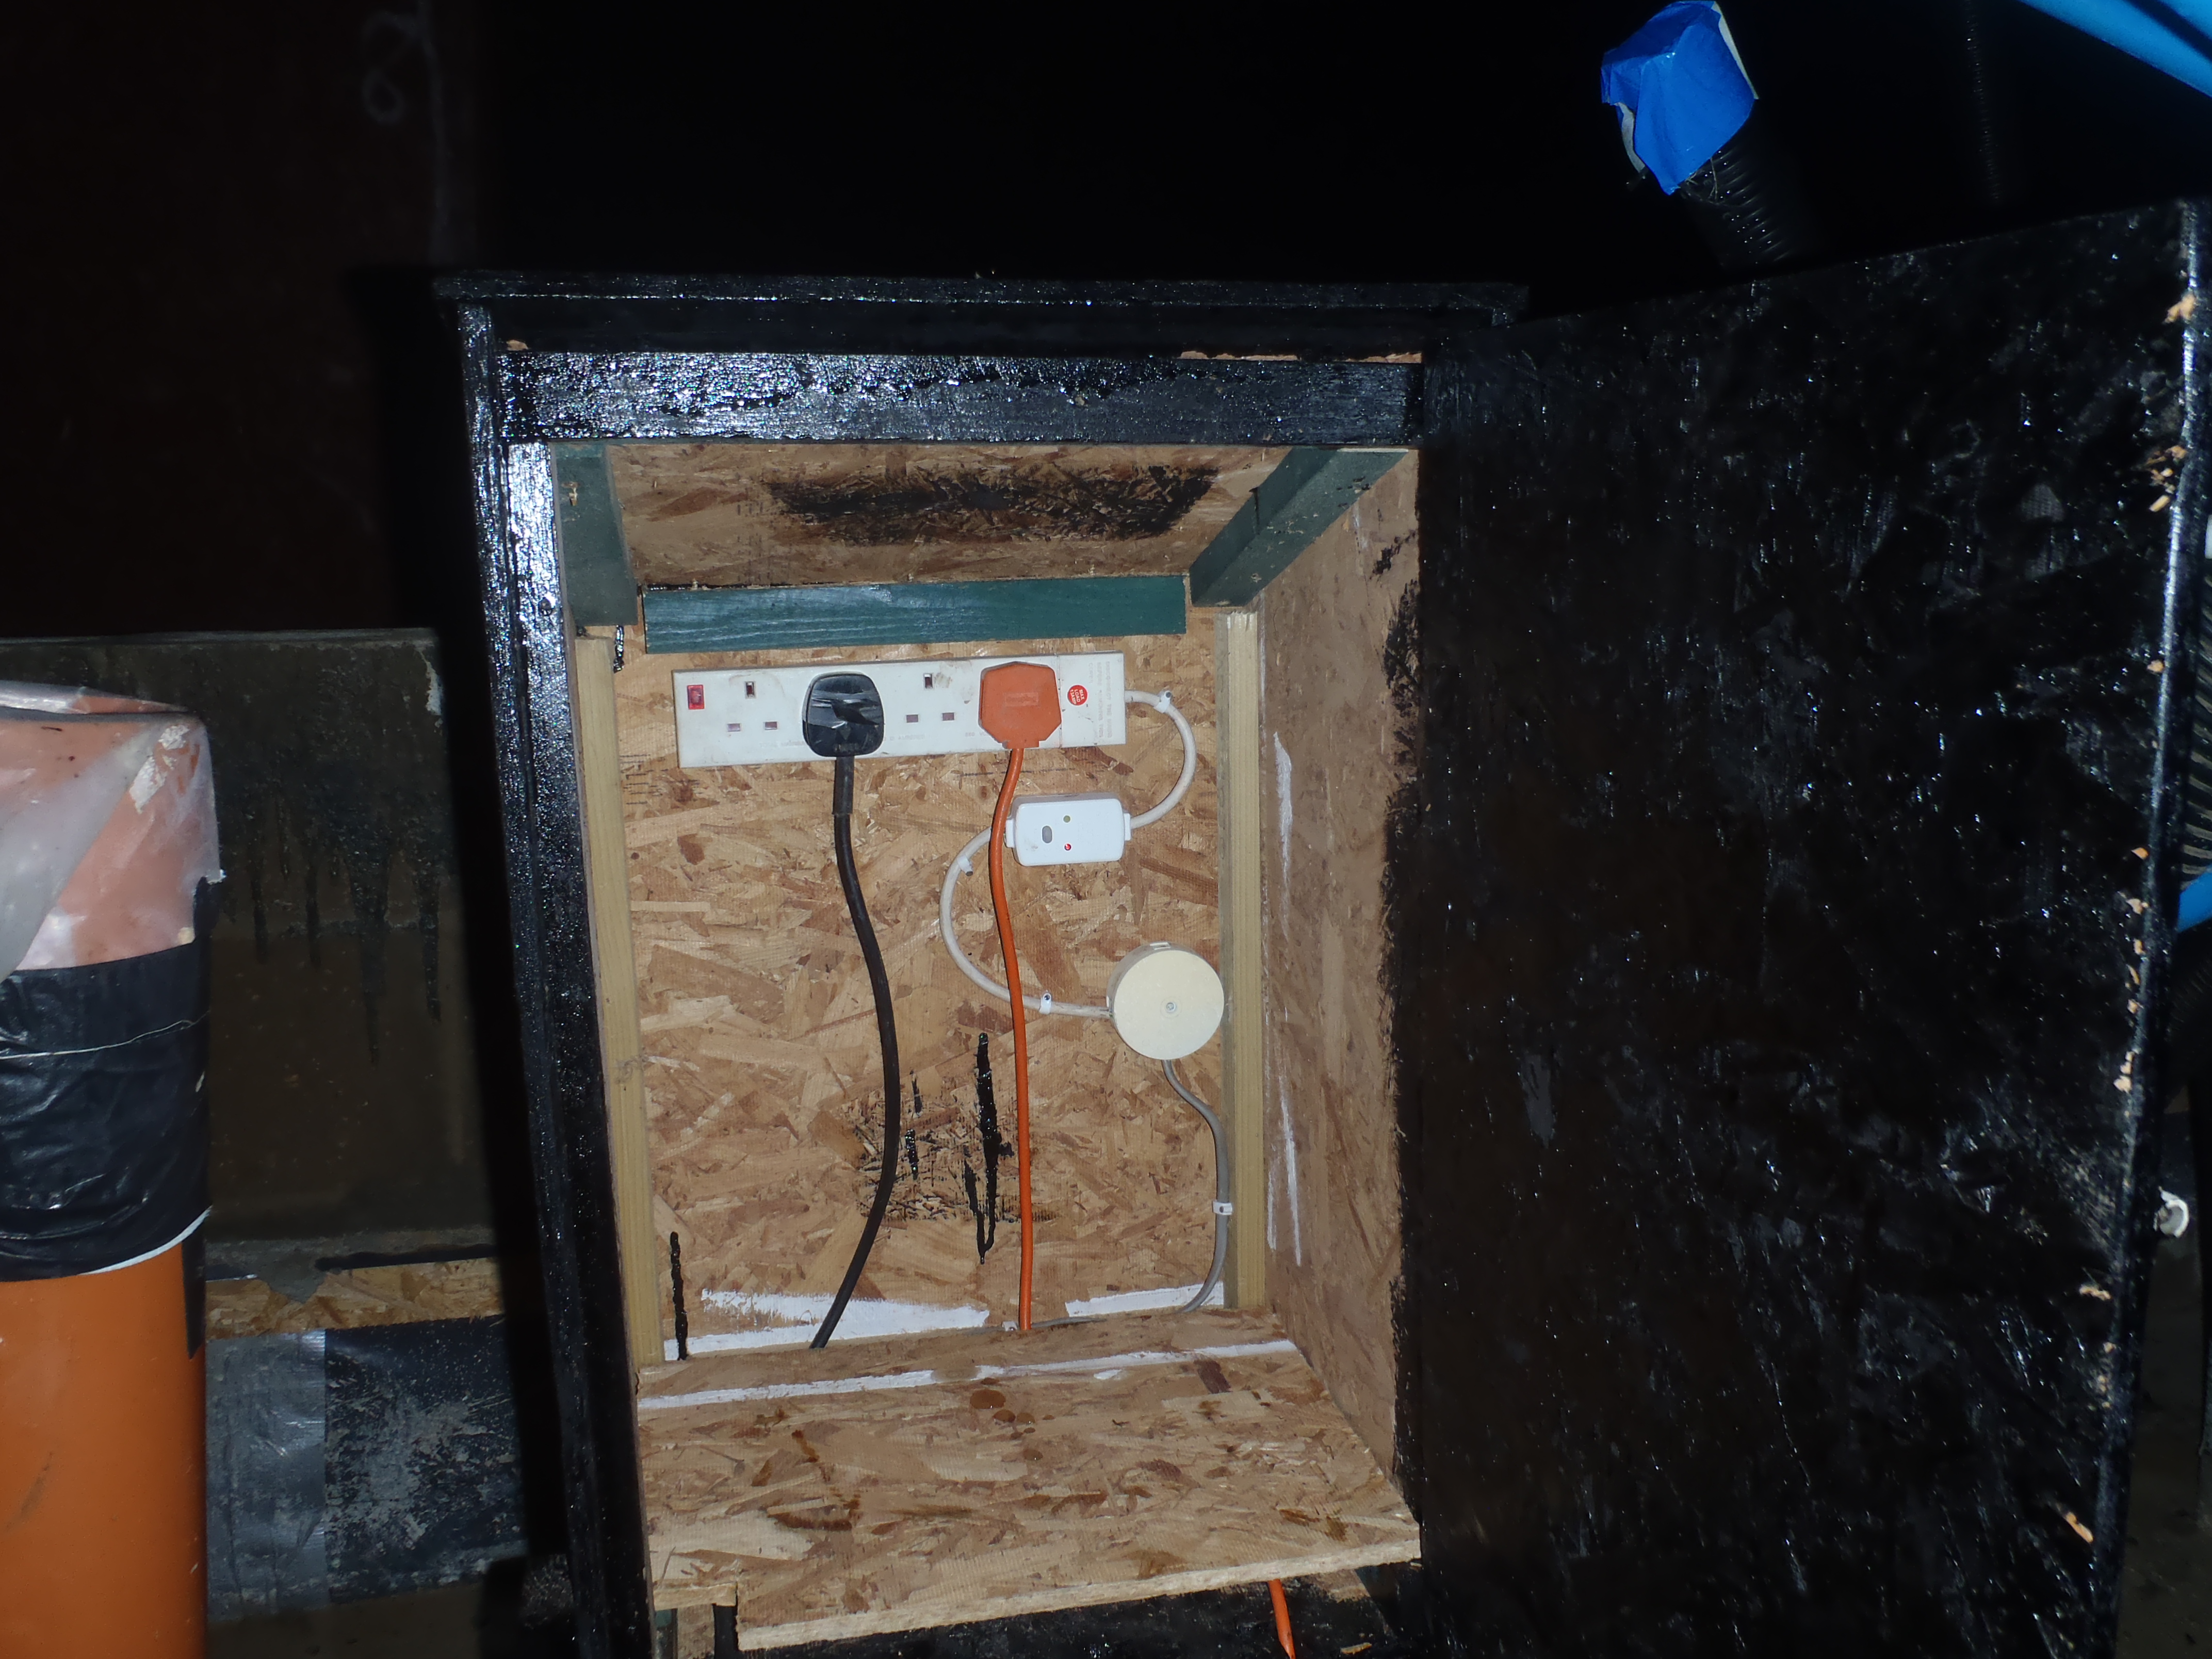
This morning, we wired up a 4 way socket strip inside the Electric Box with a RCD unit inline, but only after we had to change the supply mains cable from the Garage to another one!
Temporary-Electric-Finished
We discovered that during a preparative testing phase before connecting up the electricity proper, there was a “leak” between the Live wire and the Earth wire!! Oops! This must mean that there was some damage in the insulation of the wires inside the cable somewhere so we had to pull through another cable, a recycled smaller 1.5mm2 twin and earth cable.
This time, we checked out the quality of the cable BEFORE we threaded it through and now everything is working just fine!!
We now have outside the convenience of a rain proof cabinet with 4 sockets inside and a reel of 50metres of electric cable ready for whatever we are doing.
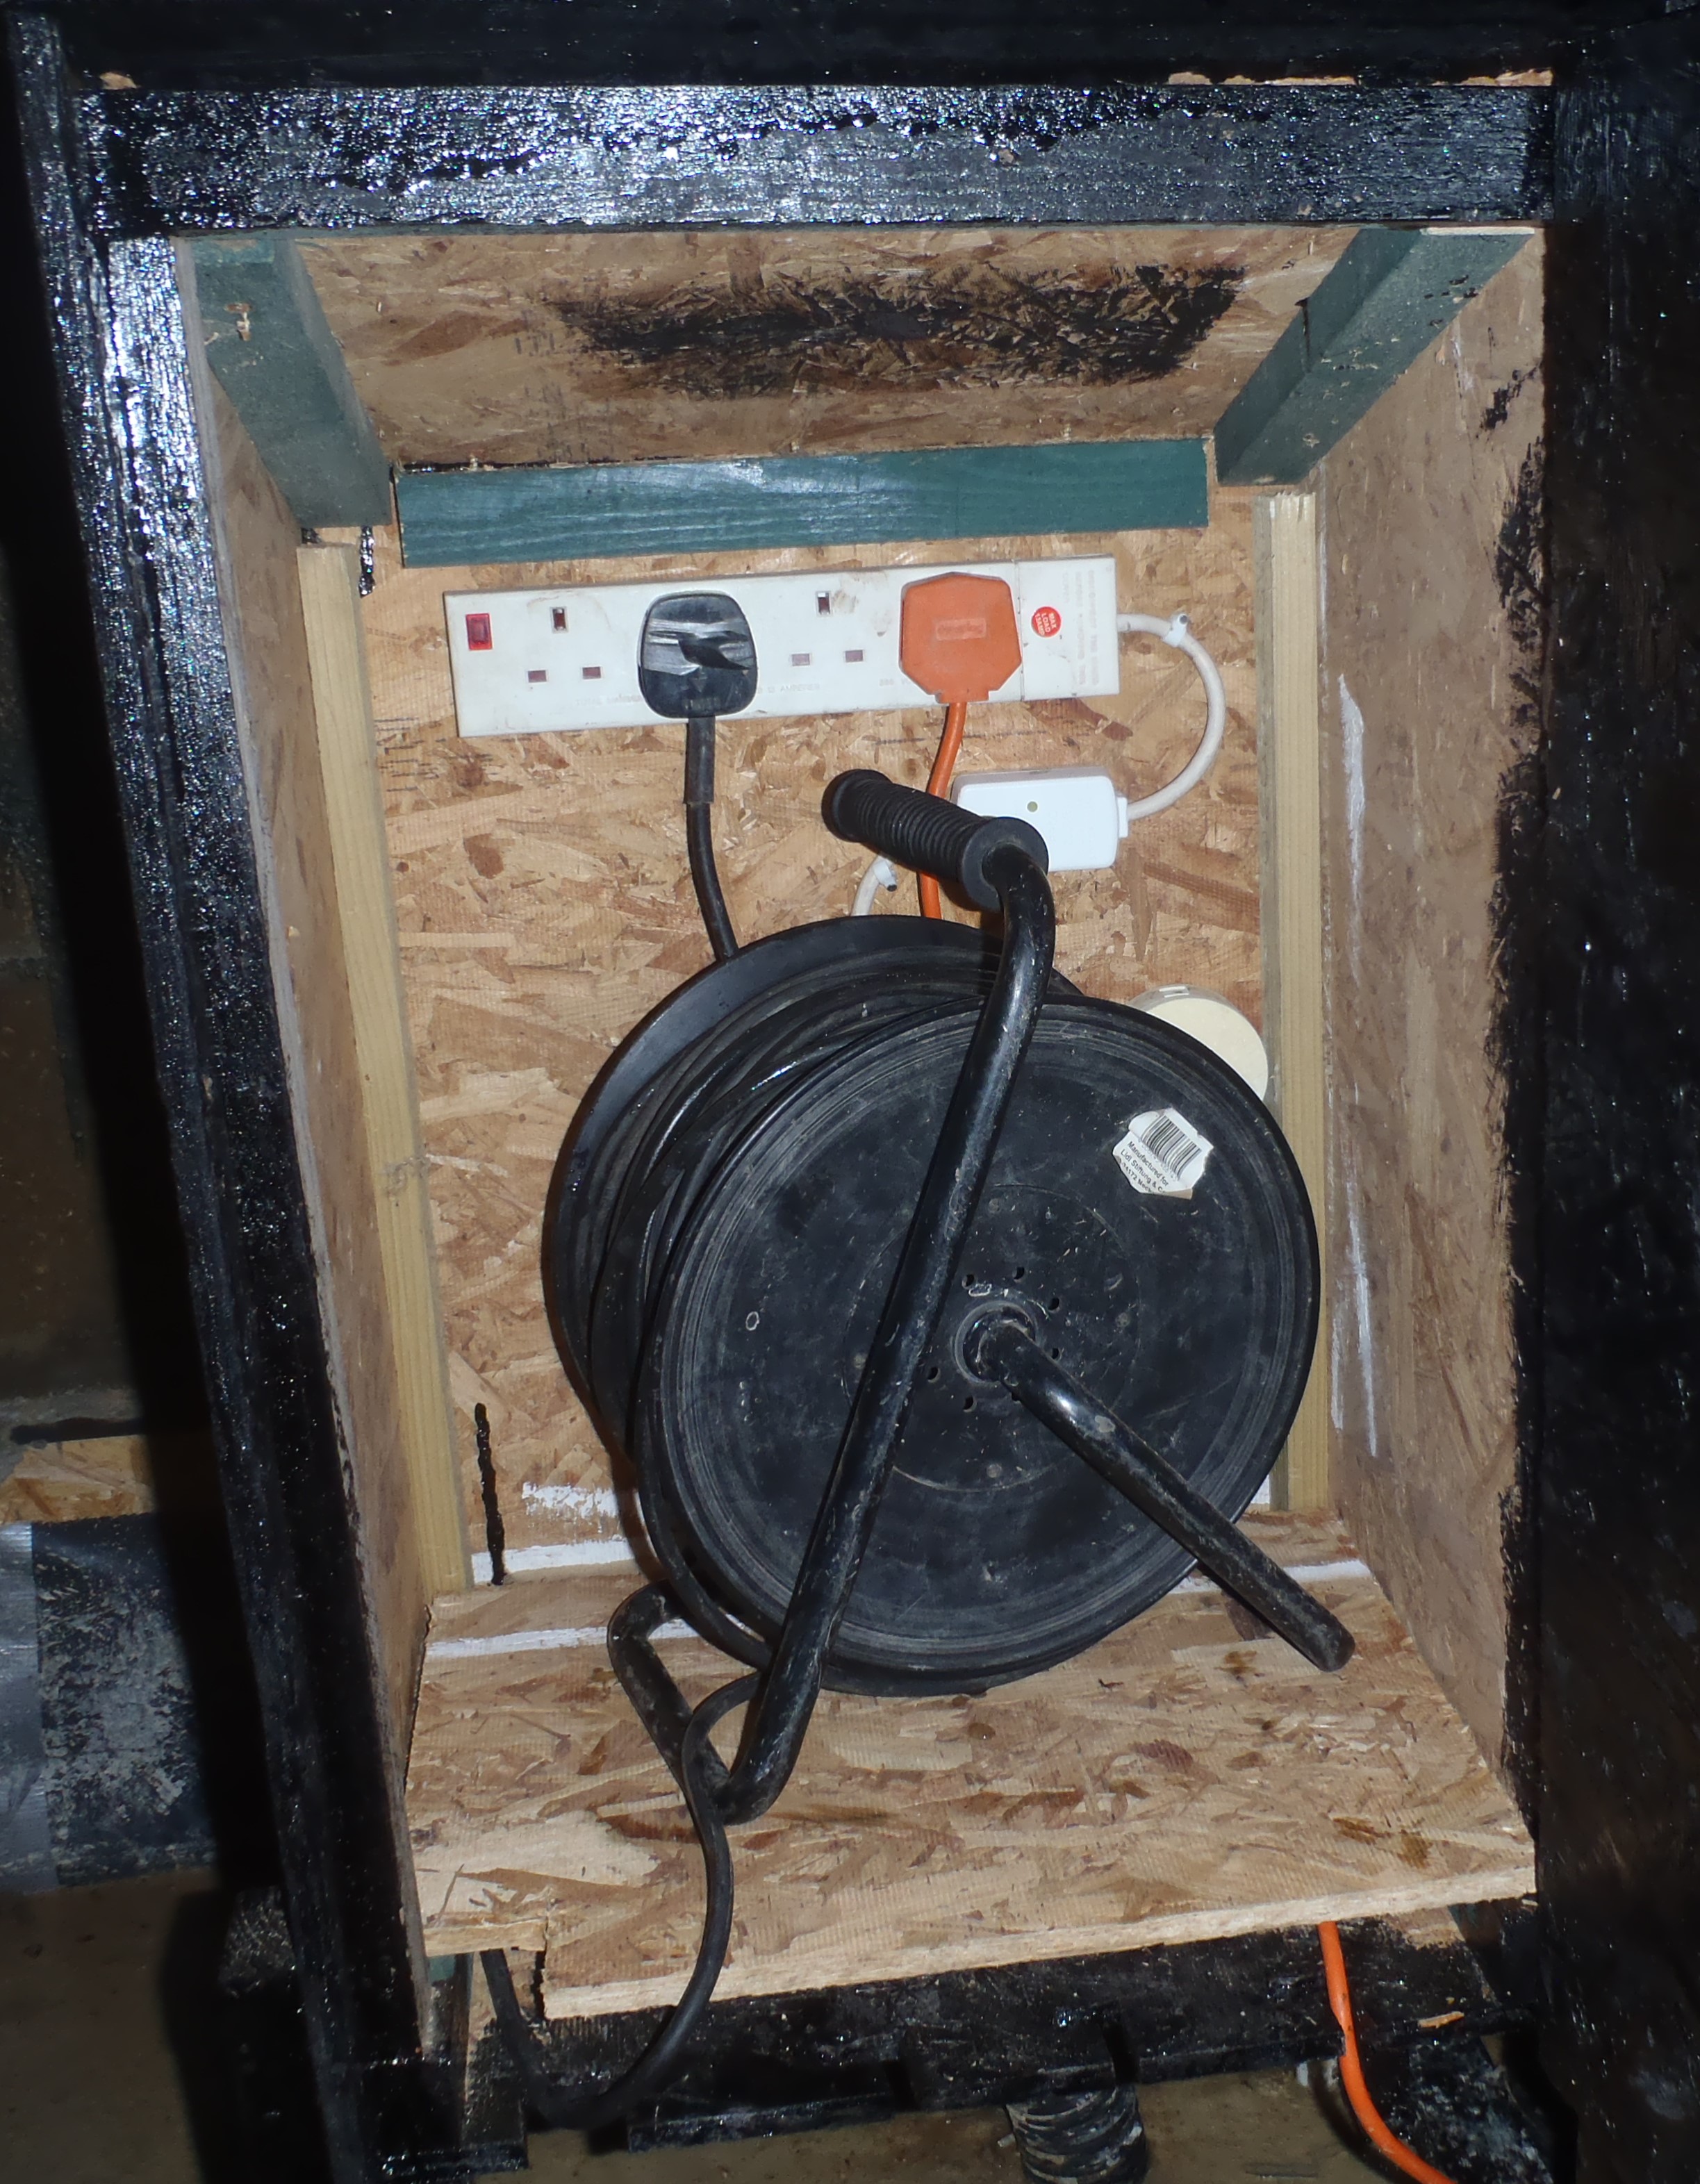
Temporary-Electric-With-reel