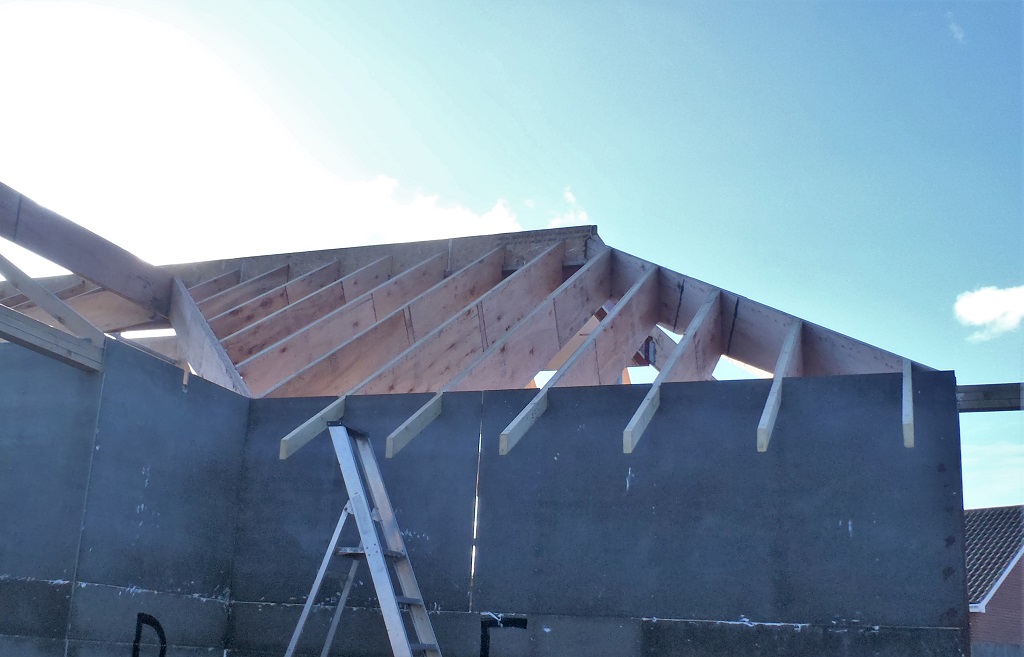
This morning, in slightly breezy conditions, we took out the six rafters we have previously created and then completed the cutting of the bevel ends yesterday and got them all installed.
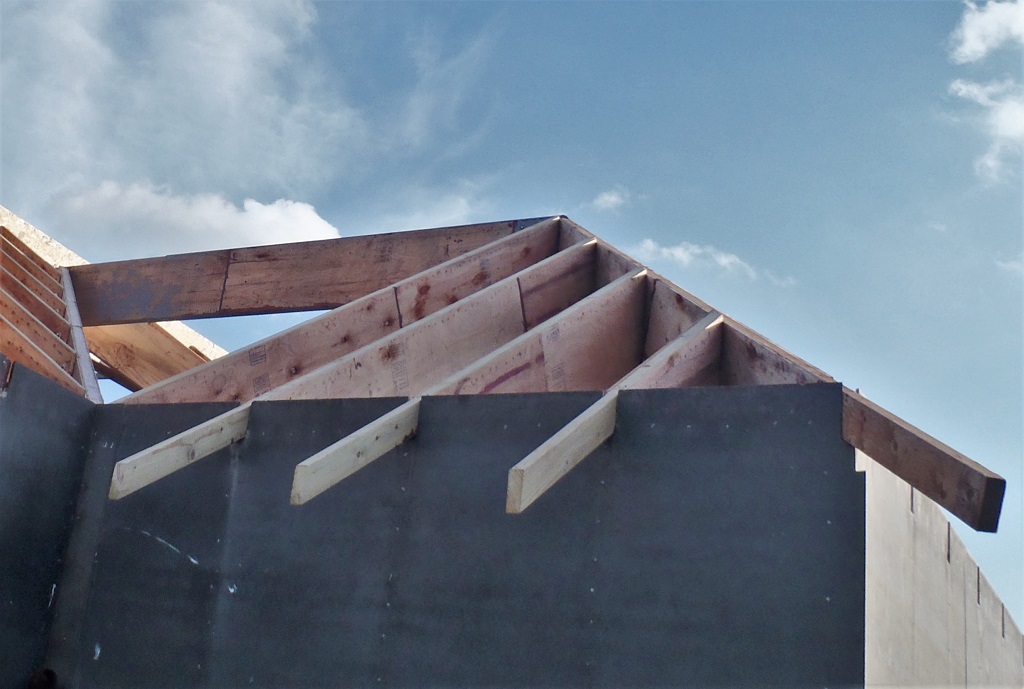
Rafters-J6-to-J9-Installed

Rafters-L1-to-L4-installed
We did it all by hand without needing the electric hoist unit and it all went very well.
We then measured the length of the next set of rafters that will connect onto the IJ and LM diagonal valley beams and transferred the results to our spreadsheet.
After lunch, we brought in the next set of plywood webbing strips (25 of them), along with 5 lengths of the 63mm CLS and 6 lengths of the 89mm CLS timber. These were given the 33 degrees angled ends (for the last time .. no more 33 degrees roof sections after this lot!) and then cut down to the required sizes. These don’t have any clearance notches or bird’s mouths, just plain and simple.
These were sorted into five sets of two rafters for each production run in our 6 metre long template.
Then, brought in 25 straight noggings, 20 and 10 diagonal noggings (63mm and 89mm wide respectively) and 9 polystyrene foam strips.
We finished off the day by tidying up the whole workshop, taking outside a large heap of cut-offs plywood strips to our garden shed, filling up another couple bags of wooden bits of rubbish, swept the whole floor and got everything ready for Saturday to proceed with the manufacture of the next ten rafters to complete the “J” and “L” sections of the roof.