This morning, our 75 sheets of pretty plywood arrived. The lorry managed to get down our Loke, and we placed our flat bed trolley alongside. We then pulled off the plywood, sheet by sheet. This allowed the delivery bloke to get off to his next port of call.
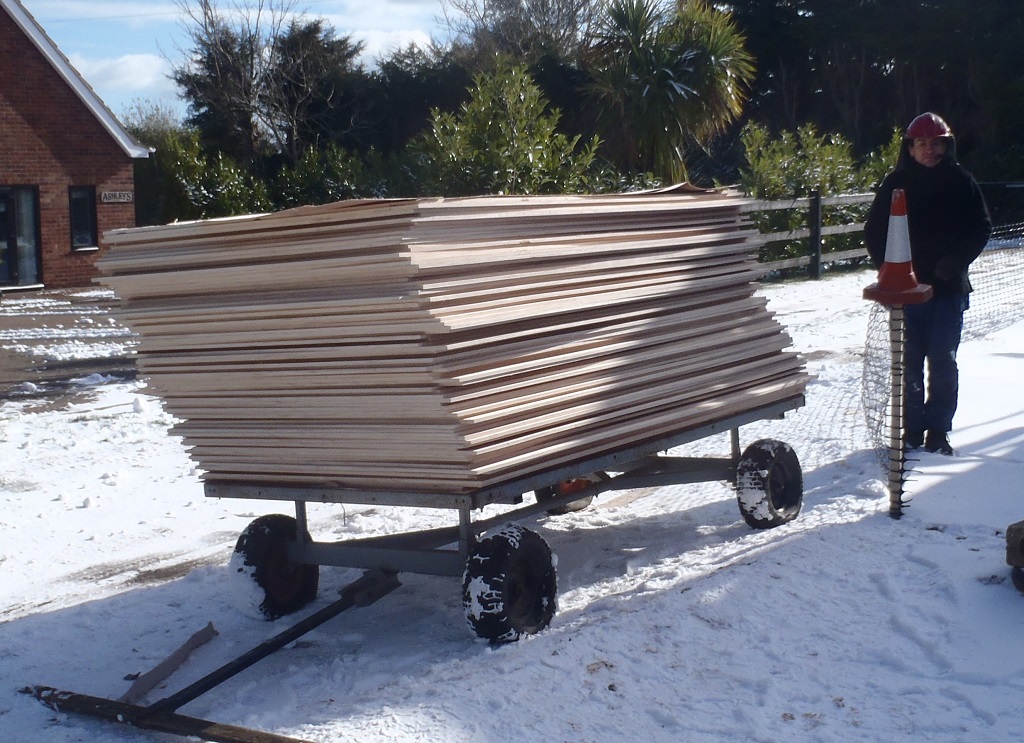
Plywood-unloaded-onto-the-trolley
We then moved half the pile by taking 3 sheets at a time and walked about 15 metres to our new storage tent. Eventually, we were able to move the trolley itself, with much slipping and sliding on the snow, and got the remaining sheets unloaded.
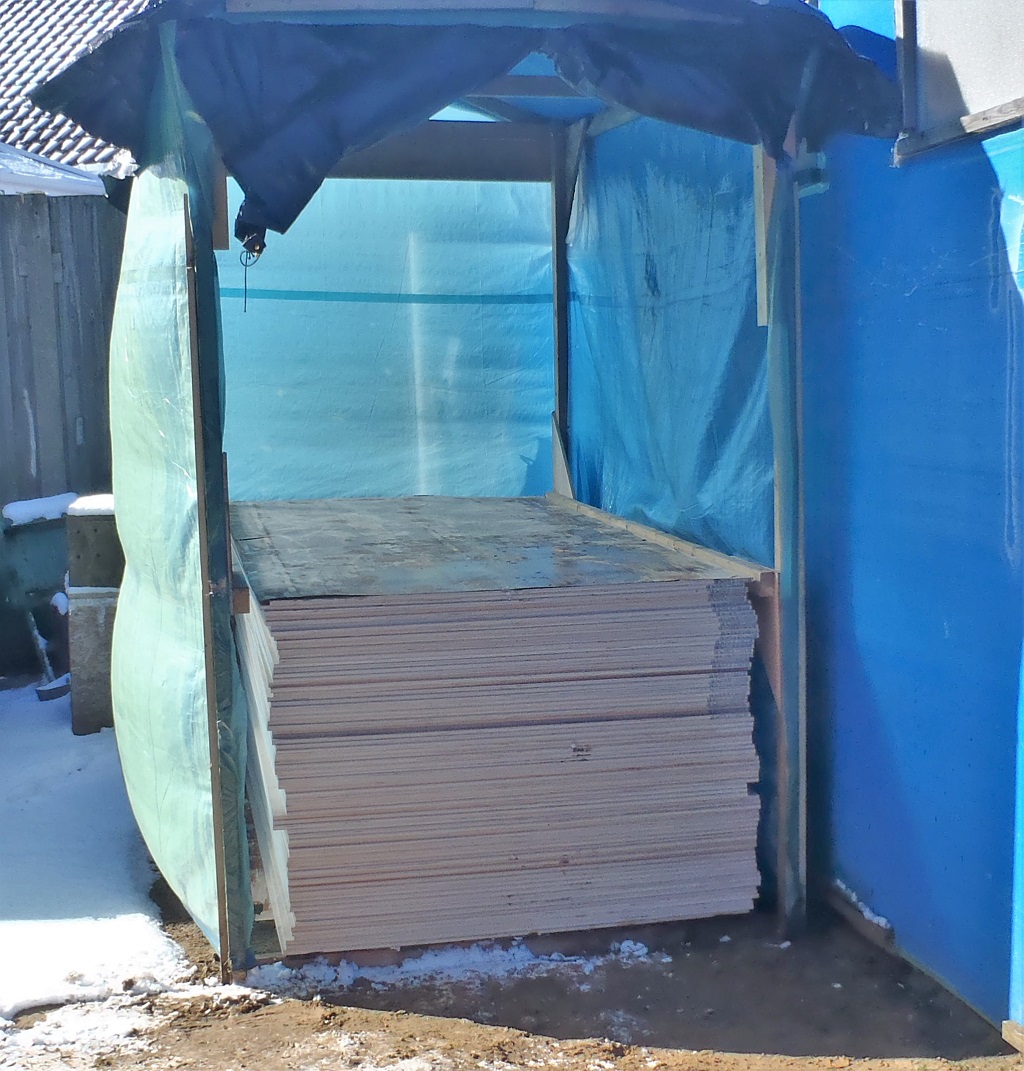
Plywood-stored-away
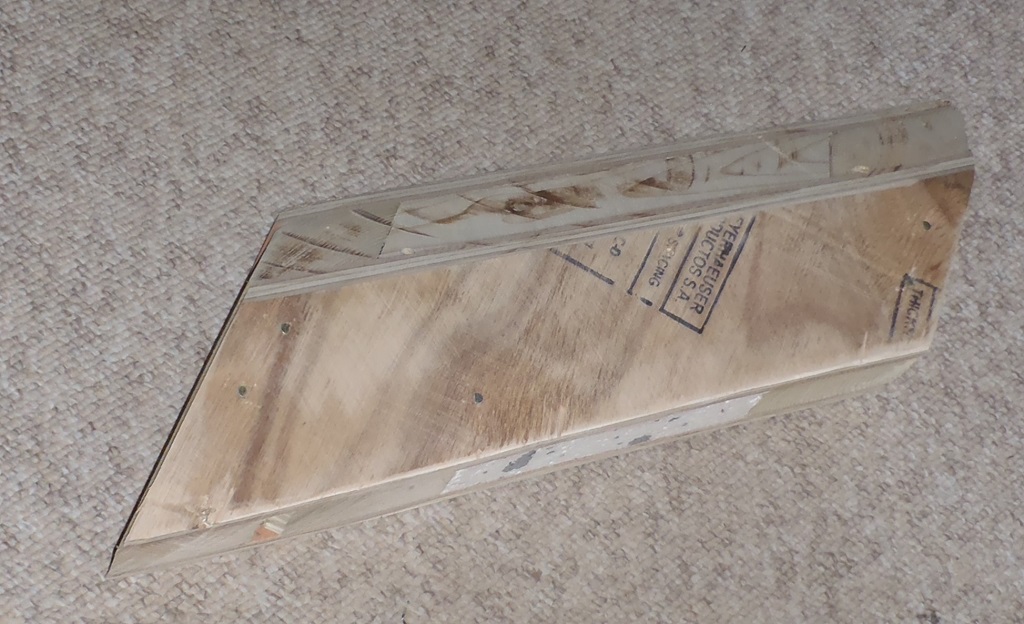
This plywood is much nicer than the last lot (well we bought it as pretty)
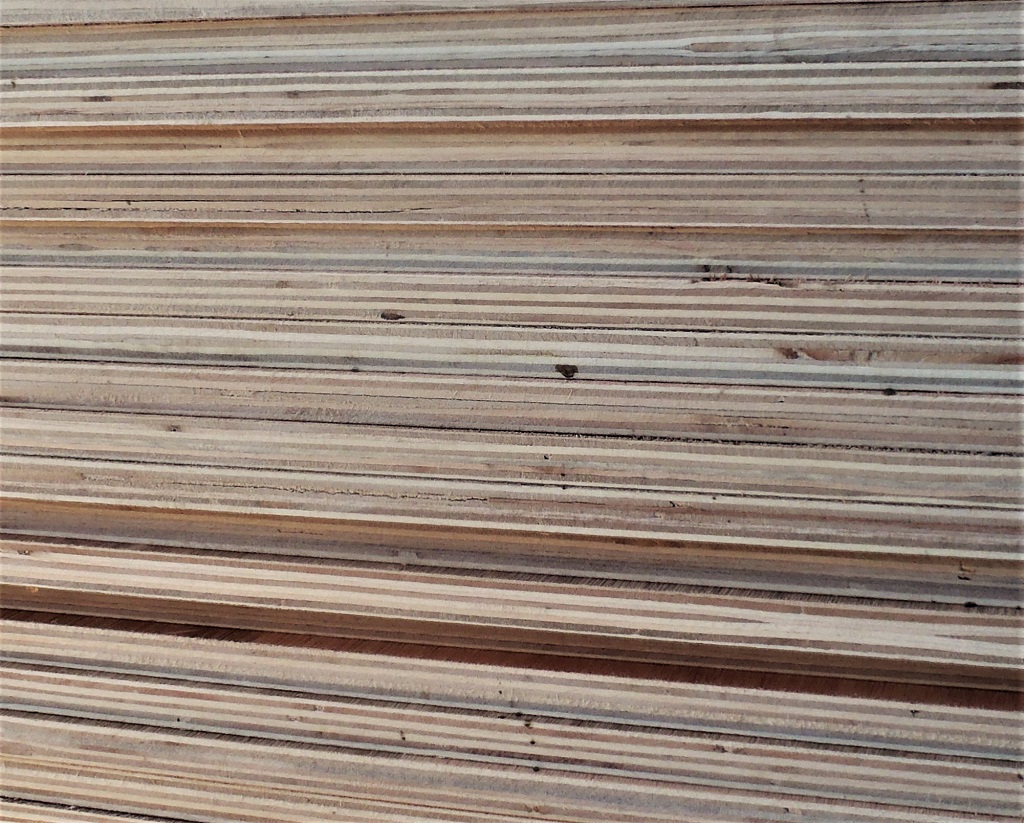
Plywood-has-a-decent-numer-of-plys
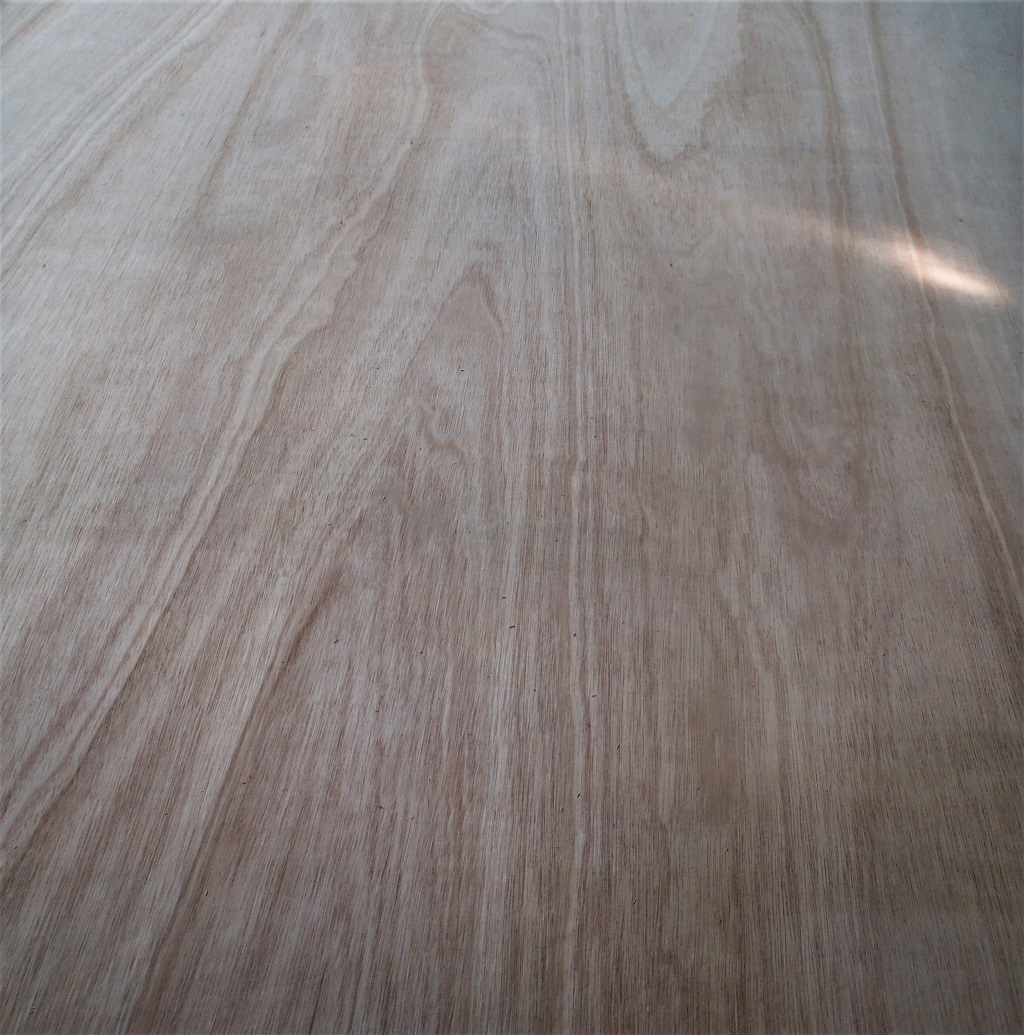
Nice-grain-on-Plywood
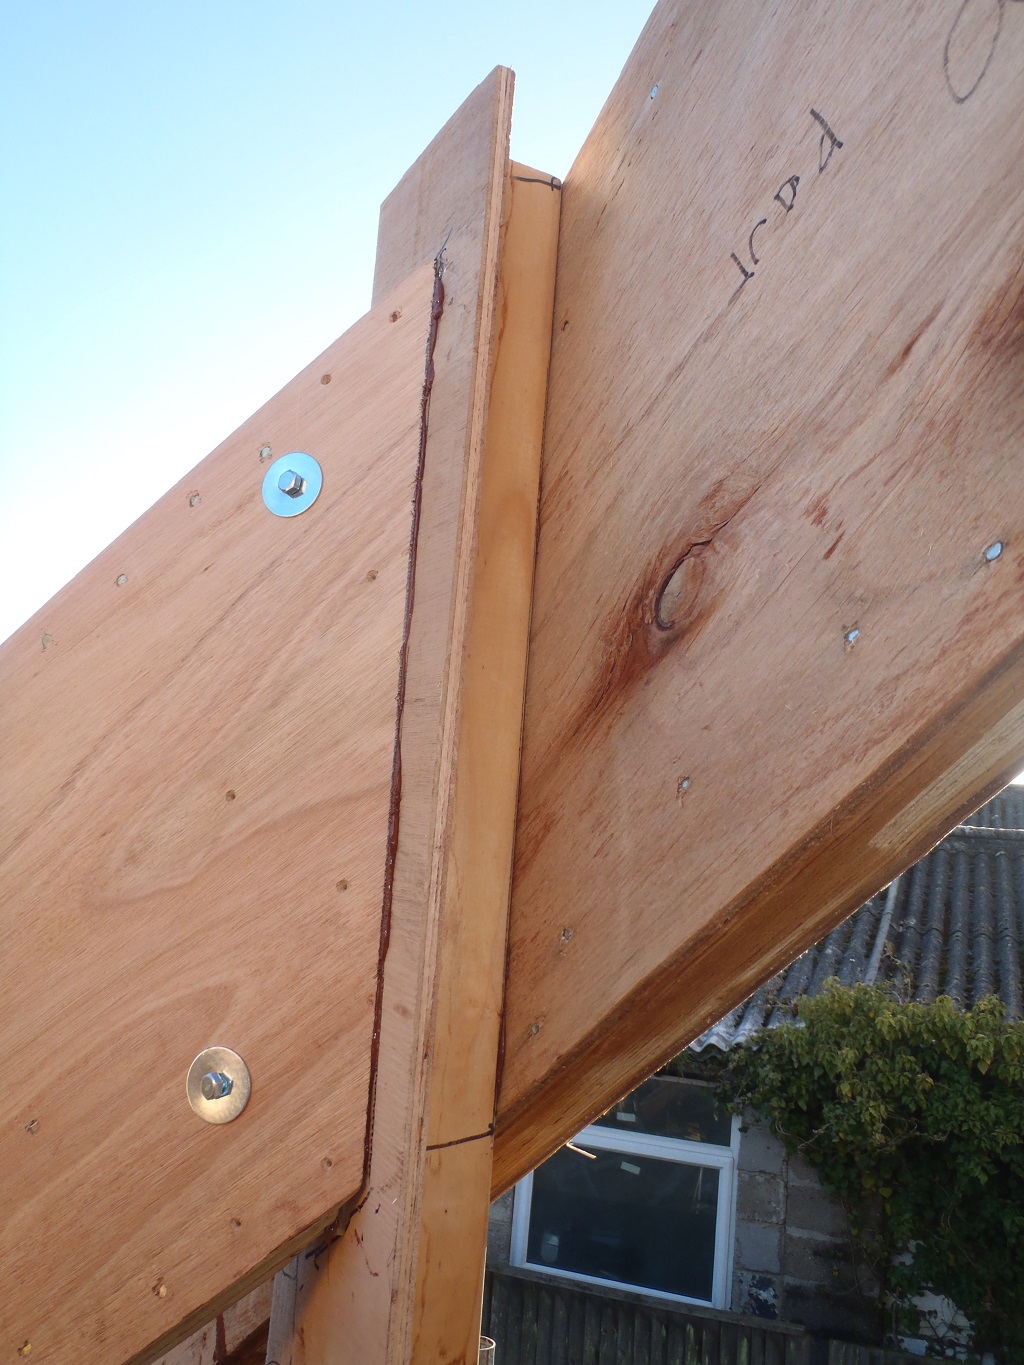
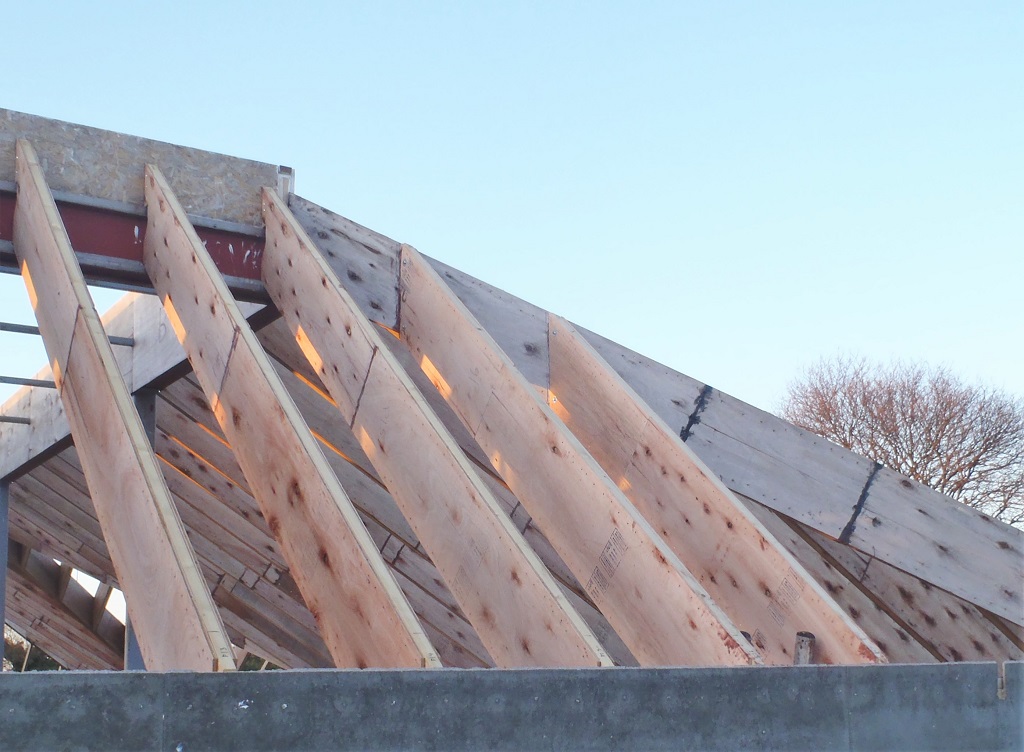
After lunch, we resumed in the lovely and warm workshop and created five more rafters.
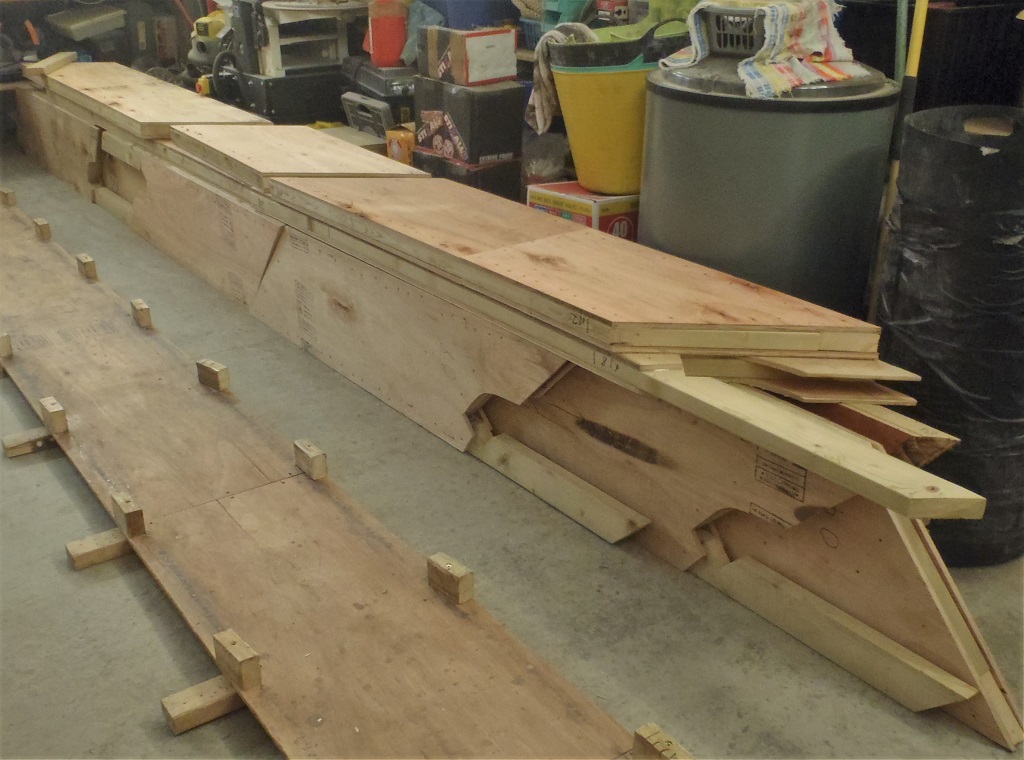
N-O-Rafters-made-so-far
That’s was enough for Shaun’s back so tomorrow we will finish off the last two rafters and get ready for doing the “K” section by measuring the final set of rafters! Hurray!