This morning, we buried three sets of concrete blocks to support three legs which will soon be in place to brace the Front Porch.
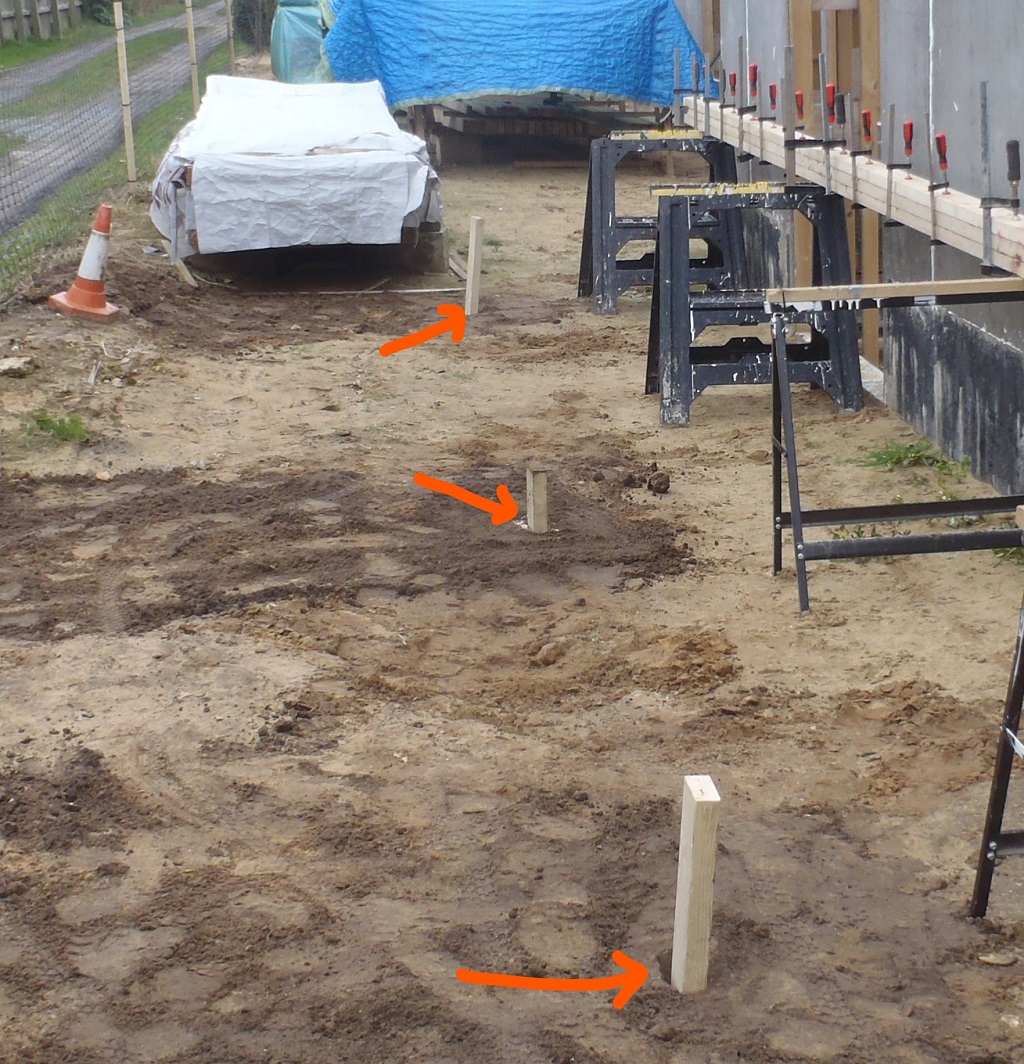
Front-porch-post-supports-buried
We didn’t put up the new 7.6metres (25feet) long beam as the glue was still slightly tacky (the temperature isn’t warm enough for speedy curing) so we left it alone to finish strengthening up.
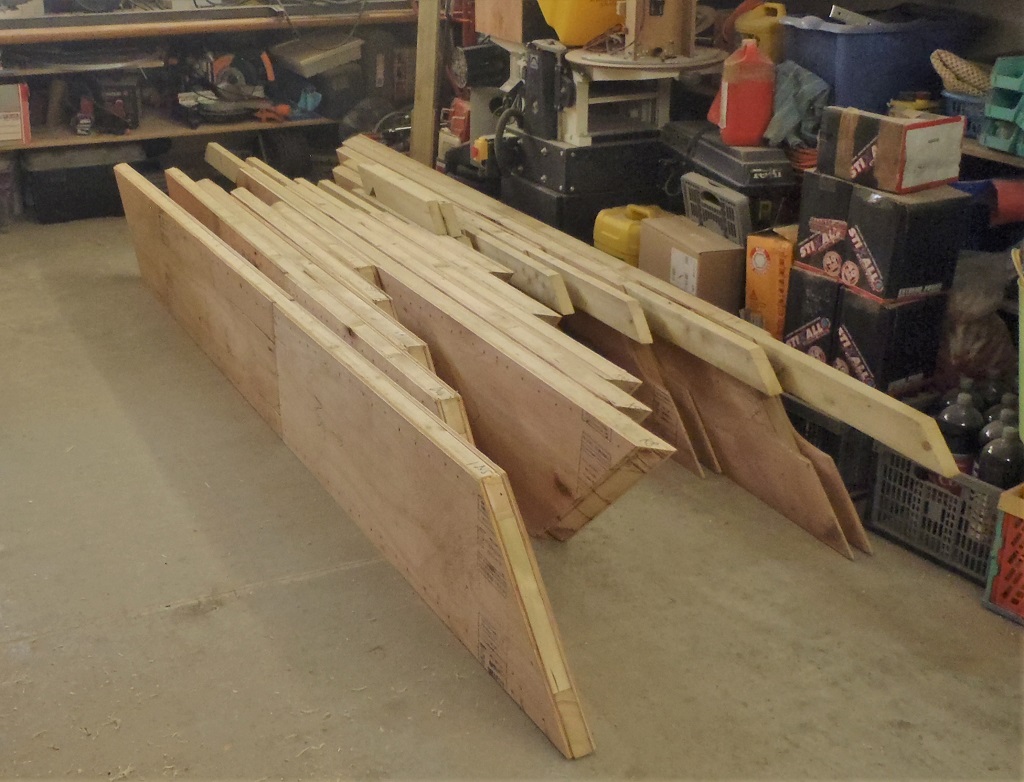
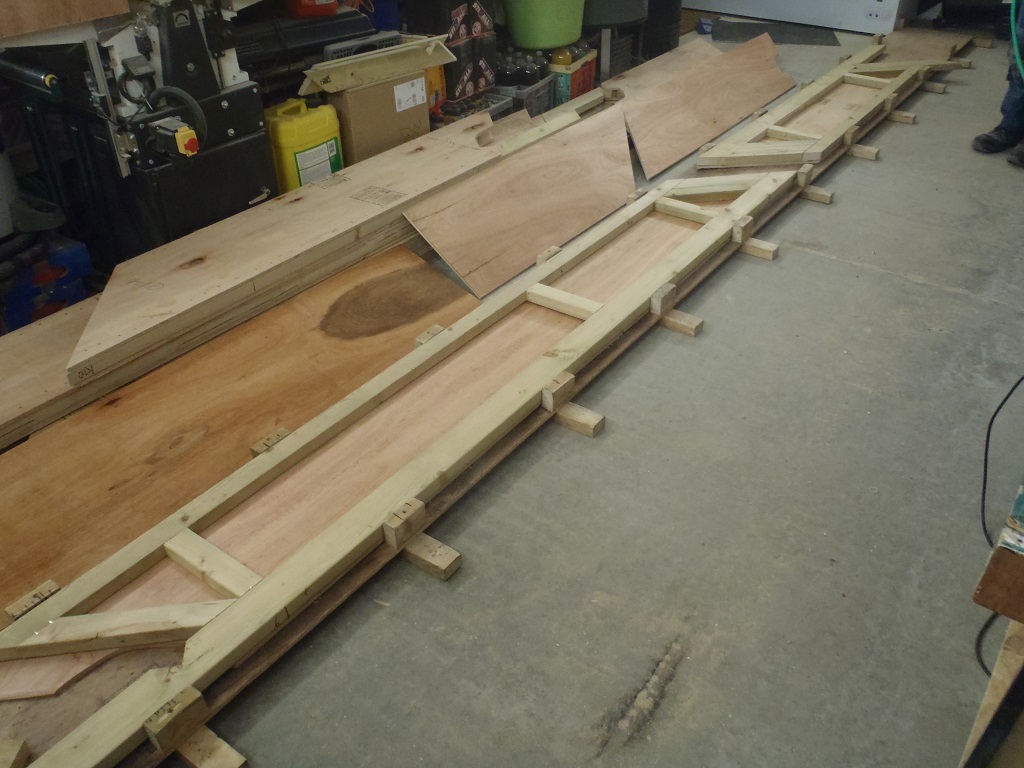
Instead, we brought in a half dozen more 89mm CLS timber to make the elements of the side door porch. The long beam is only 4.65 metres (15 feet) long and the second “arm” which comes out of the middle of the “H” section of the wall is 1.4 metres (a bit over 4feet) long. We glued and screwed together two sets of three layers of the timber in the workshop (we could fit these beams inside this time!) using our structural PVA glue (the workshop is warmer than outside – nice!).
after lunch, we created another tool to help with a tidy-up task on the top of the wall, see Top of Walls Slicing Jig.
Finally, to finish off the day’s work, we needed to cut into the top of the “H” wall to accommodate the sticking out “arm” (which is labelled the “G” section of the roof and the side of the porch) by removing a segment of the cement board and also the top layer of the top-plate framework of the wall.
And back in the workshop, we chopped another CLS plank to be glued together to make a supporting internal extra leg from the bottom-plate to the top-plate and there will be a heavy duty metal angled bracket to go over the top and down the leg to reinforce this new “G” arm to the wall, this is just in case someone drove into the porch’s leg (the drive way is right beside this section of the house) and knocked it away, leaving the over-hanging porch to hold itself and the weight of the small section of the roof and tiles until we got the leg back into position again! – quick!!
Tomorrow, we can start joining these various elements together and put in temporary support legs to brace the porches while we are building the house and then later on, put down proper foundations with steel legs and Oak timber to provide the final legs for the two porches.