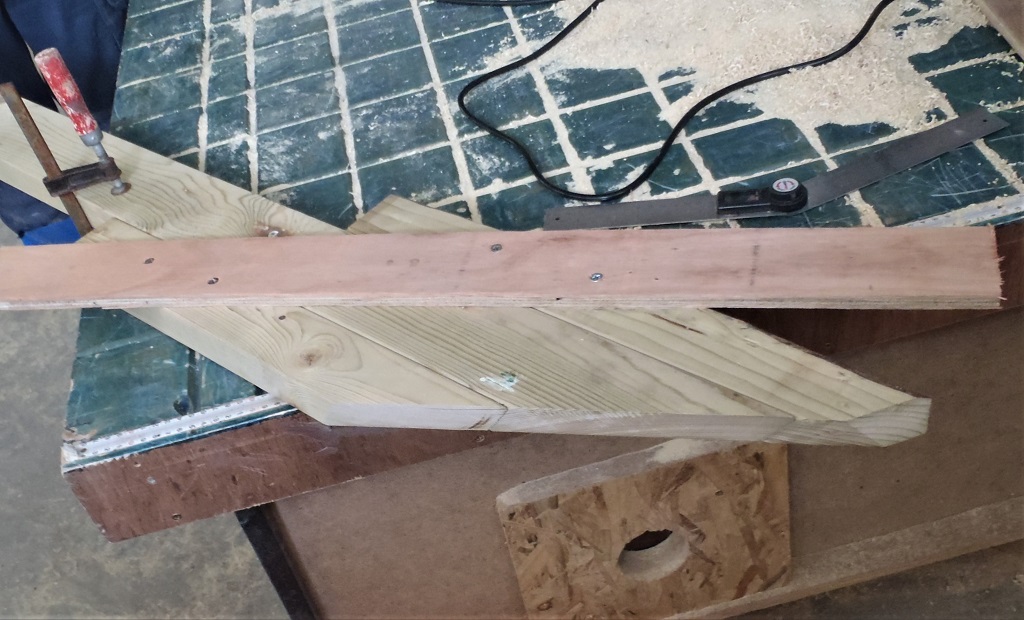
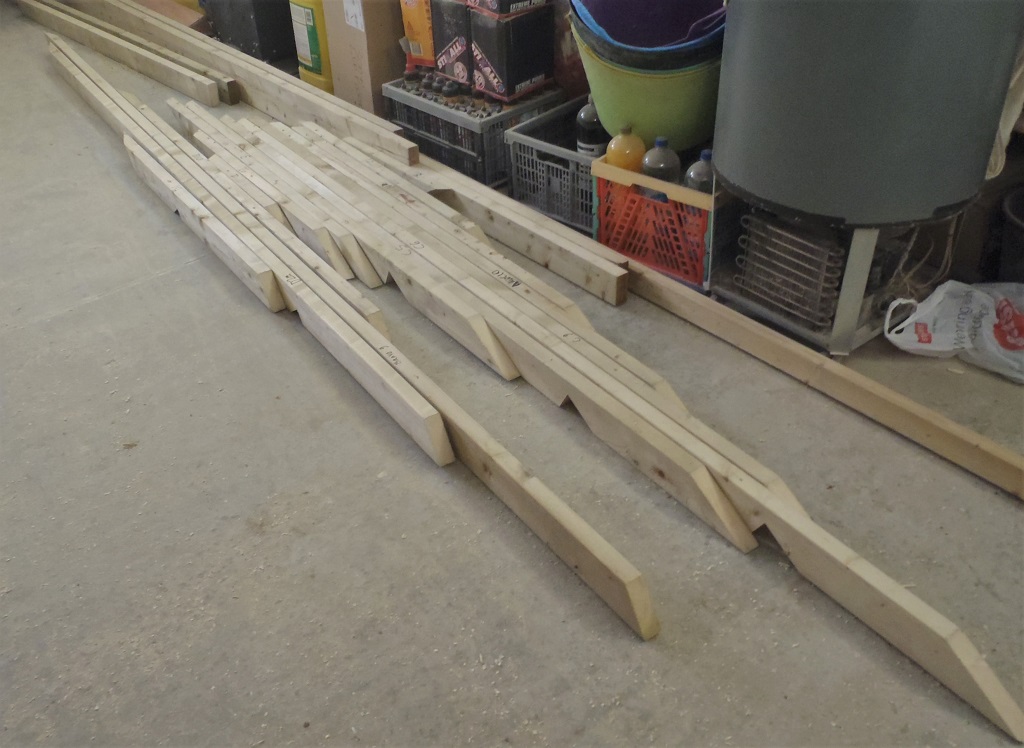
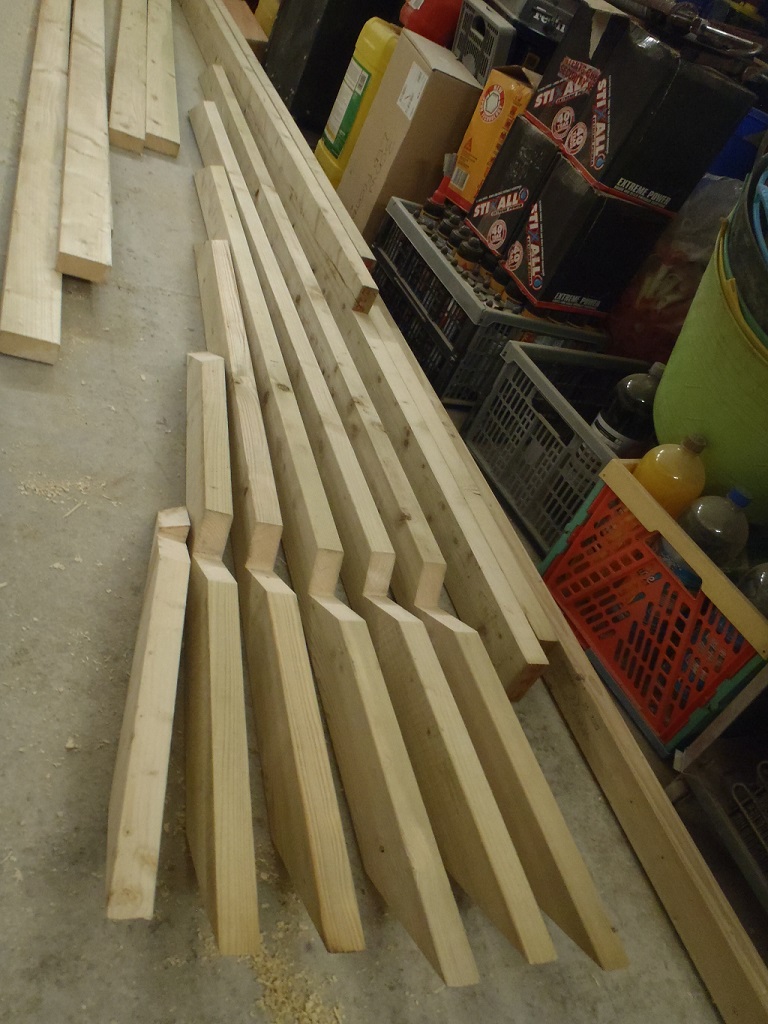
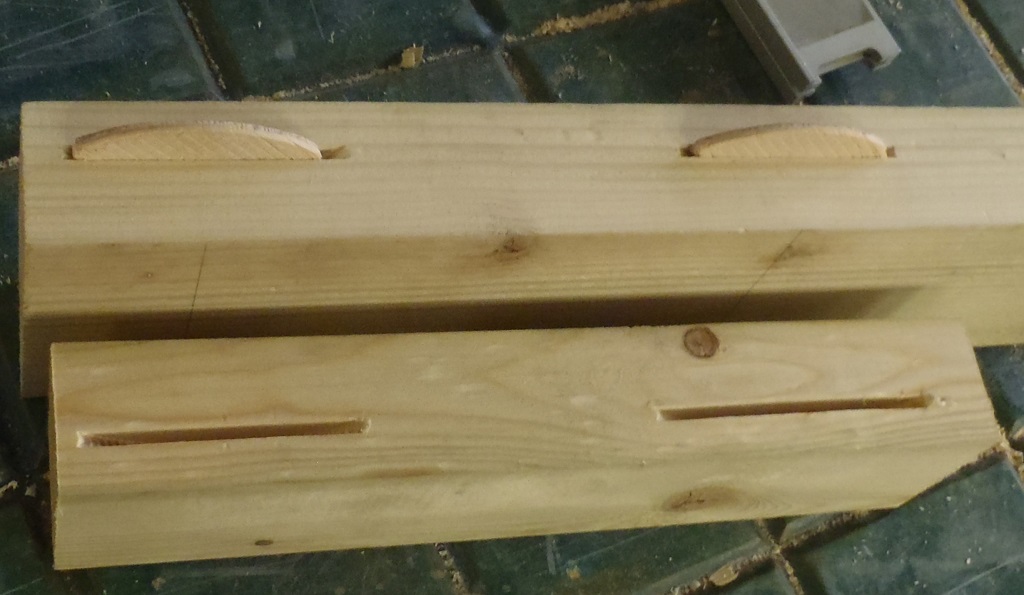
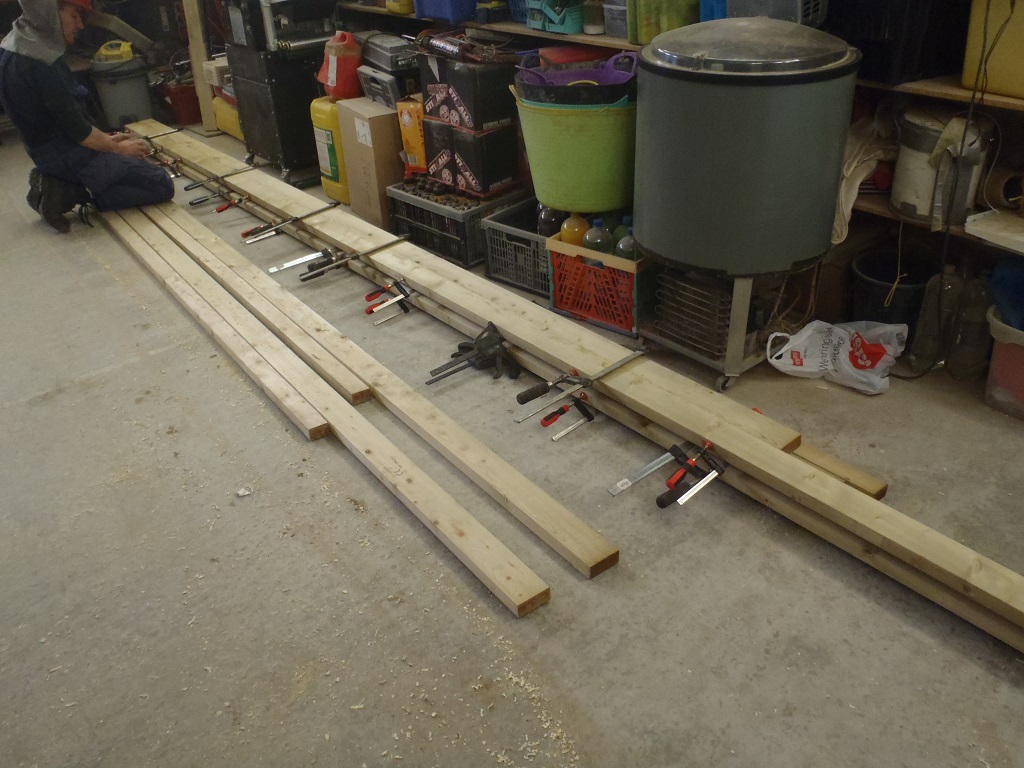
Today, we first continued in the workshop to glue the other set of wide beam rafters, this time for the side door porch where we have a 89mm and a 63mm wide CLS lengths of timber, joined together with our biscuit joining method.
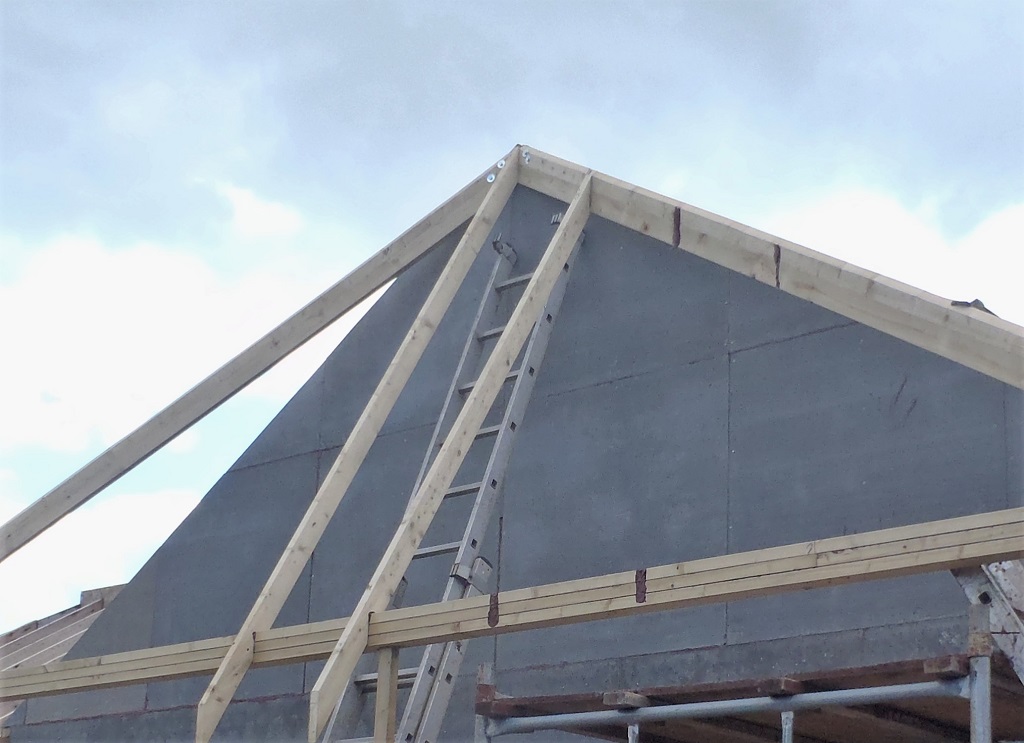
While that was drying, we went outside to mount up the “arm” for the side door porch, using our metal bar bent at right angles and then screwed down both on top and down the length of the leg.

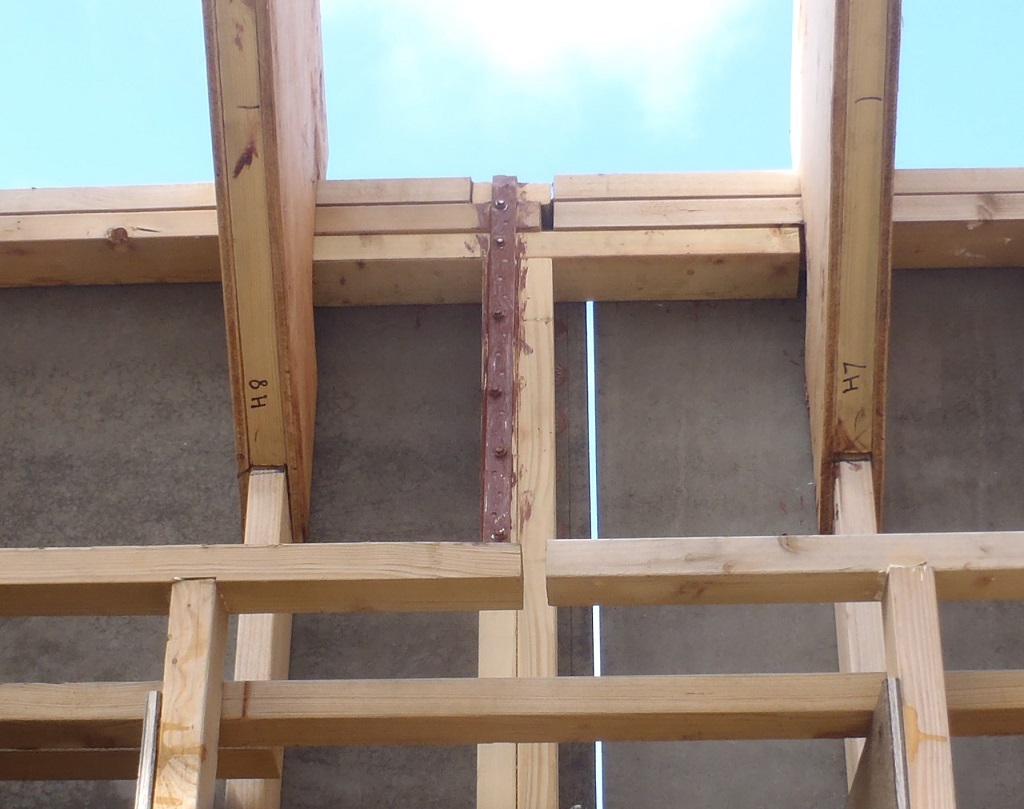
Steel-Strap-for-Side-porch-beam
We then decided to use a couple of ready made diagonal struts to help support this arm and the other sticking out arm at the other end of the porch so we can avoid having two legs getting in the way of our building equipment and perhaps finally have proper posts or maybe indeed design and have a neat proper diagonal bracing strut, made with Oak and not have any legs at all. This is likely to be the outcome as our driveway will be right alongside and everyone would feel happier moving cars around without the extra worry of colliding with two legs!!
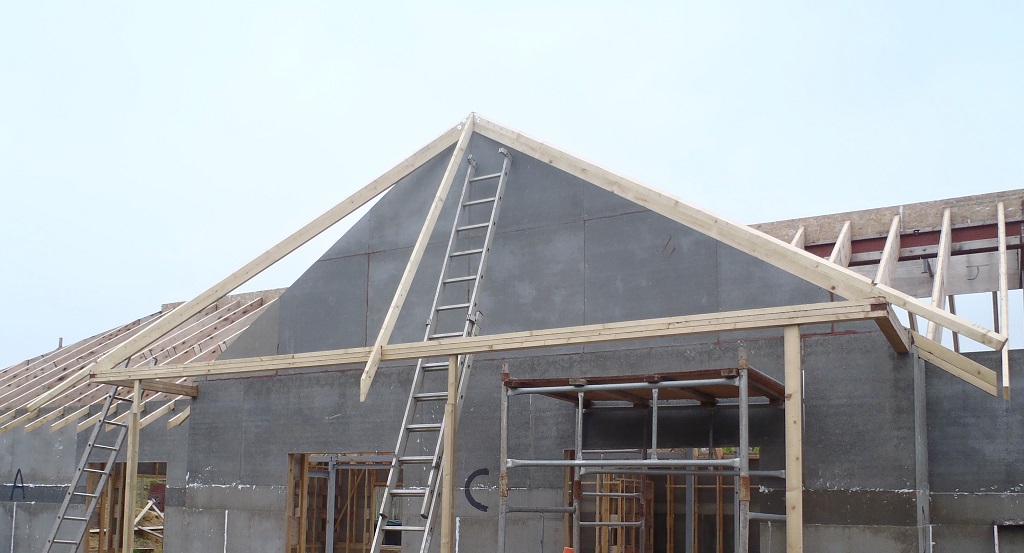
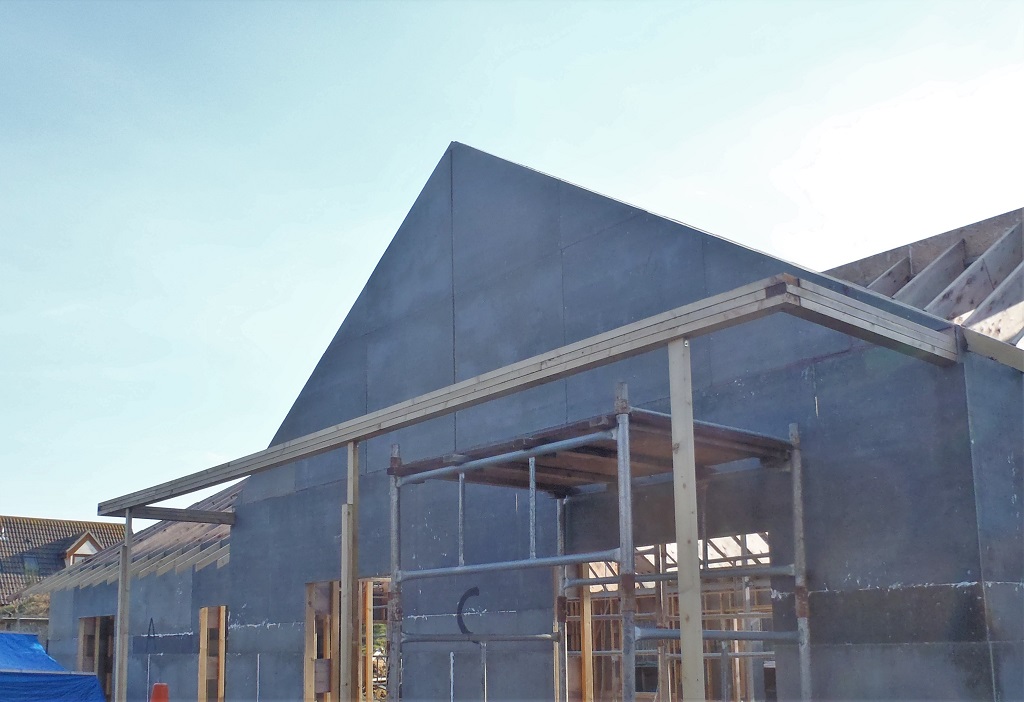
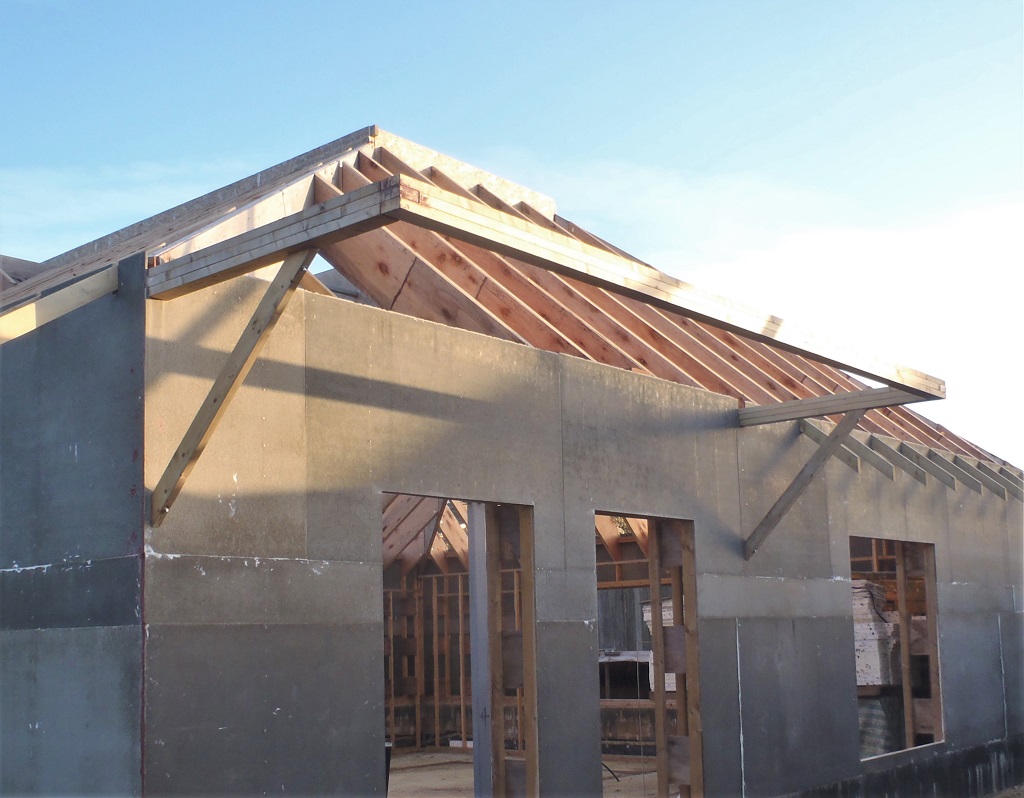
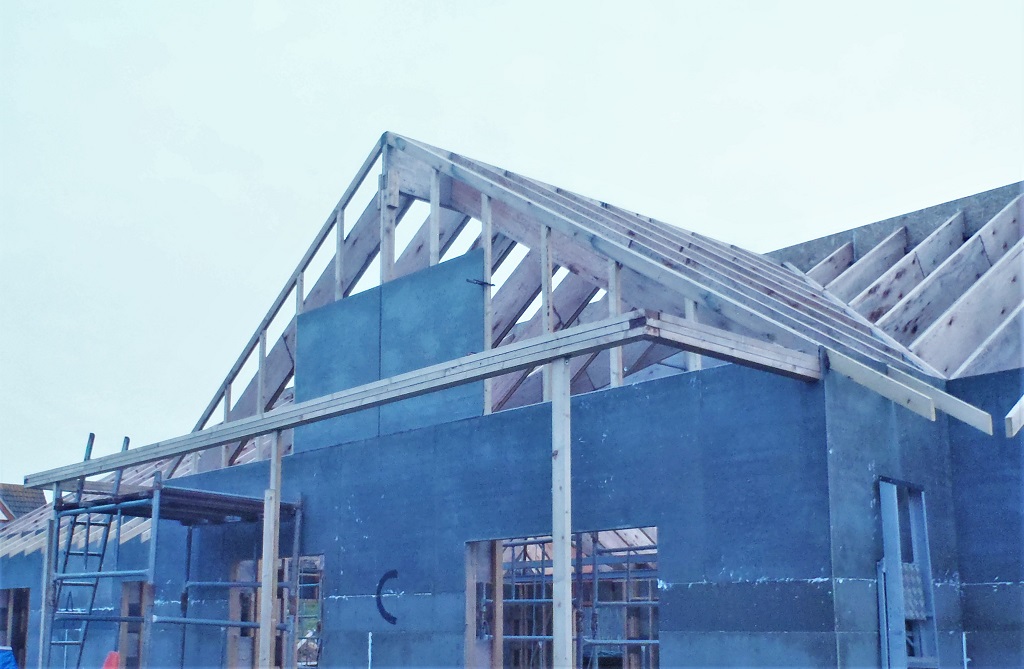
After lunch, we hoisted up the long horizontal beam and glued and screwed that into place to conclude the side door porch framework for the roof elements to sit on.

Side-Porch-Frame-Finished
While those jobs were drying, we sorted our meagre collection of 10mm cement boards and sliced a groove in one of the full size sheets, ready for going up on the front door gable wall. We will have to order another ten sheets so we can do the same for the side door gable wall and the conservatory wall too.
Next was to analyse how we are going to get these very heavy cement boards up three metres (ten feet) up the wall and we settled on building another scaffolding tower, just three segment high and borrowed the wooden platform from our other medium height tower inside the house. It just fitted up under the front door porch framework and we managed to start the task of placing the cement boards up on the wall.

Tower-errected-to-build-front-door-gable
We had the sensible idea of slicing the full size sheet (2400mm by 1200mm, approximately 8feet by 4feet) in half and make it much easier to man-handle these pieces up to the tower. We had been thinking of ropes and pulleys when suddenly the light bulb shone in our minds!

First-Cement-boards-on-Front-porch-gable
We concluded the day’s work by managing to get up two of these half modules, all glued and screwed down before it got too cold to work in and losing the light too!
Tomorrow, we will carry on installing more of the cement panels and then go back to making the diagonal hip rafters for both the front and side door porches.