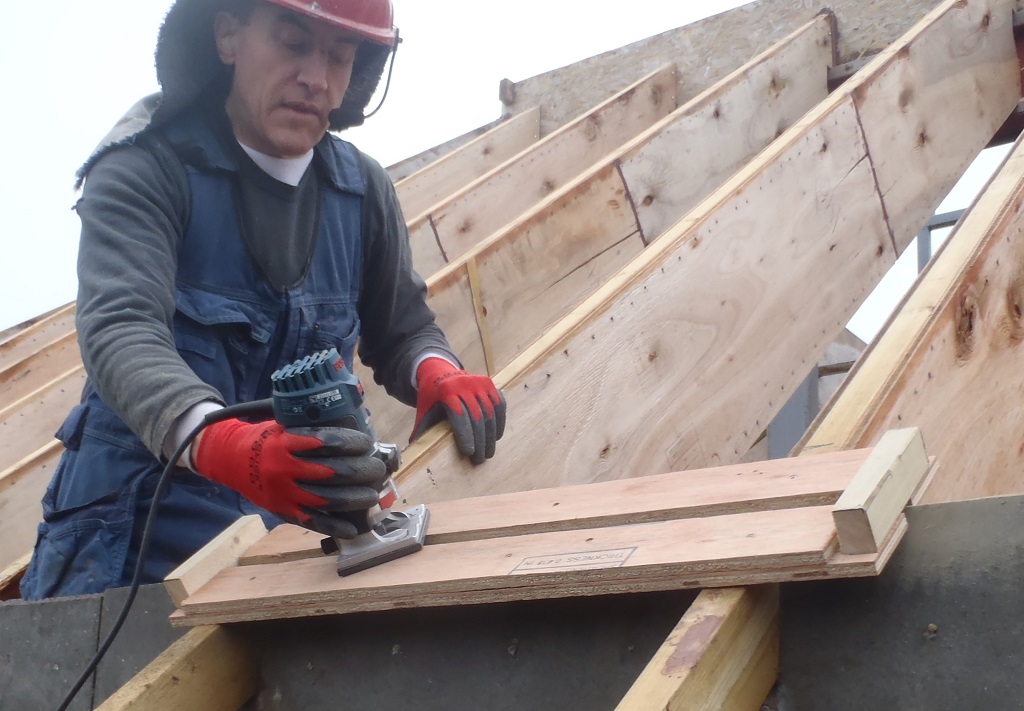
This afternoon, after lunch, we finished off planing the various pieces of the Oak Timber so they are ready for the job of gluing them together to form wide enough Fascia strips (needs to be greater than 150mm wide). Then using our biscuit jointer tool to help align the pieces, we proceeded to glue and join together five planks.
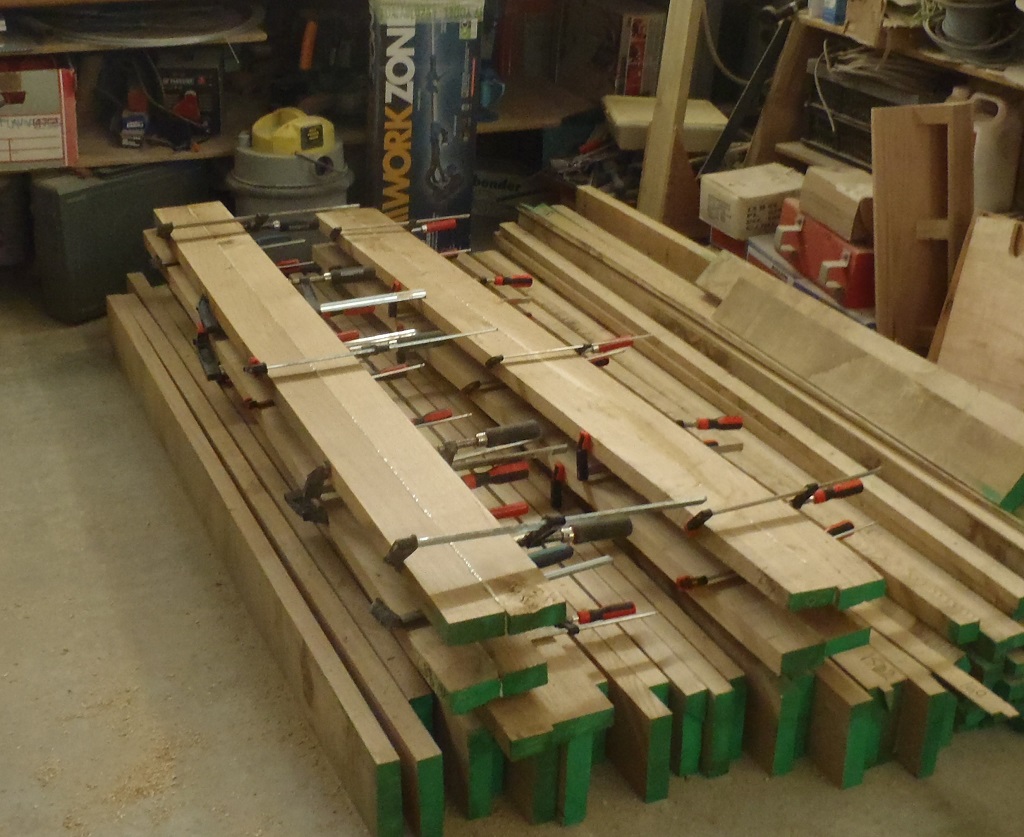
First-5-Glued-up-Facia-boards
We used a fast acting PU glue so we don’t have to wait eight hours to get maximum strength, this glue will reach working strength after only 30 minutes. We are planning to be able to clamp nine set of pieces together in a session and by the time we have done the last one, the first one will be ready to be unclamped and we can carry on with the tenth set and so on. Hopefully the new clamps will come tomorrow in the post! – or else!
After the twenty sets are glued and cured, we will very slightly plane the finished surface again to remove any trace of glue and any very slight misalignment’s, and then all forty pieces will be put through the thicknesser part of the planer machine (this planes wood to a fixed thickness) to get a final set of finished Fascia boards – at last!