A bit of a catch up blog entry for the last few days of work which has been a bit interrupted…
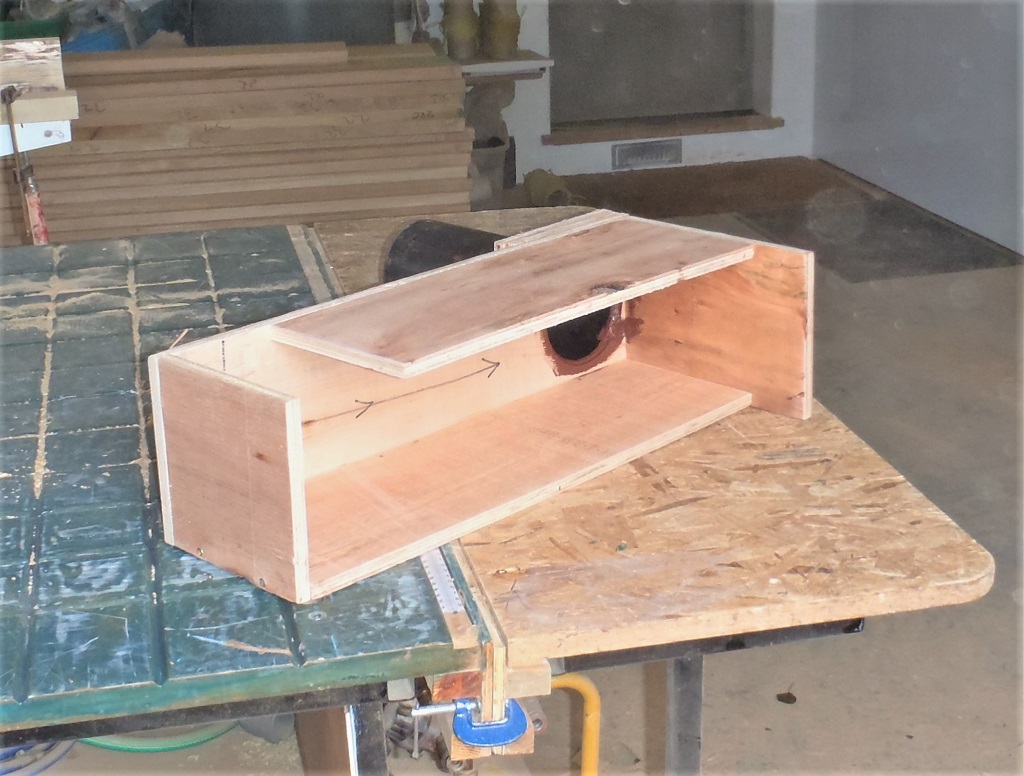
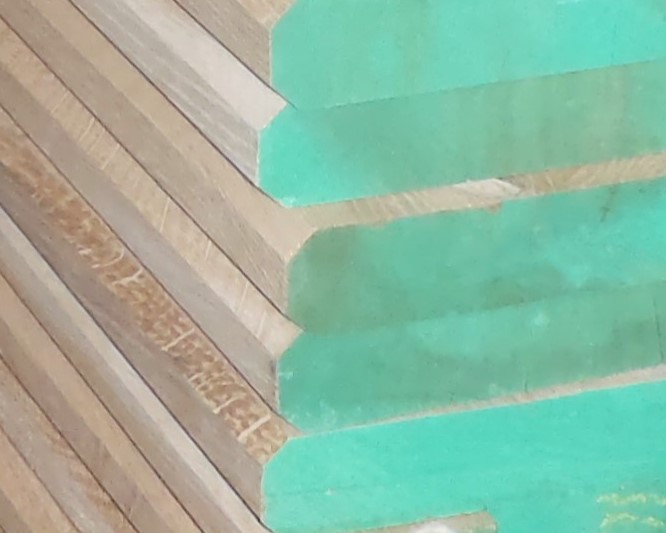
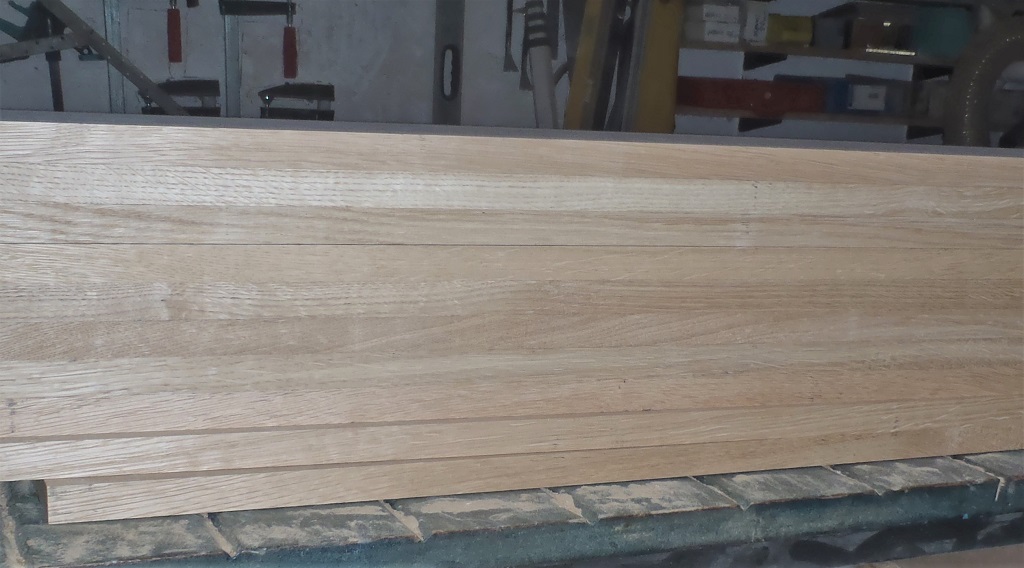
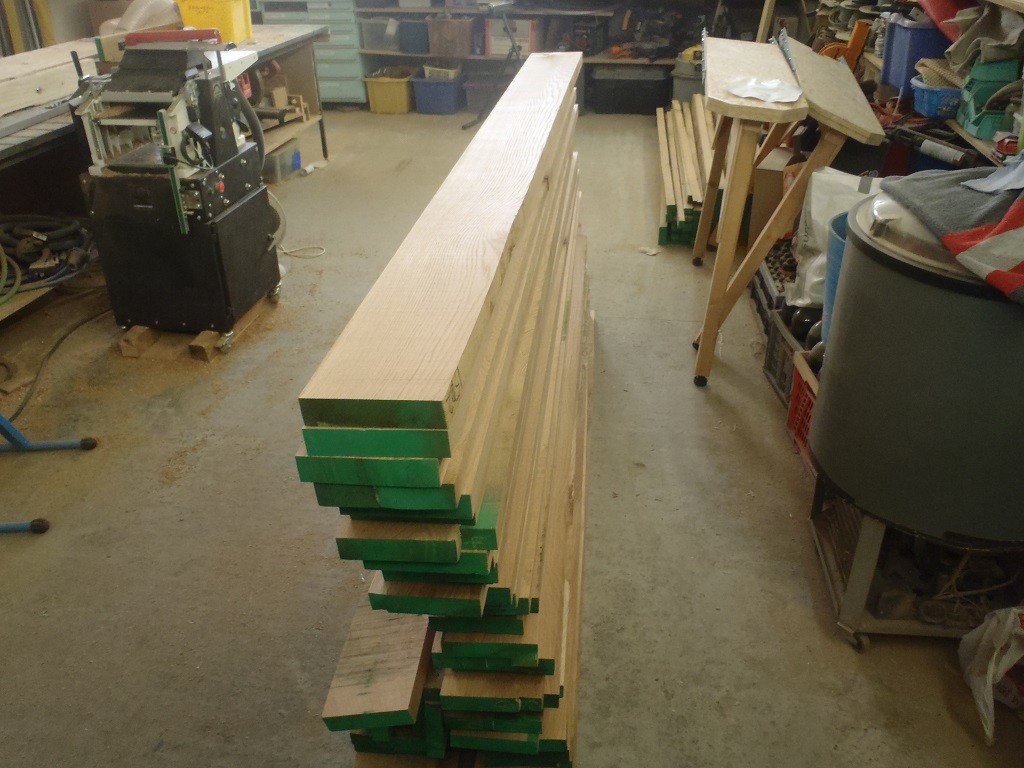
We cut the 10 pieces of fascia for the outside diagonal corners ready to attach to the end cut previously.
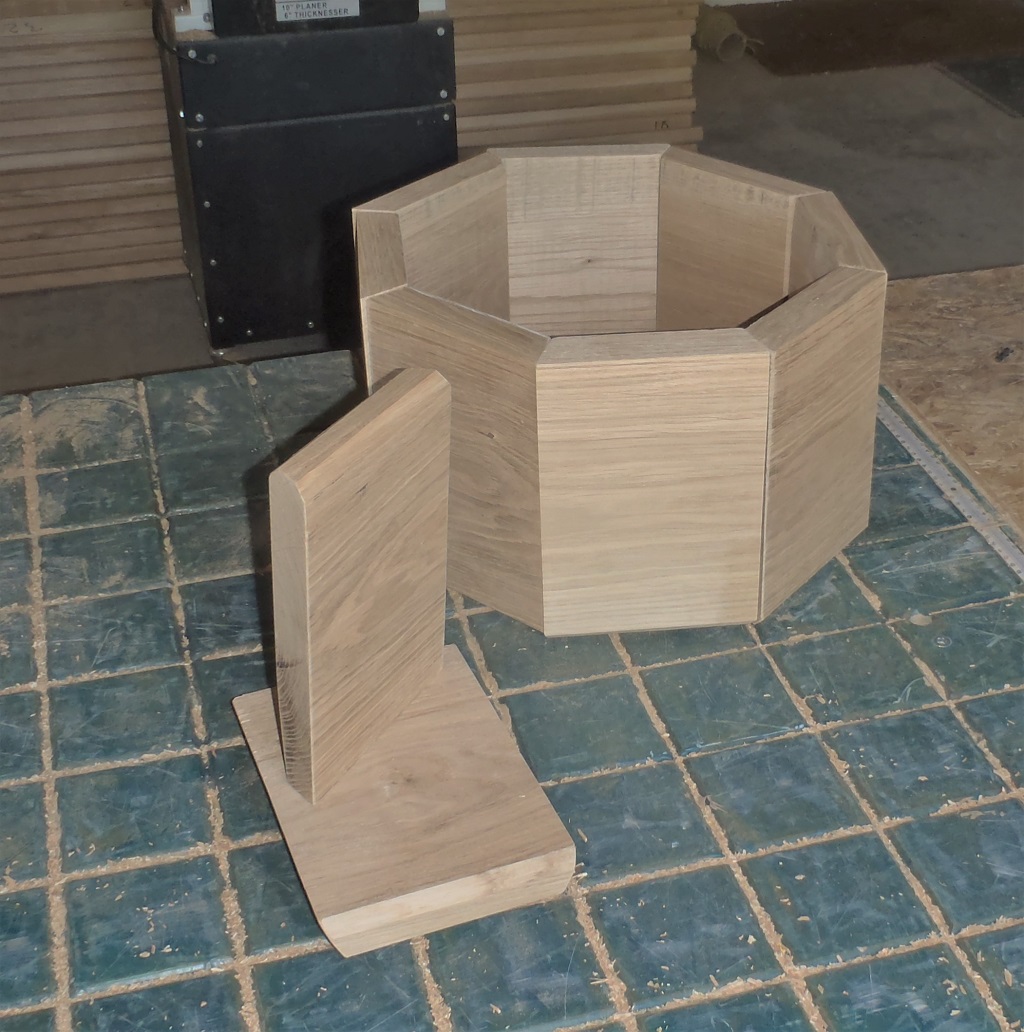
Outside-corner-pieces-for-facia
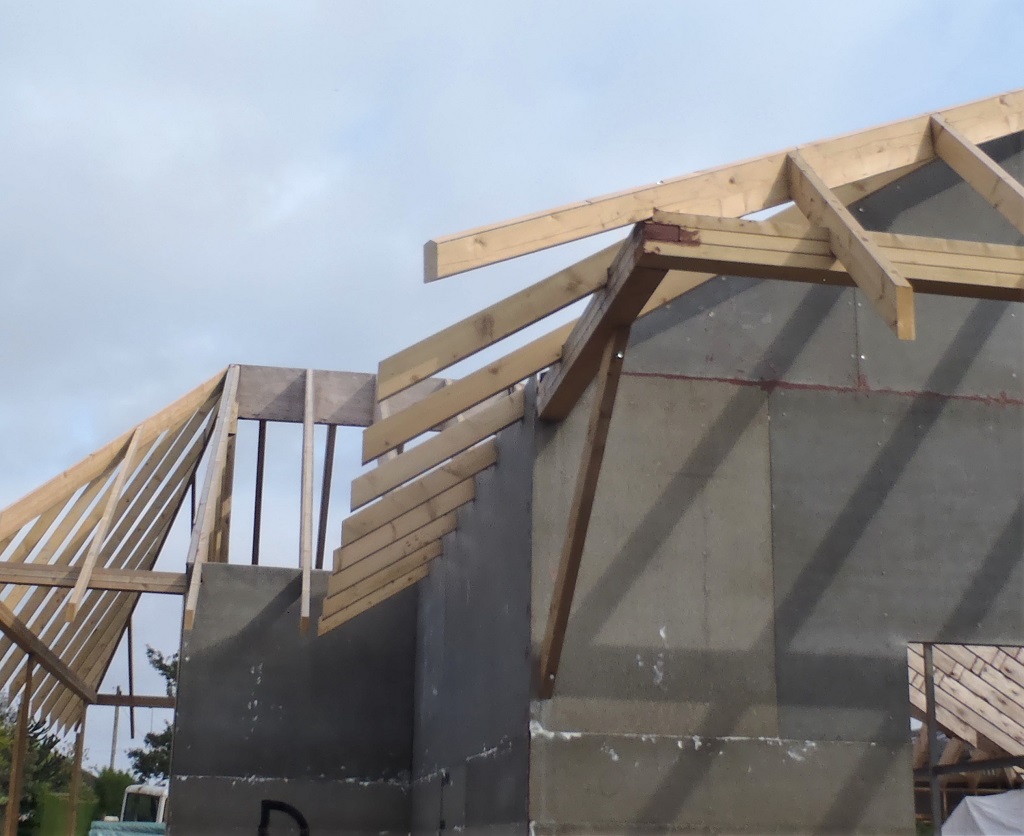
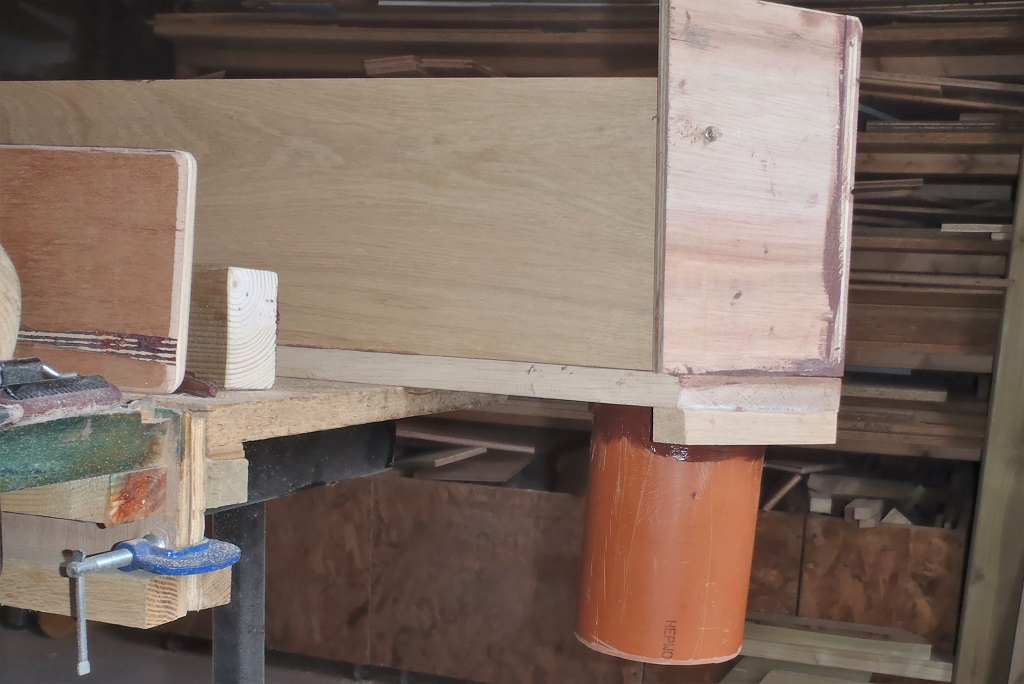
We then made a heap of ‘L’ shaped plywood pieces so that we can measure the position of the bottom of the fascia using our laser level and then clamp a ‘L’ Bracket in place to rest the fascia on. We then started by putting up 4 brackets on the E & F eves.
Later we returned to the job and we double checked these ones previously set to make sure that they were still in the right place. We wanted to make sure we could repeat the measurements and get the same results. And No We Cannot!
Further analysis seems to show that the laser can only find the same level within three to four millimetres each time we placed it down in a slightly different place. This would be ok for the more general site surveying tasks and even positioning certain building elements in and around the structure but when our Fascia will do a complete circuit around the whole house, travelling some seventy-seven metres in total, we were not confident that the laser will bring the two ends together within a few millimetres. We didn’t want to take that risk.
So a change of plan and we have ordered an old fashioned liquid levelling system using a long hose pipe and clear plastic tubes at each end and we will set one end at our reference point and move the other end right around the perimeter and fix our “L” wooden brackets everywhere first before putting up a single Fascia board. We will have to make a load more of these brackets but that is a small cost to achieve a consistent and clean result.