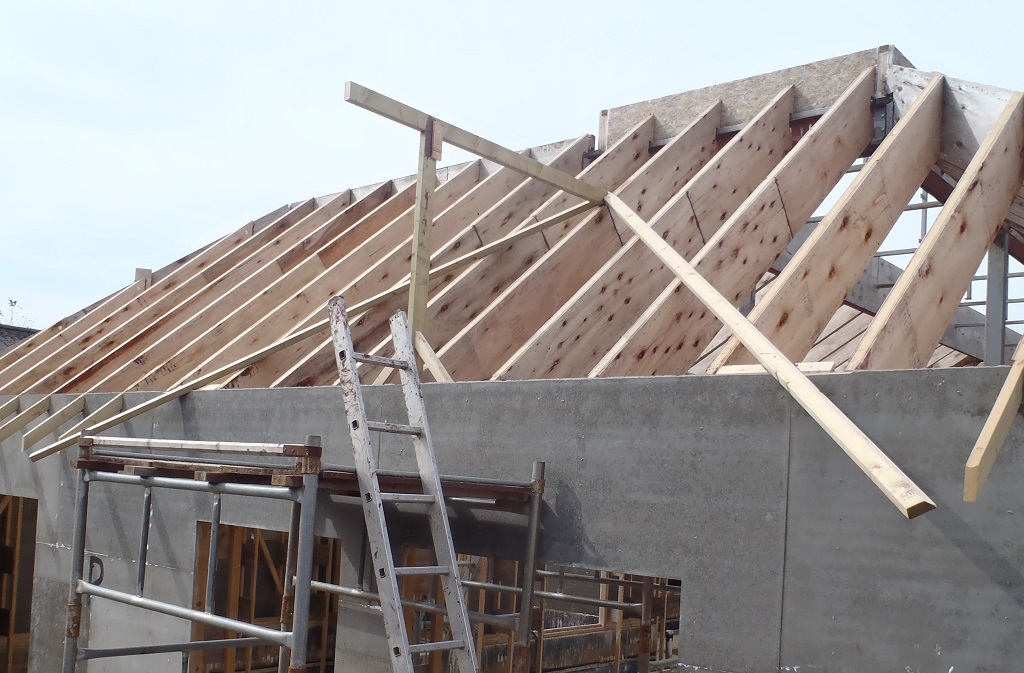
We carried on with the creation of the basic framework to form the Gable end to extend the wall up over the Side Door and Utility Room window.
The first bit was the extension to the E10, E11 and E12 rafters, which we had made yesterday and they got installed this morning, all glued and screwed into place.
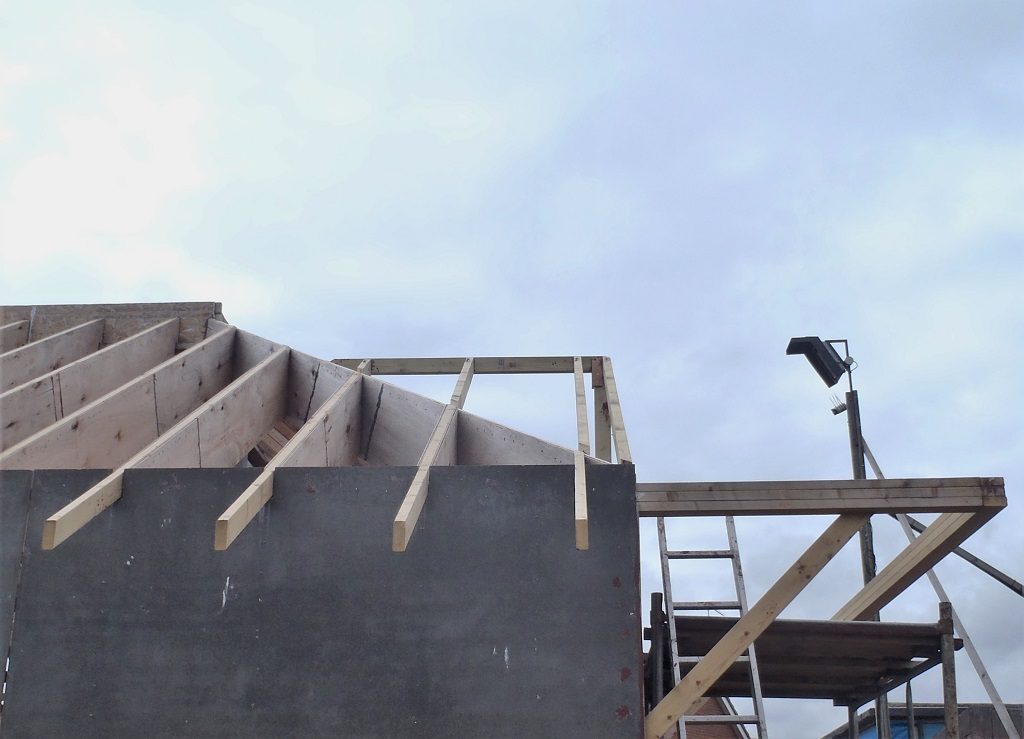
E-extensions-on-side-porch-complete
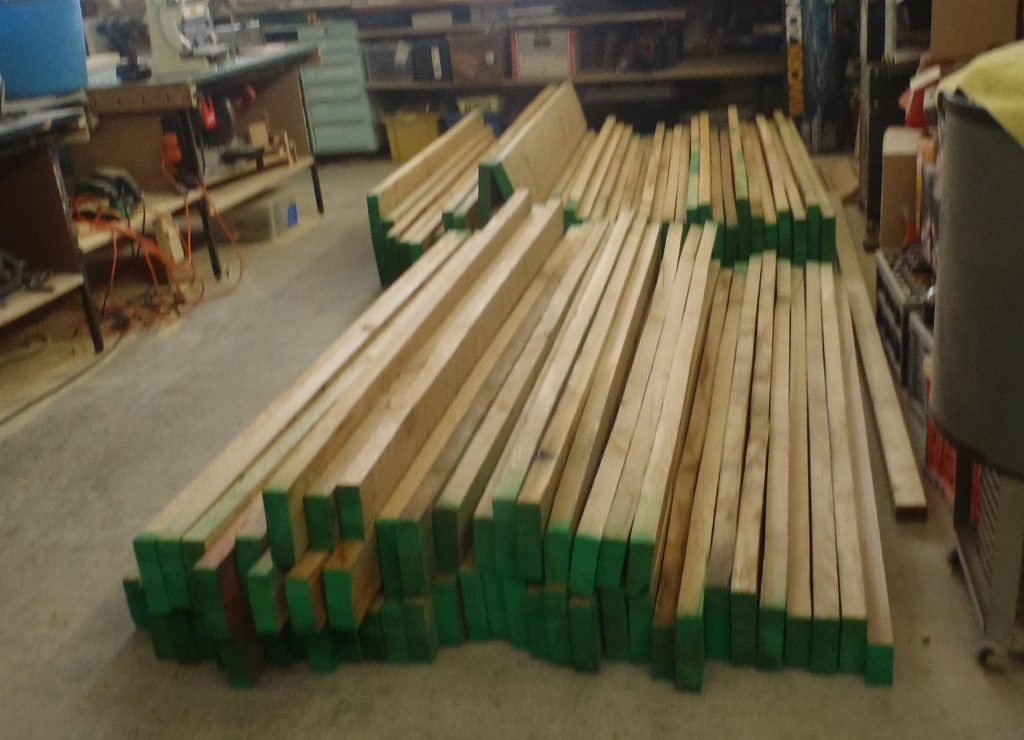
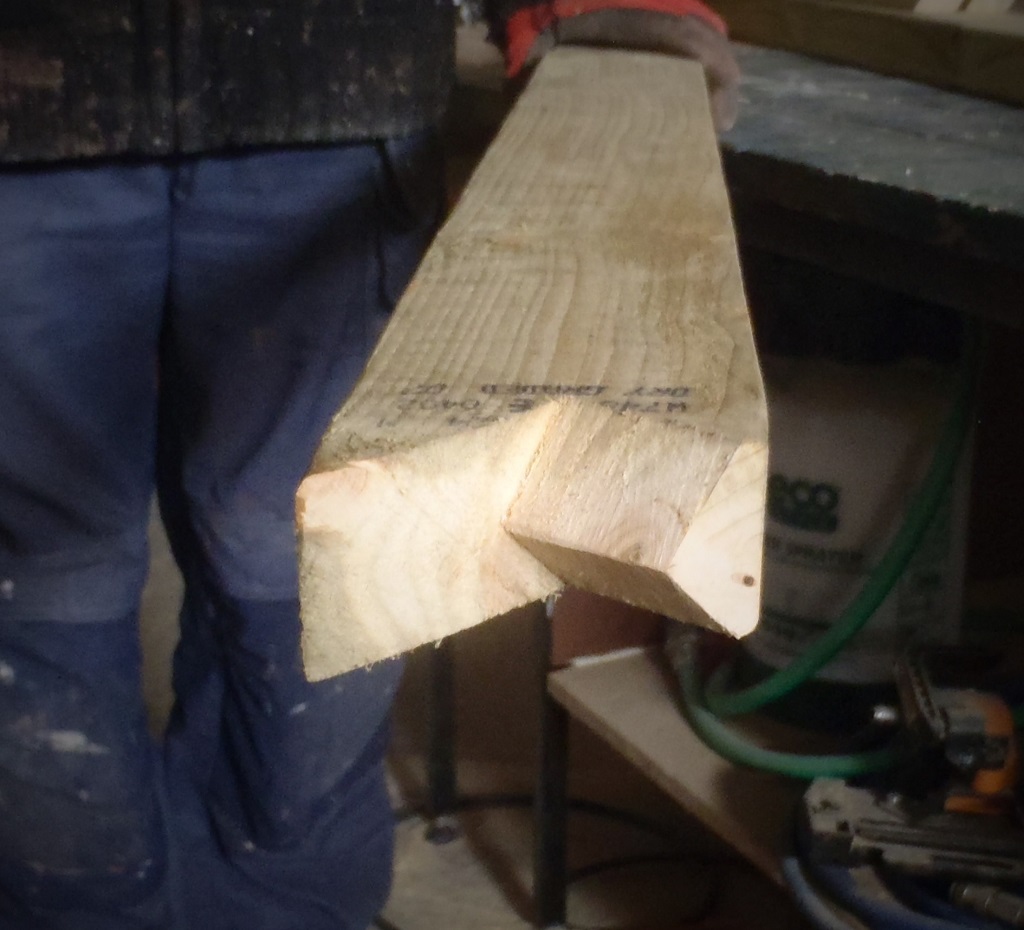
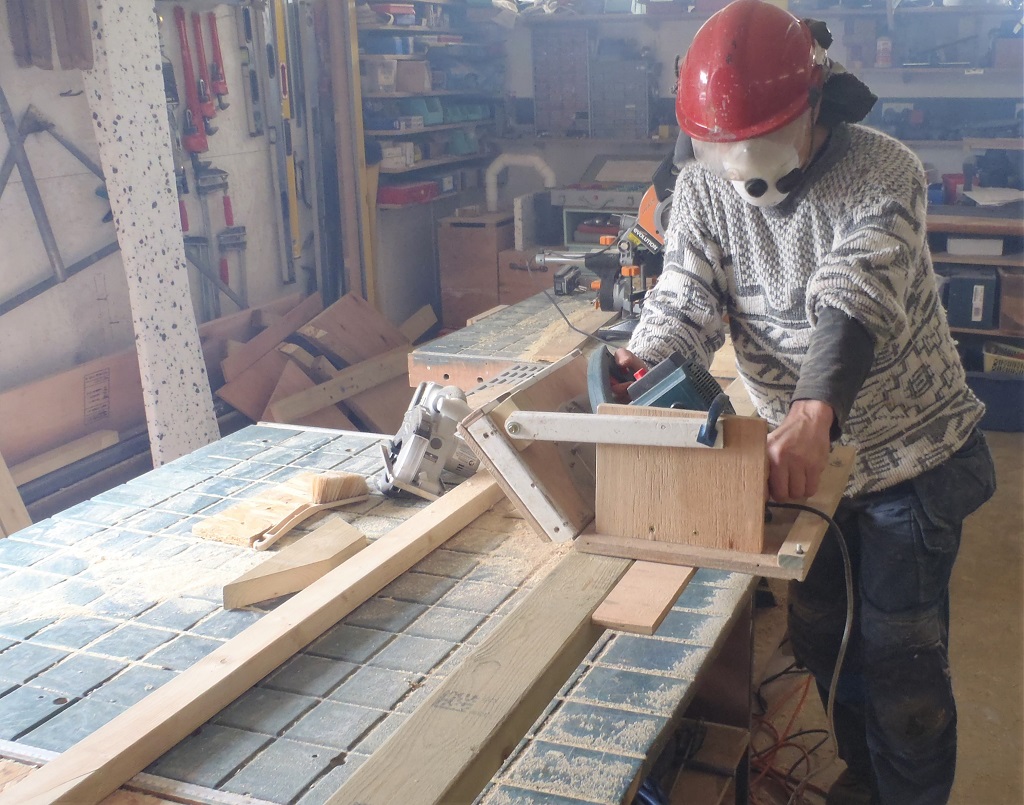
Then we tackled the next job of slicing down the whole 3m length of a timber, a 40 degree slope cut to form a special valley beam that goes flat on the “H” rafters, from the top of the F Ridge where it meets the EH rafter and all the way down to the bottom where the G3 rafters meets the edge of the porch top plate.
We had to use our Bevel Slicing machine as we needed a quite a deep saw cut and none of the standard circular saws can cut that much in one go at the 40degrees angle we wanted. It was a slow job with frequent pauses to allow the motor to cool down and in fact, we stopped for lunch as well!

Slicing-slope-of-valley-beam
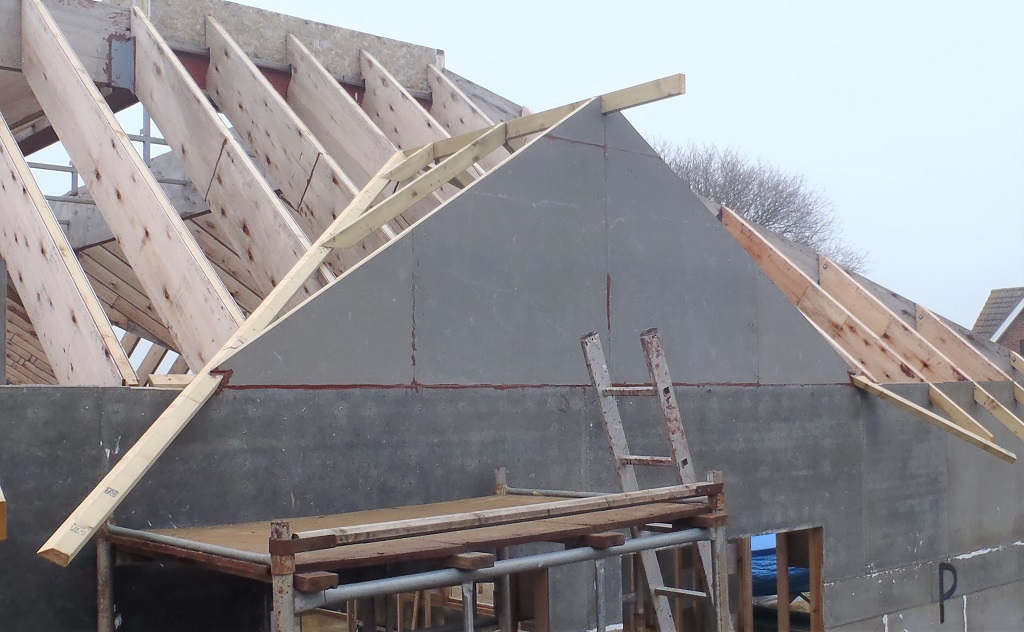
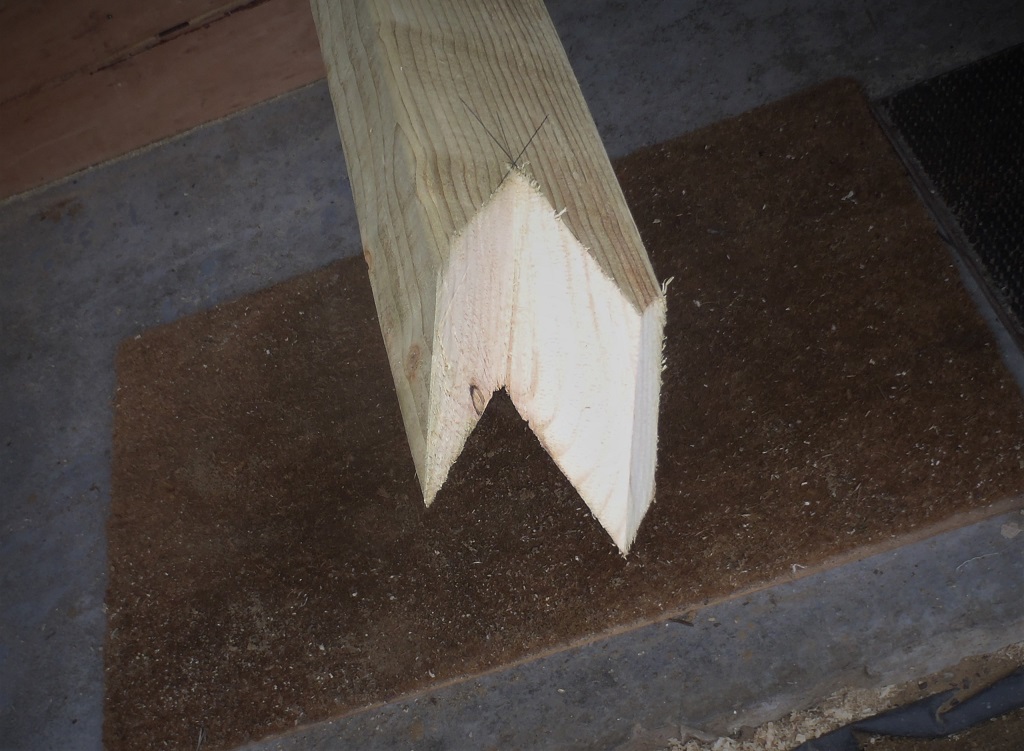
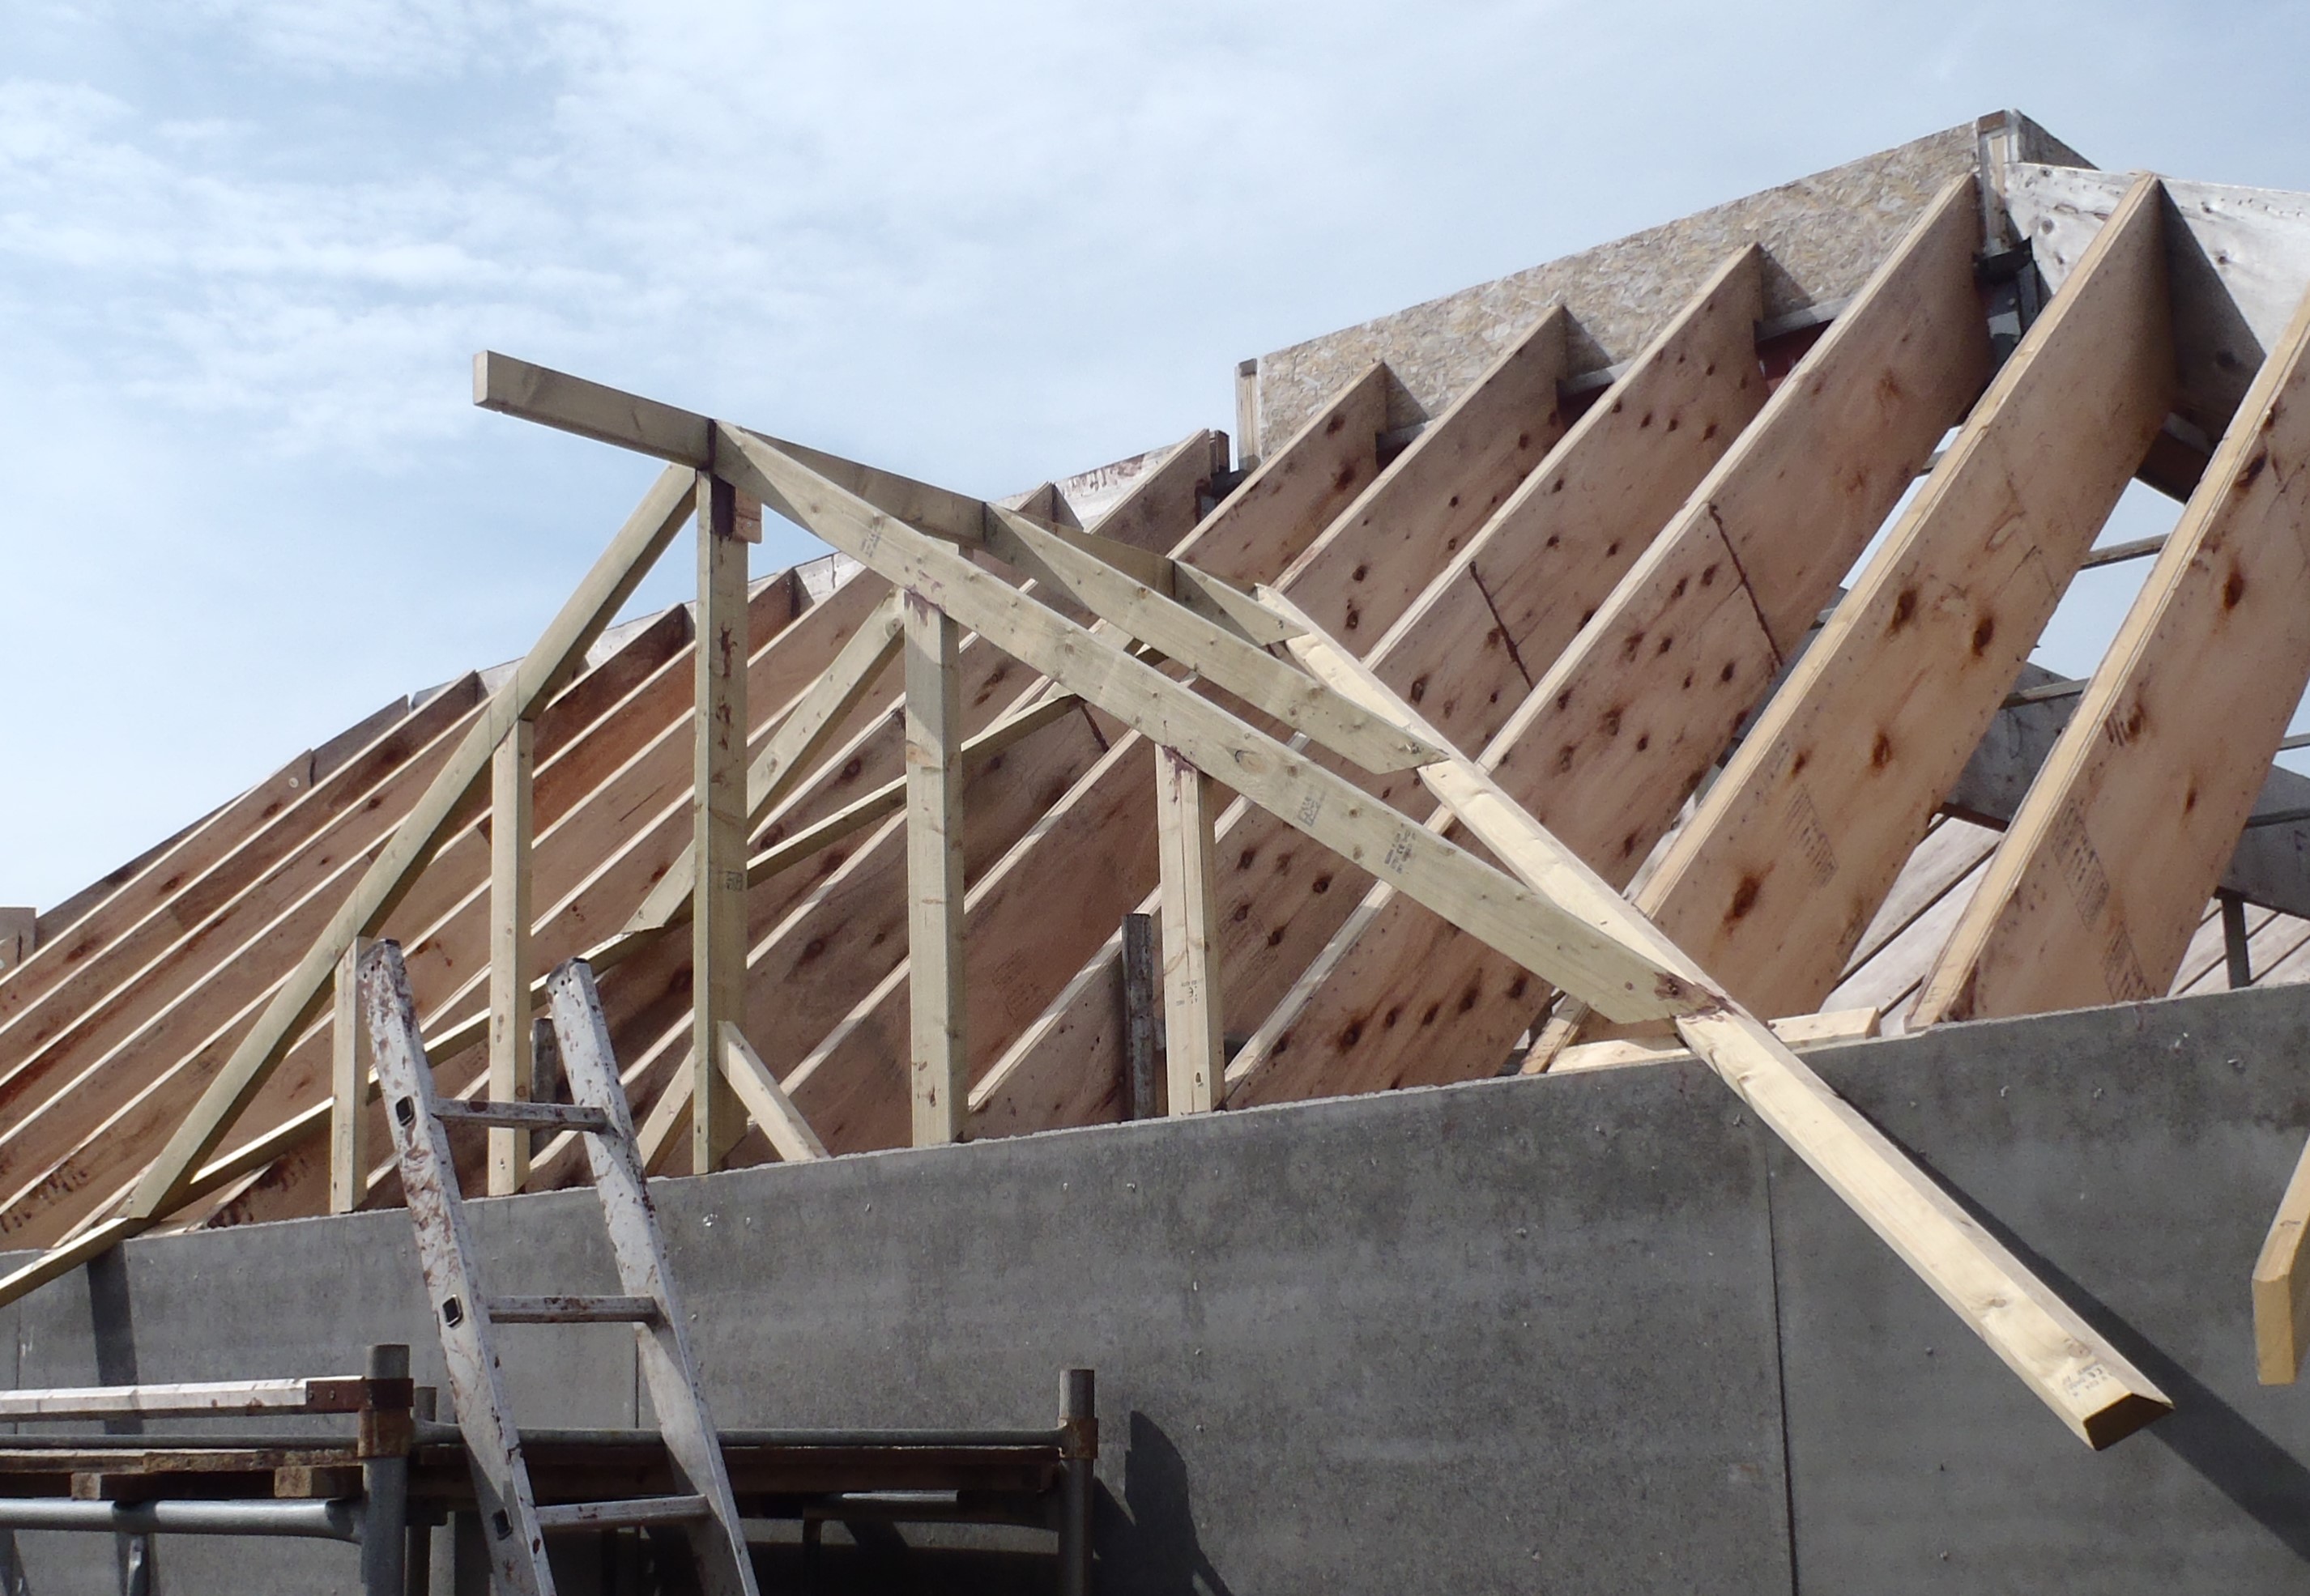
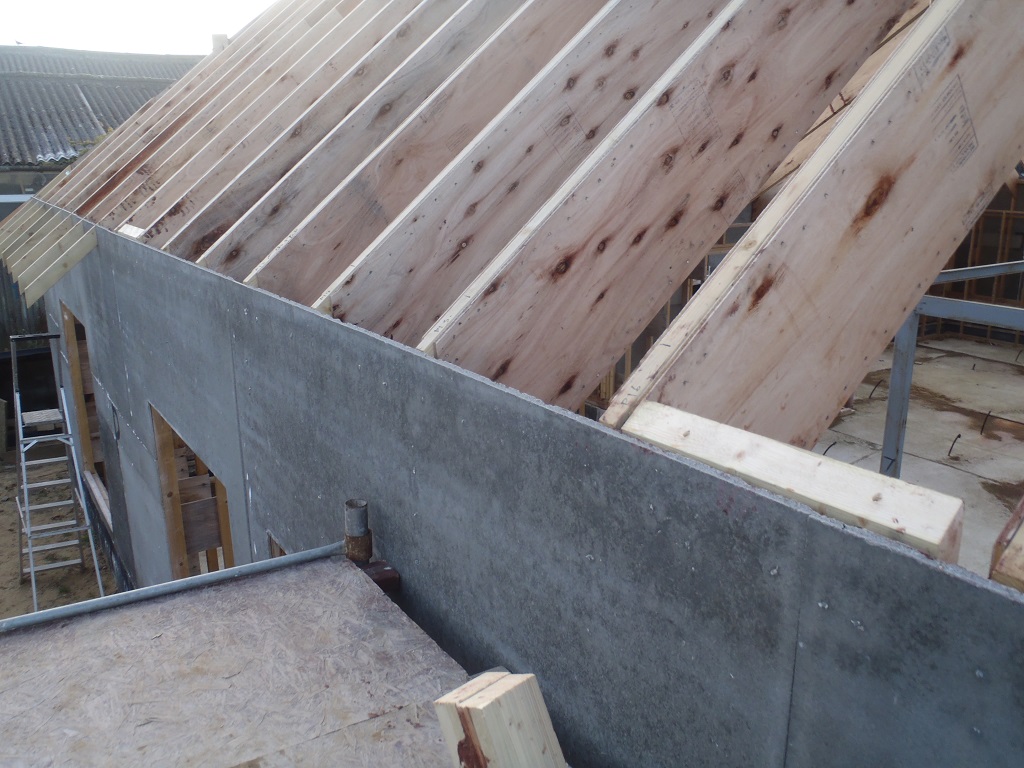
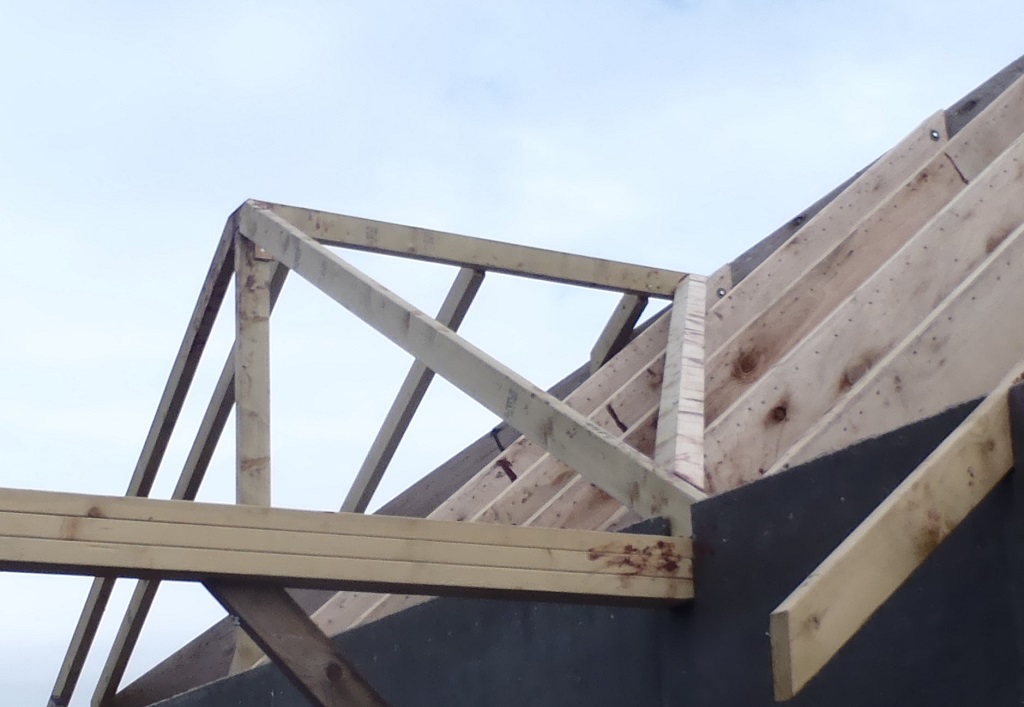
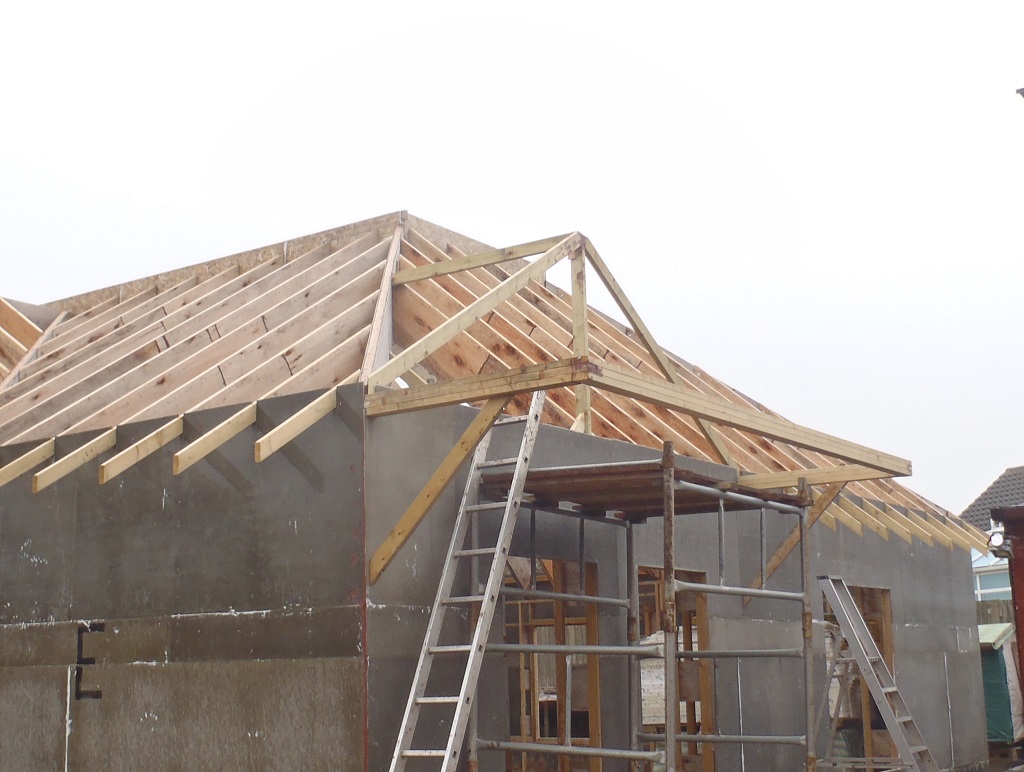
After lunch, we finished off the slicing down the length of the valley beam and then we cut the required angled ends (on both ends) to connect properly and tightly. It took several tries to get all the correct angles into place and then we did our usual glue and screw this valley beam up onto the roof.

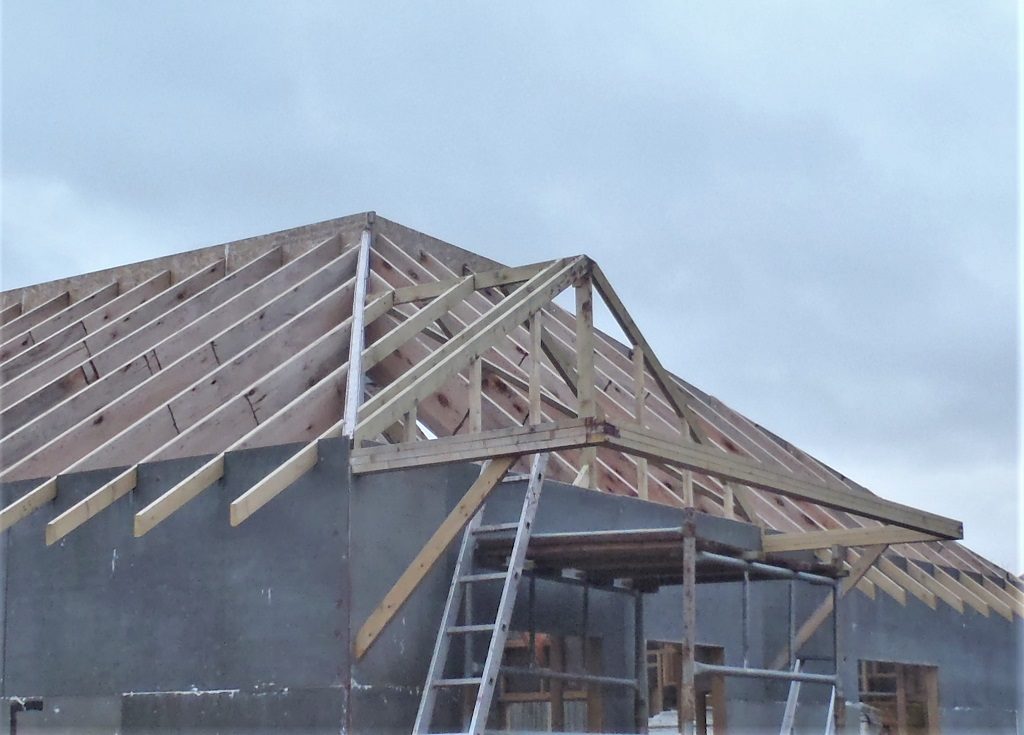
GH-Valley-beam-installed
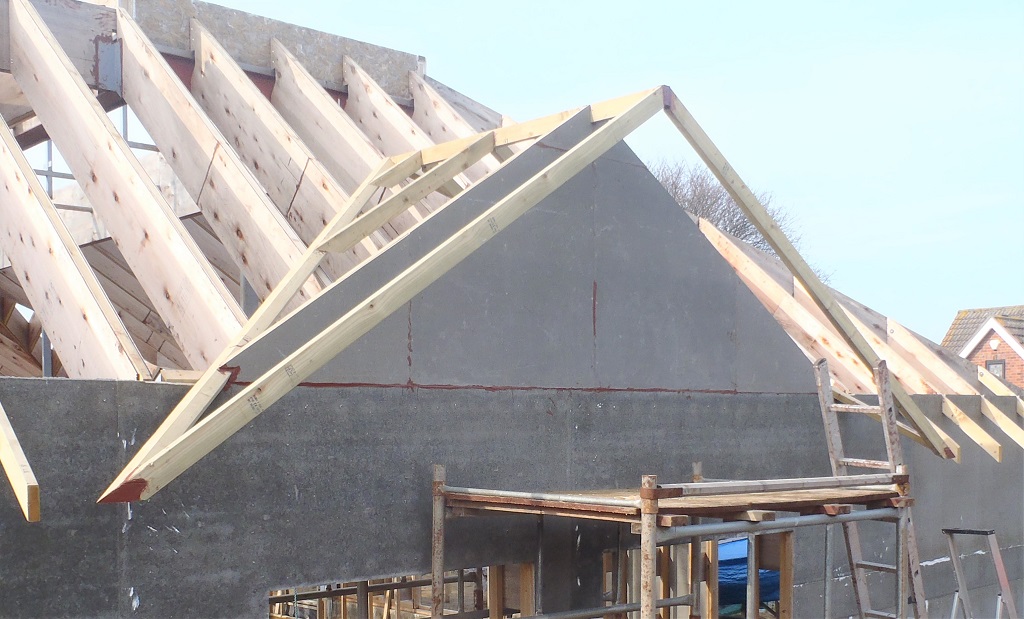
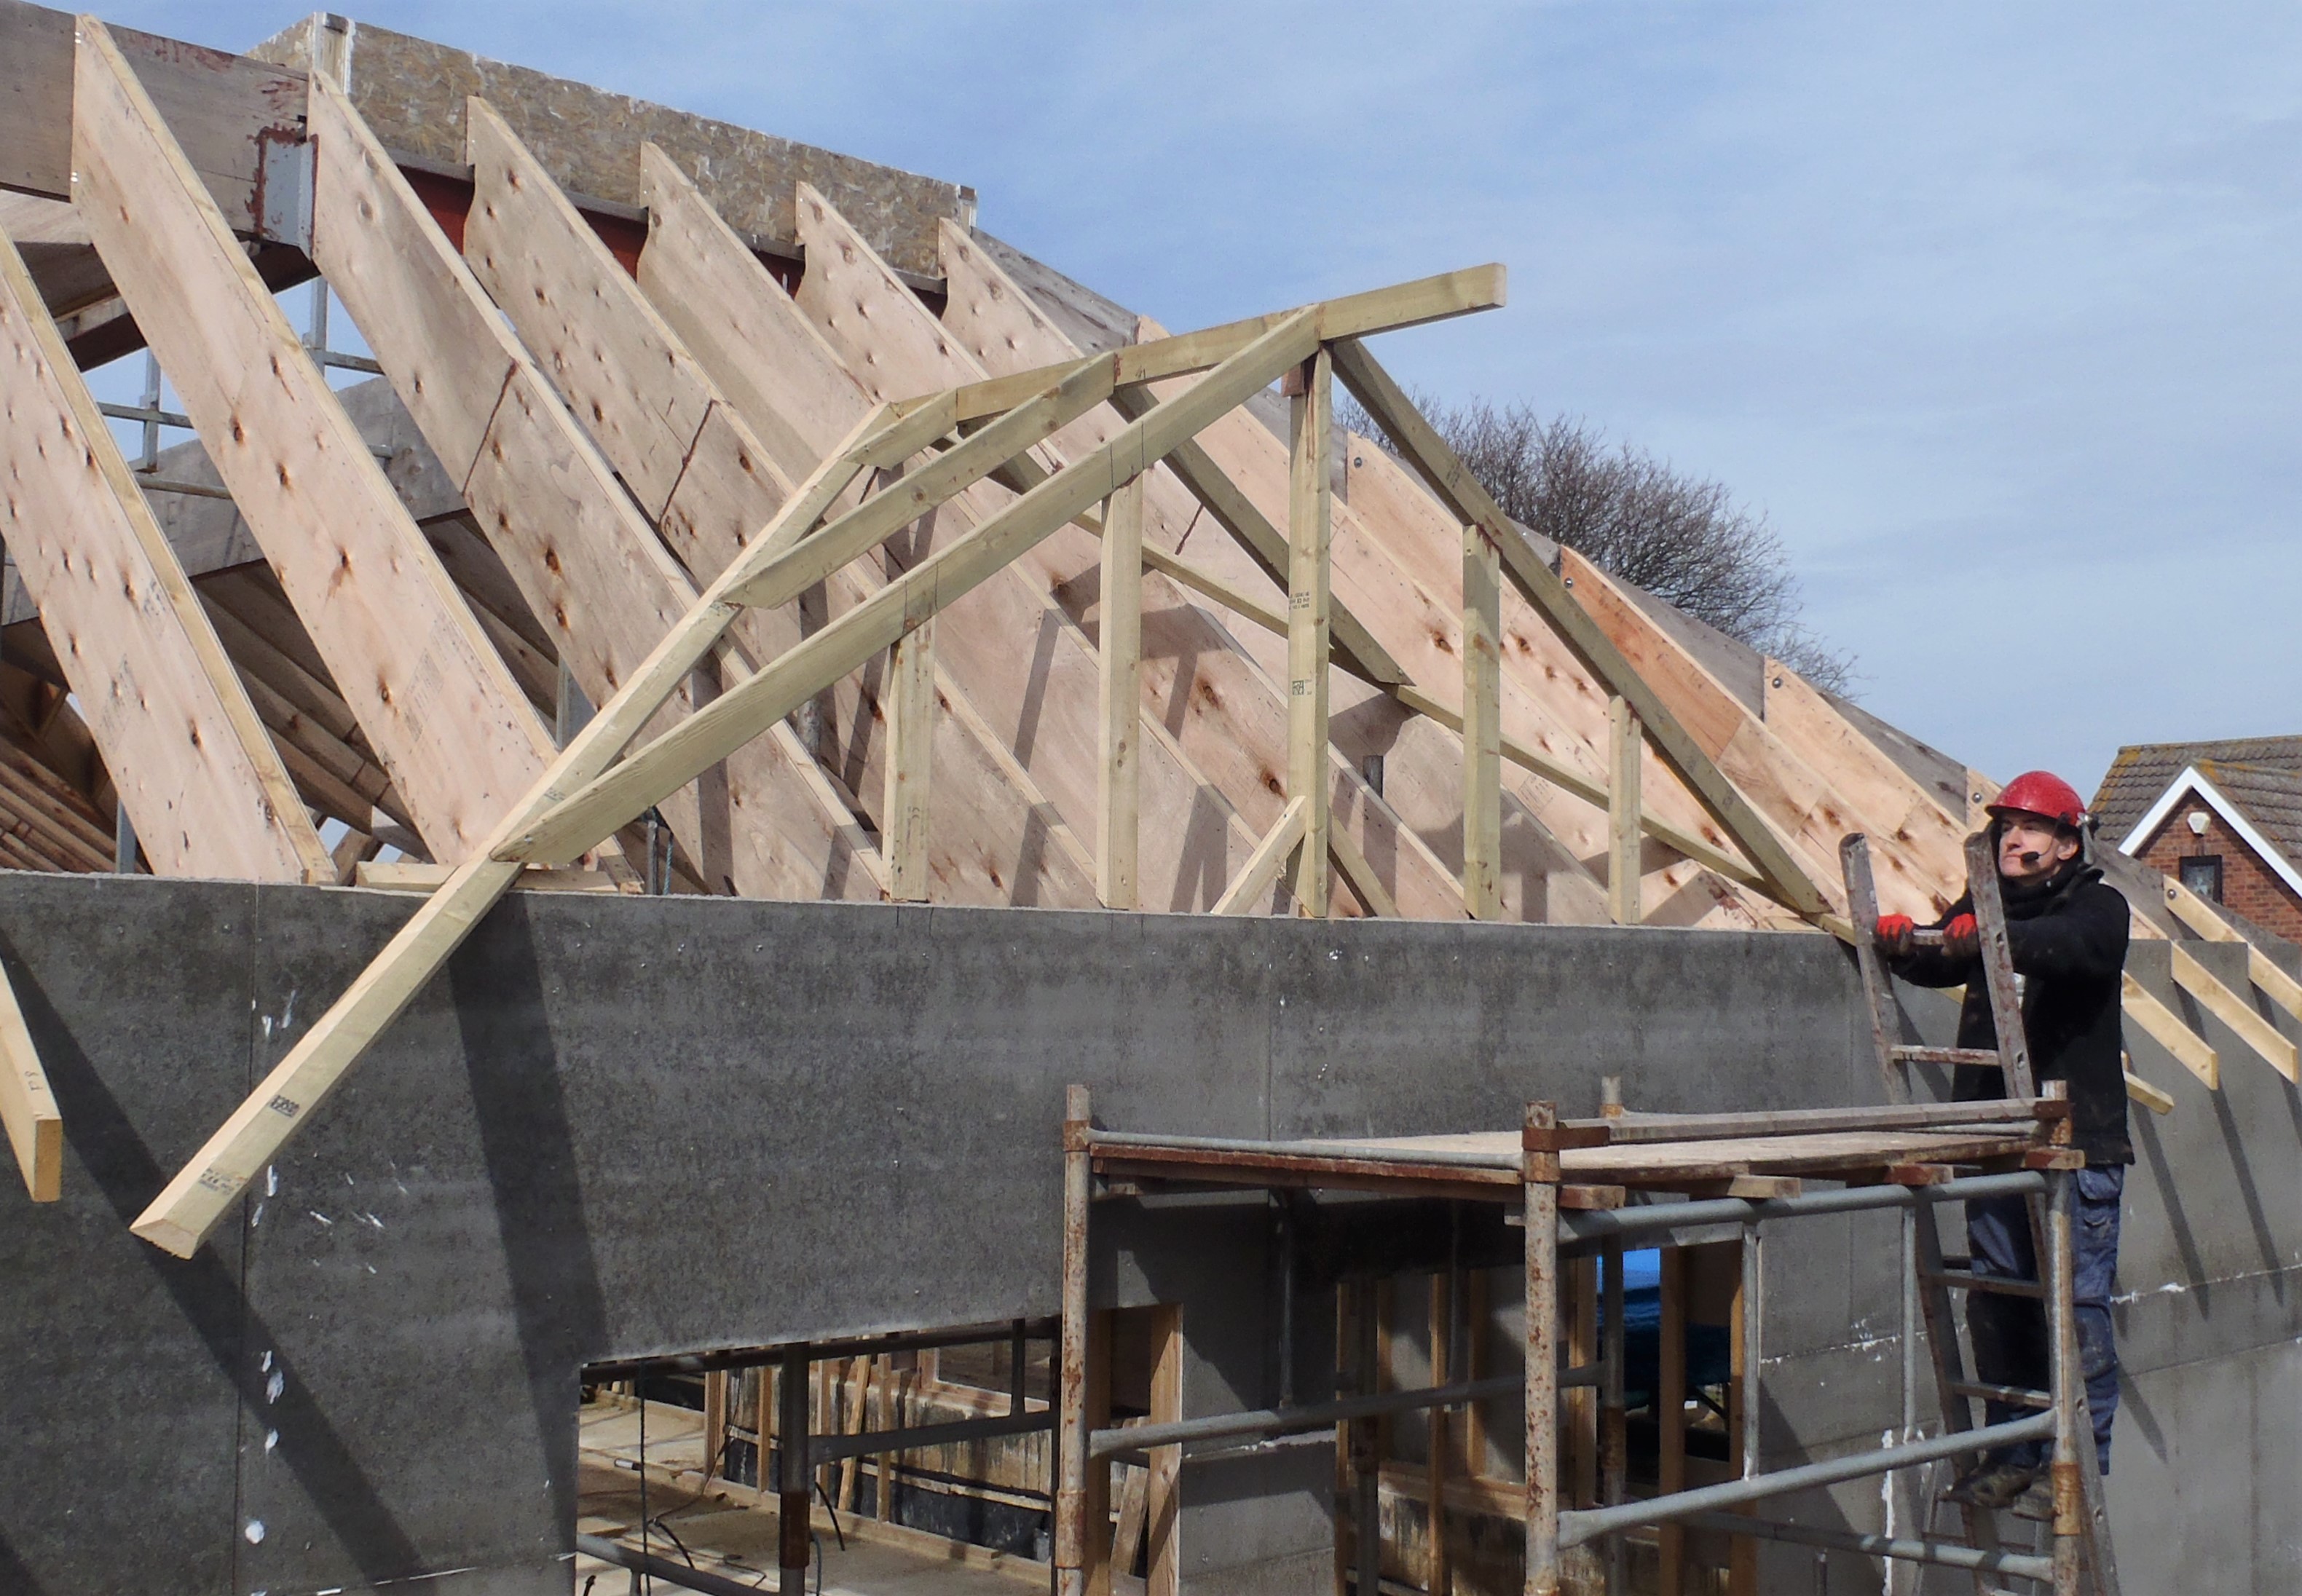
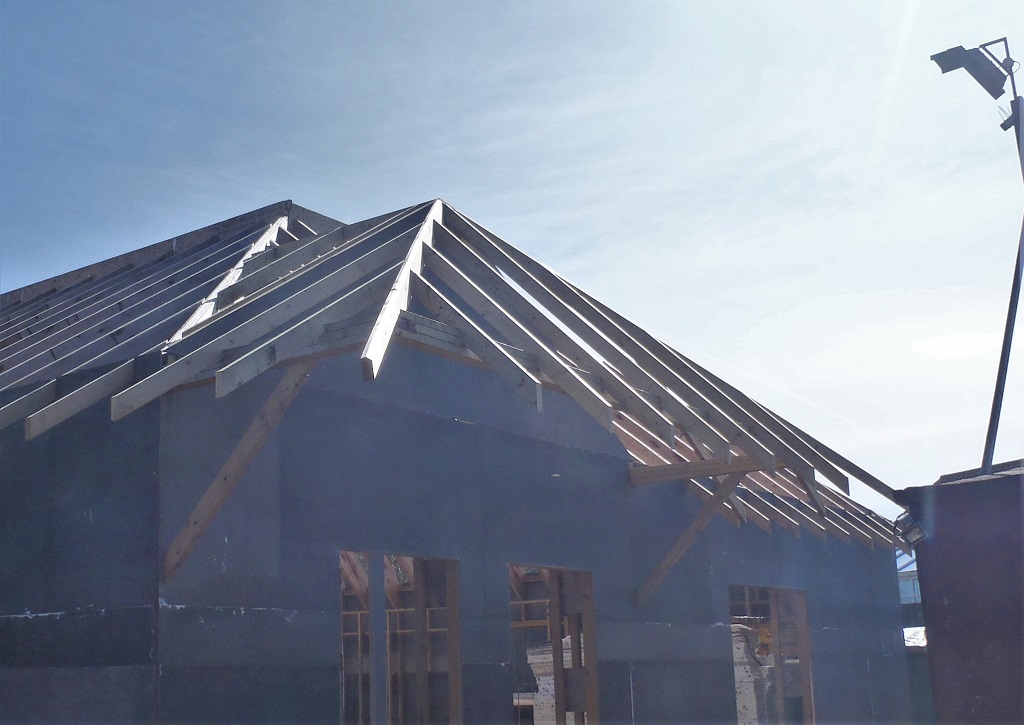
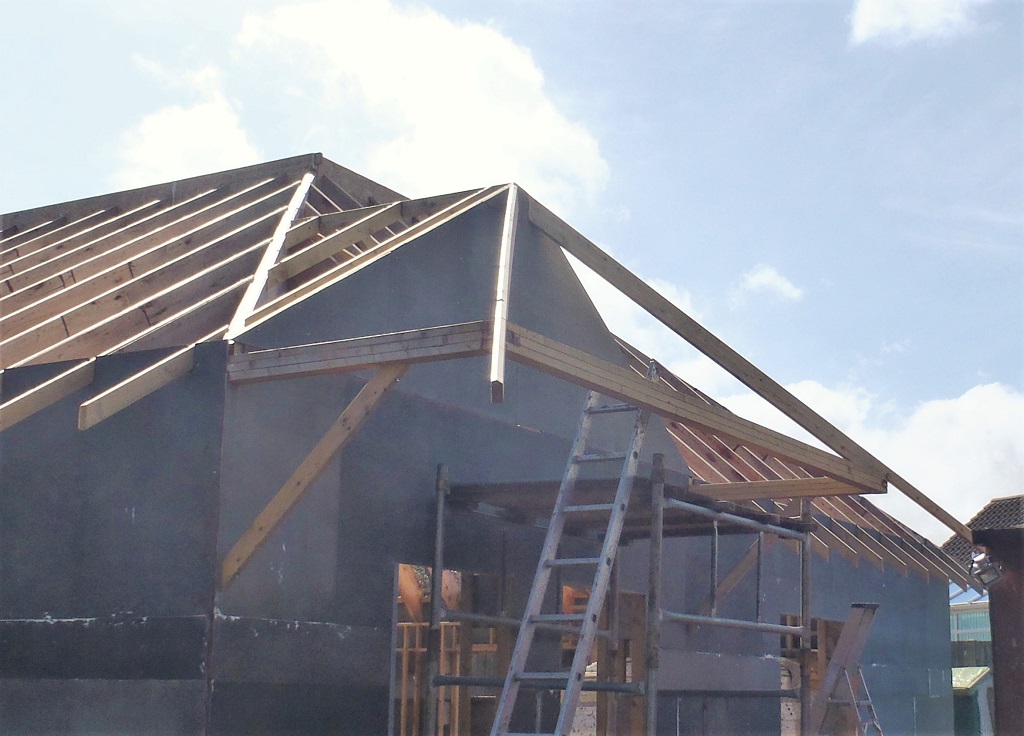
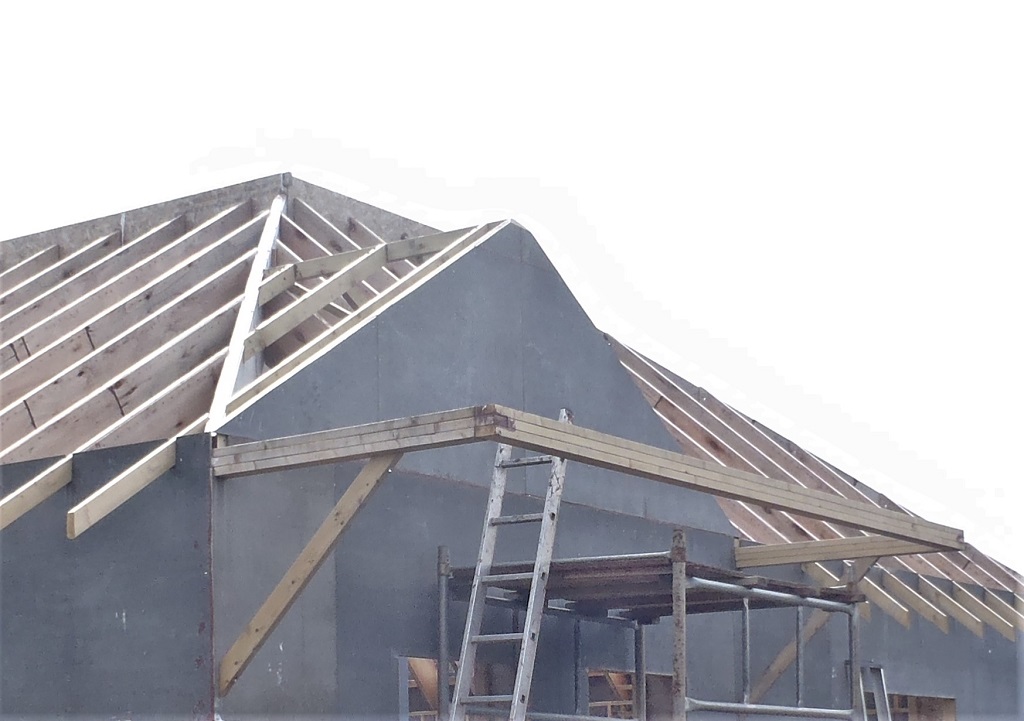
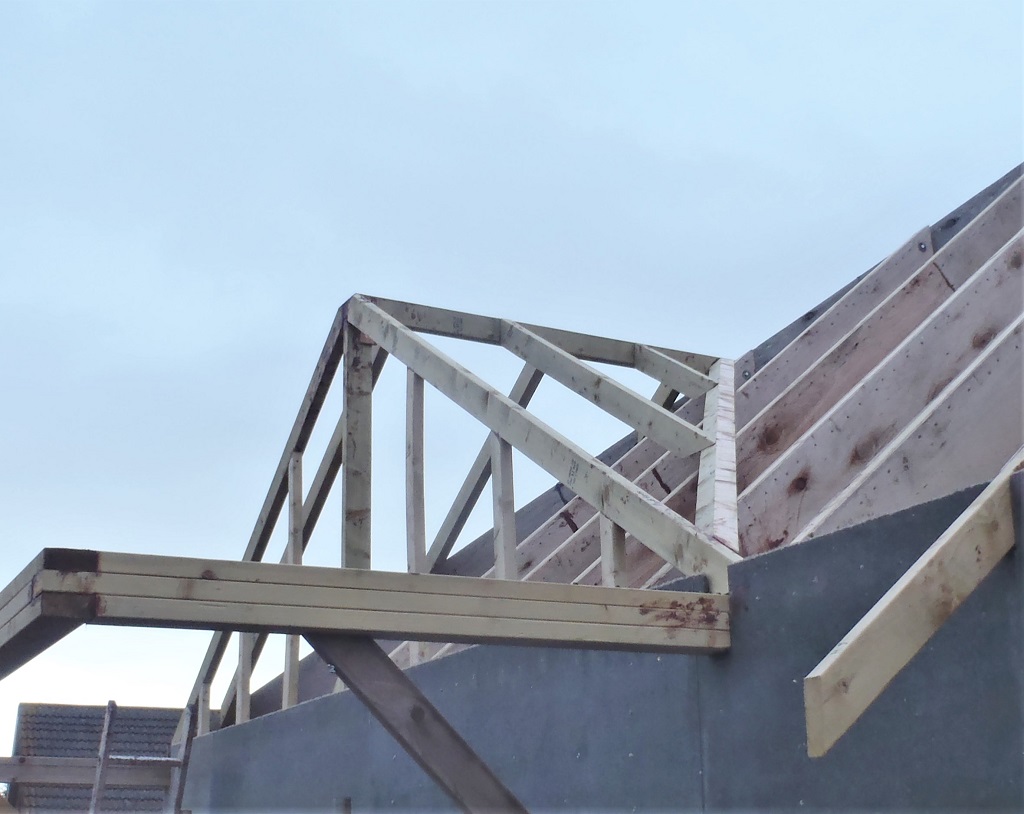
The next job was to make the twin set of rafters to go down from the F ridge beam to the new valley beam and that got cut and sliced with more complex angles to marry to the valley beam correctly!!
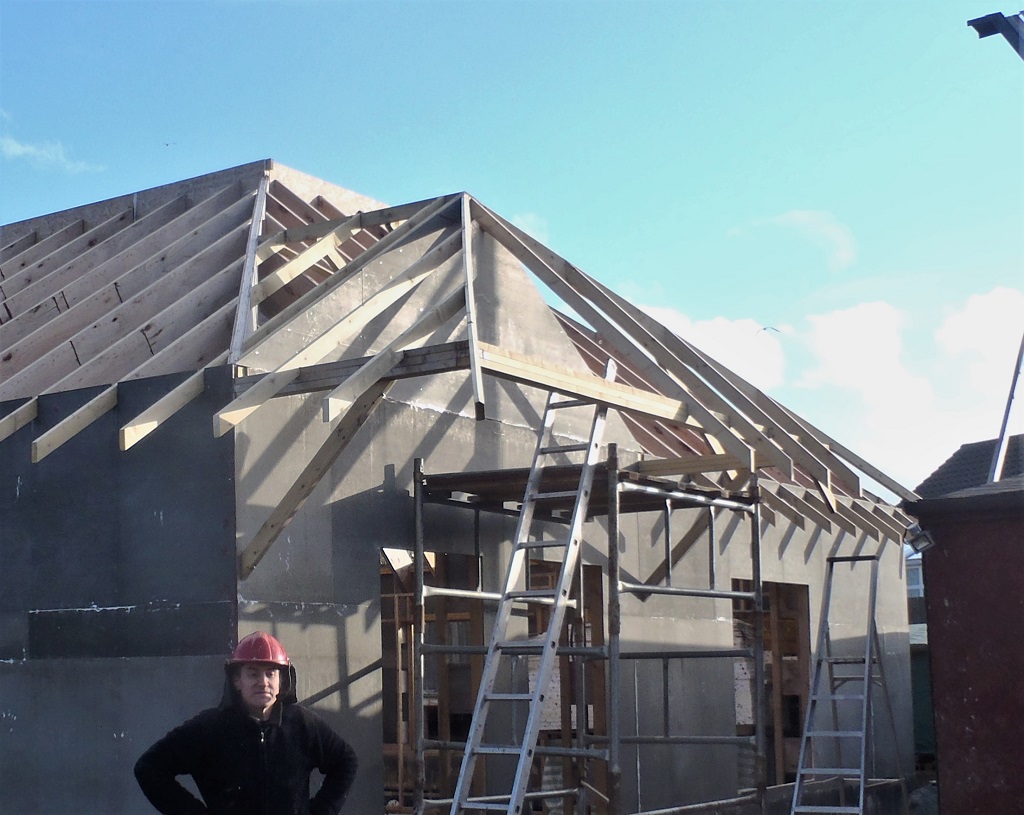
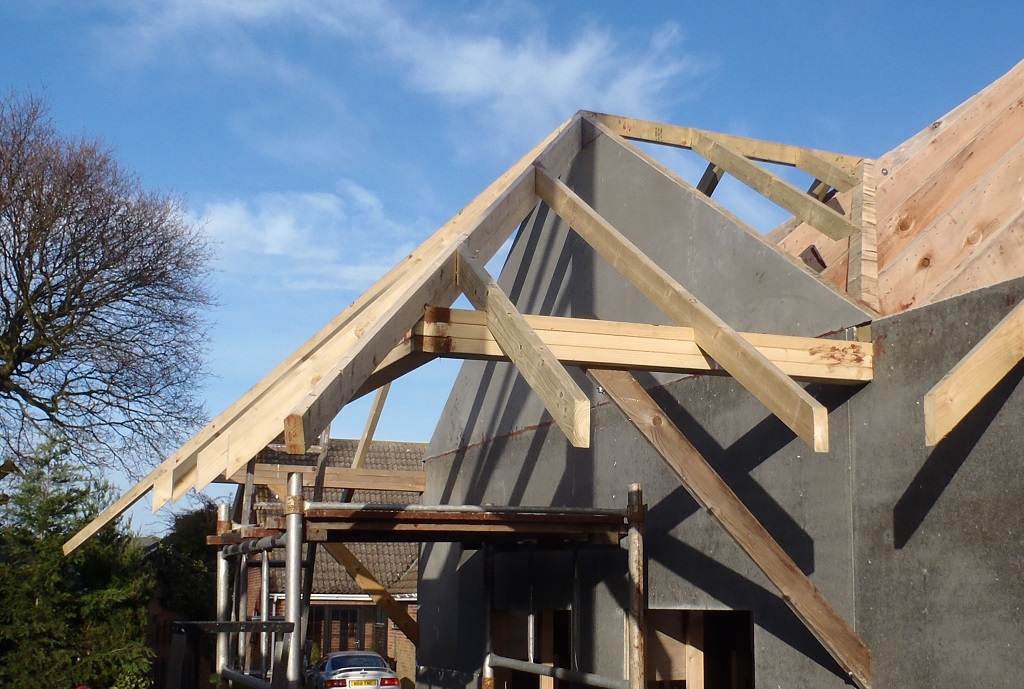
And finally, we made six vertical posts to fill in the two triangular sections along the front using 63mm wide CLS timber.
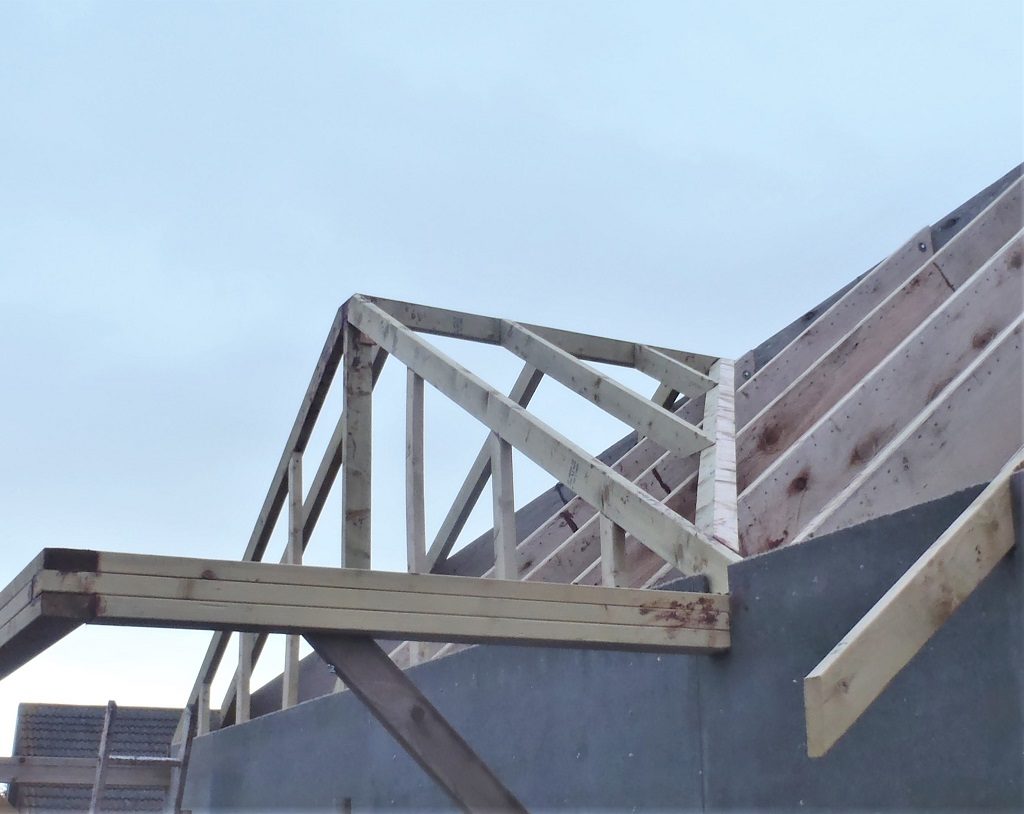
Dormer-part-of-side-porch-framed-1
Dormer-part-of-side-porch-framed-2
This concludes our work on building this piece of roof framework and now we are ready to install several cement boards to build up the wall covering to form the triangular gable section over the Side Door. After that, we can build the structure of the roof going outwards to form the overhanging roof of this Porch.