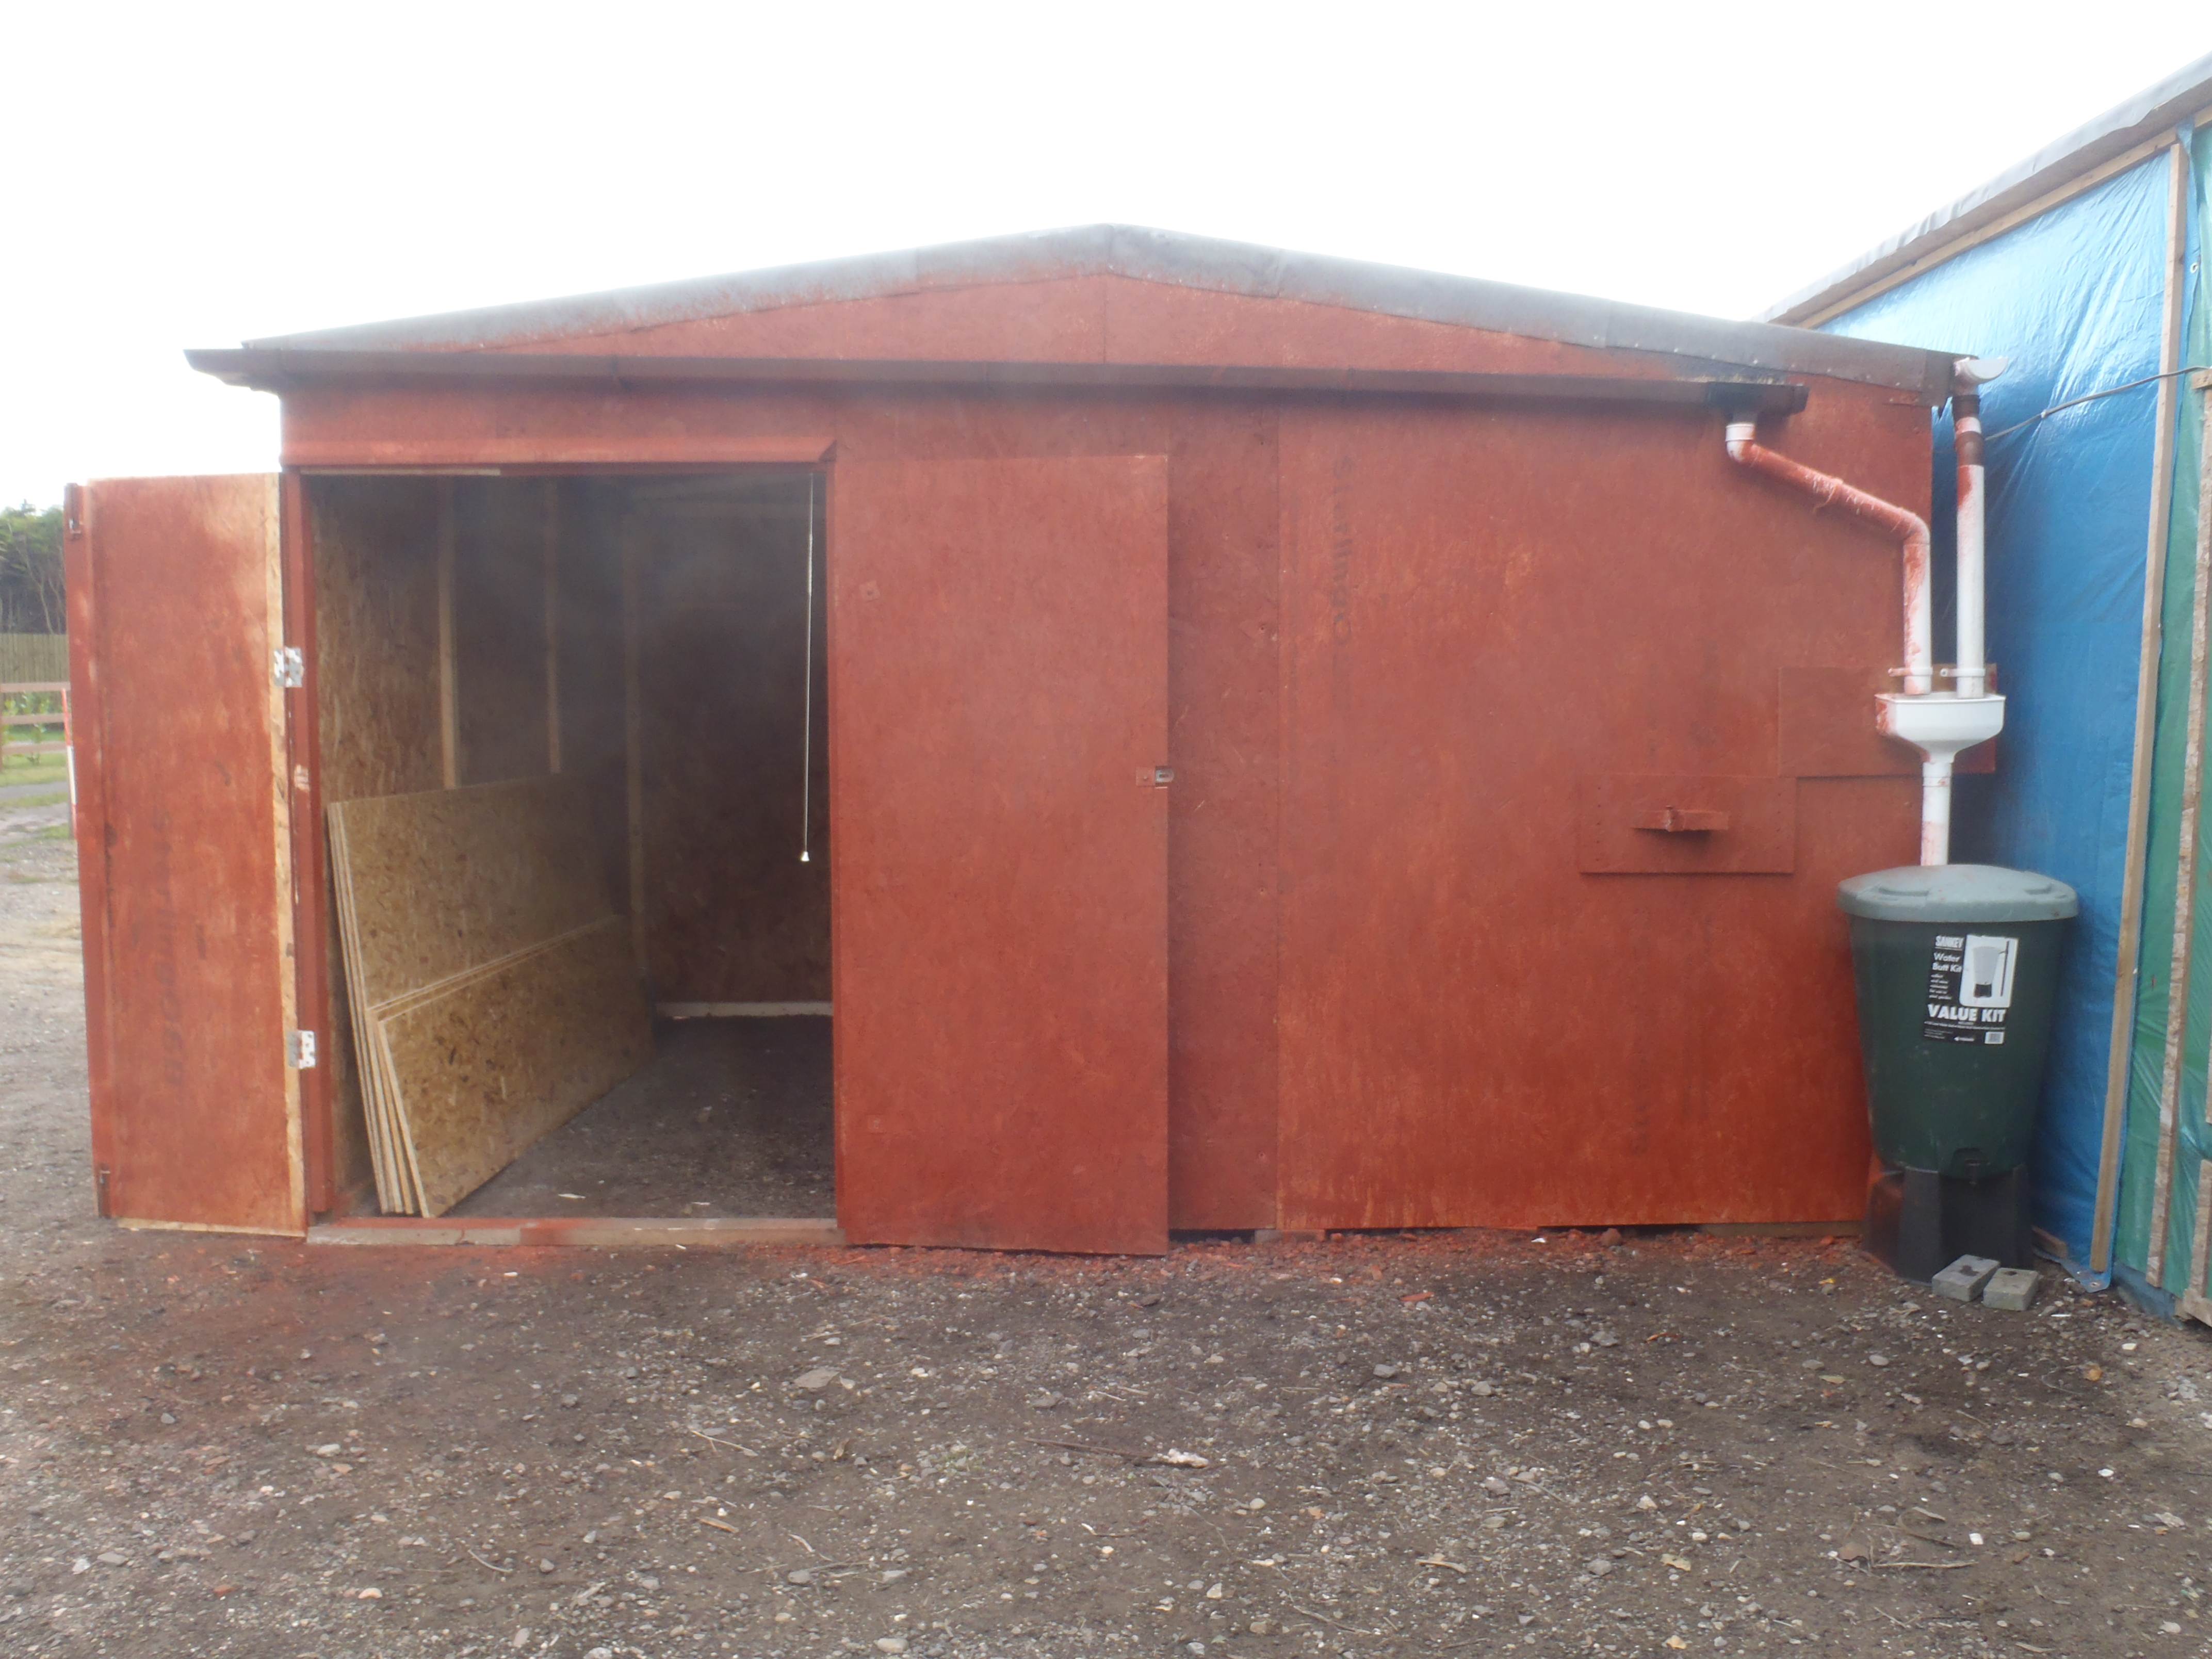
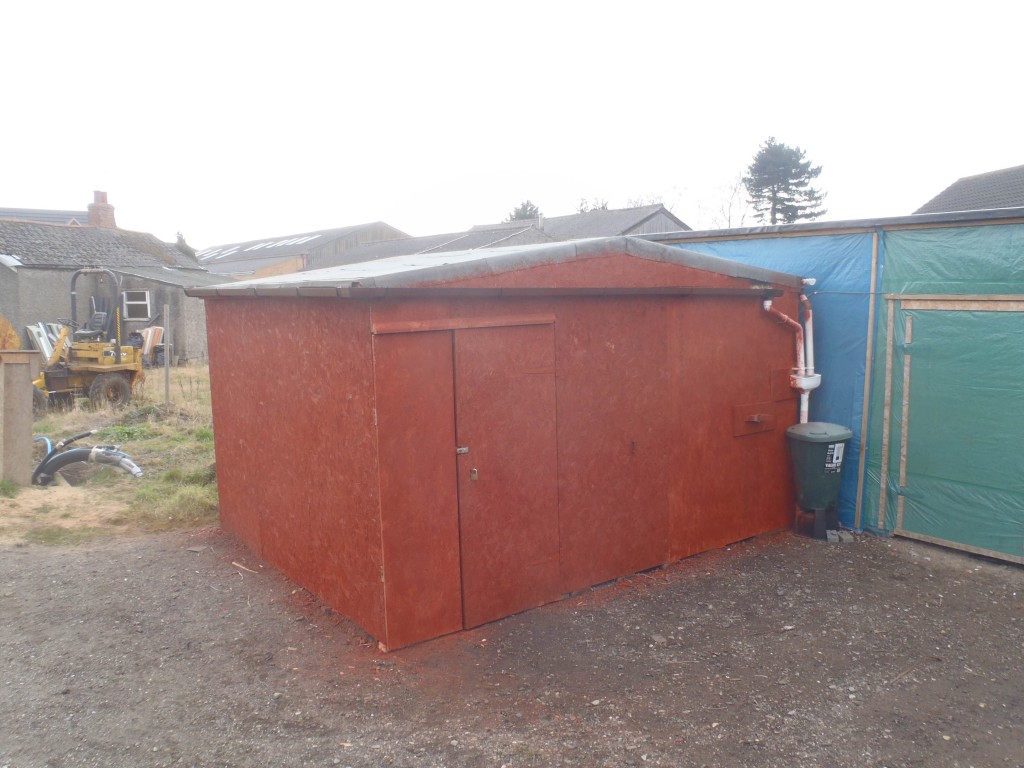
The shed has been successfully moved to its new location.
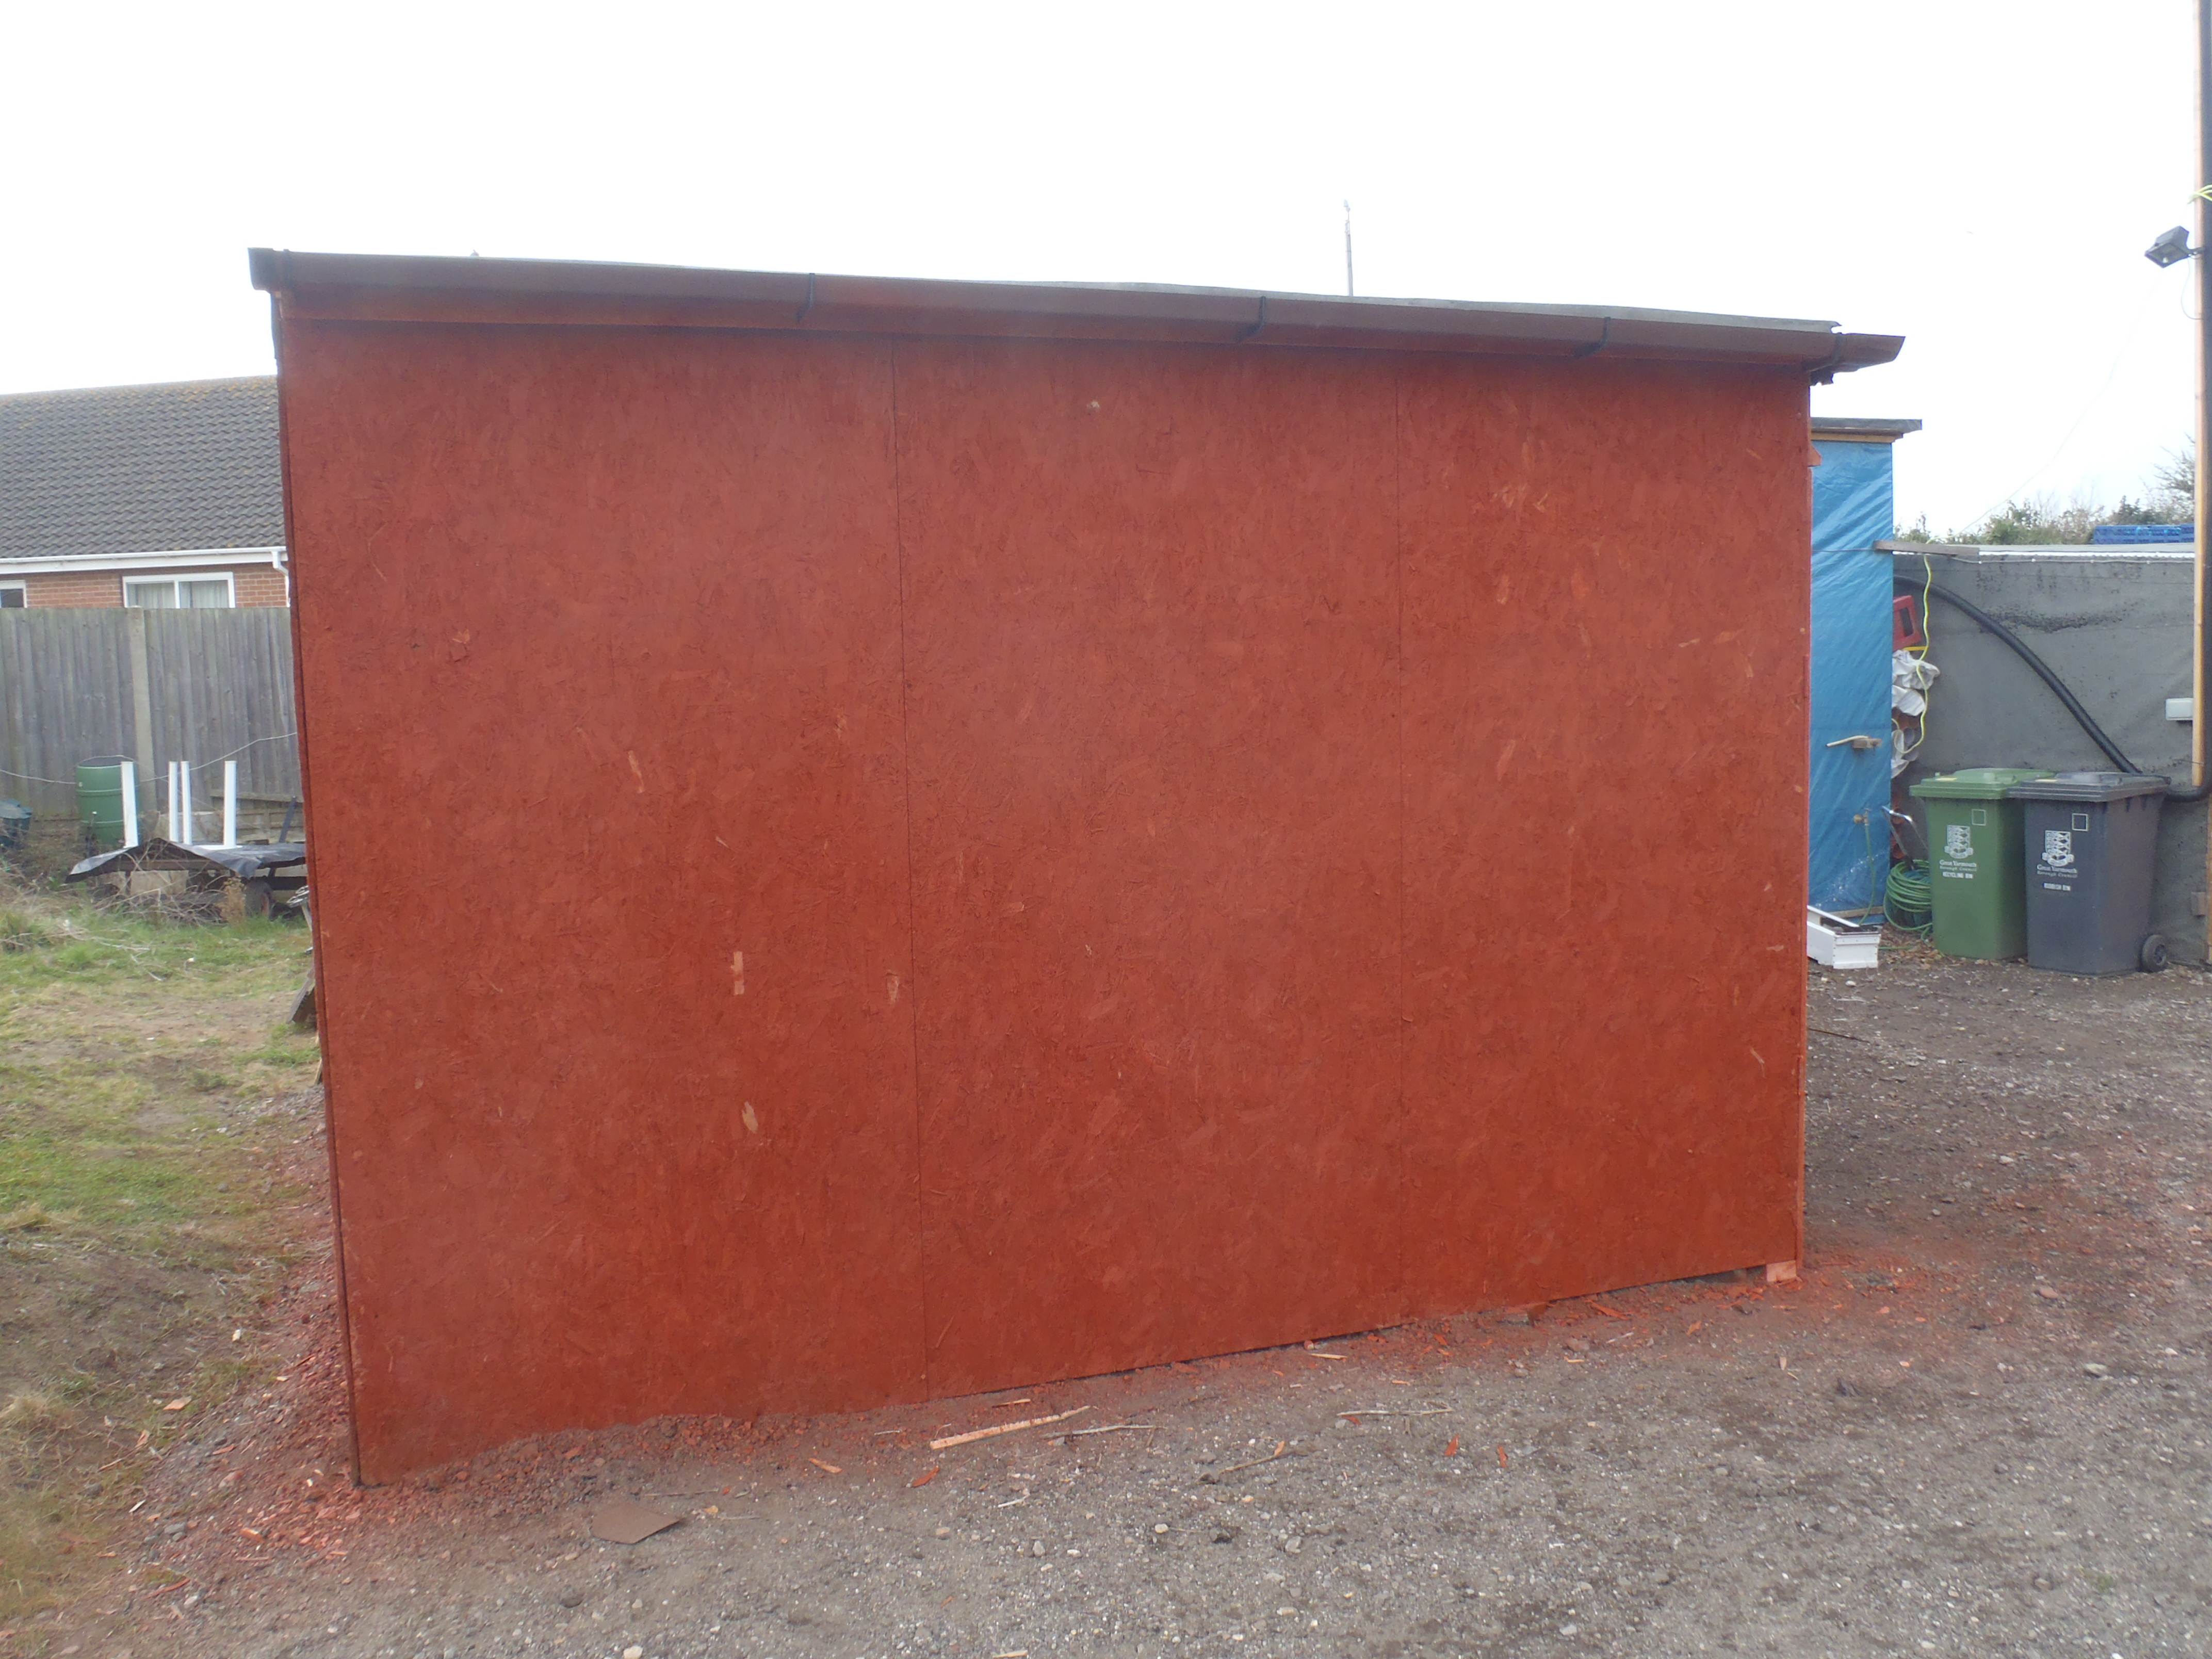
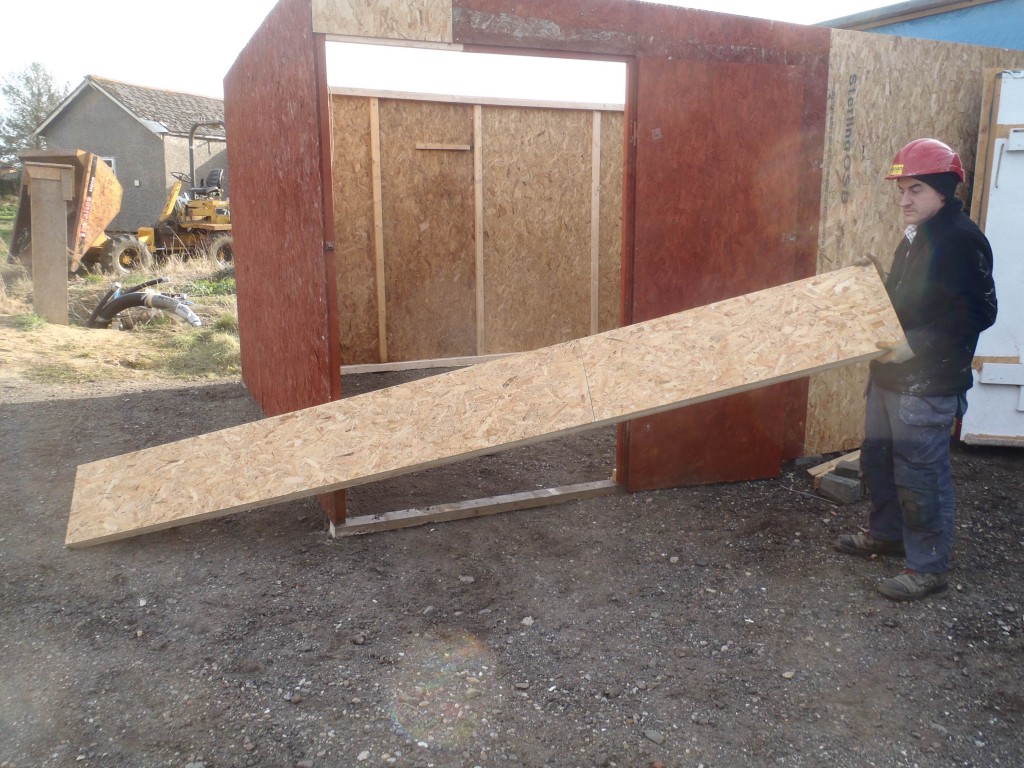
We have bloated it up by adding two more 4feet wide (8feeet high) panels to the side walls to extend it from 2.2metres to 4.6metres. The other dimension remains the same at 3.6metres wide.
This change in size gave us a major boost in storage capacity for both our Oak planks, long offcuts and many items with are not needed in the short to medium term (like the gardening equipment).
We made a new roof and tried out for the first time, a homemade ridge beam constructed using two 63mm by 38mm CLS timber lengths, sandwiched with two layers of 11mm OSB boards 400mm high. The resultant beam is 3.6metres long, 60mm thick and 400mm high. It was glued and screwed together. We mounted it up on top of the walls in the middle and constructed the roof using 63mm CLS timber rafters covered with 11mm OSB complete (8by4) sheets, 3 down each side of the ridge beam. Walking on the roof did not deflect the ridge beam at all, and jumping up and down (over 100kg body weight!) only gave a slight deflection of a millimetre or so!!
The roof is now covered in fresh roofing felt, glued down with that black bitumen horrible stuff! A line gutters runs on both side and is collected into a water butt, through a filter box made of scotch brites, pebbles and stainless steel mesh!
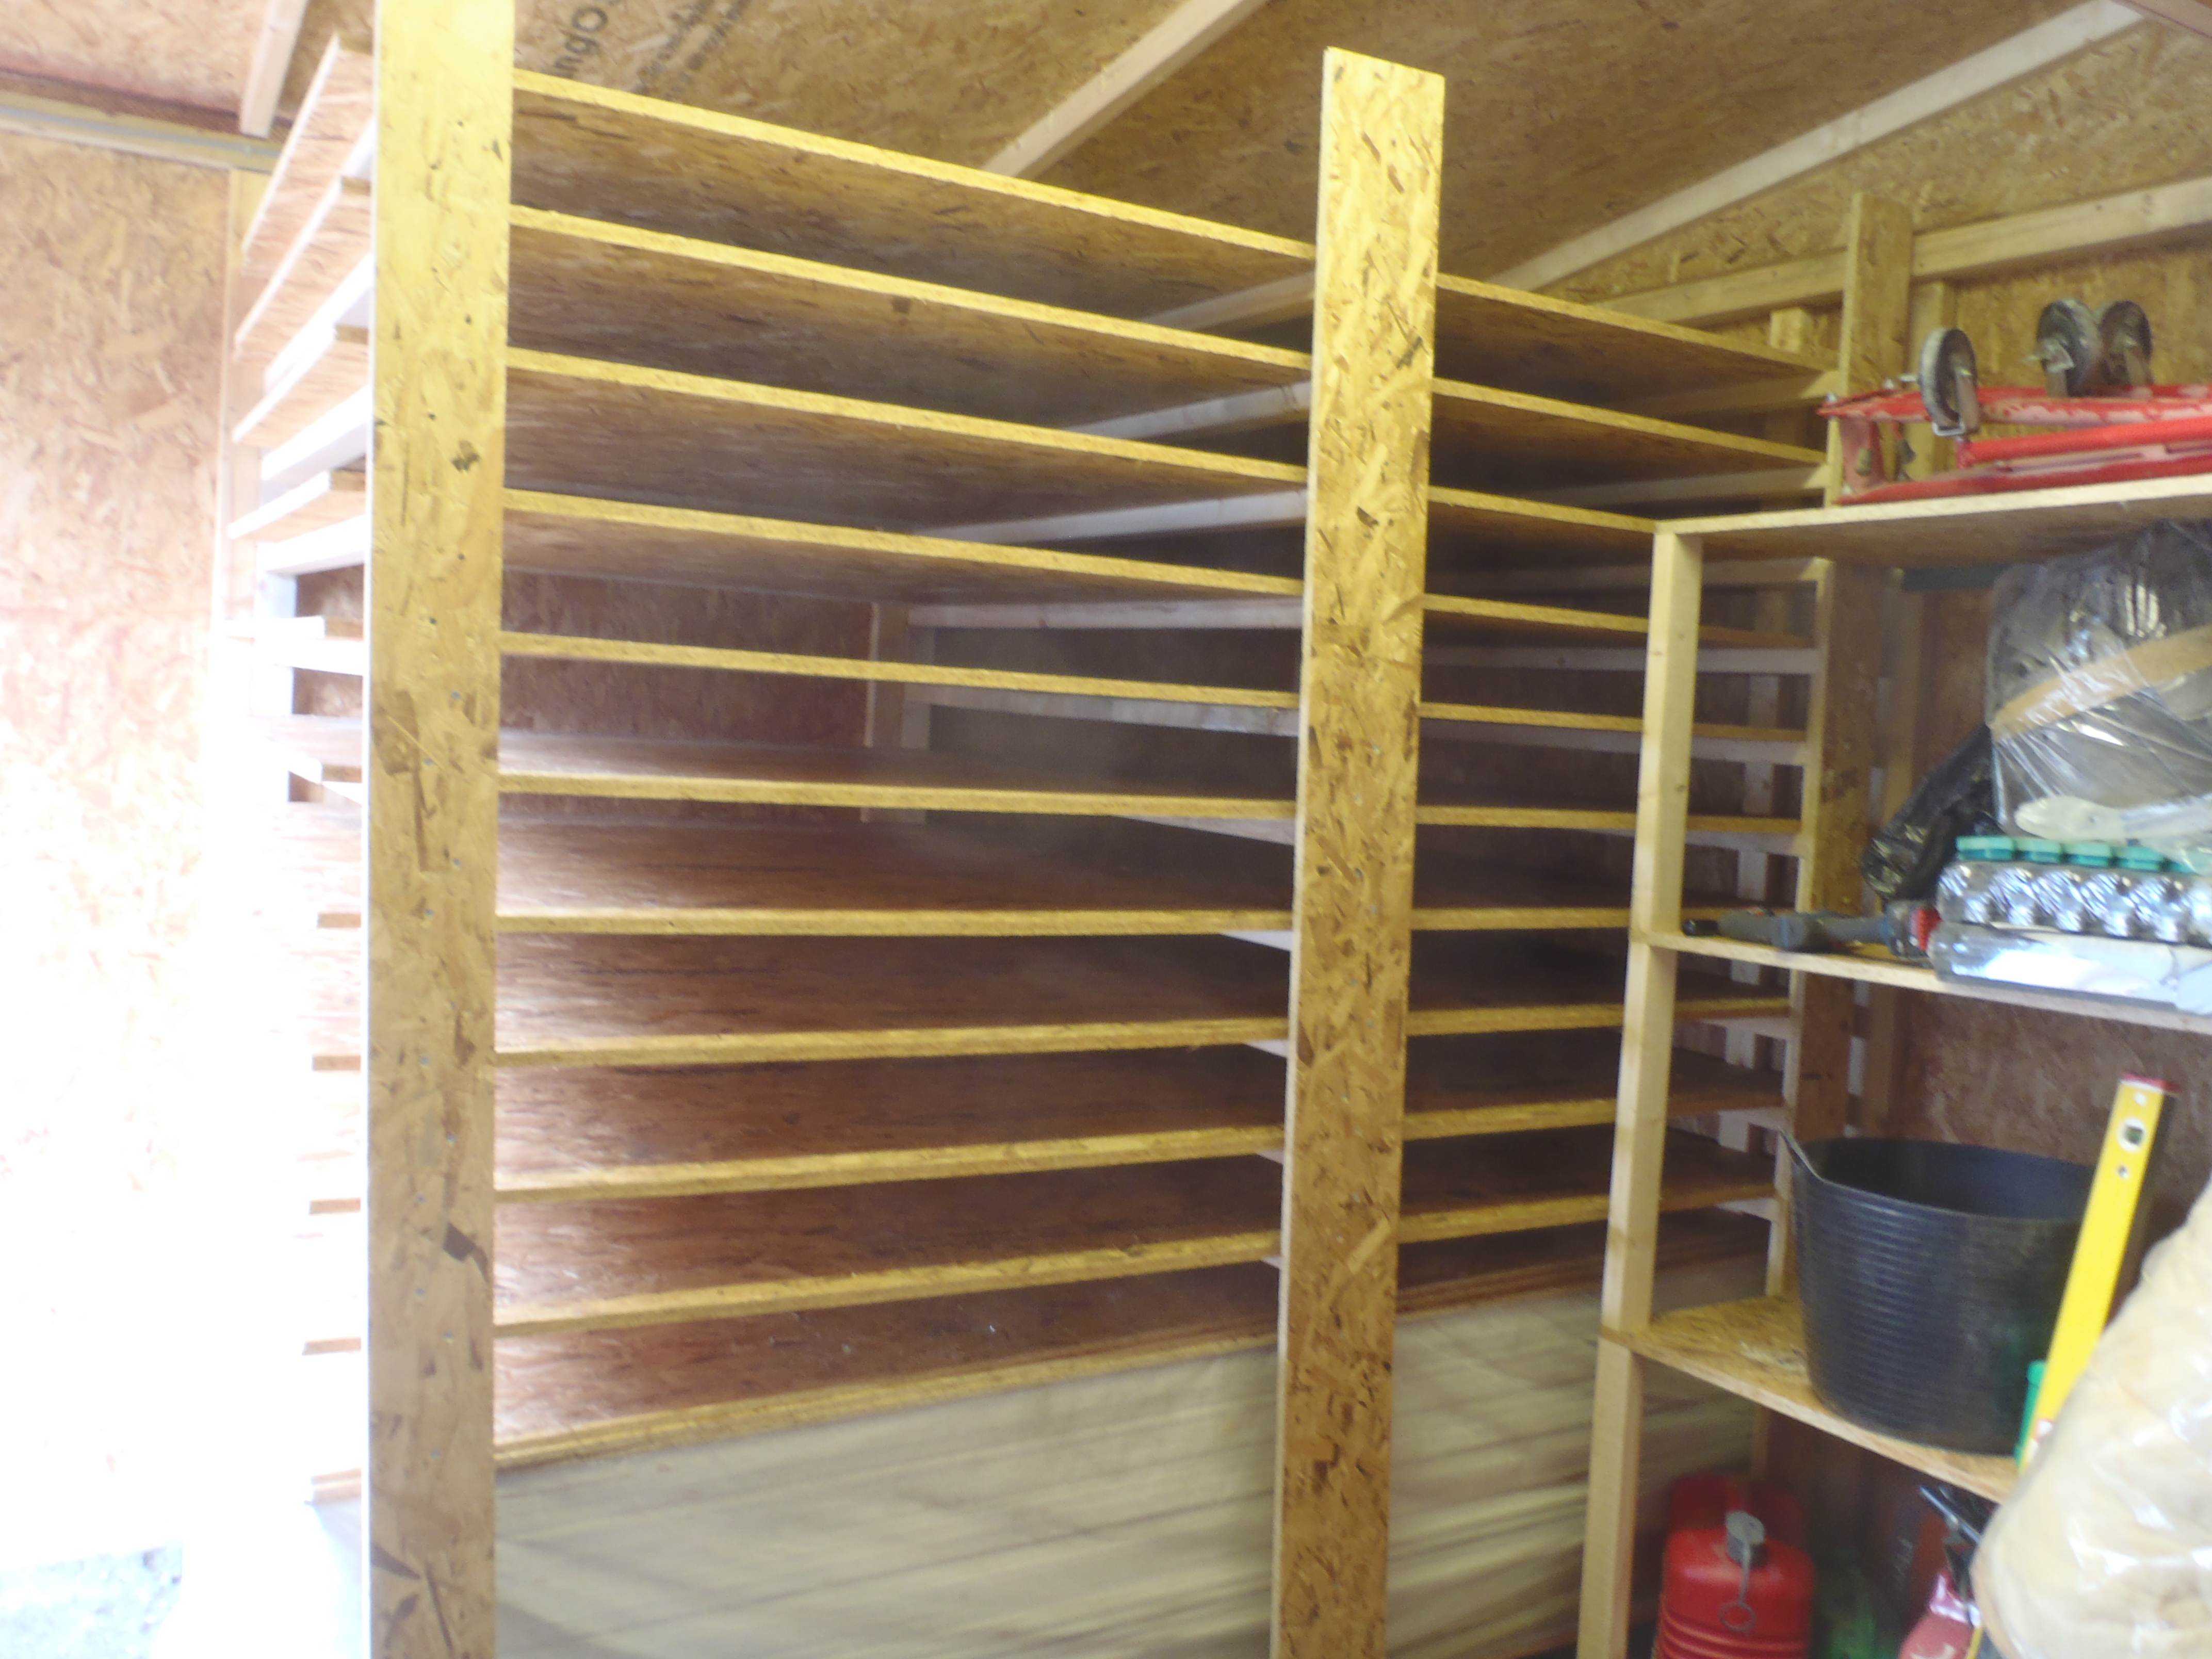
600mm deep Shelves have been installed on three sides of the shed, at 2feet apart and a 10 shelf rack also constructed to hold long flat items.
The shed is quite loaded up now! !
Box Beam Ridge
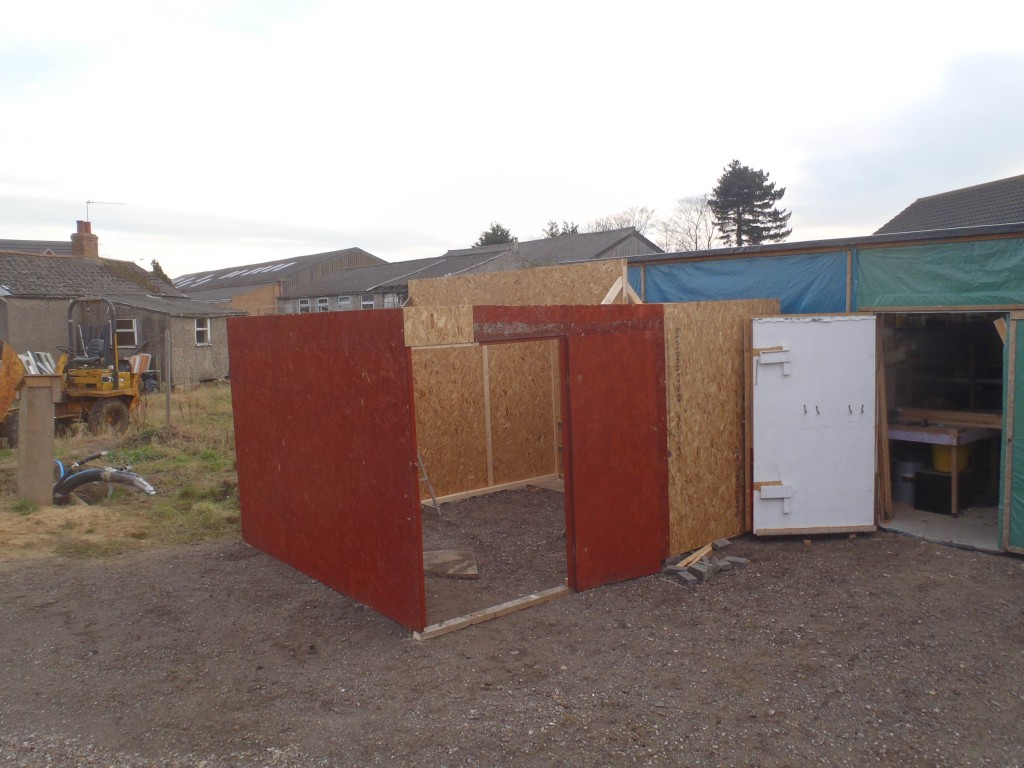
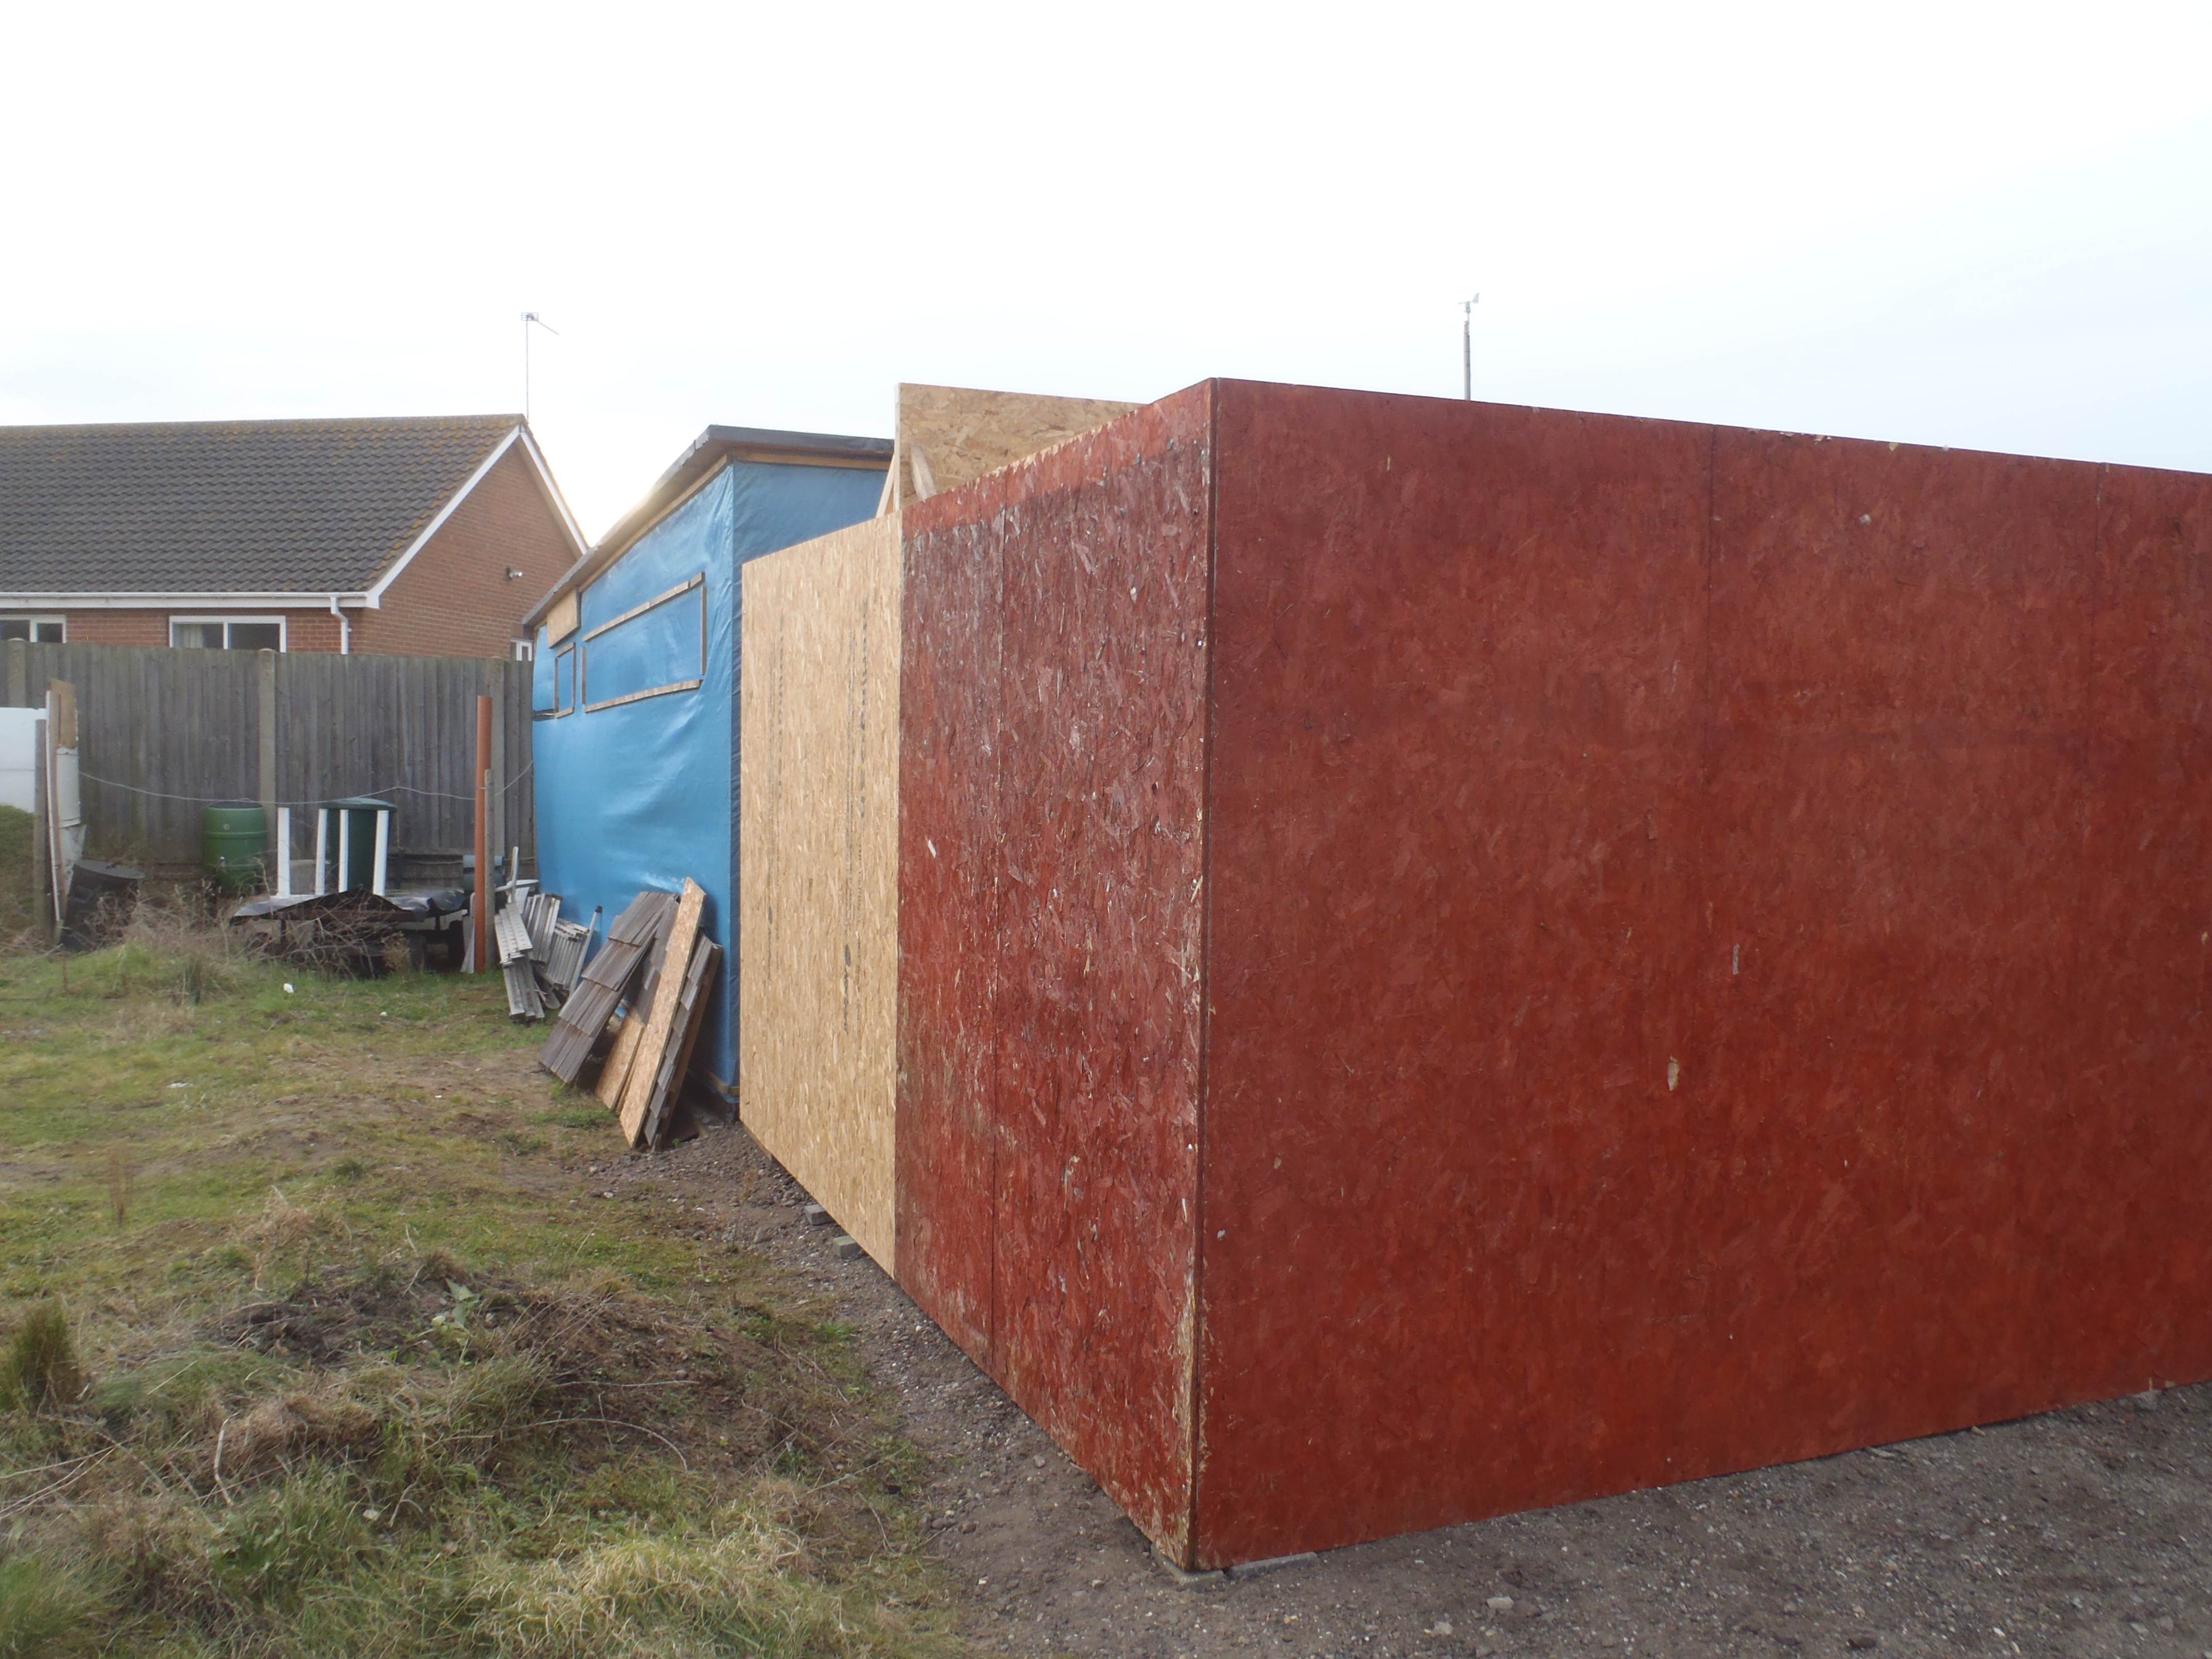
Walls Up
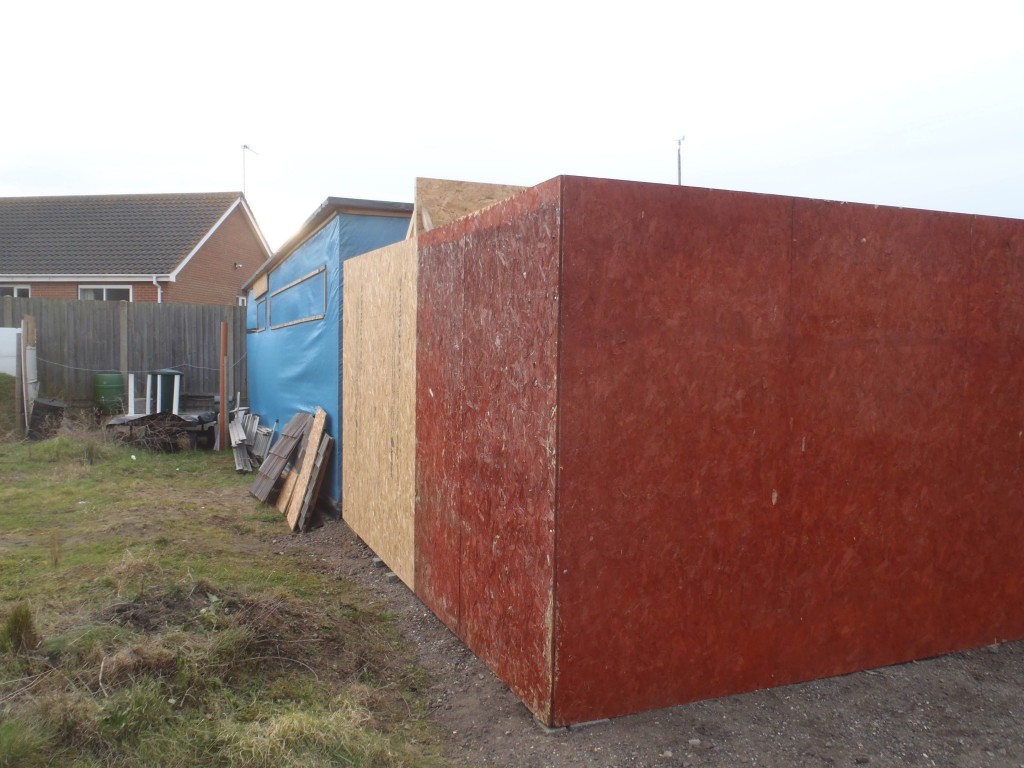
Walls Up

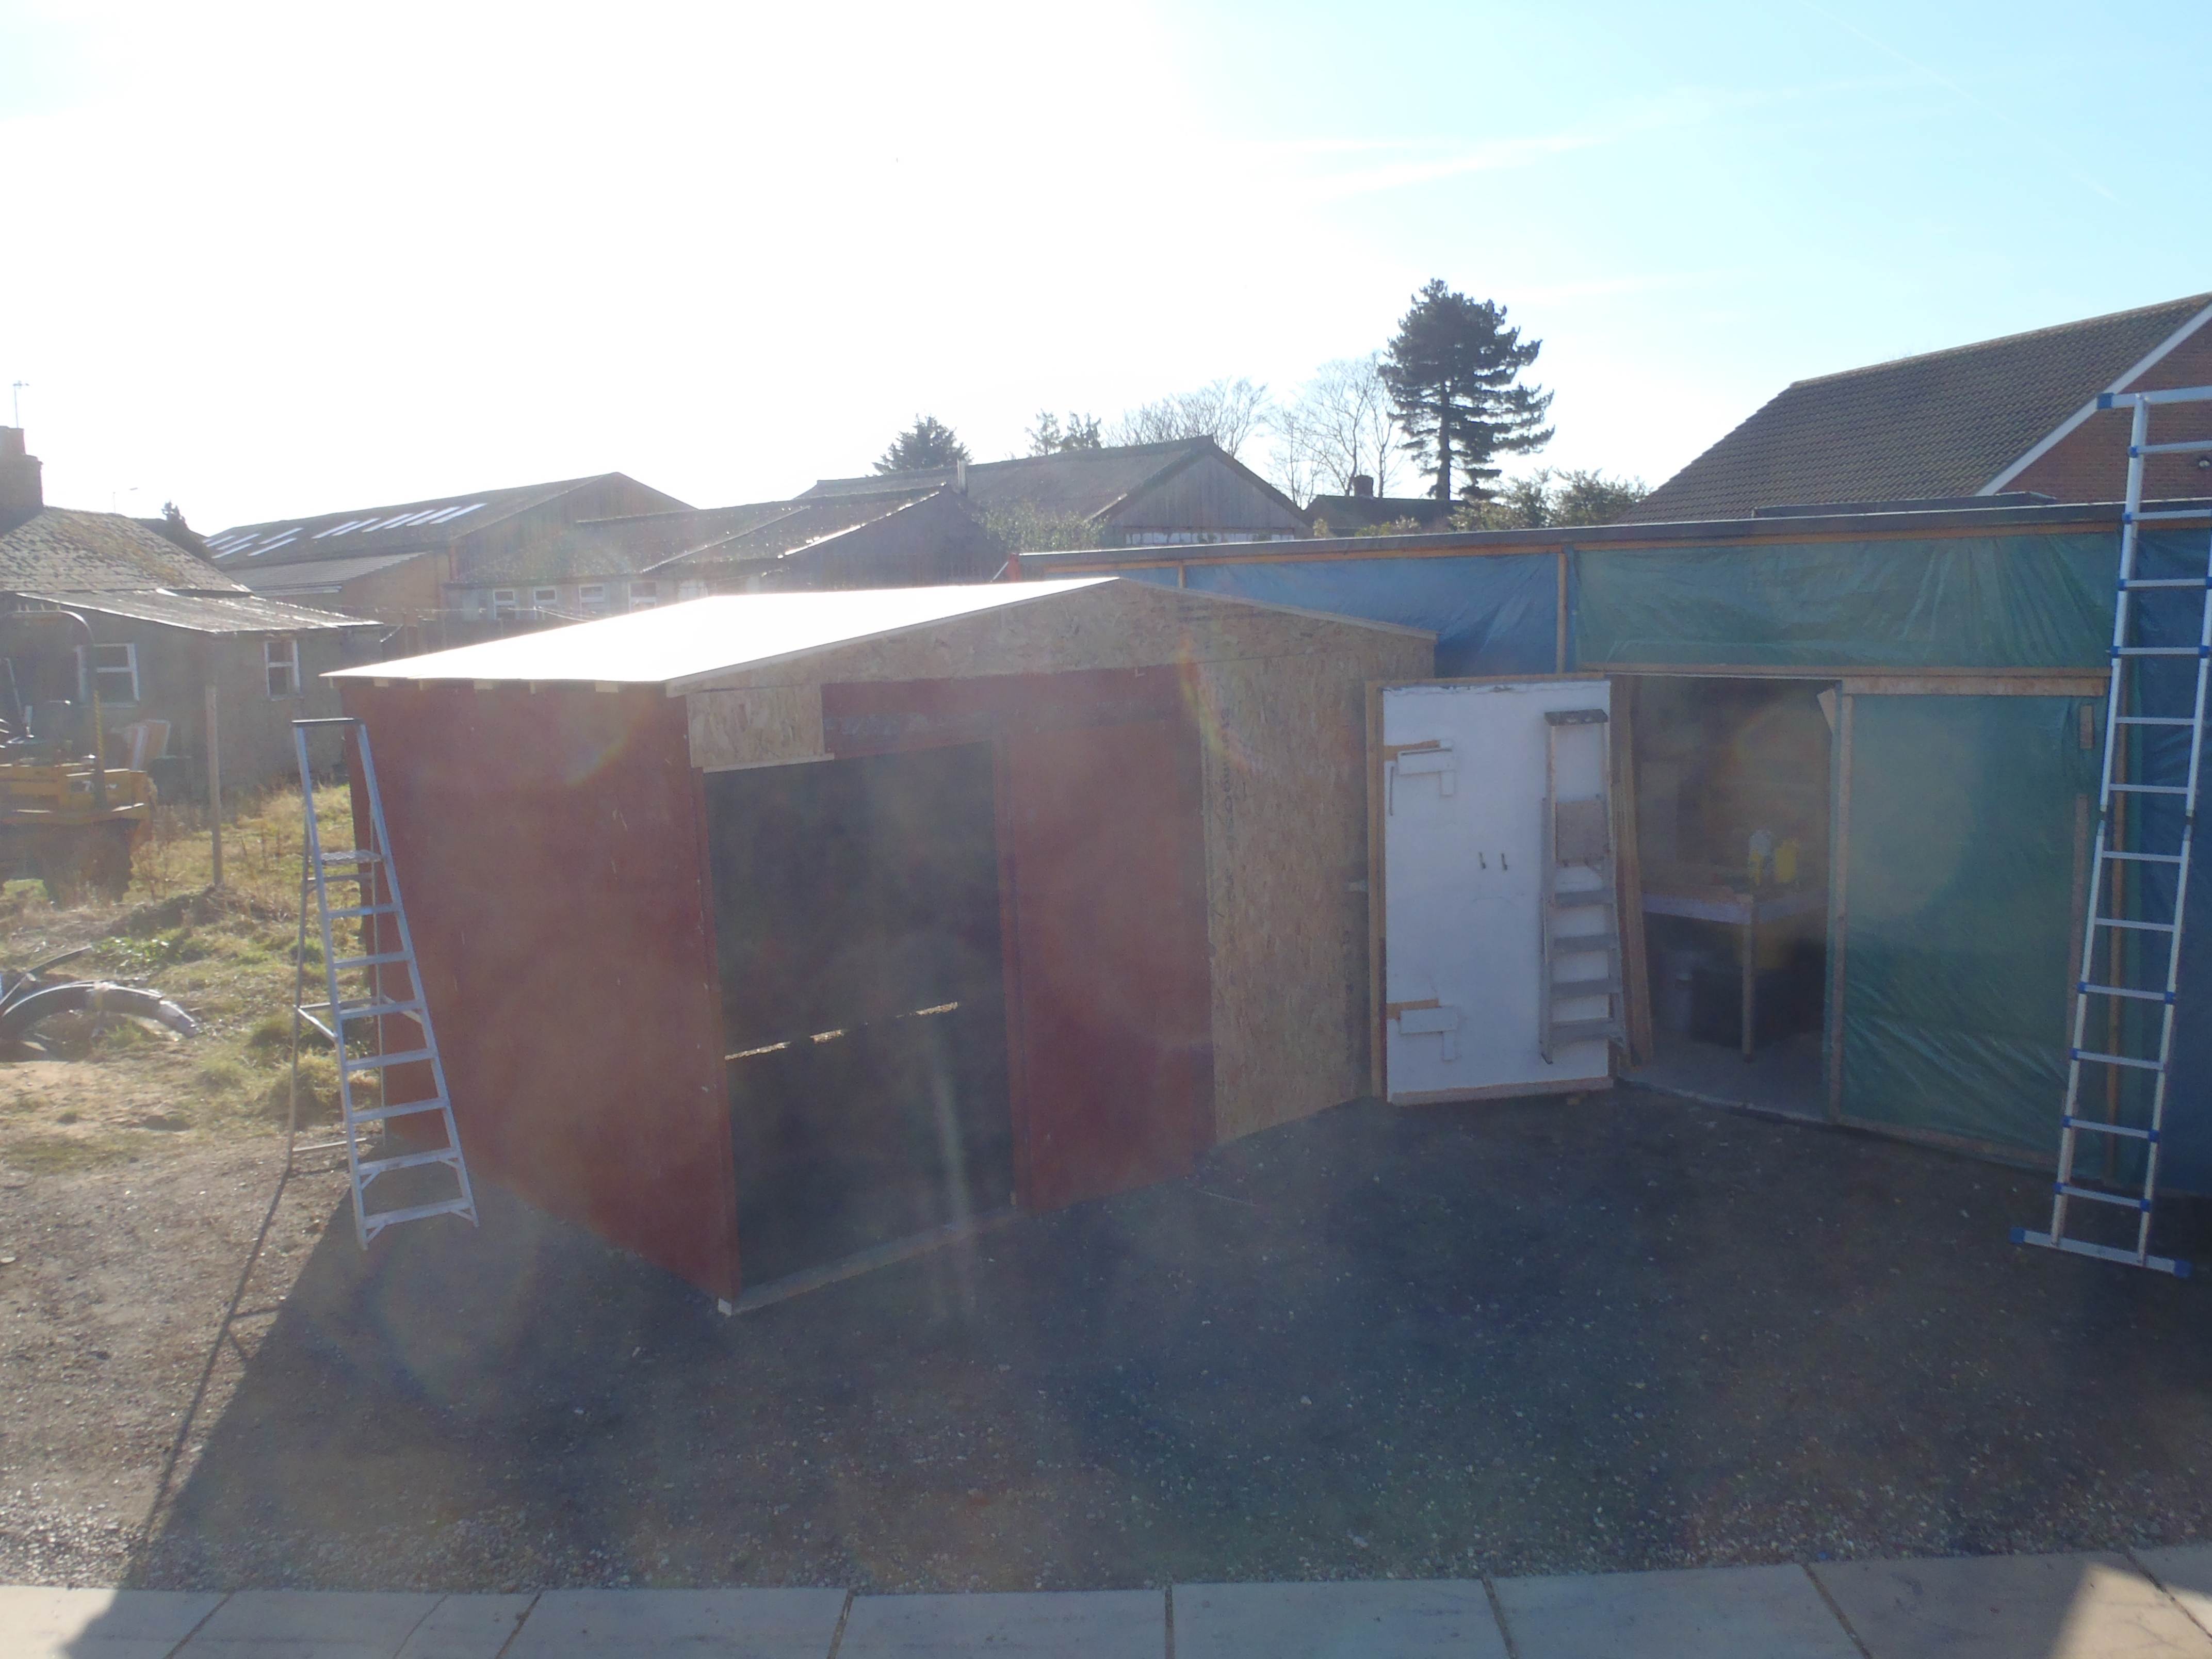
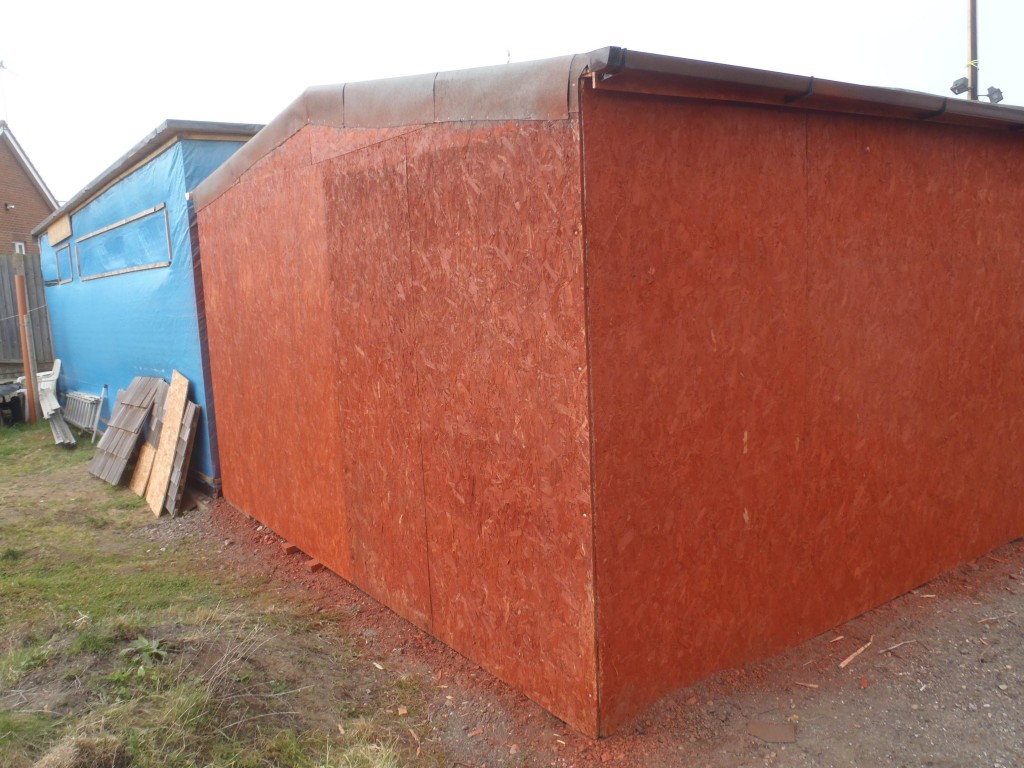
Roof On
Roof Felted
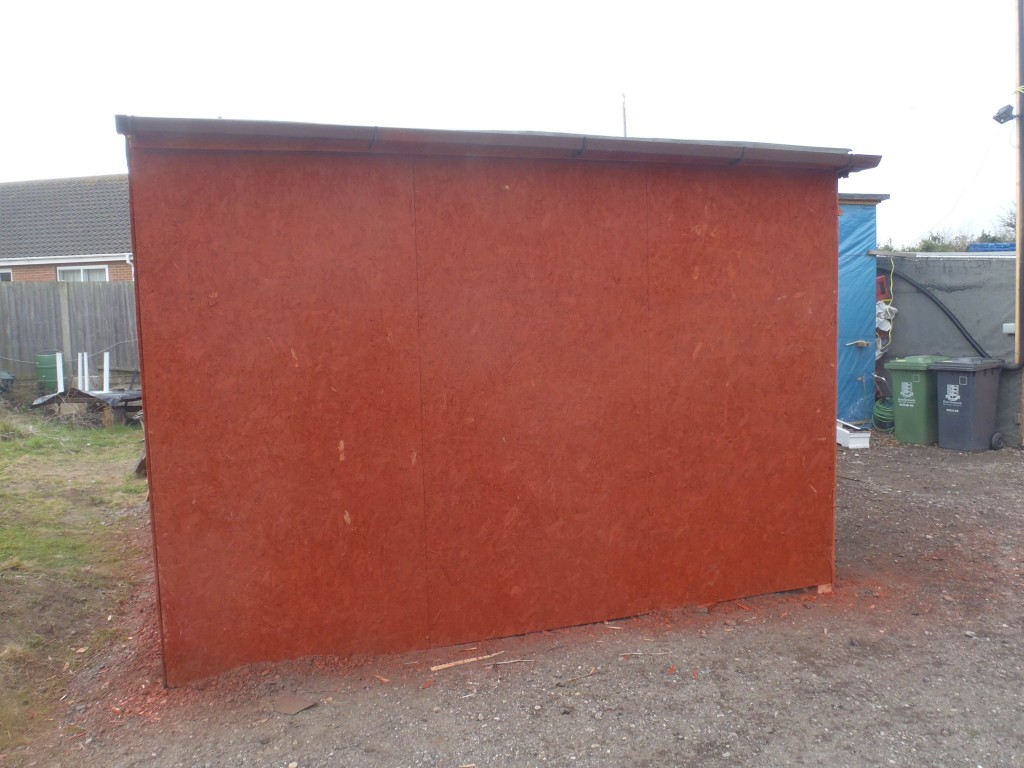
Roof Felted

Gutters Fitted
Gutters Fitted
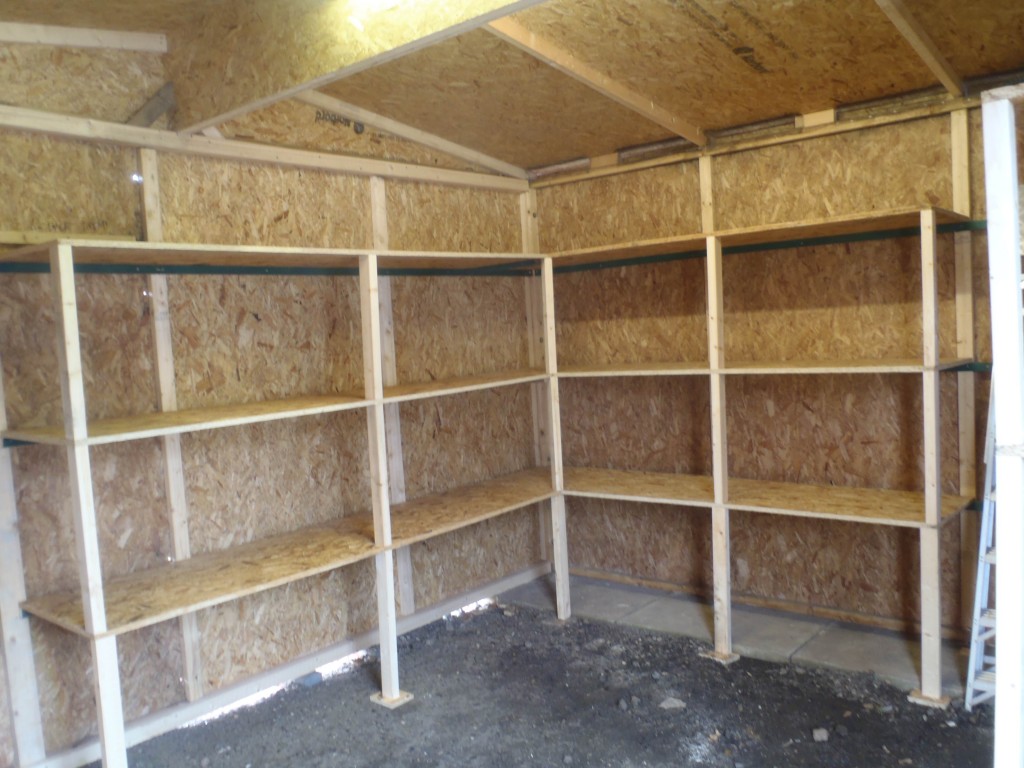
Storage Sheleves
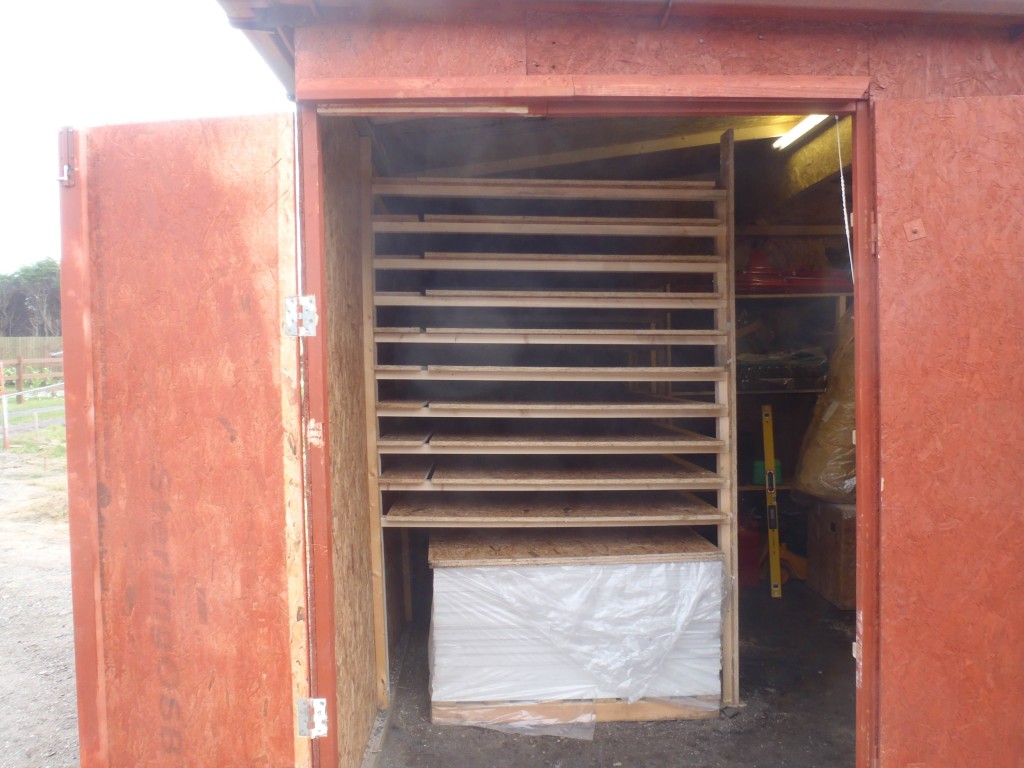
Storage Rack for long narrow items

Storage Rack for long narrow items