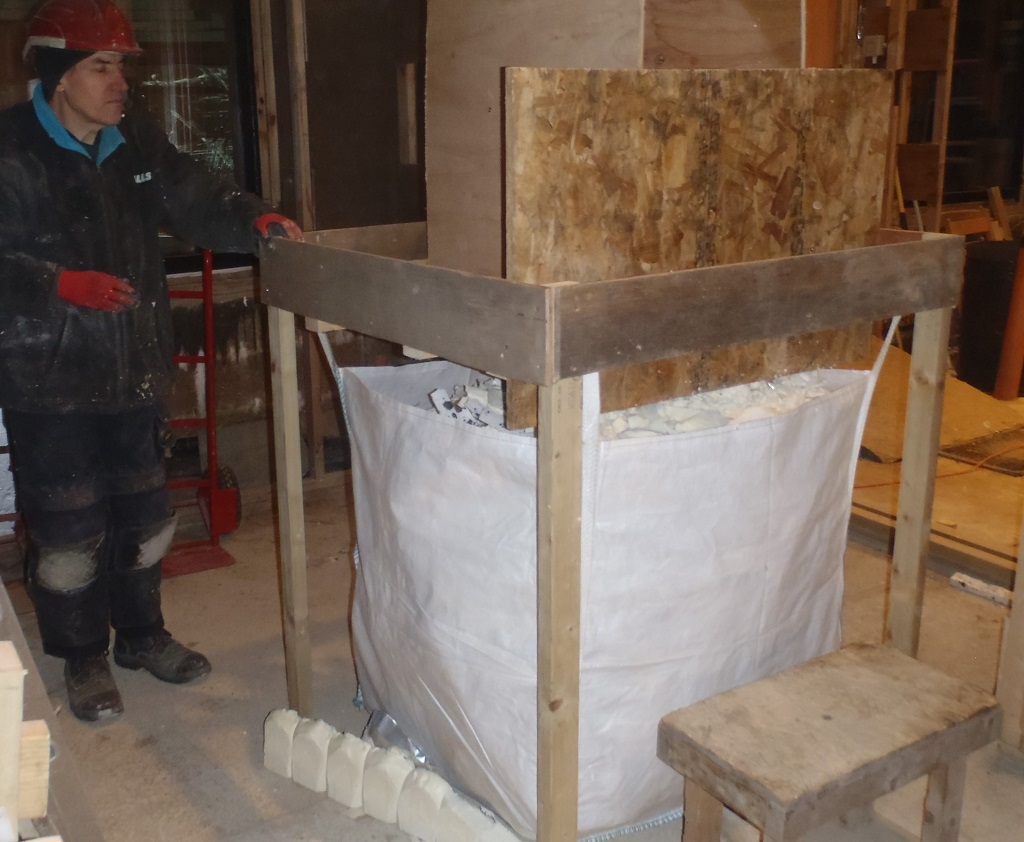
We spent the last couple of days creating a much needed hoist to haul up lots and lots of sheet material up to our Upper Level. We have a great number of 18mm thick OSB sheets, each weighing 25kg each, and our even heavier 33kg sheets of the 10mm thick Fermacell – high performance plaster boards.
The first thing to design and create is the Cage that will hold up to five sheets and the whole thing will be hoisted up. We decided to build a complete frame using 63mm CLS planks and heavy duty right angle brackets on each corner, to both ensure a proper solid joints and also for the steel rope to hook into the groove on the back of the brackets. We put a double pair of CLS planks on the bottom edge for extra strength and then three large pieces of 11mm OSB boards to provide racking stiffness and also to retain the sheets material we are transporting. We also put on an extended bottom shelf with a batten on the edge, to make sure our sheets will not slide free and come crashing down to the ground floor. The steel wire that goes around the whole Cage, was a bit tricky to install. We wanted to tension it up as tight as we could so that there was not too much slack in the wire when the electric hoist pulls on the wire to pull the whole Cage up. We finally managed to tension up the rope by using a hand operated cranking racket device we found in our Garage. We used three clamping grips to join the two tails together.
Next, we created the two vertical tracks for the Cage to travel in. The Cage will have caster wheels bolted to it and these wheels will run inside the track. The track is made using three 63mm CLS full length planks, using the straightest ones we could find without bows and bends. These three planks were screwed together and then repeated for the second track. The next item to put on the top of these two vertical tracks, is a C channel steel beam. We had one that we had swopped out for a wooden beam so we had a 3.7metre length lying around. Our Cage measures 2600mm wide so we need the two vertical tracks to be positioned slightly wider than that. Hence, we sliced the steel down to 2800mm wide, enough so that we could mount two more right angled brackets to hold the C-Channel in place. All this assembly was done while the two tracks and the Cage is lying on the floor of our Great Room, underneath the Gallery. We then mounted the electric winch in the middle so that the steel cable with its hook is approximately centred. The next trick we had to perform, is to lift the whole lot up into its vertical position. It is rather heavy especially with the steel beam situated at the top. We employed a four way block and tackle and plenty of rope to slowly lever the whole contraption upwards and then shuffled it so that it was leaning on the Gallery.
We slid on a couple of wooden footplates to help spread the load of the hoist across the floorboards, especially that we will be lifting up a potential weight of more than 150kg loads! We also put on a toggle to rotate from the top edge of the Cage, to ensure that the sheets will not tilt forward. We then put on a further four caster wheels to brace the Cage sideways so it didn’t jam on the vertical tracks. Plus also, we noticed that the steel rope was still being pulled quite a bit when the electric winch lifted the Cage so we decided to bolt on a pair of U bolts to straddle the steel rope in the middle, where the hook is connected. This made it much tighter and didn’t suffer very much stretching this time.
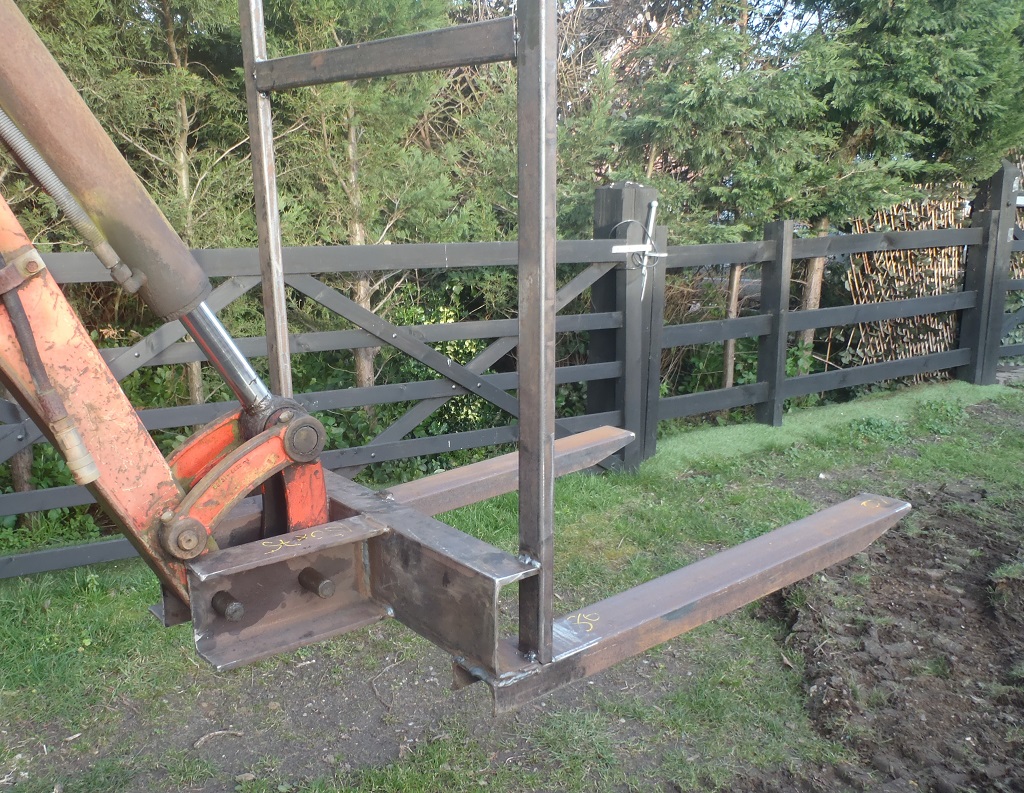
Sheet Lift 1
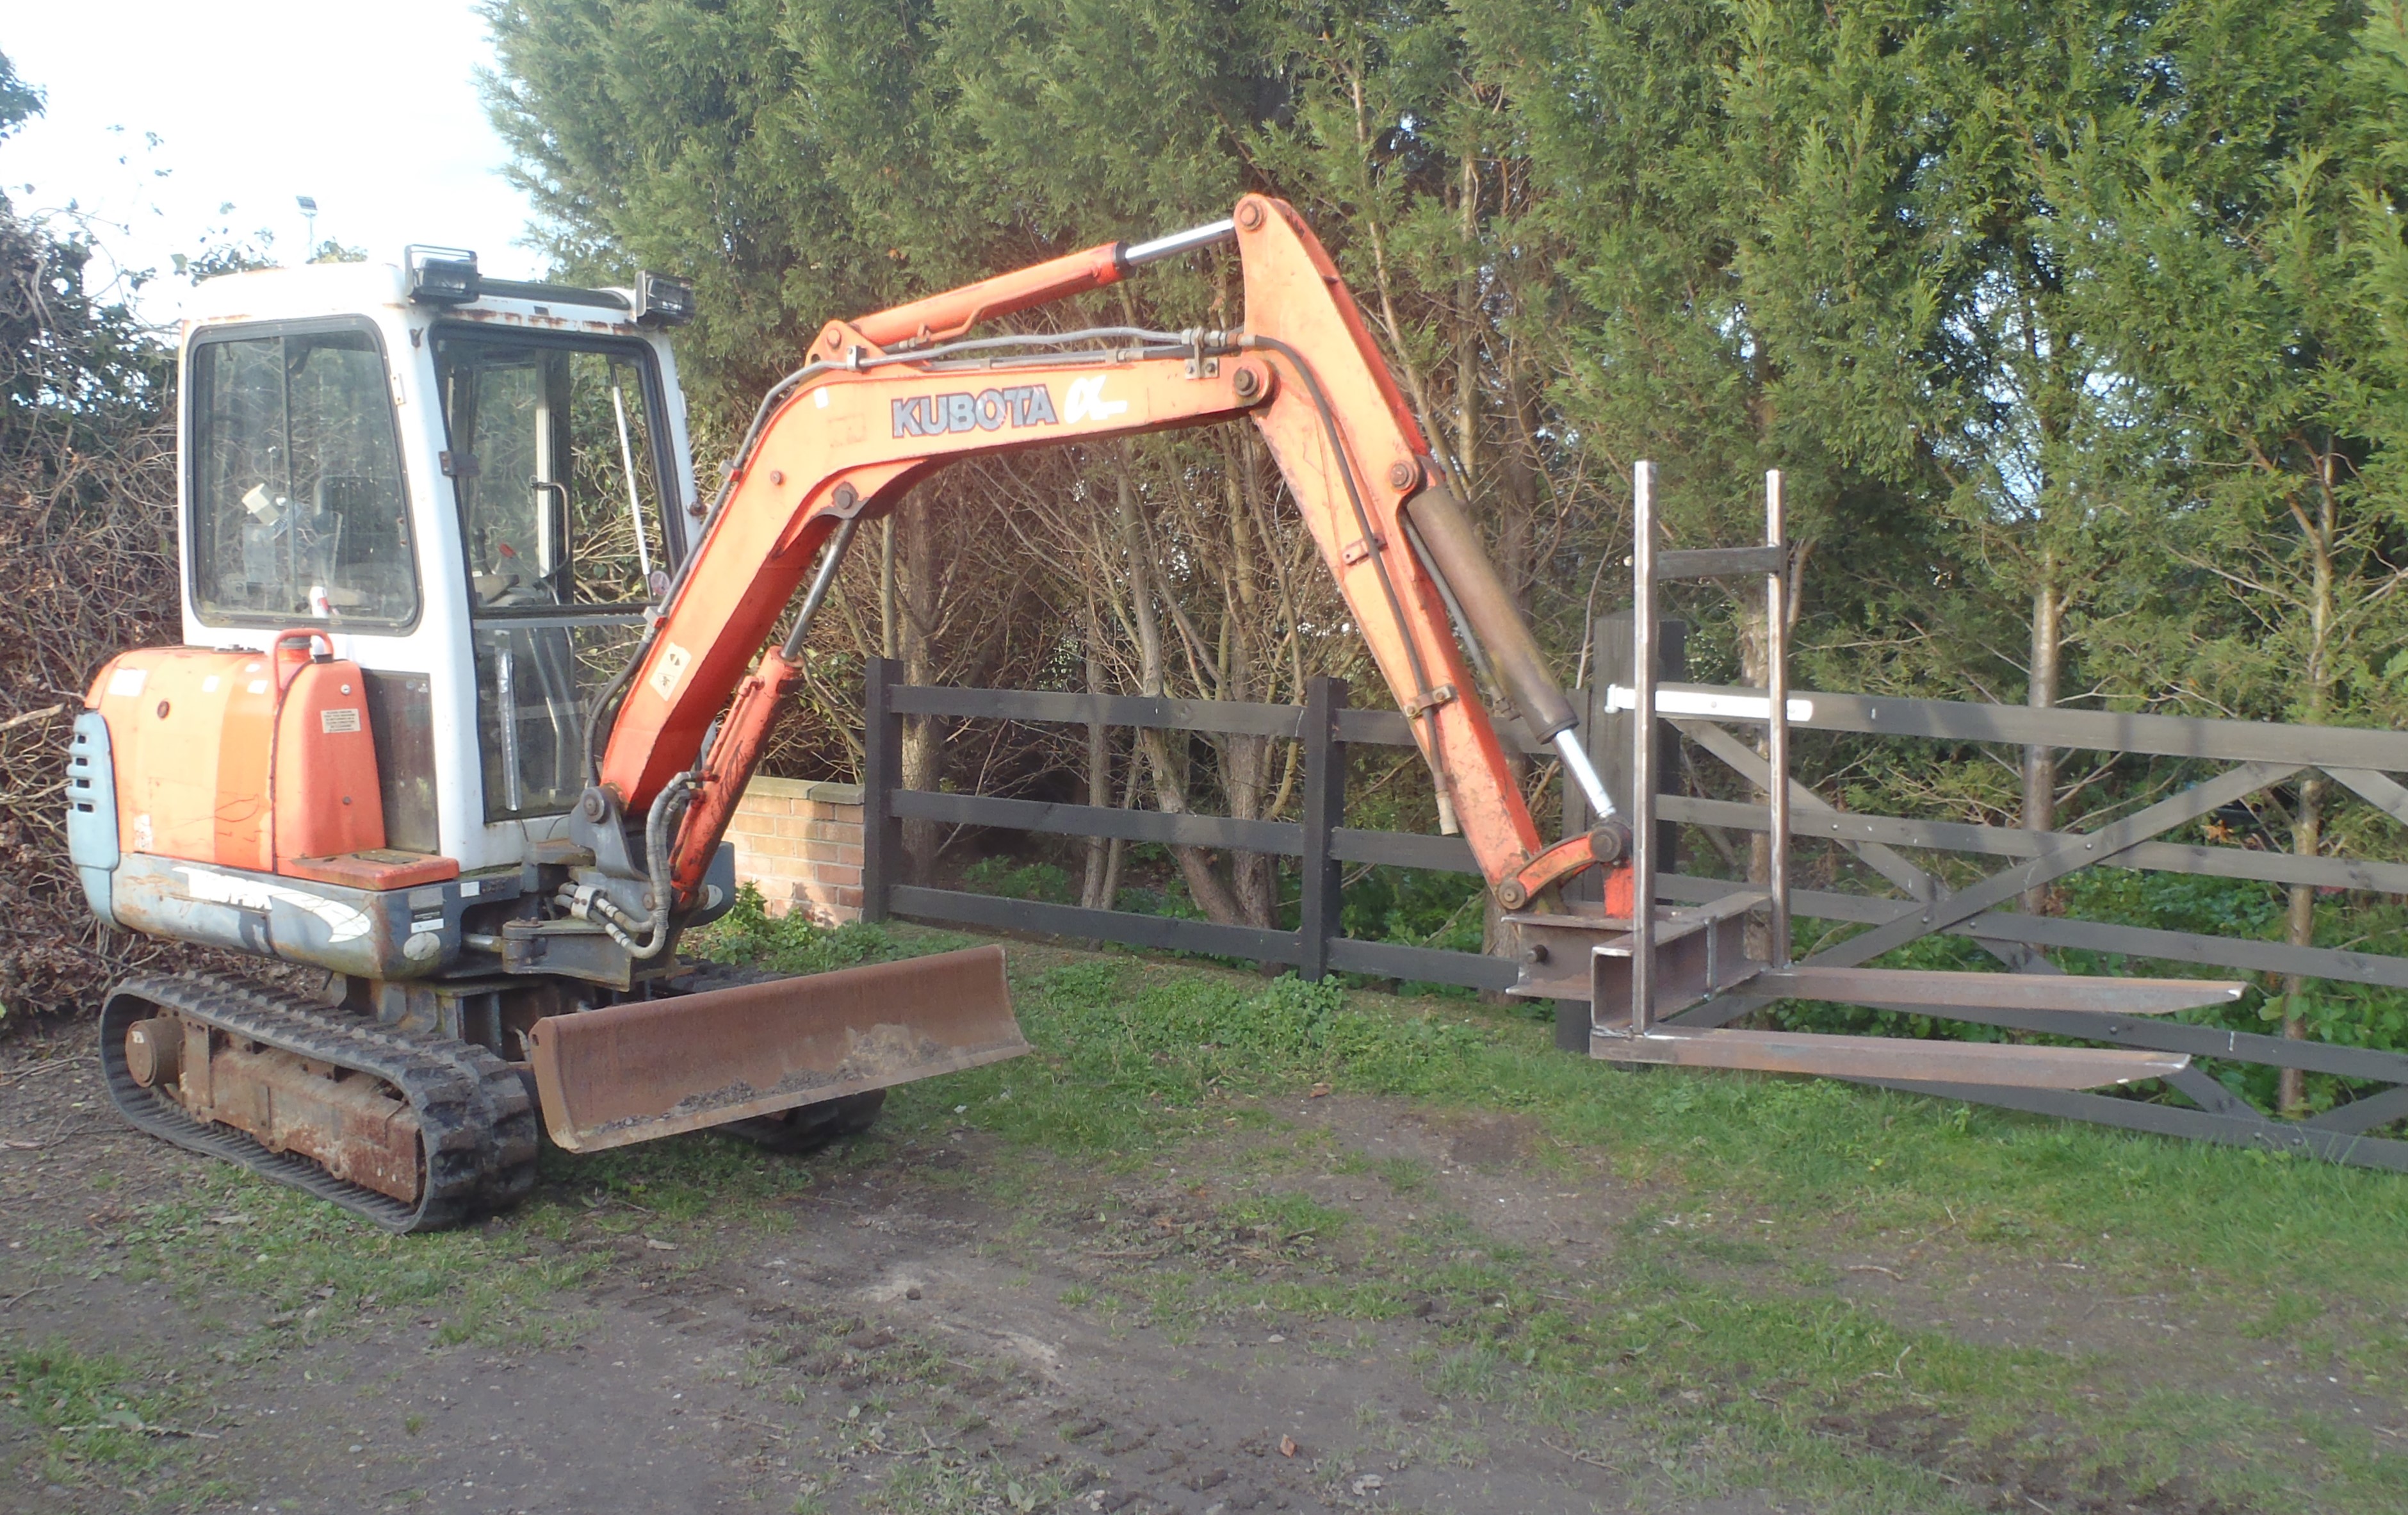
Sheet Lift 2
We put on guard rails around the hoist up on the Gallery and everything is well secure and safe now for operation later on this year.