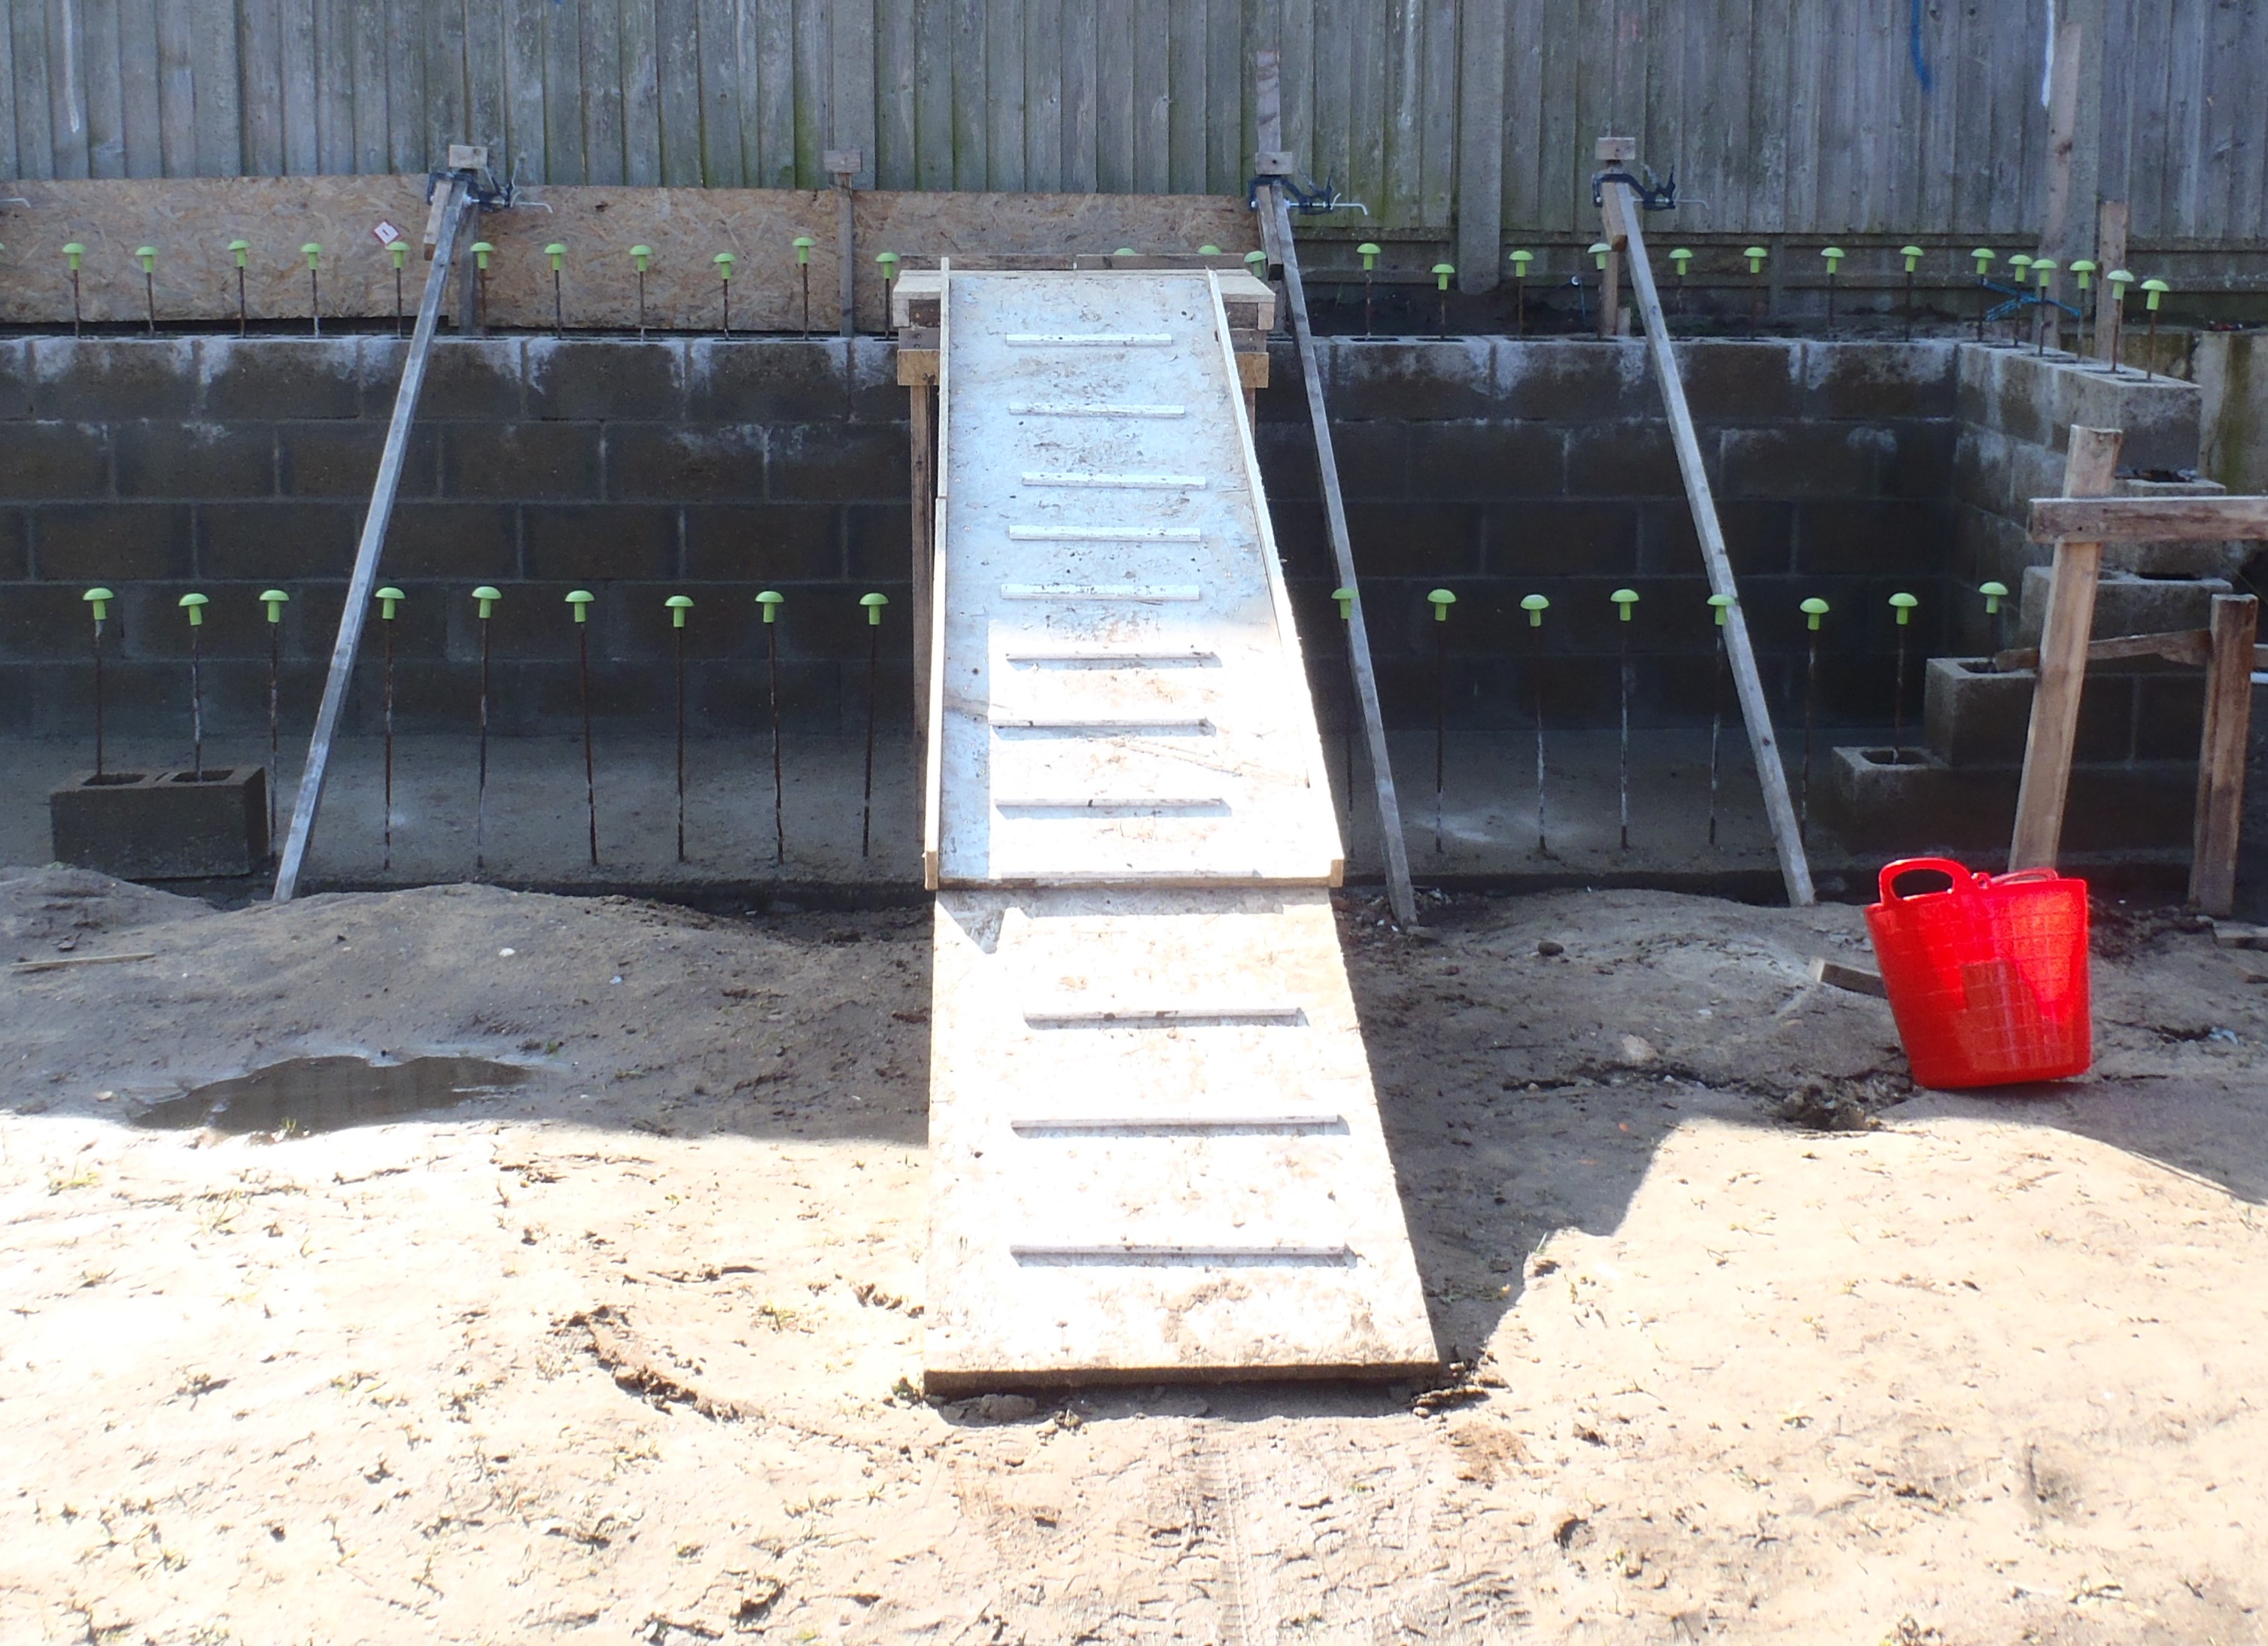
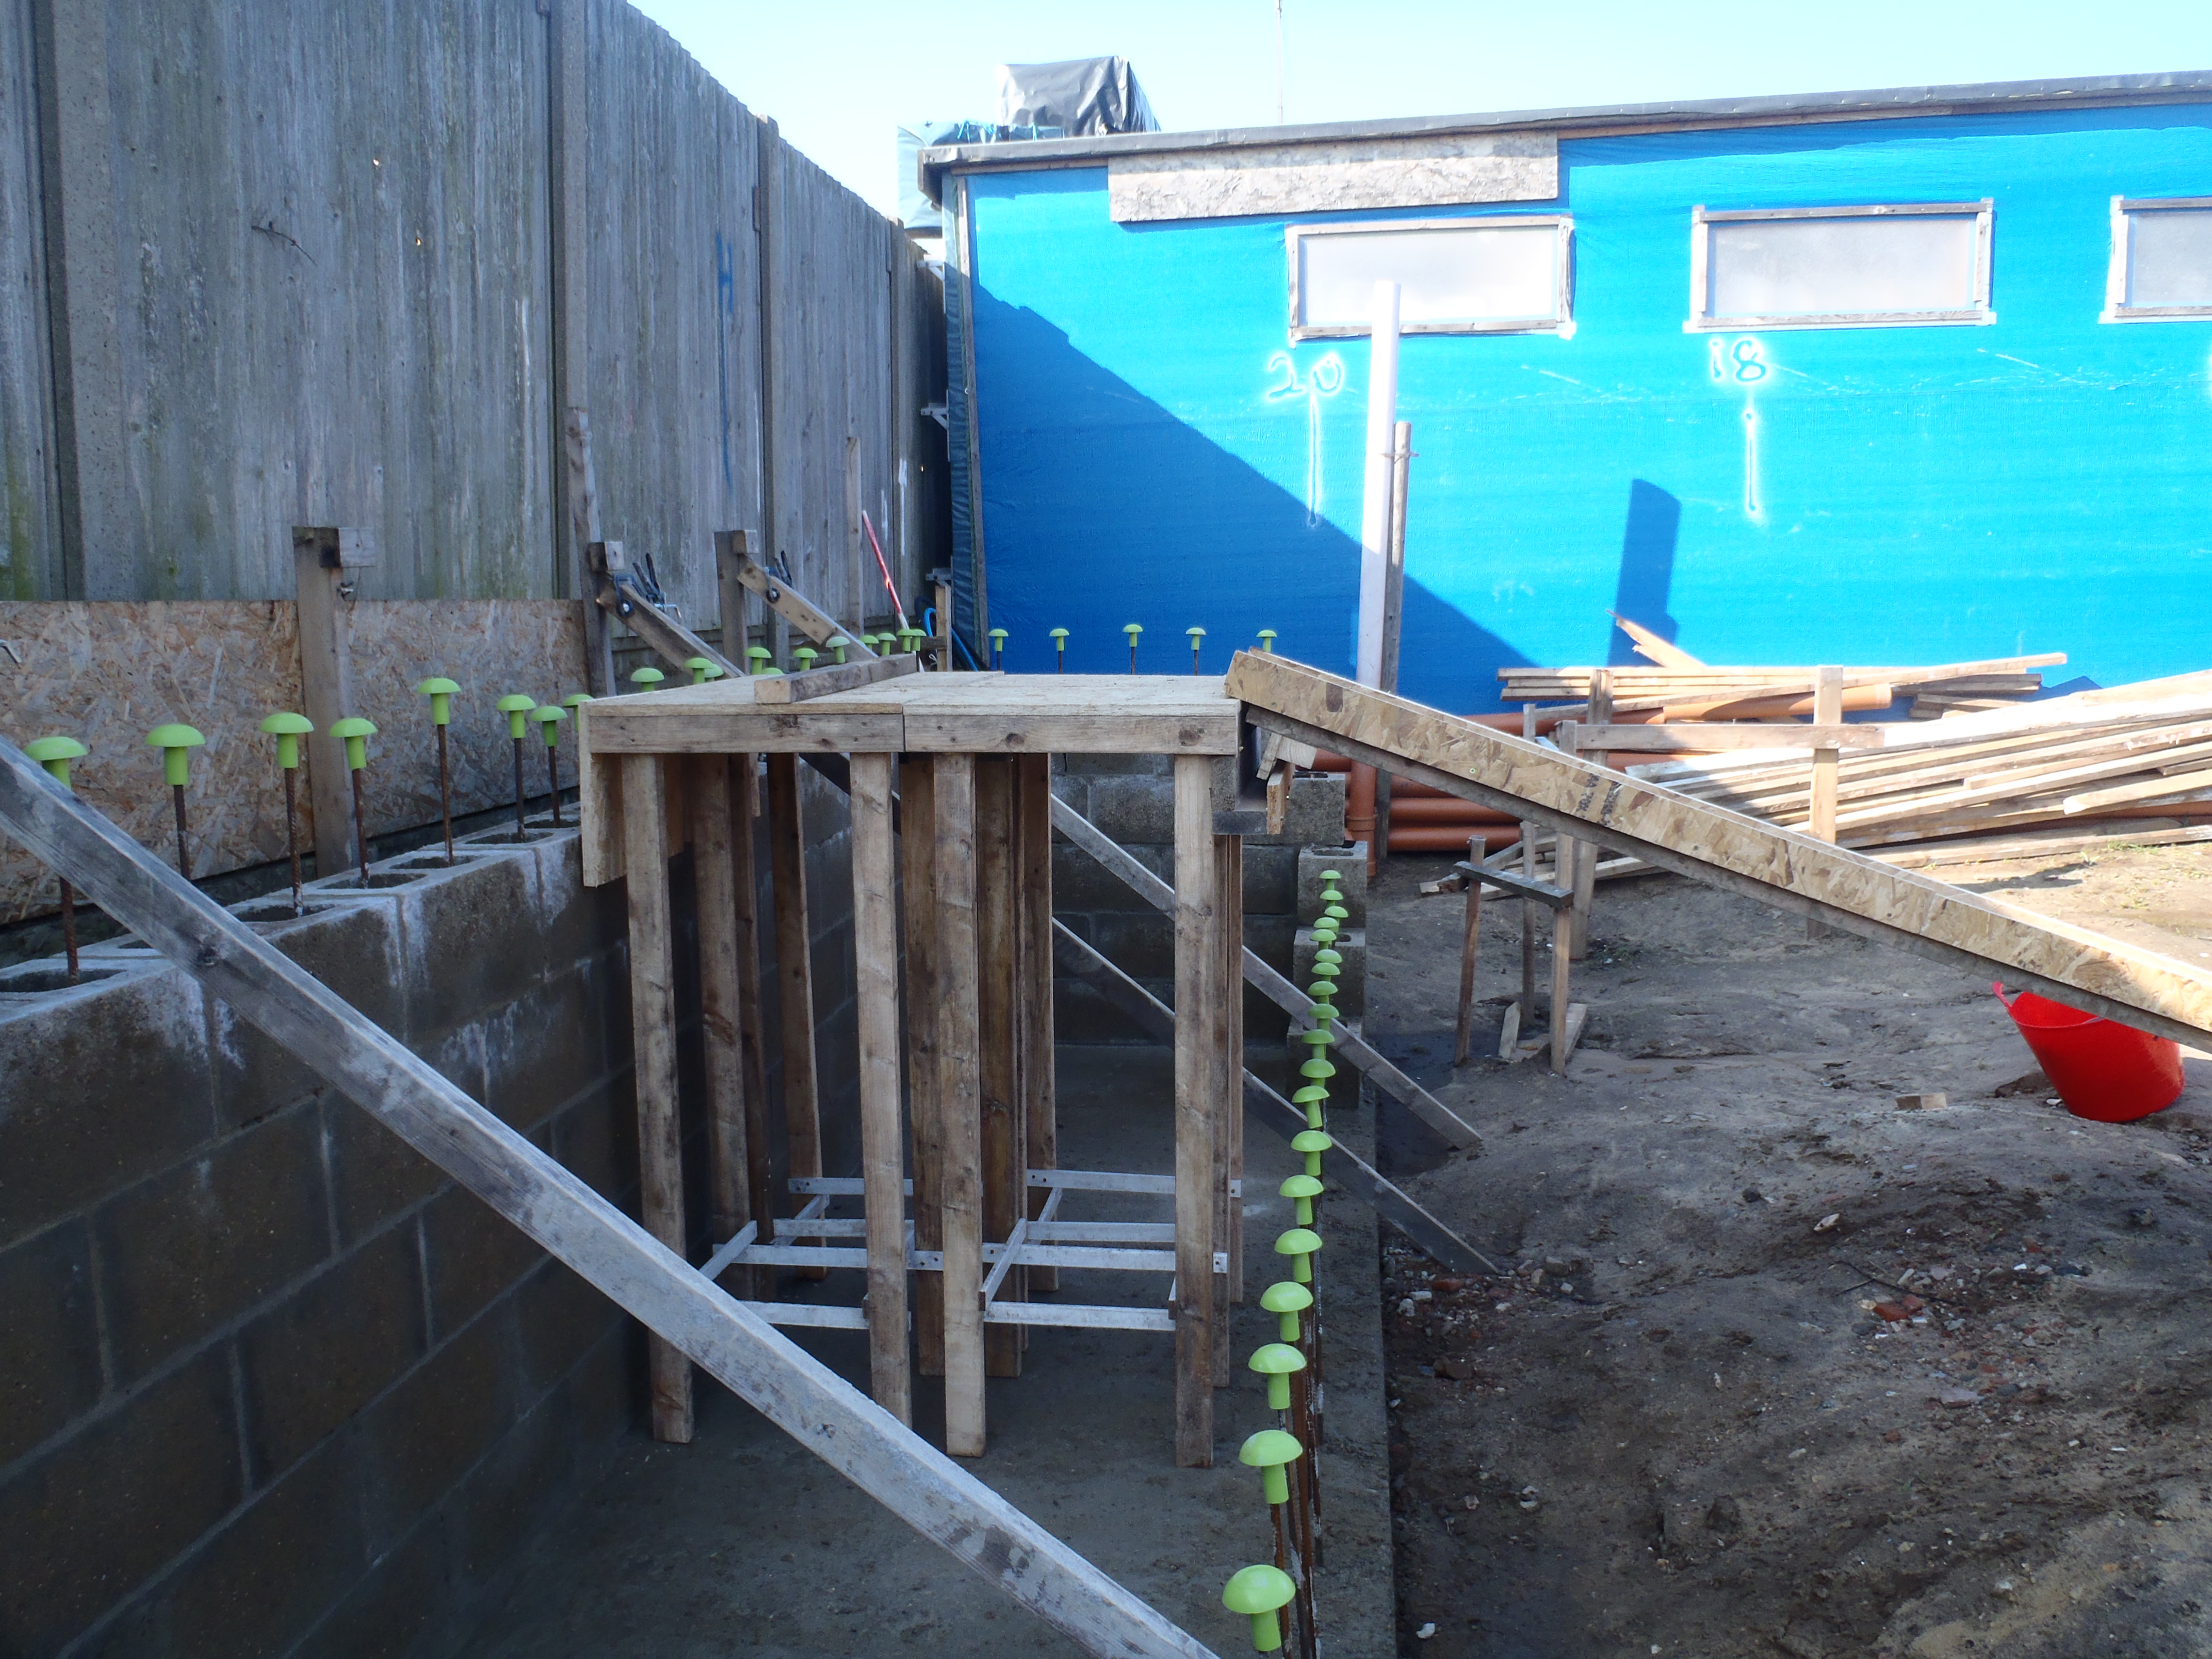
The platform and Ramp is now ready for helping us get the concrete into the
“hollow tubes” in the wall.
The ramp is 12 feet long as we found that having only 8 feet produced a “too
steep” angle on the ramp while trying to push up two concrete blocks as
samples of the kind of weight we will be struggling to get up!!
It is much easier with the extra 4 foot extension!
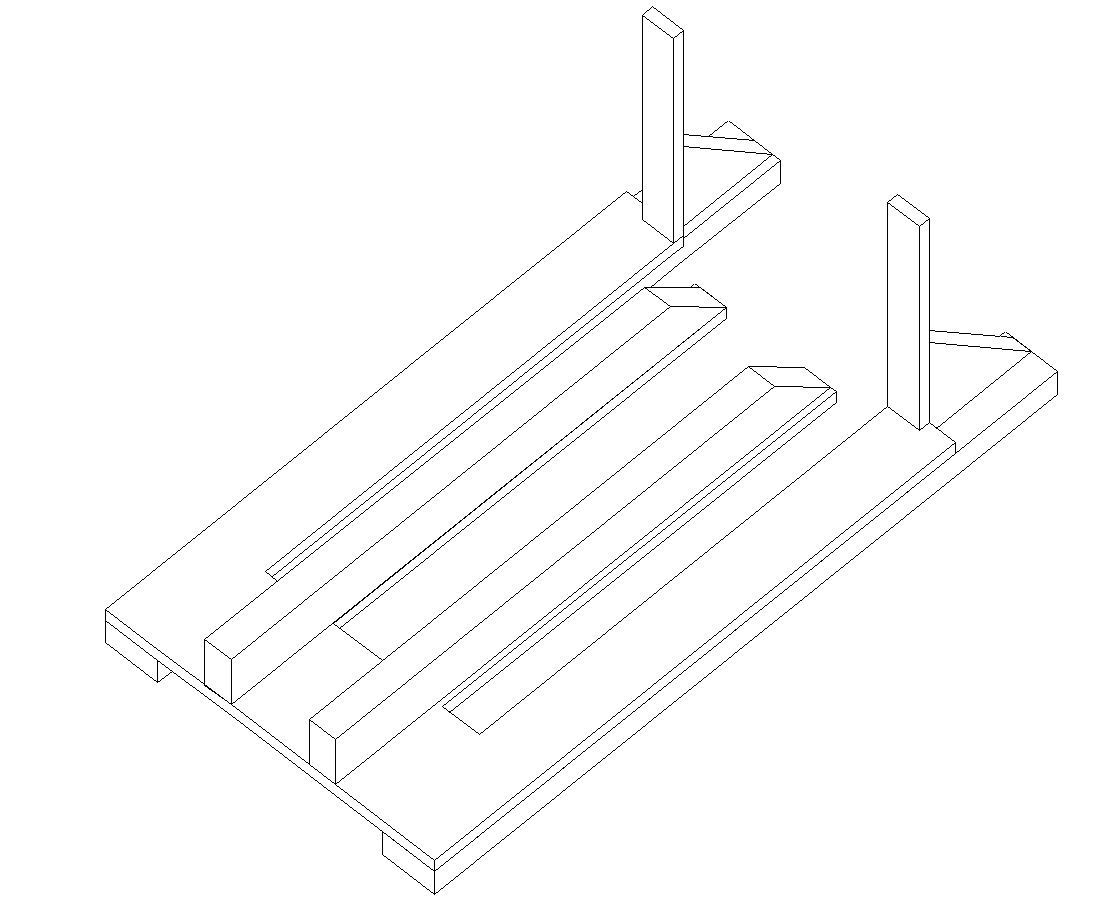
Ramp
Modules-and-Ramp
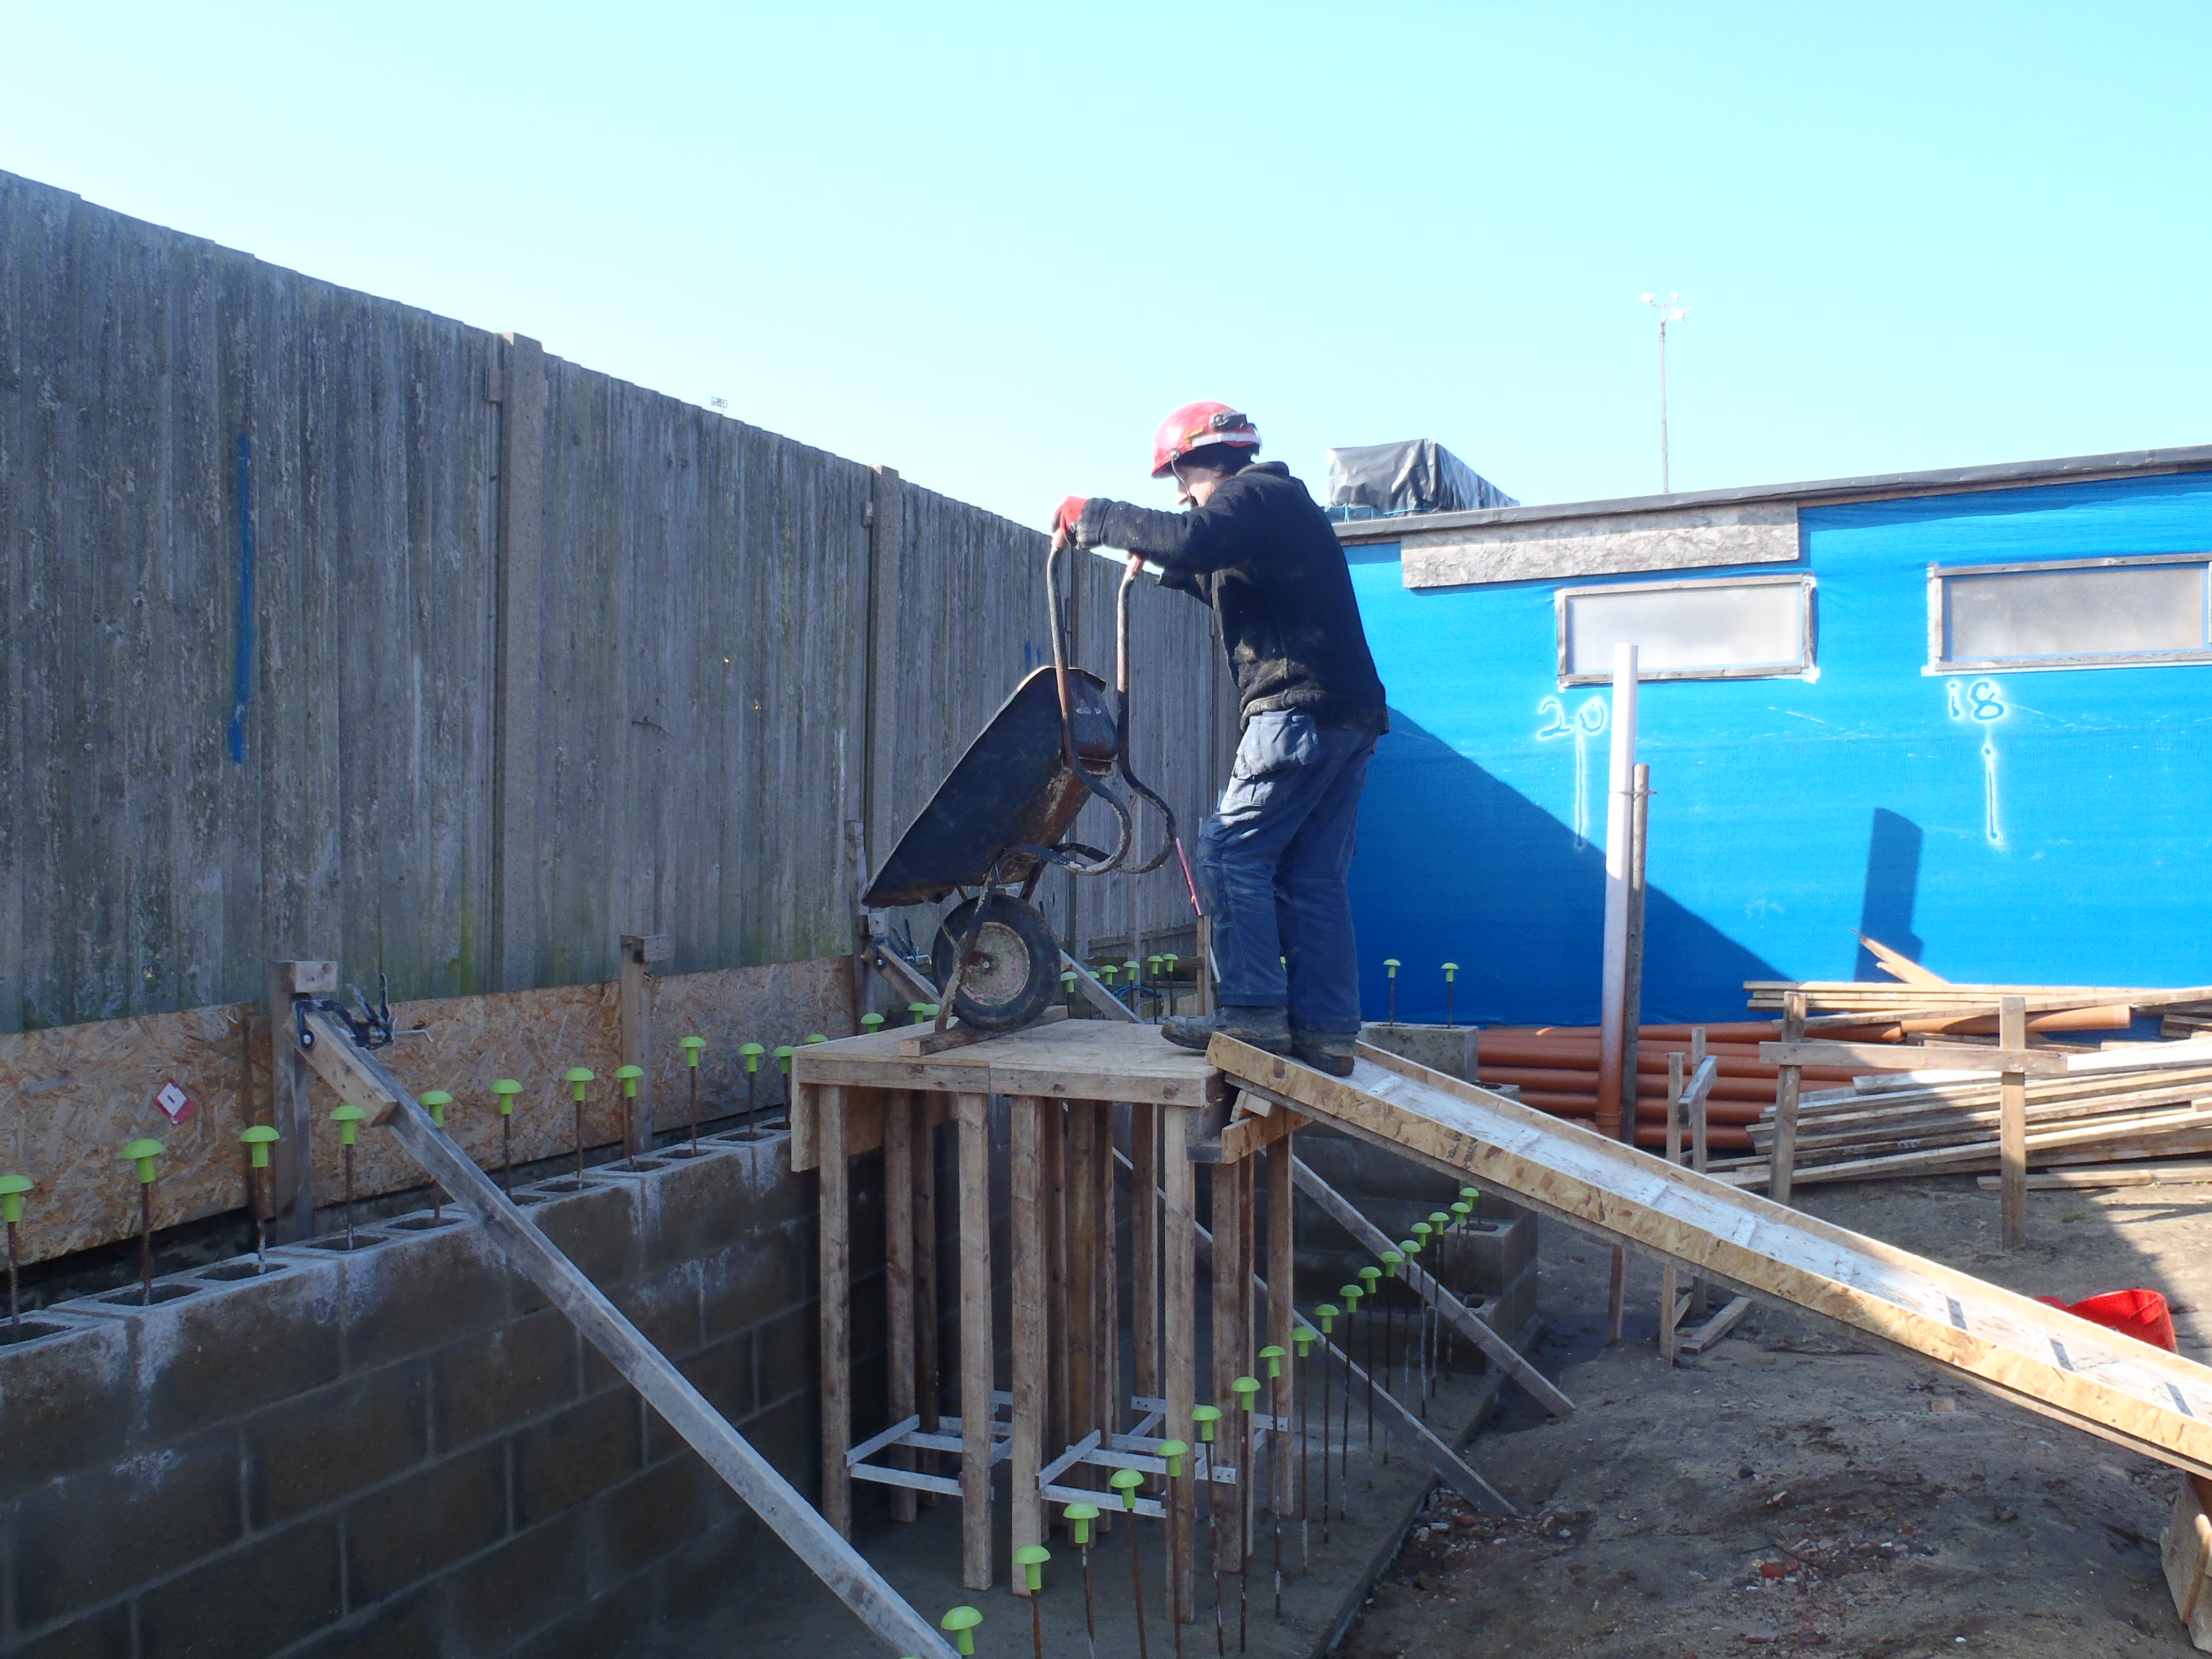
Tipping-Barrow-on-Platform
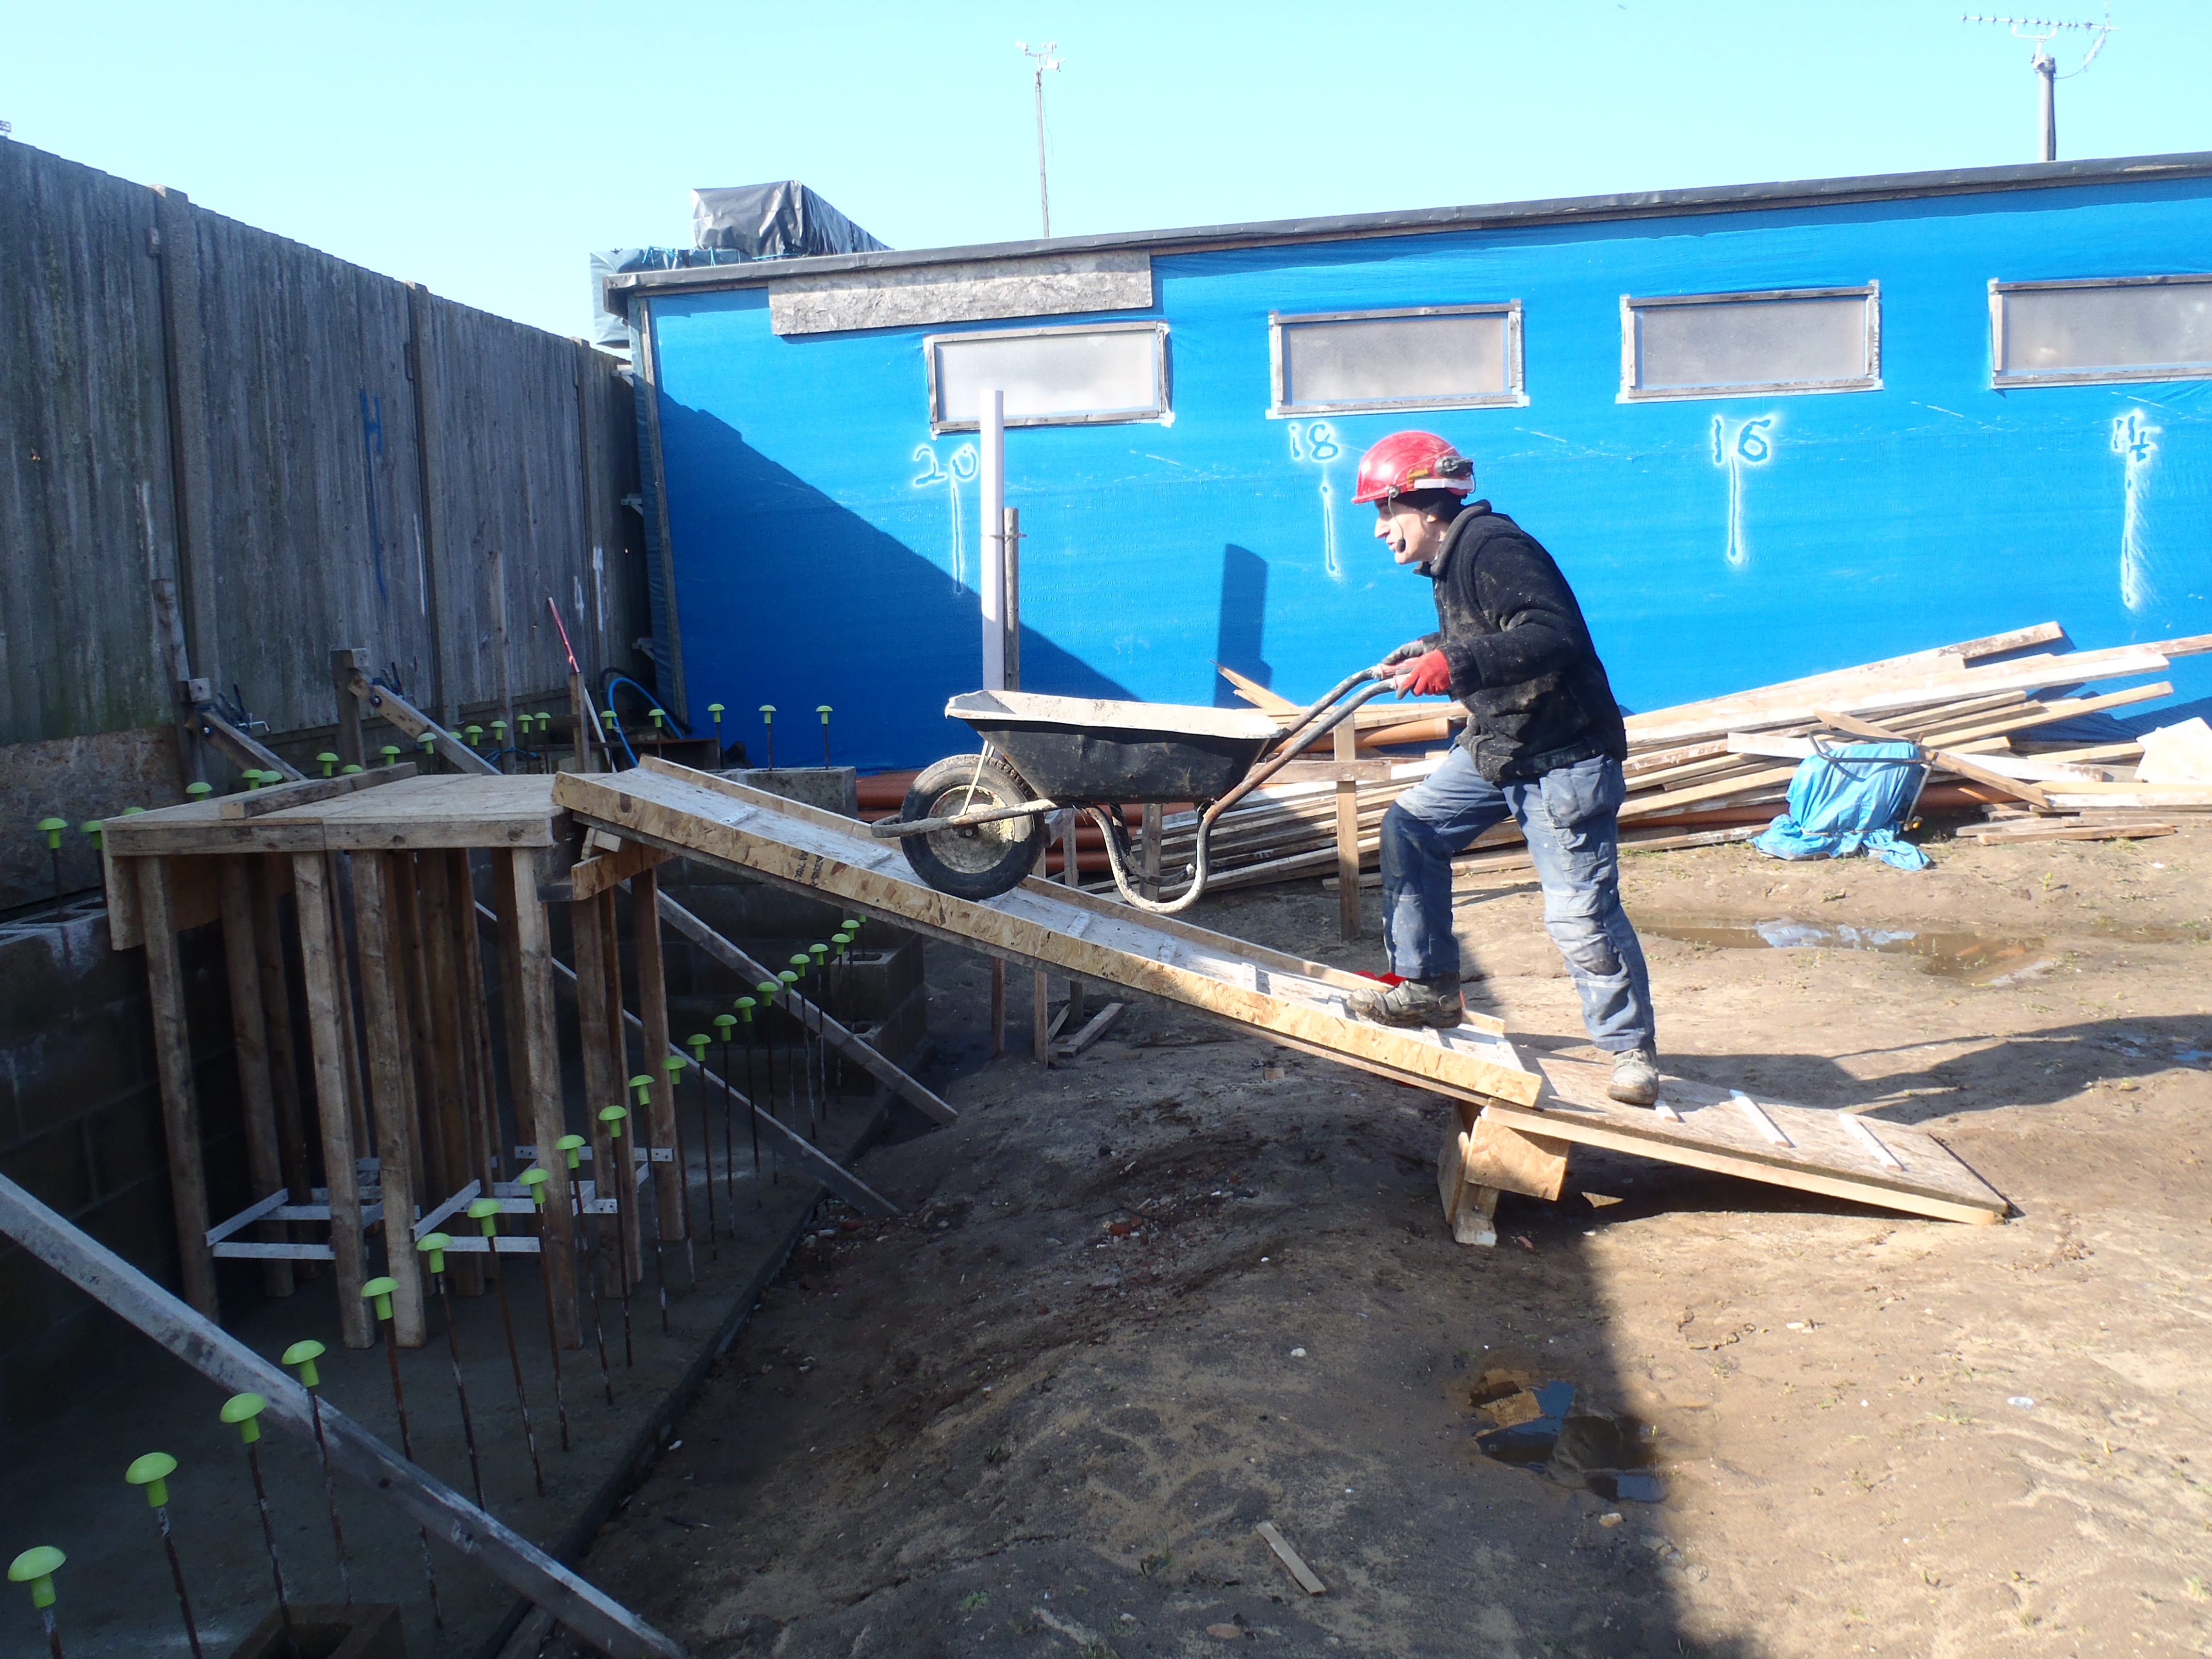
Barrow-going-up-Ramp