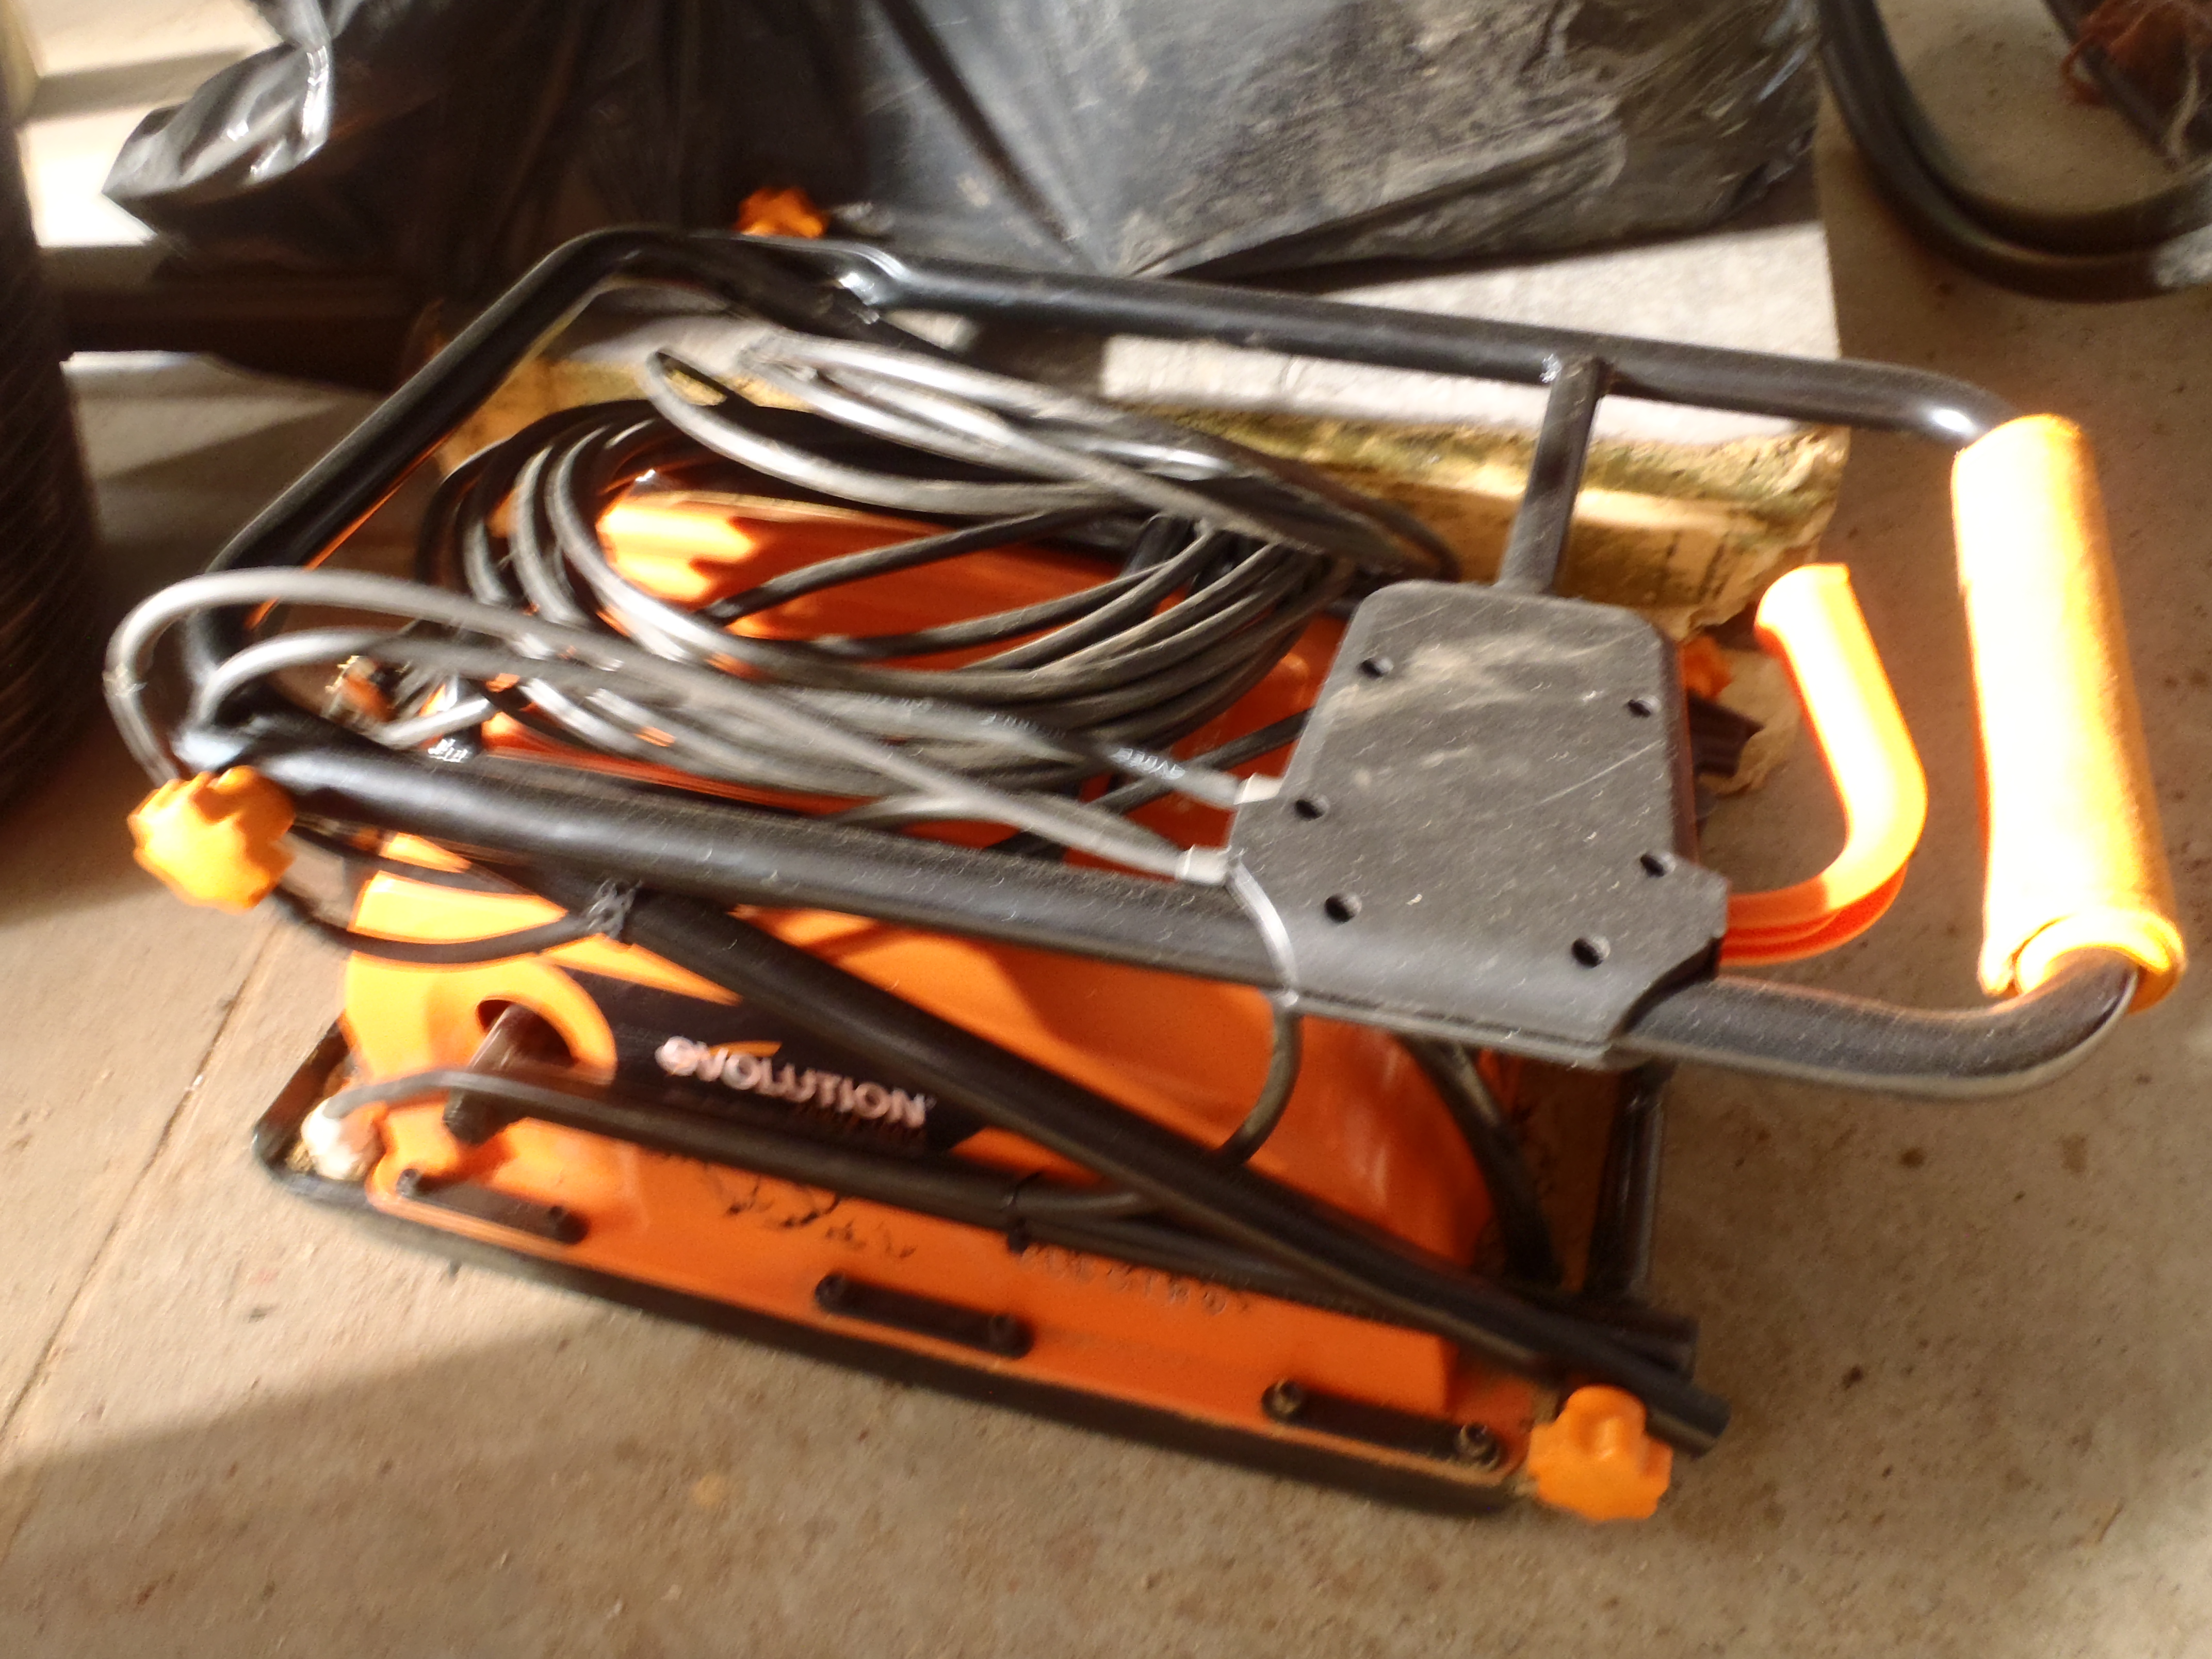
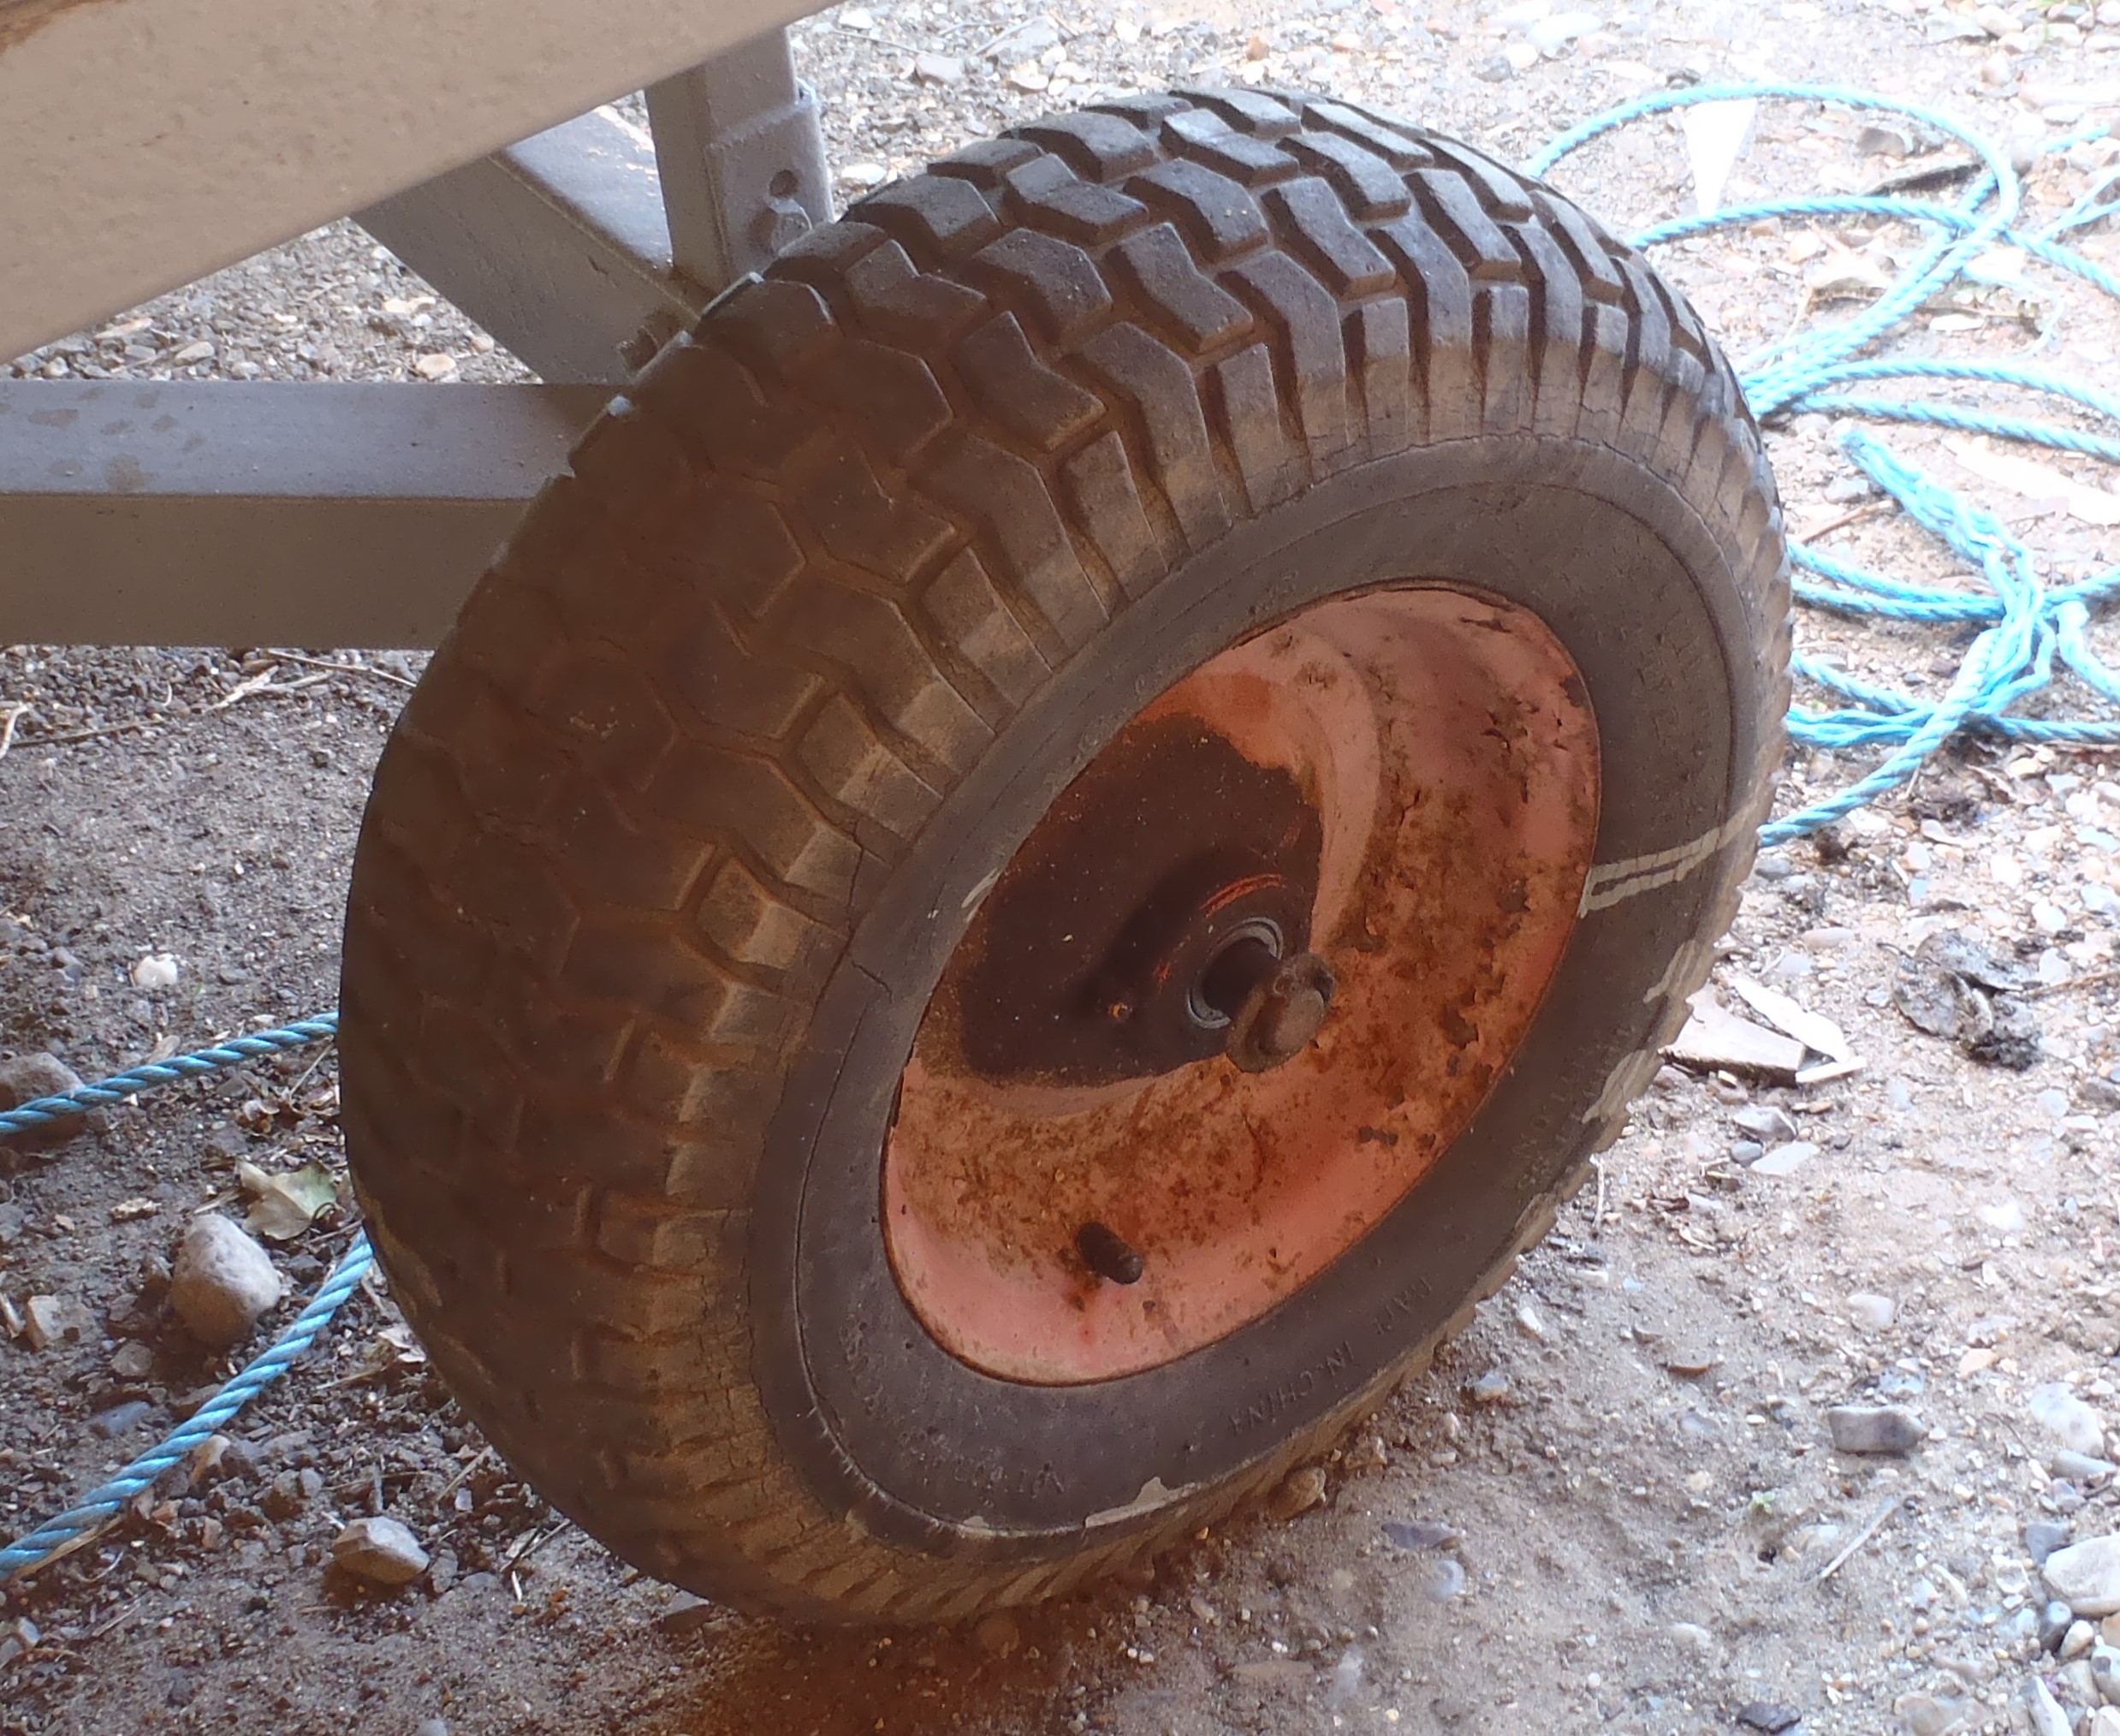
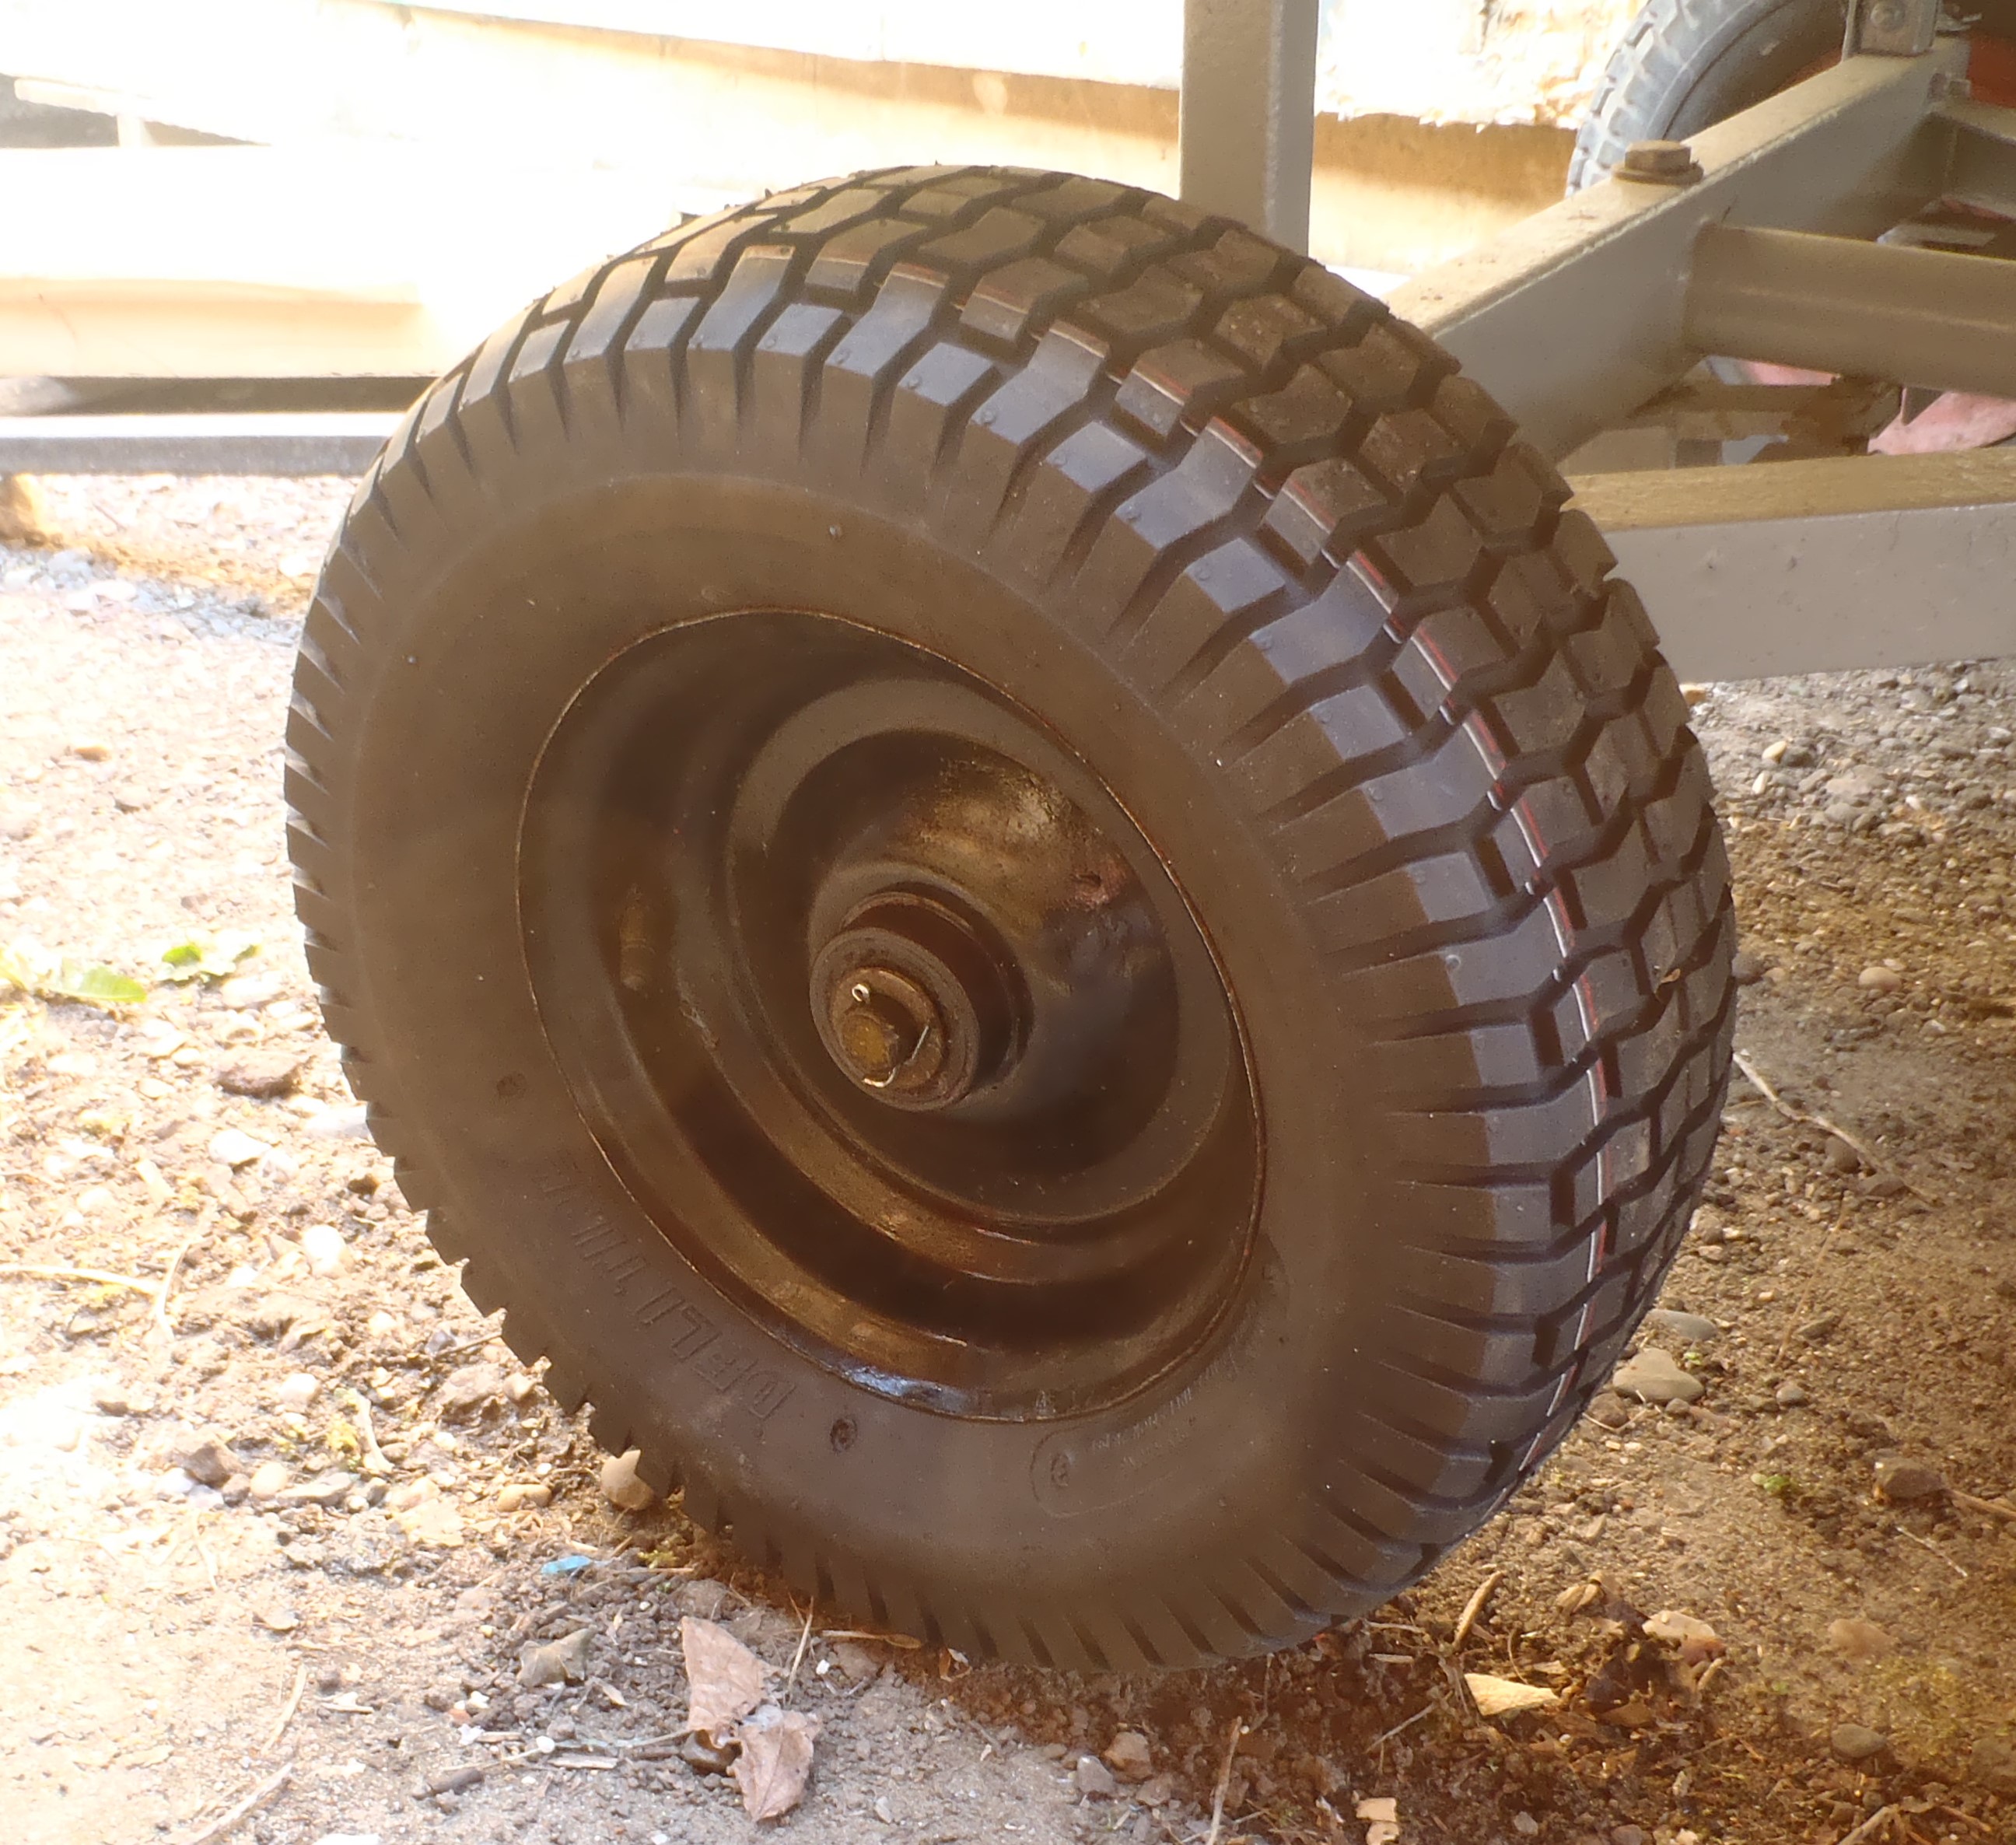
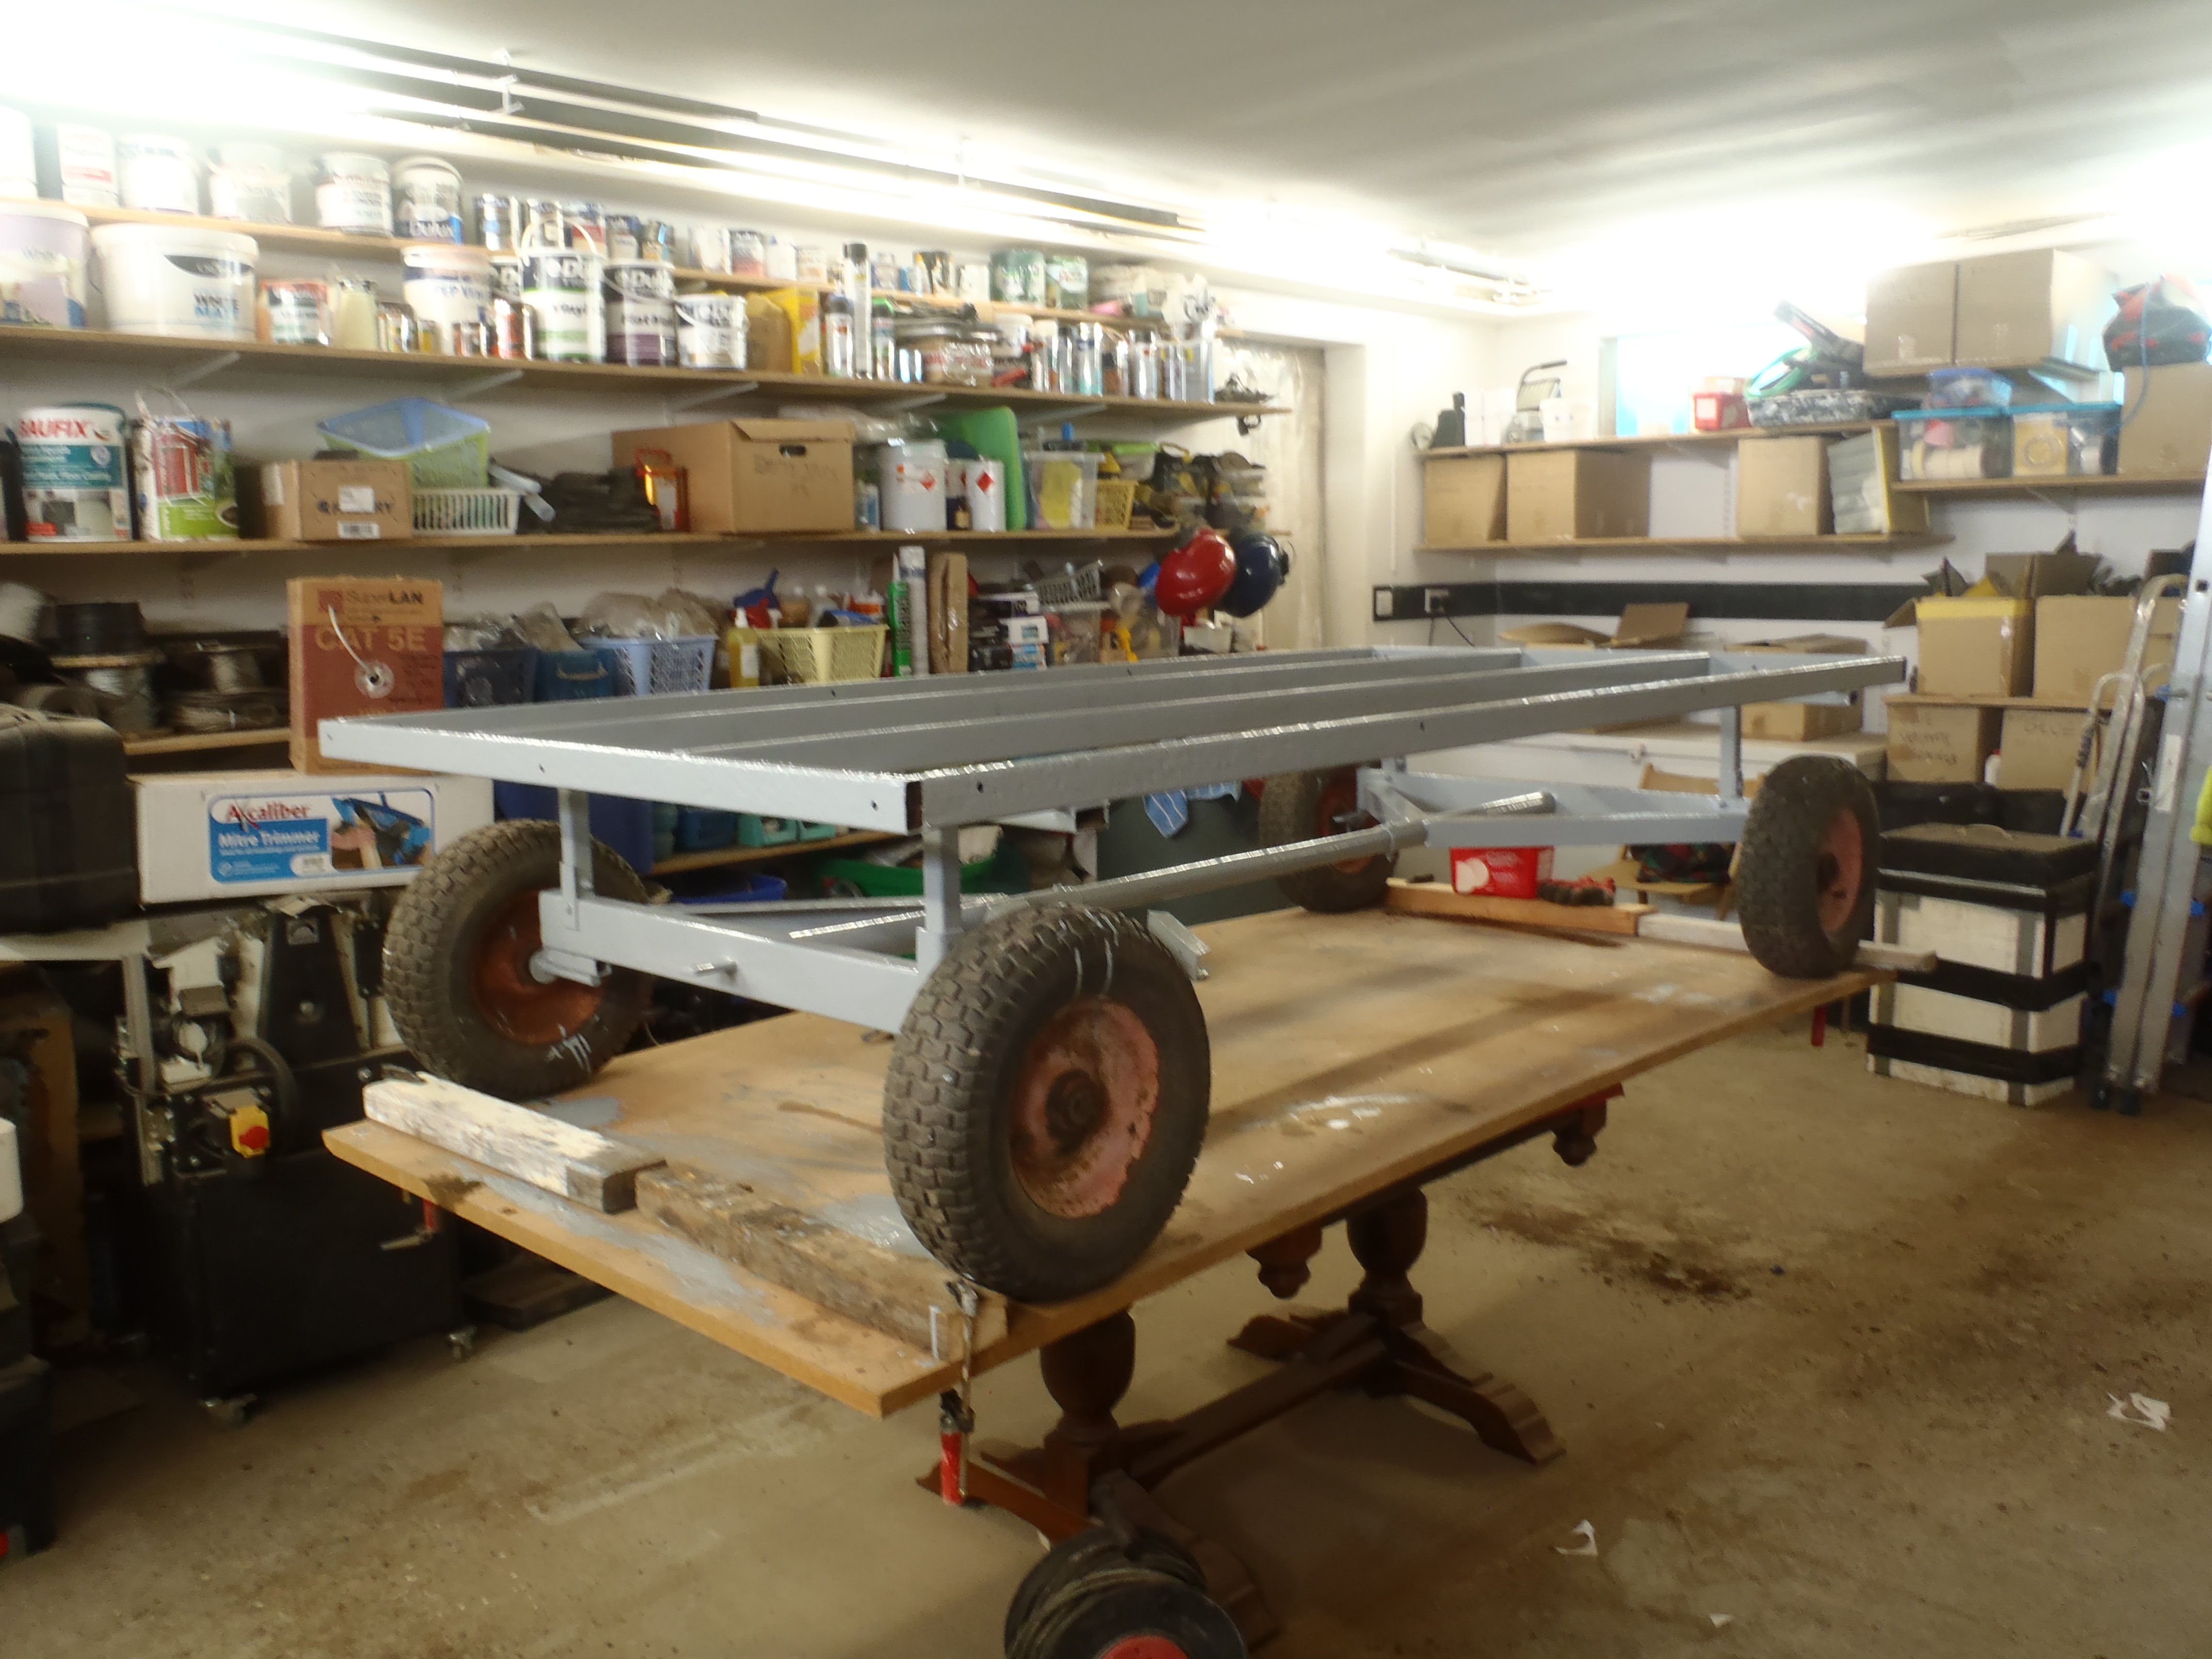
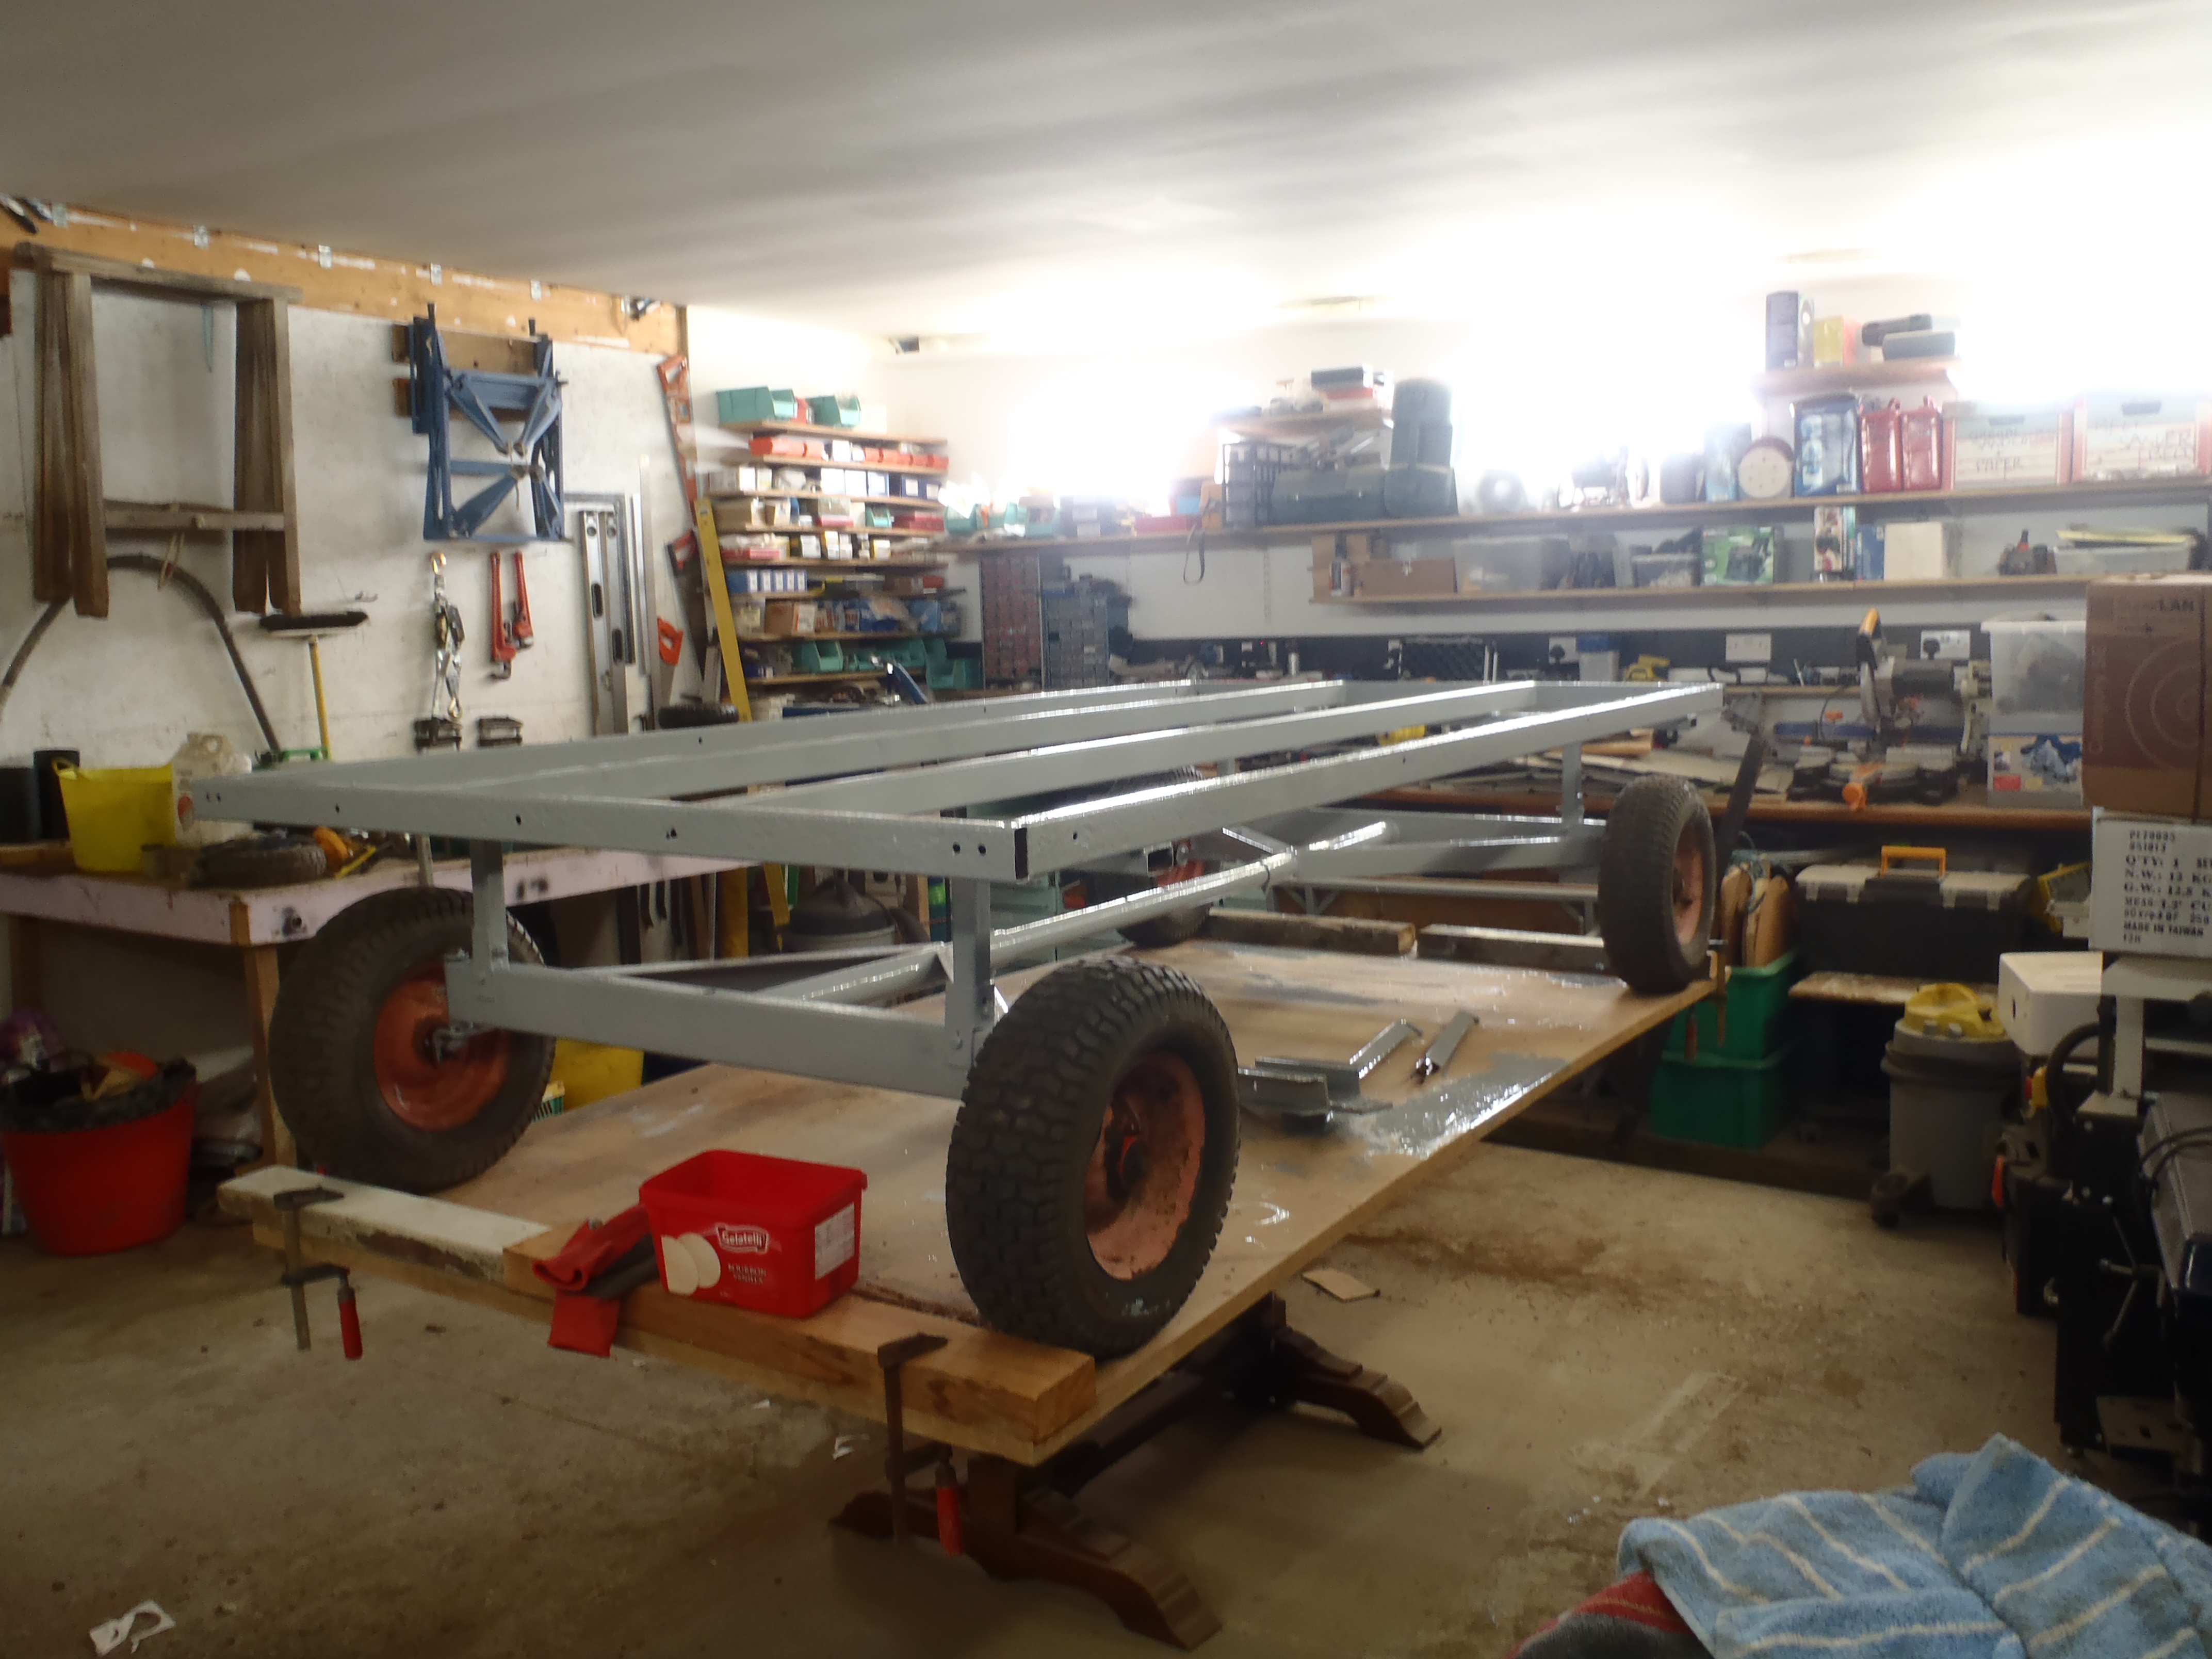
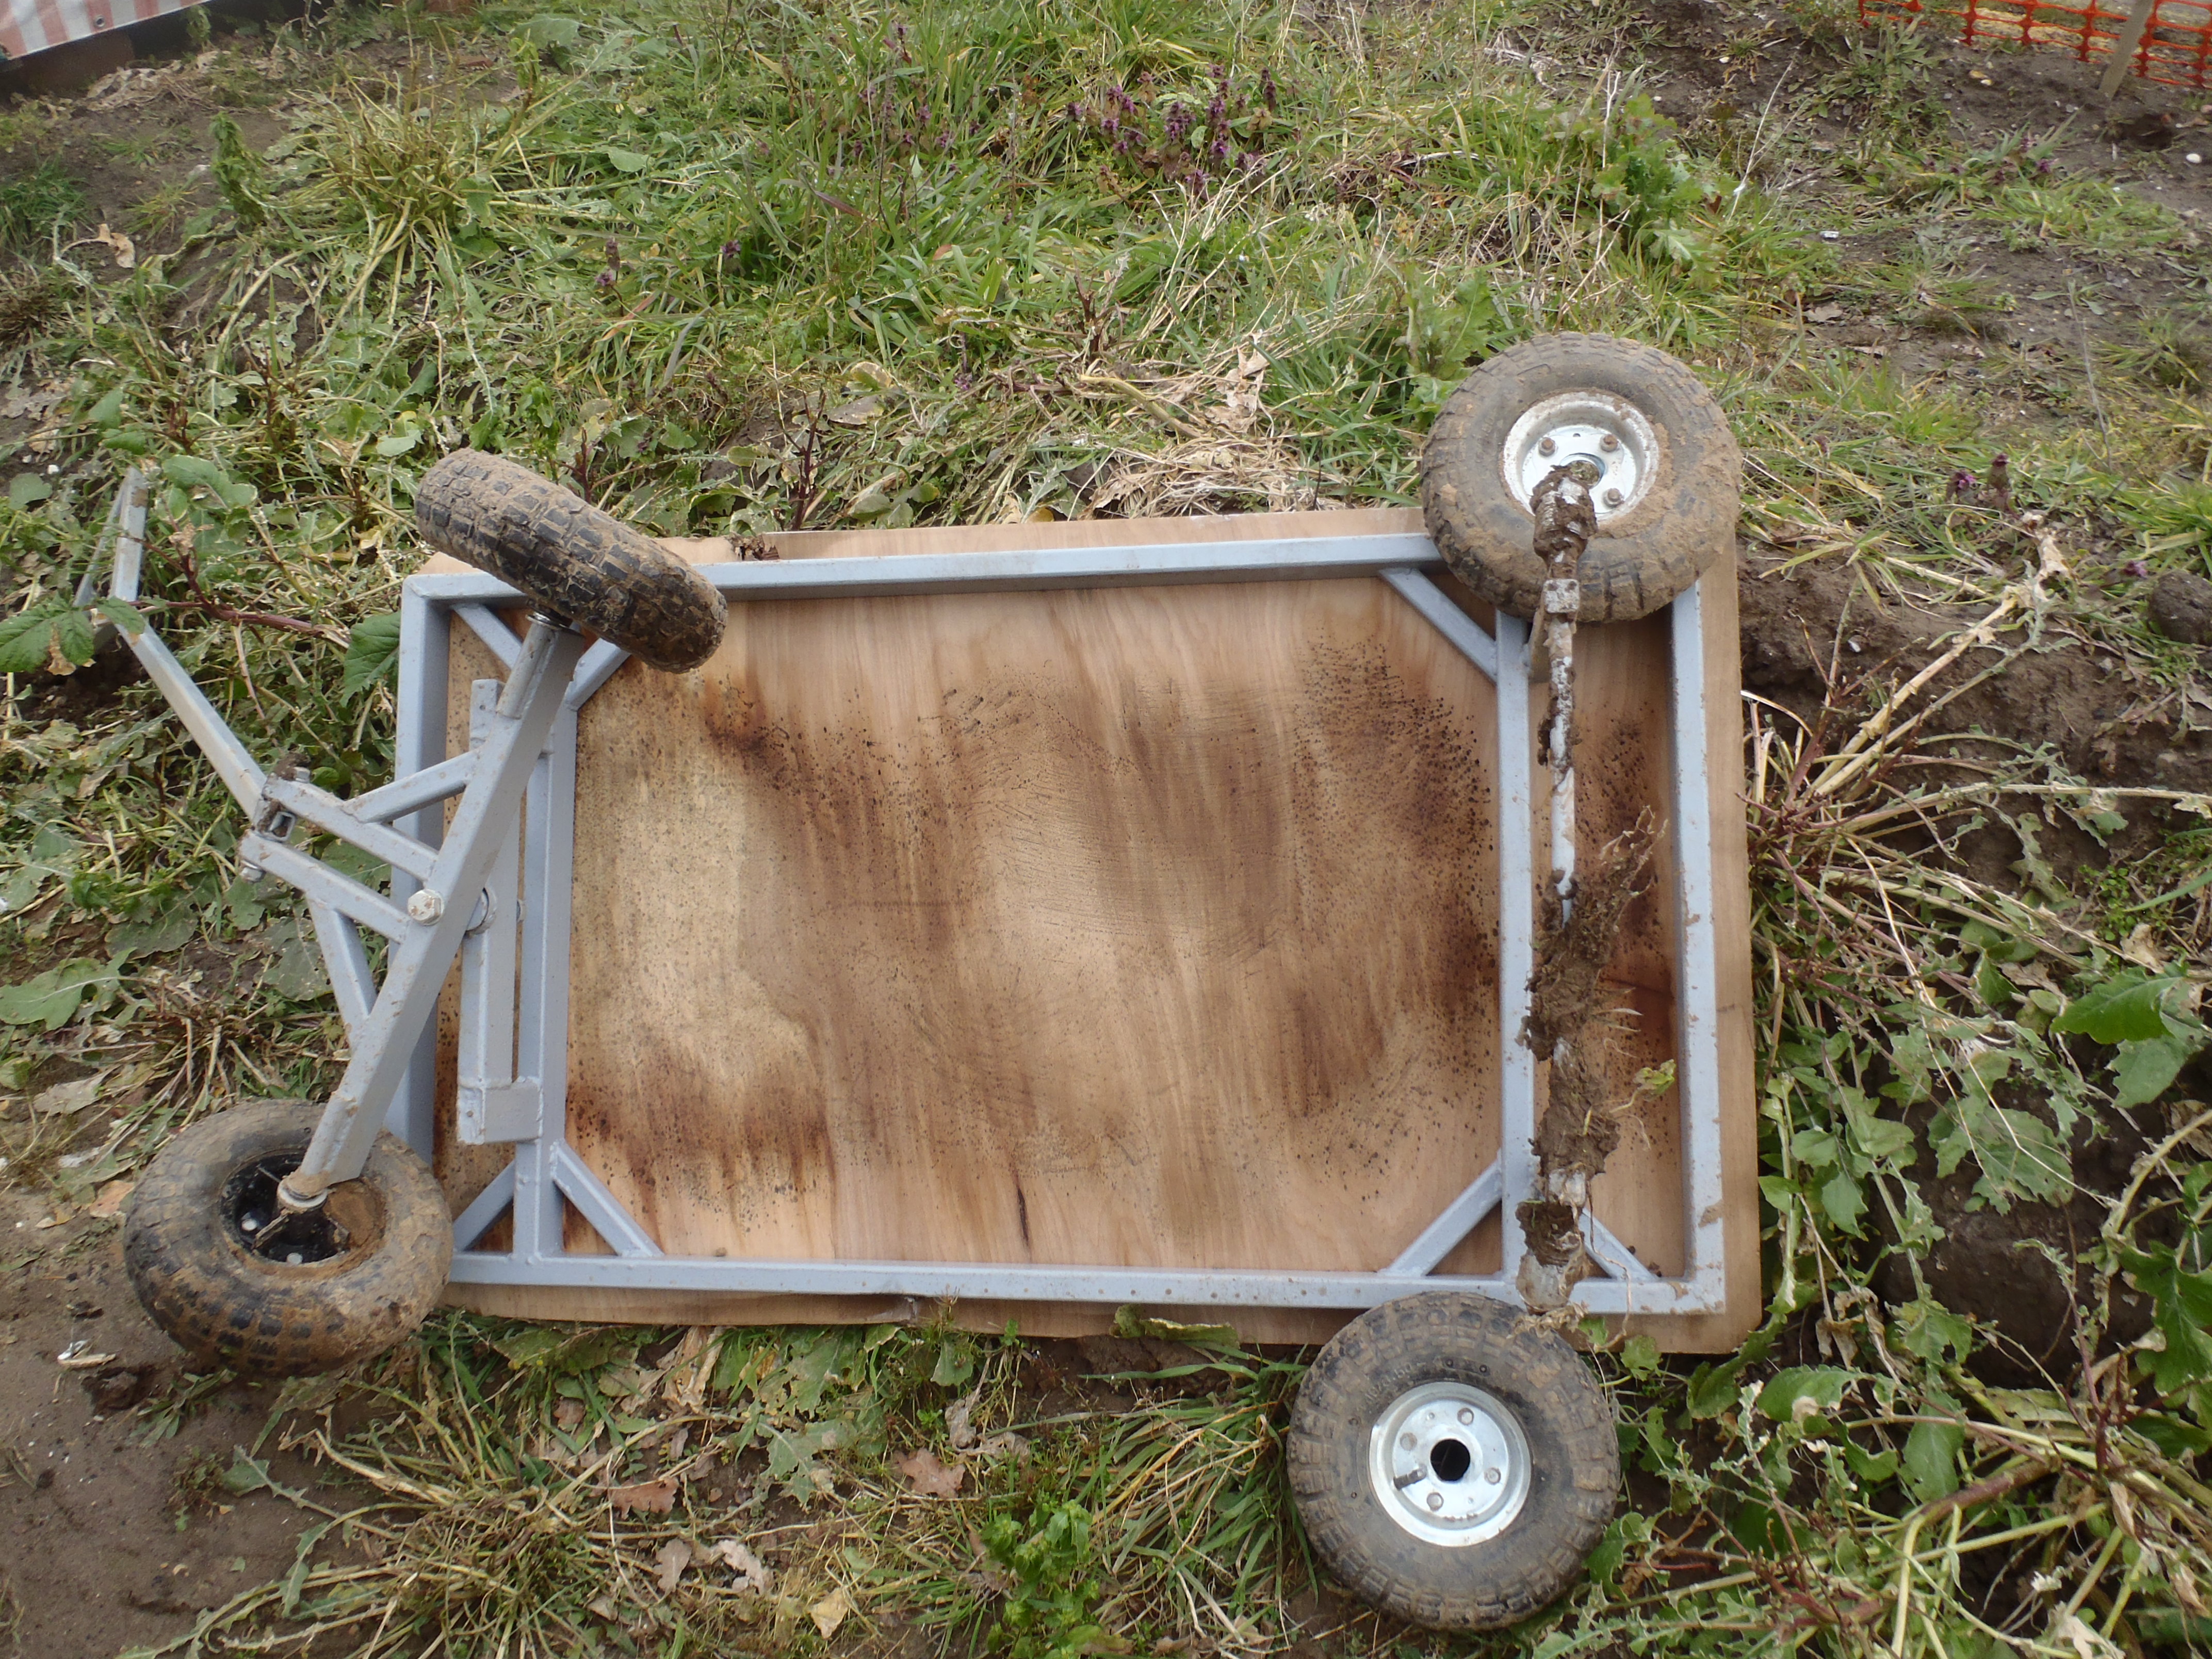
This afternoon, while we waited for the black metal paint to dry on the wheel
hub, we made a new tool to help us take apart the plastic holey crates, so
we can clean them out!! You might ask why we are having to do this task?
Well, several years ago, we took advantage of the cheaper oil prices and
hence the prices of these plastic crates called Aquacell. We bought 200 of
them and stored them around and behind our temporary living quarters. The
problem has been caused by overgrowing ivy and other trailing plants from
the neighbour’s garden, plus also we might find lots of slugs and snails
living inside these dark spacious rectangular boxes (each measures 1000mm
long by 500mm wide and just about 400mm high) and generally have dust and
dirt blown into them over the years!!
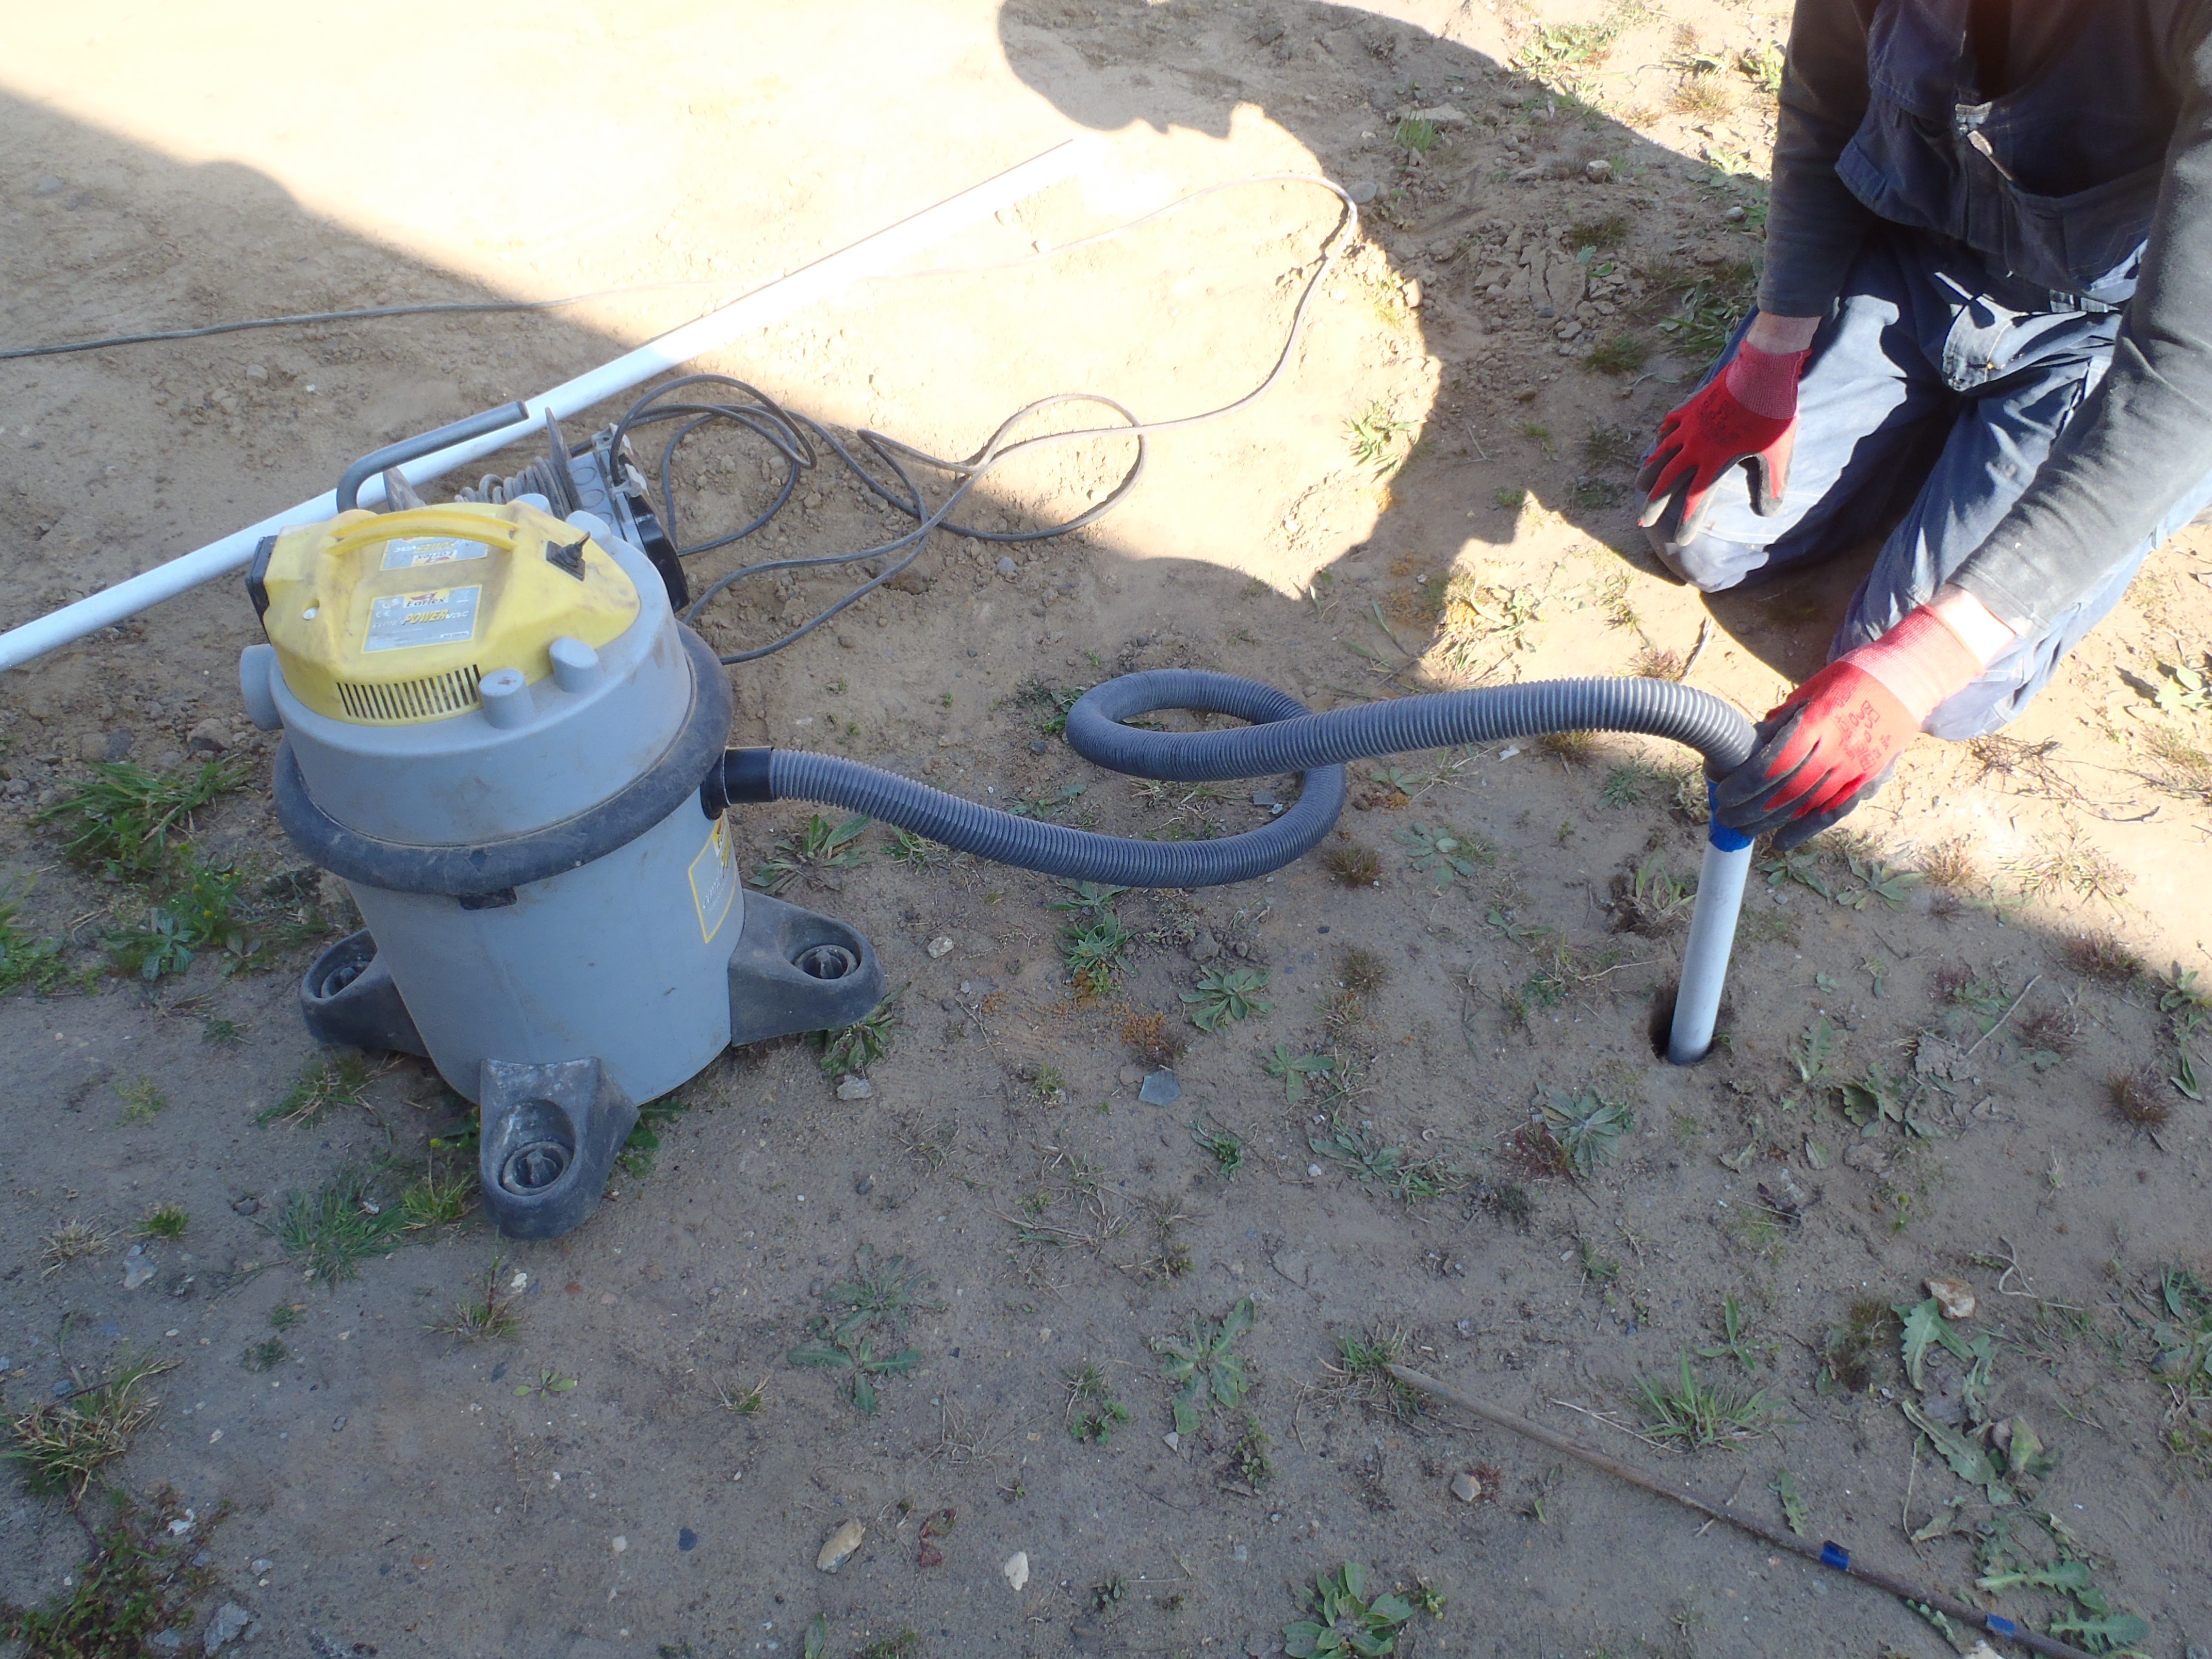
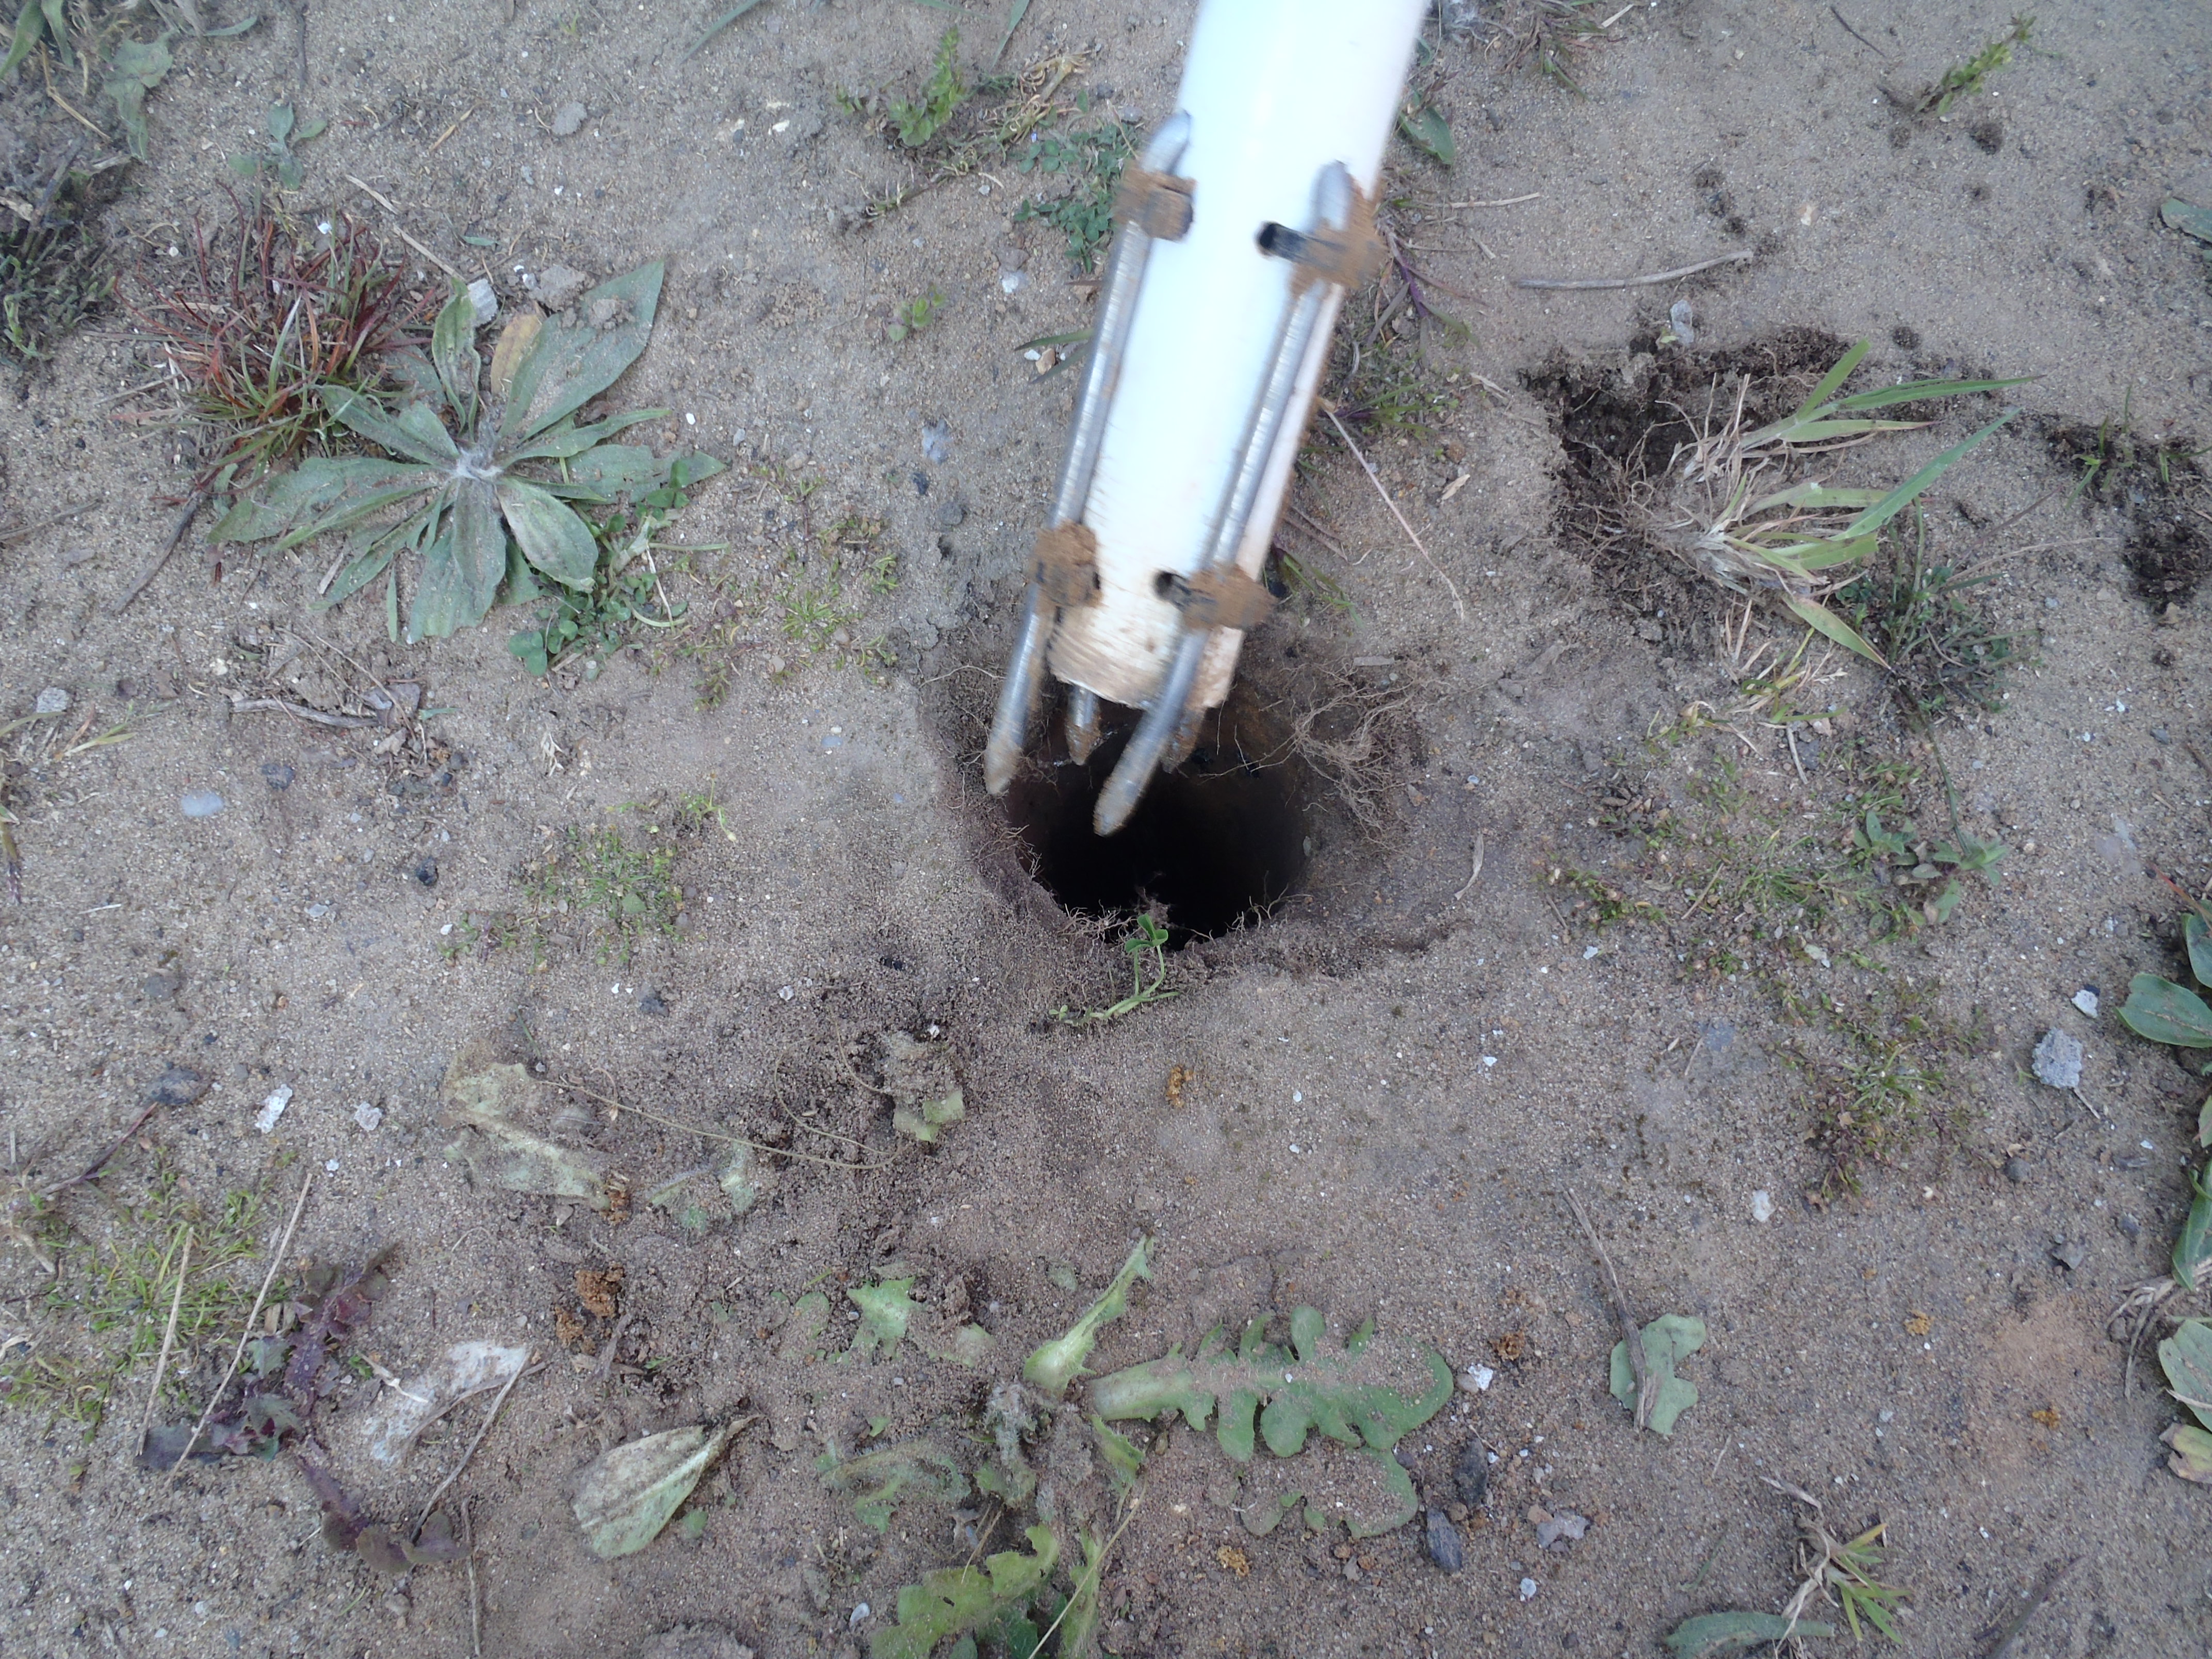
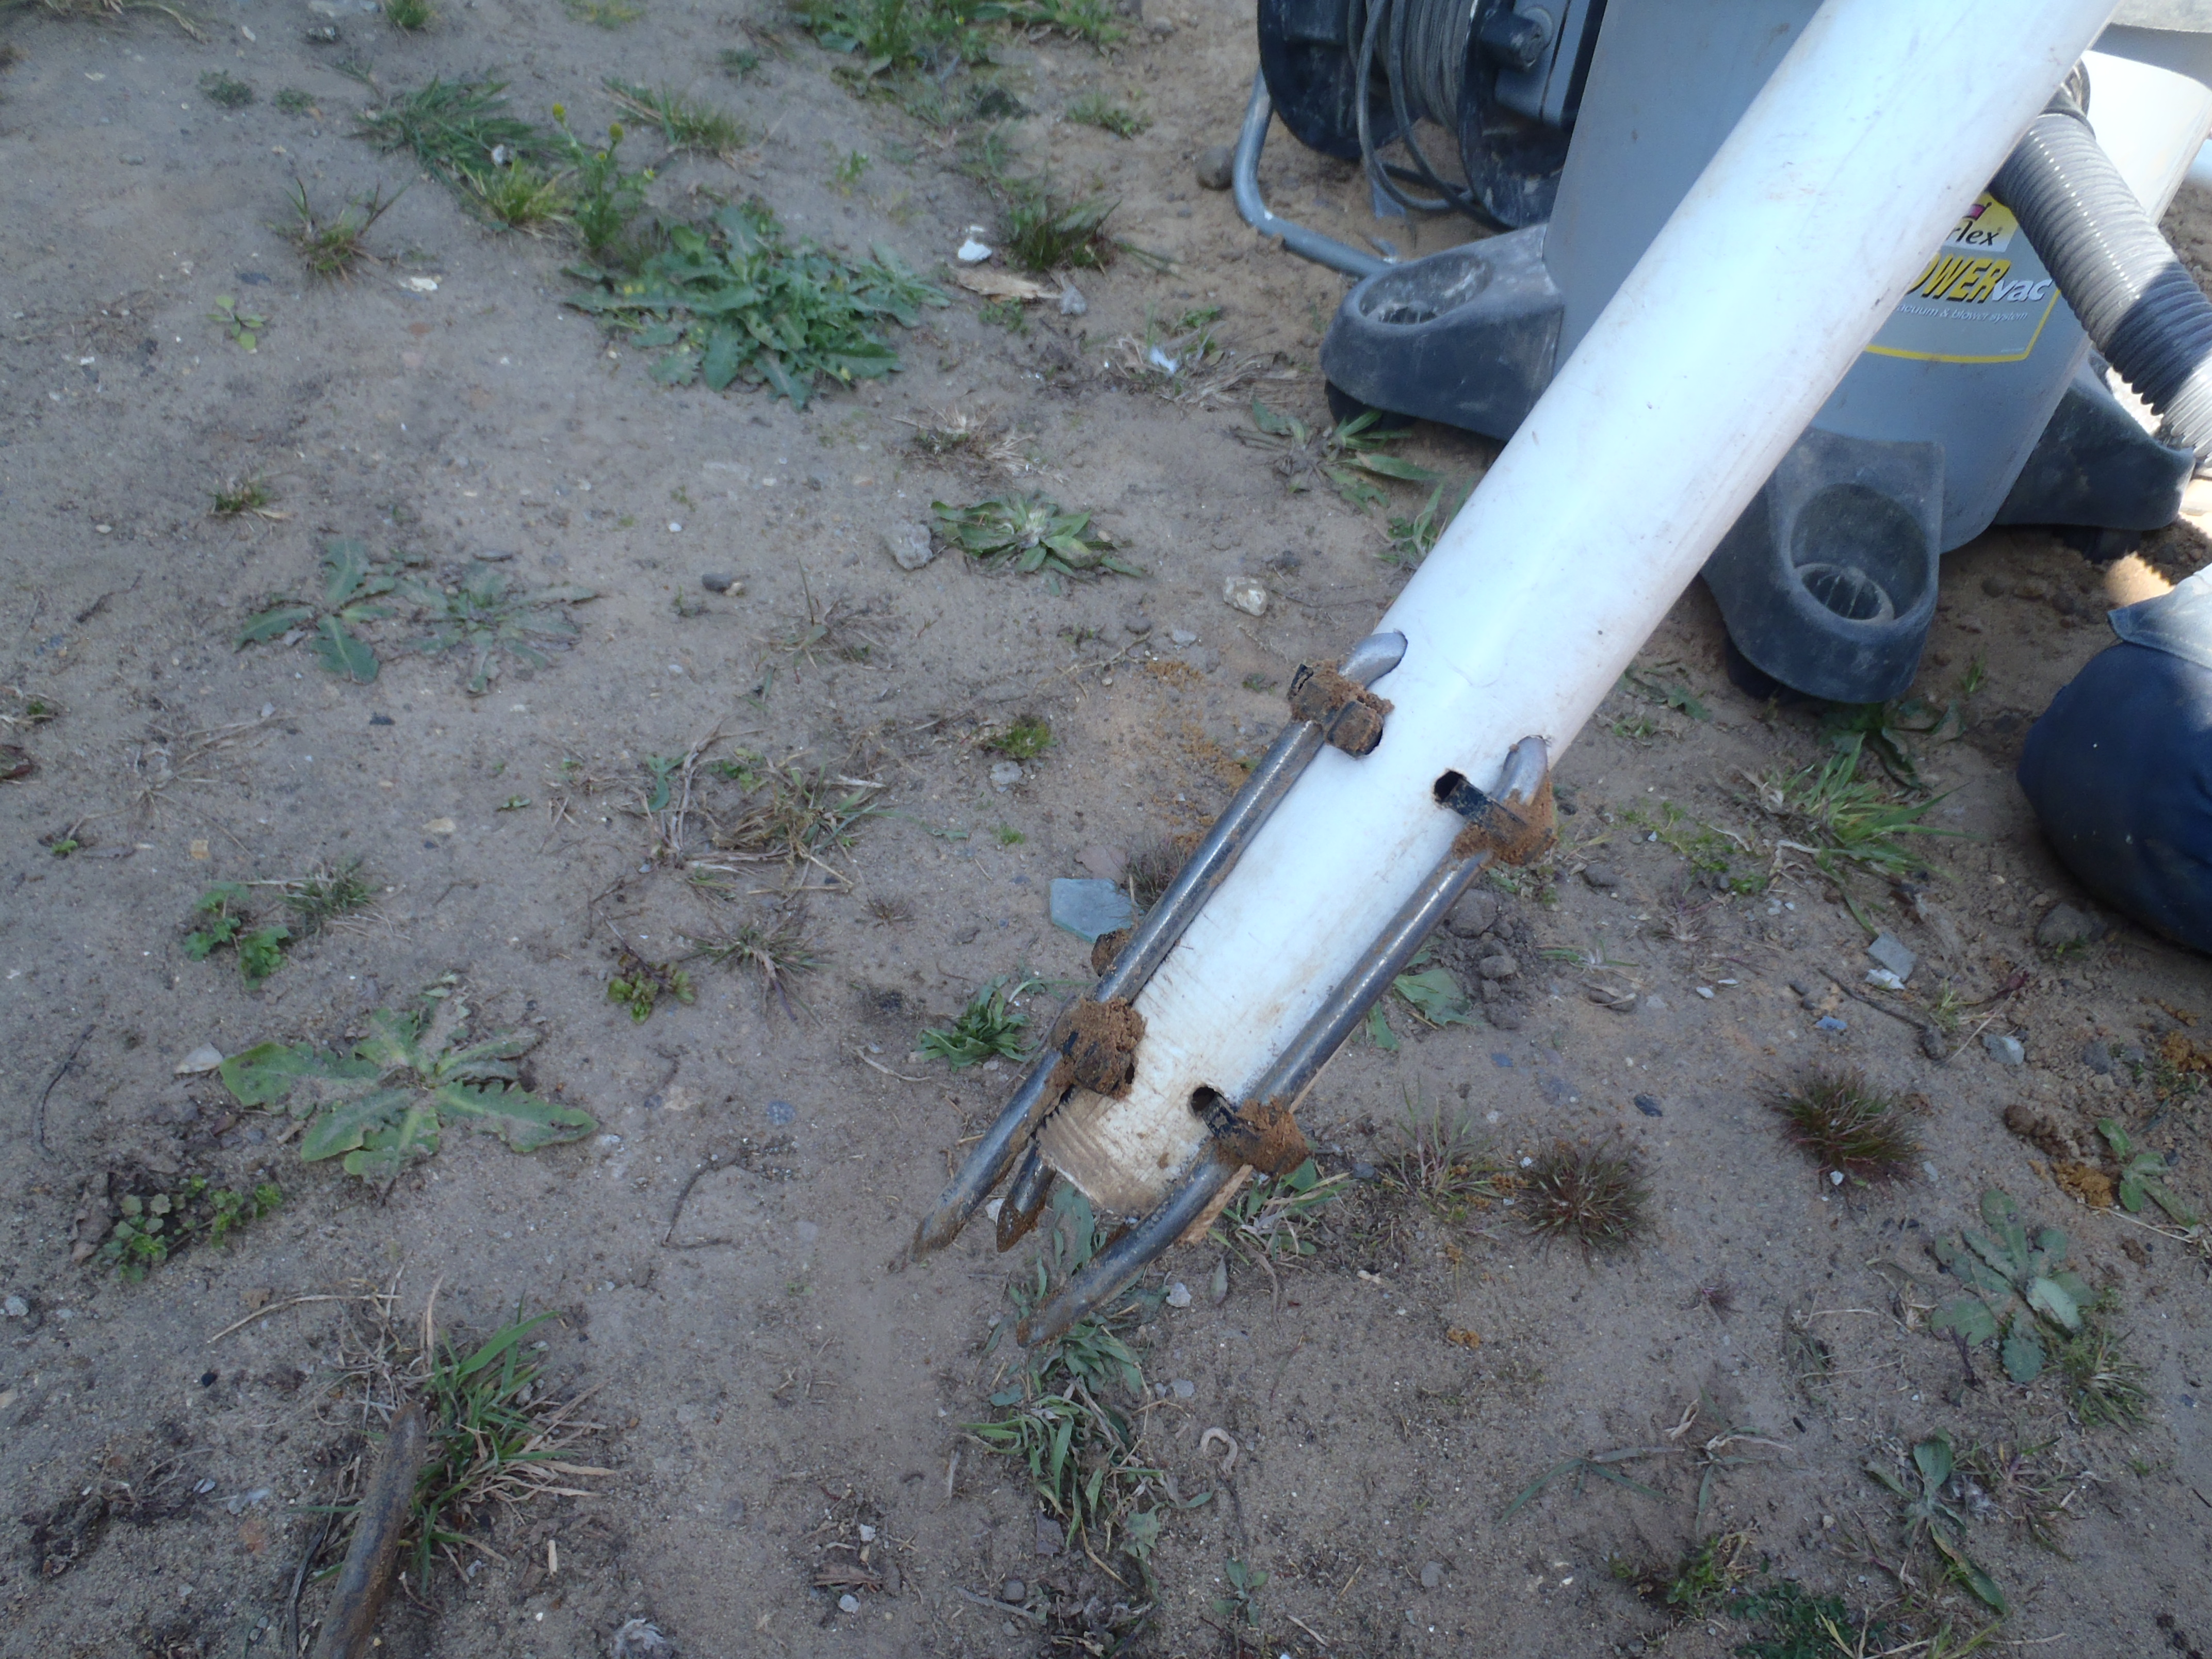
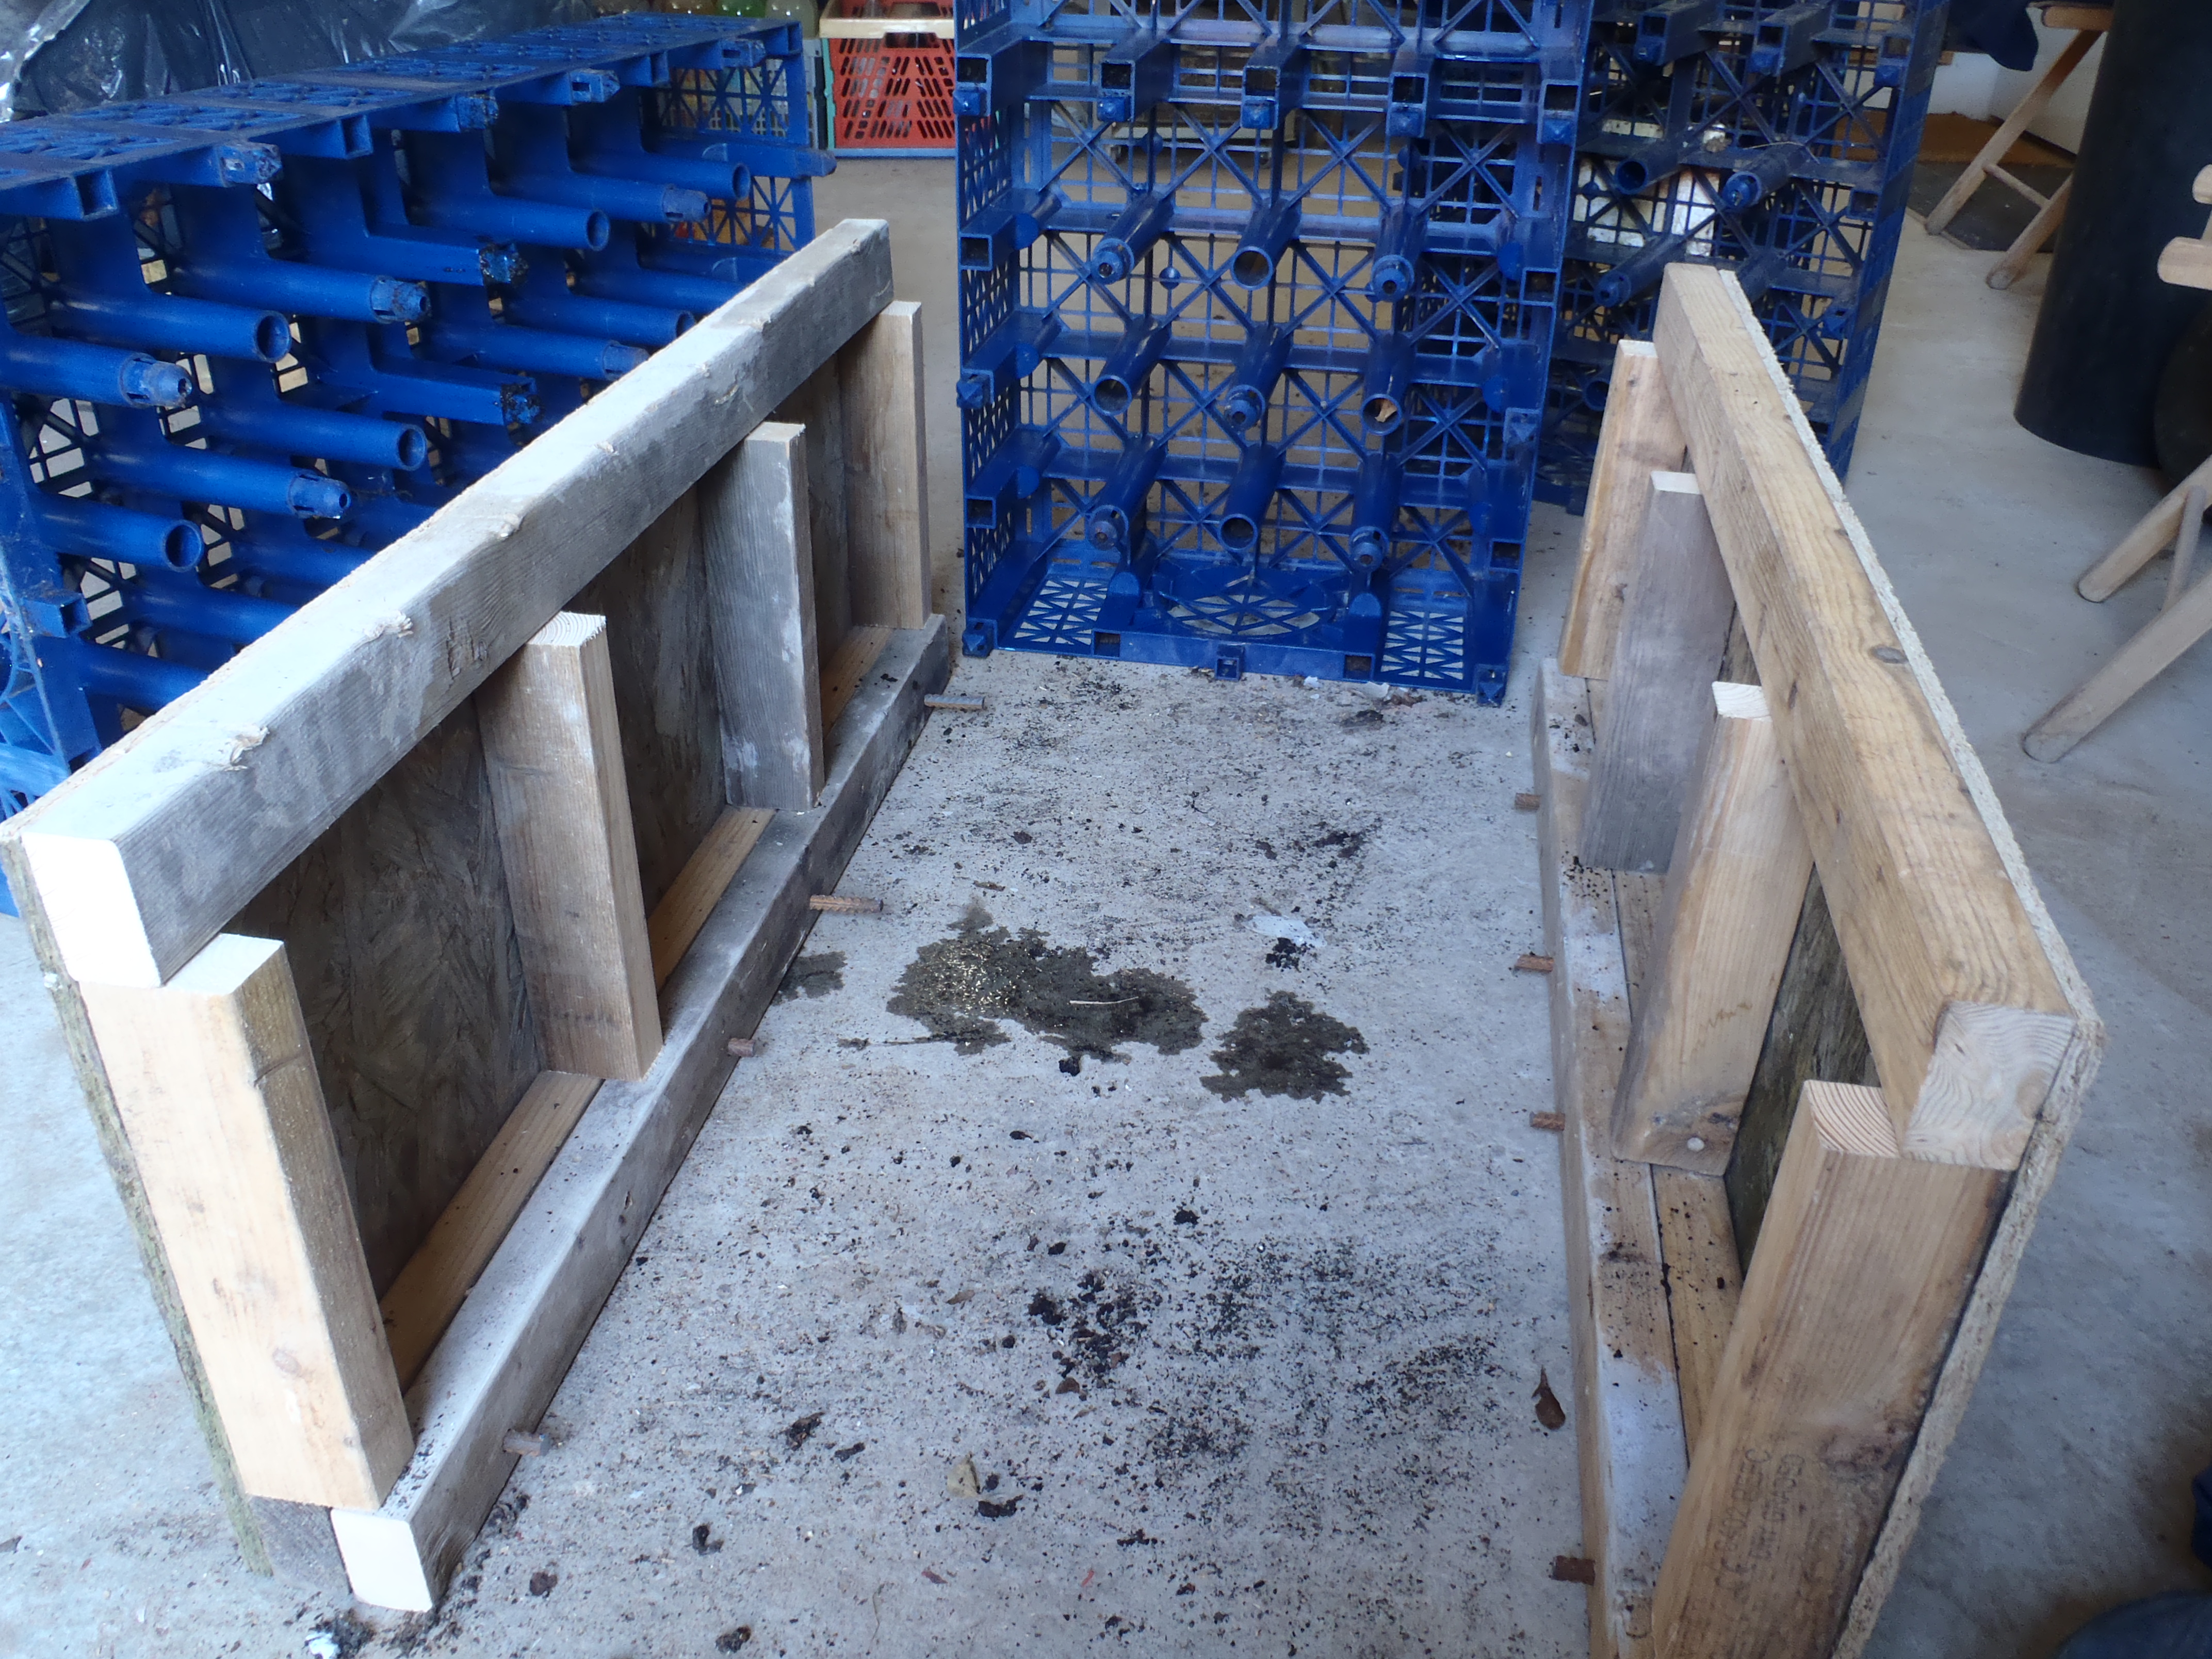
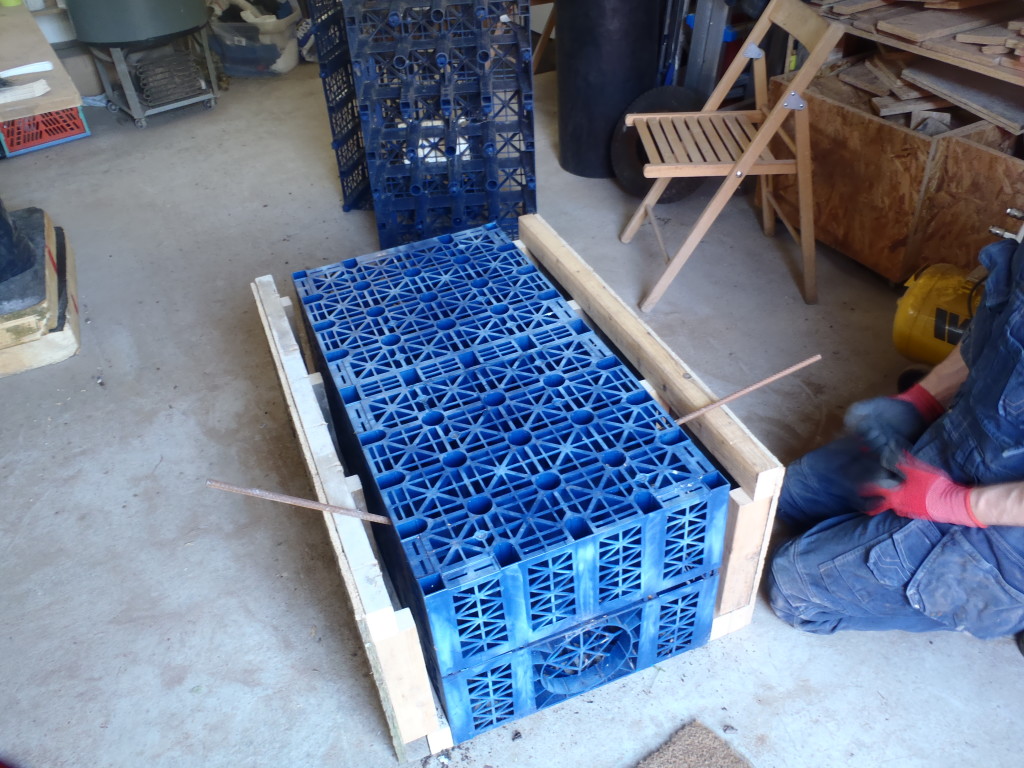
So we design this new tool to lever apart the two layers of the crate.

Aquacell-Disassembly-Bottom-holding-studs
Fortunately, they are just held together by friction and so we just
constructed two vertical walls with metal rods sticking out at the bottom
for the Aquacell to hook onto and then, in tandem, using steel rods, to hook
into holes at the top of the crate and lever them apart. Quite easy as it
turned out – thank goodness!
Aquacell-Disassembly-Insert-Levers-and-lift
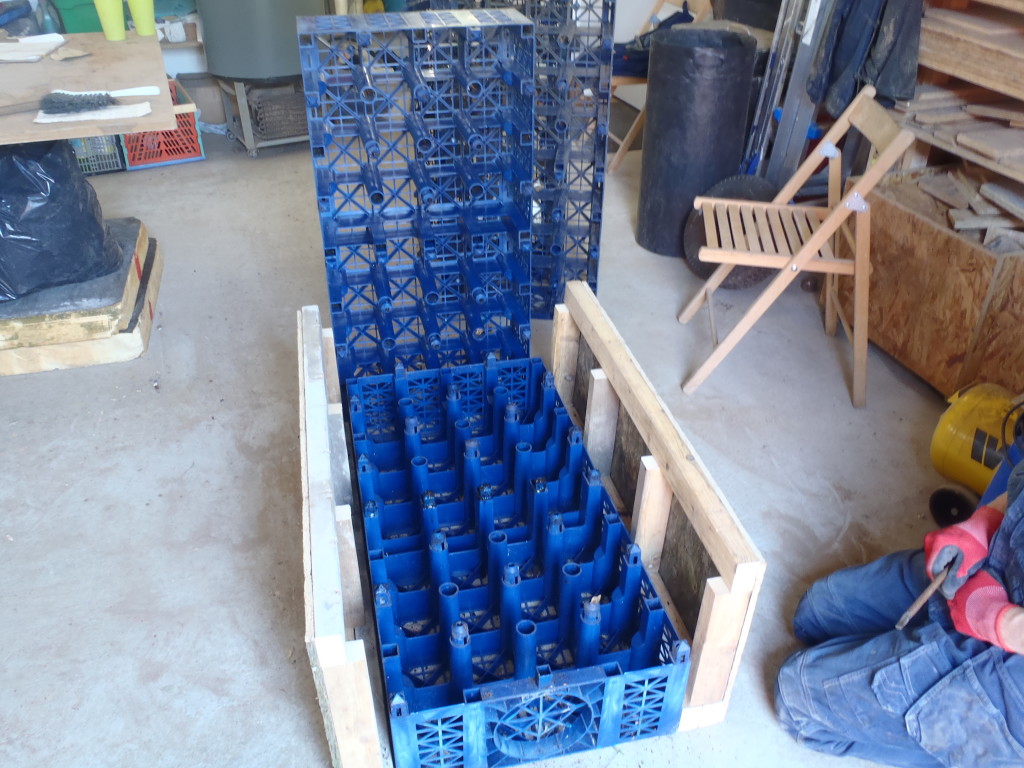
Aquacell-Disassembly-Separated
We will get our pressure washer out and blast the interior clean of the dust
and dirt, as well as the ivy and slugs too!!