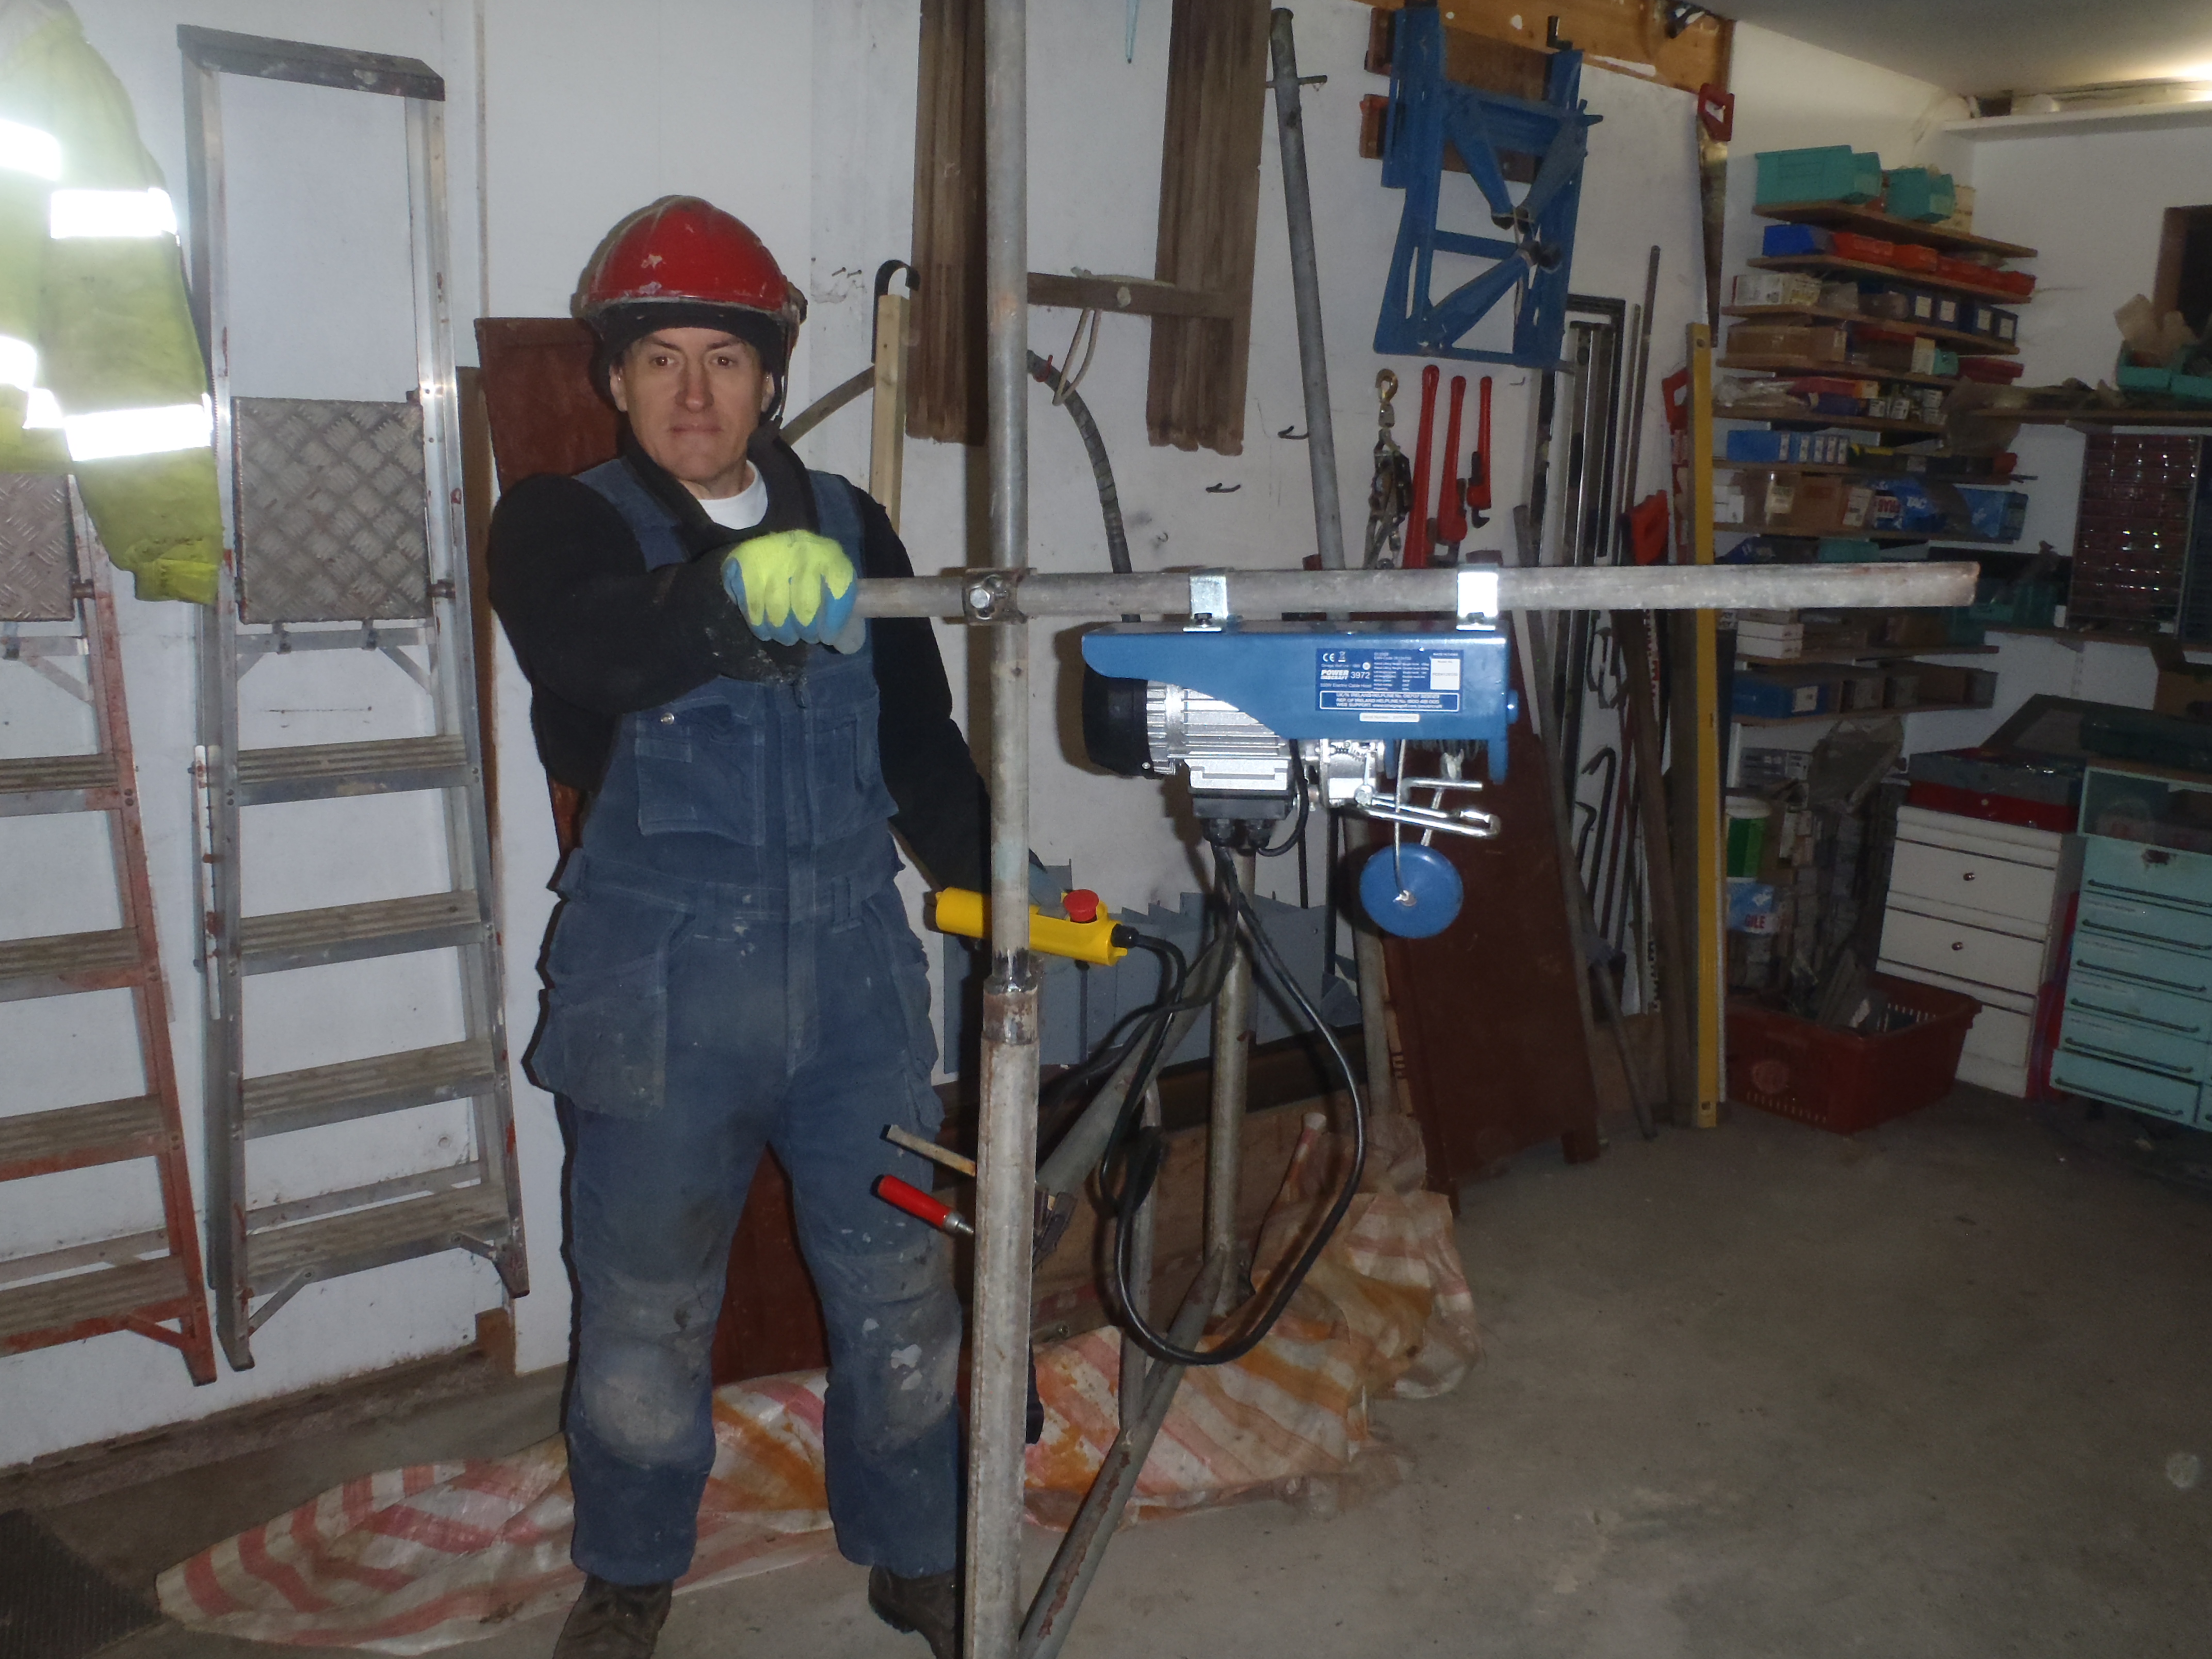
We finished off building our little crane unit by making a hollow tube attachment welded on to a metal plate, this will hold the other end of the horizontal bar (that has the electric winch hanging off it). This piece will go through the wooden support leg near the top.
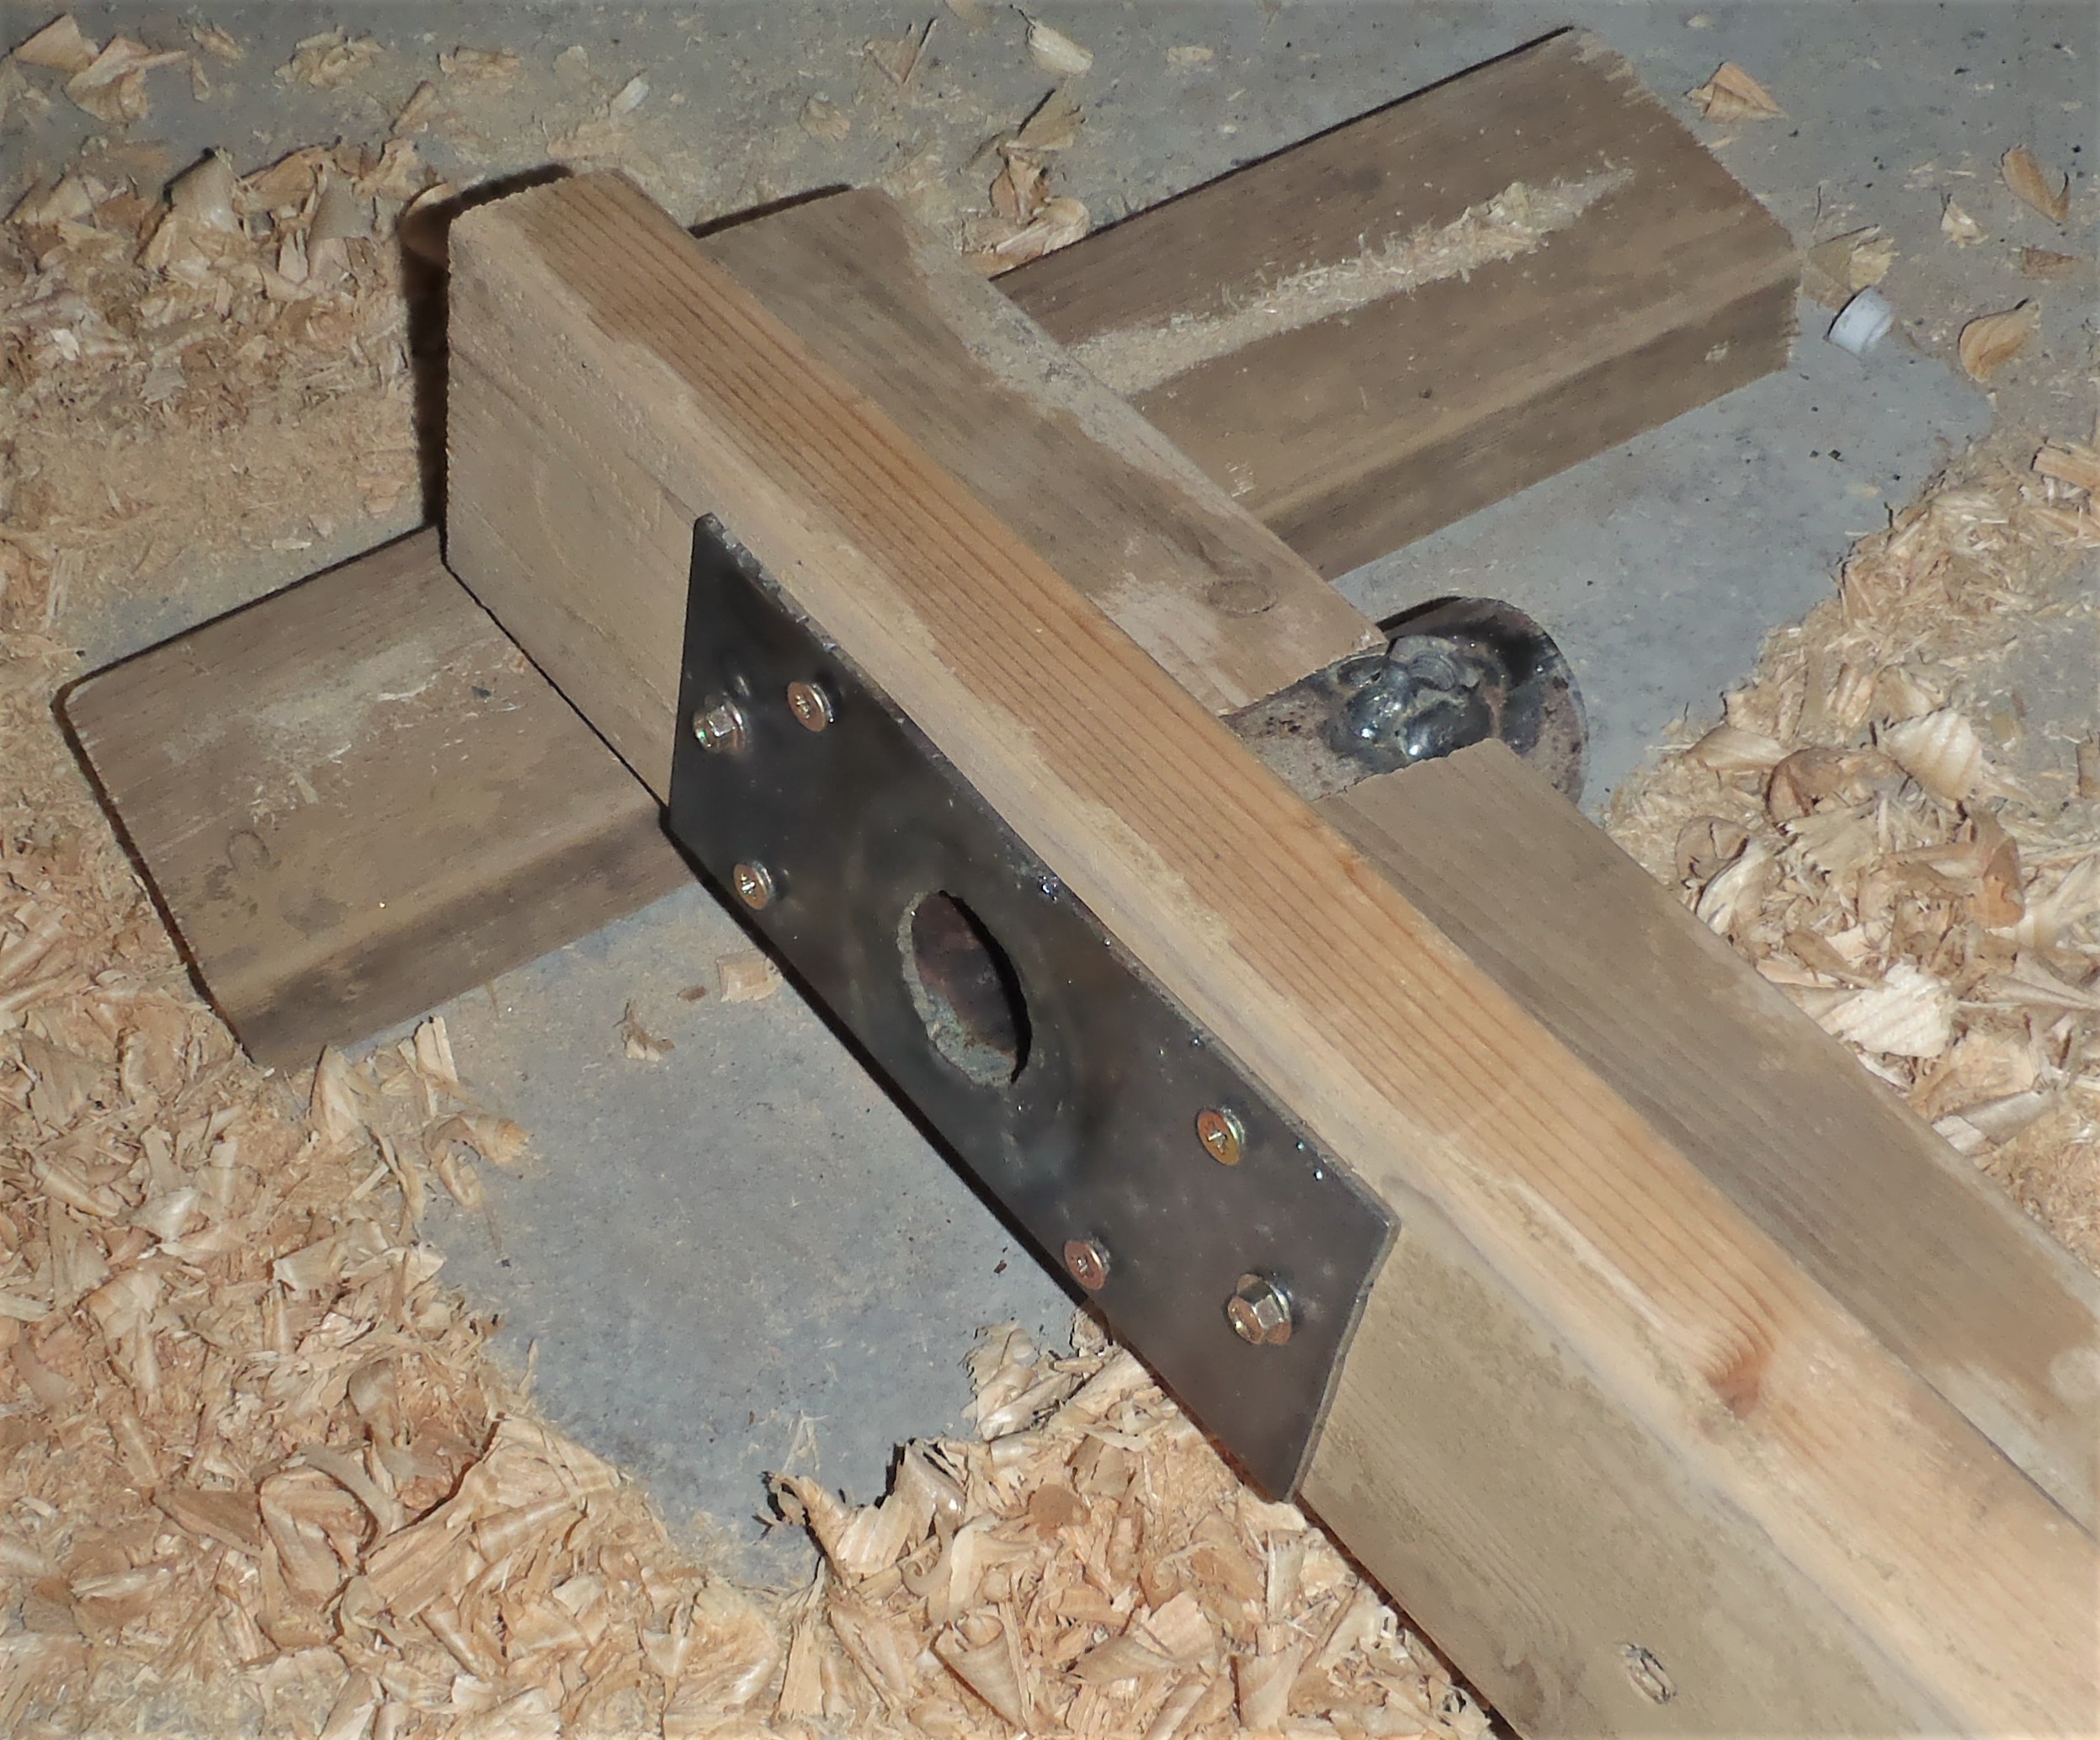
Crane-Top-of-Timber-leg
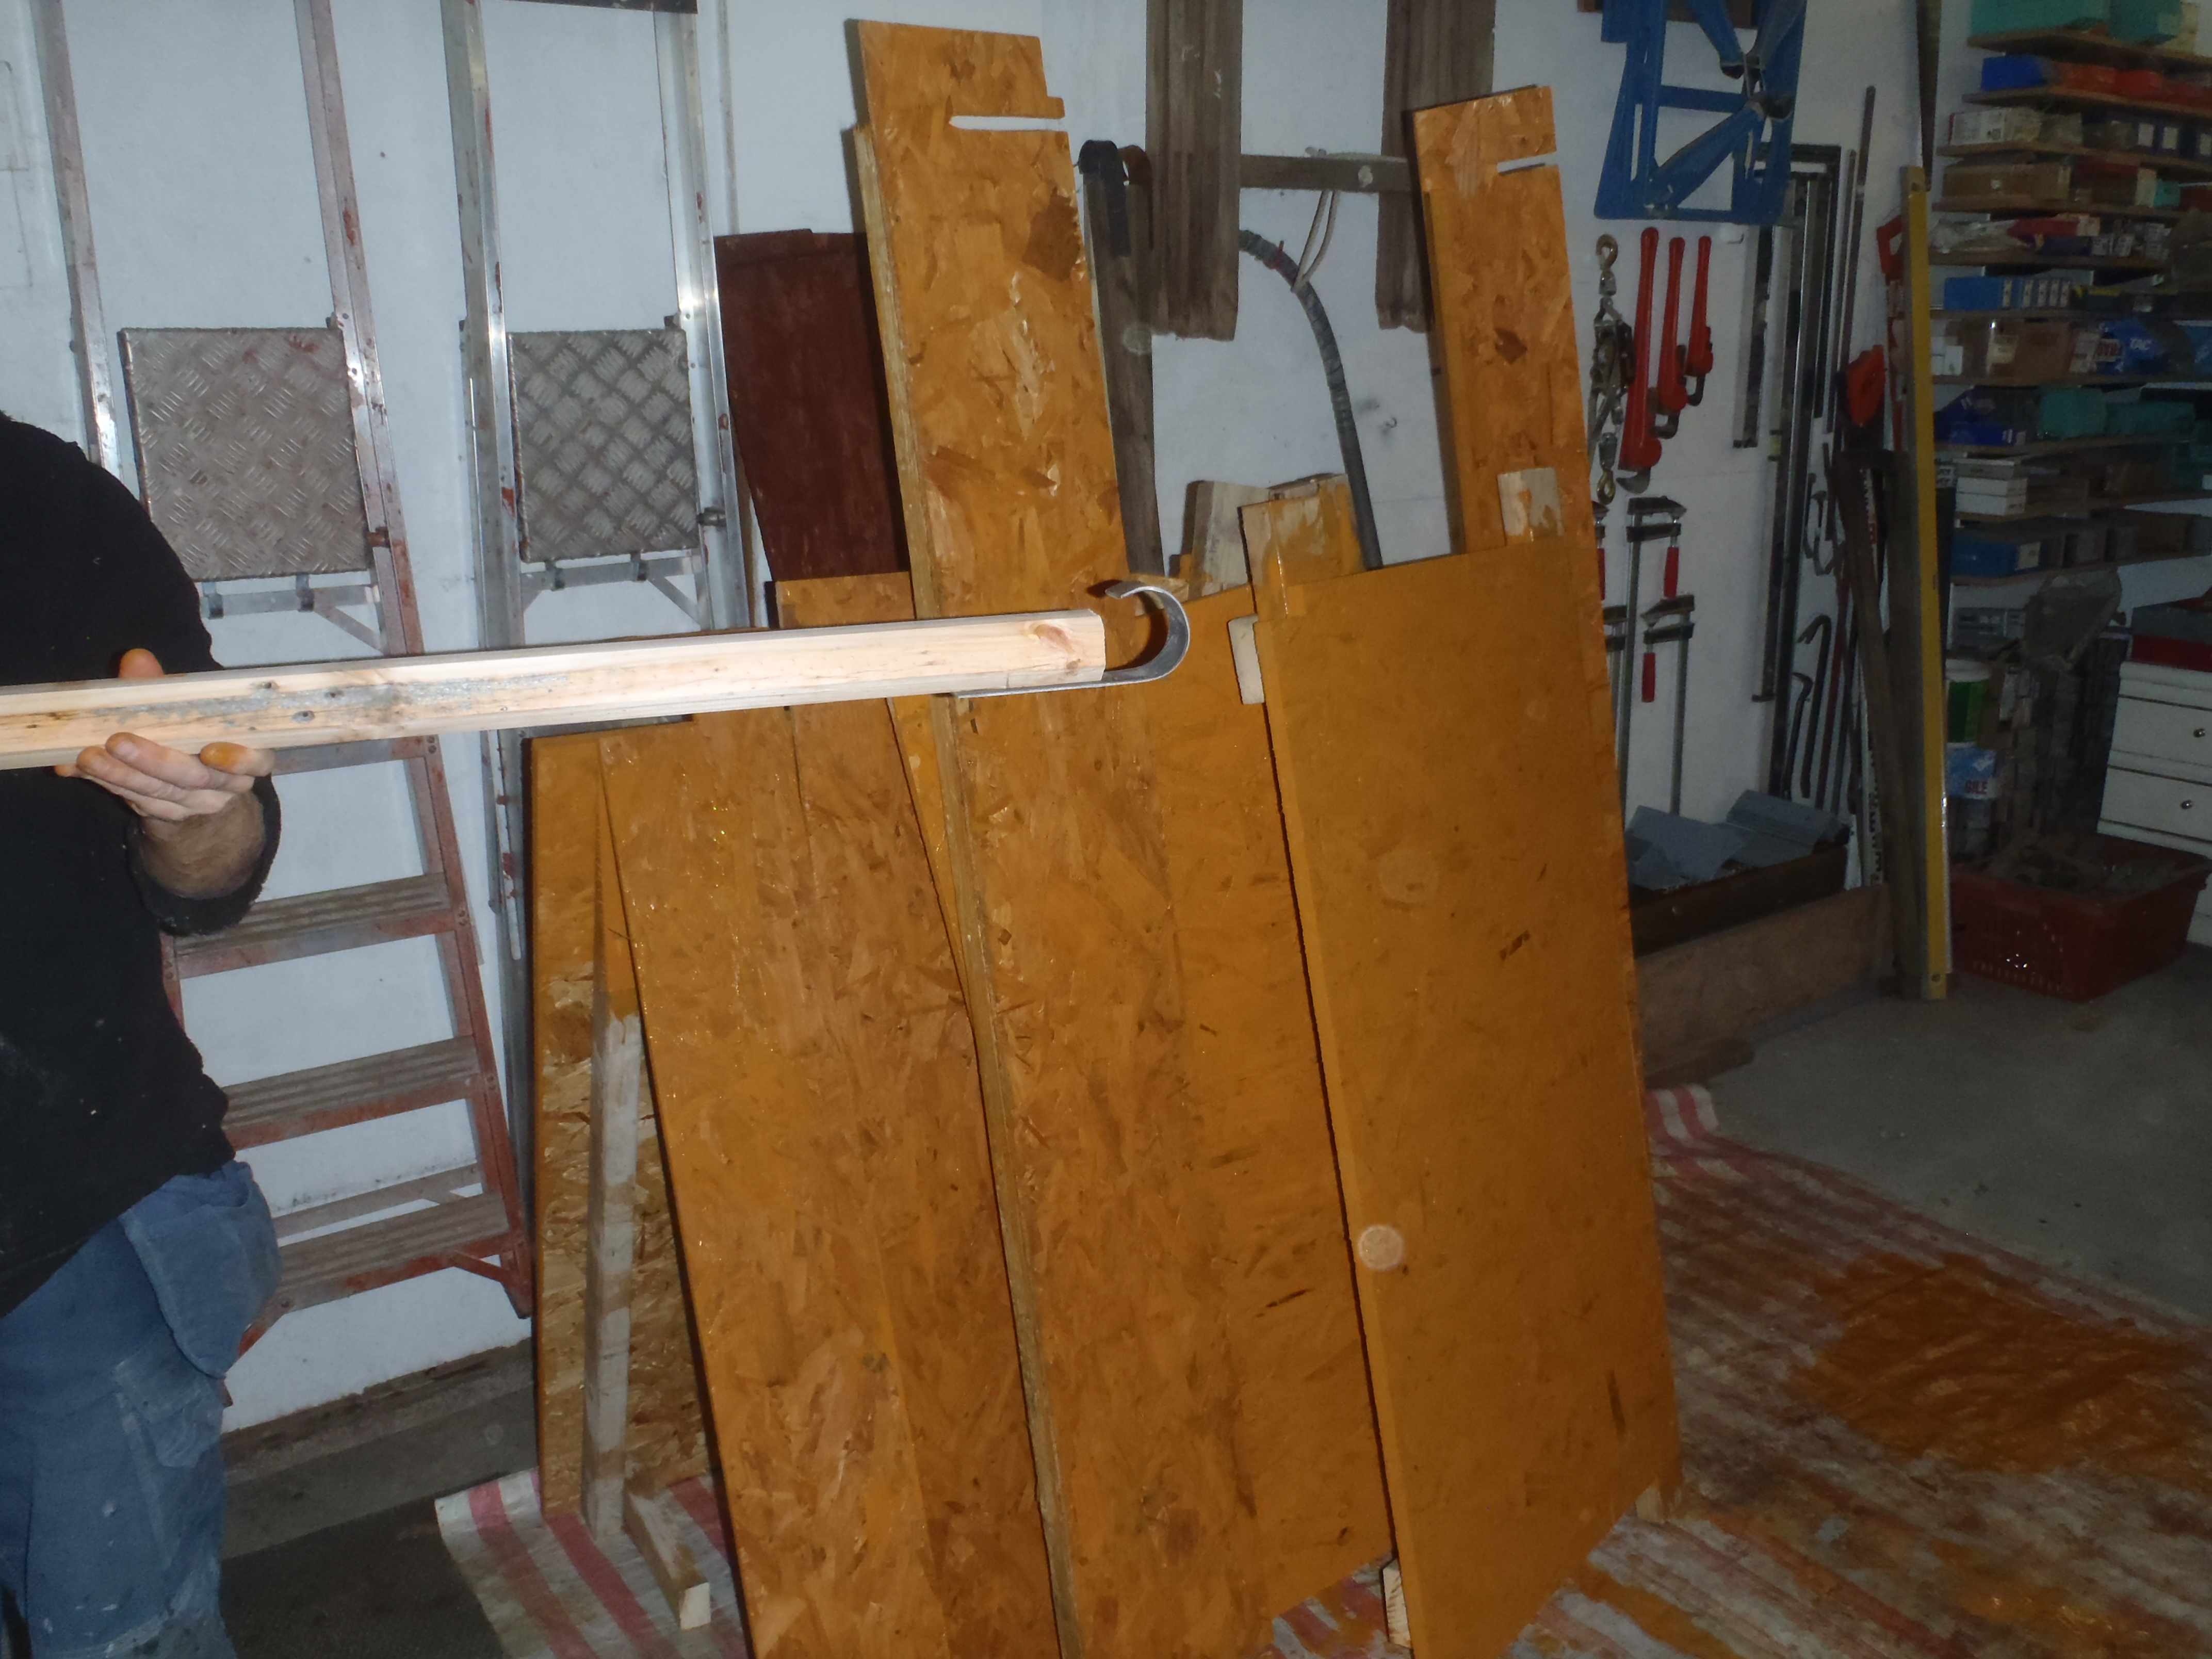
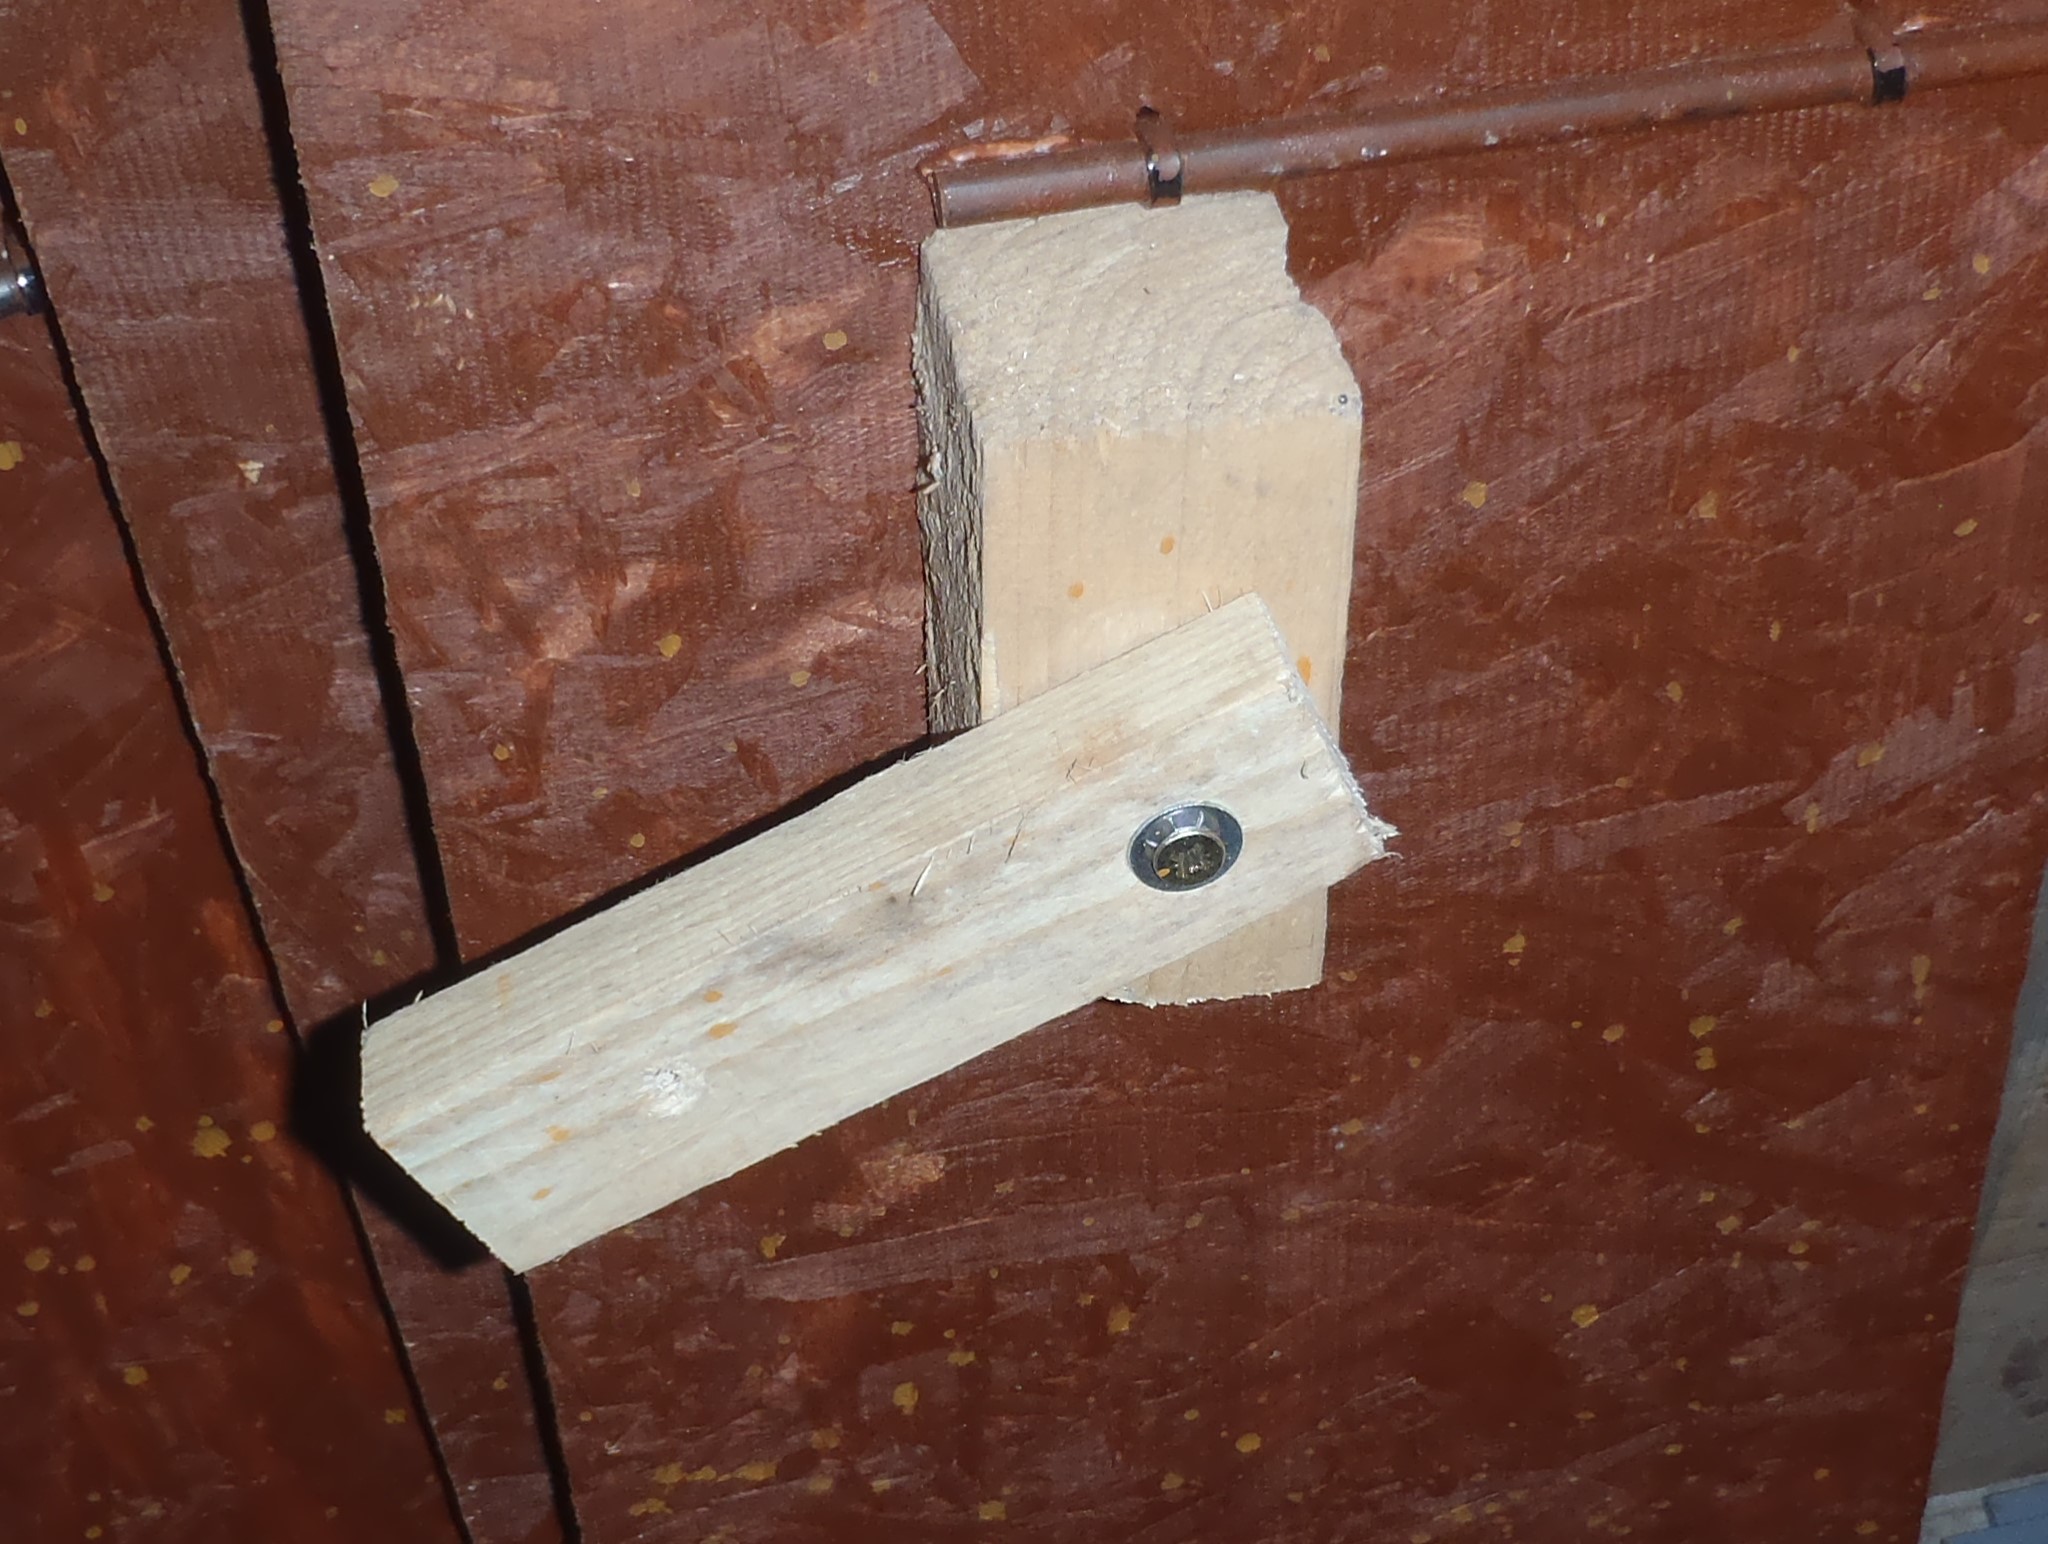
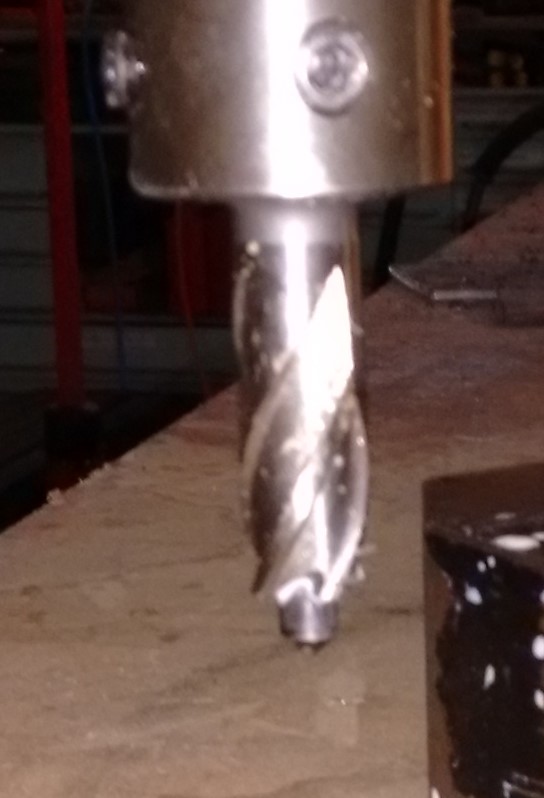
The tube is another piece off an old 2inch steel pipe, 100mm long to go through completely the wooden leg. A plate about 250mm high by 85mm wide had a large hole cut using the plasma cutter tool, in the middle and 6 small holes drilled around it for mounting screws. The tube was welded on and then the wooden leg had a large hole drilled through at about 200mm from the top to accommodate this metal tube and plate and help spread the load of the steel item being lifted up without running into the risk of splitting the wood!
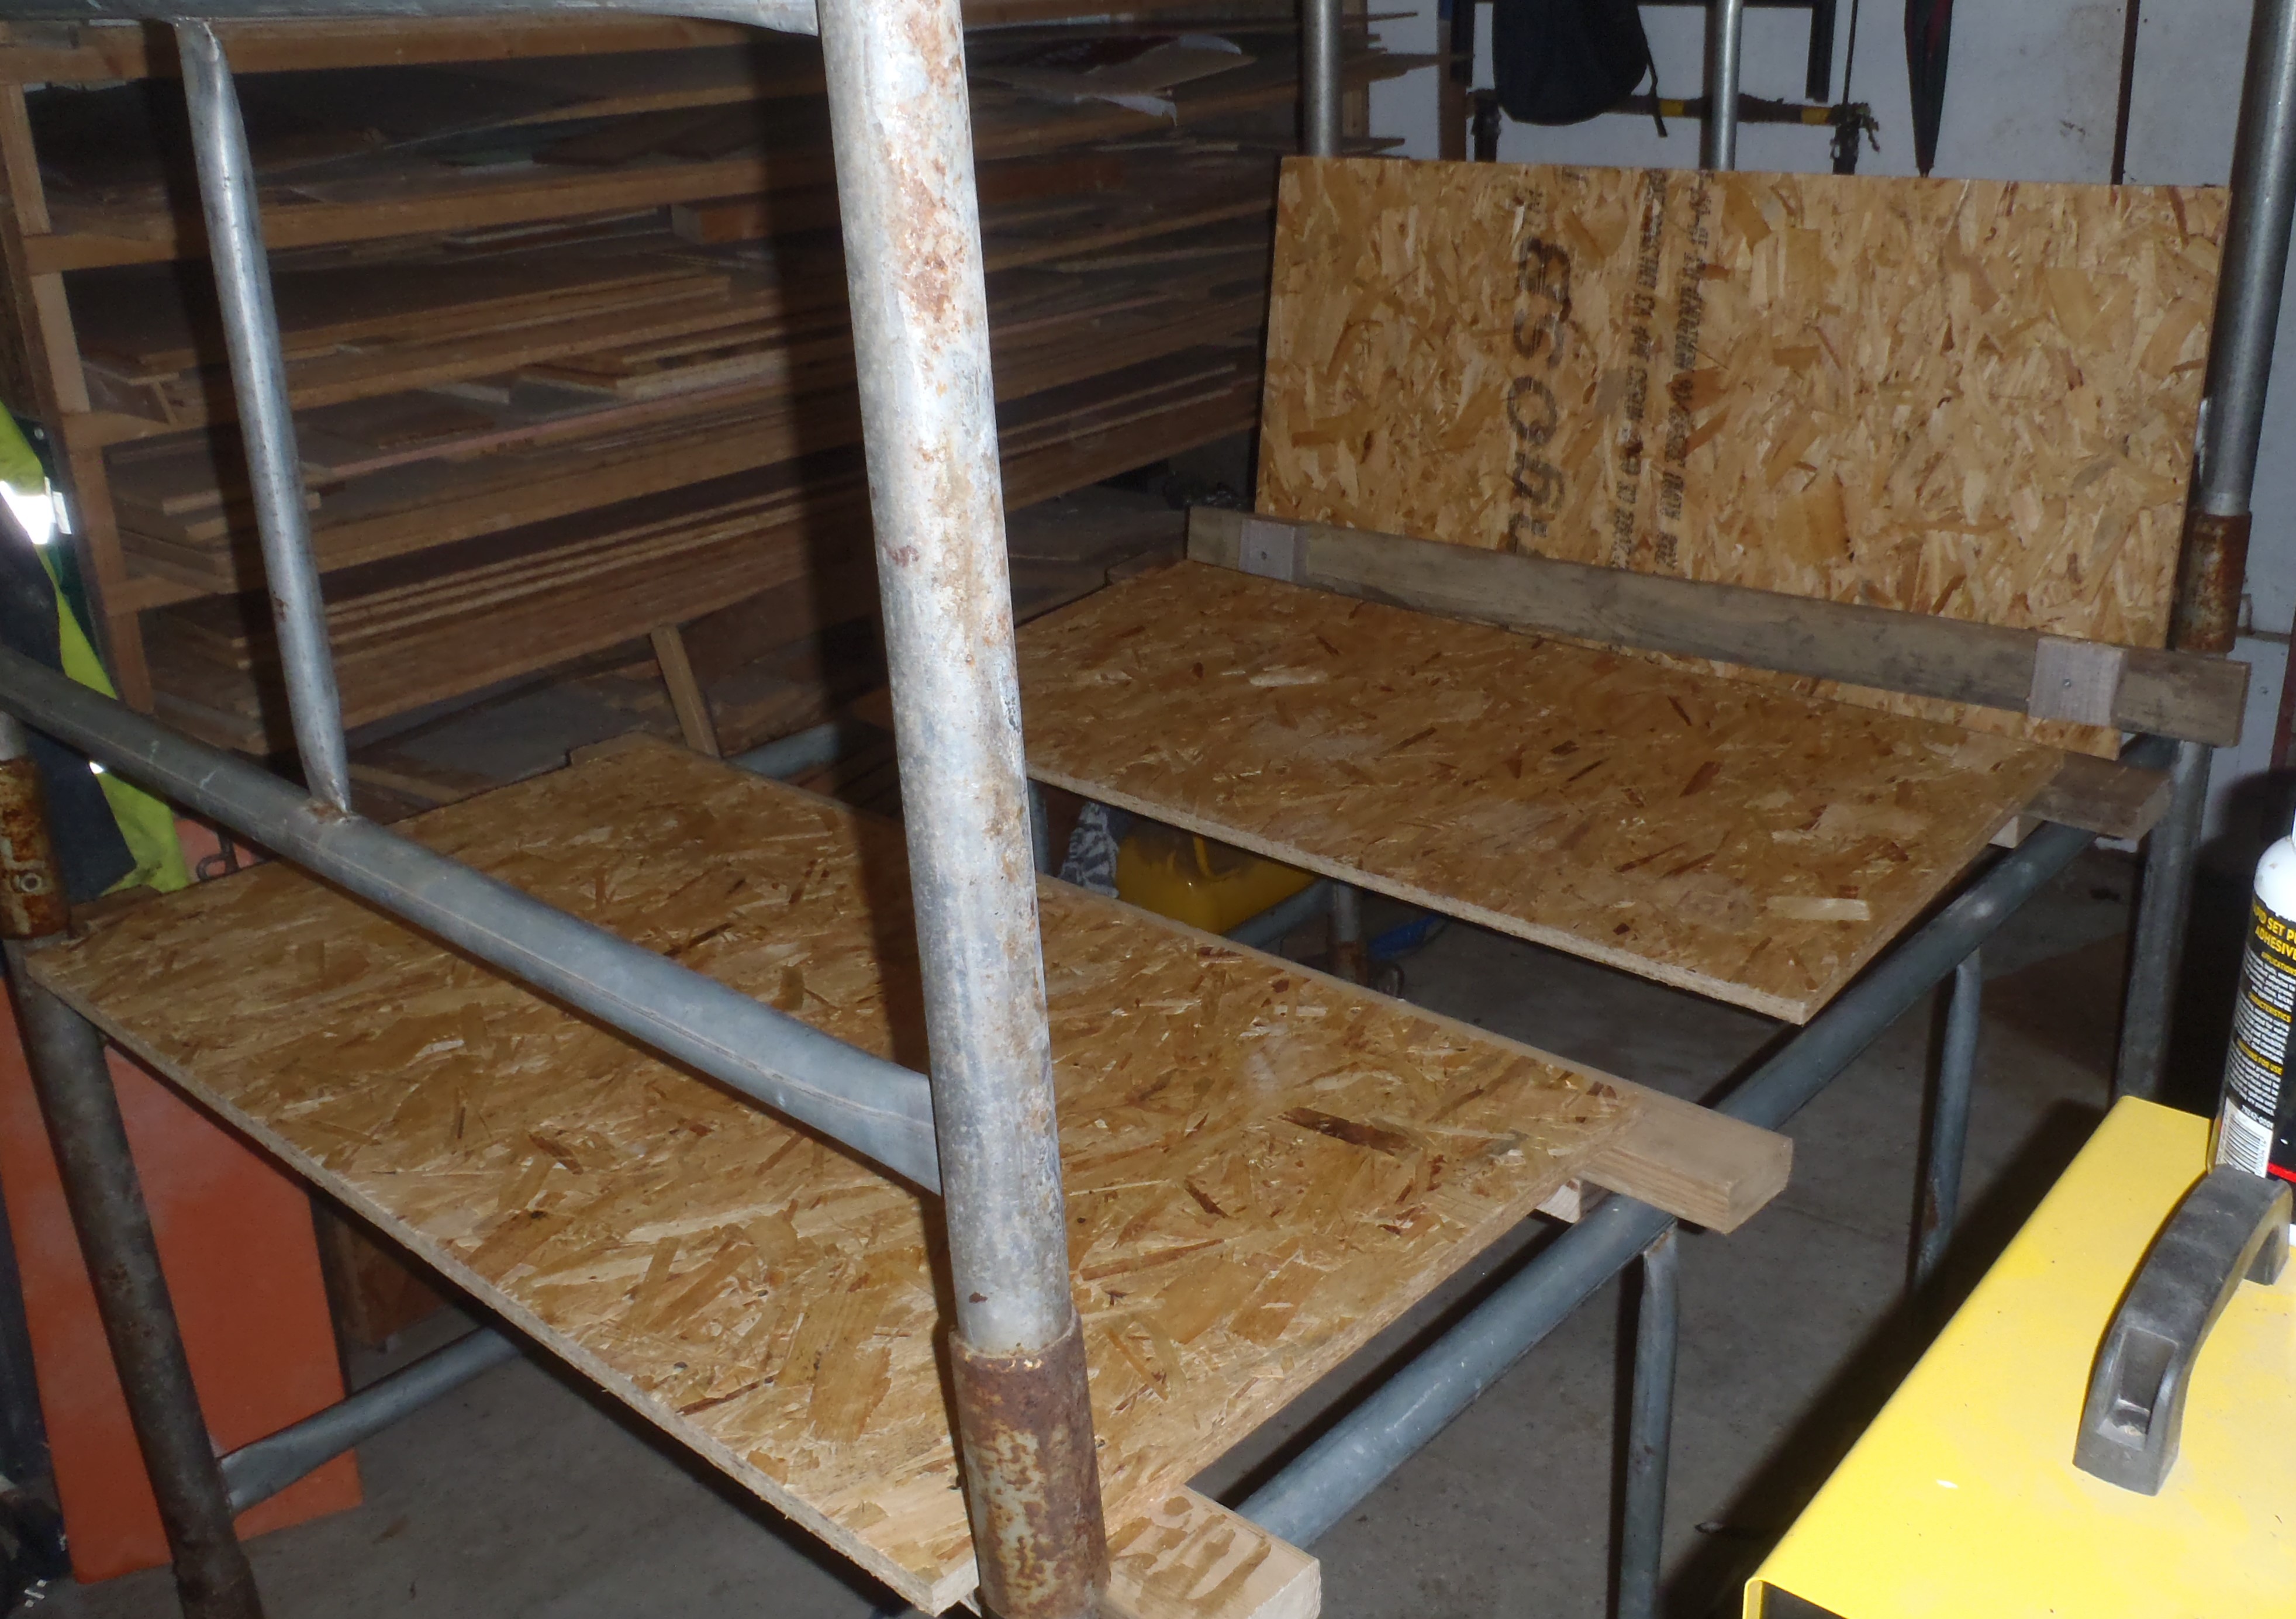
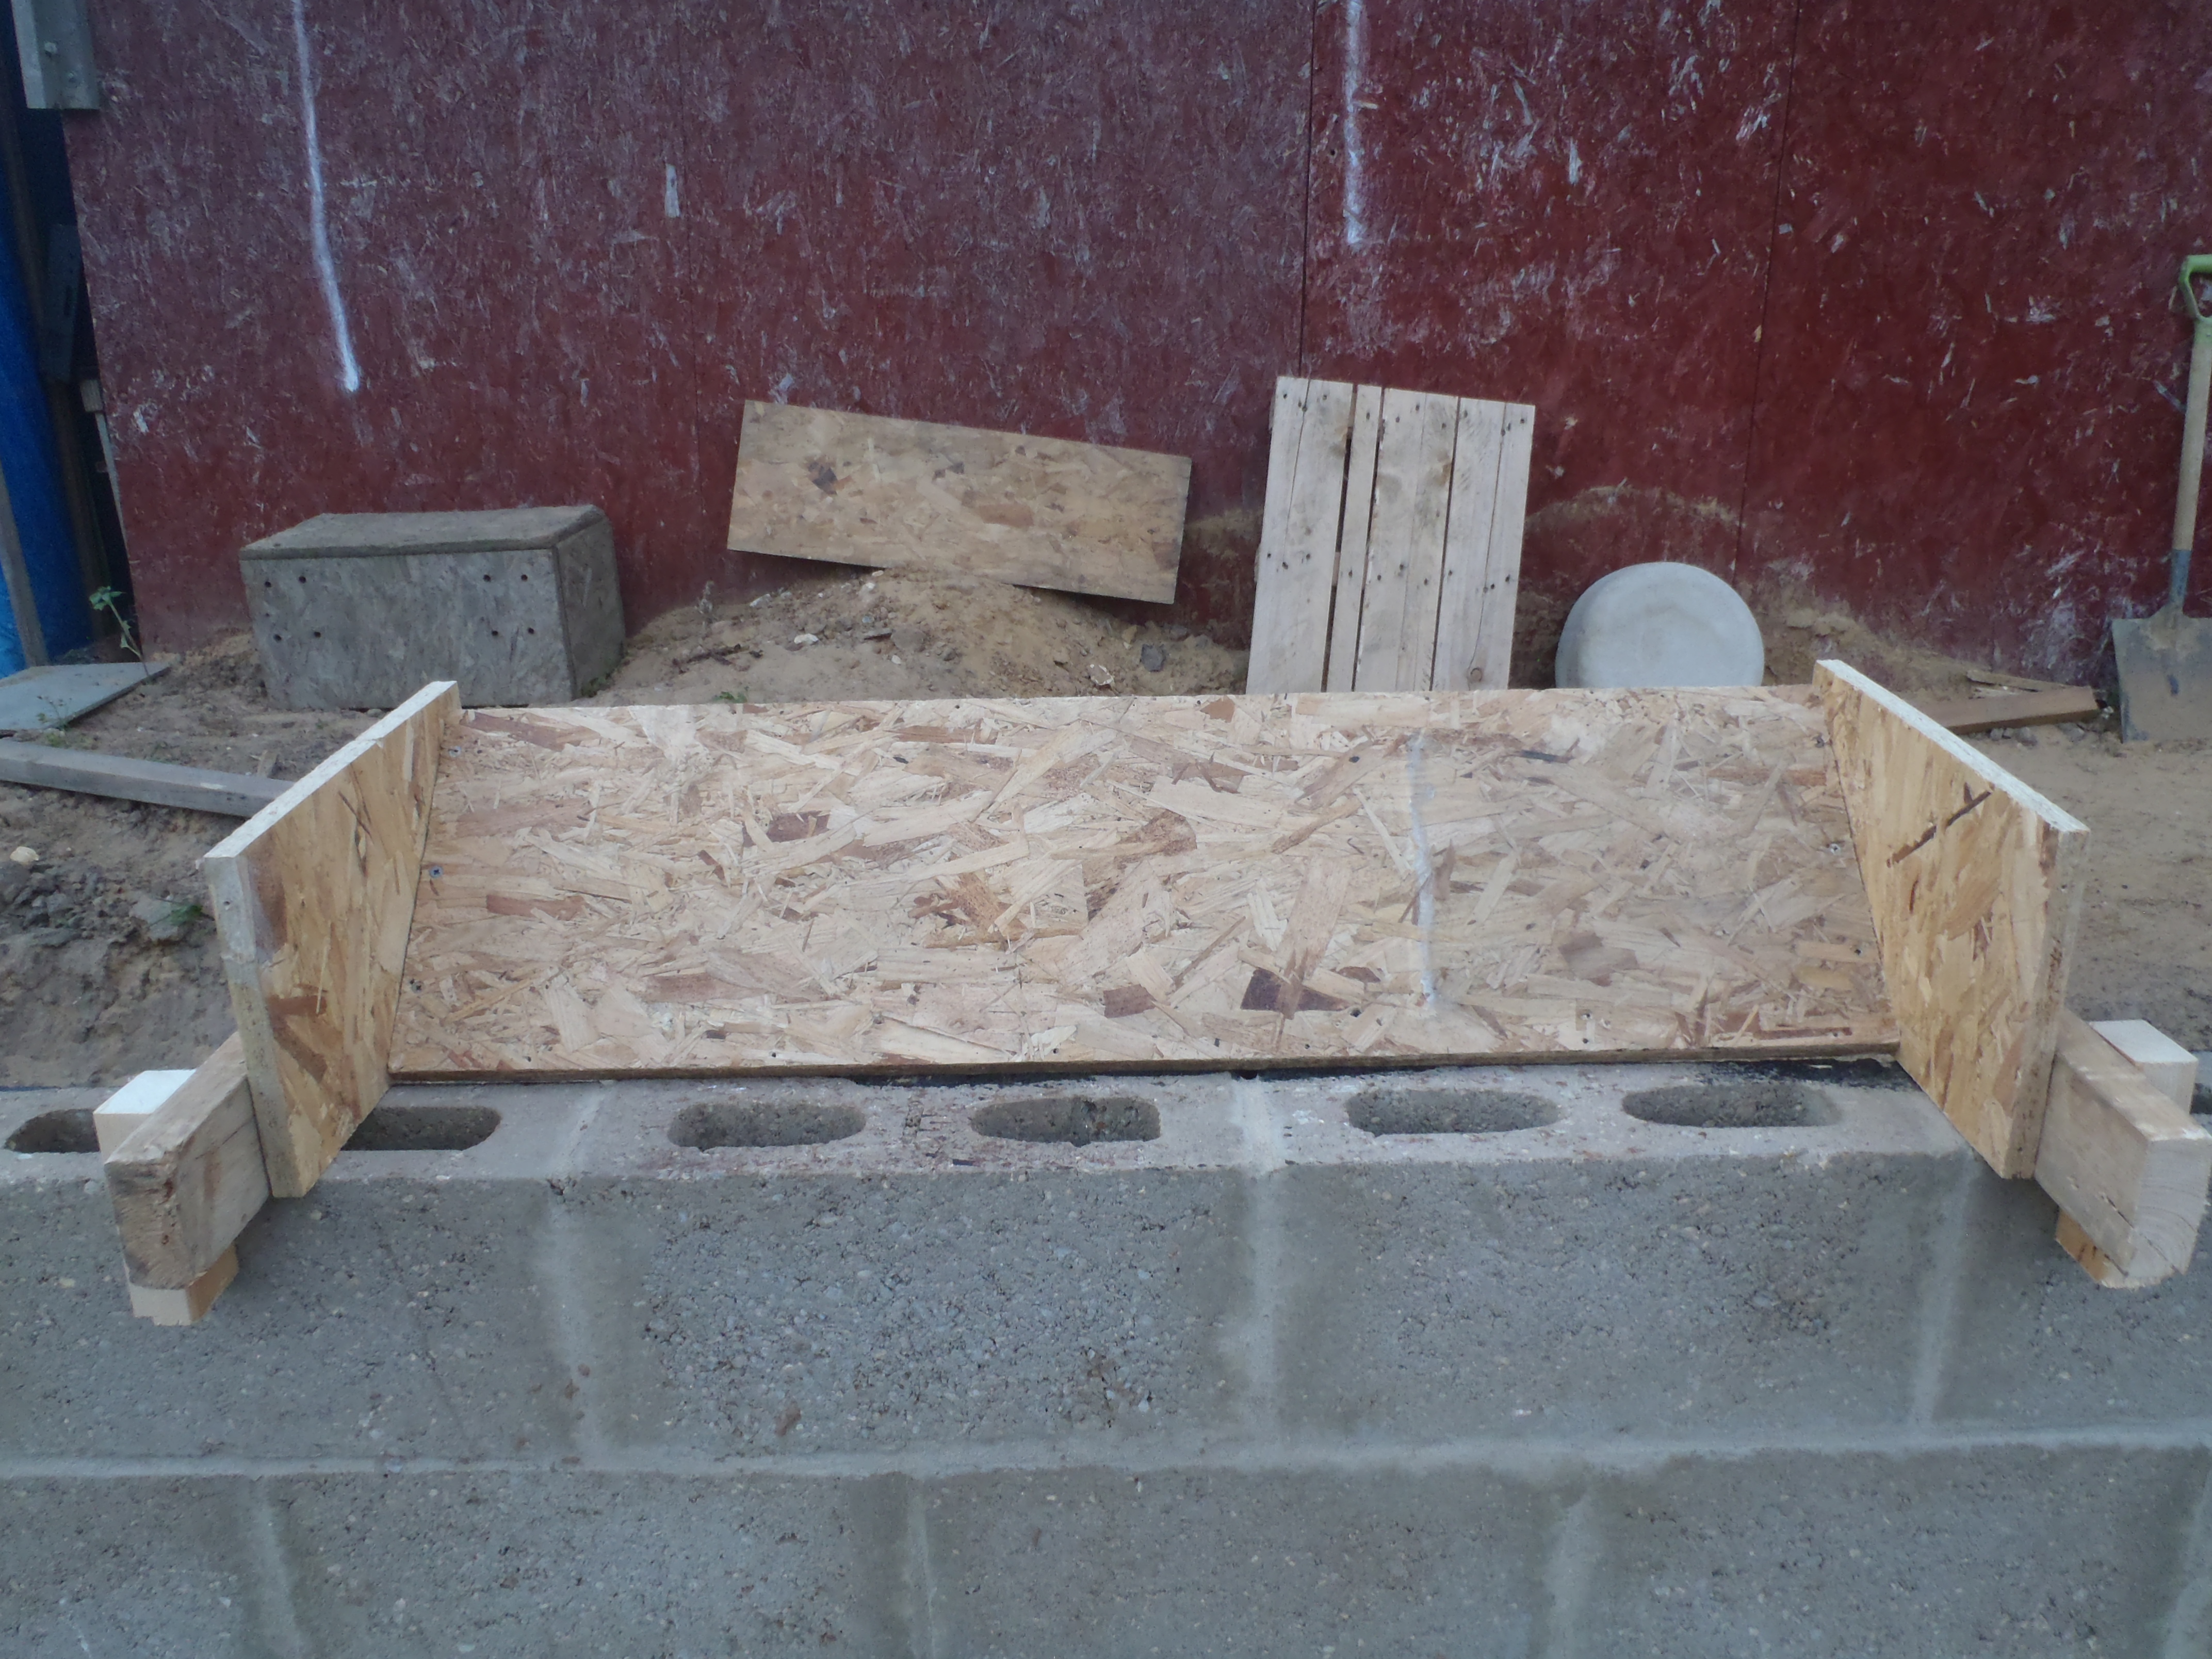
Then after a late lunch, we constructed various bracing elements for the bottom of our crane support leg using a beam (about 2.4metres long) of 89mm CLS timber mounted on two 2inch by 6inch timber blocks as feet. Another shorter bracing beam (made from 600mm of 2inch by 2inch timber) went cross ways reinforced with a triangular OSB board to stiffen the joint. Both were attached to the leg outside as we could no longer work in the workshop as the thing was getting too big!!
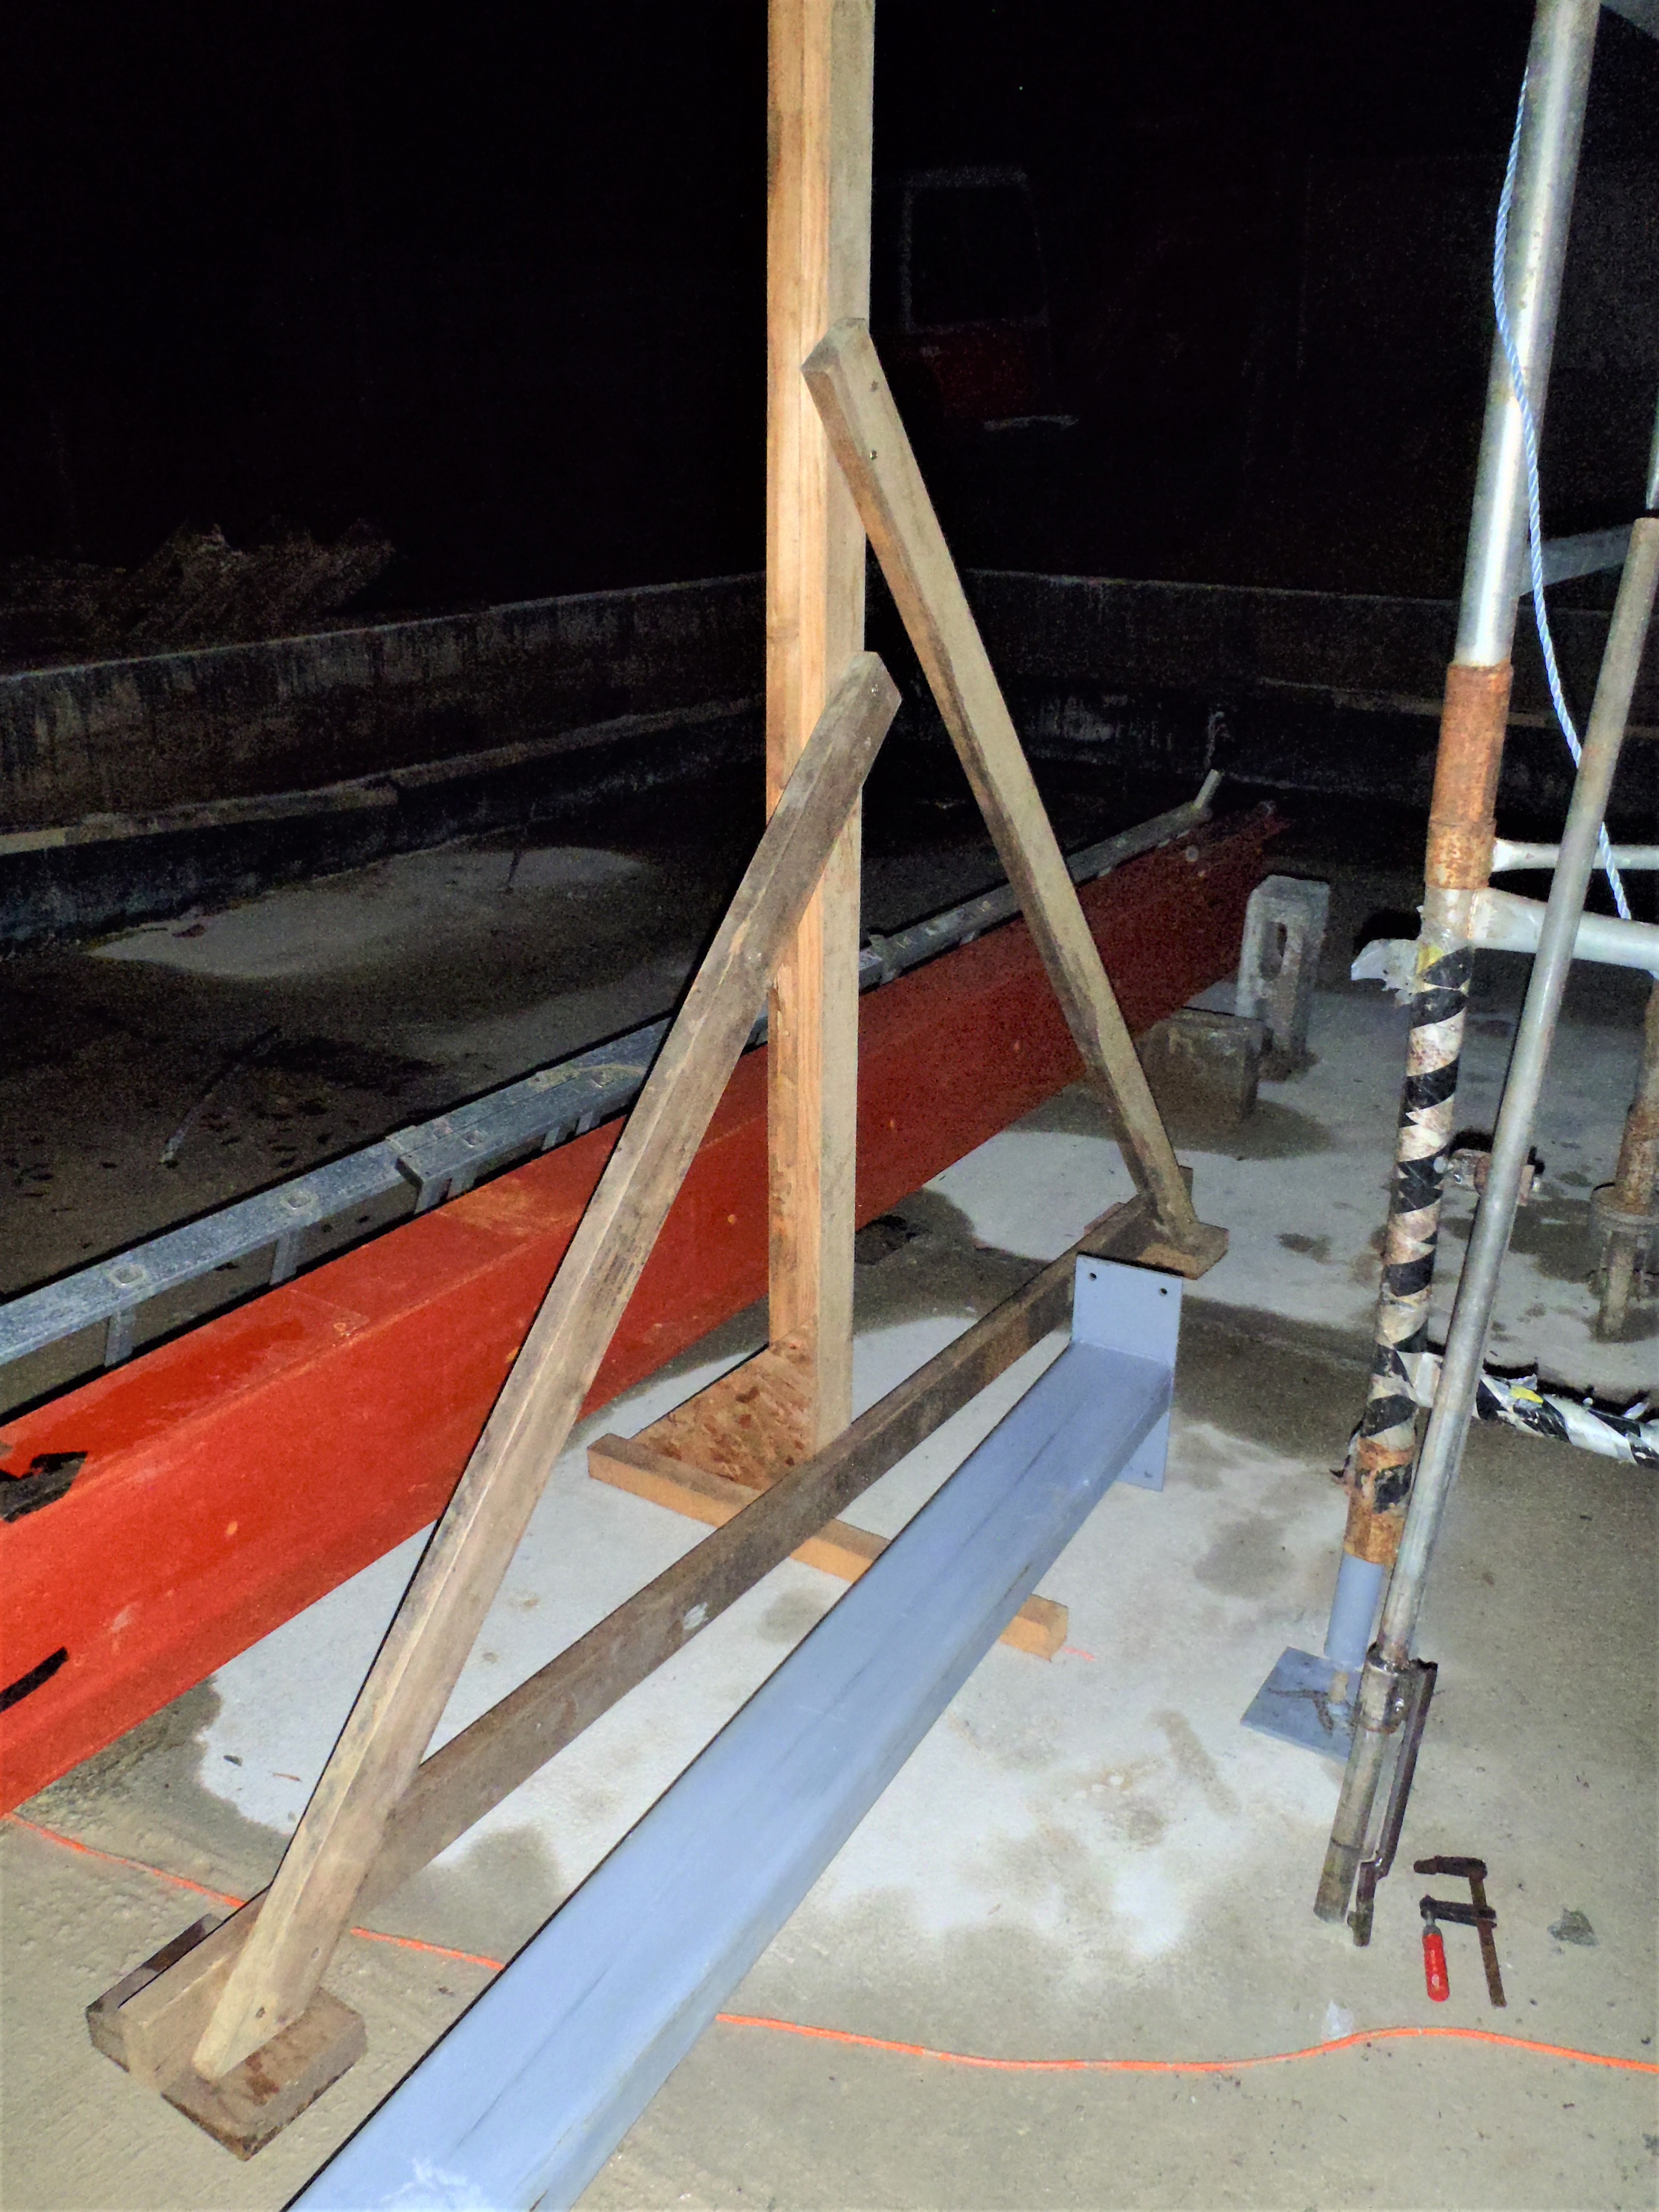
Crane-Base-of-Timber-leg
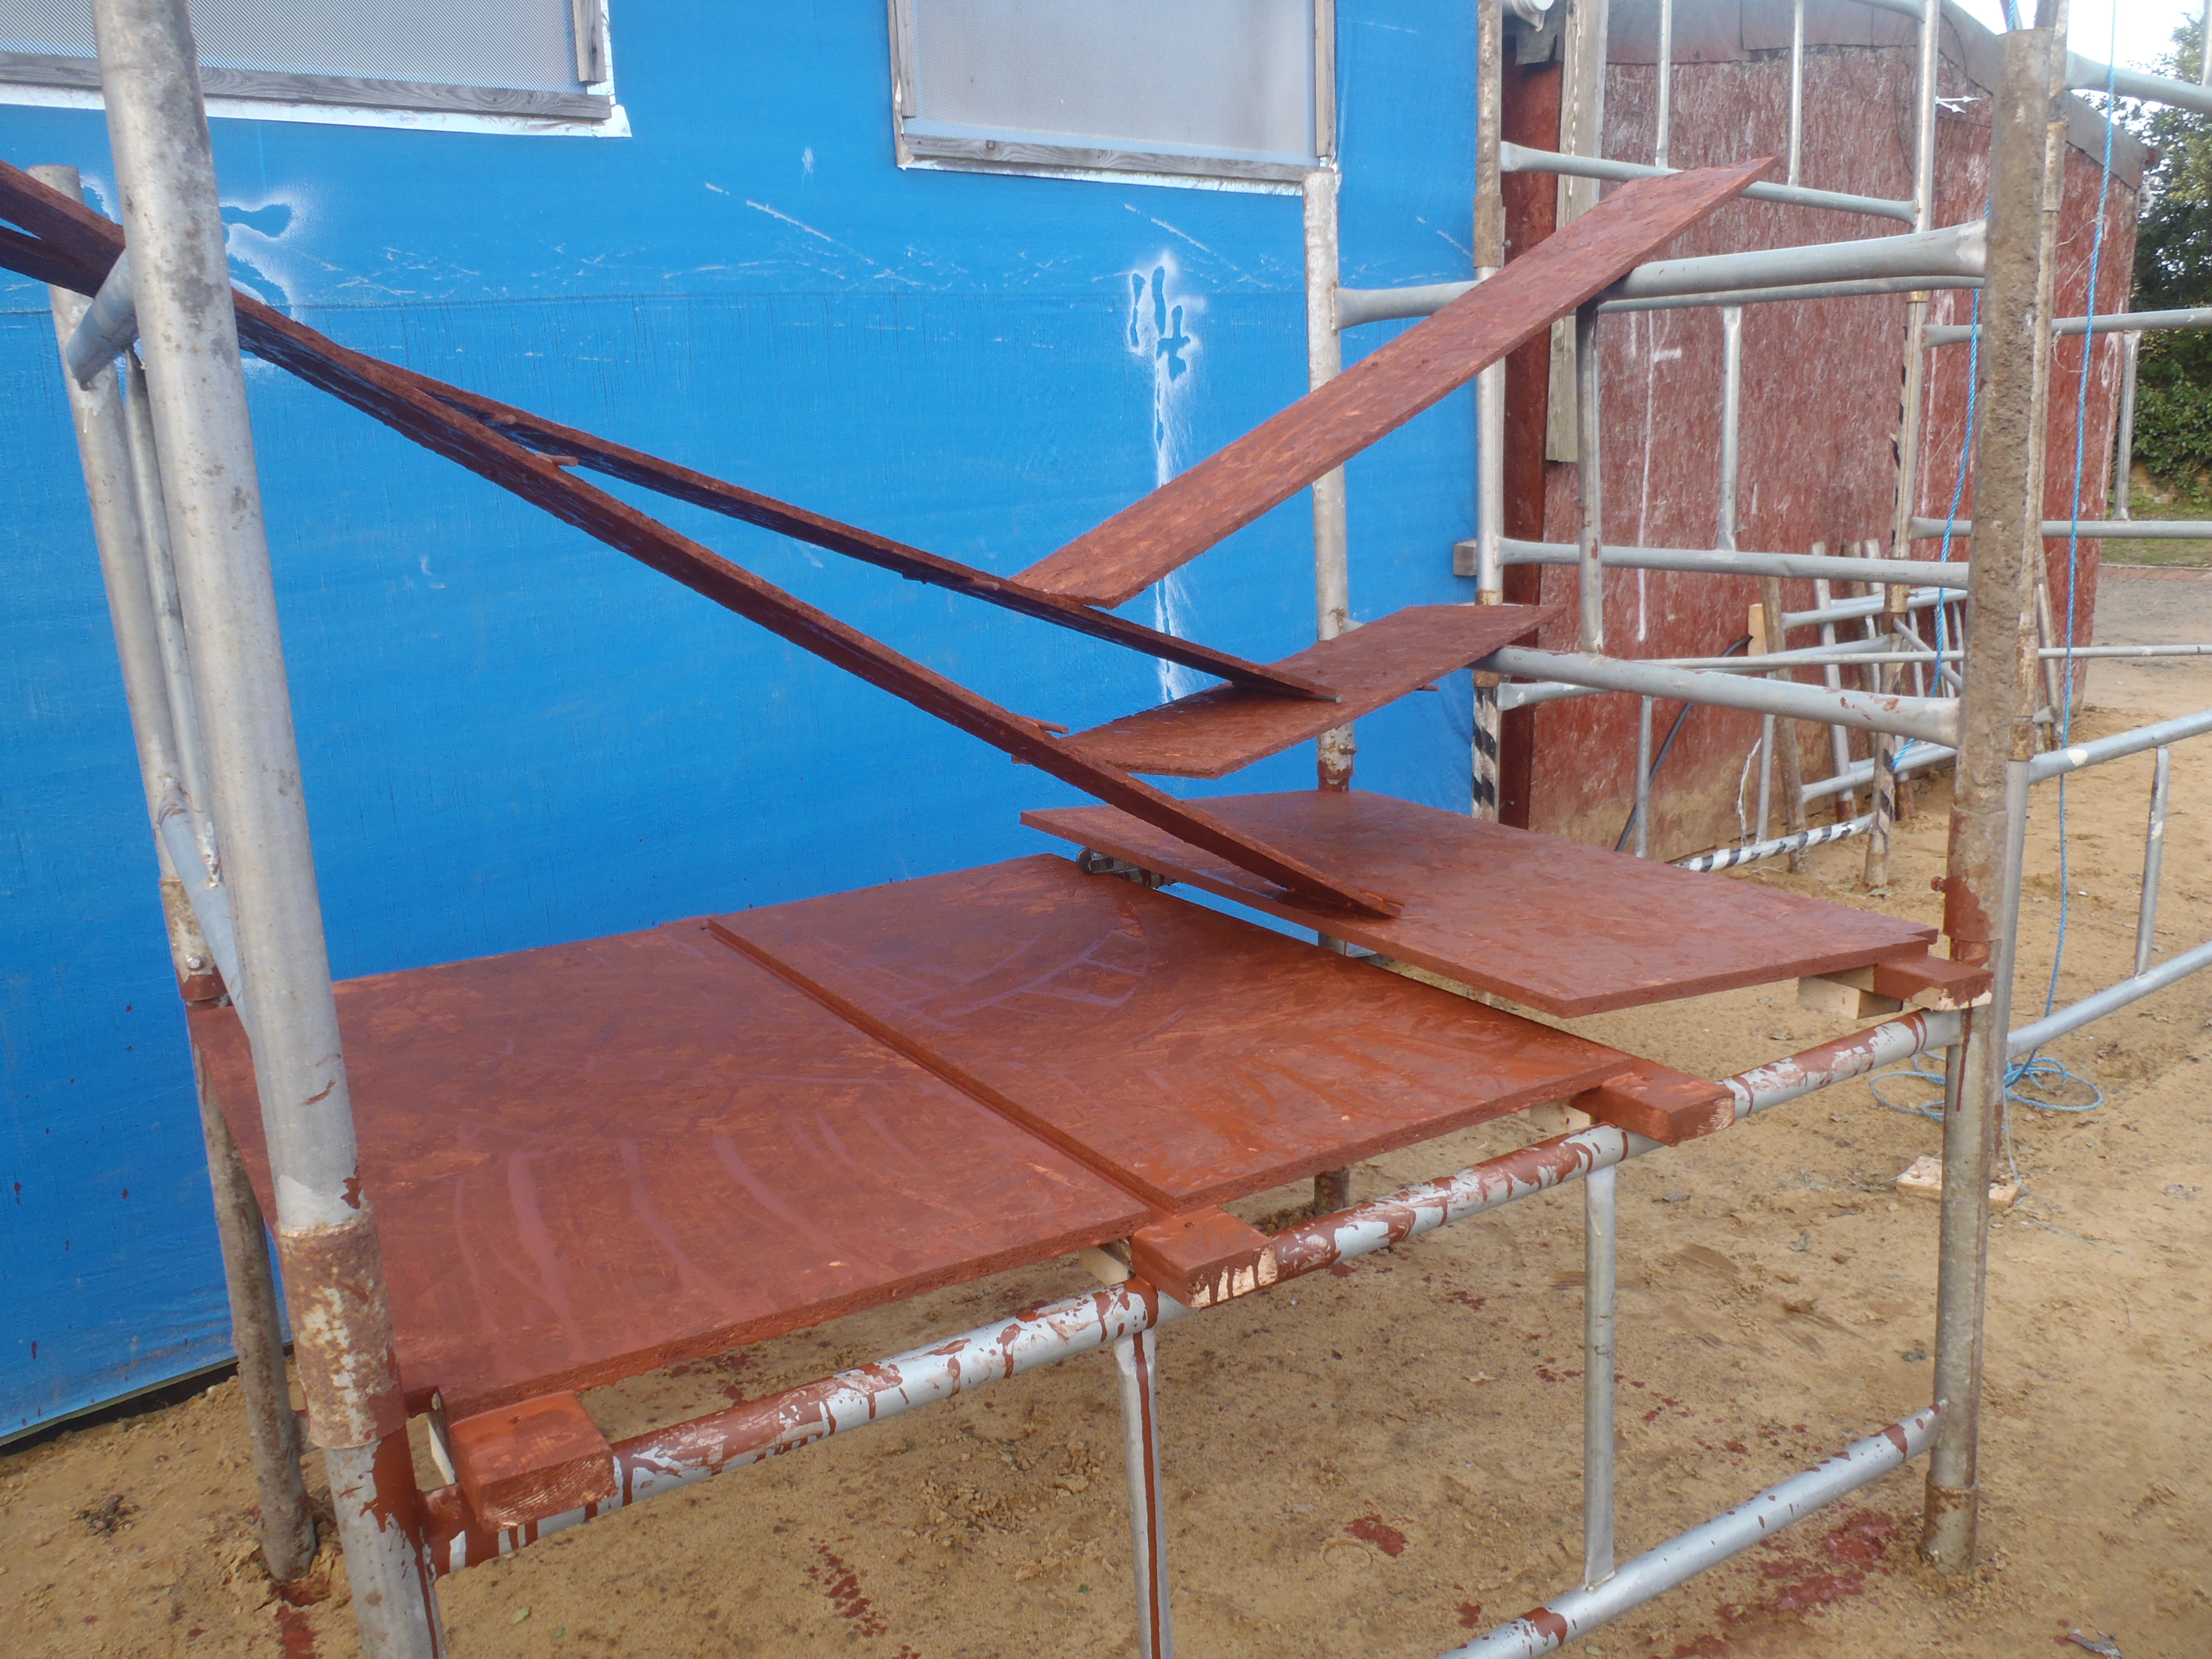
We took the completed leg over to the scaffolding tower and pushed the whole thing upright on its bracing feet elements and it stands there all by itself and is quite stable .. so far!
The last job as the daylight was disappearing, was to rotate the tower around and moved it so it was positioned outside the footprint of the 7 steel legs. We decided that it was too dark, even with our flood lamp switched on, to continue and it was getting very cold so we are going for the fresh start in the morning!