Made a large saw table to expand the much smaller table saw to a usfull size.

We then cut up 6 sheets of 18mm OSB into 300mm wide strips for the foundation formwork.
Made a large saw table to expand the much smaller table saw to a usfull size.
We then cut up 6 sheets of 18mm OSB into 300mm wide strips for the foundation formwork.
Placed and compacted more sand in the garage footprint ready to install the form work for the foundations. The foundations will be 300mm thick and start 450mm below finished ground level (this is to ensure no frost effects the ground under them).

We received the quote for moving the electricity supply today. £1132.70 !!! We all think this is a very high price for very little work. This is what they need to do.
that’s all…. But its a near monopoly situation (There a very few companies licenced to connect to the mains) so we will just have to grin and bear it!
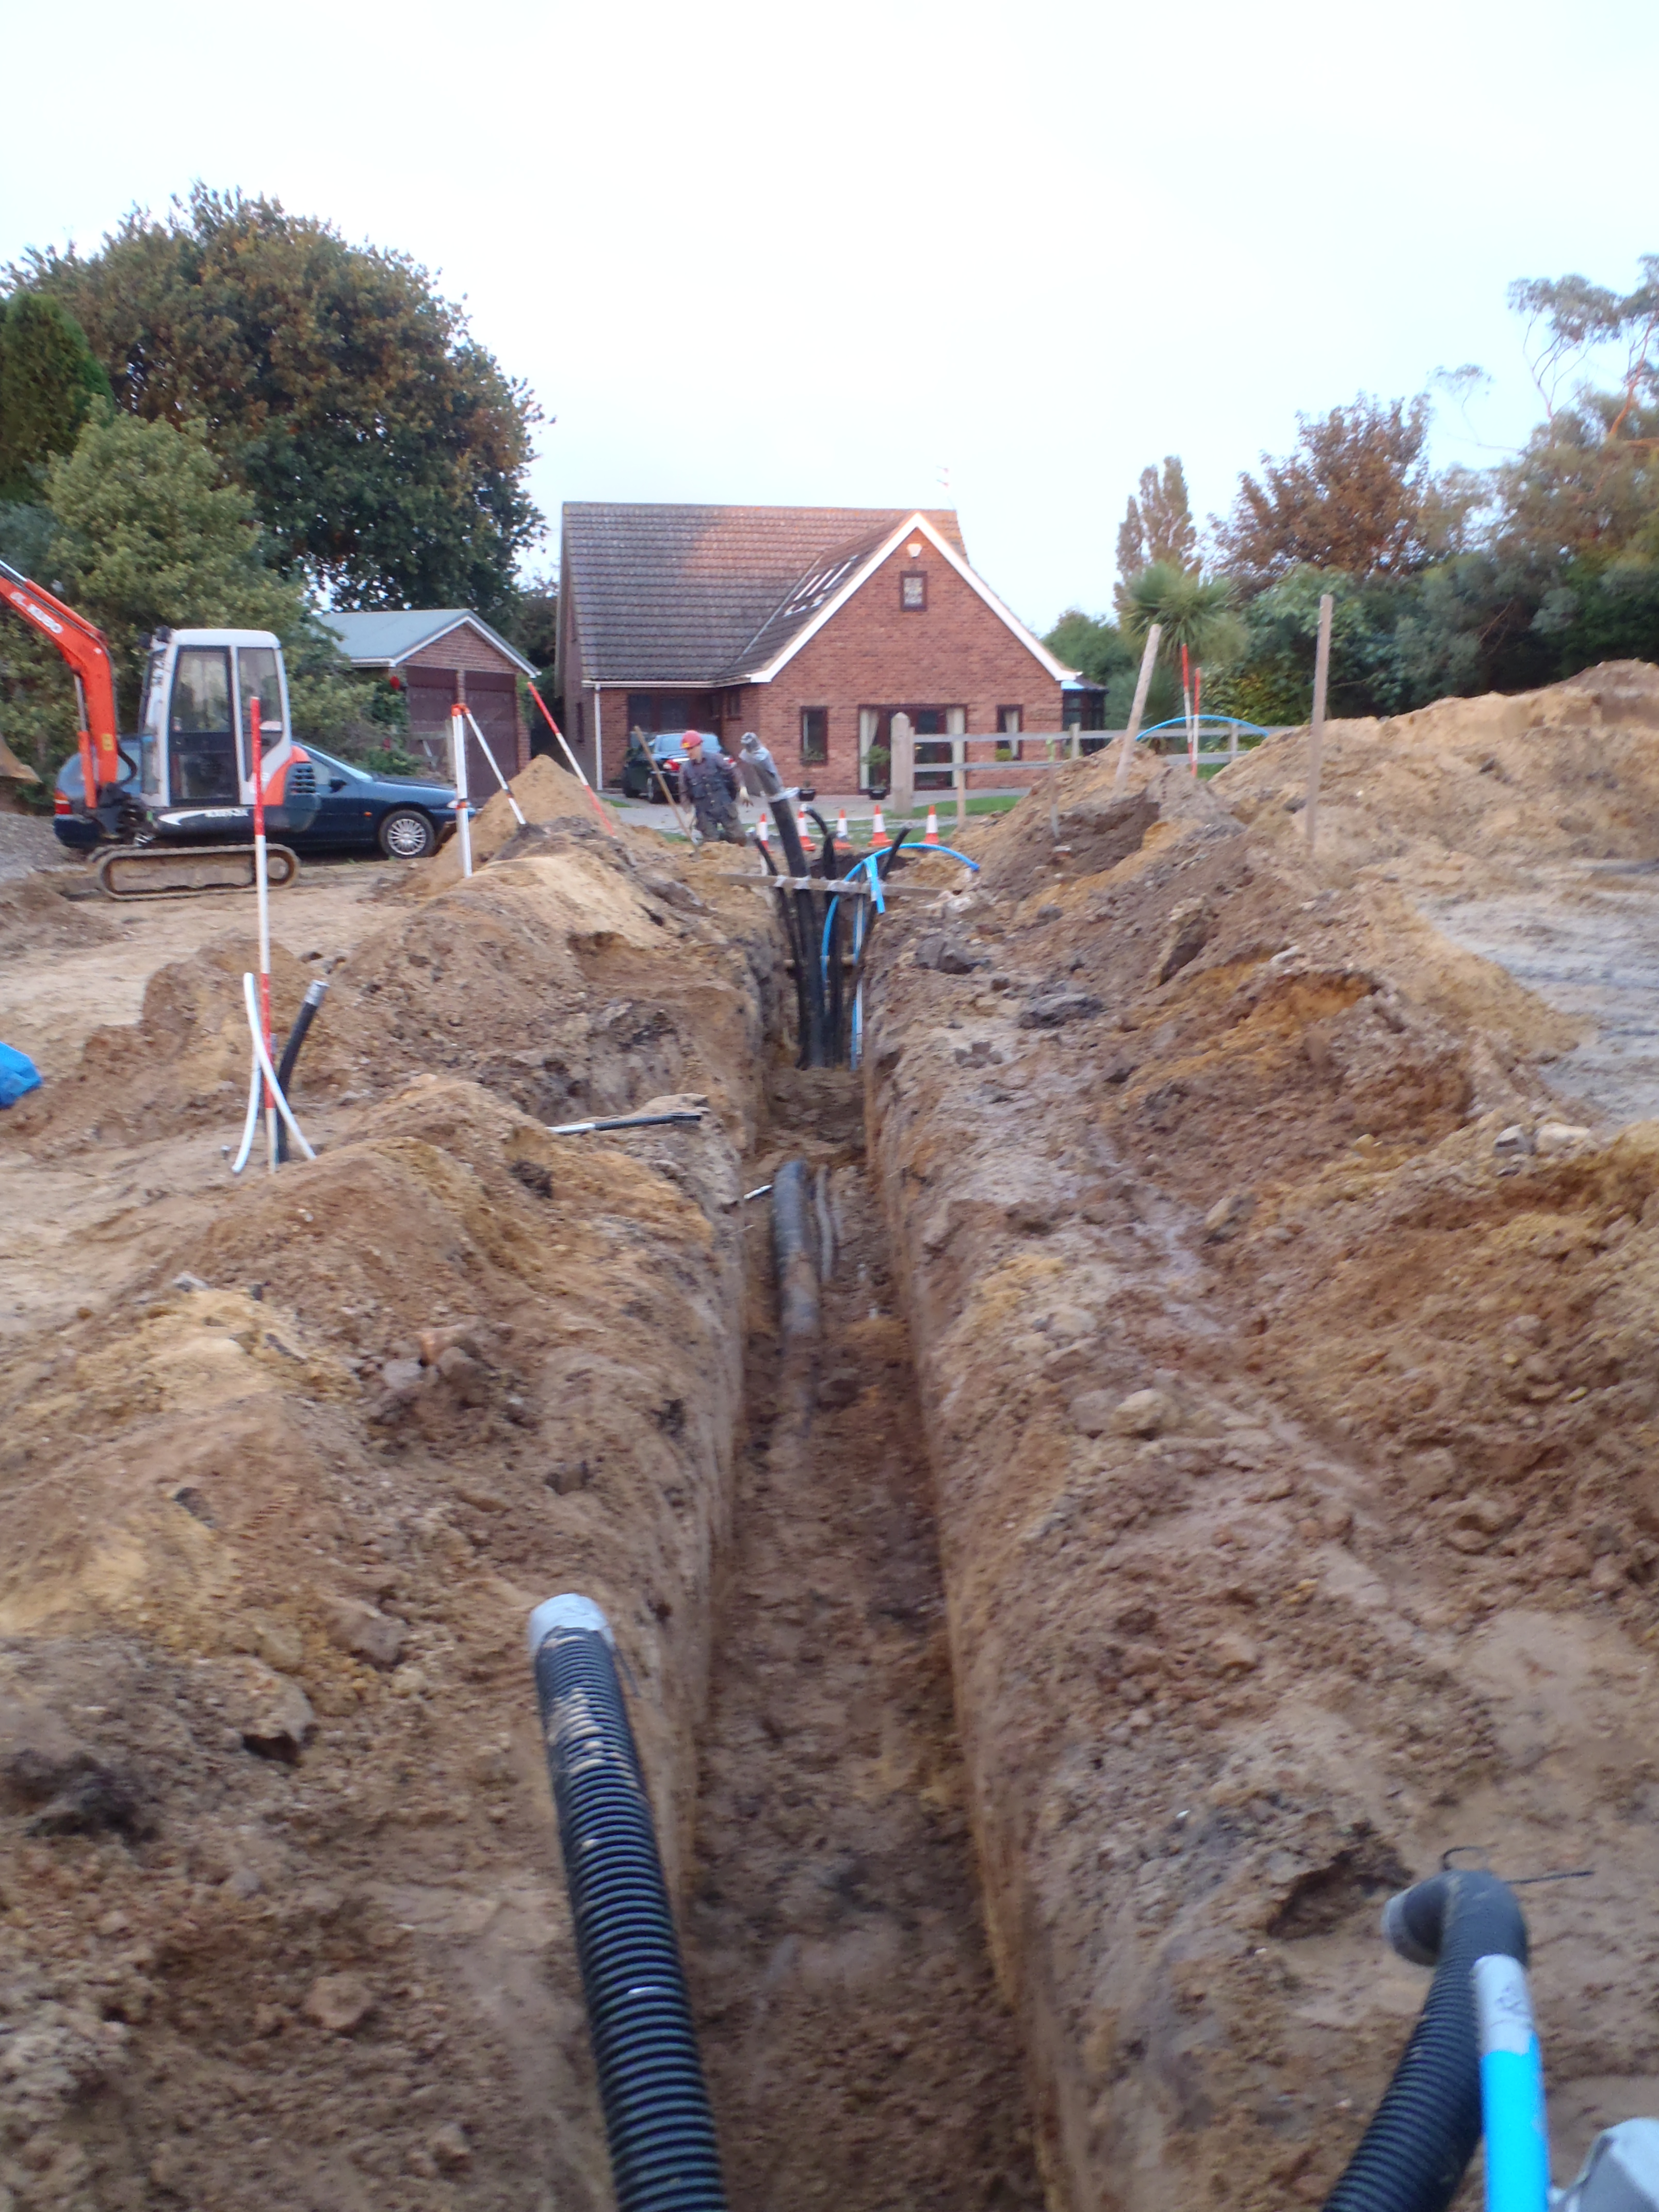
Installed all the pipes and conduits into the trench after sliding 2 x 22mm plastic plumbing pipe with foam insulation (25mm on flow and 19mm on return) into the large conduit (tried insulating with rockwool and gave it up as a bad job!).


They are from left to right :- Data, rainwater1, compressed air, rainwater2, mains water, central vac, spare, solar water & electricity.
Started by filling trench to approx 300mm above conduits then placed warning tapes (100mm wide polythene printed with warning messages about water & electricity below) along the trench. We then filled the trench to the top.

Digging initial trench from the garage to the loke and along the loke a few meters. On Tuesday we dug most of it and finished it off Wednesday morning. The trench is mostly about 1.5m deep (gets shallower towards the garage).
Installed the power & telephone ducts and the water pipe from the garage to the loke and round the corner, leaving the rest of the coils wating for the trench to be extended.

We then ran most of the connections from garage to house.

We need to connect the new house to the services (Electricity, Water & Phone). Currently these all come to the old house and will need to be diverted. The phone is overhead and will need to be routed underground as the overhead path intersects the new house so is not practical.
We will take all of them to the garage to use while living there, and the power and phone will be connected back to the main house later. A T junction in the water main will supply water for the house.
A trench will be cut just inside the boundary with Smiths Loke from the current pedestrian entrance (water meter), past the telegraph pole (opposite side loke via a side trench), then pick up the power and run down the plot to before the corner of the new house then turn crossing the corner of the utility room and then to the garage.
All the connections will be in conduits except cold water which is just laid in the trench.
We will install these connections between the garage and the house.
| Connection | Pipe / Cables | Conduit | Notes |
| 1. Mains electricity | 25mm2 cables | 50mm | Placed opposite side of trench from data cables |
| 2. Rain water pumped from tank under garage | 32mm Polythene pipe | – | Submerged pump in bottom of tank rated up to 7000litres per hour and 8m of head |
| 3. Rain water back from header tank in house | 32mm polythene pipe | – | Header tank will automatically be topped up with mains water if lack of rain |
| 4. Insulated pipes (two) for solar heat transfer | 22mm PEX Barrier pipes | Inside the 150mm | pipes rolled in ordinary glass fibre wool insulation (just enough for minimal heat loss during the 5 minutes transfer |
| 5. Compressed Air | 22mm PEX Barrier pipe | inside the 150mm | 8bar (maximum) Compresser in Garage |
| 6. Low voltage cables | CAT 5e cables | 50mm | Network, Telephone and other signal lines |
| 7. Central Vacuum System | – | 50mm | Cleaning Tasks in the Garage and Garden Room |
| 8. Nothing | – | 50mm | Future Expansion |
We laid in the sewage pipeline trench an additional conduit, 50mm diameter empty, to take the rubber hose air supply to the sewage treatment unit when we move the air pump into the garage after we have built it! We nearly forgot to put the conduit in as we said we would a couple of months ago!! Glad we had wait for our Building Inspector to come and the delay allowed us to remember!!
The sewage pipeline from the garage to the manhole connection point just next to the sewage treatment unit is now laid and gravel placed around it to bed it in. We await for the building control inspector to come and err.. inspect! He should be back from his hols on Monday.

Sewage pipe in trench bedded with gravel
While we wait, we will look at the utility trench on the left side of the garage and check the list of conduits and pipes and make sure we have everything we need!
Marked out the position of the garage on the mass wall. The thick black vertical lines are the outside measured positions of the walls and thinner lines defines the foundations. This gives us the position of the sewage connection for the garage so we could markout and dig the trench to place the sewage pipe.

We await for our building inspector to approve it.
The Rain Tank!
5m (16feet 3inches) long
3m (9feet 9inches) wide
1.2m (4feet) deep
Hole dug out = 18 cubic metres (635 cubic feet) about 38tons of sand and soil
Water inside is 95% of hole size = 17.1 cubic metres – due to the plastic construction of the crates
Overflow starts 50mm below top surface of tank so will never fill to maximum therefore subtract 0.72 cubic metres.
Plus the pump cannot reach right to the very bottom of the tank as the plastic crates has structural flanges which will contains a certain amount of water. The highest flanges are 50mm high so therefore that is another 0.72 cubic metres of unuseable water!
Total Storage for rain water is 15.66 cubic metres
That is 15,660 litres
or
3,445 gallons (UK measurements – its 4,137 US Gallons)
Or
27,558 pints !
Now that is a big water butt!
There are 90 crates each measuring 1000mm by 500mm by 400mm (well actually it is 390mm high – the manufacturer states that each crate is 200litres capacity but in reality it is only 195litres!) made of a polyproperlene materials. We layered 15 crates on each layer and rotated them around to provide maximum loading spreading. There are 4 layers altogether. Then a thick geotextile (measured as 250gsm) is put on first to soften the edges of the crates (we also sanded the edges and especially the corners). The rubber membrane is the next layer (the rubber is a man-made material with long life stability, we decided to buy the 0.75mm thick grade. You could have 0.5 or 1mm thicknesses) and finally on the outer most an another layer of thinner but tougher geotextile (about 150gsm) to keep the sand and soil from wearing or puncturing the rubber!
So far we have 200mm of water in the tank and it is still there after a week! phew!
We can use it to flush our toilets, wash the car, have showers, provide automatic watering for the garden and even use it for the washing! We of course will have the normal Mains Water taps in the kitchen etc. for drinking.