Today, while we waited for the building control inspector to visit us, we
got on with making adjustments to the Earth Tube Mixing Chamber. We had
originally constructed it several years ago and since then we had shifted
the whole house position 300mm closer to the Loke and also put it 100mm
deeper too! This meant that the chamber, constructed with solid concrete
blocks (430mm by 215mm by 100mm wide) was slightly out of position and we
decided to adjust the design of the chamber. Instead of the connecting
“Tunnel” coming out the side like a letter T, we have moved the connecting
tunnel to the end of the chamber, and will have it sweeping around and
coming into the correct position from the Loke side of the house, underneath
the main house foundation. We have it sloping down and curving around to
fully go under the 150mm thick foundation strip and arrive exactly in the
corner of the utility room.
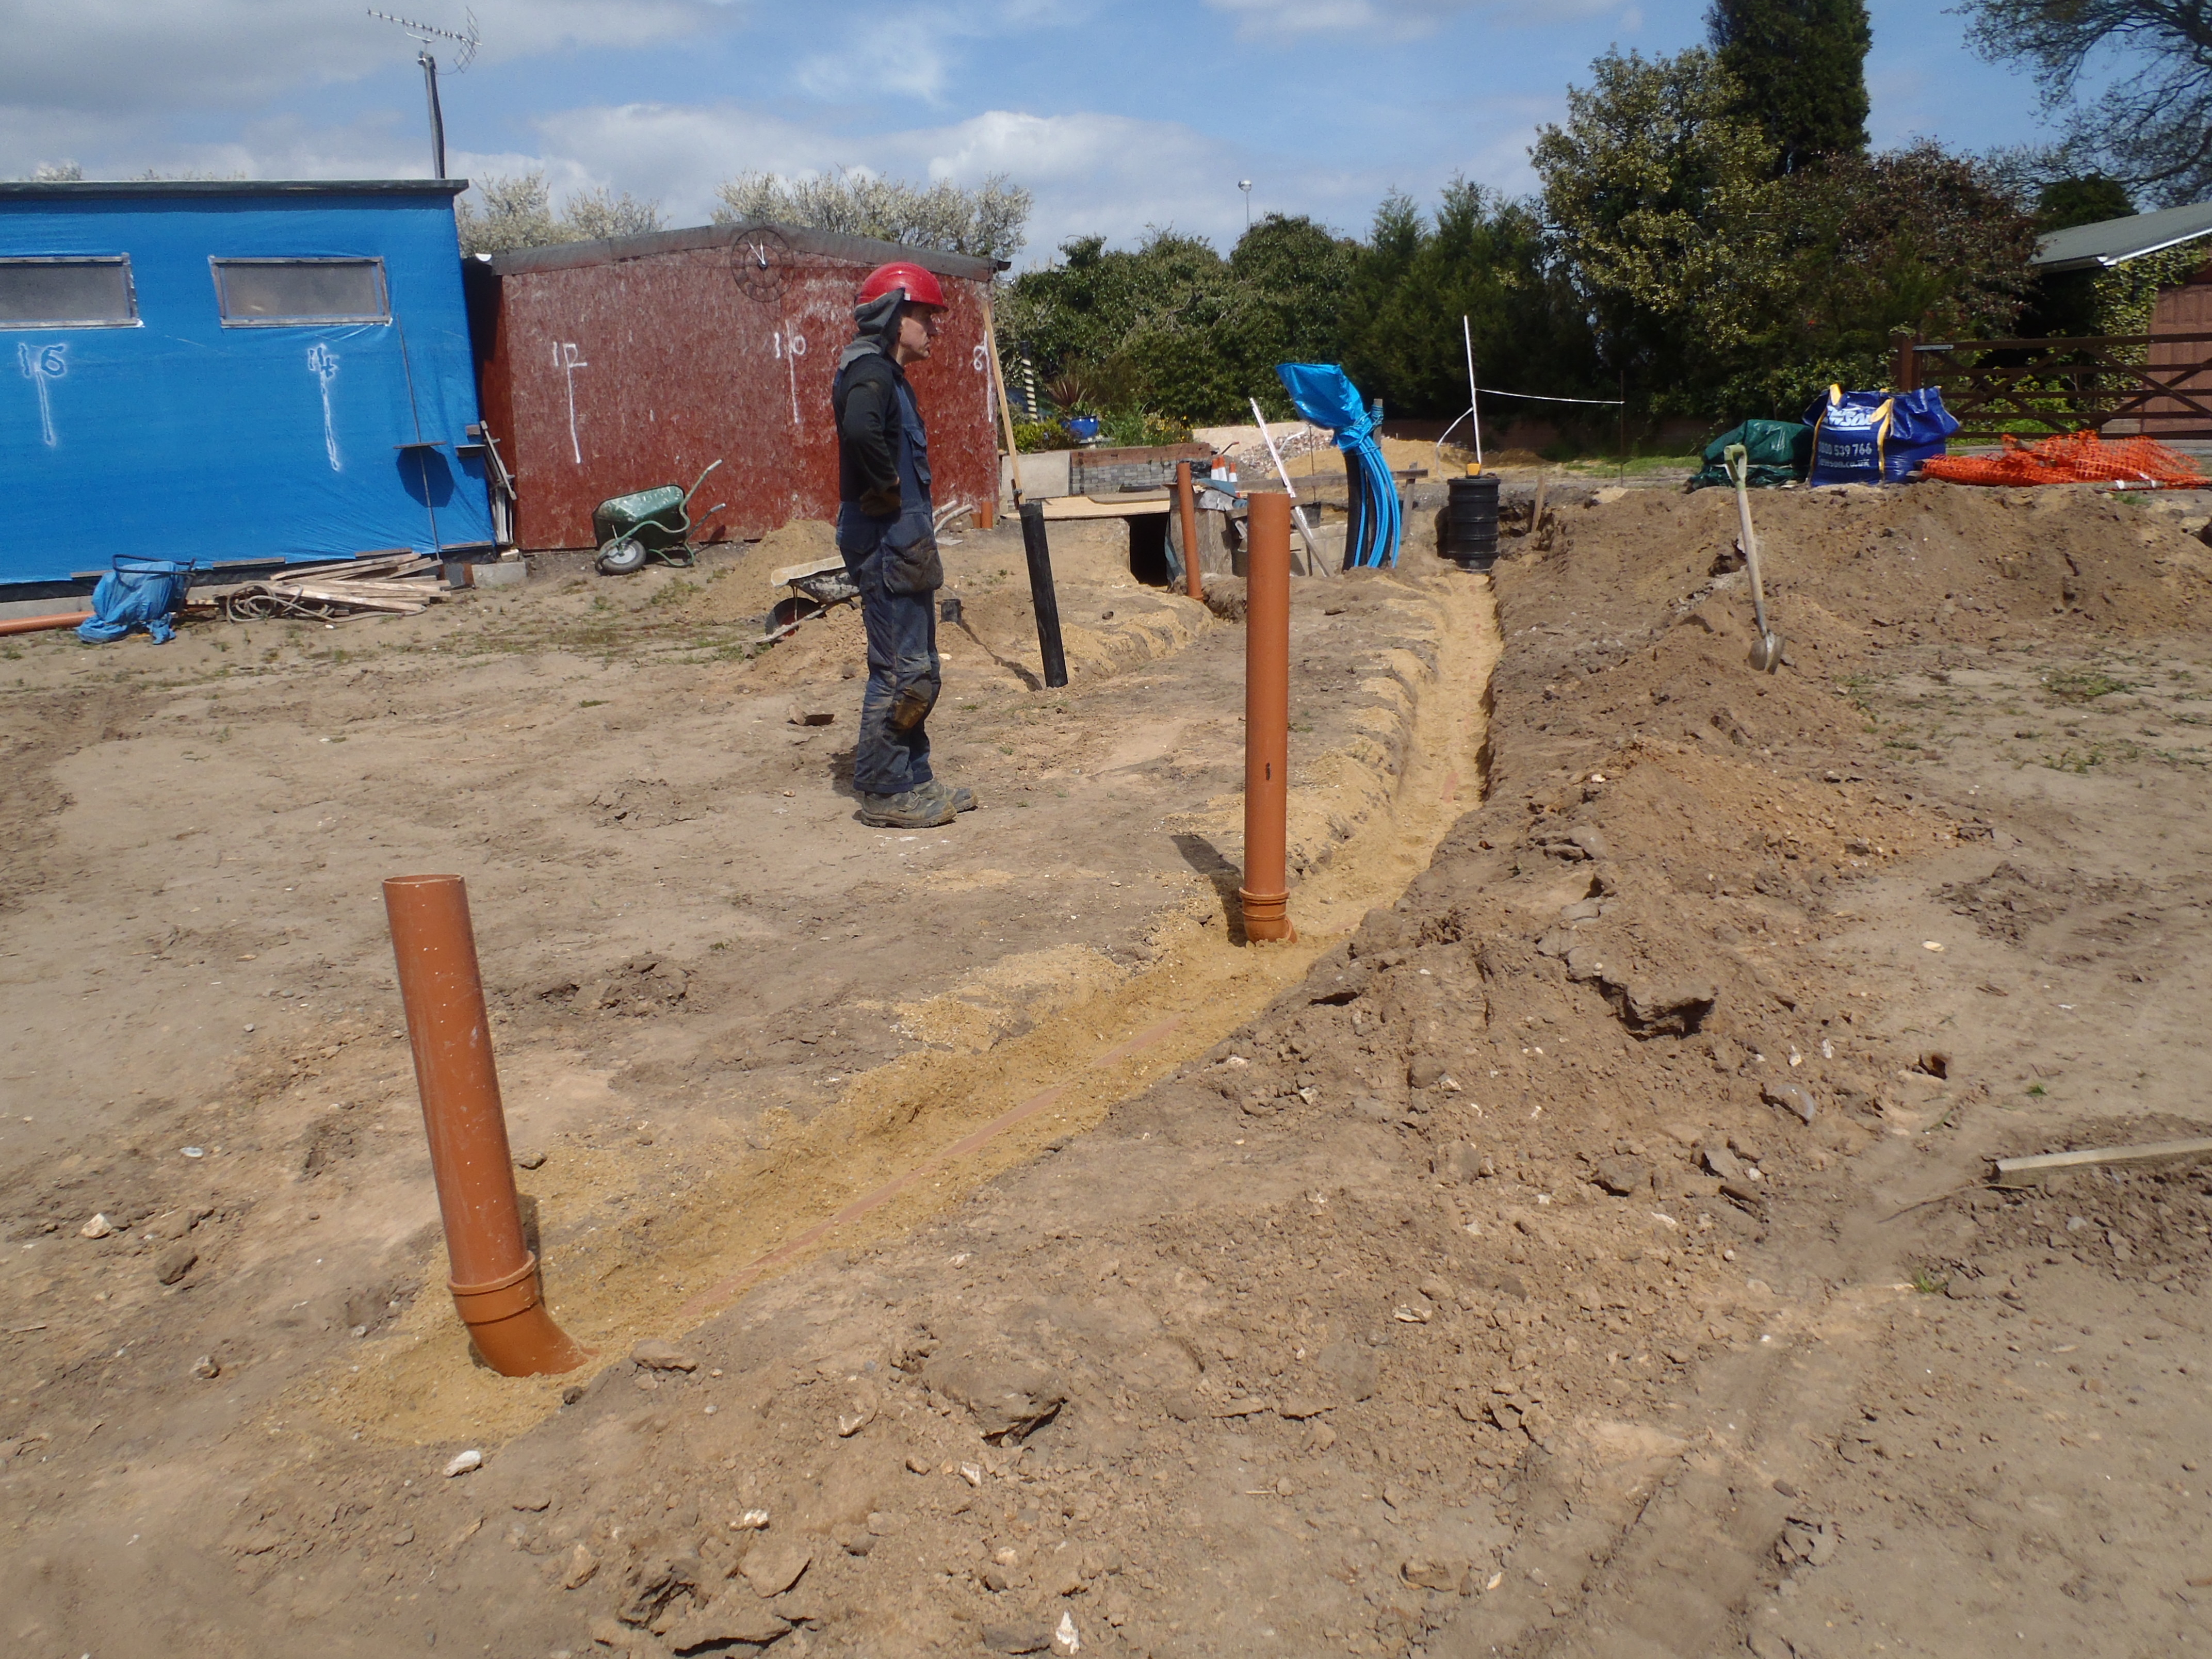
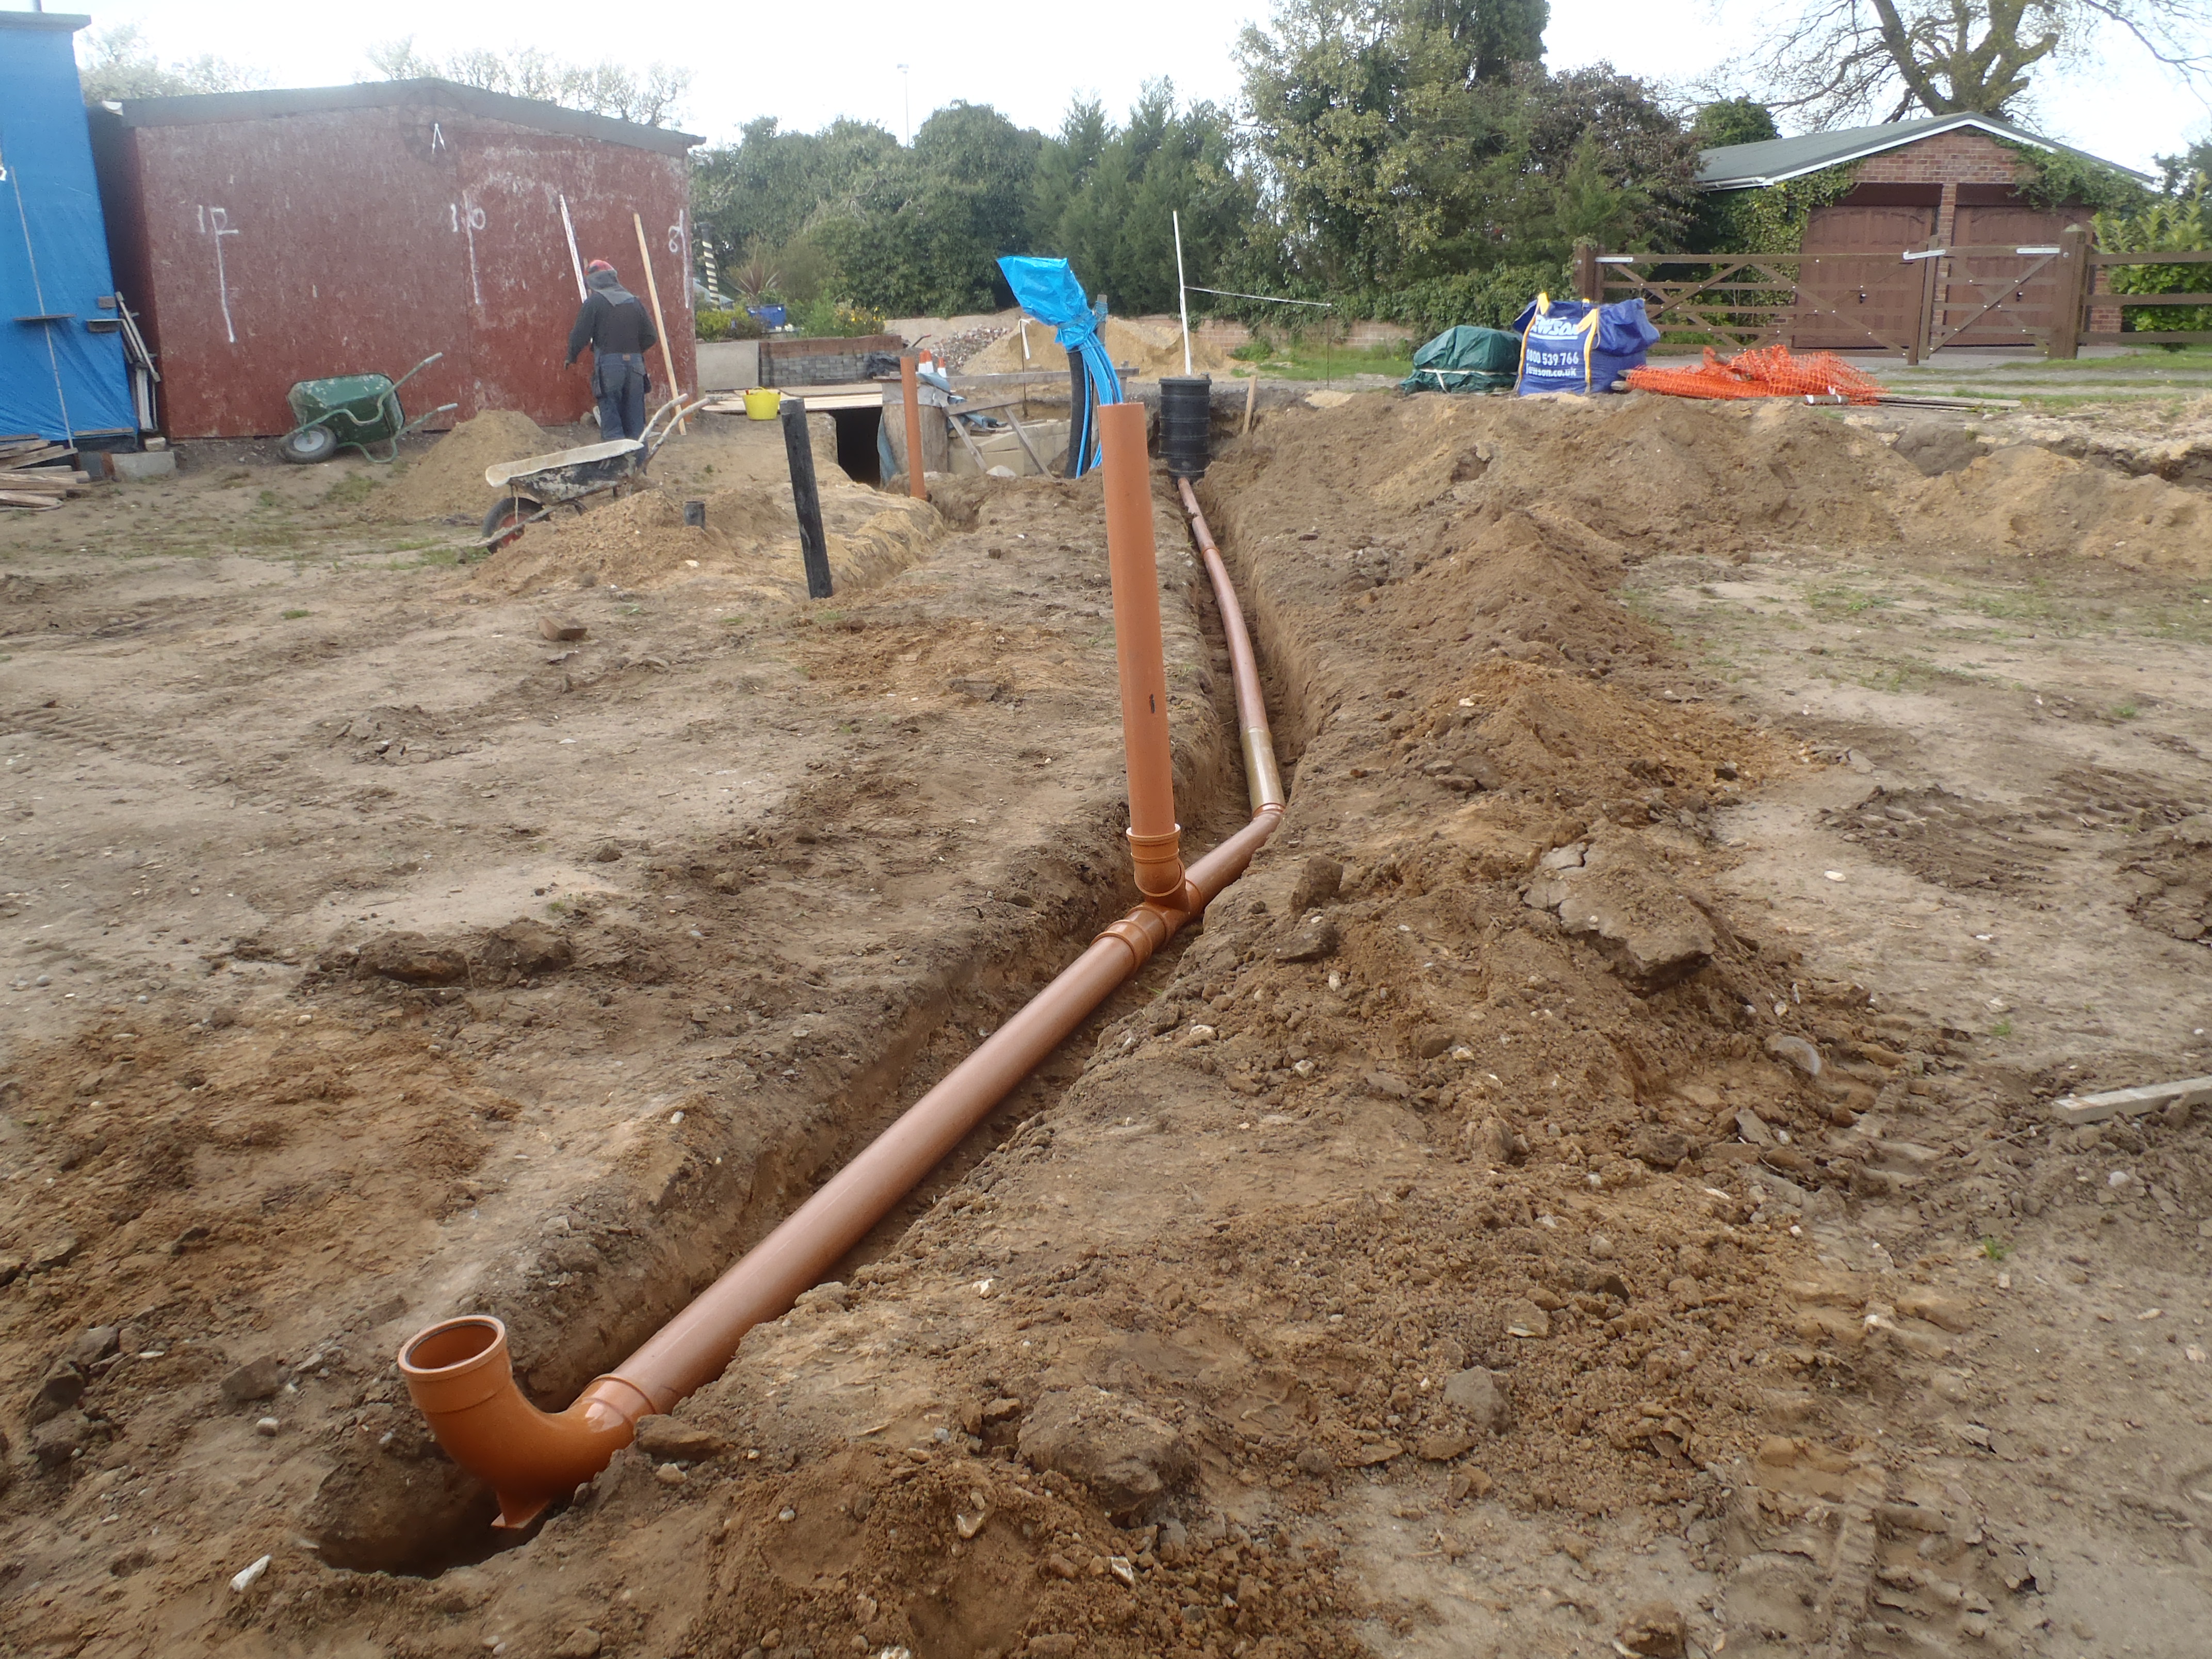
All this is for our fresh air supply for the house, the concrete tunnel
measures 450 high by 250mm wide to allow the maximum flow of air with
minimal resistance.
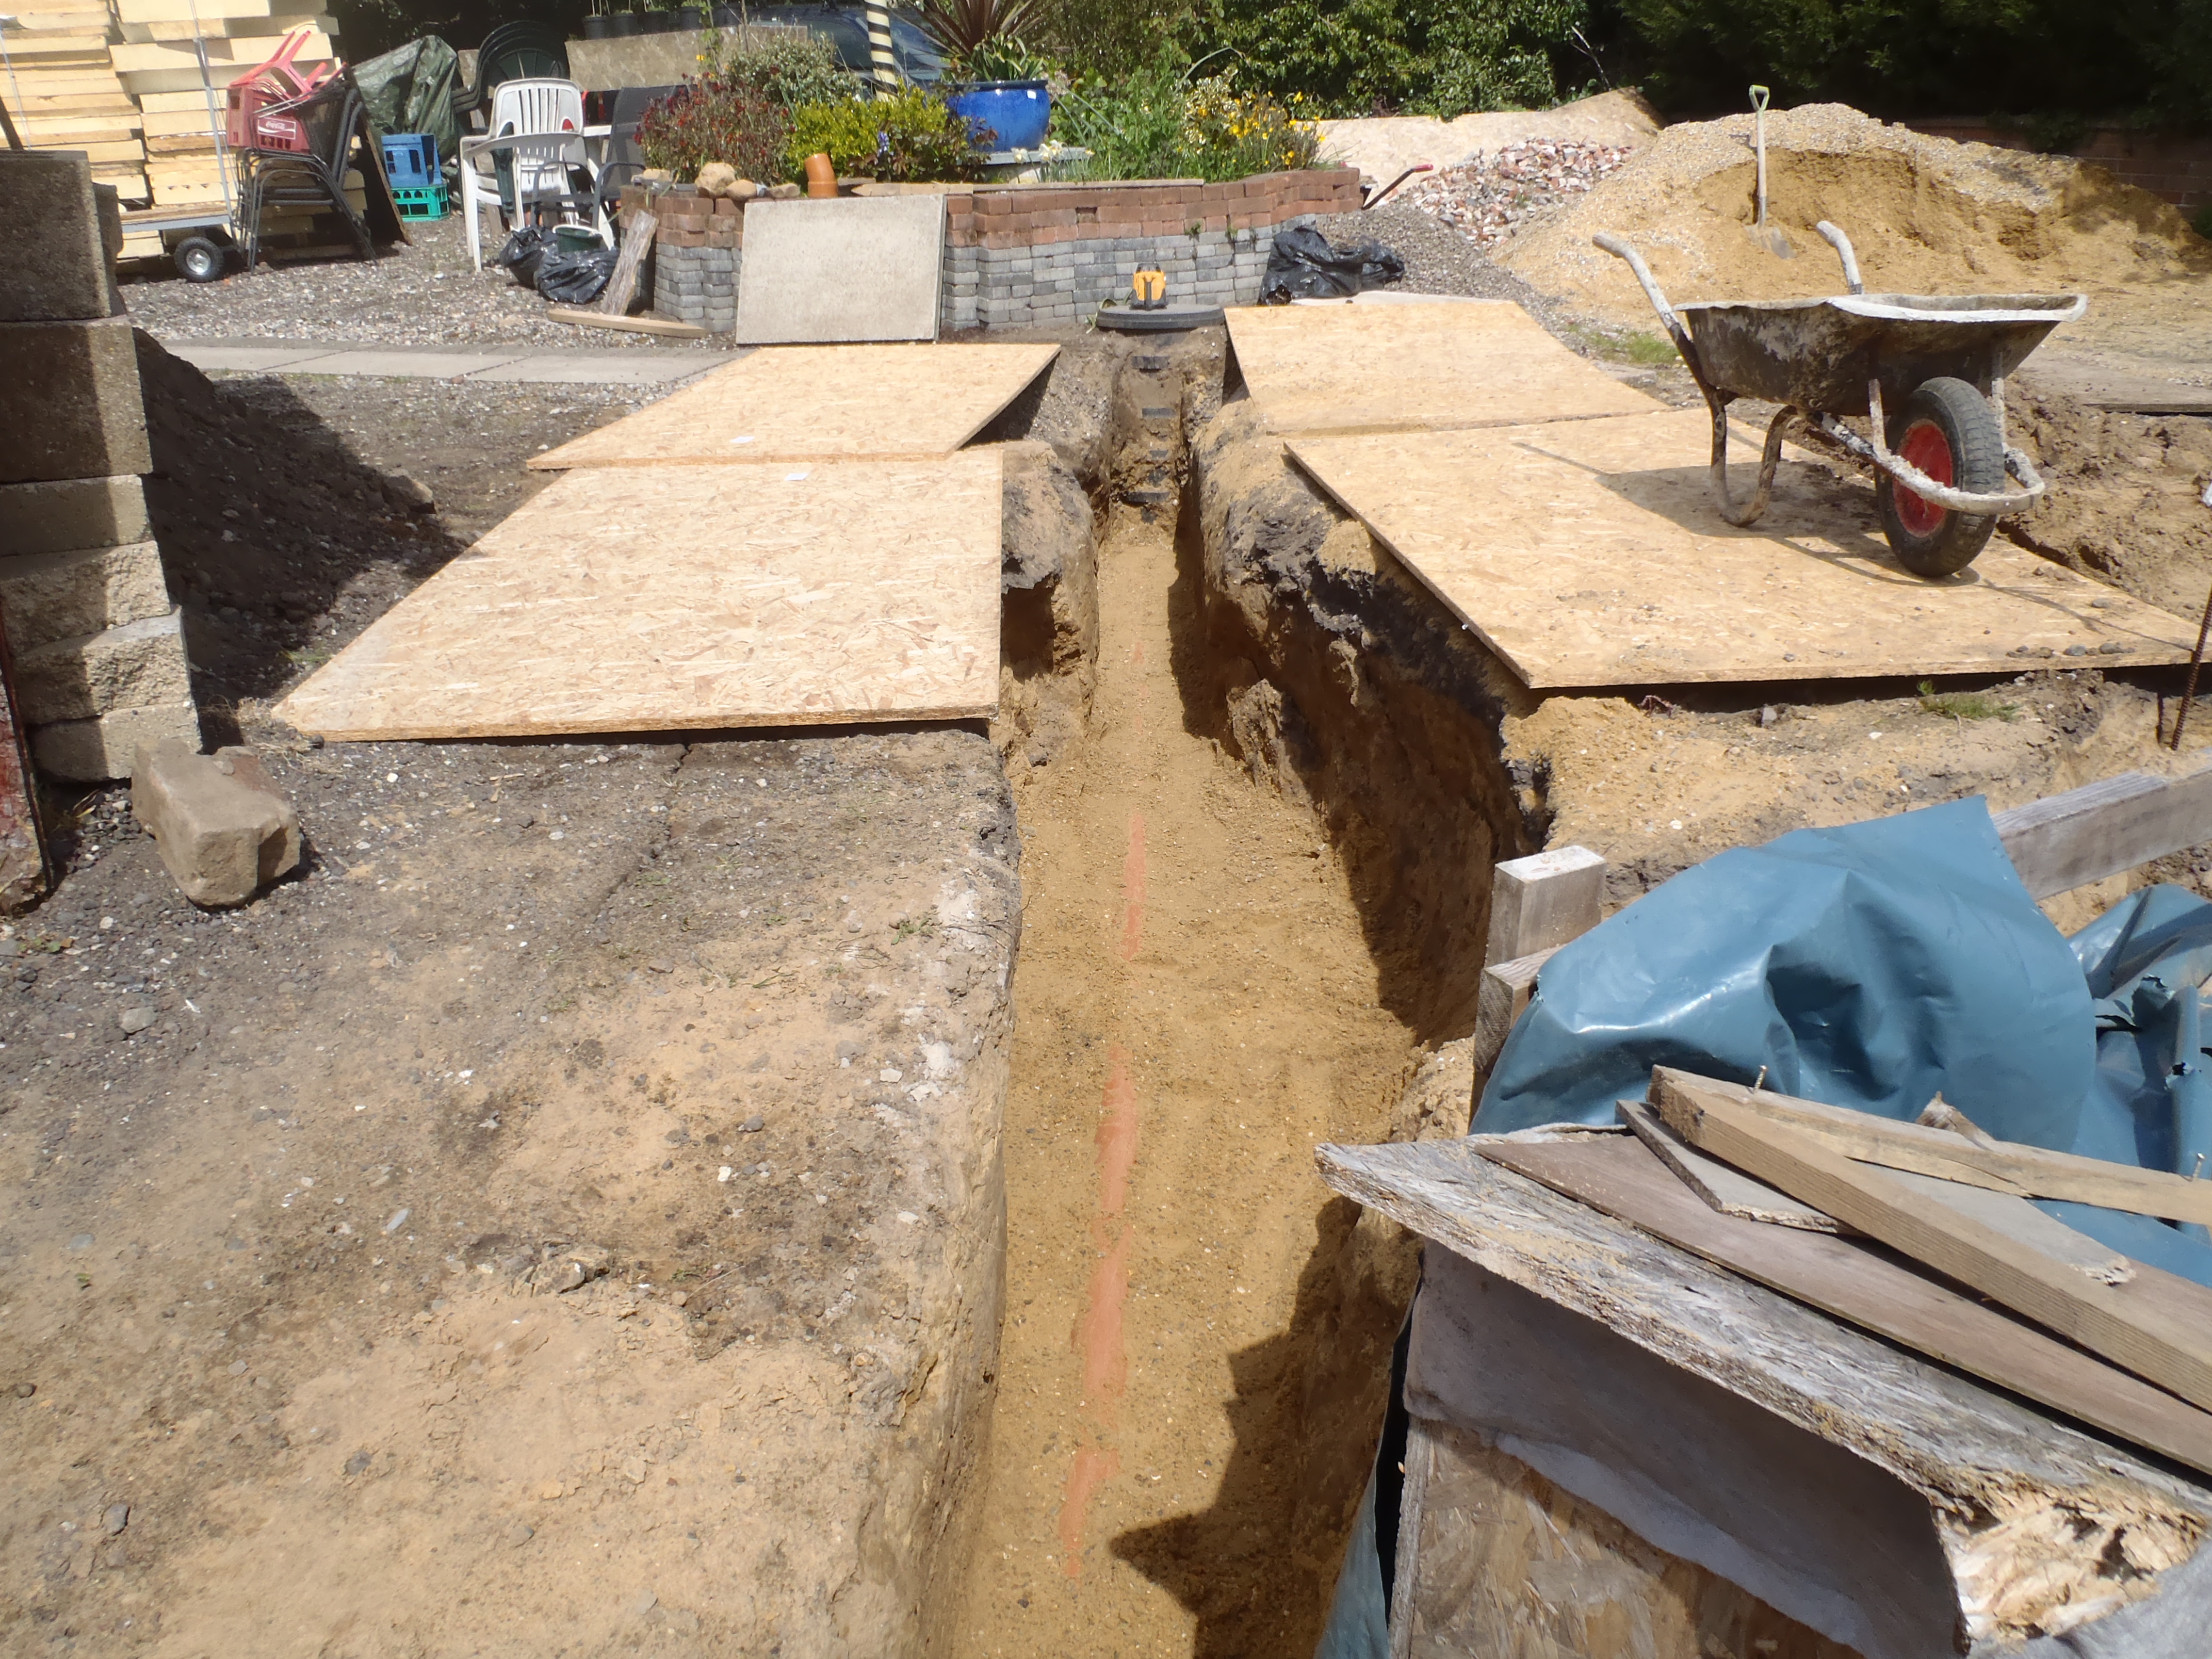
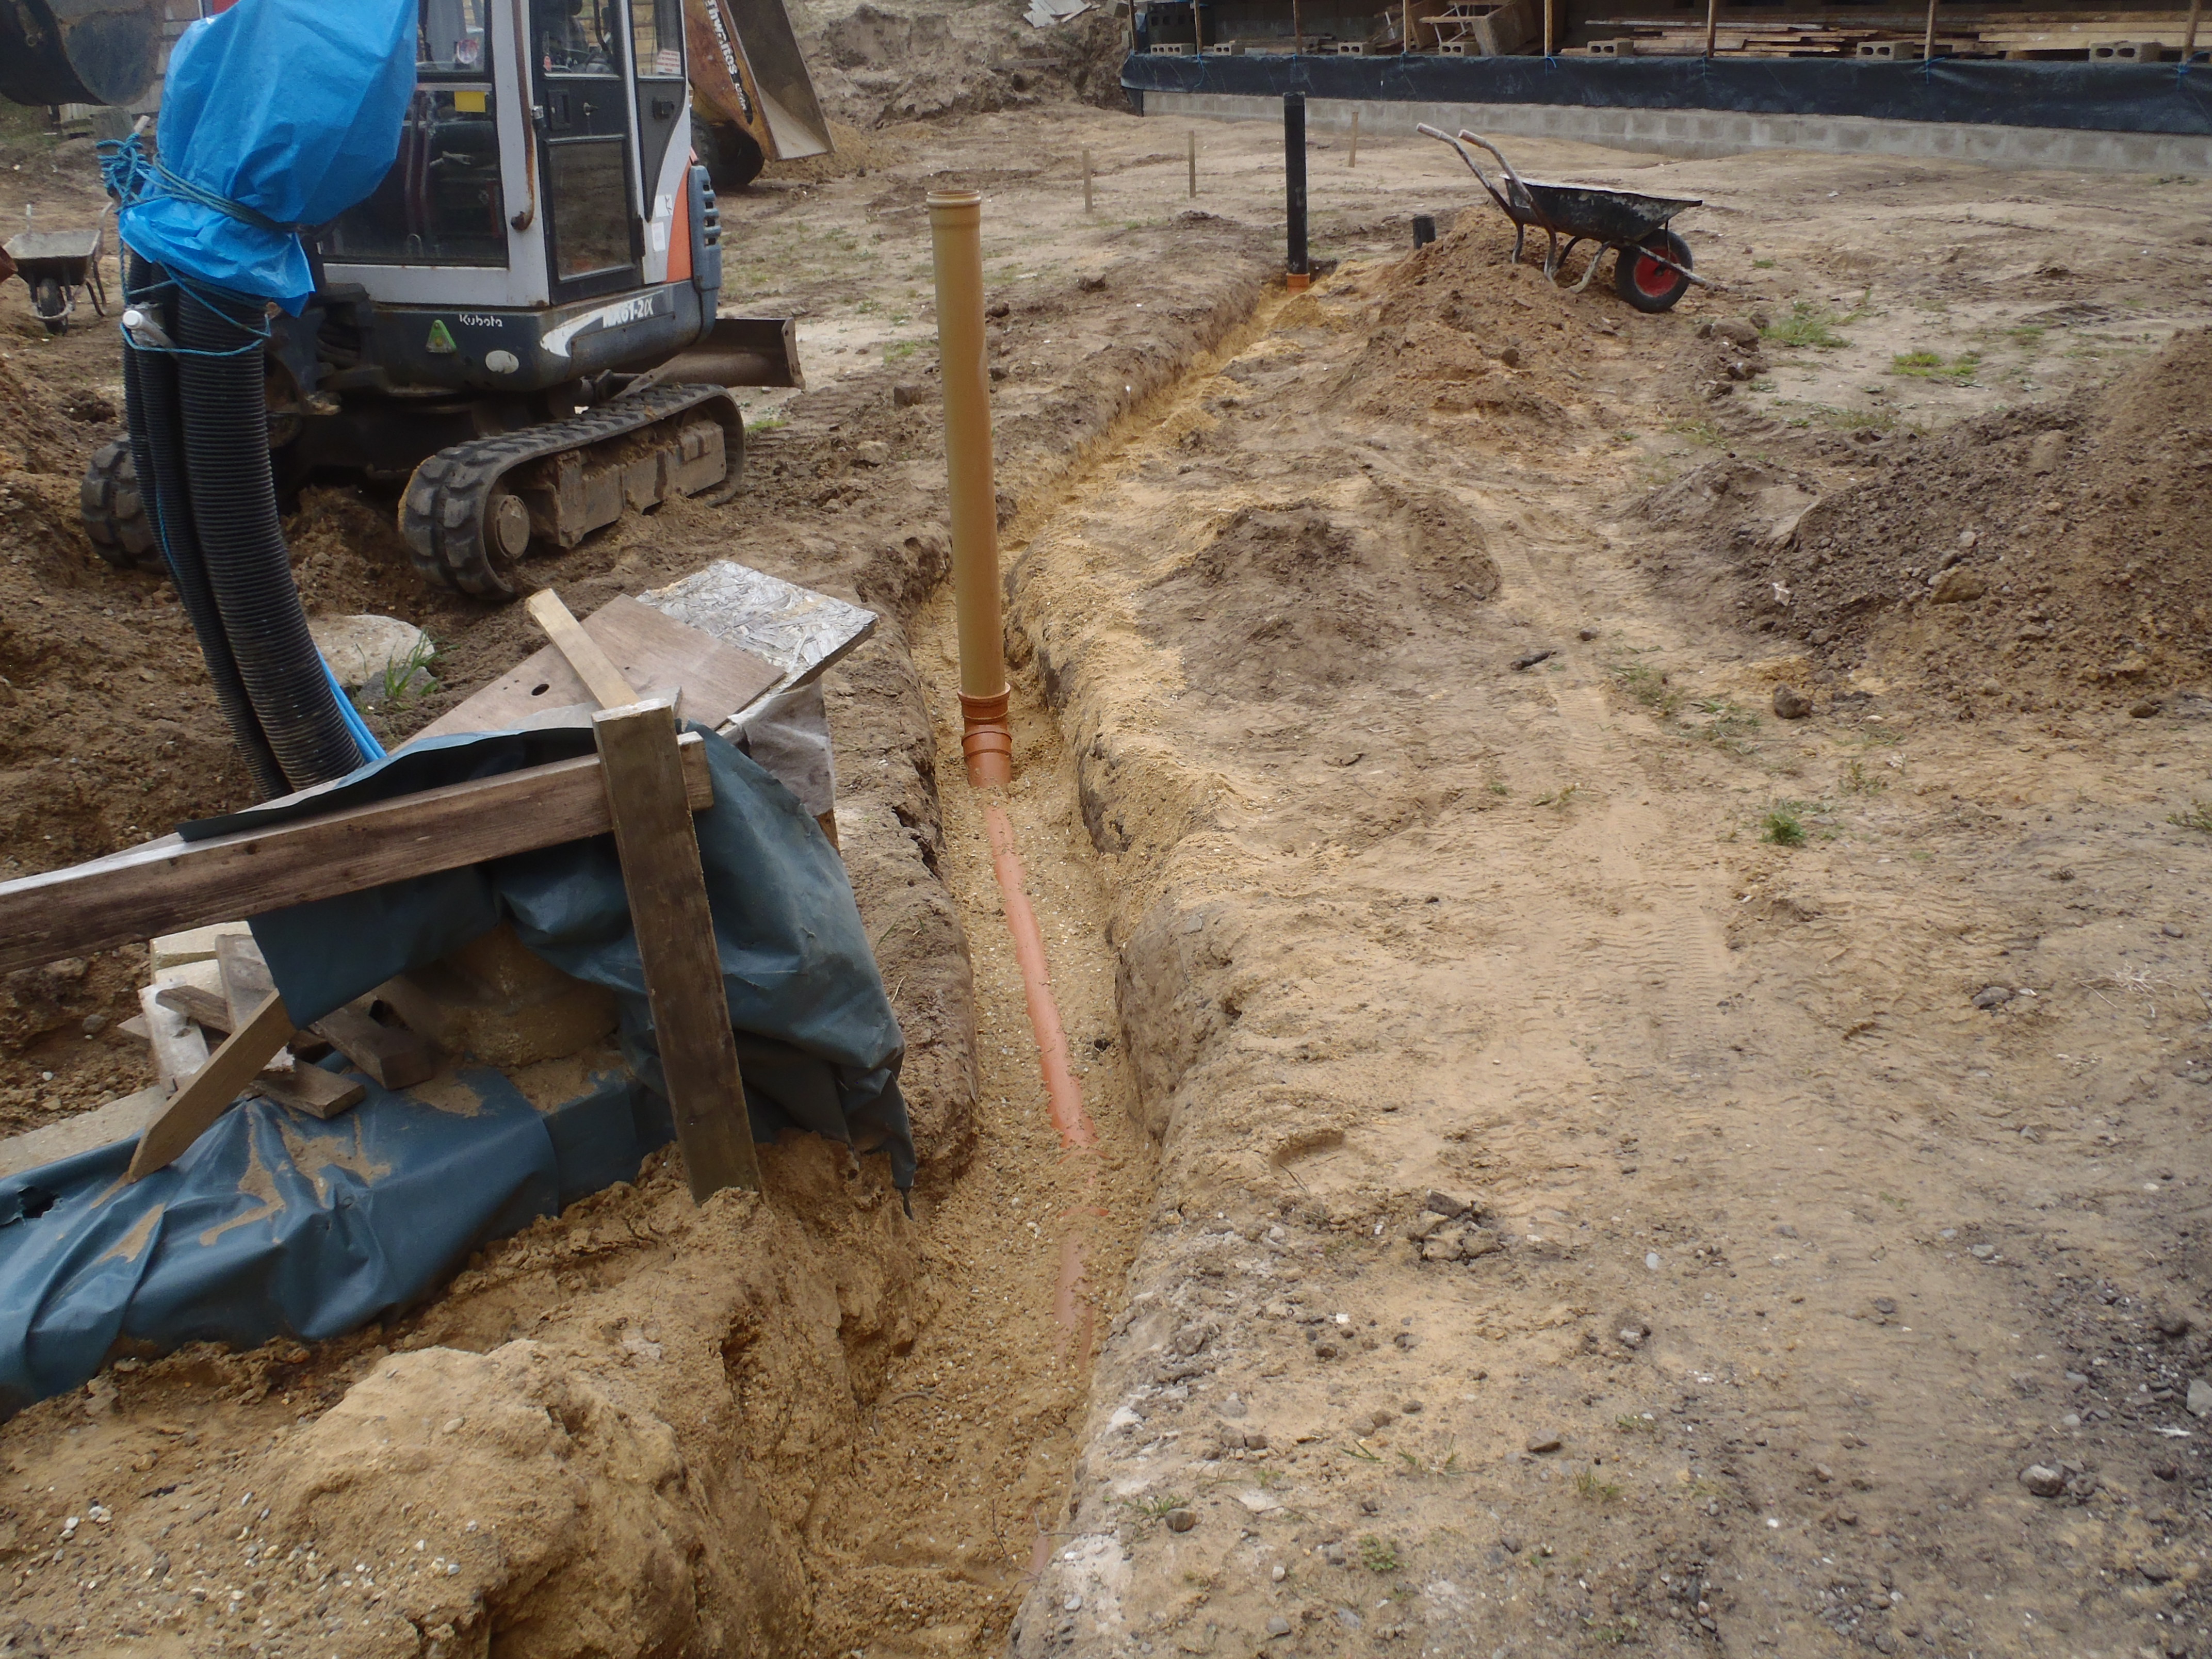
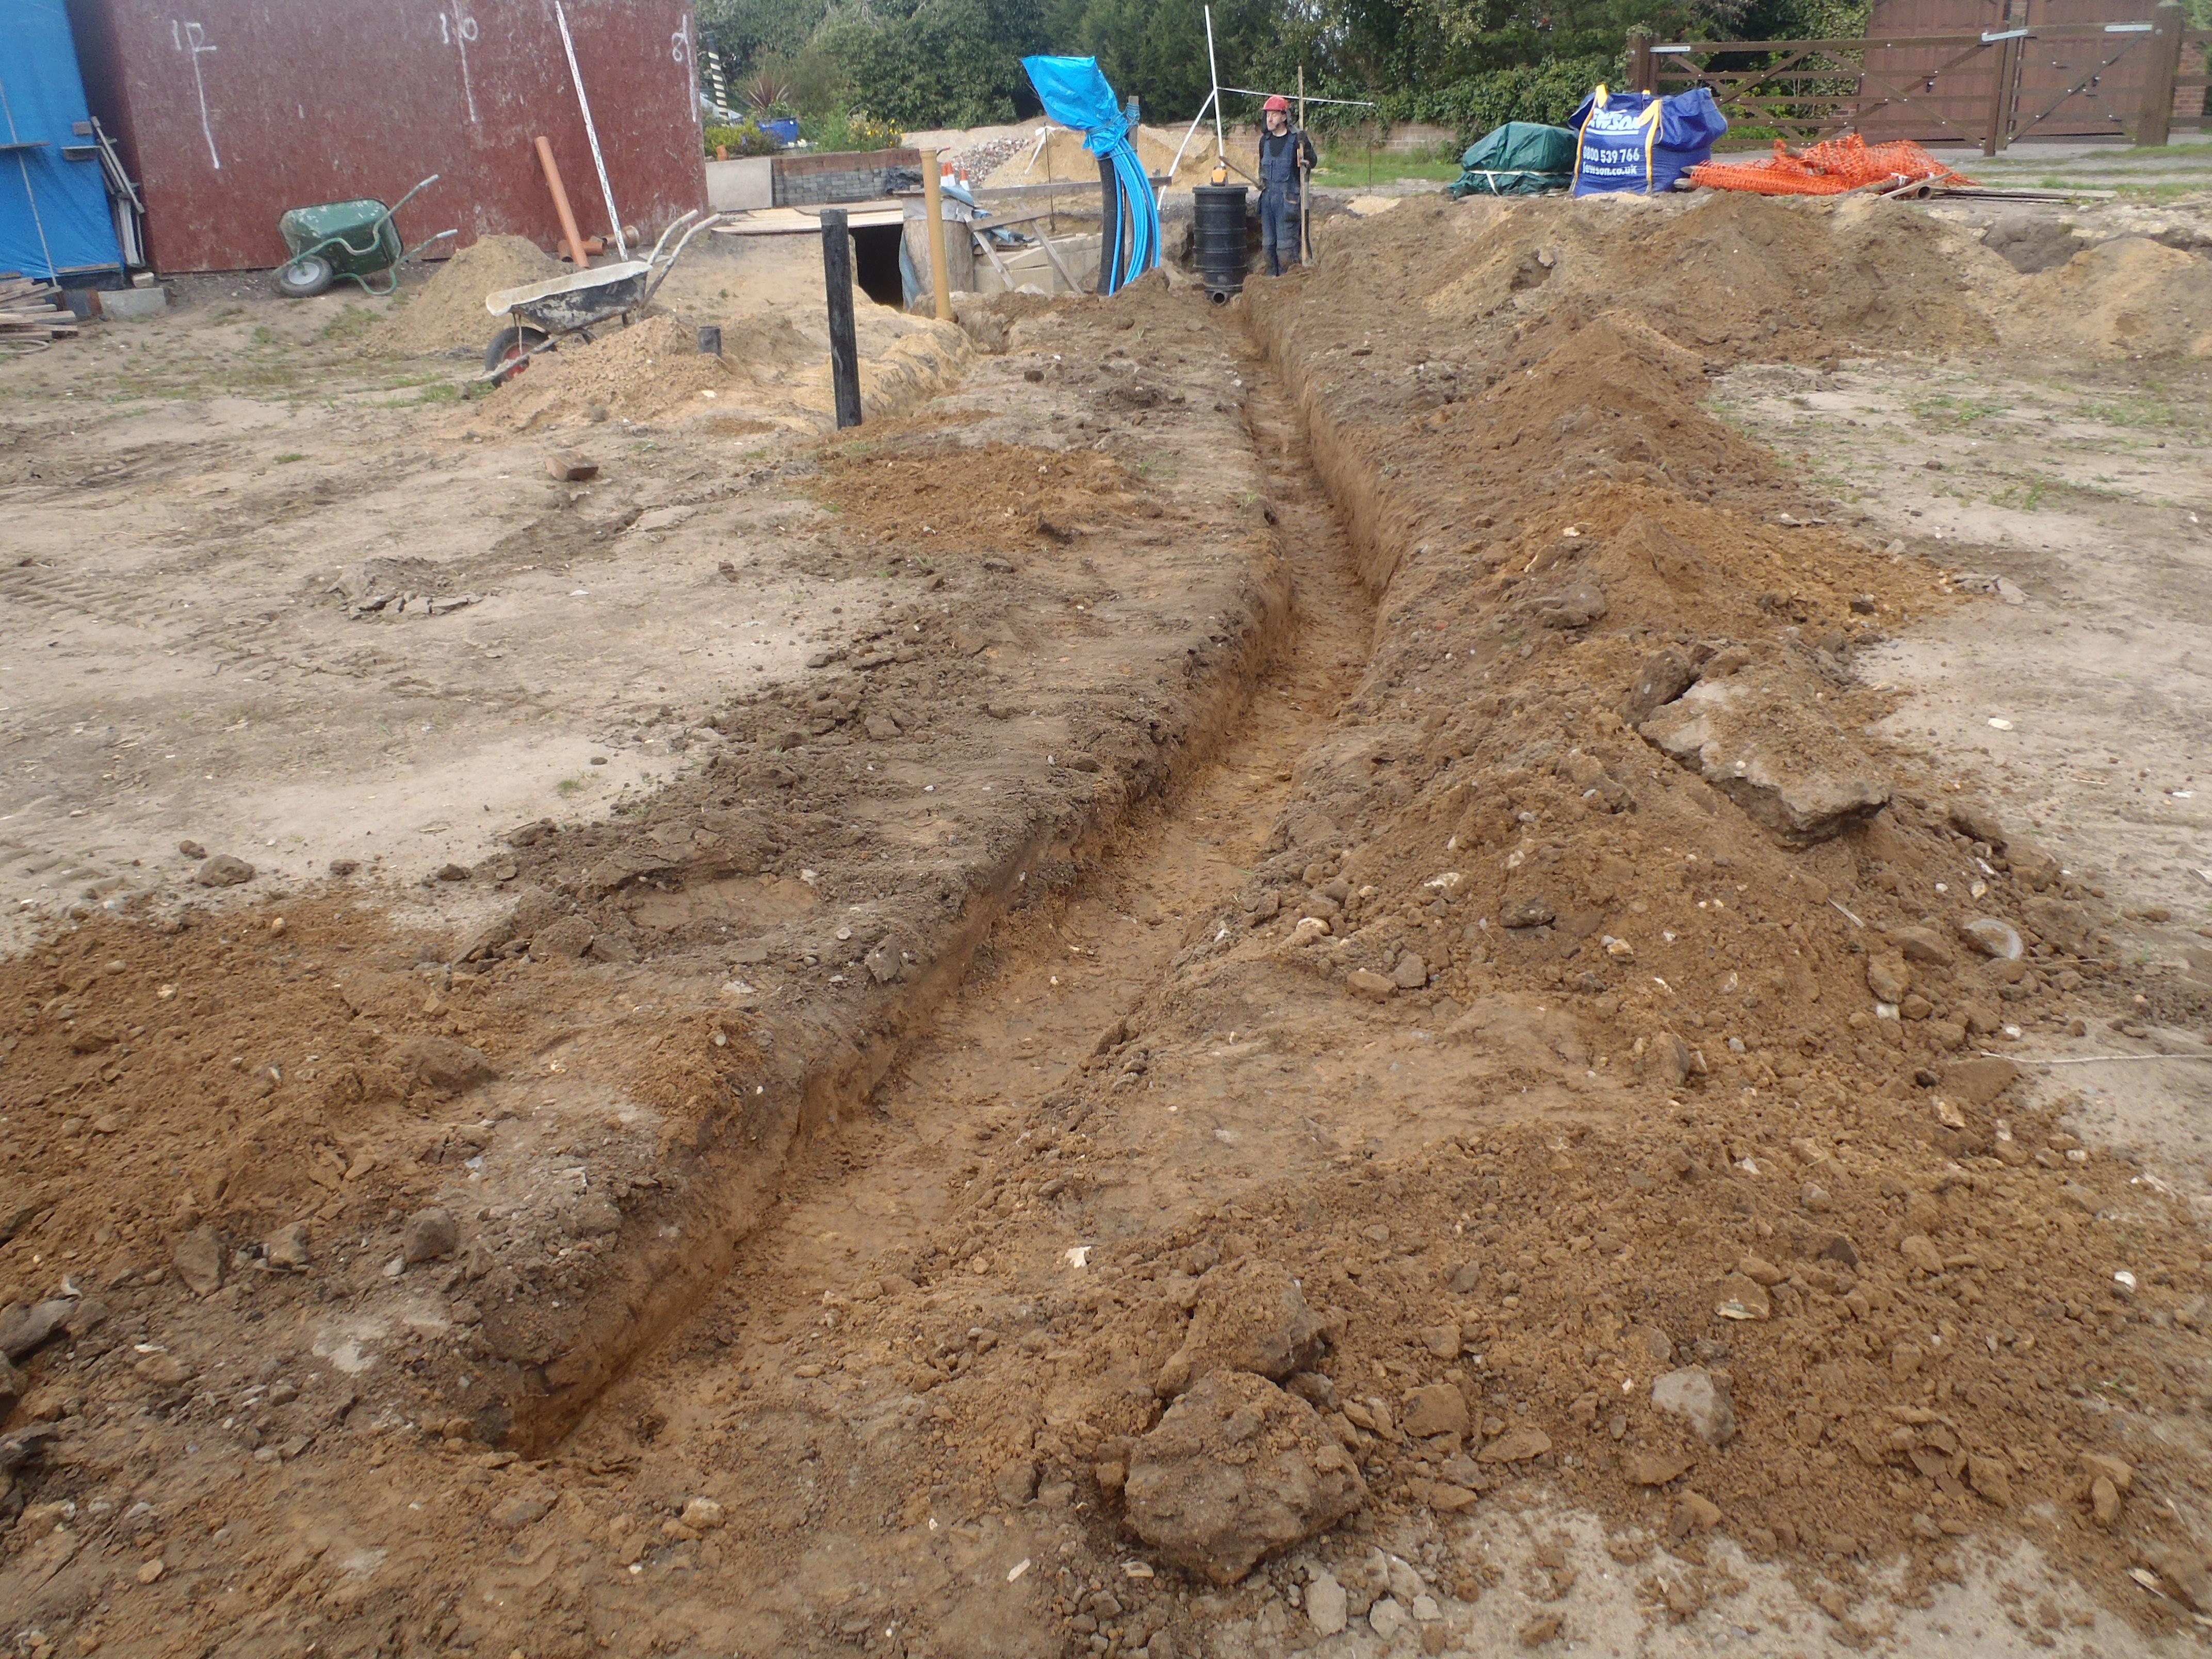
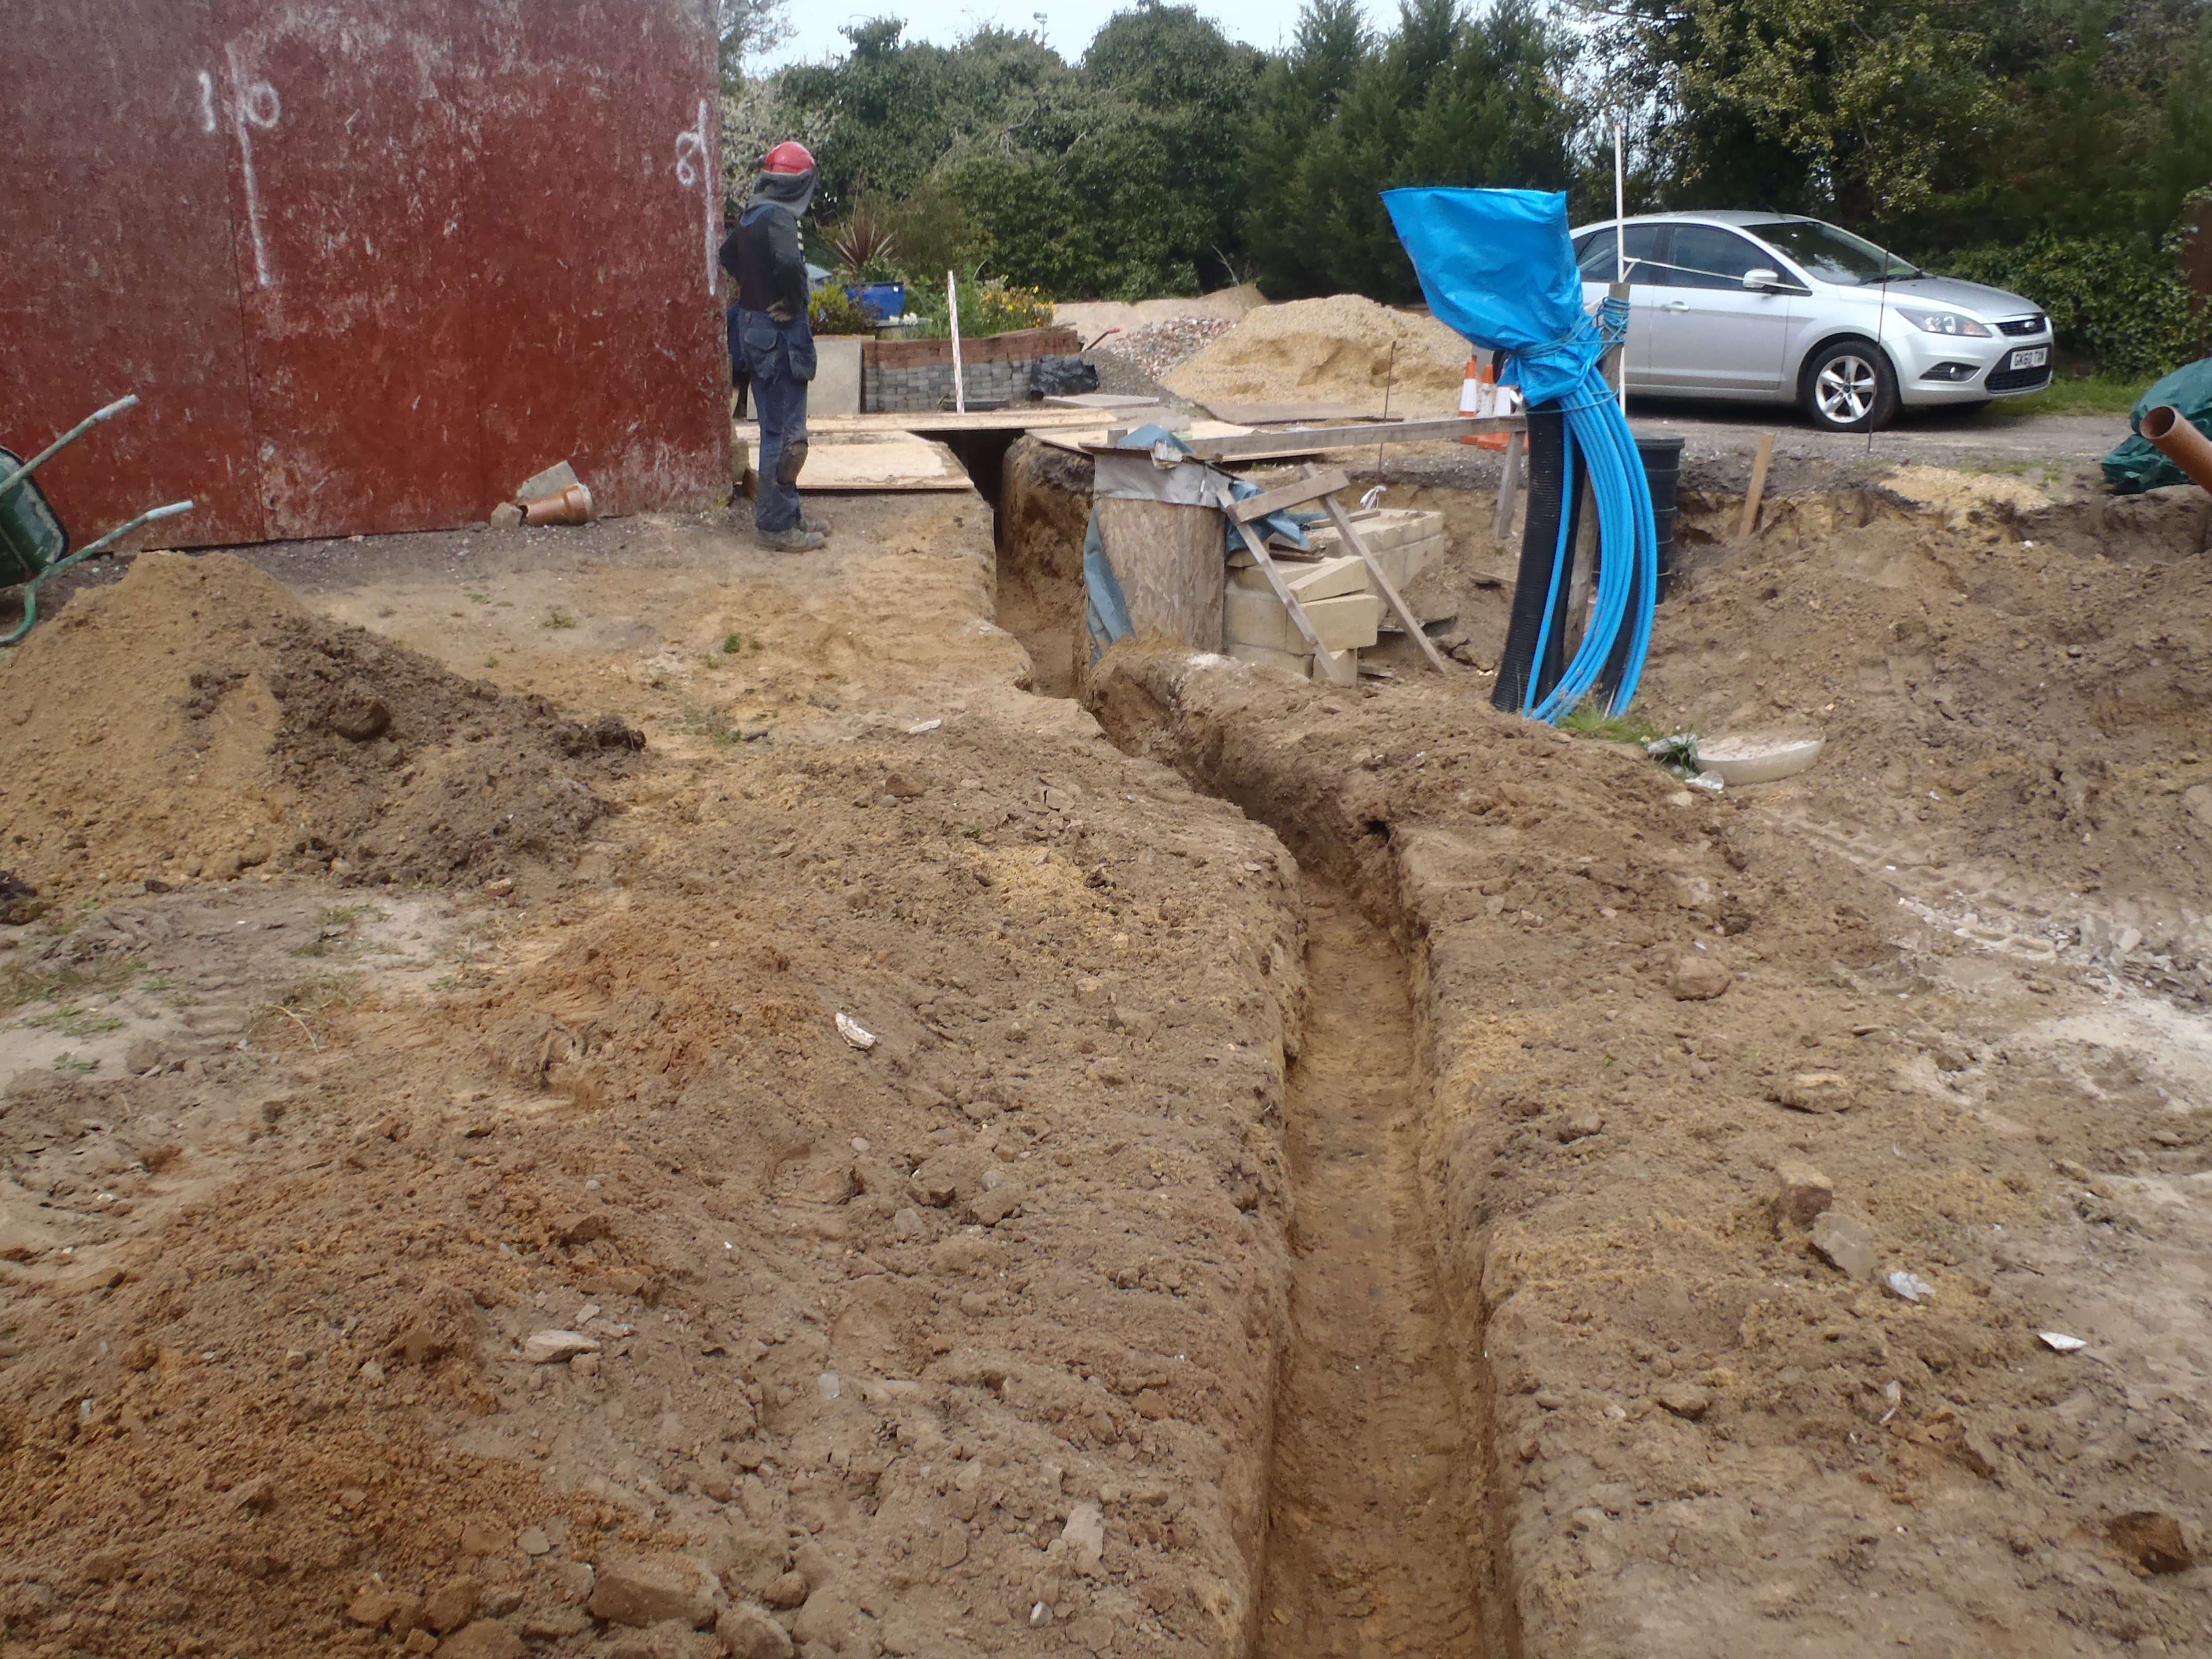
Today’s job was to dig dirt and soil out for the route and insert in shuttering to form the foundation slab to build the tunnel upon.
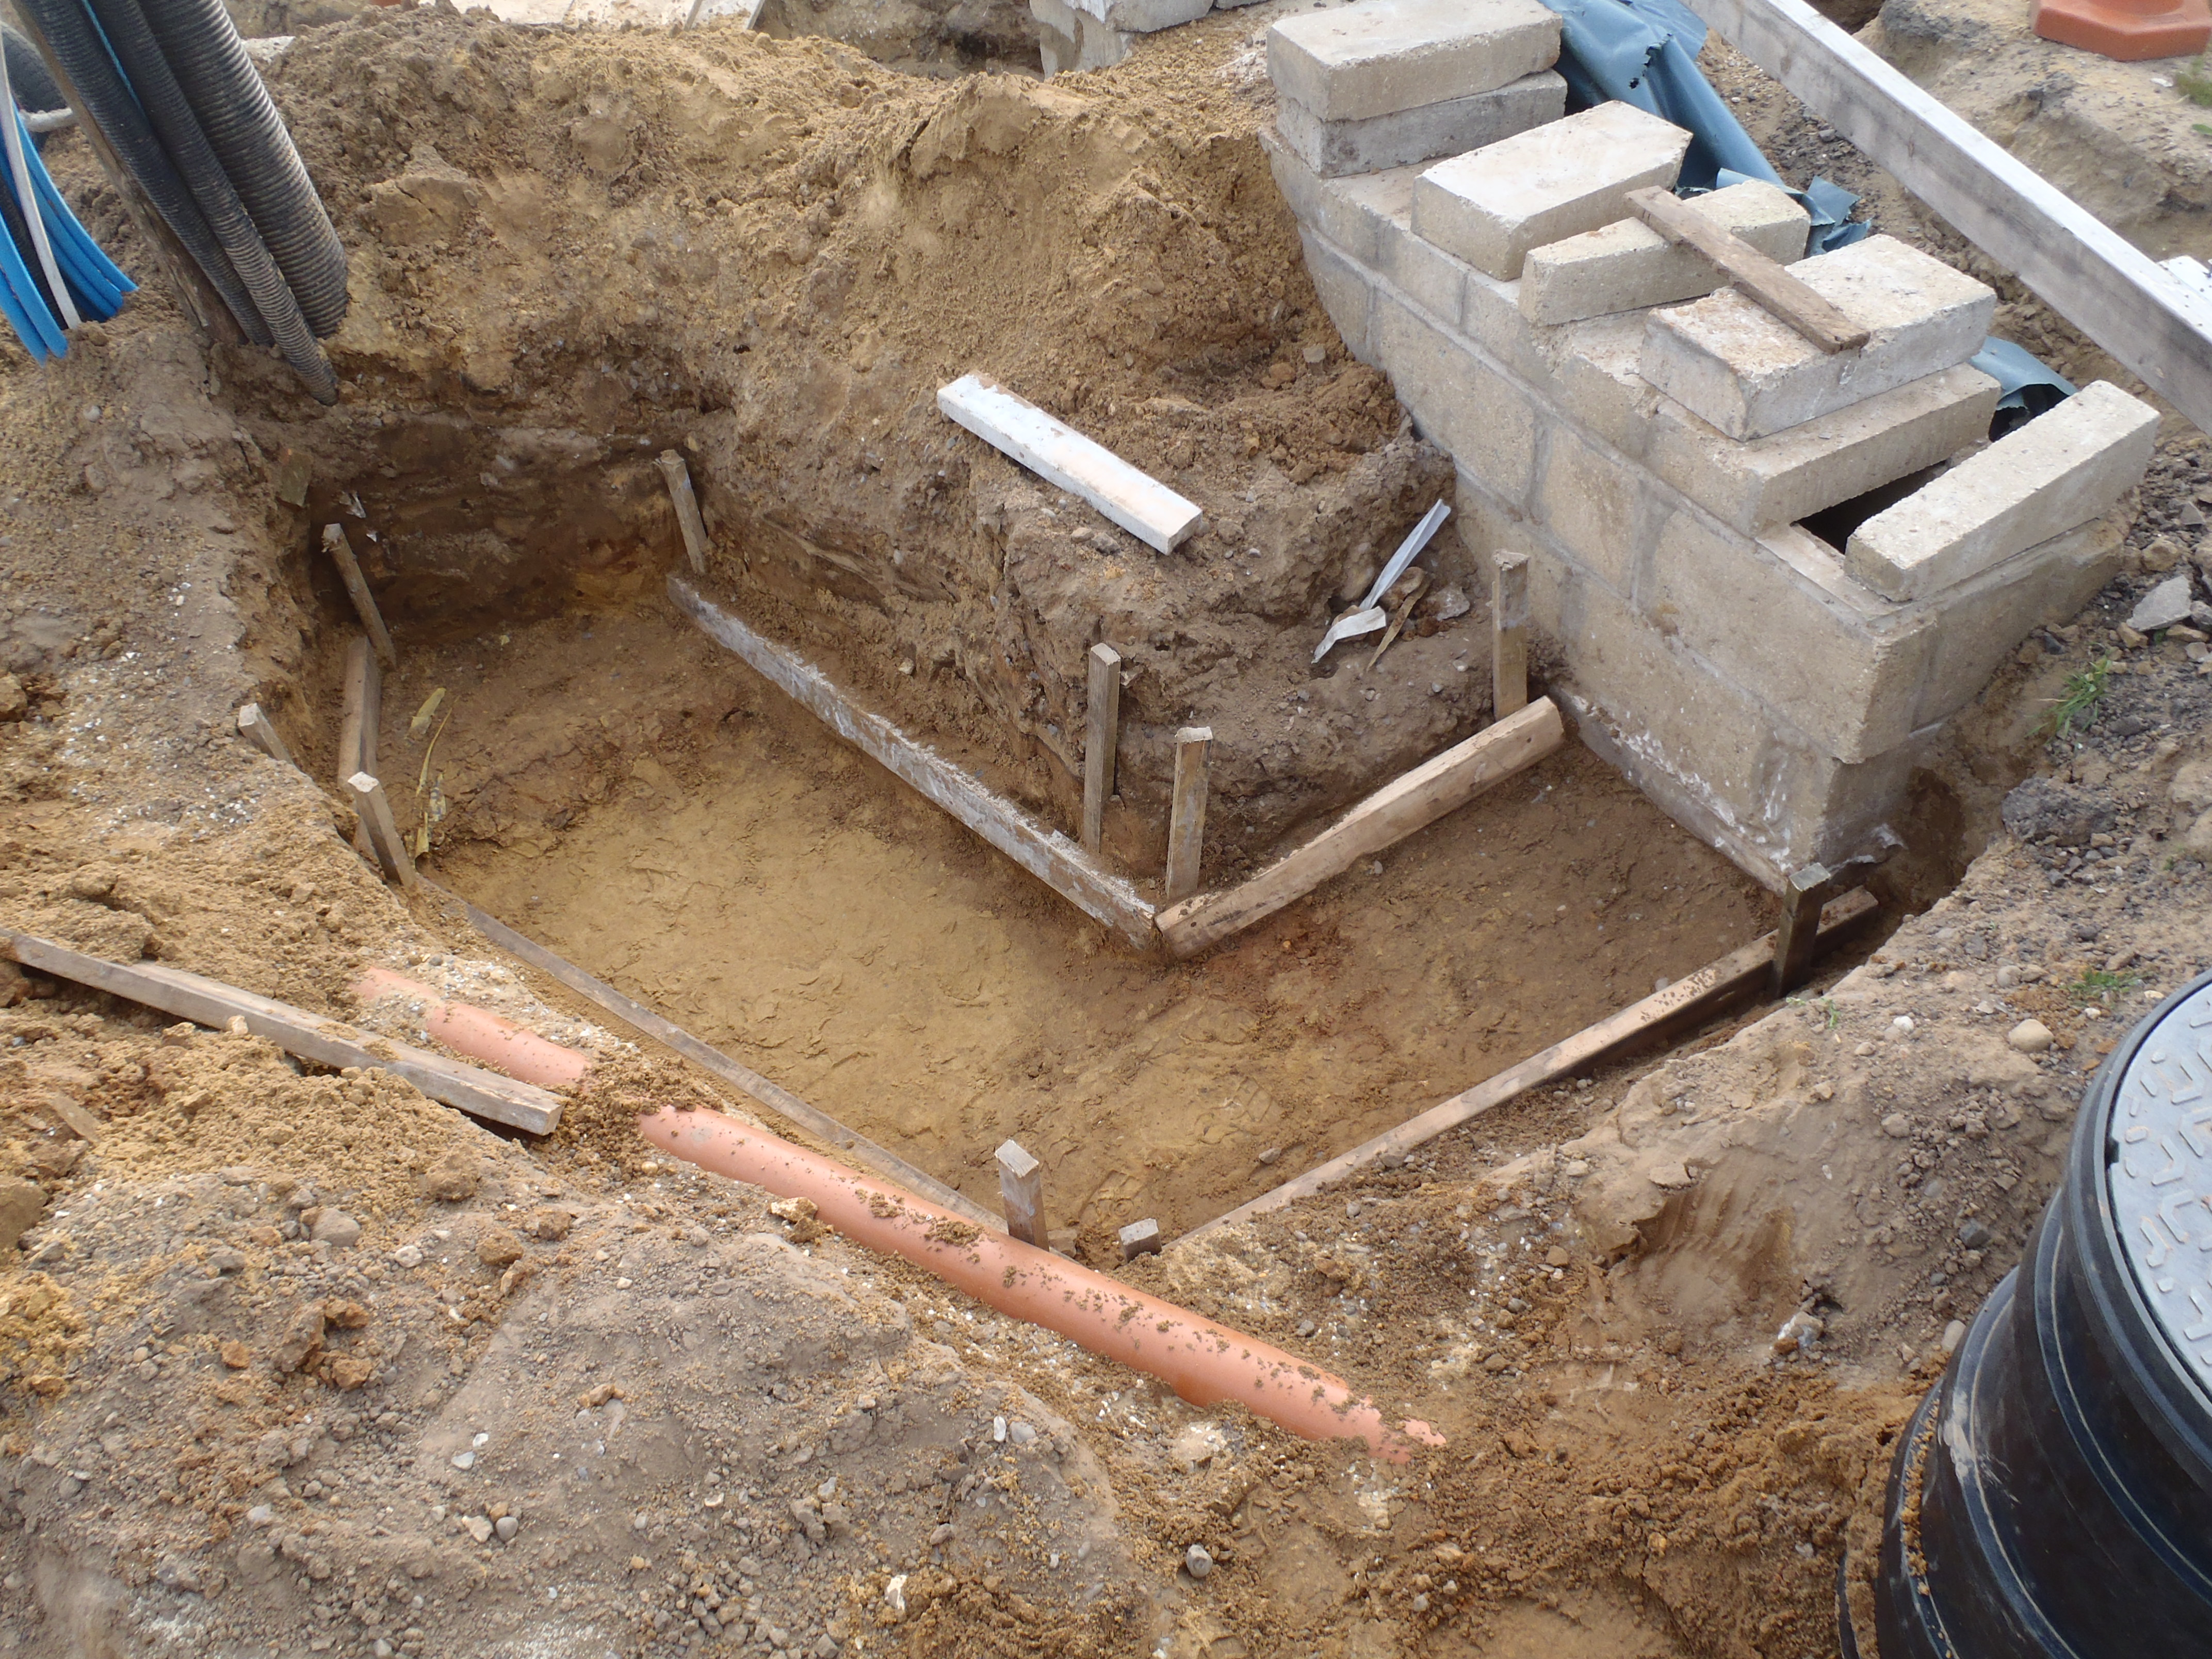
Earthtube-tunnel-foundation-shuttering
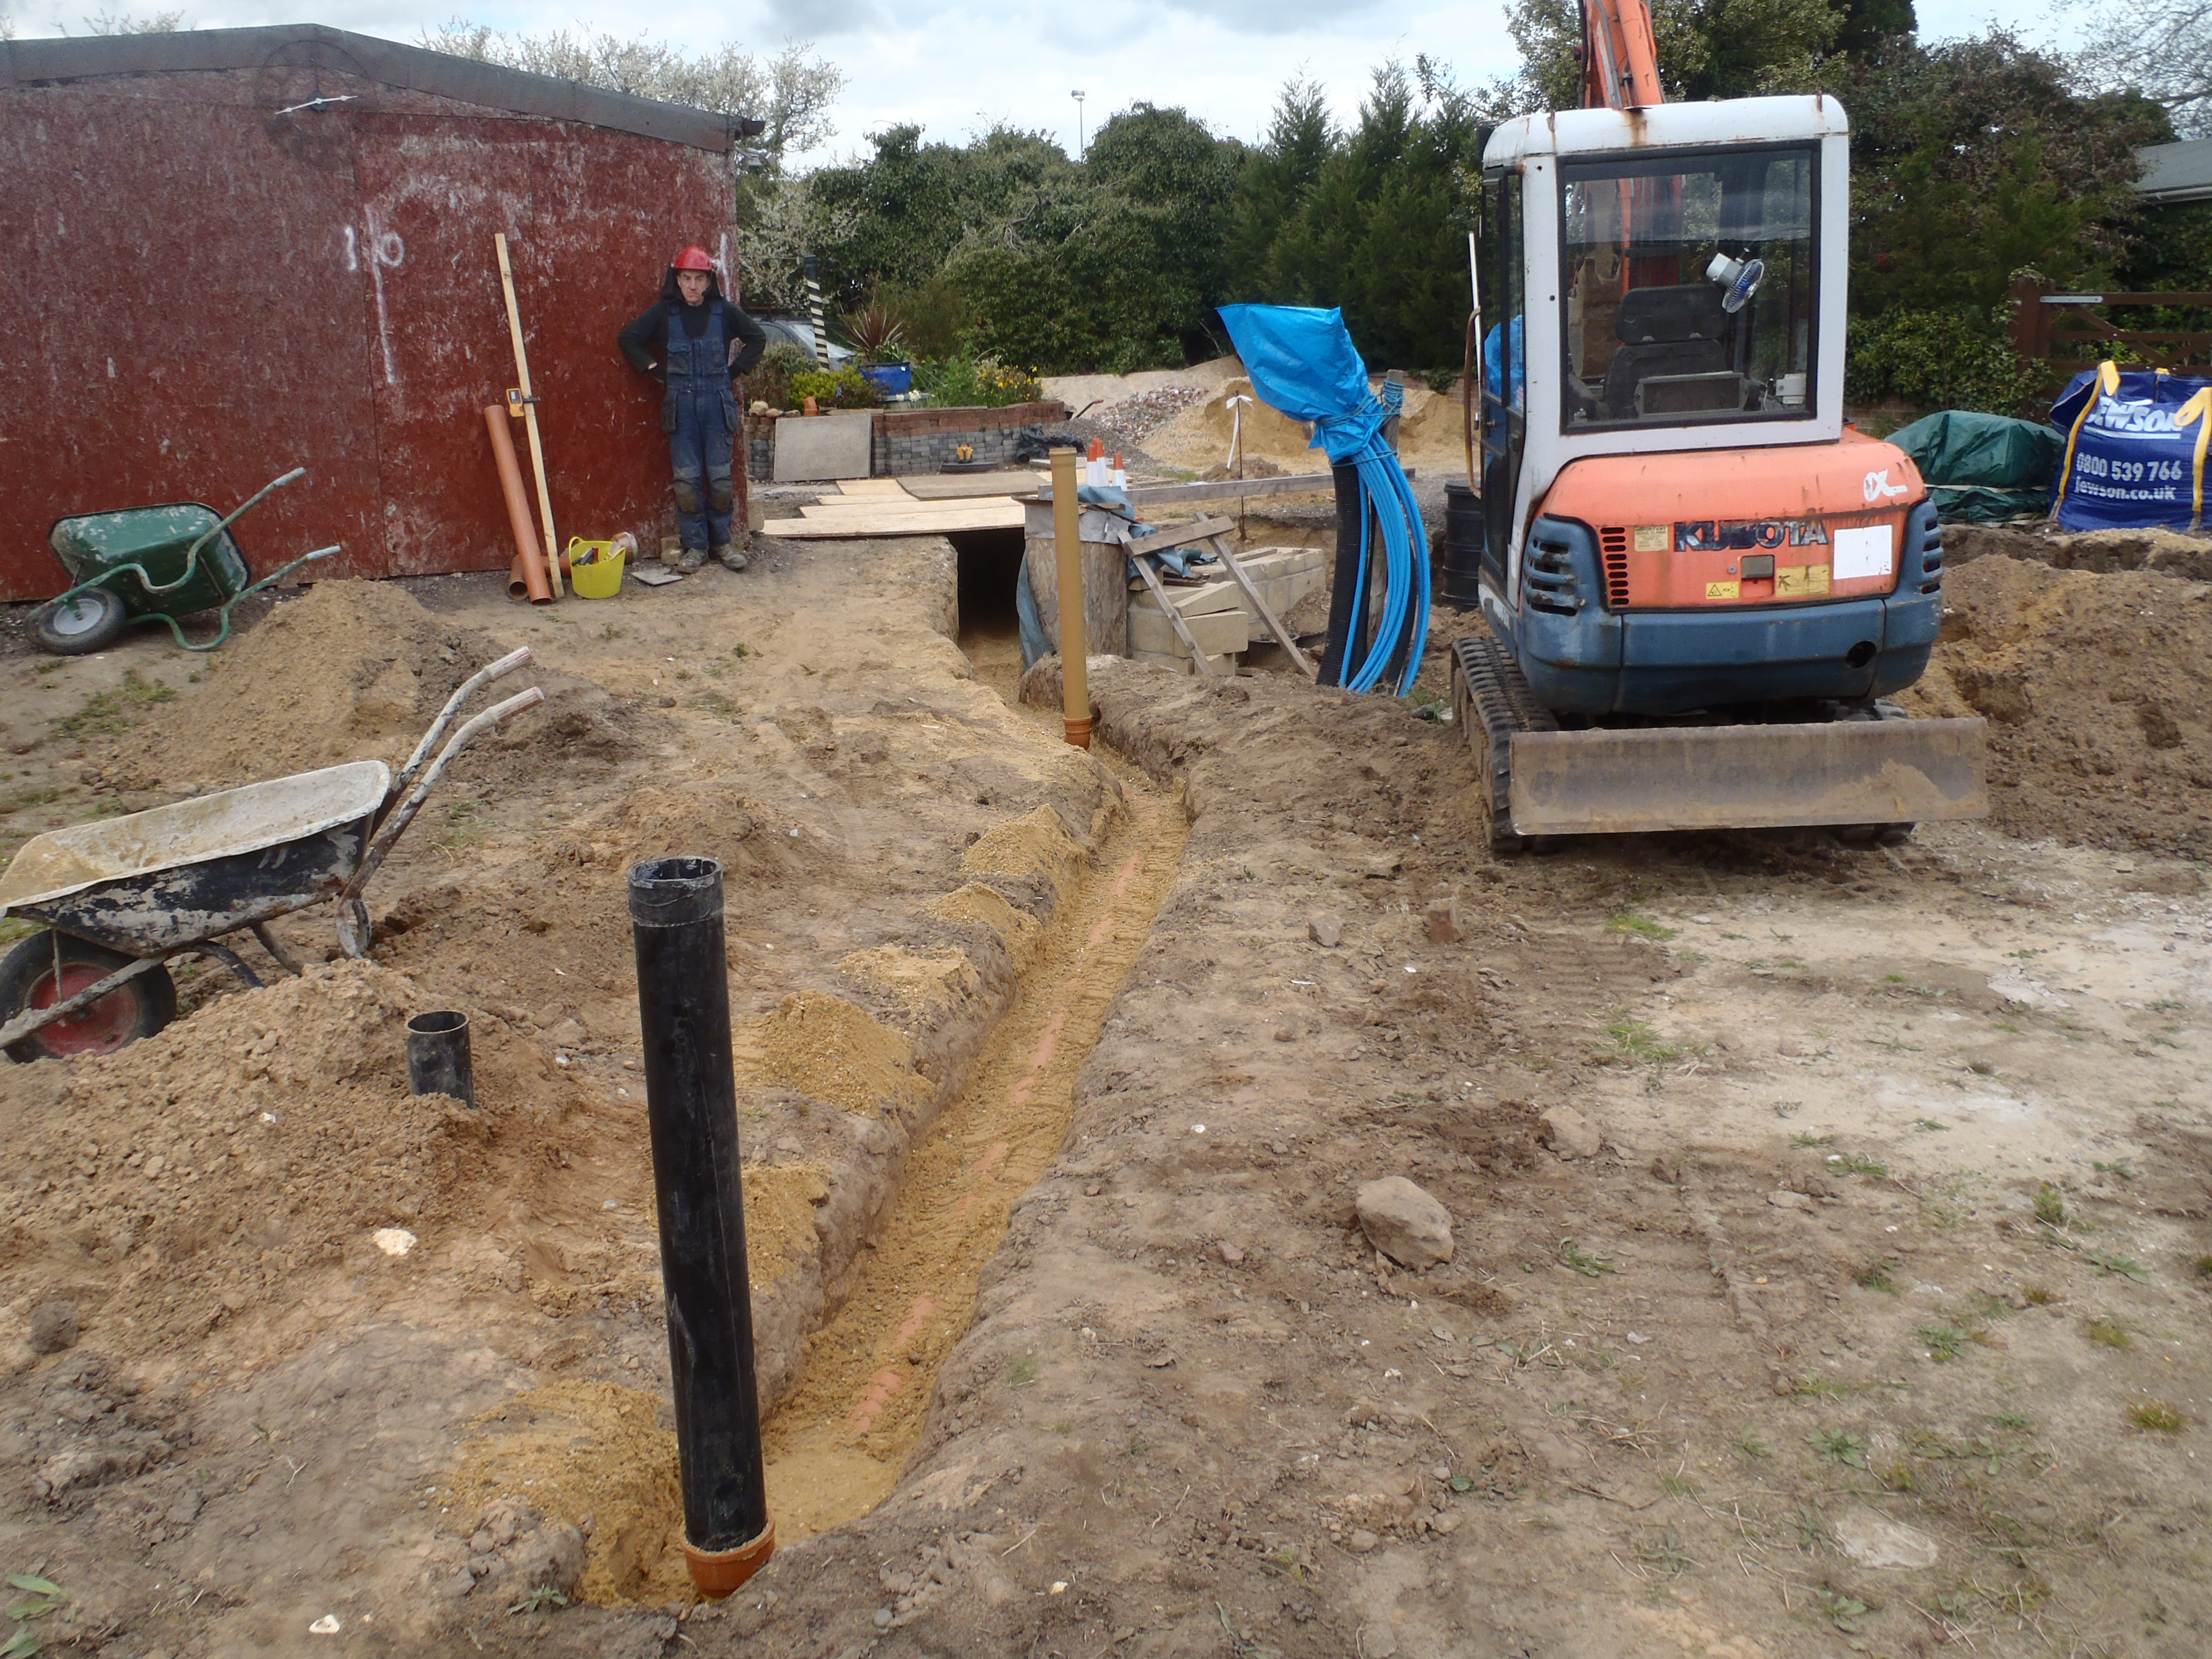
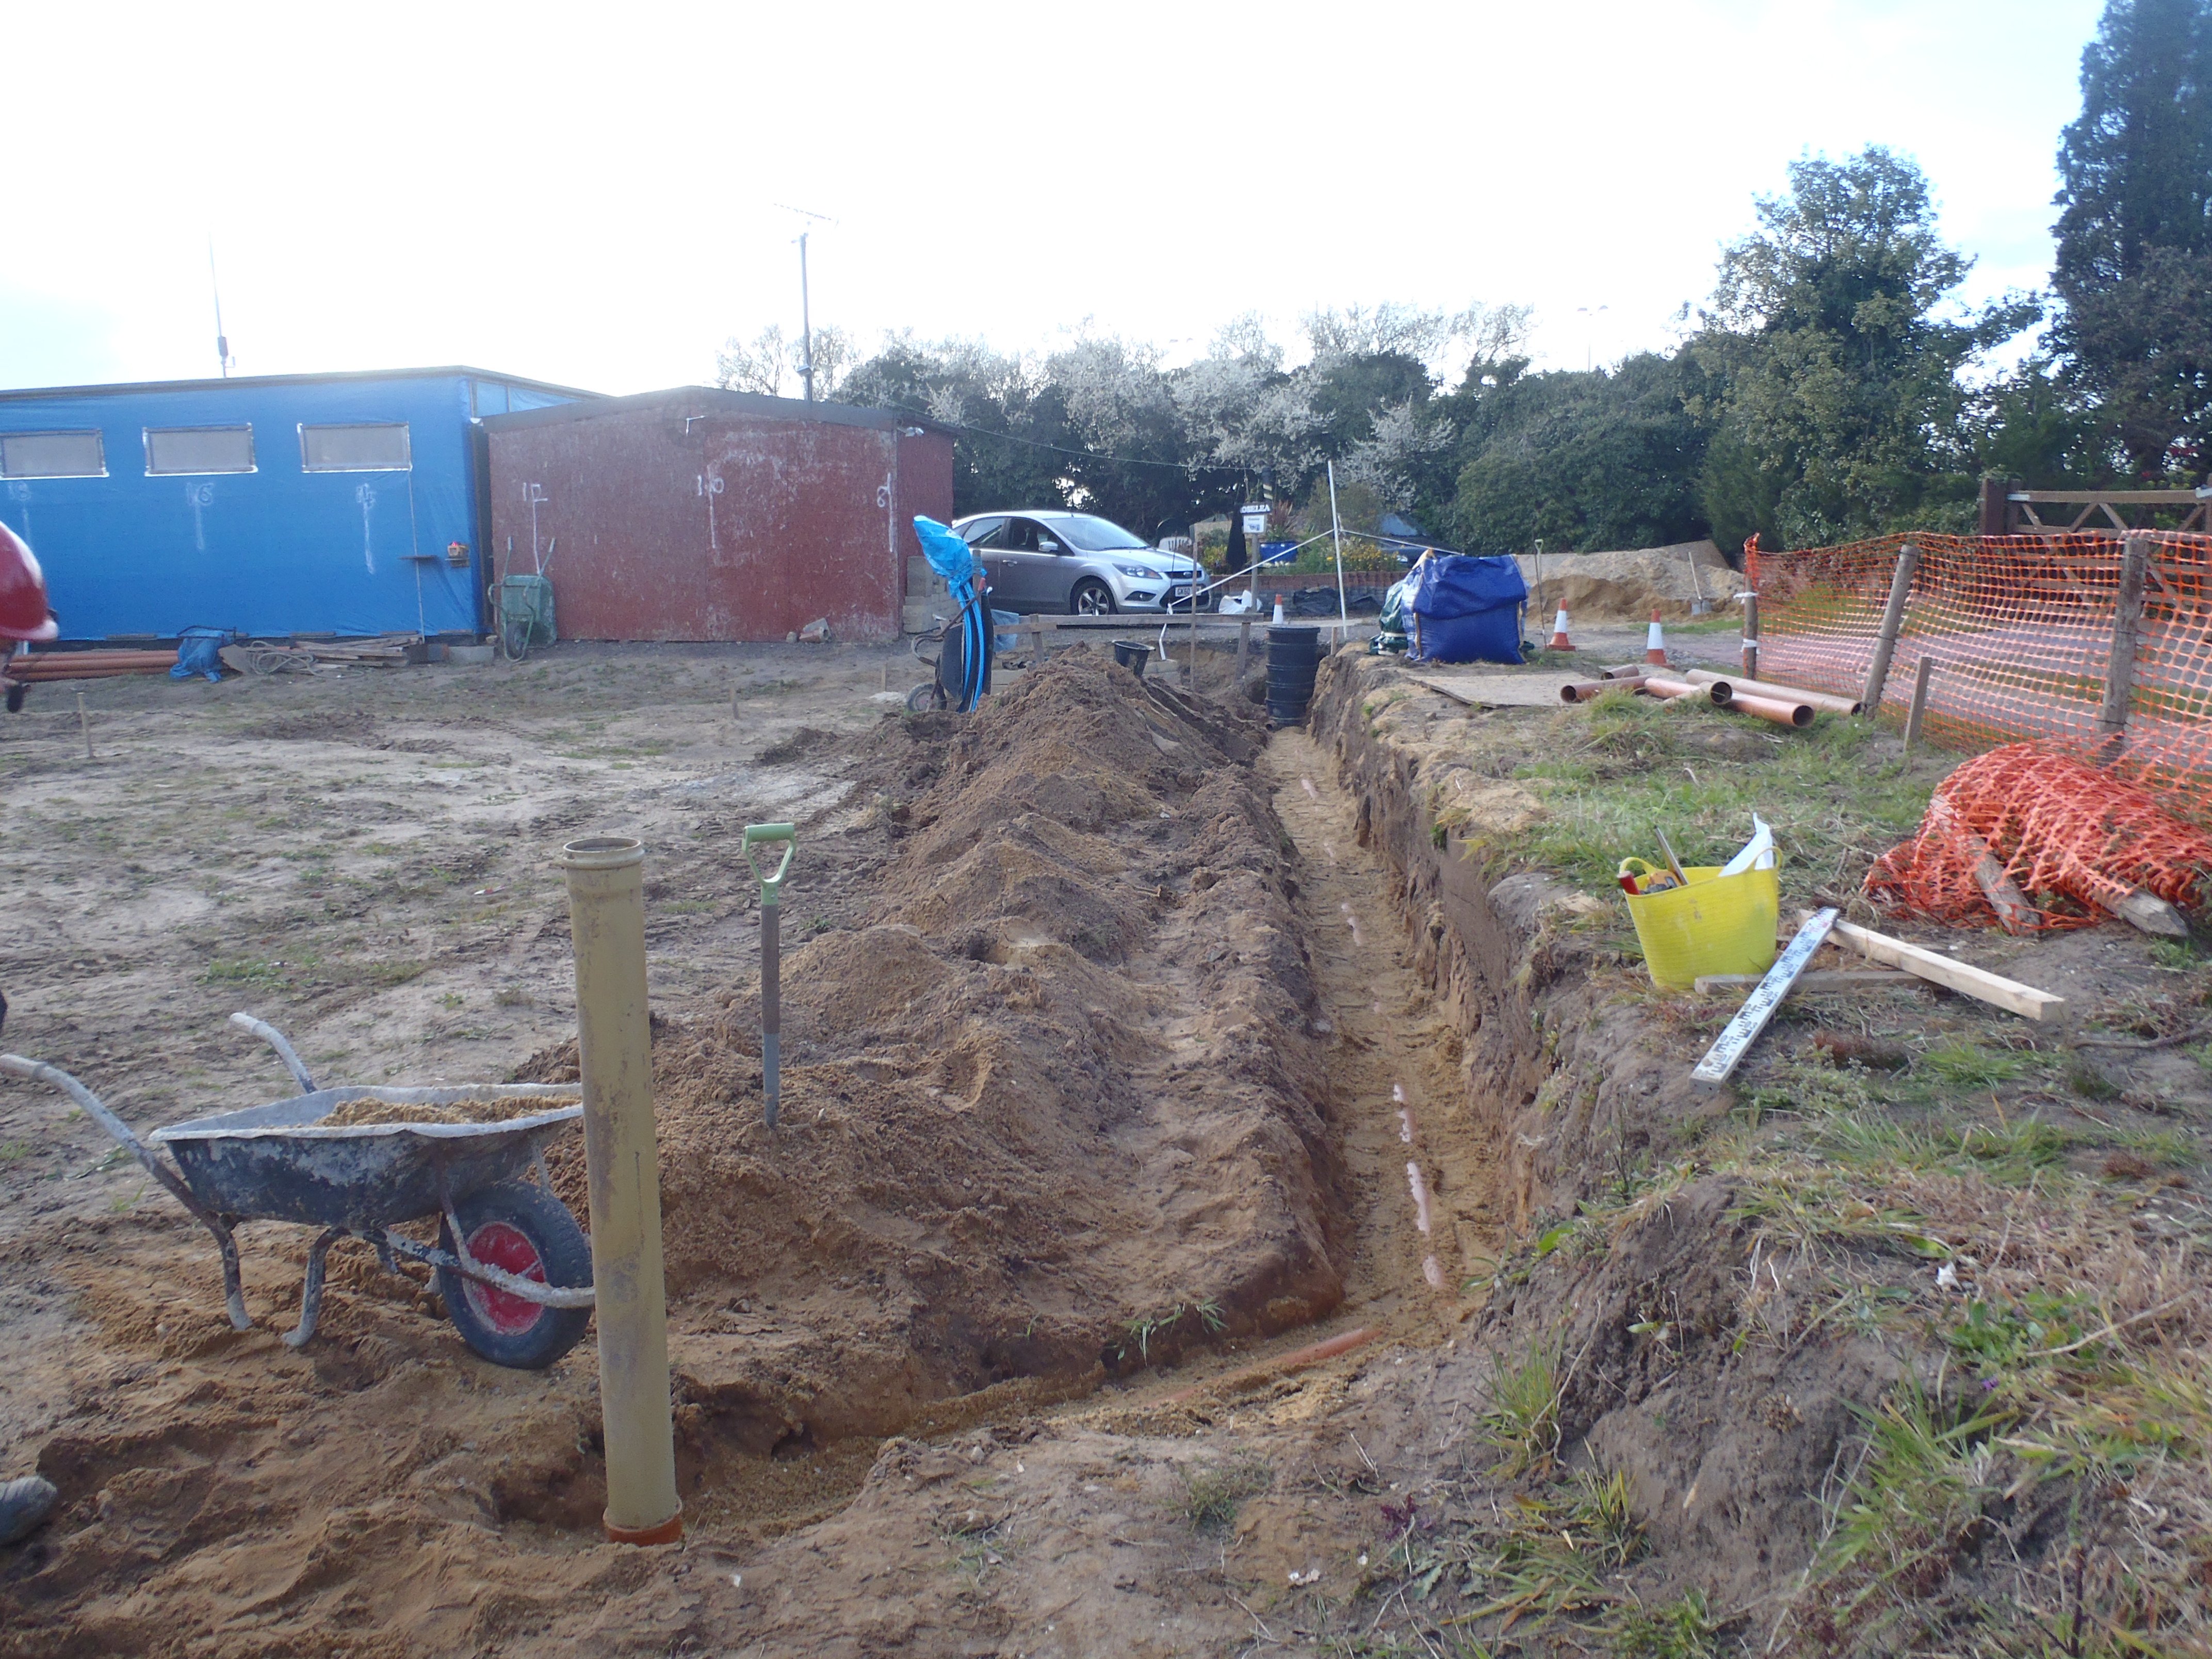
Tomorrow, we will make up a quantity of strong concrete and pour it in and
while that is setting, we can get on with filling the sewage trenches.