Today, we had our first delivery of the huge order of building materials we got coming, namely the 300 sheets of the 12mm plywood. It should have been 330 sheets but the builders merchants seems to have mixed up their numbers somewhere!
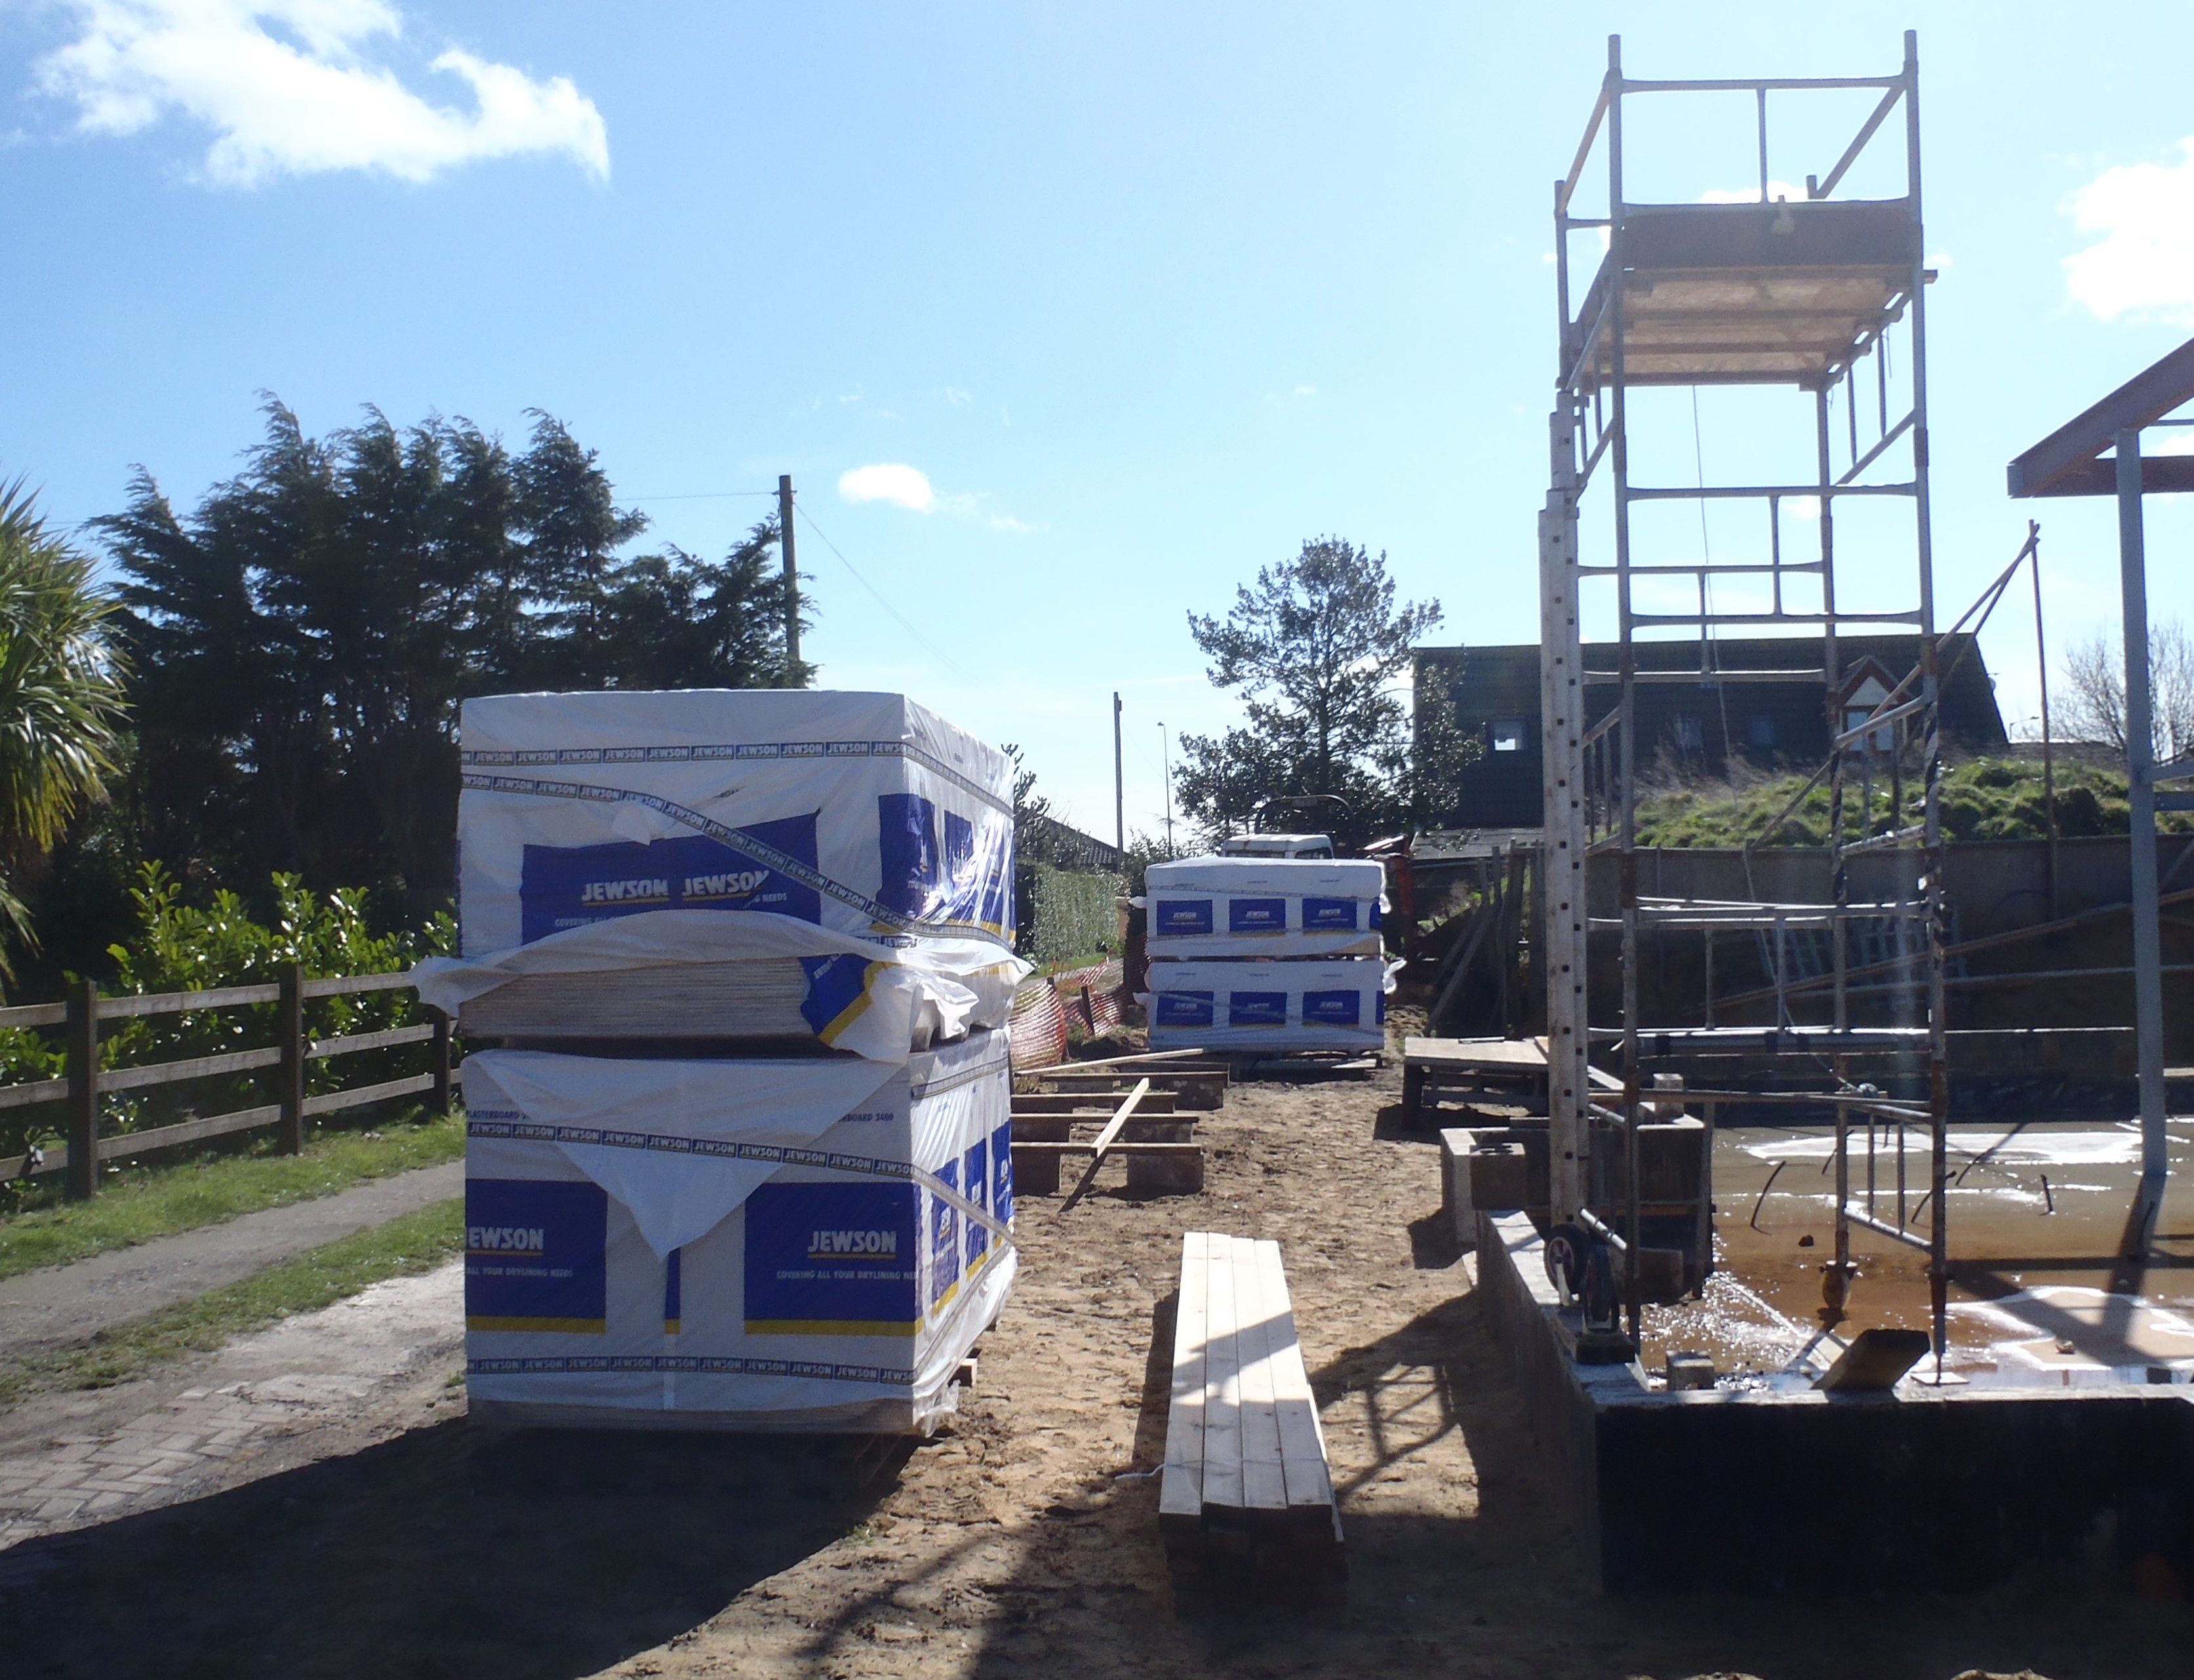
4-Pallets-of-Plywood-Delivered
We also got our 20 planks of the 100mm x 50mm treated timber come as well plus 2 bags of cement, so we can get on with the first job of bolting down a line of wooden footplates on top of the concrete block wall, all the way around the perimeter of our house. This first layer of timber will be seated on mortar and the height adjusted so that the height will be exactly the same everywhere.
But we need to cover up our two stacks of plywood first, making a miniature house framework for one of our stacks, and covered up with a sheet of tarpaulin.
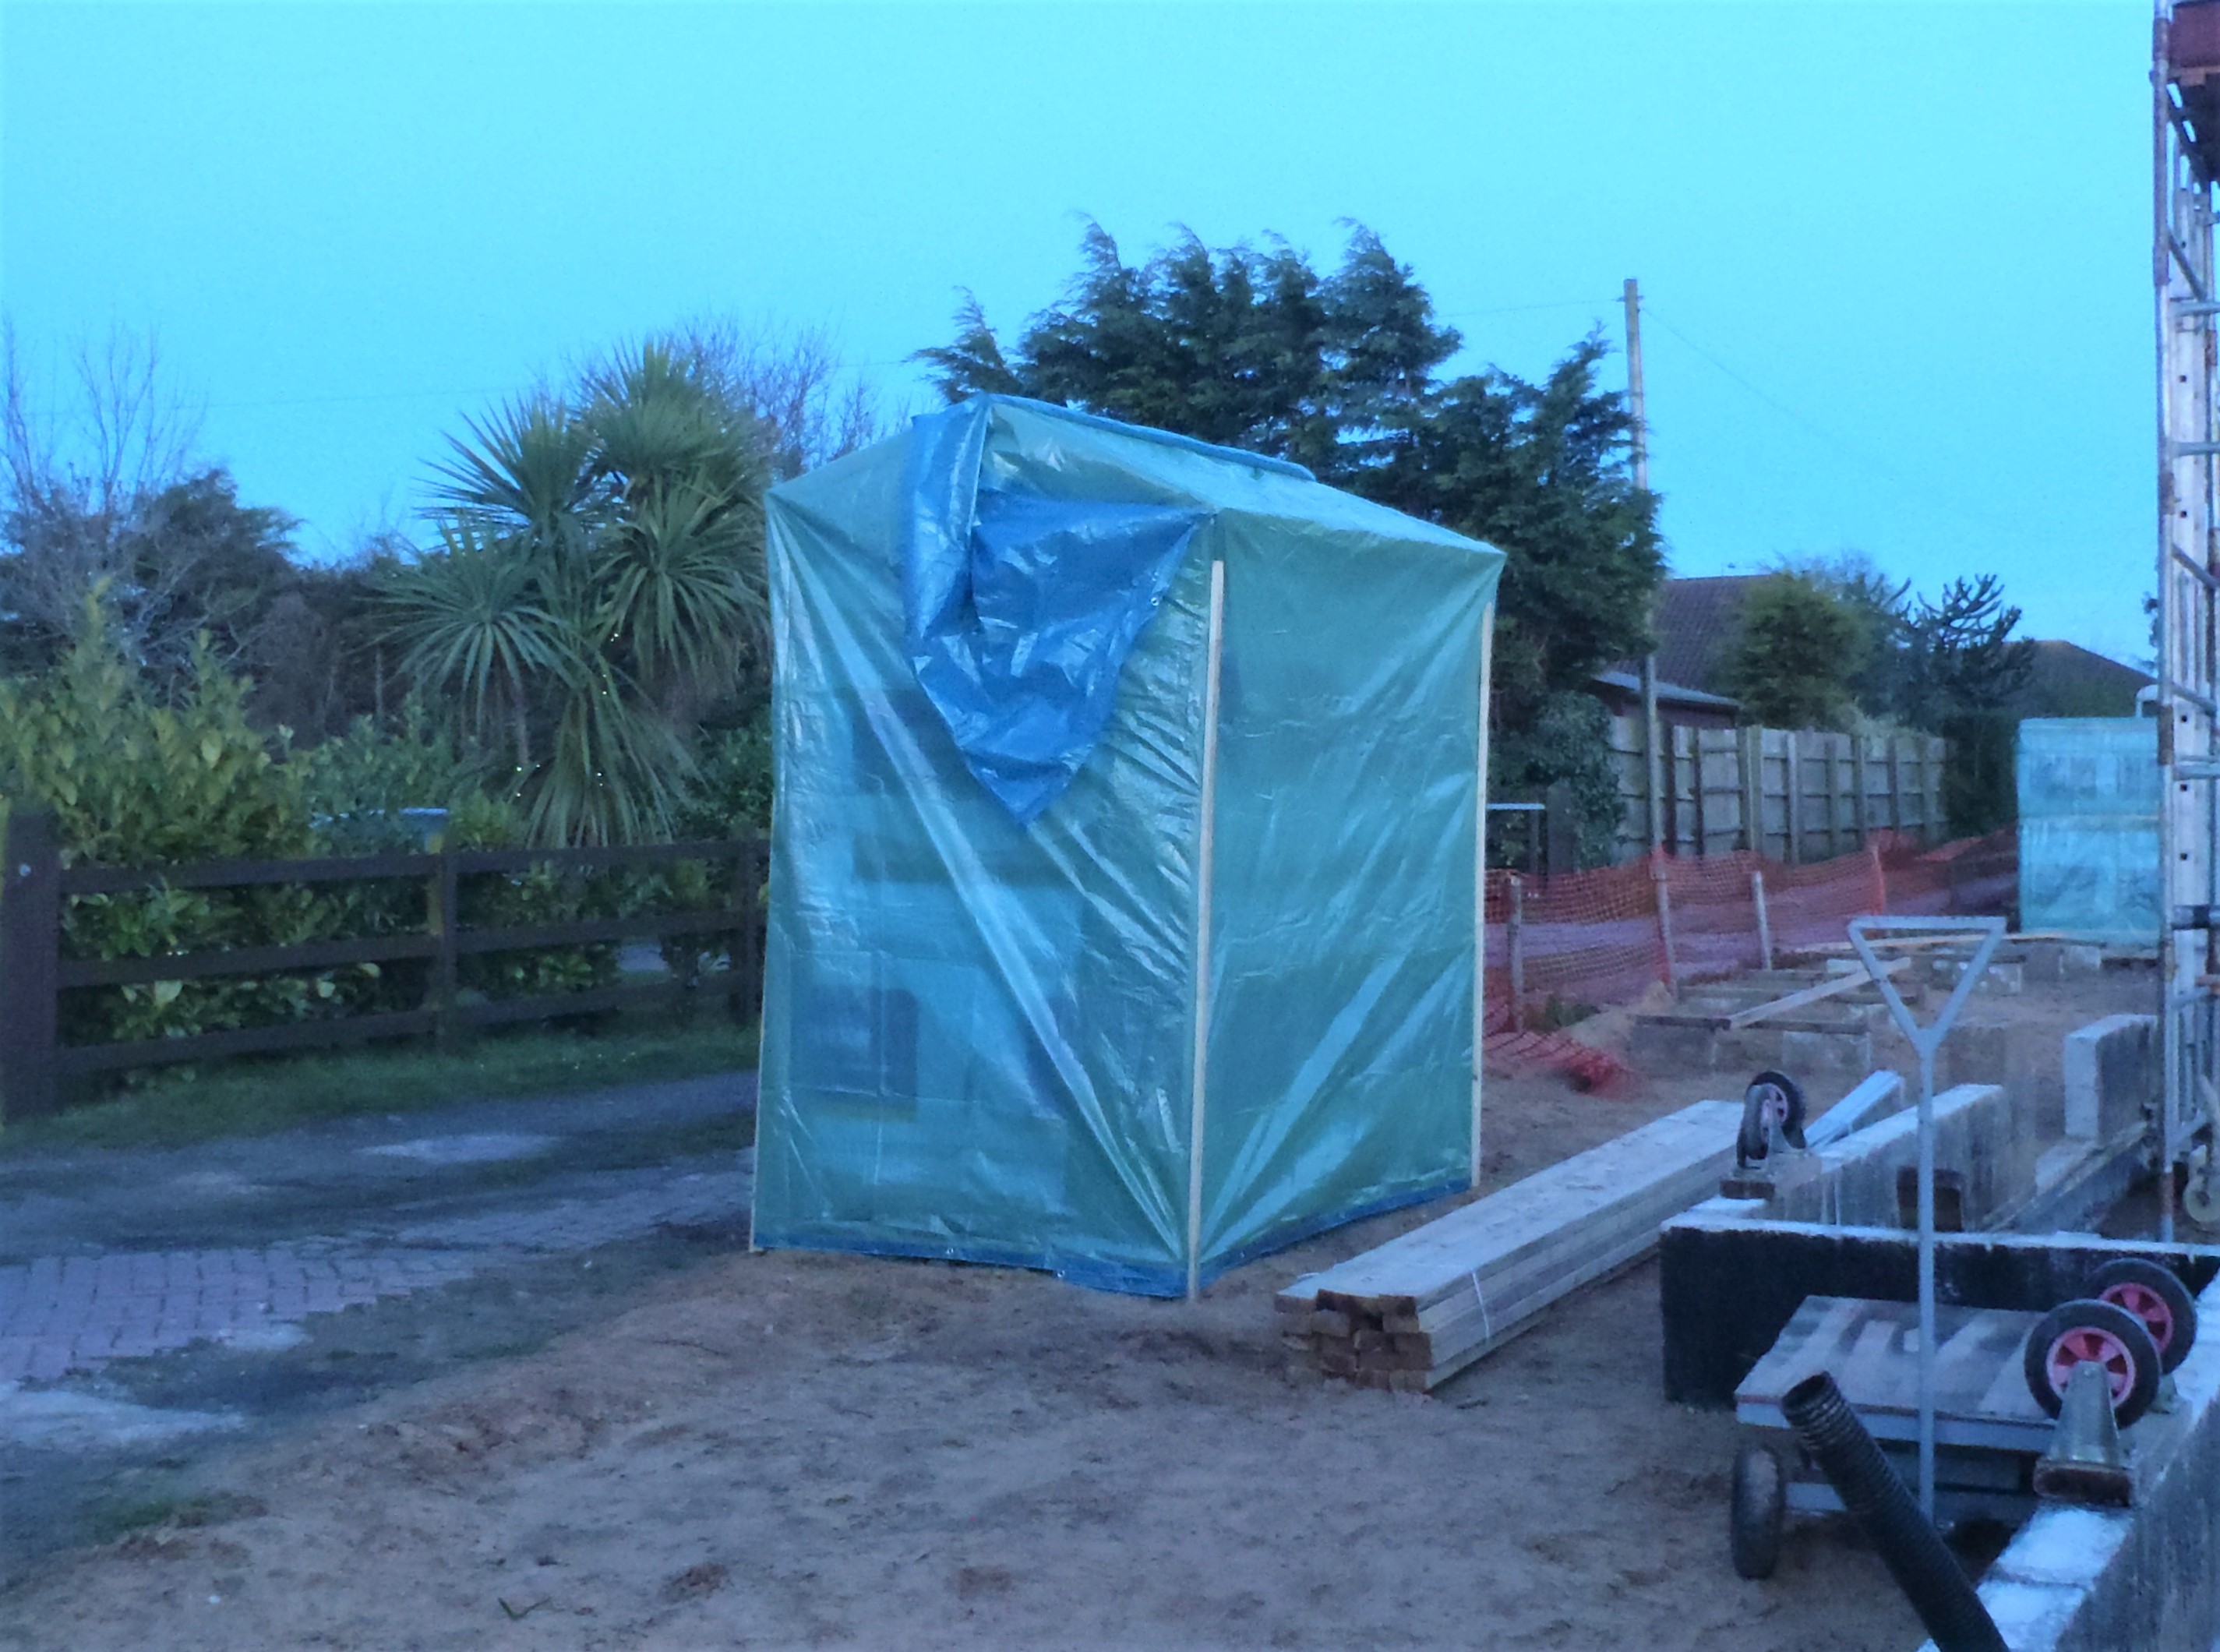
Pallet-of-Ply-with-Frame-and-Tarpaulin
The framework was constructed using our old stock of 63mm CLS timber pieces, cut and nailed together to provide a 8feet high by 5 feet wide structure and will have a separate “door” flap to allow us to grab some plywood when we need it etc.
The second stacks was wrapped up directly on the two pallets as these ones won’t be required until we have the roof rafters constructed and nailed into place later on.
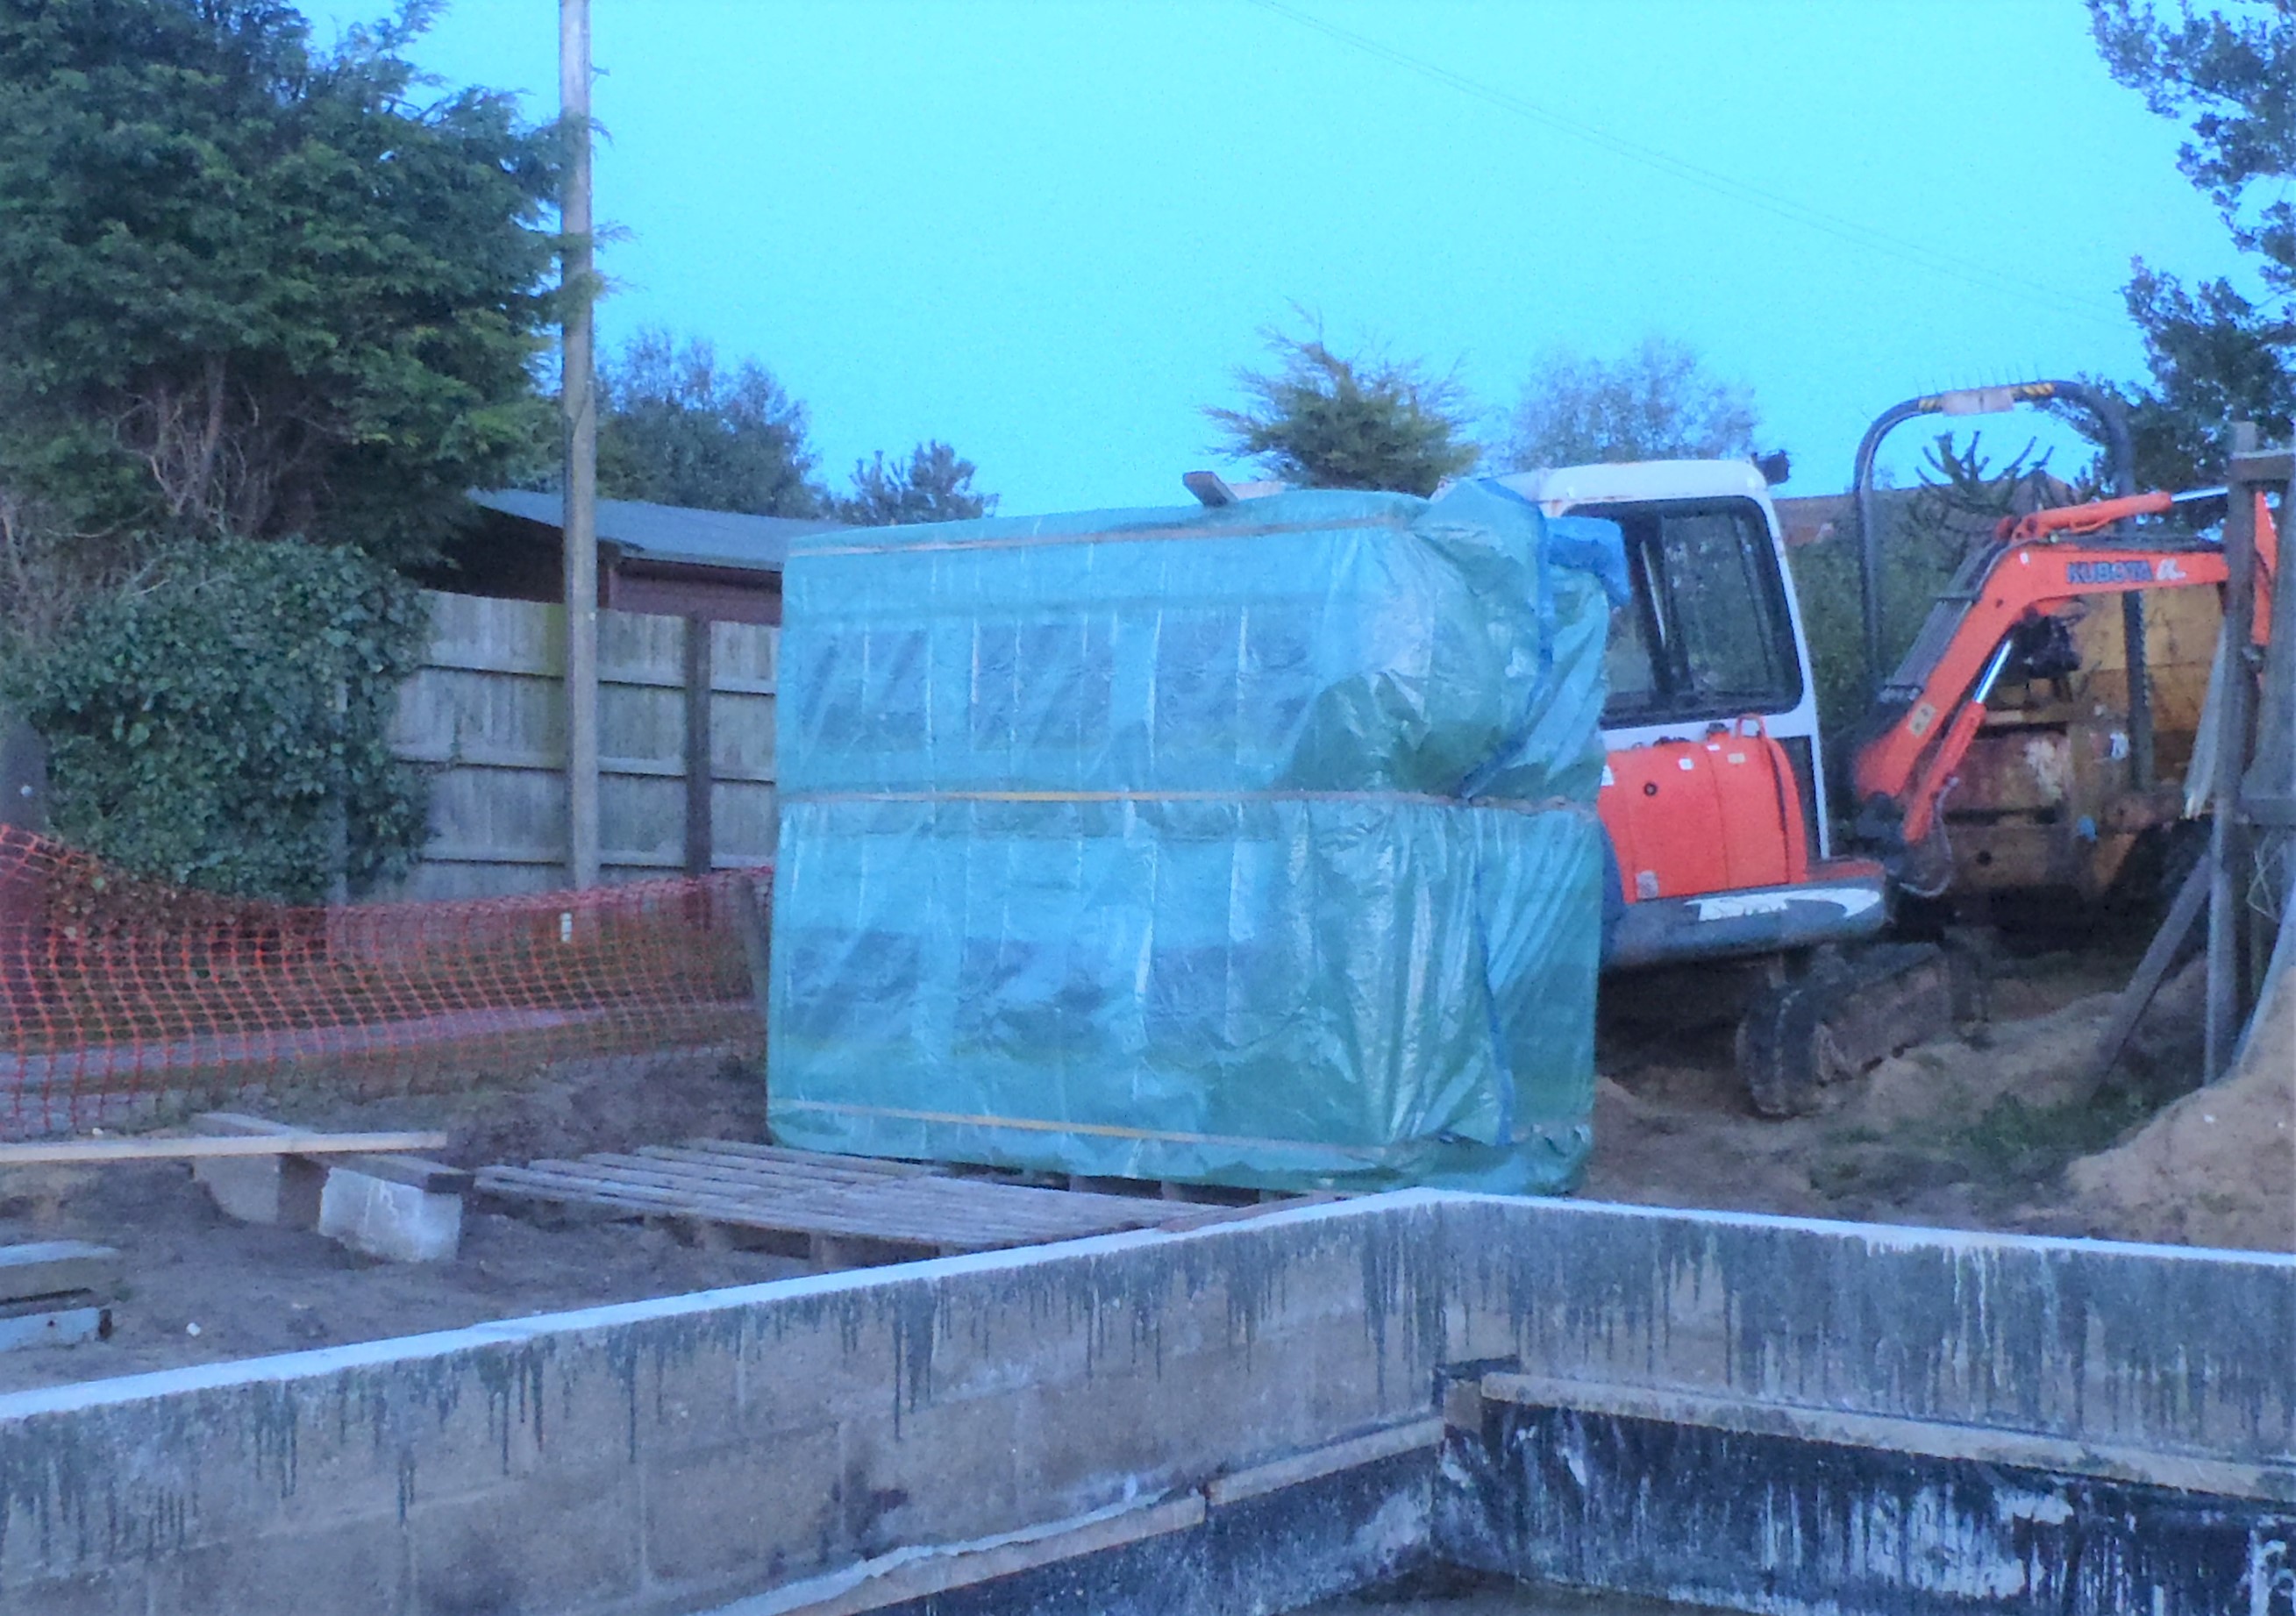
Pallet-of-Ply-wrapped-in-Tarpaulin
It was a chilly day with a stiff breeze but at least the sun was bright and strong!!