Blog

  • Bevel Ends Sliced in All Rafters for “I” and “E”

    This morning, we finished off the task of slicing the bevel ends on all the rafters that are filling in the final gaps in both ‘I’ and ‘E’ sections of the roof. Using our homemade Bevel Slicing saw, we did the ones that needed an angle of 46° and then onto the ones that needed a 52° angle.

    A-big-pile-of-rafters-for-I-E-with-Bevels

    A-big-pile-of-rafters-for-I-E-with-Bevels


    This is a total of 20 individual rafters of various sizes and now they are ready to be installed up into the roof structure, hopefully this will be tomorrow (today was a short working day).

  • All “E” Rafters Are Created!

    This morning, we finished off the preparation work for the rafters to fill in the “E” section of roof, by slicing the 32 degree ends off all the plywood webbing strips and then cutting the correct lengths to achieve the required combination to create our nine rafters. The last task was to cut either a wall notch or a steel I-Beam notch at one end of each rafter. We brought in eight polystyrene foam strips and finally tidied up the workshop just before lunch time.
    So after lunch, we proceeded to nail and glue all nine rafters in five sessions, having 2 rafters in the template at the same time and the odd one (the longest one) in by itself.

    A-big-pile-of-rafters-for-I-E

    A-big-pile-of-rafters-for-I-E


    We now have a large pile of completed rafters for both the “I” and “E” sections of the roof, with just the finishing task of slicing the beveled ends on those we haven’t done yet which we will do on Monday and then on Tuesday (weather permitting) we will then install all of them up into the roof framework and that would be all the “32 degree” rafters done – phew!

  • Remaining “I” Rafters Created and Next Section “E” Now Being Organised

    Today, this morning, we finished off creating the last five rafters that makes up the “I” section of the roof, to add to the six we made yesterday. we also sliced the bevel ends on those six rafters so they are ready to go up when we get a window in the bad weather coming this weekend.
    So after lunch, instead of going outside, we started organising the bits and pieces to make the next batch of rafters for the “E” section of the roof. We brought in 5 lengths of 63mm CLS timber and 6 lengths of the 89mm CLS plus also 22 plywood webbing strips, and finally a 2 trugs full of various noggings too!
    We began preparing the CLS timber to put on the 32degrees ends, the bird’s mouth notches and cut them down to the required lengths.

    Wall-E-Flanges-ready

    Wall-E-Flanges-ready


    We now have 9 bottom flanges and 10 top flanges all measured and ready for the next stage of manufacture after we have prepared the webbing plywood strips that we will do tomorrow.

  • Rafters Created for “I” section

    We finished off preparing the parts to make up the rafters to complete the “I” section of the roof this morning. This included cutting the Bird’s mouth into four of the top flanges (the 89mm CLS timber), and then slicing all CLS timber down to the required lengths, bringing in 12 polystyrene foam strips and finishing off the morning by cleaning up all the saw dust rubbish everywhere.
    After lunch, we started the process of creating the rafters, in pairs in the template and we managed to do 3 pairs by the end of the day. We stopped slightly early as we needed to fill up the glue dispenser bottle but we also needed to make a stirring tool to mix the glue inside the 25 litre bottles to make it smoother and run without lumps and blobs. We took a thin strip of metal and twisted it in the vice and bolted on a shaft and proceeded to spin this homemade contraption inside the bottle. It got bent a bit more by the force of working in a very stiff liquid! But the end result was a much smoother and easier running liquid and we filled our dispenser nice and quick!
    Tomorrow, we will finish off the remaining five rafters in the morning and then get the finished ones sliced with their bevel ends and installed outside onto the roof.

  • “M” Section is Complete and Preparation Work Begins for “I” Section

    We cut the bevel end on the remaining rafter left-over from yesterday, namely M17. We are still trying to work out why our Bevel Slicing Machine is trying to pull off line but we have managed to subdued this tendency and hopefully for the future slicing tasks, it will behave itself!
    So we took out the four completed rafters to finish off the “M” section of the roof, filling the gap over the Great Room’s roof.

    Rafters-M14-to-M17-Installed

    Rafters-M14-to-M17-Installed


    Then after lunch, we started the preparation work of getting all the webbing and flanges cut and sliced ready to make the rafters for the “I” section this time. We brought in 24 strips of the plywood webbing, plus 7 lengths of 63mm CLS and 6 lengths of the 89mm CLS timber. All the plywood strips has been sliced with their 32 degree angled ends plus also the notches in appropriate ones where there are either to fit over a wall or the steel I-Beam.

    We finish off the day by chopping the 32 degree ends on all the CLS timber lengths and on Thursday, we will cut these down to their proper lengths.

  • M1 through M5 Rafters are Up and Installed

    Today we approached the task of slicing the bevelled ends on our nine rafters that are filling in the two triangular gaps in the “M” section of the roof. This morning, we managed to slice M1 with the 47 degree angle for the bevel end ok but it proved more and more difficult to do the next ones (M2 to M5). We ended up having to finish off the operation using the power planer to remove the excess material.
    At least, we now have up and installed into the roof framework those set of rafters by mid-afternoon.

    Rafters-M1-to-M5-installed-It-was-nearly-dark-when-photo-taken

    Rafters-M1-to-M5-installed-It-was-nearly-dark-when-photo-taken

    We decided to bring everything back in as the day was drawing to a close and we wanted to tackle the problem with our Bevel Slicing Machine.

    We replaced two small blocks on the back edge of the saw base with one continuous long strip which is anchored at one end and allows the other end to swivel in and out. This seems to improve things but still very puzzling to why this is happening in the first place. We finally concluded the day with M14, M15 and M16 rafters having their bevel sliced and in the morning, we will do M17 and get them outside, up and installed. We will also take a closer look inside the saw mechanism to inspect the joints and metal plates to make sure things are still ok.

  • The Nine Rafters to Finish Off the “M” Section Are Created

    Today, we finished off preparing all the parts to build the nine rafters that will fill in the two ends of the “M” section of the roof. The CLS timber were chopped down with their proper 32 degrees angled ends at their required lengths.
    Then, with all the left-over pieces of the timber, we made more noggings for future manufacturing of more rafters and finished off the morning with a general clean up of the workshop, ready for the gluing and nailing of the rafter in the afternoon.
    In the afternoon we assembled all nine rafters, starting with three at once!

    Doing-3-at-once

    Doing-3-at-once


    All nine rafters are now created and sitting drying and setting ready to be installed on Monday. Also, on Monday, we will slice the bevel ends on all rafters too and get them all up by the end of the day – we hope!

    Nine-M-Rafters-done

    Nine-M-Rafters-done

  • The Next Nine Rafters Are Being Prepared for the M Section of Roof

    This afternoon, we started the task of preparing all the bits and pieces that makes up the nine rafters (five from M1 to M5 and four from M14 to M17) which fills in the two triangular sections of the M roof area. We pulled out 24 strips of the plywood webbing from our outside storage stack and proceeded to organise and slice the 32degrees angled ends on them all. Next came the job of cutting the clearance notch on one end of each set (this to allow the rafter to fit up and over the steel I-Beam).

    Finally, to finish off the day, we collected five lengths of both the 89mm CLS and 63mm CLS timber, and got them in our workshop, ready for chopping the angles on the flanges on Saturday. We also organised which of the nine rafters will go into our assemble template for construction and came up with four individual sessions to create all nine rafters, hopefully all in one afternoon!

  • Last Two Rafters in this Batch of Eight Is Now Up and Installed

    This morning, we took out the last two rafters of the batch of eight we had made this week. They went up just fine.

    Rafters-M6-to-M13-installed-1

    Rafters-M6-to-M13-installed-1

    Rafters-M6-to-M13-installed-2

    Rafters-M6-to-M13-installed-2


    Now we have also measured the necessary data for the two filling in areas on either side of this block of eight rafters in the “M” section of the roof. These measurements are now in our spreadsheet and we can start on preparing and building up the heap of separate elements for making the rafters.

  • The “M” Section is Half Done

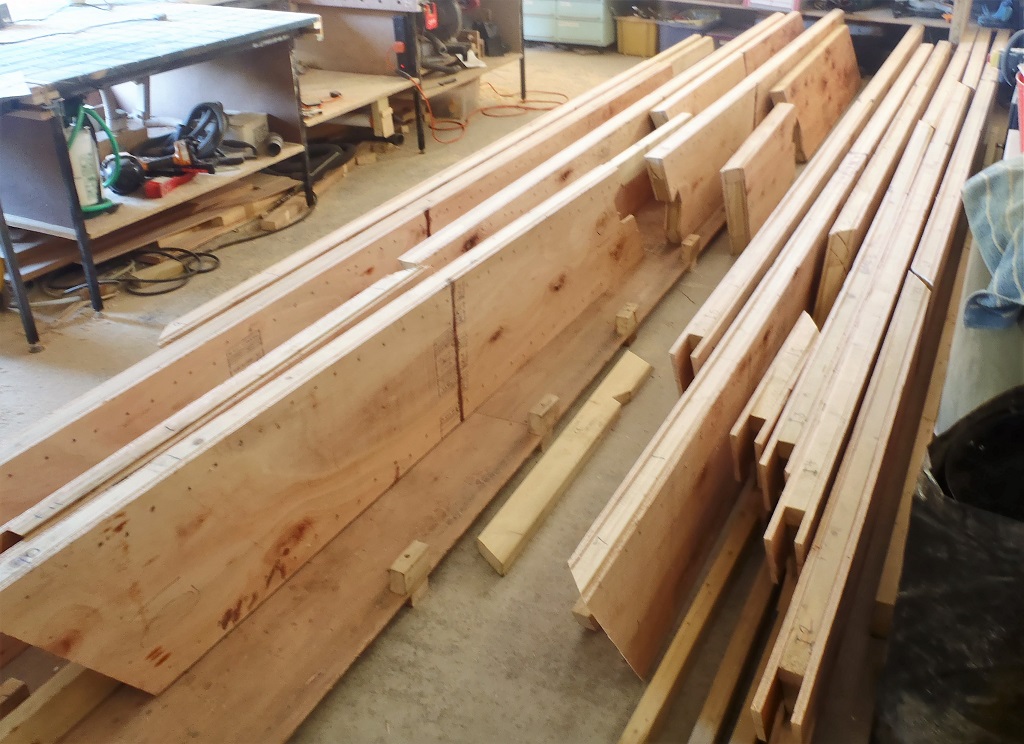
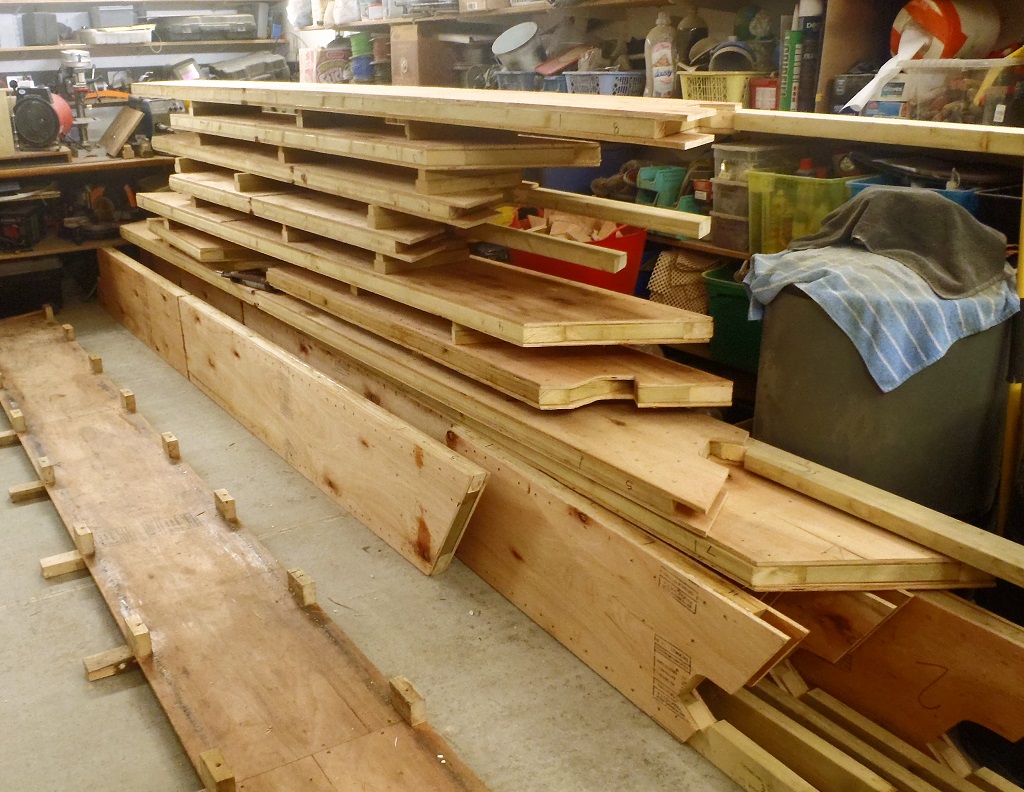
    This morning, we hauled the six rafters we completed yesterday outside, ready to be installed later on making room in our workshop, in order to complete off the two full sized rafters left over from the batch of eight we had to do.

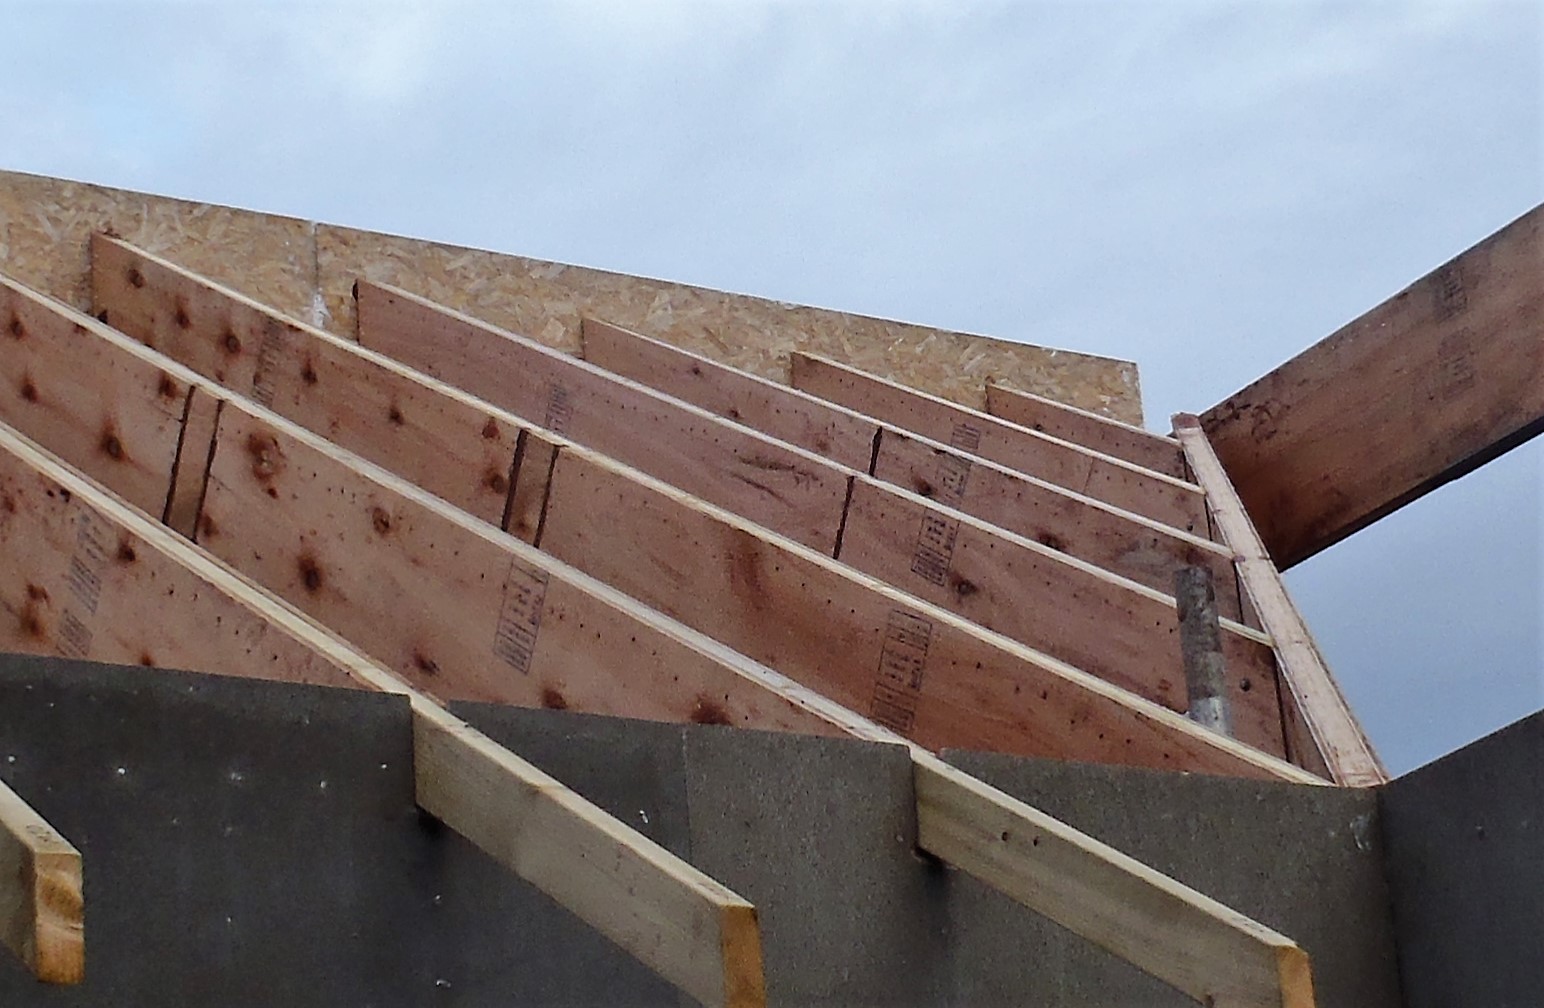
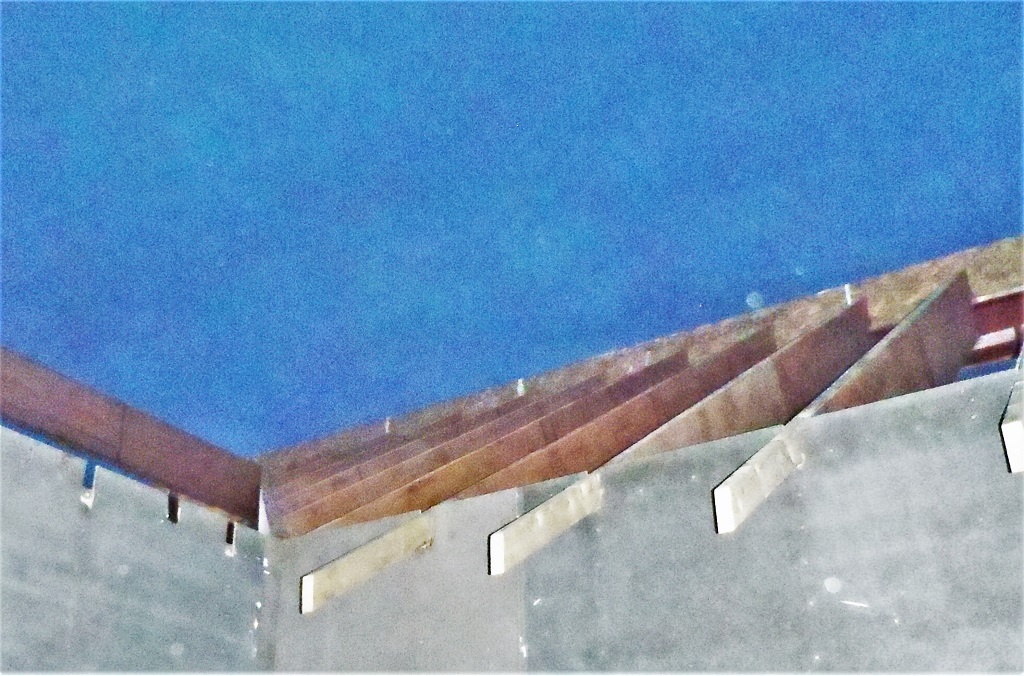
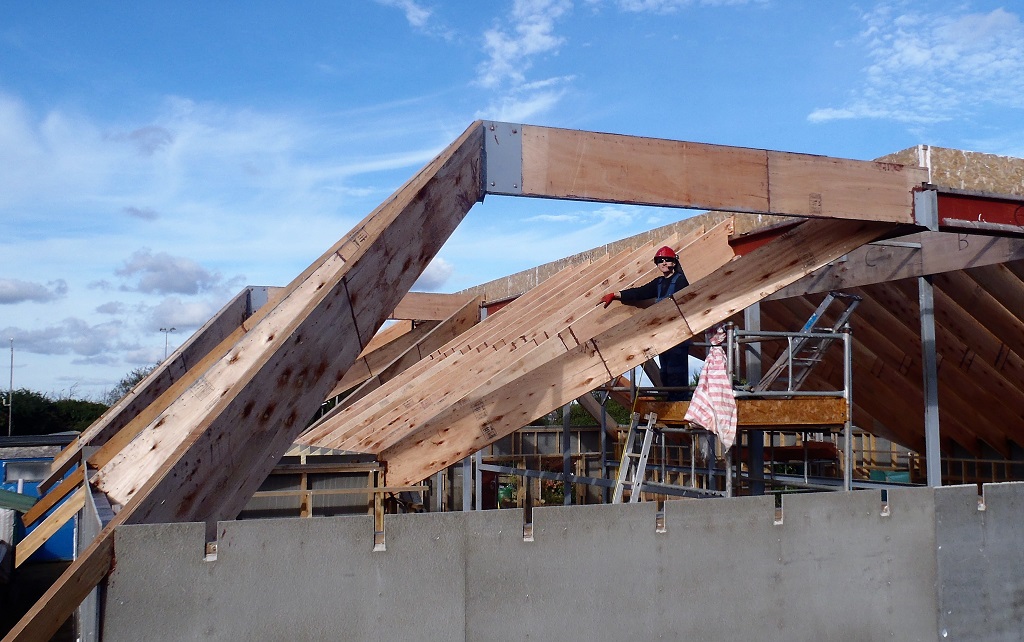
    So after lunch, under a threatening sky of possible rain, we proceeded to hoist up and install the six rafters starting at the M6 point (at the corner of the L wall and M wall) and went towards the Great Room. All six went up without much difficulty and all before the threat of rain which actually never arrived after all!! But, despite that, we didn’t want to risk our two recently created rafters we did this morning, just in case it did actually rain and weakened the glue joints while it was still curing and drying.

    So tomorrow, we will put up those two rafters and carry on with the job of measuring the two triangular fill-in areas on either sides of the eight rafters and retire back to the workshop to make a start on building those rafters of varying sizes for this “M” and also for the “E” and “I” sections of the roof too.