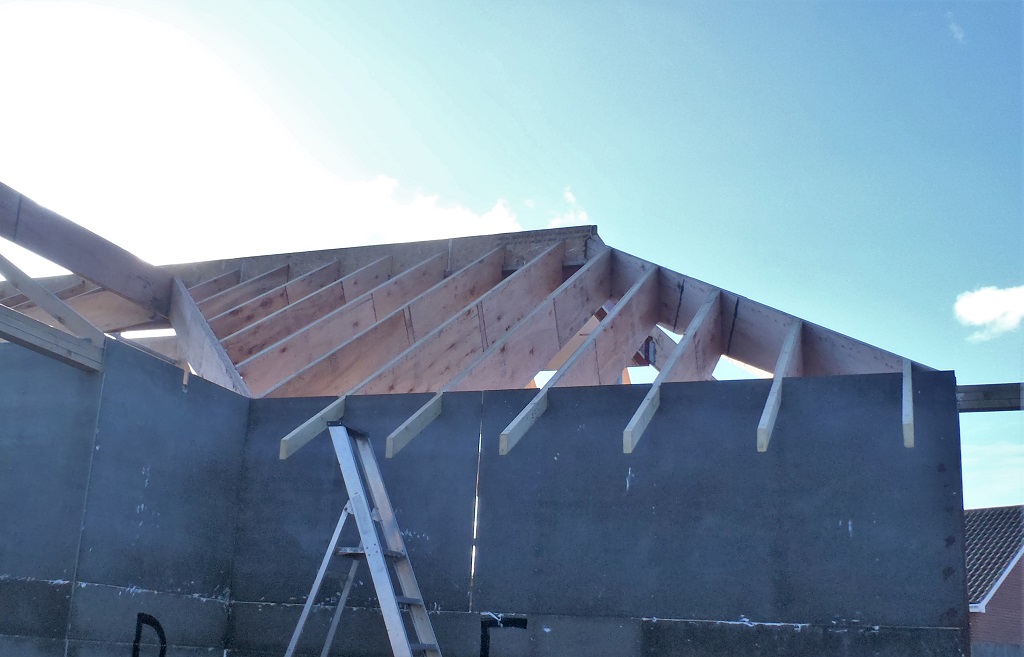
Today, we finally got the eleven rafters up and installed in the Front Extension portion of the building, completing six rafters on the “B” section of the roof and a further five rafters on the “D” section.

Roof-Rafters-for-B-complete

Looking-up-the-valley-of-AB

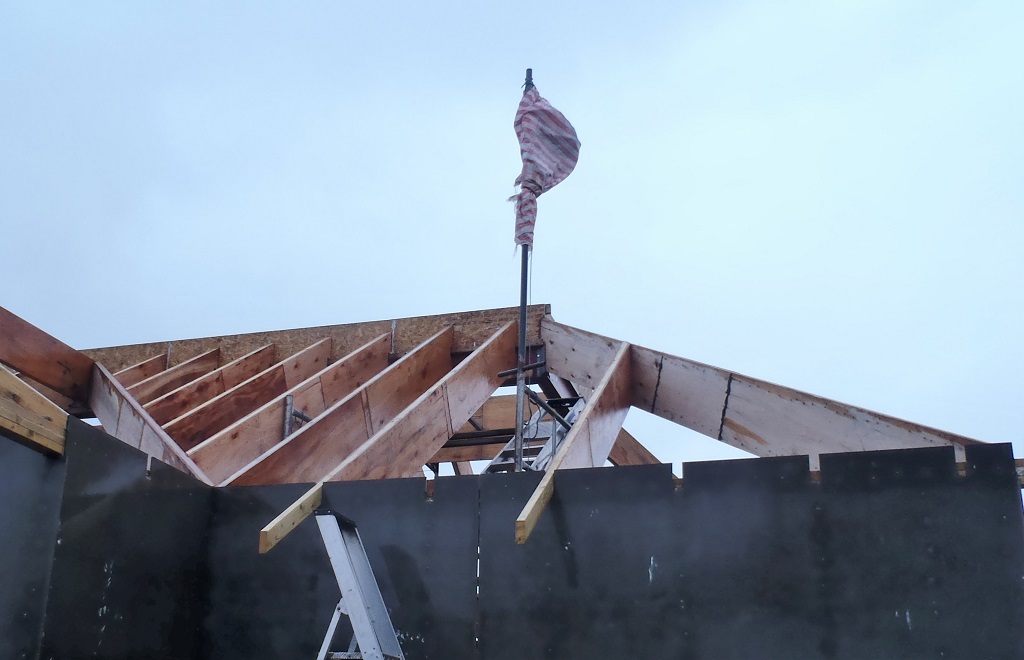
Roof-Rafters-for-D-complete
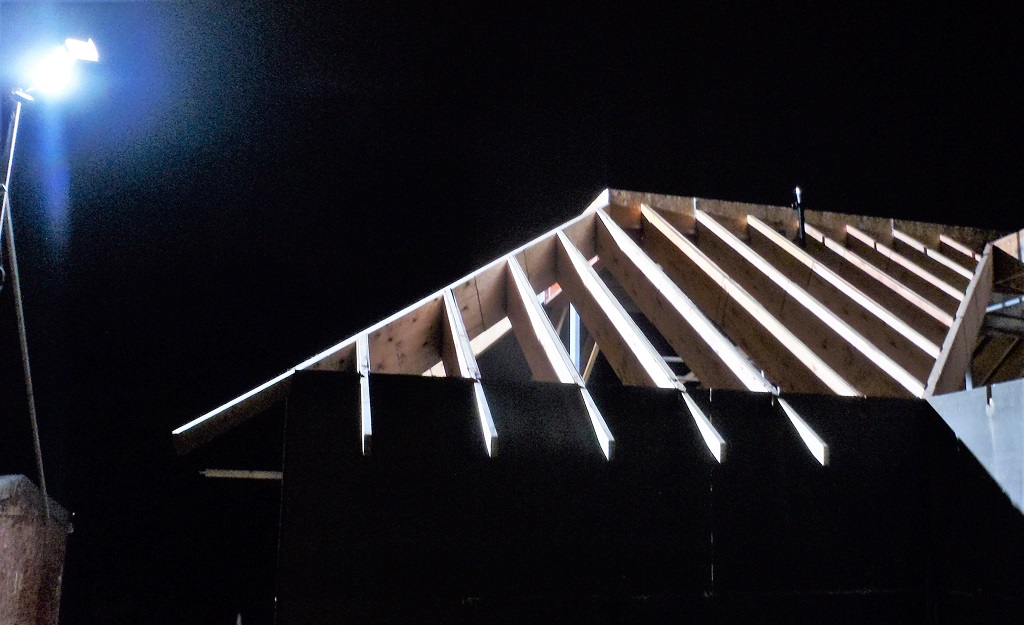
This is our first portion of the roof that has both sides of the sloping roof finished and coming together to form a valley and we got two of them now!!
So on Monday, we will start fresh and work on the Back Extension and do “J” and “L” sections which will conclude all the rafters that have the 33 degree slopes. After that, it will be the turn of the 40 degree angled roof sections namely over the back door area (“H” section) and over the Great Room (the “P” and “N” sections).