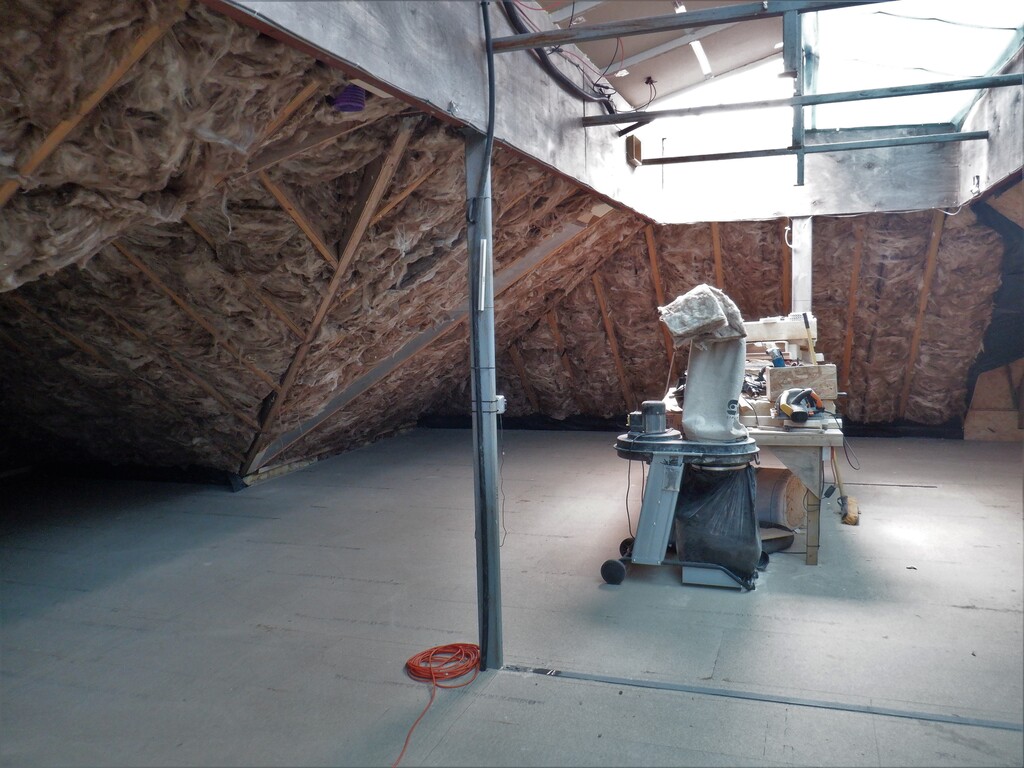
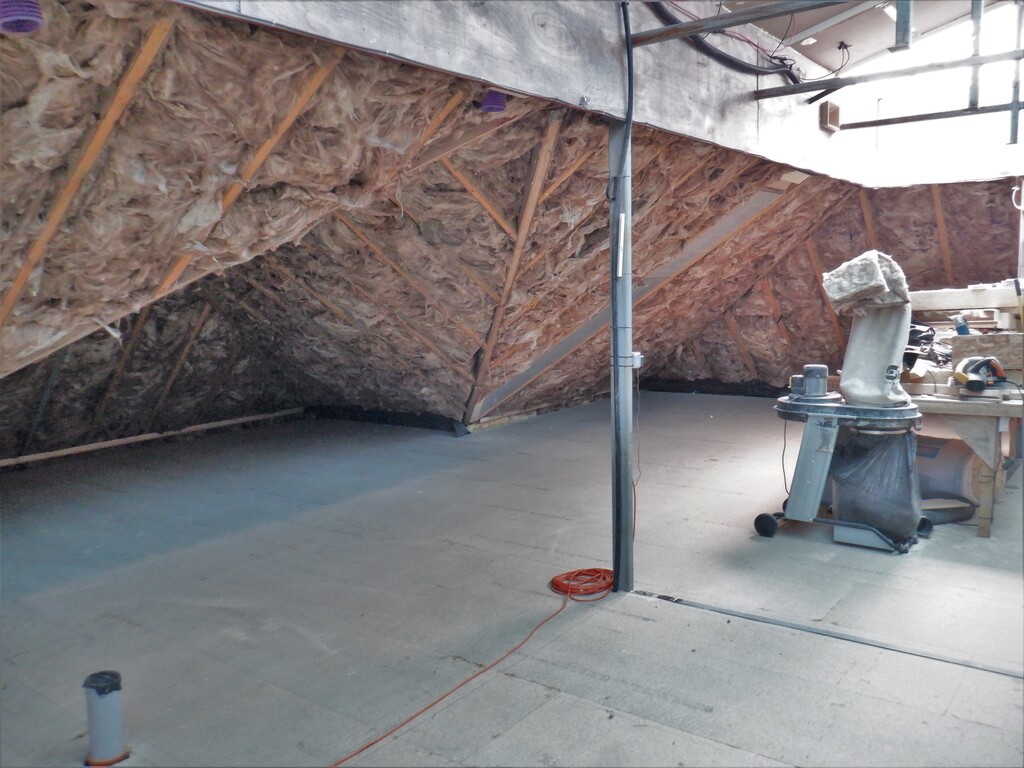
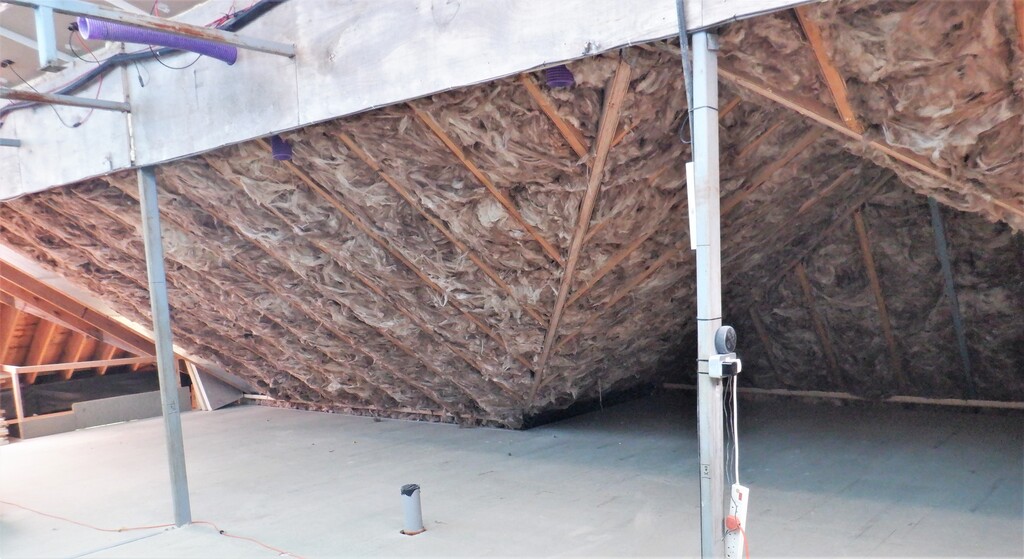
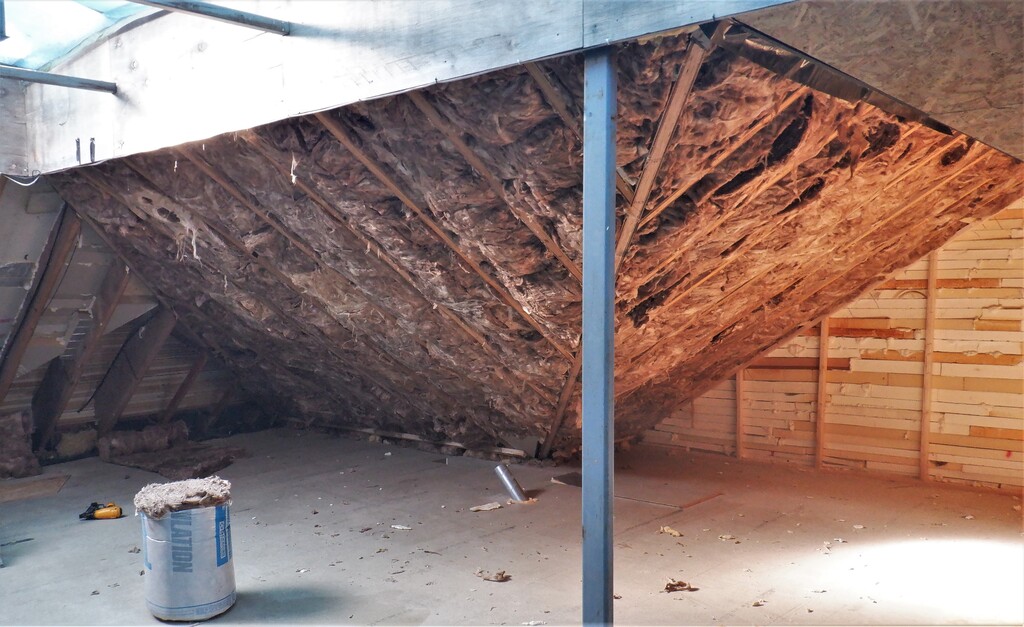
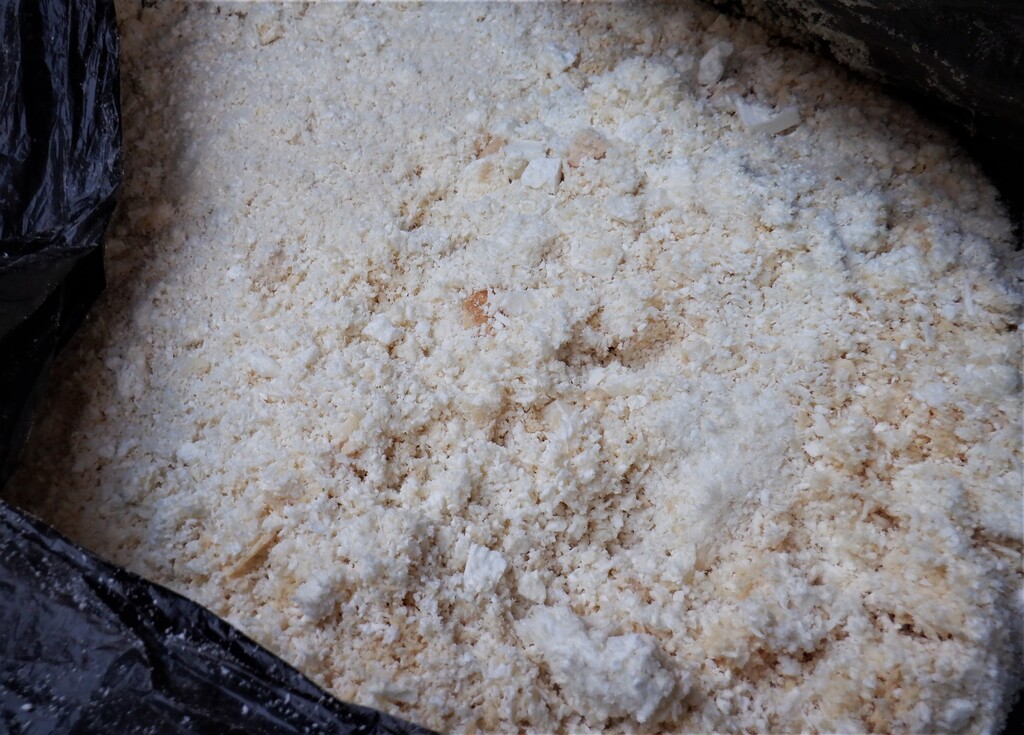
Today saw the conclusion of filling and covering up the rafters in section A and B of our roof. These last few weeks had loads of glass wool being inserted into the rafters, in front of the hard PU foam, to finish filling it right up to the front. We used our 50mm air-powered staples to secure the wool in place.
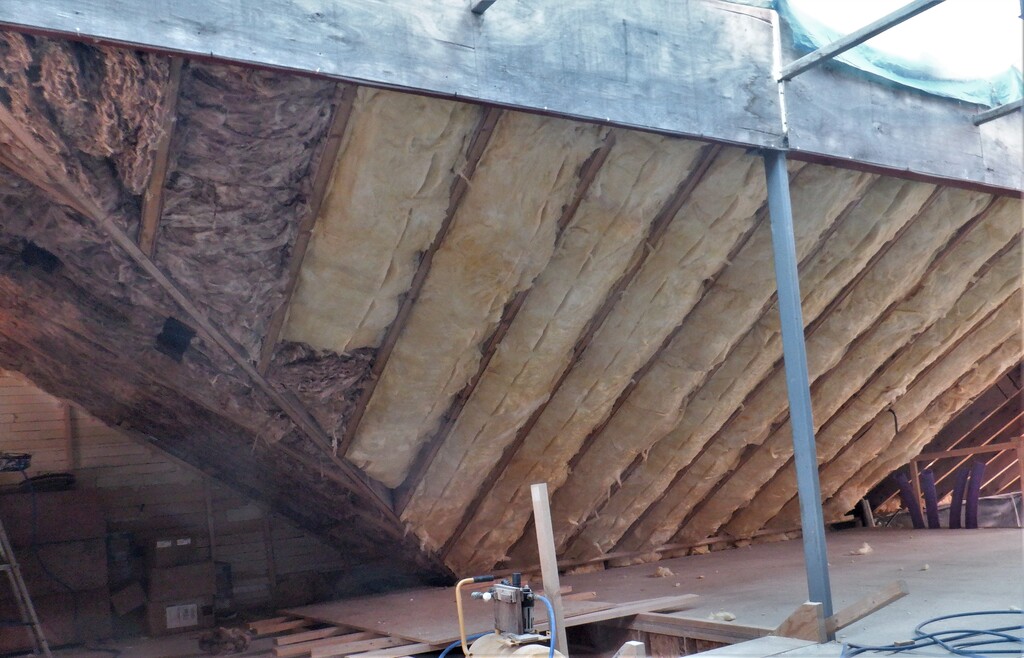
Glasswool insulation in the A & B roofs
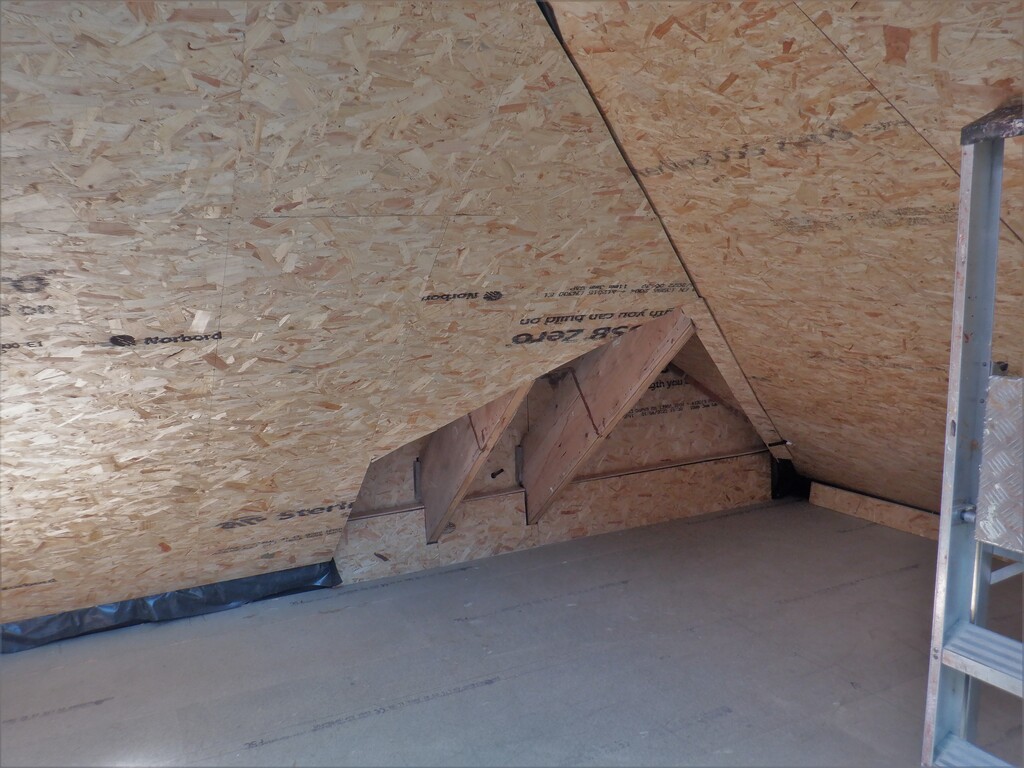
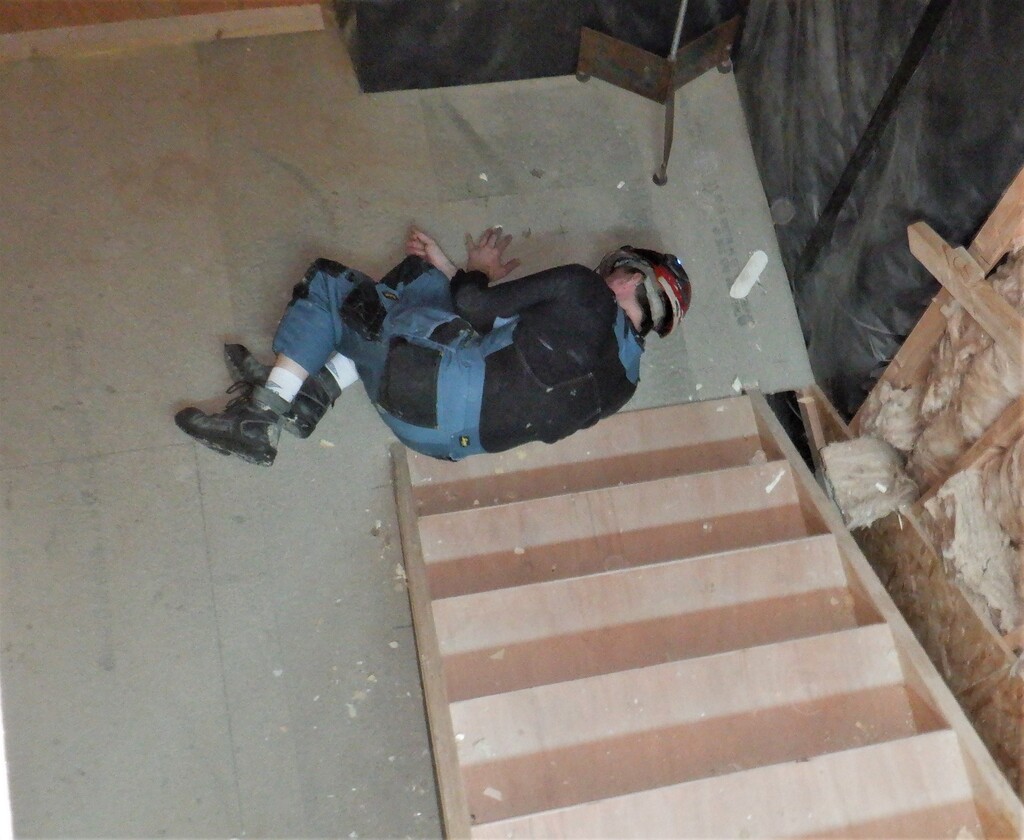
This section of the roof, is right over our staircase so we had to be careful, employing a temporary platform to support us and our ladders etc.
One of the tasks we did at this point was to take half dozen of our 63mm CLS planks and proceeded to run the circular saw along the entire length of each planks at different angles. Some were sliced at 32degrees and the remainders were cut at 45degrees. Why these angles? We wanted to provide a solid turning point at the bottom of the rafters, for the plastic coming down the roof, to neatly turn downwards in a more or less vertical direction, to the floorboards which is then sealed using butyl-glue strips.
The angles corresponded to the particular angle of the roof for that section. The A and B section are both have 32degrees and 33degrees respectively so they both had these modified planks nailed upwards into each rafter. We went around all the sections right around the first floor, putting in the appropriate angled plank, to have them ready later on.
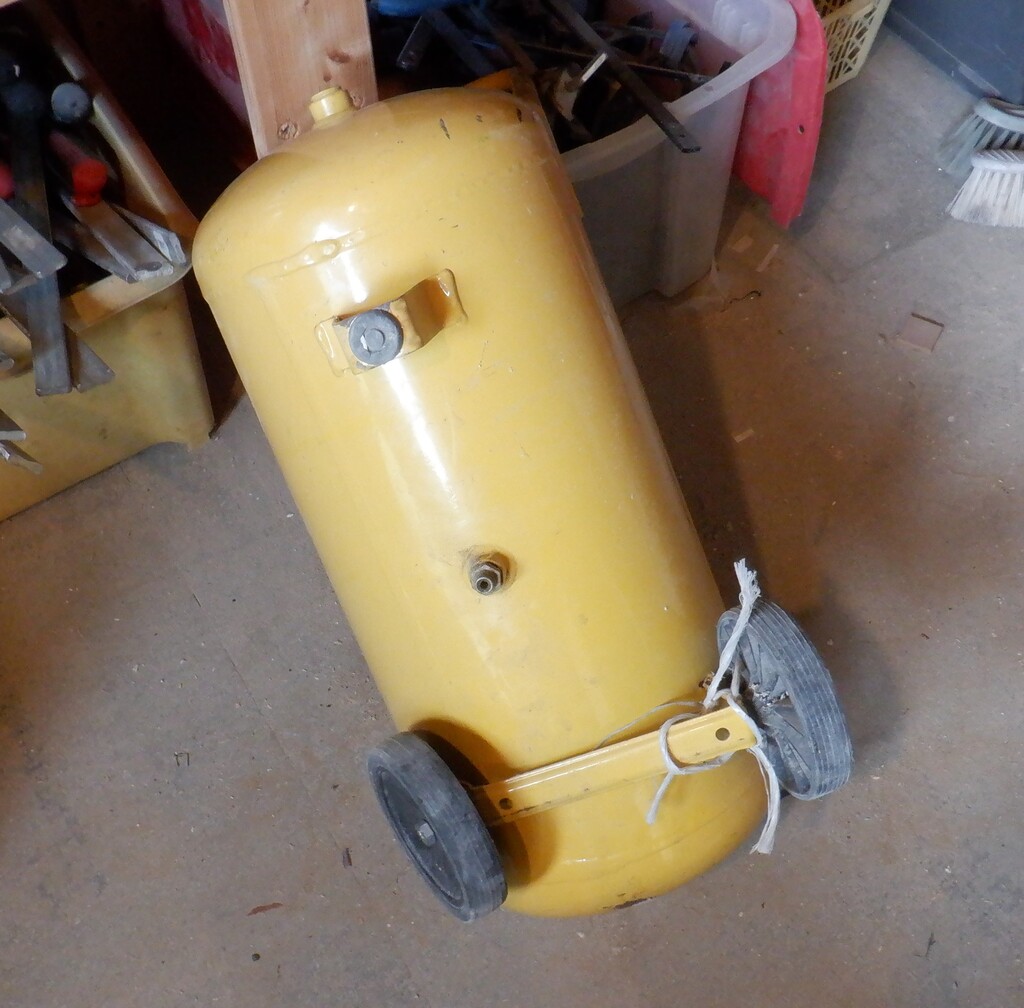
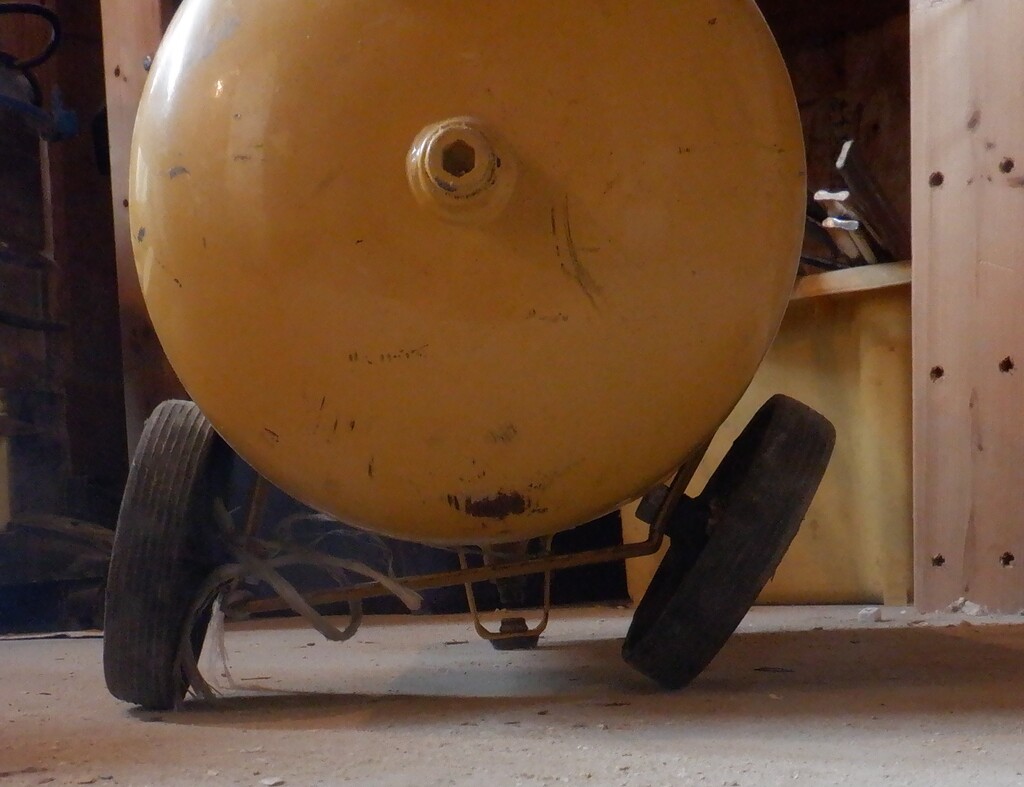
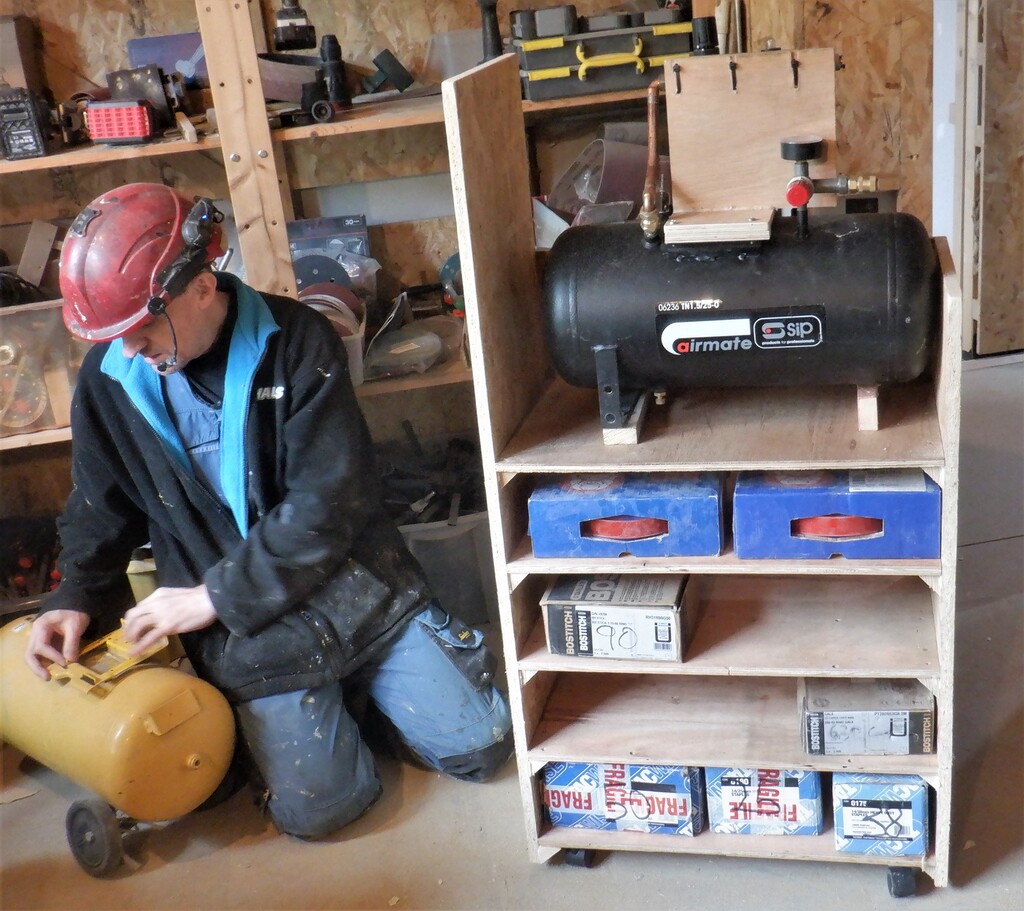
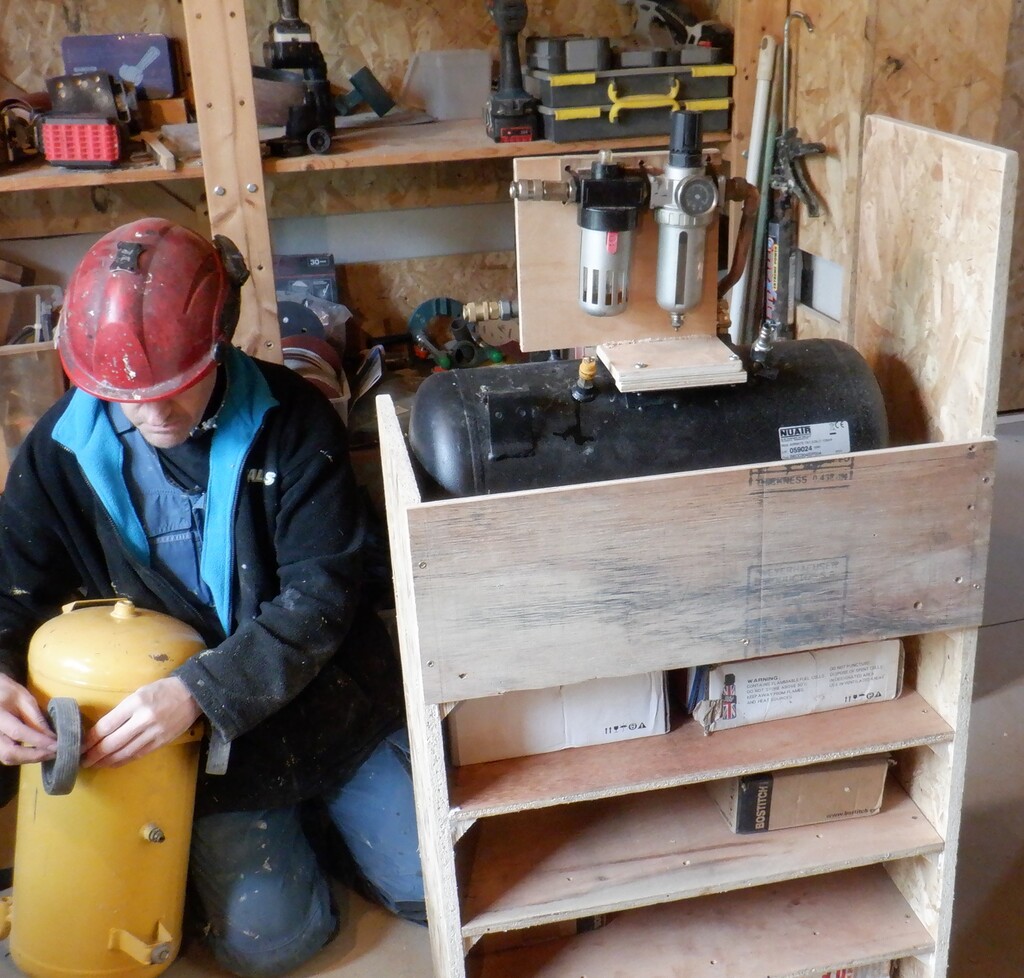
Interdentally, we had a moment with our trusty old nail air gun, it seemed to have blown a seal around the trigger section so we had to switch over to our other air gun and use different strips of 90mm nails we had on hand, luckily!! The main gun is being serviced and we are awaiting spare parts to come from China.
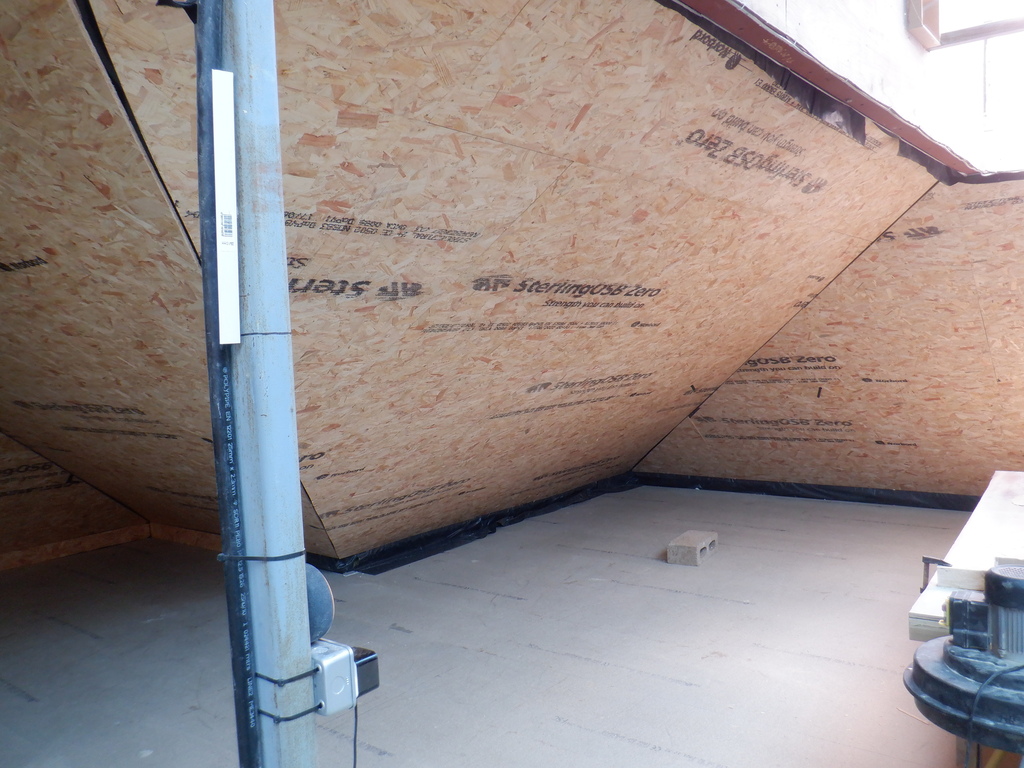
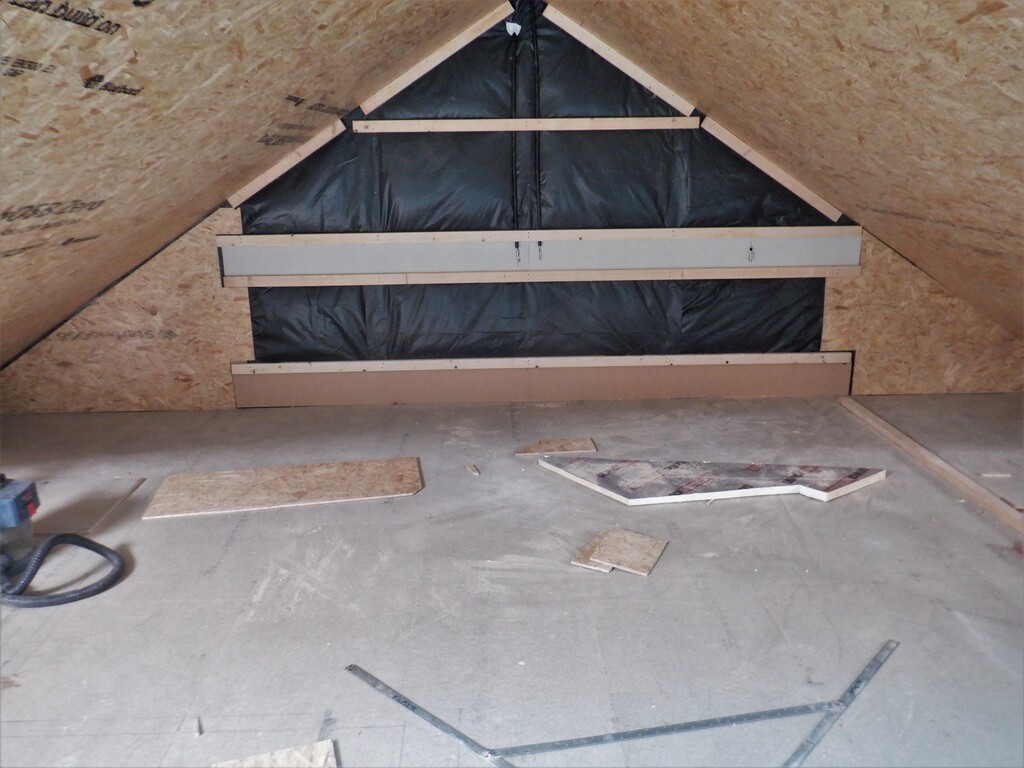
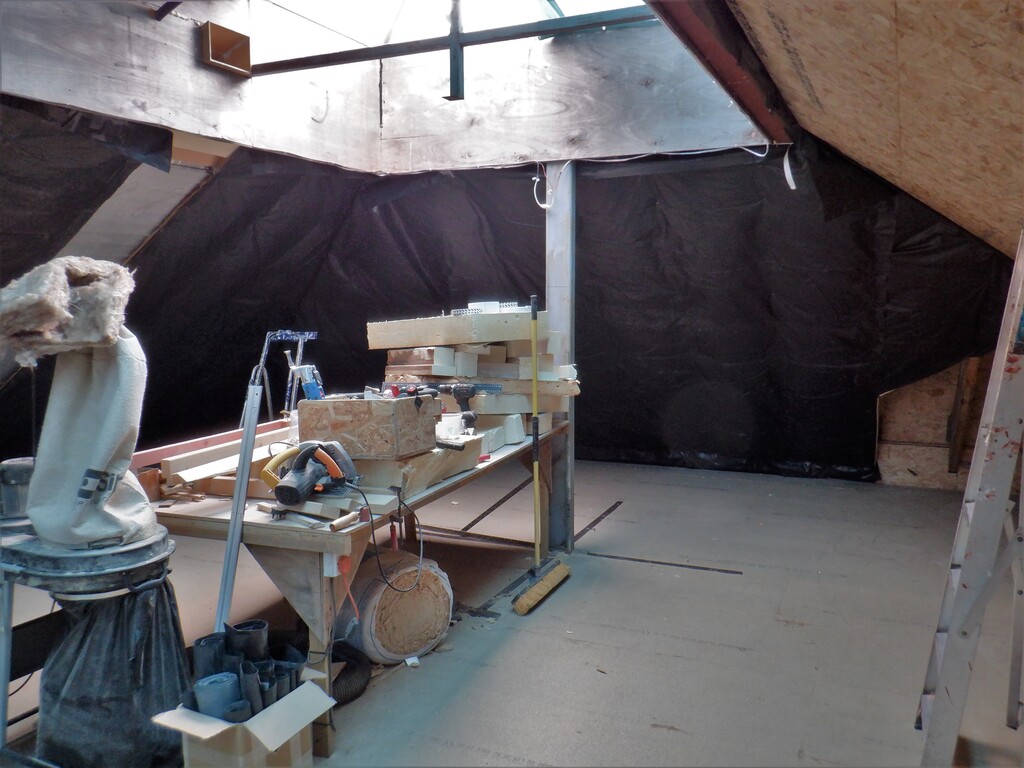
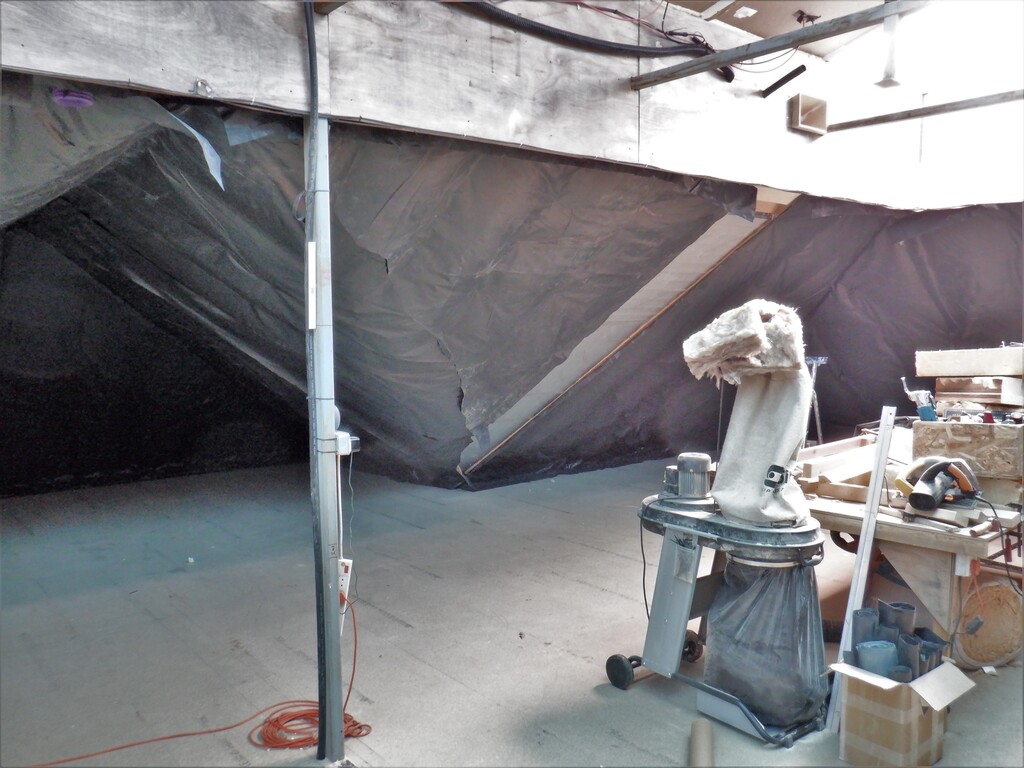
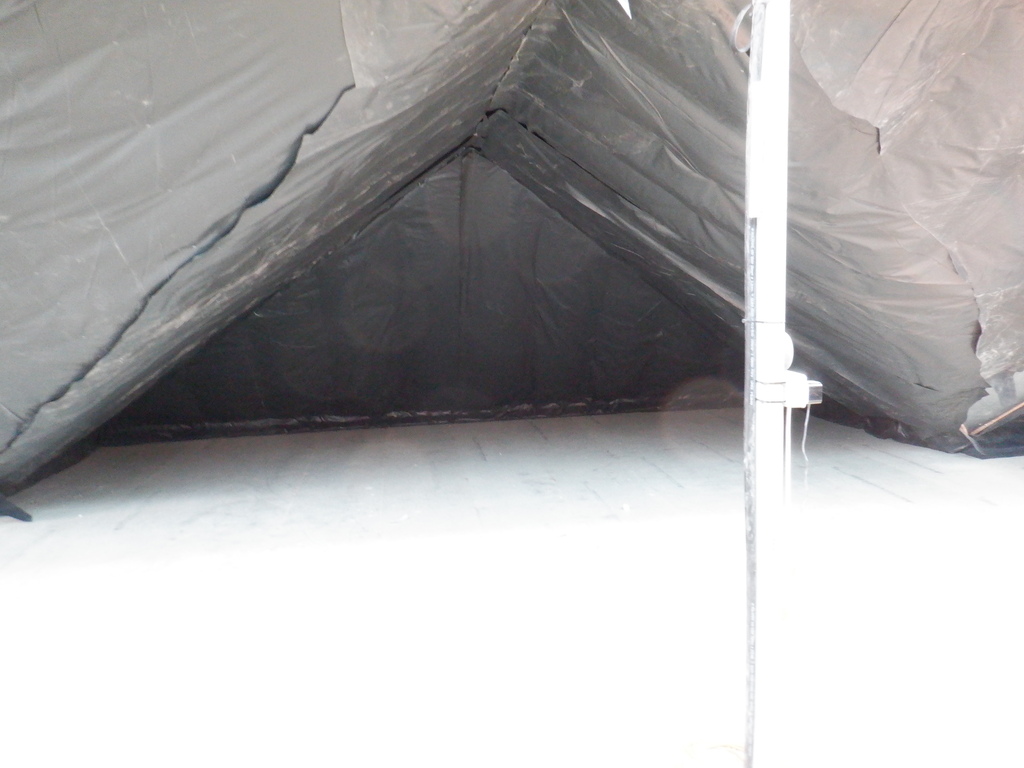
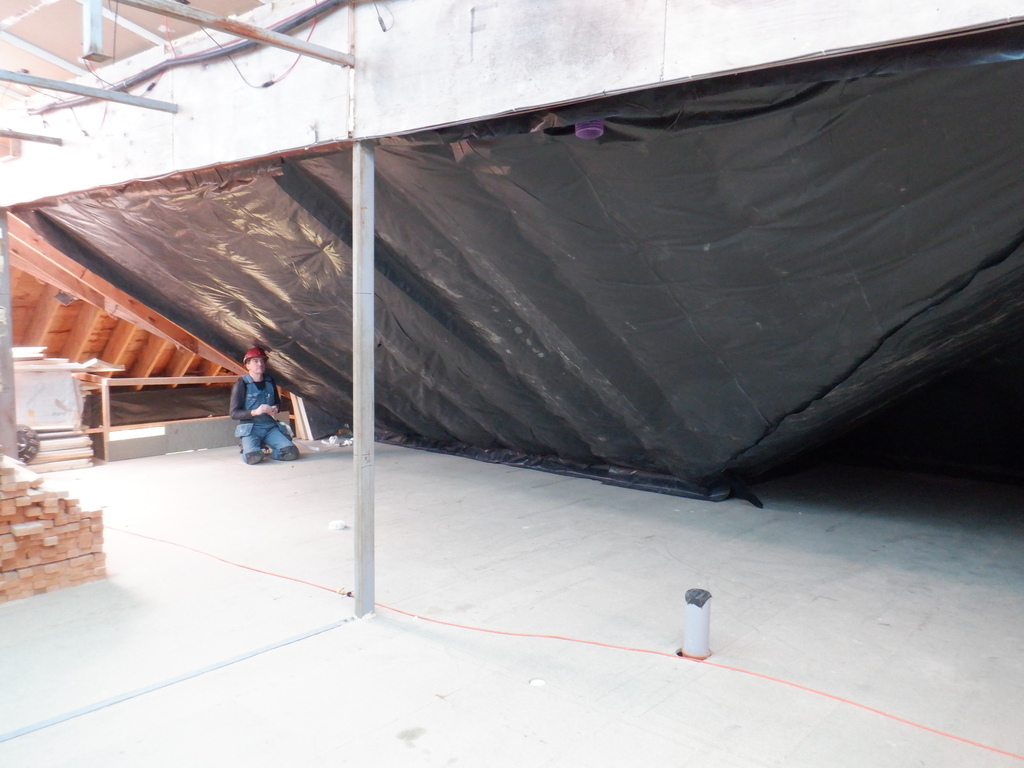
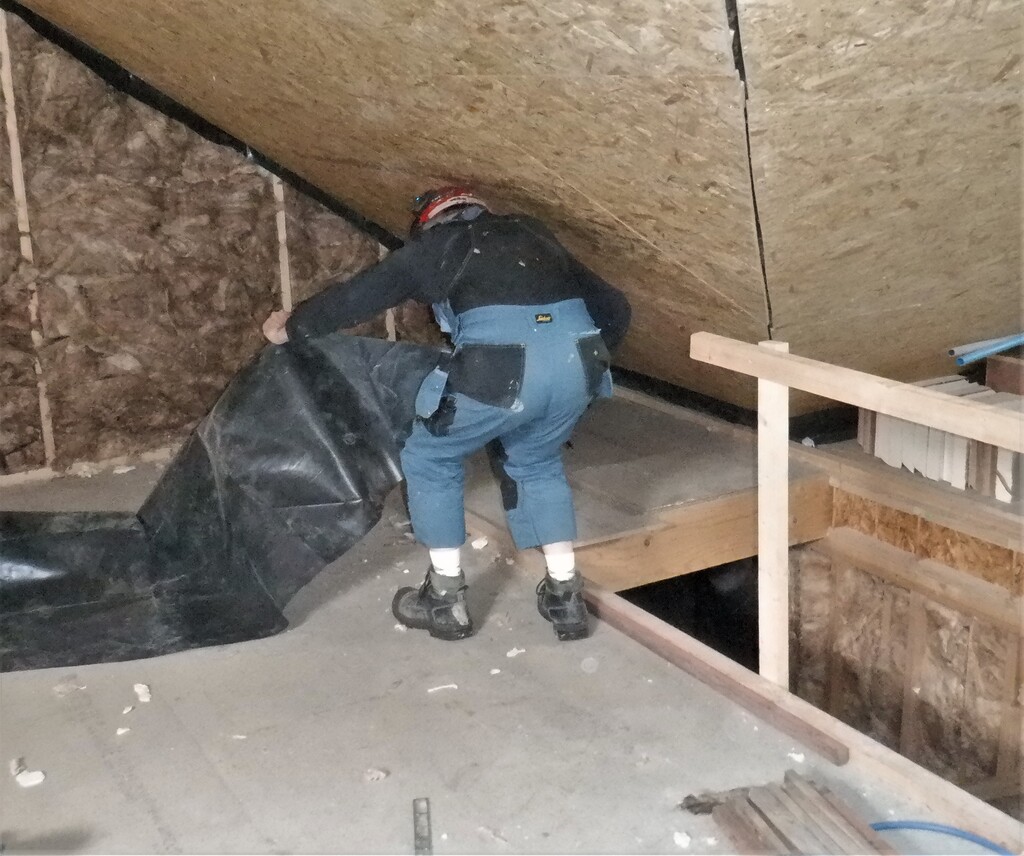
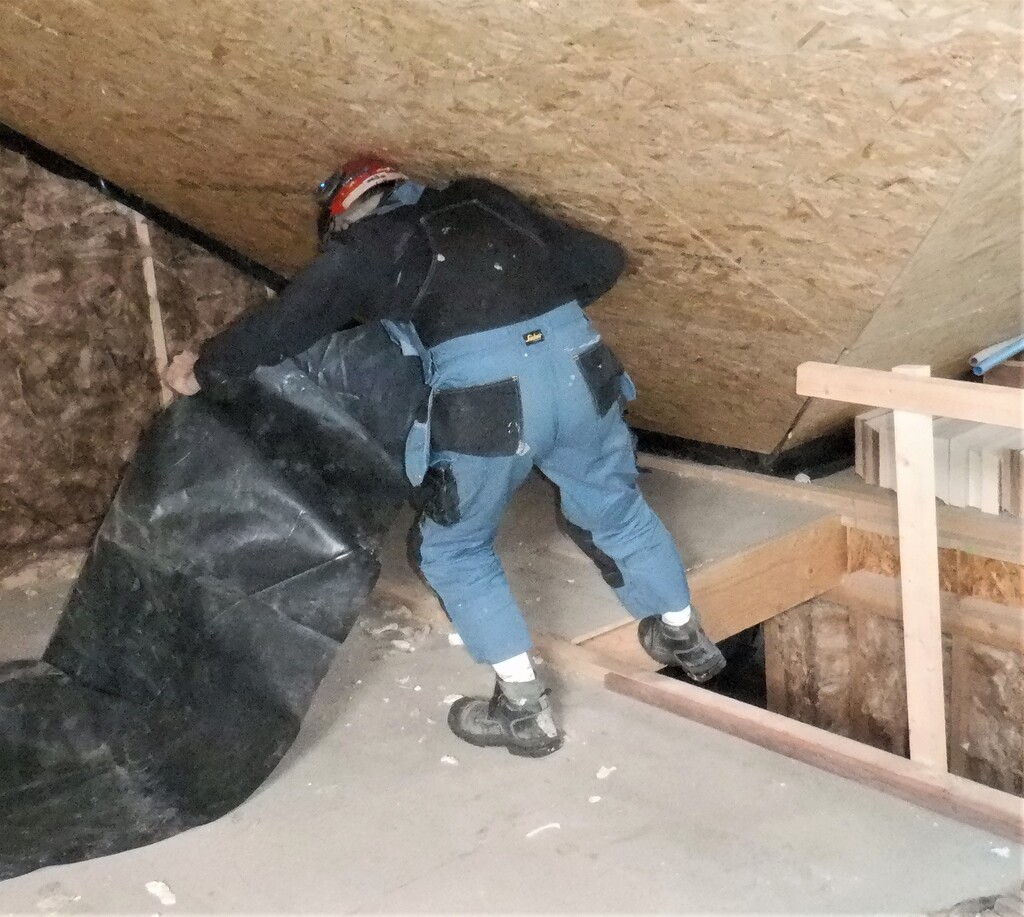
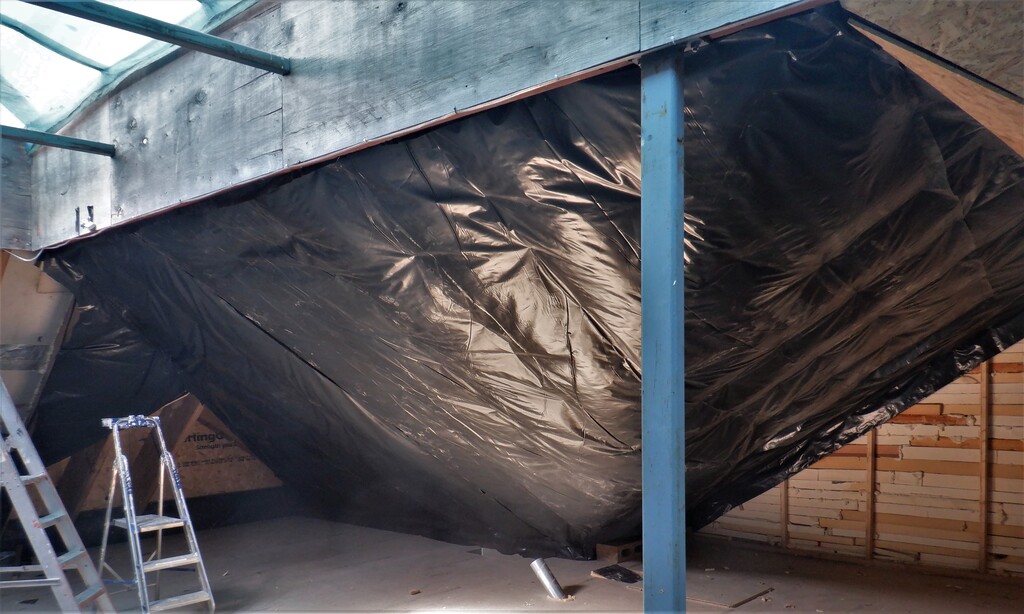
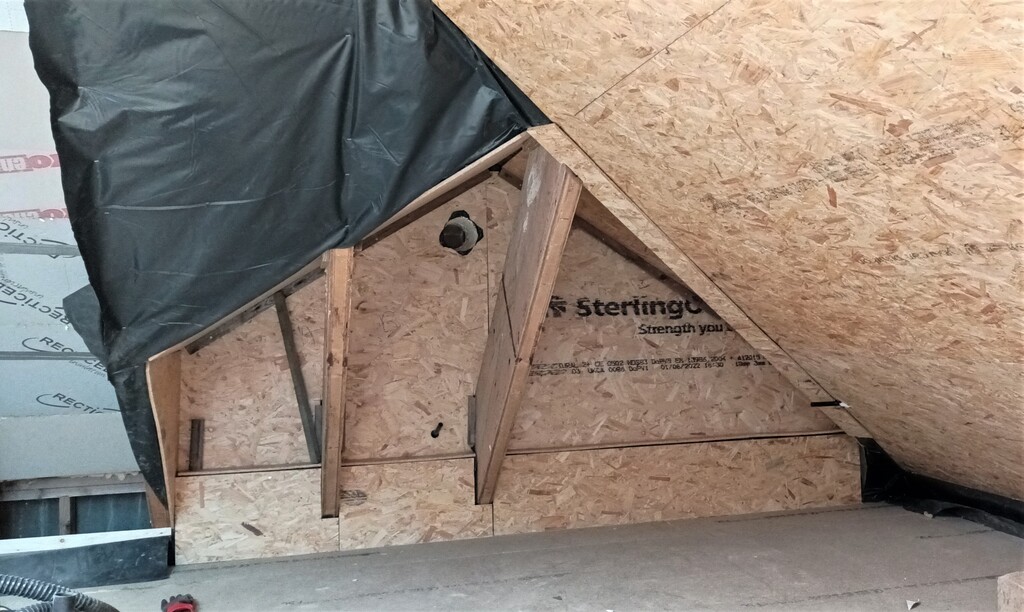
So after this interruption, we continued to covered up all the glass wool with DPM plastic to provide a vapour proof barrier to stop the human moisture and other sources of water vapour, from penetrating into the wood-work of our roof structure and forming condensation, which in turn allows the fungi and other biological pathogens to grow and eat our timber!!
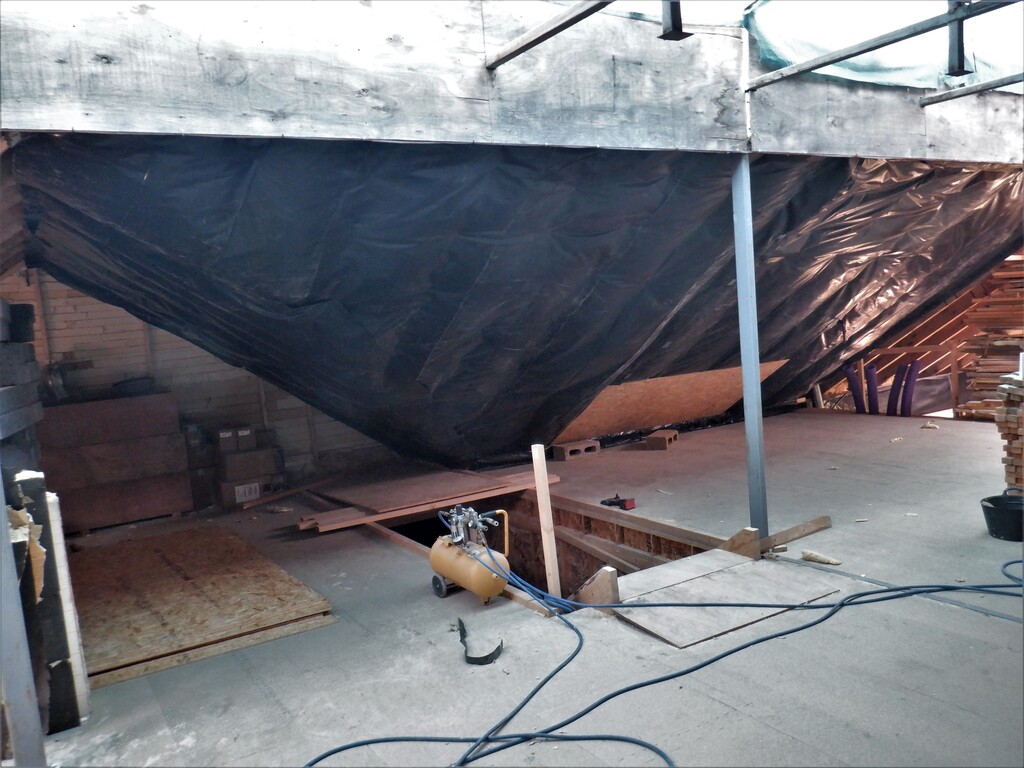
First two sections covered on plastic
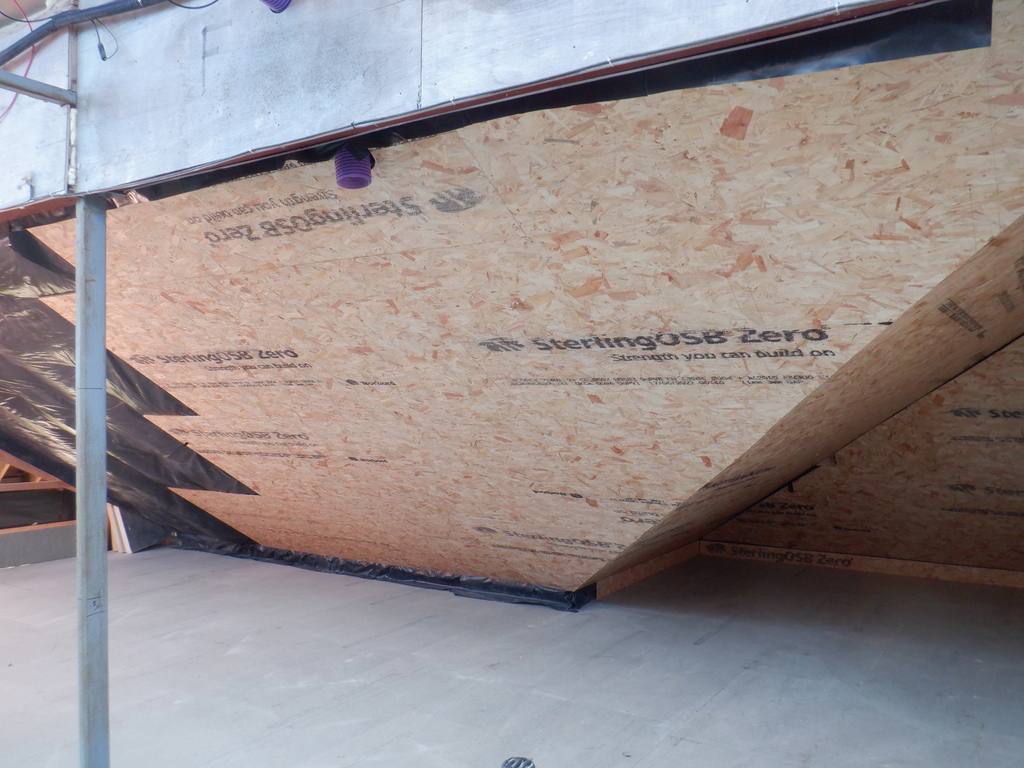
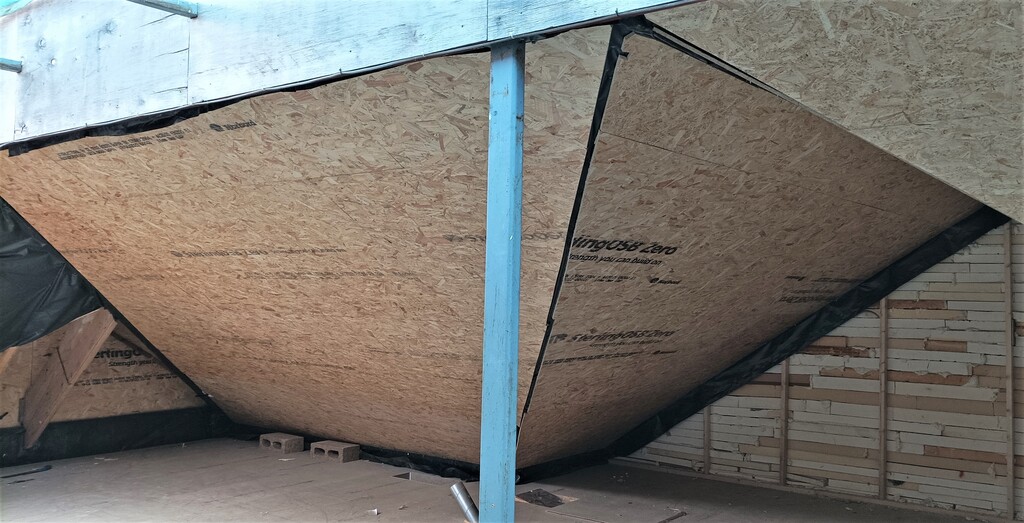
The next step was to cover and protect the plastic from being punctured by putting up 11mm thick OSB sheets we had already a stockpile of. We bought them many many months ago before all the massive price increases.
We started down on the bottom of the rafters, with a whole sheet and screwed it up using the 50mm screws that offers very good performance and secures the board very tight upwards against the rafters. We put in five screws in each rafter, to make sure that it is well fixed because it is going to have to hold the much heavier Fermacell “plaster” boards later on when we get to that stage.
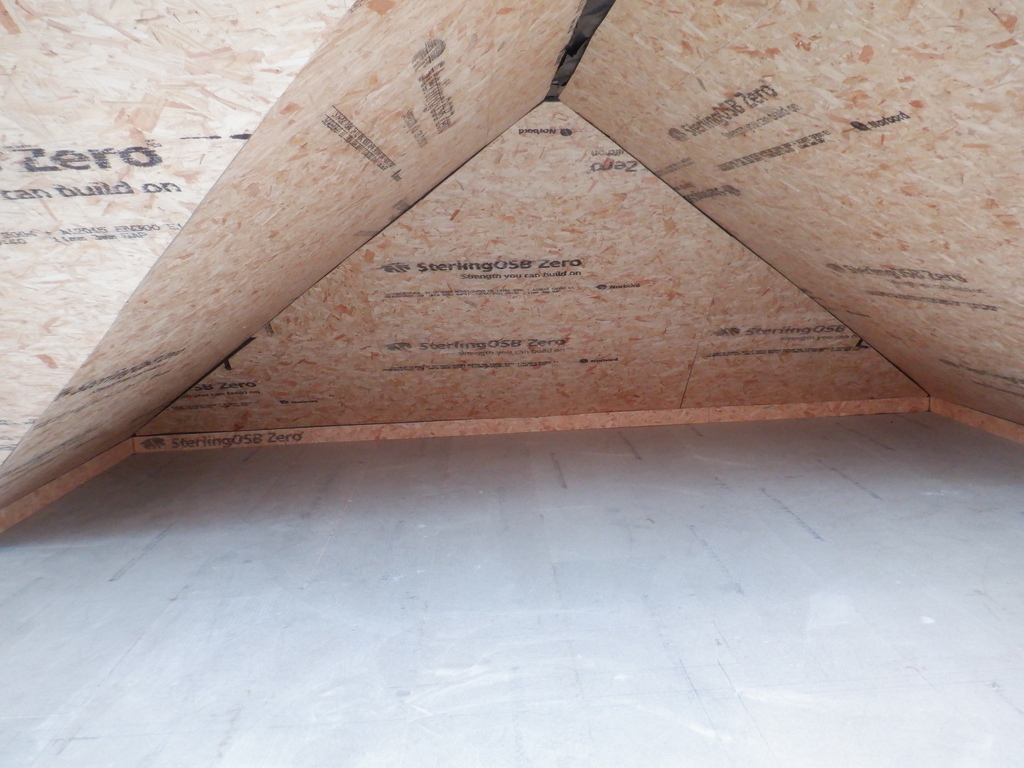
Then we got another sheet and laid it next to the previous one and that allowed us to finish the row, meeting the valley hip joint between the A and B roof sections. It is a long angled slope.
We then did the same around on the B section, which needed just one board to complete that bottom row. It was very tight working conditions but making use of a couple of 140mm thick concrete blocks which happened to be exactly the correct size to help support the bottom edge of the sheet while we screwed it up!
The next two rows were, as you can imagine, a lot easier, especially when we created three little “hooks” to screw to the previous lower board and that also helped to hold up the large sheet while we also screwed it up too.
The last row is up to the skylight itself and that was a half width piece to finish it off and a 350mm wide strip to finish off the B section.
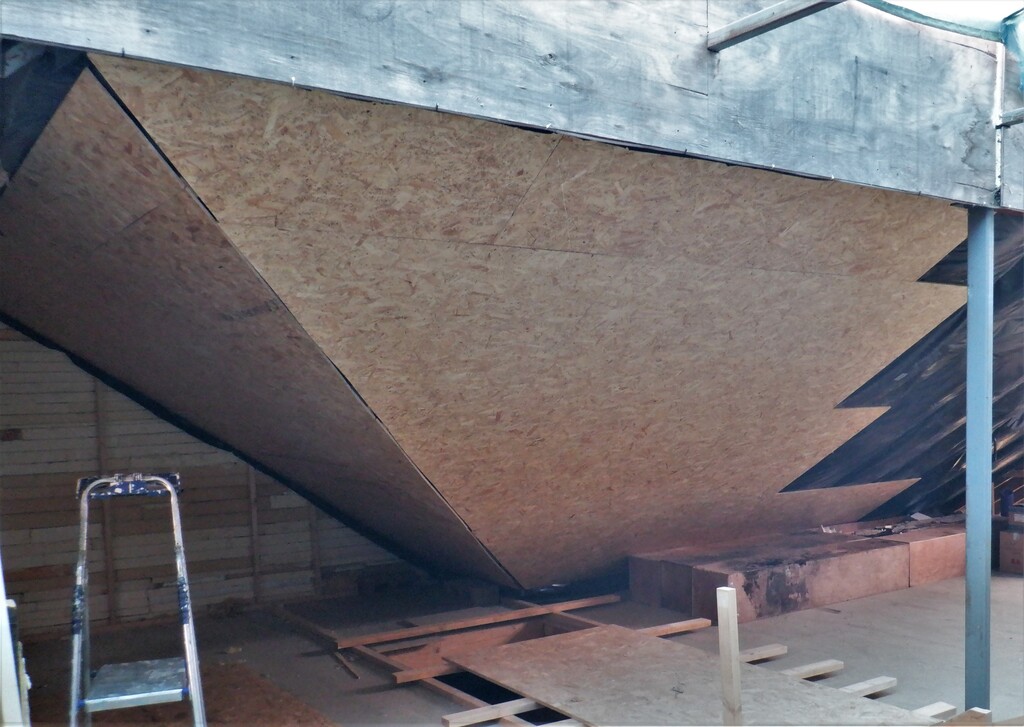
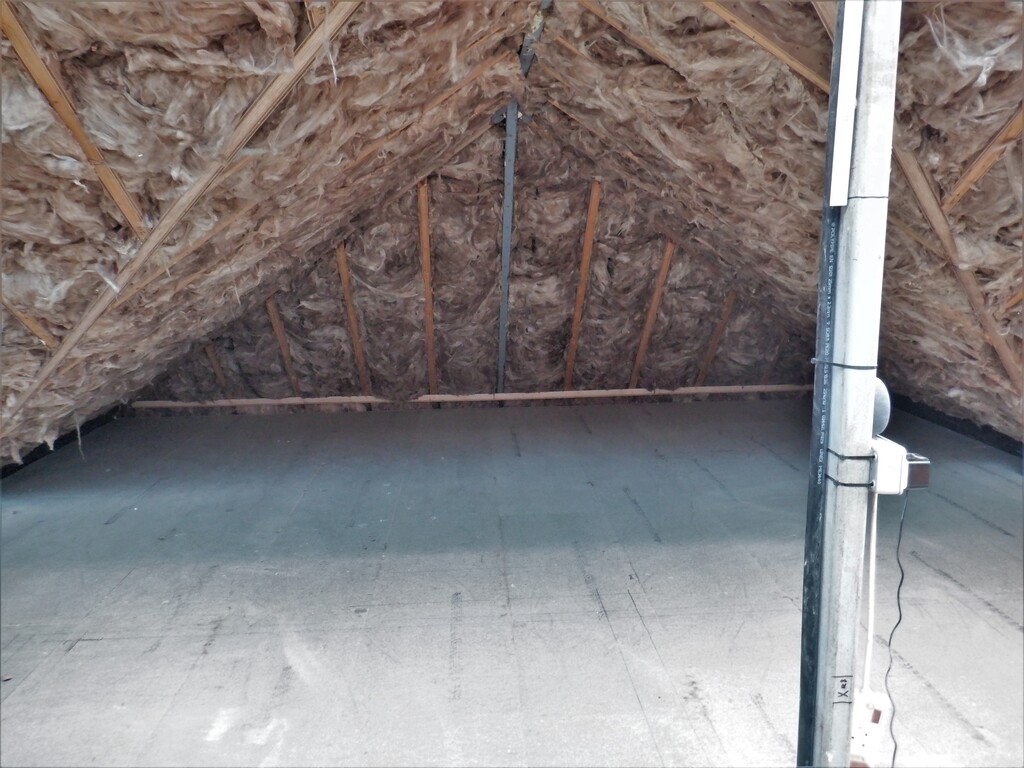
First OSB covering finished
We now have a much better looking roof, ready for a future stage of work in a few months when we start building the internal framework of all the upstairs rooms. The rest of the A section will be completed when we have populated the roof rafters over in the Great Room because we wanted the OSB boards to flow neatly across into that space in contiguous rows.
We now resume by proceeding in filling the D and E section next ..