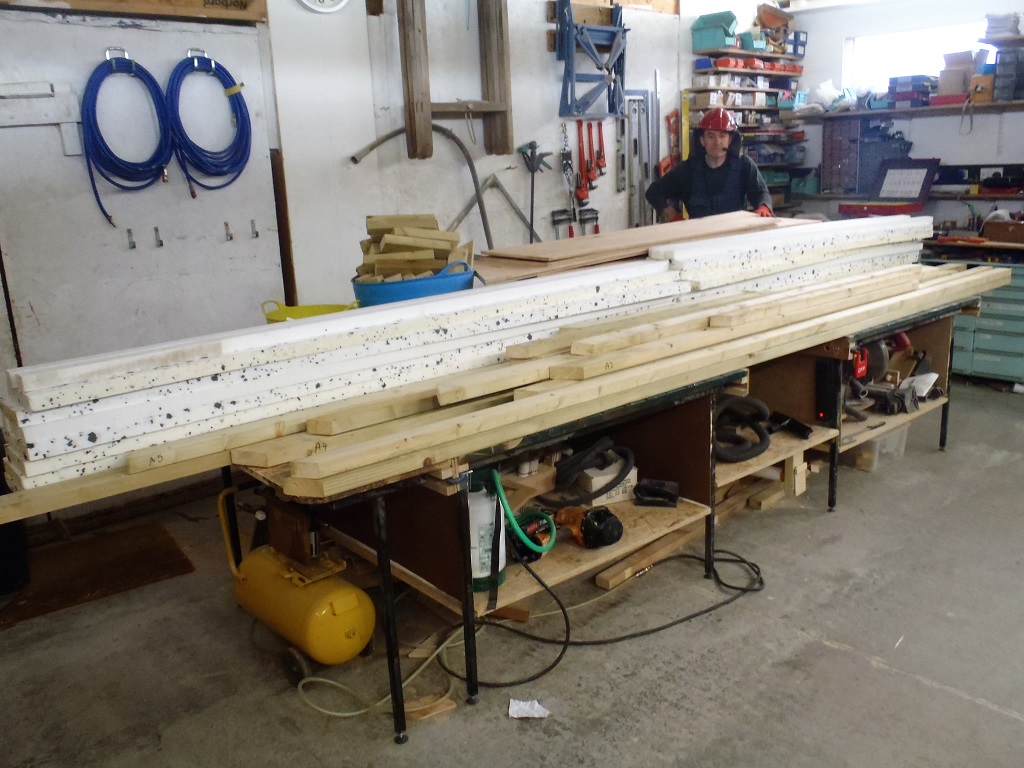
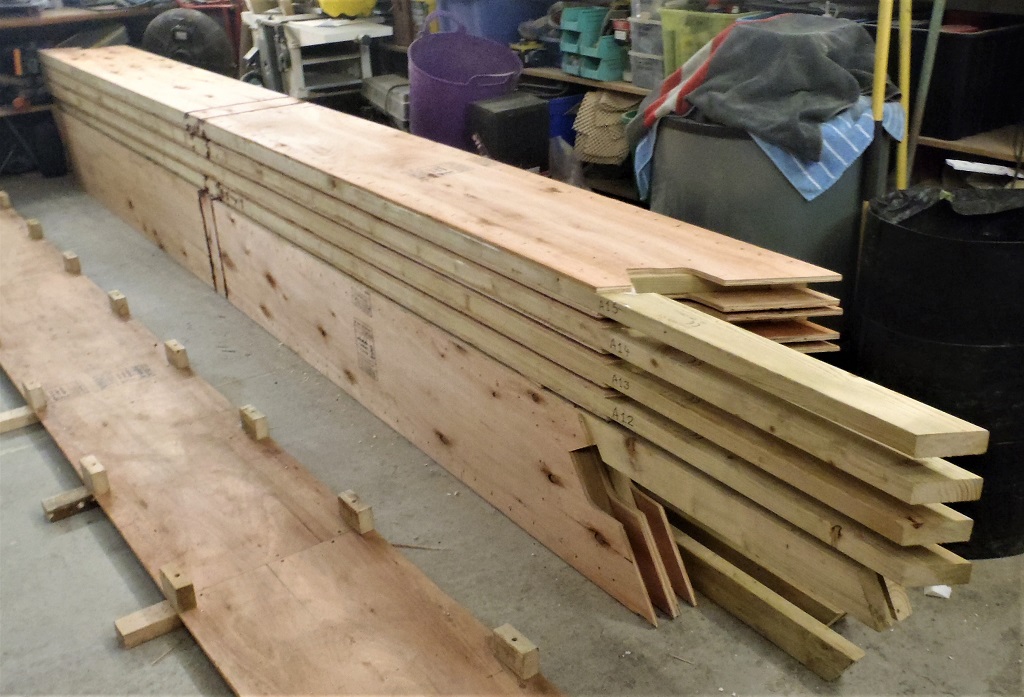
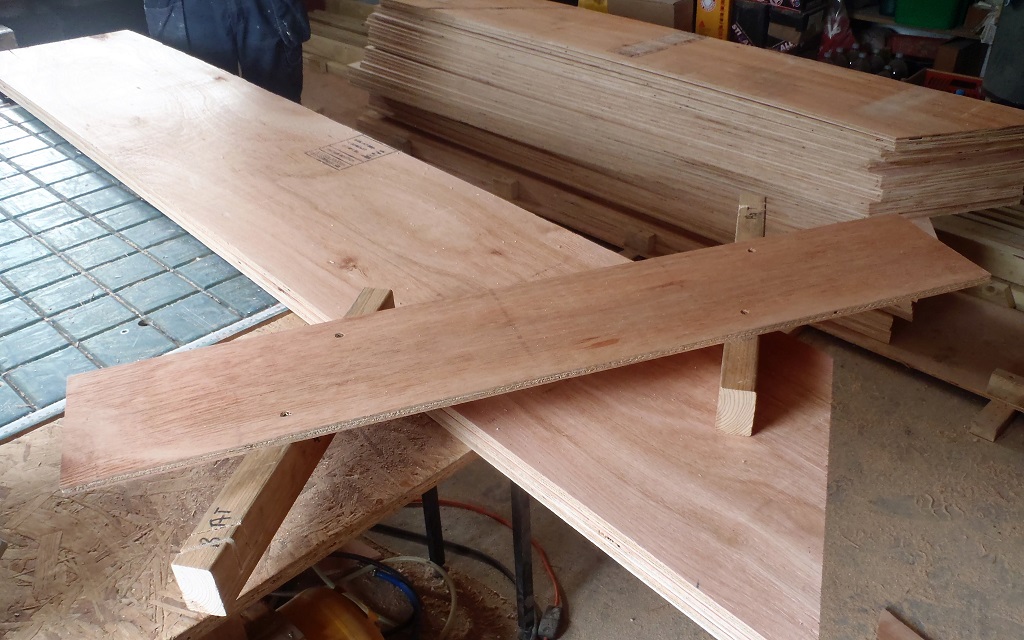
Today we got down to assembling all the bits and pieces into nine rafters that form the last sections of roof adjoining the “A” wall. We did three this morning (in two runs) and the remaining six this afternoon (in 3 runs). We used as much of the template as possible to maximise turnaround time. Each pair (one smaller and one larger) went into the template and then each side was glued and nailed, using our squeezer and nail gun as usual.

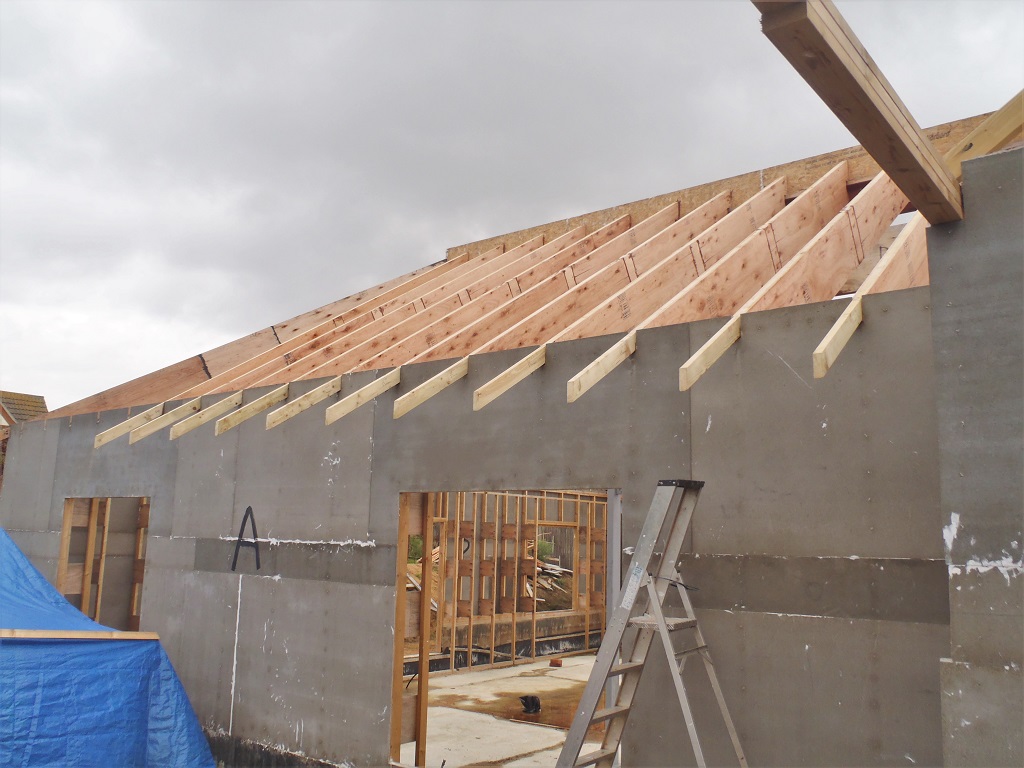
The-rest-of-A-Rafters-are-Made
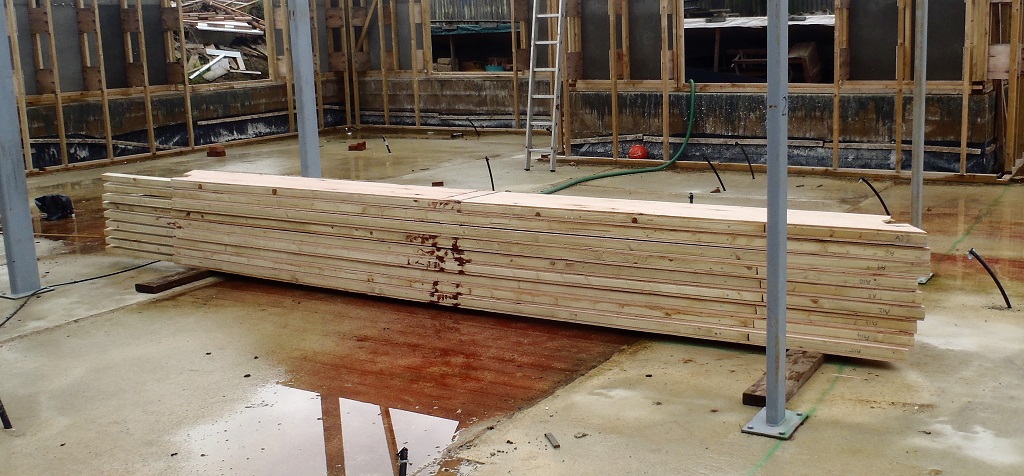
The next job is to build a bevel-cutting saw machine that can be rotated and angled and positioned on the end of each rafter and power cut our way through all the layers of the plywood and CLS timber composite. We cannot use a standard off-the-shelf circular saw as none can angle more than 45 degrees and over half of all bevel cuts are beyond that limit, so we are having to make a temporary tool that is specifically designed to fit over the ends of these 400mm wide by 62mm thick rafters and clamped into place to allow the saw to slide across the end. The other limitation of domestic saws is the limited size of the saw blade themselves and can only cut no more than 50mm at the larger tilts. We need to do at least 100mm so we have bought a 300mm wide blade which will give us a maximum cut depth of 125mm. That is tomorrow’s job to design and build this machine!! A lovely Engineering problem – Grin!