Category: Build Progress

  • Flooring Surface is Laid!

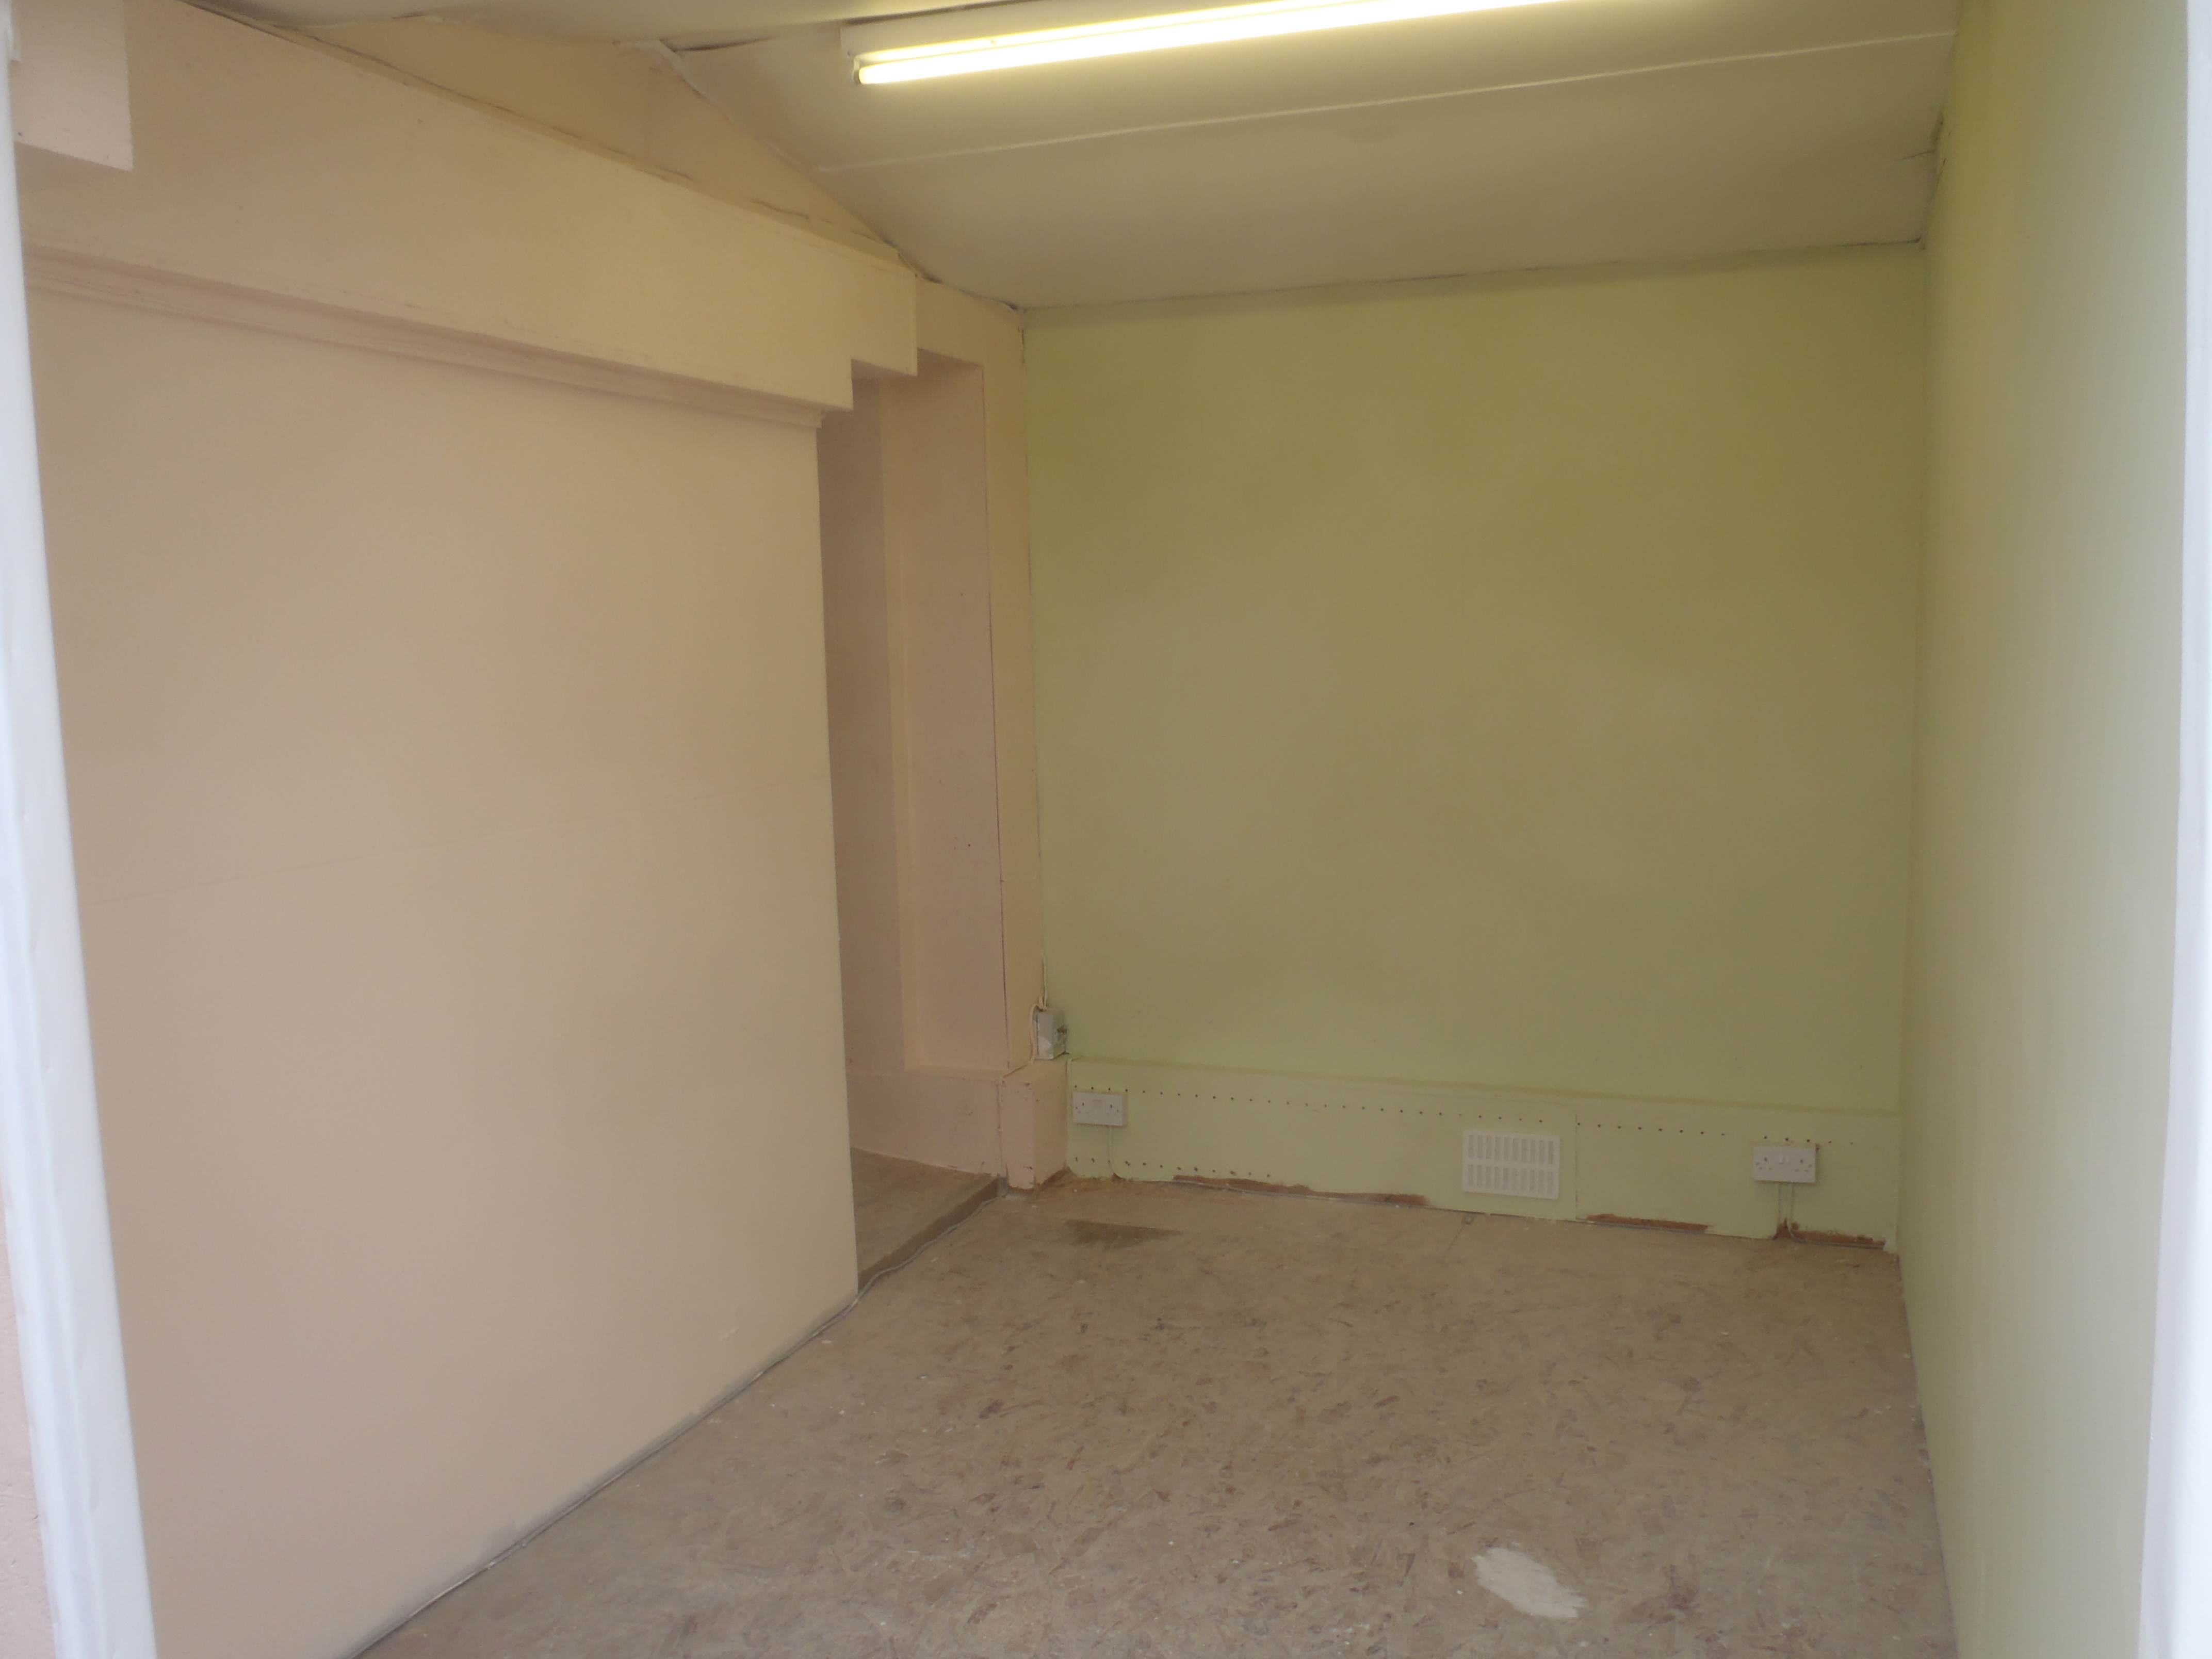
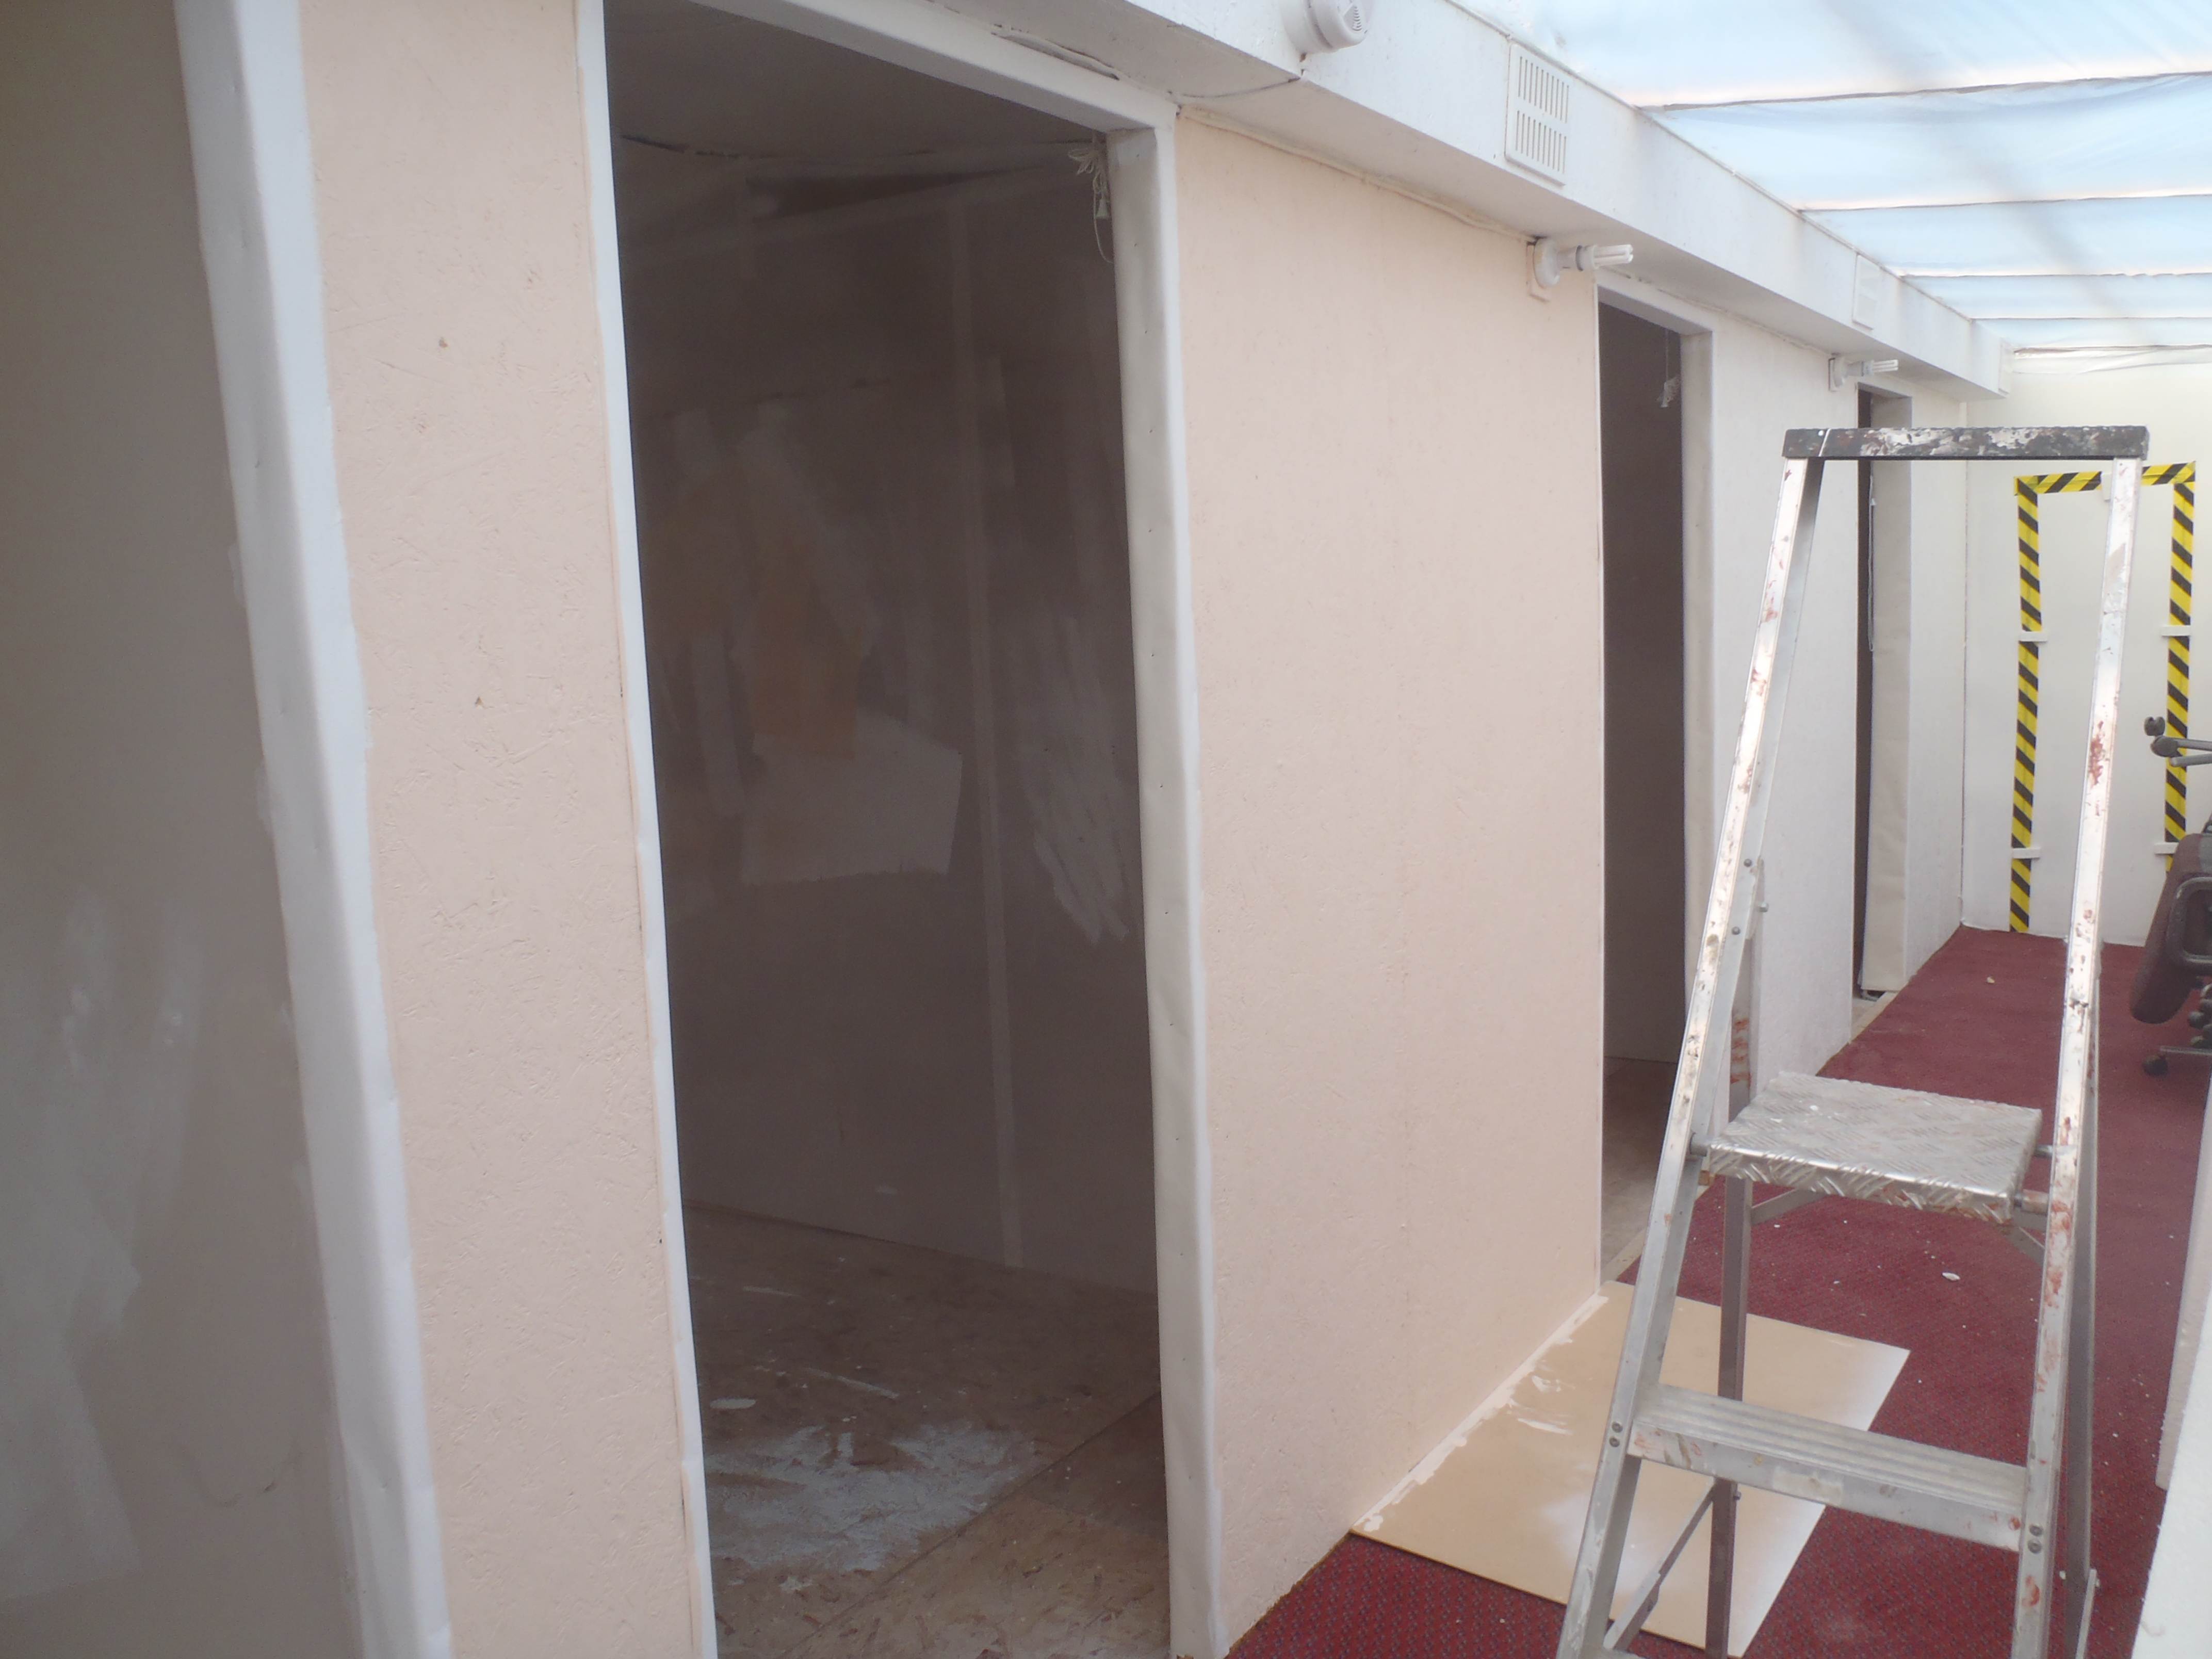
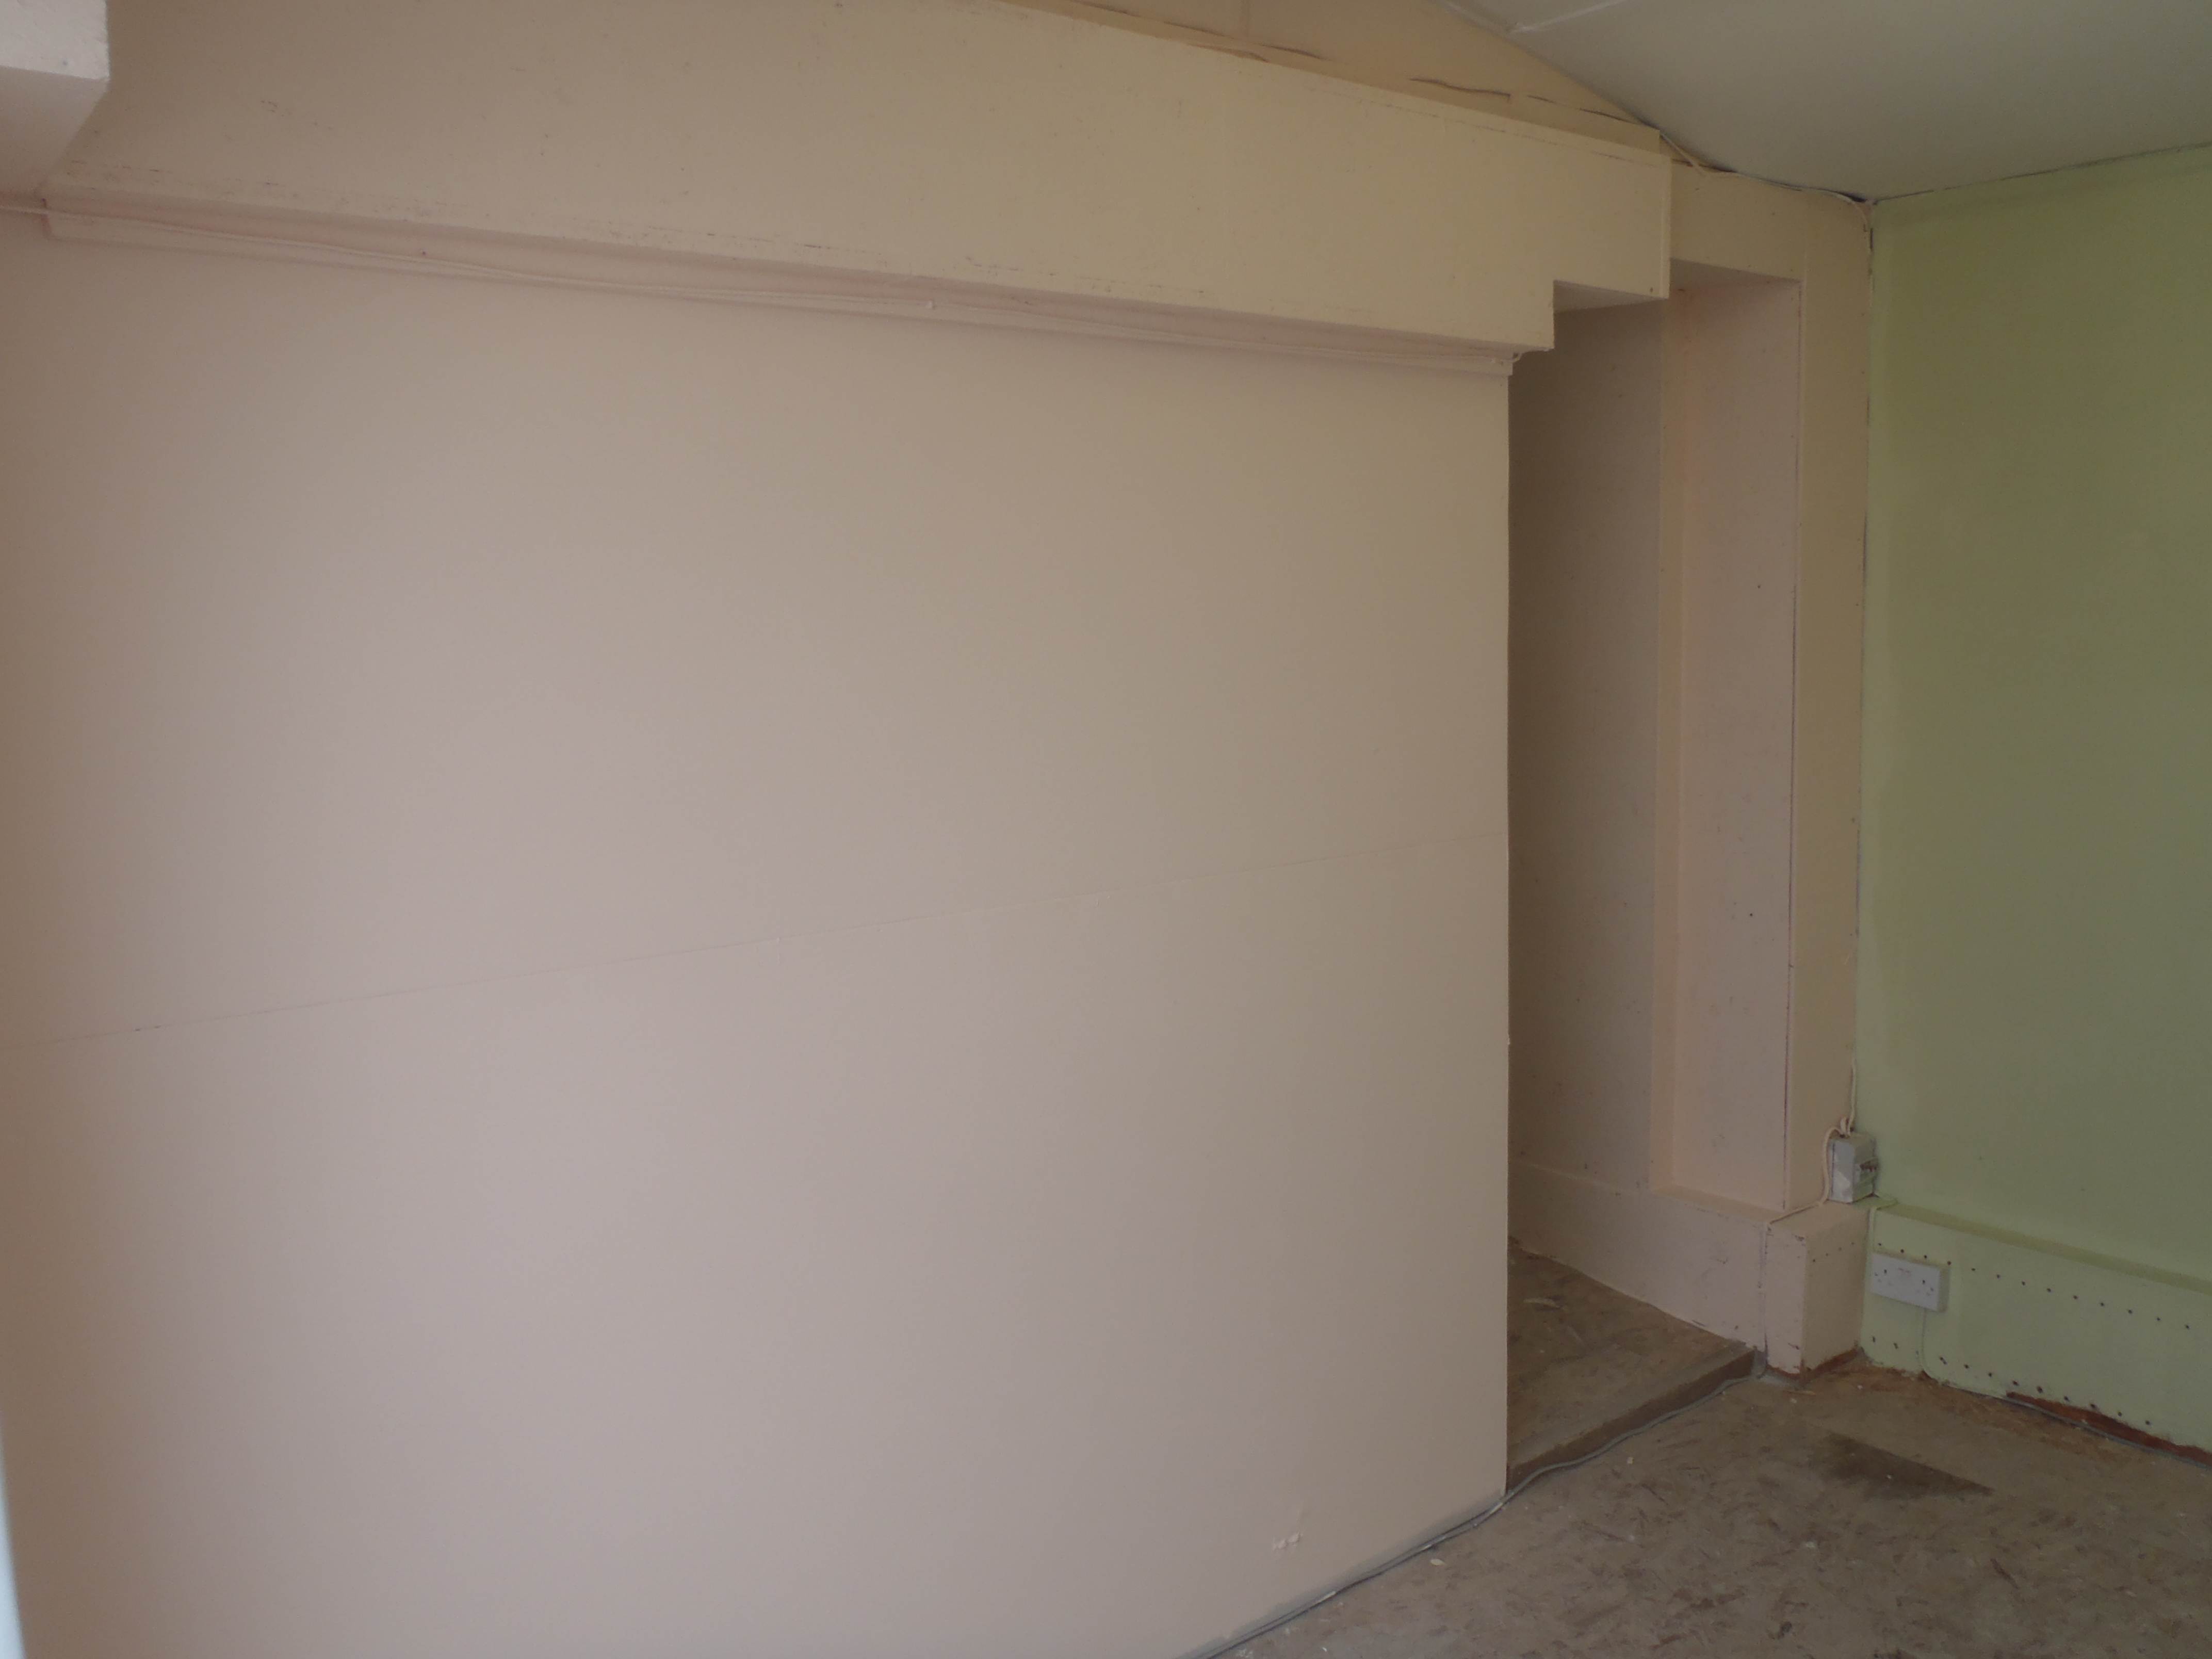
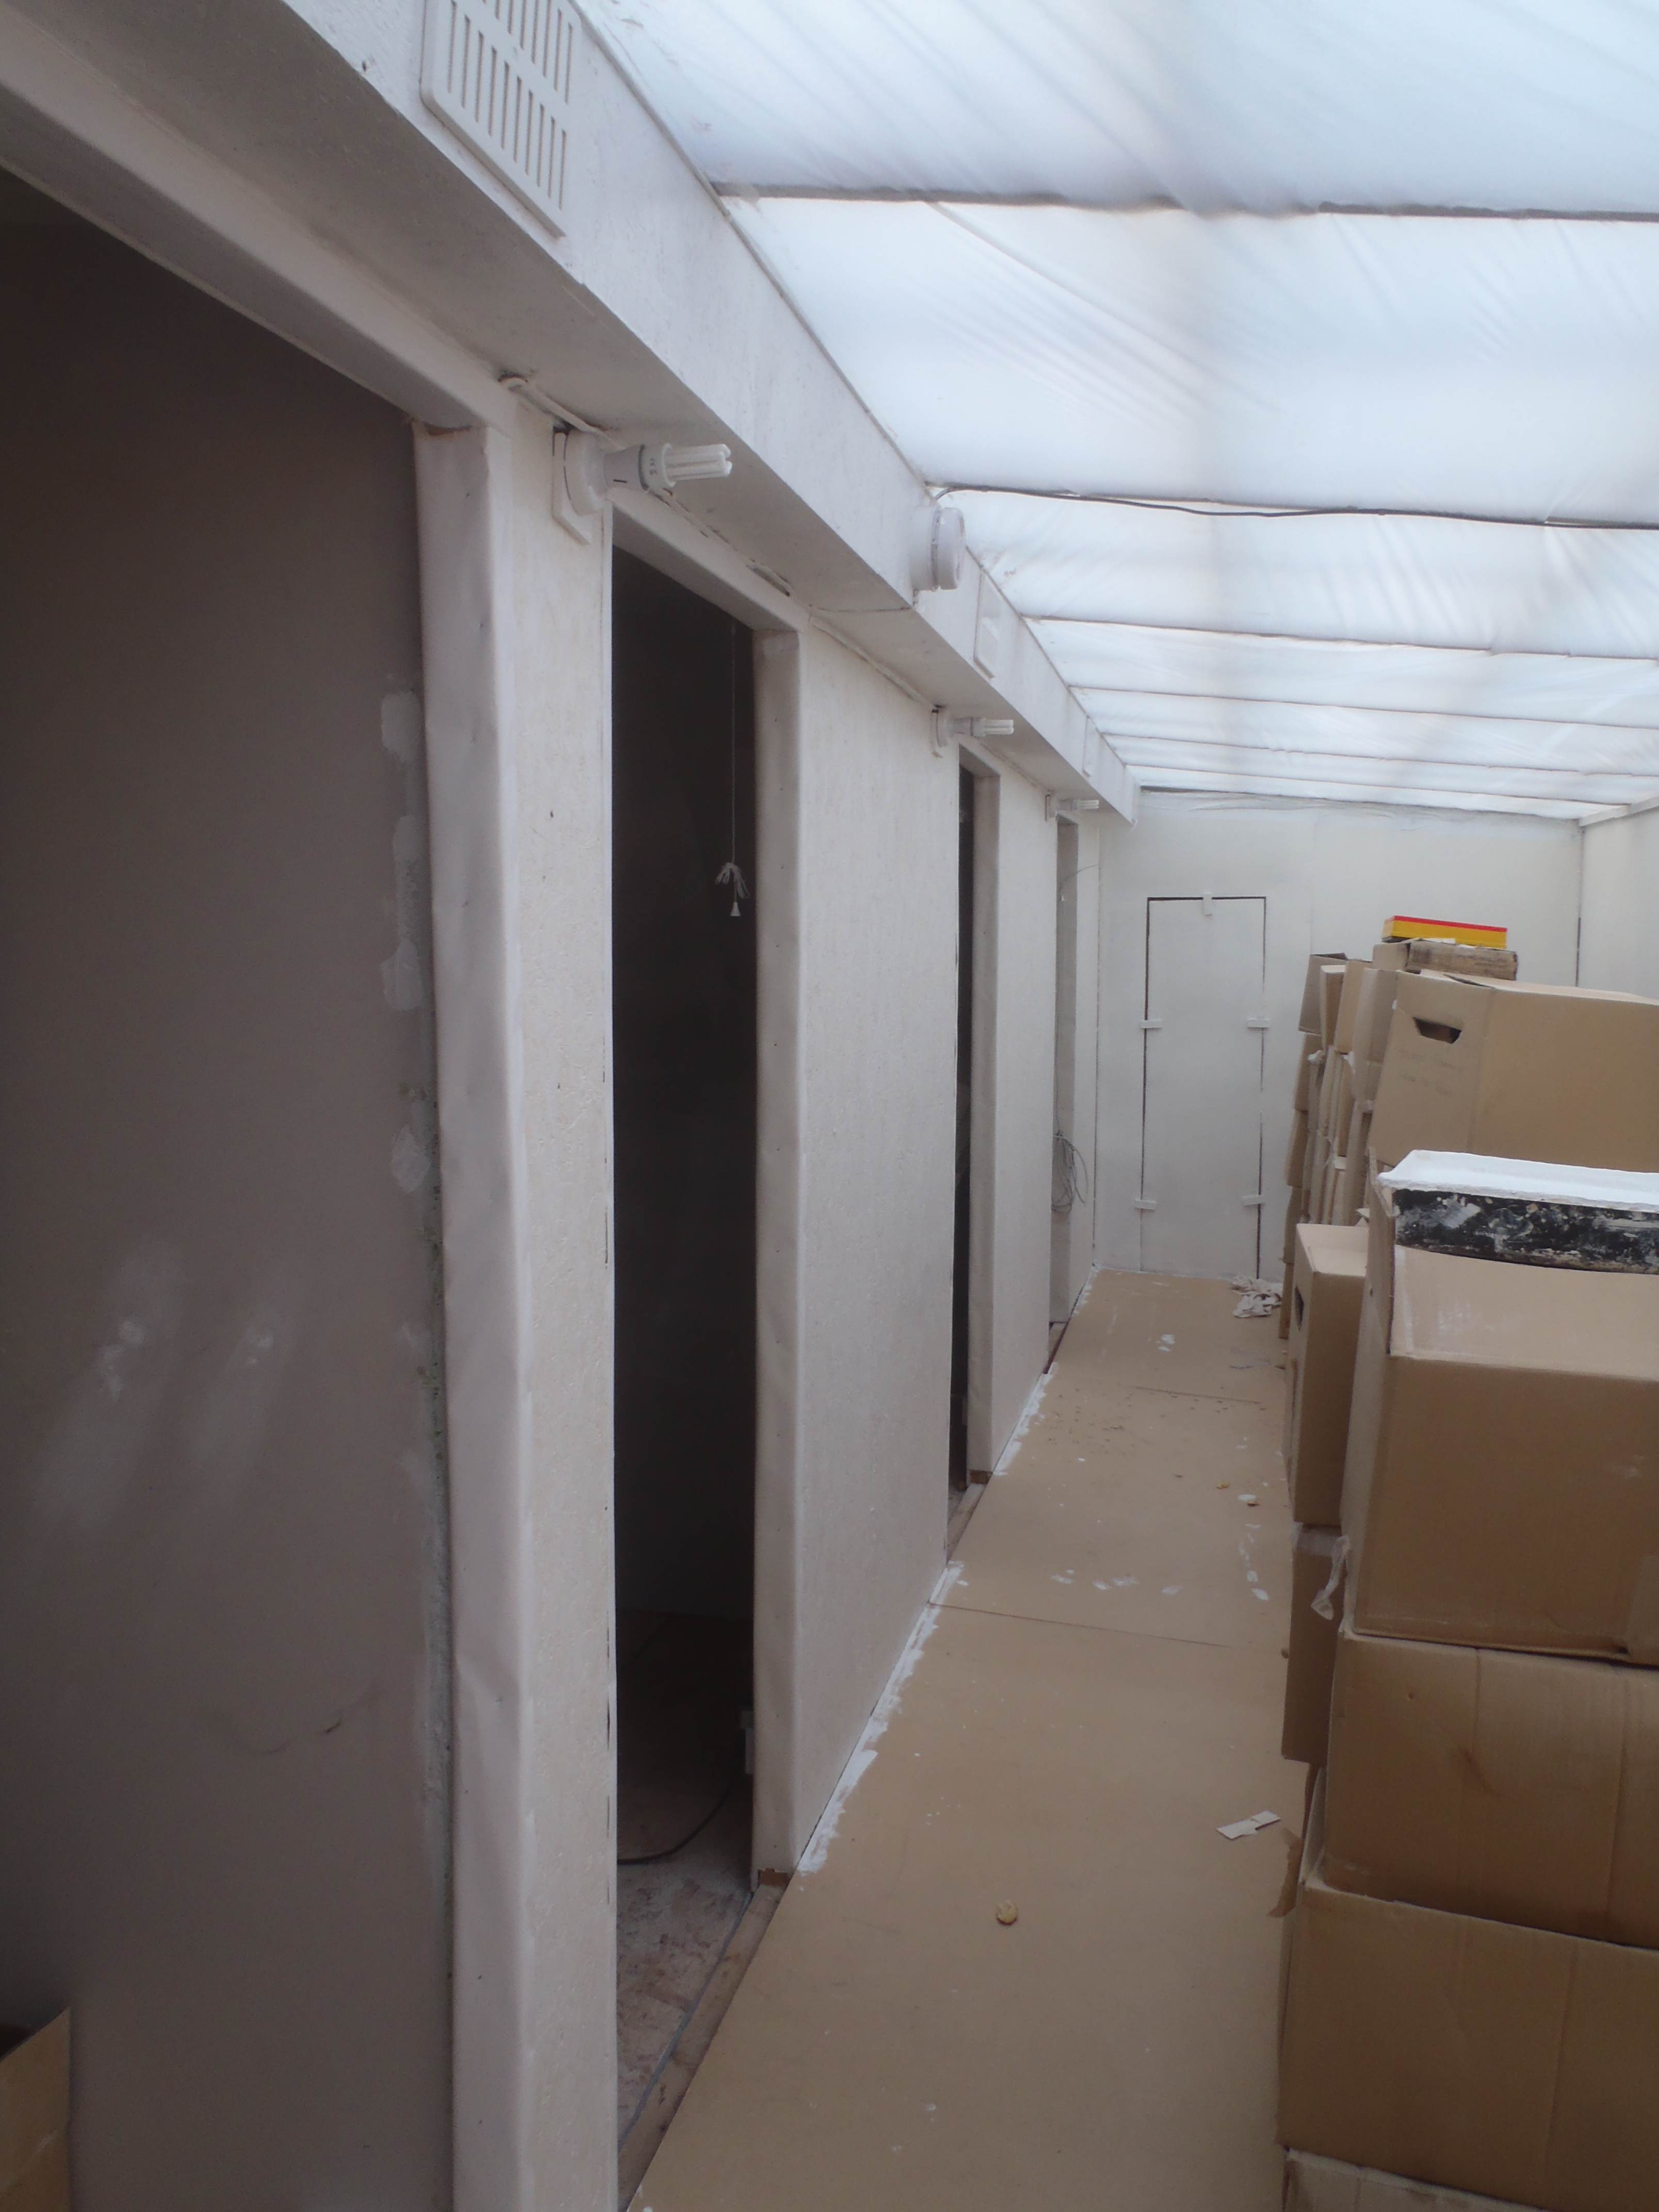
    The rooms in the temporary living quarters started having their final flooring laid down. A layer of 50mm polystyrene foam sheets, with two layers of 3.6mm hardboard on top.

    The lounge was the first room and it was quite complicated with the doorway into the garden room and garage to fit into plus the air ducting turning the corners as well. We have managed to get the foam down and most of the first layer of the hardboard.

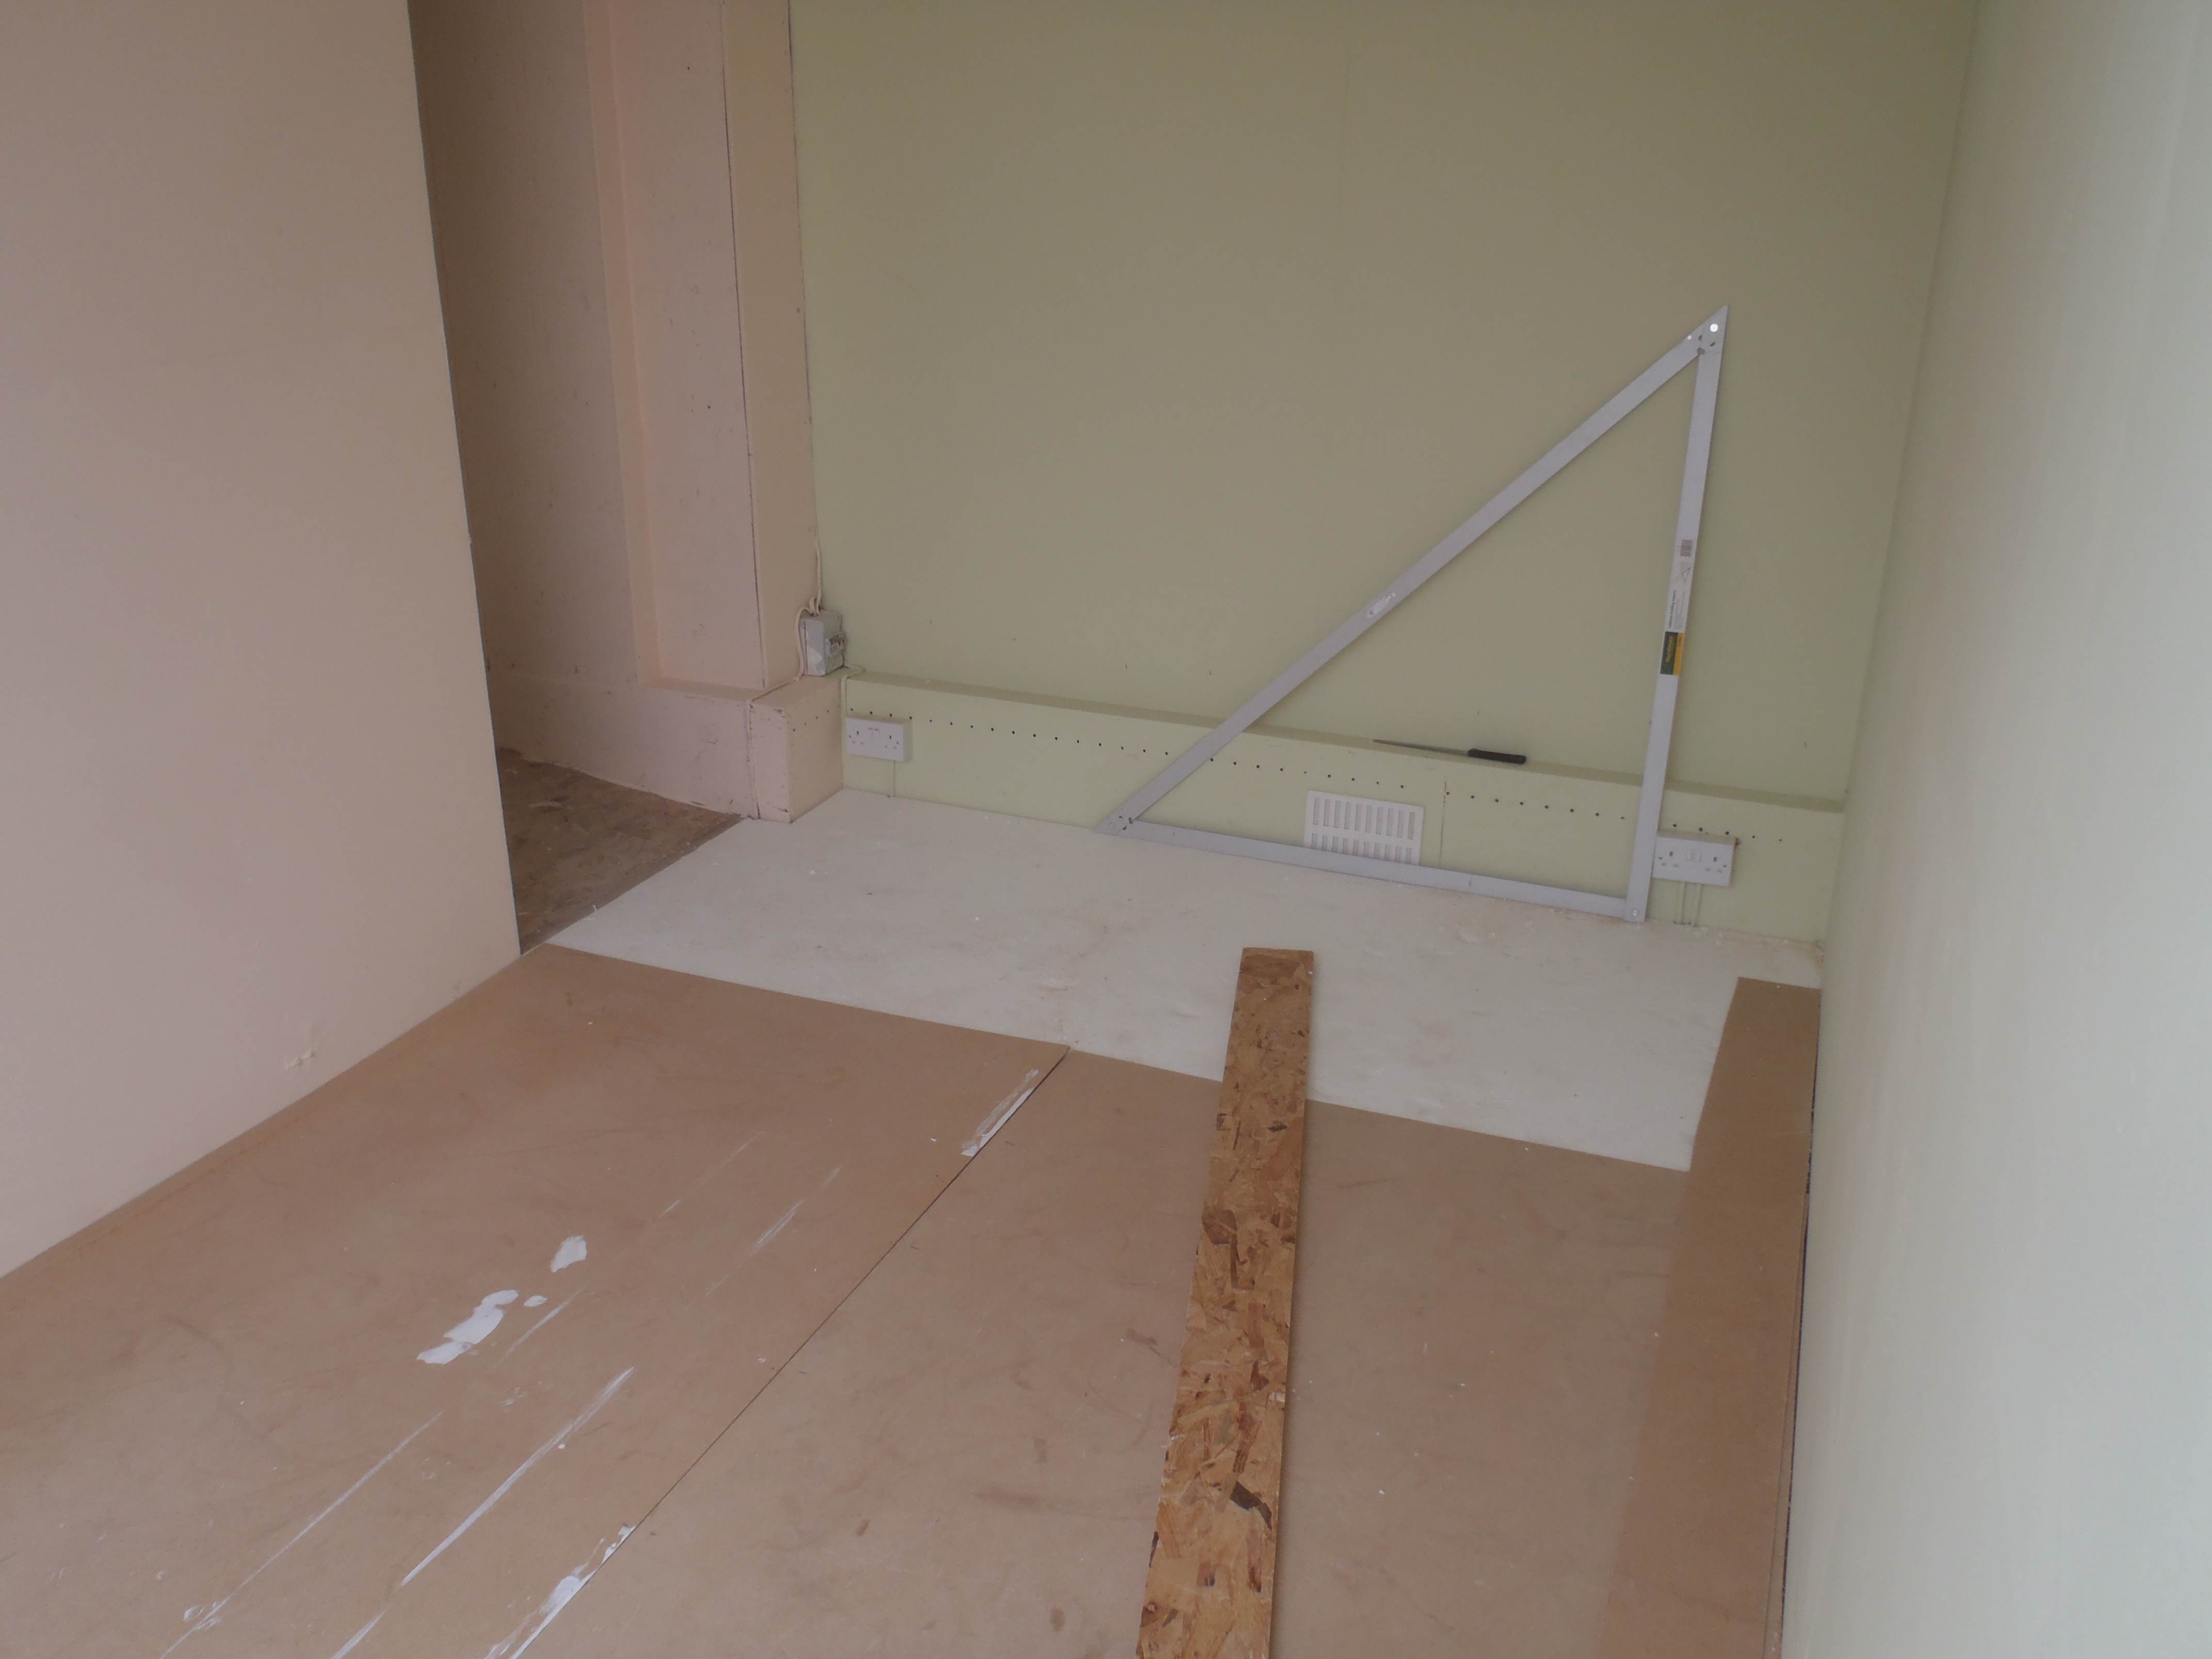
    The other rooms should be simpler by far!

  • Final Day of Painting (Day 6)

    Bedroom 3 has all its four walls done in the pale purple colour. It turned out that only one coat was needed, apart from a little touch up on the joining tapes on the plasterboards and corners.

    Actually there is one more little job to do .. .. the door frames on bedroom 2 and 3 to complete the white borders!

  • Day 5 of Paint, Paint and Paint!

    It was decided that the pinky yellow colour was still too yellow when painted on the walls. More red colour was mixed in and bedroom 1 had another coat to cover up the pinky yellow. It is now more like an orange!

    The same orange was employed on the final two walls in bedroom 2.

    The little bit left of the orange colour was painted on the last two panels in the sun corridor to cover up the slightly off white colour.

    All the ceilings in all four rooms were done to cover up the primer treatment.

    A new tin of white paint, a cheaper brand, was bought, along with a small sample of deep purple, for mixing into the white to make a pale purple colour for bedroom 3.


    One more day should do the trick!

  • Painting day 4

    Today we completed the lounge (the pale green and peach colours). The ceiling seems to be holding the white better now that we have covered the watermarks with the oil primer.

    The front door frame was painted white to make a neater job.

    Bedroom 1 is also nearly finished, the pale green is on two walls and maybe a second coat of the pink yellow paint might be required, after discovering that the paint is perhaps thinner than we first thought.

    Bedroom 2 had two walls done in the pale green too! We await the outcome of the pink yellow coverage in bedroom 1 first before committing the remaining of the paint to bedroom 2.

    All the doorway (lunge and bedrooms) framework was given their coat of white paint.


  • Thumbs Up!

    Today we had a visit from Building Control, to inspect our latest work including our temporary living quarters. We talked of many different aspect of the build and our inspector is quite happy with what we have done. He mentioned that we need an energy assessment and recommends someone for this. He also advises us that if we can get the electrical work approved for the first part by a qualified electrician and then come back at the end to test everything in one go might be a possible way forward.

    The only thing he had regret over, was that he might be retired by the time we are finished! Smile!

  • Painting Day 3

    All the ceilings (lounge, bedroom 1 to 3 and hallway) were painted with white vinyl matt (another old tin on the self!). The batten and edges of the new plasterboard on the ceiling in the hallway was hand brushed with the same paint.

    The reddish magnolia (peach colour?) was the first to be applied in the lounge on the long wall (the one that goes from the entrance into the garage down to the hallway). All the edges and corners were painted by hand and the 12inch roller followed after!

    Then it was the Pale Green’s turn! The edges and corners as well as around the electrical sockets was painted with our home made pale green colour. The lounge and bedroom 1 was completed.


    Finally the ceilings (apart from the hallway) were spot treated with an oil based primer to cover up various patches of water leak stains. These ceilings are part of the old storage shed and we had problems with the roofing felt a few years ago hence the water marks!

    Tomorrow they (the ceilings) will have their final top coat of white.

  • Day 2 of Painting

    The visuals were mixing colours from all our old pots of emulsion paint. We got a large quantity of yellow, a little of pale blue and also a little of a pinkish orange colour. The expert (Daphne) decided that the pale blue mixed into the yellow produced a nice pale green! We used half the yellow, the other half was mixed with the orangey pink (called Bongo Jazz) and produced a pinky yellow! We also had some redder magnolia. So we are set to coat our lounge and bedrooms!

    Paint colour tests

    Paint colour tests

    We will be using the colours labeled B, D and F
    Also we did a final plasterboard job of covering up the exposed polystyrene foam in the ceiling of the entrance hallway for fire protection.

    That will be painted white along with the other four rooms!

  • Corridor and Hall Painted

    The whole length of the Sun Corridor and Entrance Hall has been painted a glorious white! We found several pots of old white emulsion and mixed the whole lot together.

    We tried using the spray painting machine and after having to dilute the paint with water (about third water to two third paint) to get it to work. Spraying the OSB boards in the Hall did quite well as it fills in the millions of little indents but the spraying pattern on the wall does need careful motions and control to make an even finish or faint stripes might appear.

    But for the majority of the wall surfaces, we resorted to the usual 12inch roller! We went around all the edges with a small pot and brush to fill in the places that a roller would not reach and we managed to do two coats today!


    We will paint the ceiling of the four rooms white as well and since we are nearly out of the cheaper white emulsion, we will go and buy another 10litres pot. We calculated that we will need about 75 square metres of coverage. The walls on the other hand, adds up to about 200 square metres and we should have enough of other old pots of emulsion (a yellow, a pale blue and a bit of Bongo Jazz!) so our lounge and our bedrooms would have some relief of colour to break the sheer whiteness!!

  • Smoothing Door holes

    We smoothed off the door holes in and out of the three bedroom and the larger opening that is the lounge. The cut-outs are quite rough with sawn edges and plasterboards showing.

    We took standard backing wallpaper and rolled up a length (2100mm – 7geet) in the other direction to create a long tube. We then flattened it to produce a multilayer strip 140mm wide which we wrapped around the edges of the doorways. They were held up with staples.

    We also have been using a pre-formed hardboard shaped like a capital L which were the protection strips for the worktop. It is a very similar idea of wallpaper rolled up and flattened but in their case, they have use some sort of glue to mould it into a stiffen shape! We simply cut them up and used the pieces to cover the horizontal top edges of our door ways!

  • Toilet Gains Extra features!

    The toilet in the Garden Room now has a mirror (600mm high and 450mm wide) a flat plane of glass with no edging or bevel, just screwed up with four screws in each corner. Two wire double trays mounted on either side of the mirror on the side walls. A toilet roll holder and a towel rail also mounted on the back wall under the window.


    The sliding doors has a pair of knobs fitted. Along the edge where the two doors comes into contact, magnetic strips were stuck on to “lock” the doors together when the toilet is engaged! The only problem was that the magnetic strips proved to be far stronger than we had anticipated! We needed a crowbar to get them apart again (well not a crowbar exactly but .. ..!). We solved the problem by sticking very thin strips of plastic on the magnets so they are kept apart further when the two sliding doors closes, the power of the magnetic force is reduced and it worked!!