Category: Build Progress

  • Kitchen & Hot Water

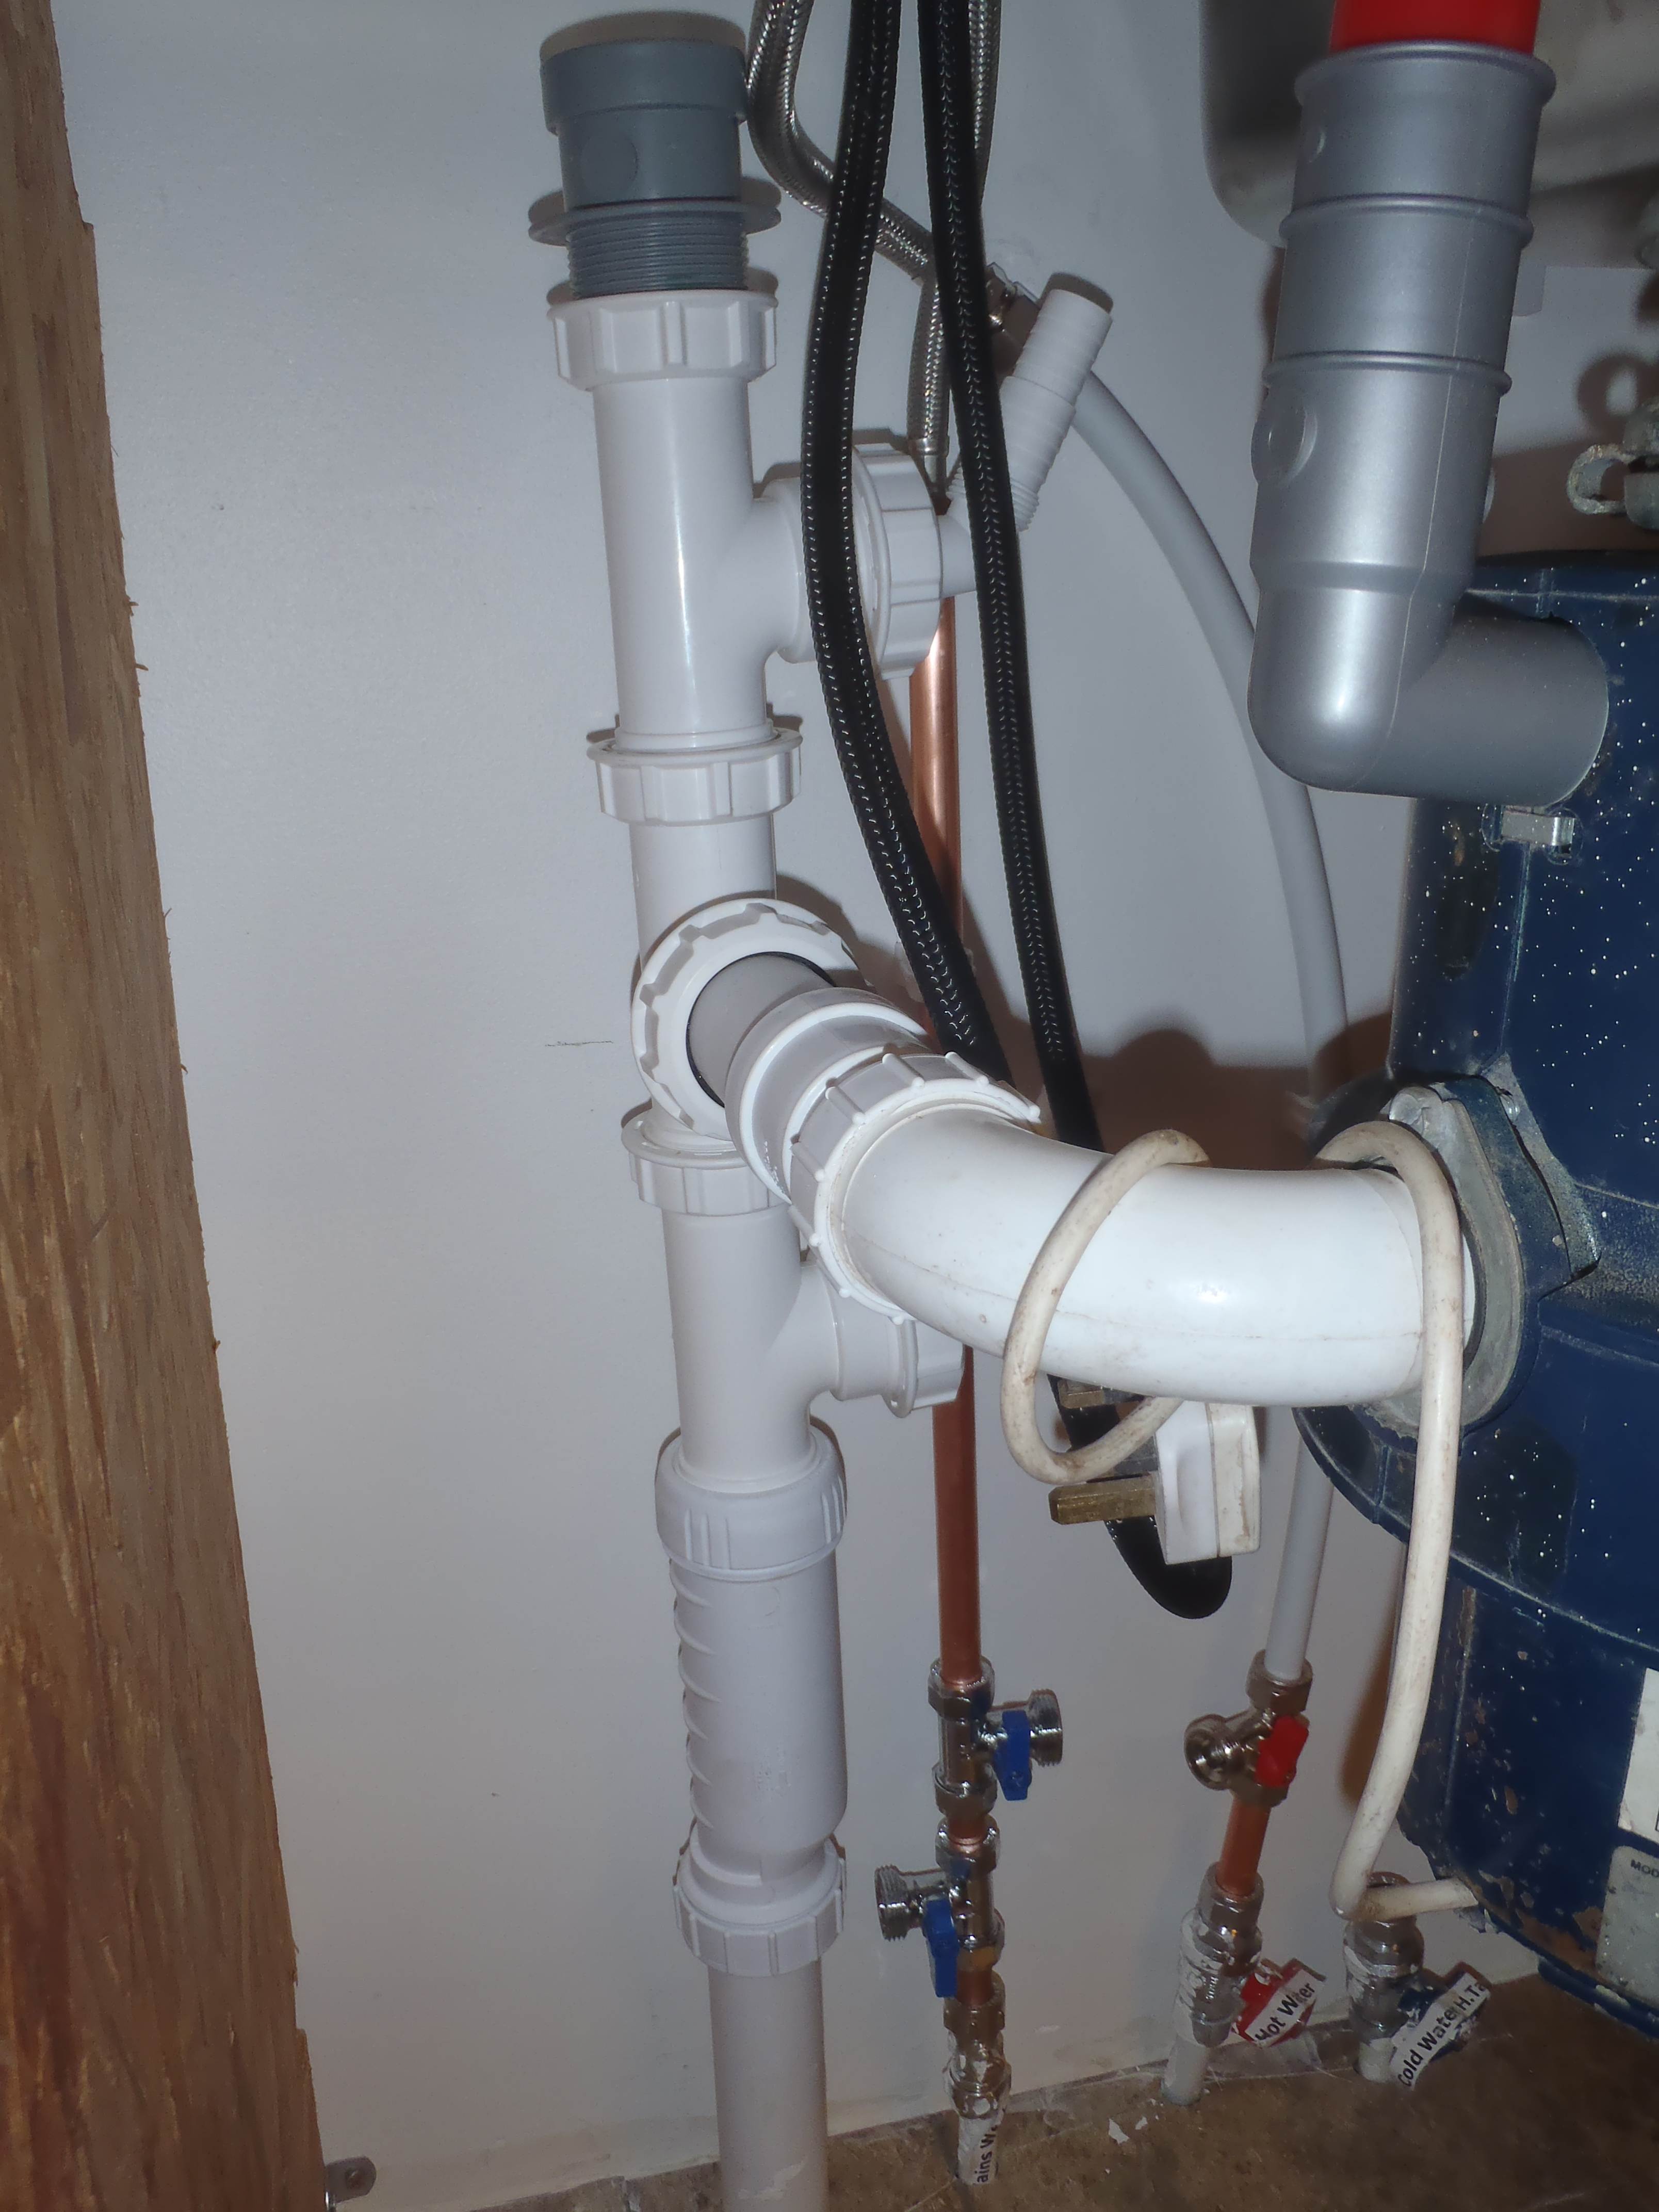
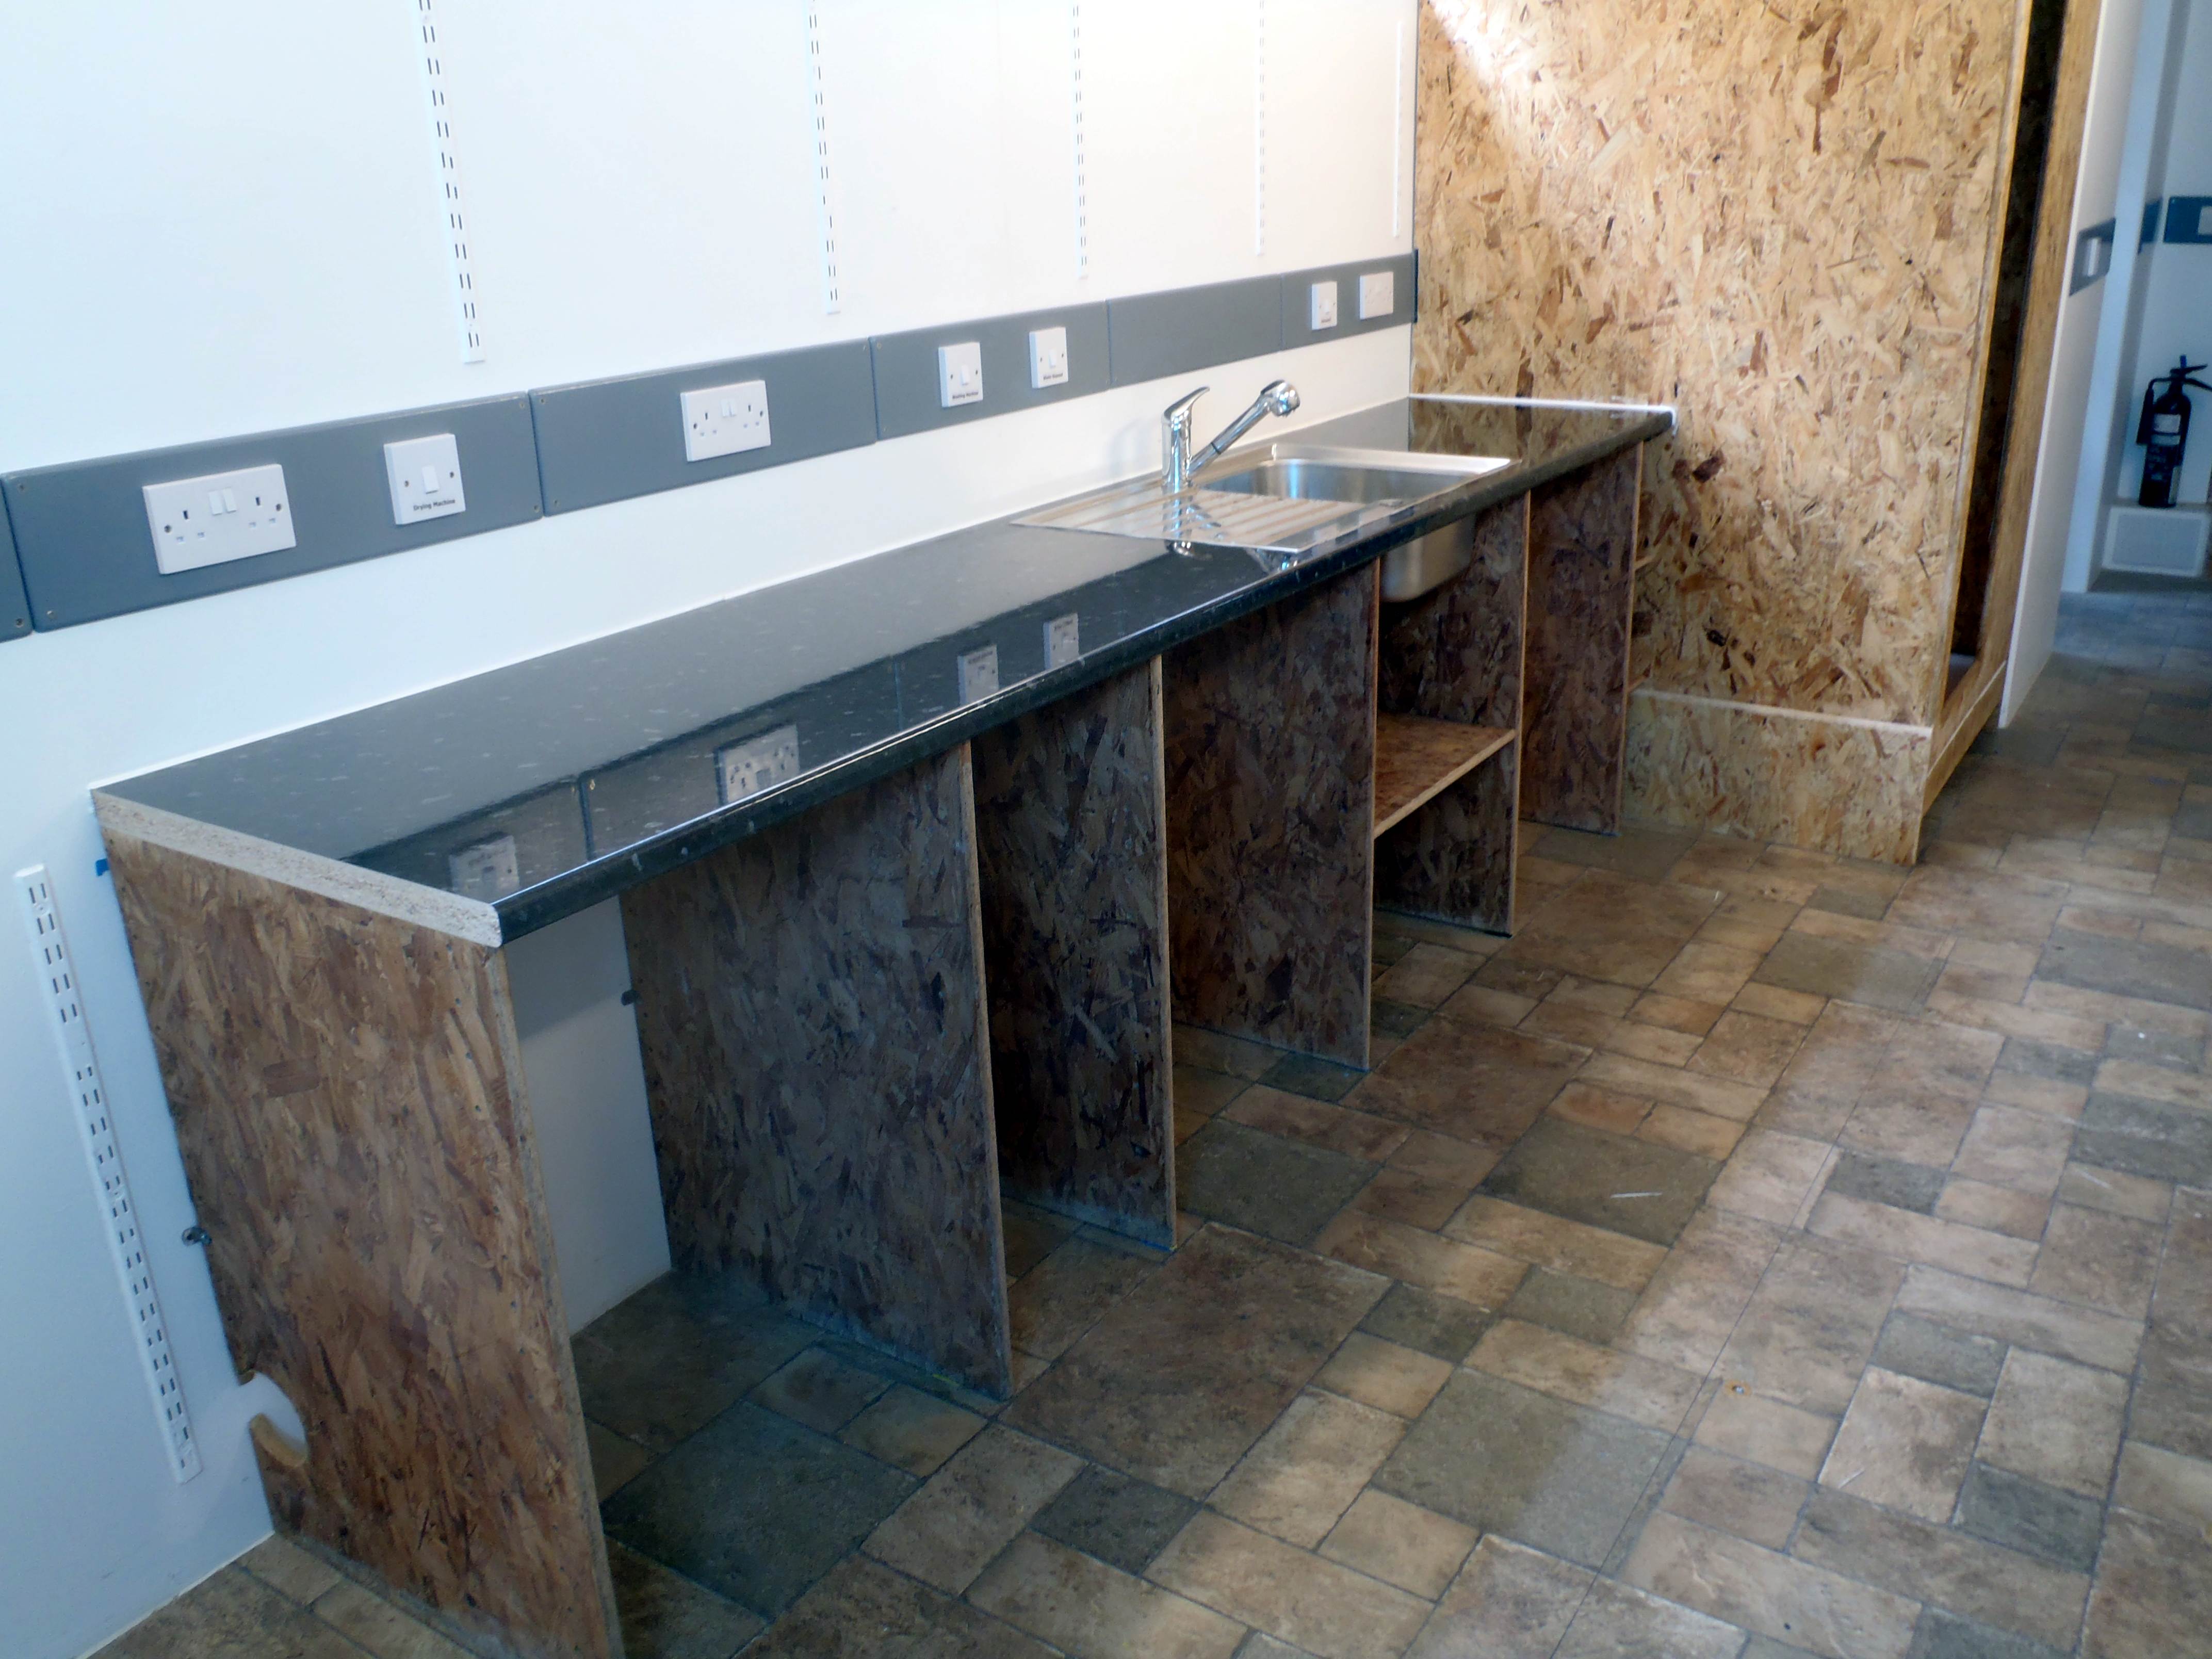
    The sink seems to be sealed! We ran water into the sink and nothing leaked!! The waste disposal unit operated just fine too! Phew! Thanks goodness for that! We switched on the immersion heater during lunch time and we returned back to a half a tank of hot water! The basin in the toilet delivers the hot water after about 30 seconds of waiting (it is a long run and the head of pressure is low. The kitchen sink came through ok too after about 20seconds (of course it is a shorter run).

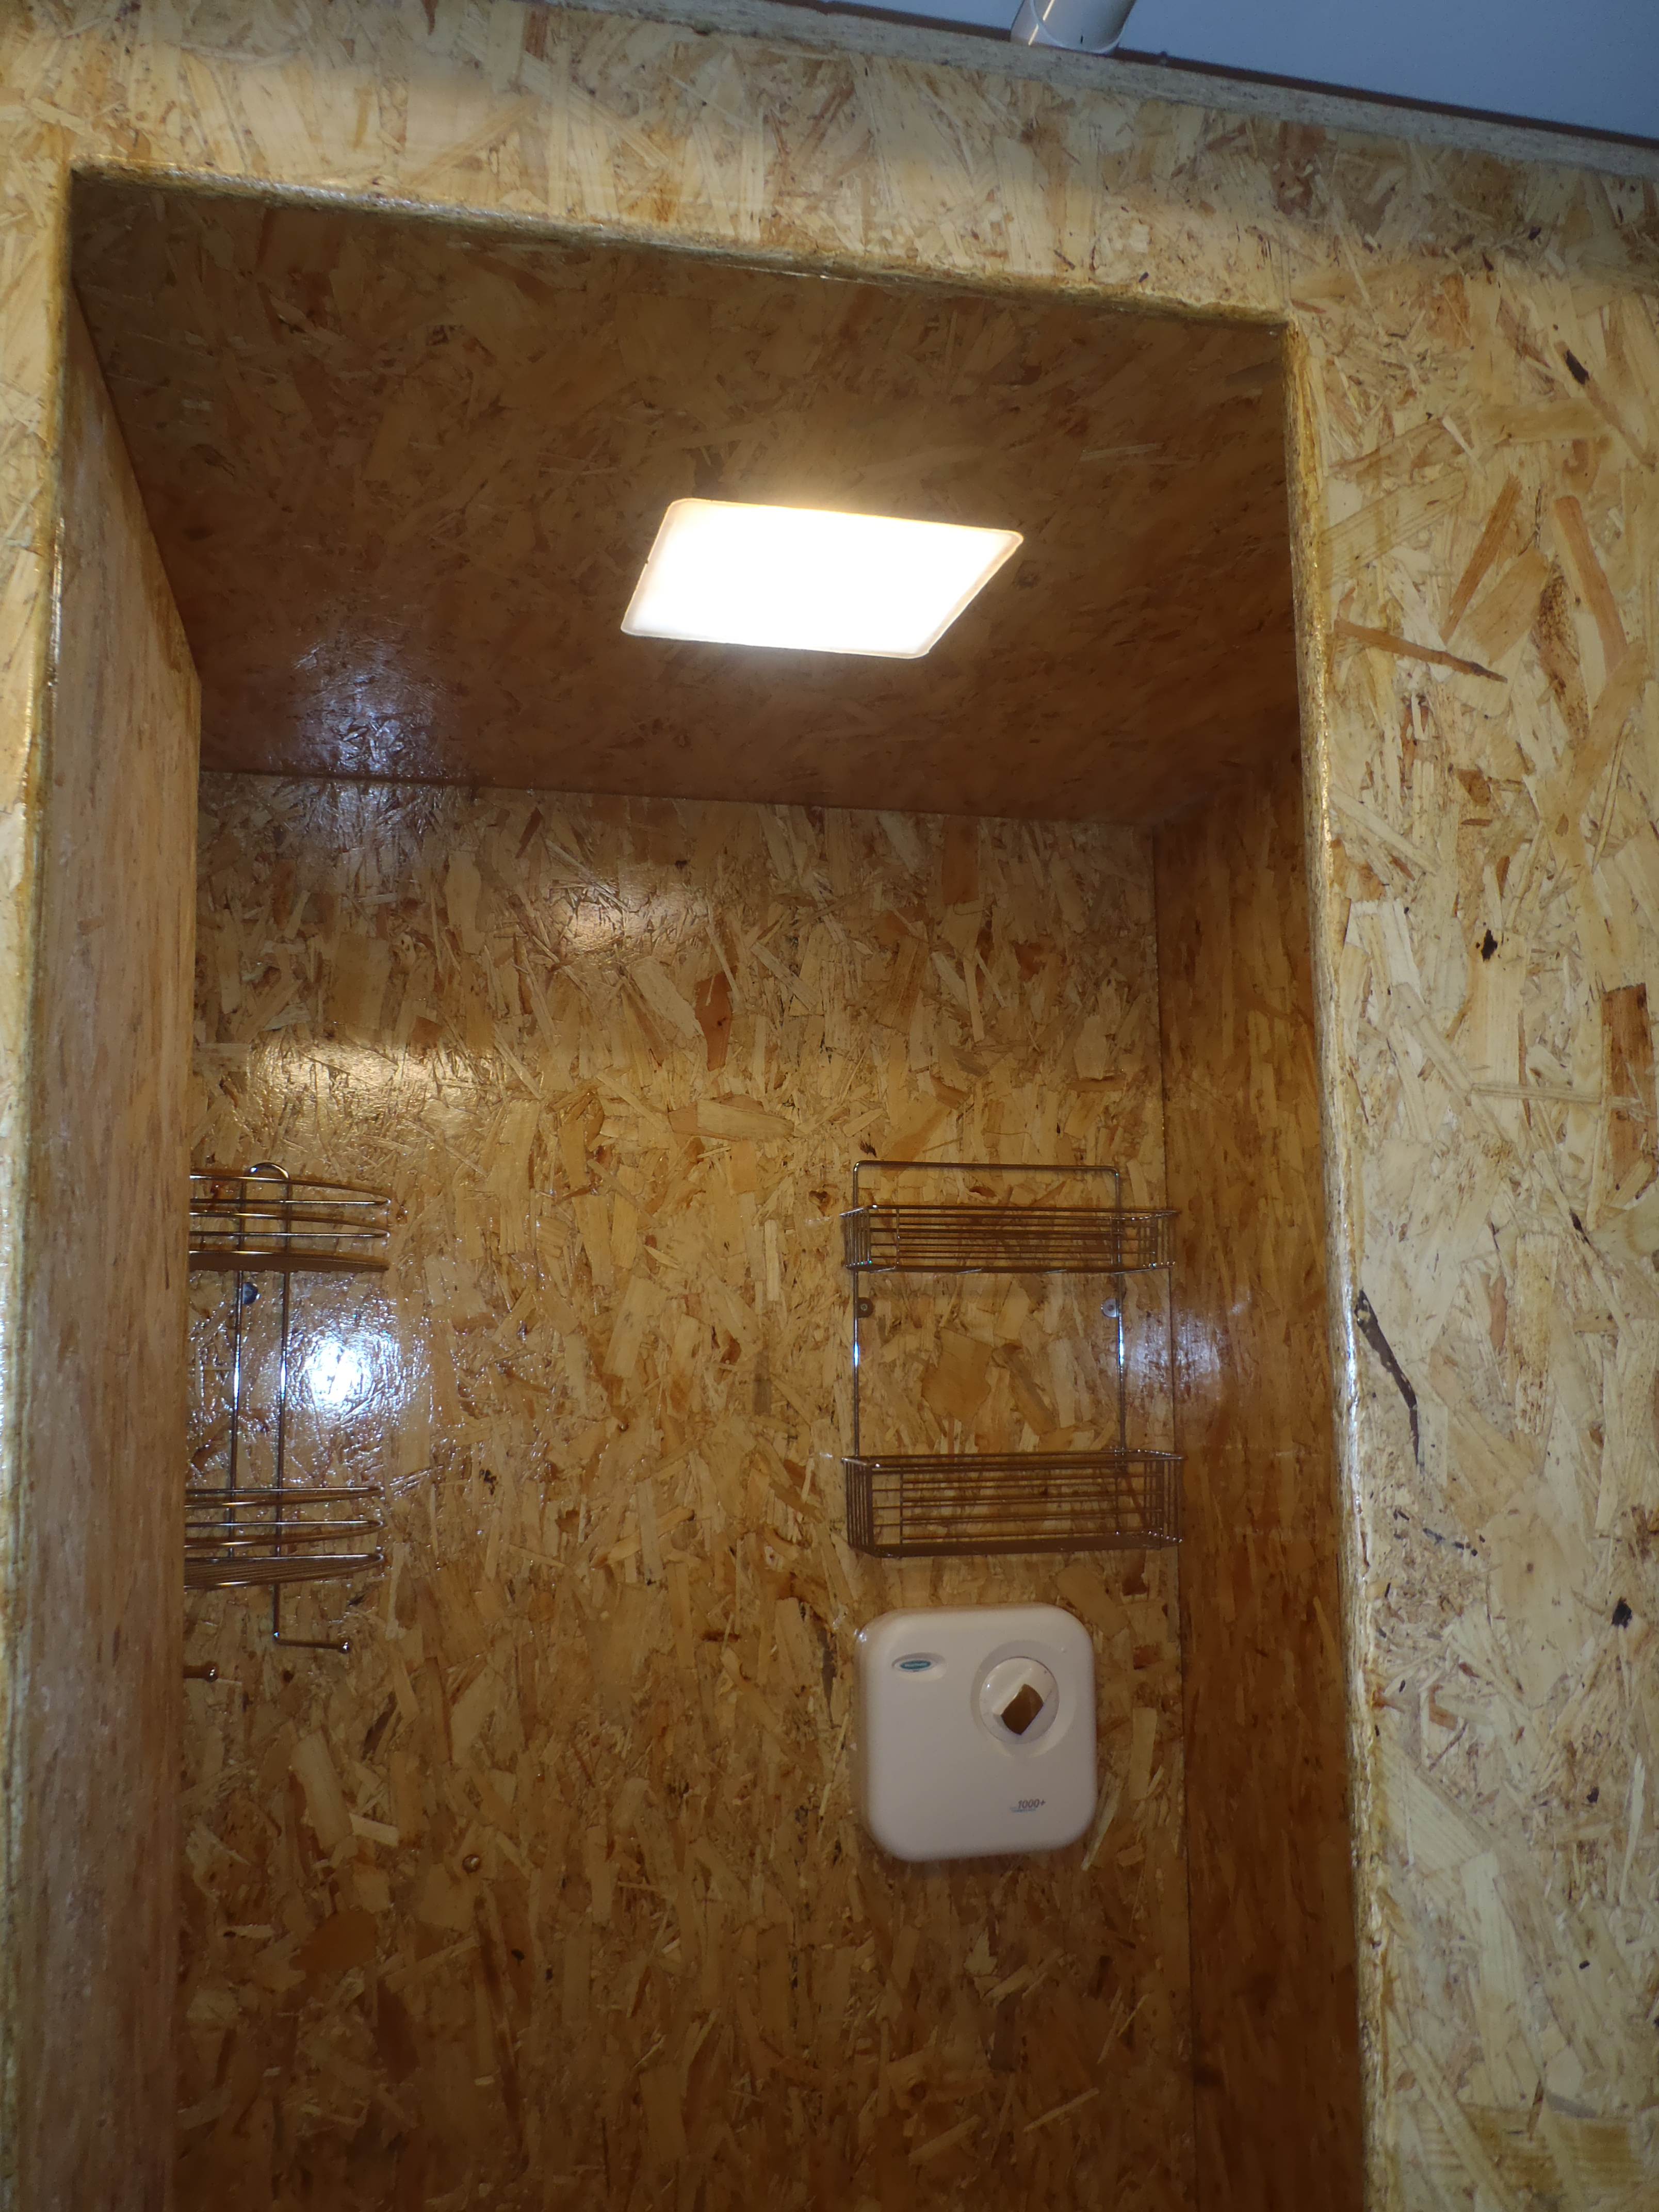
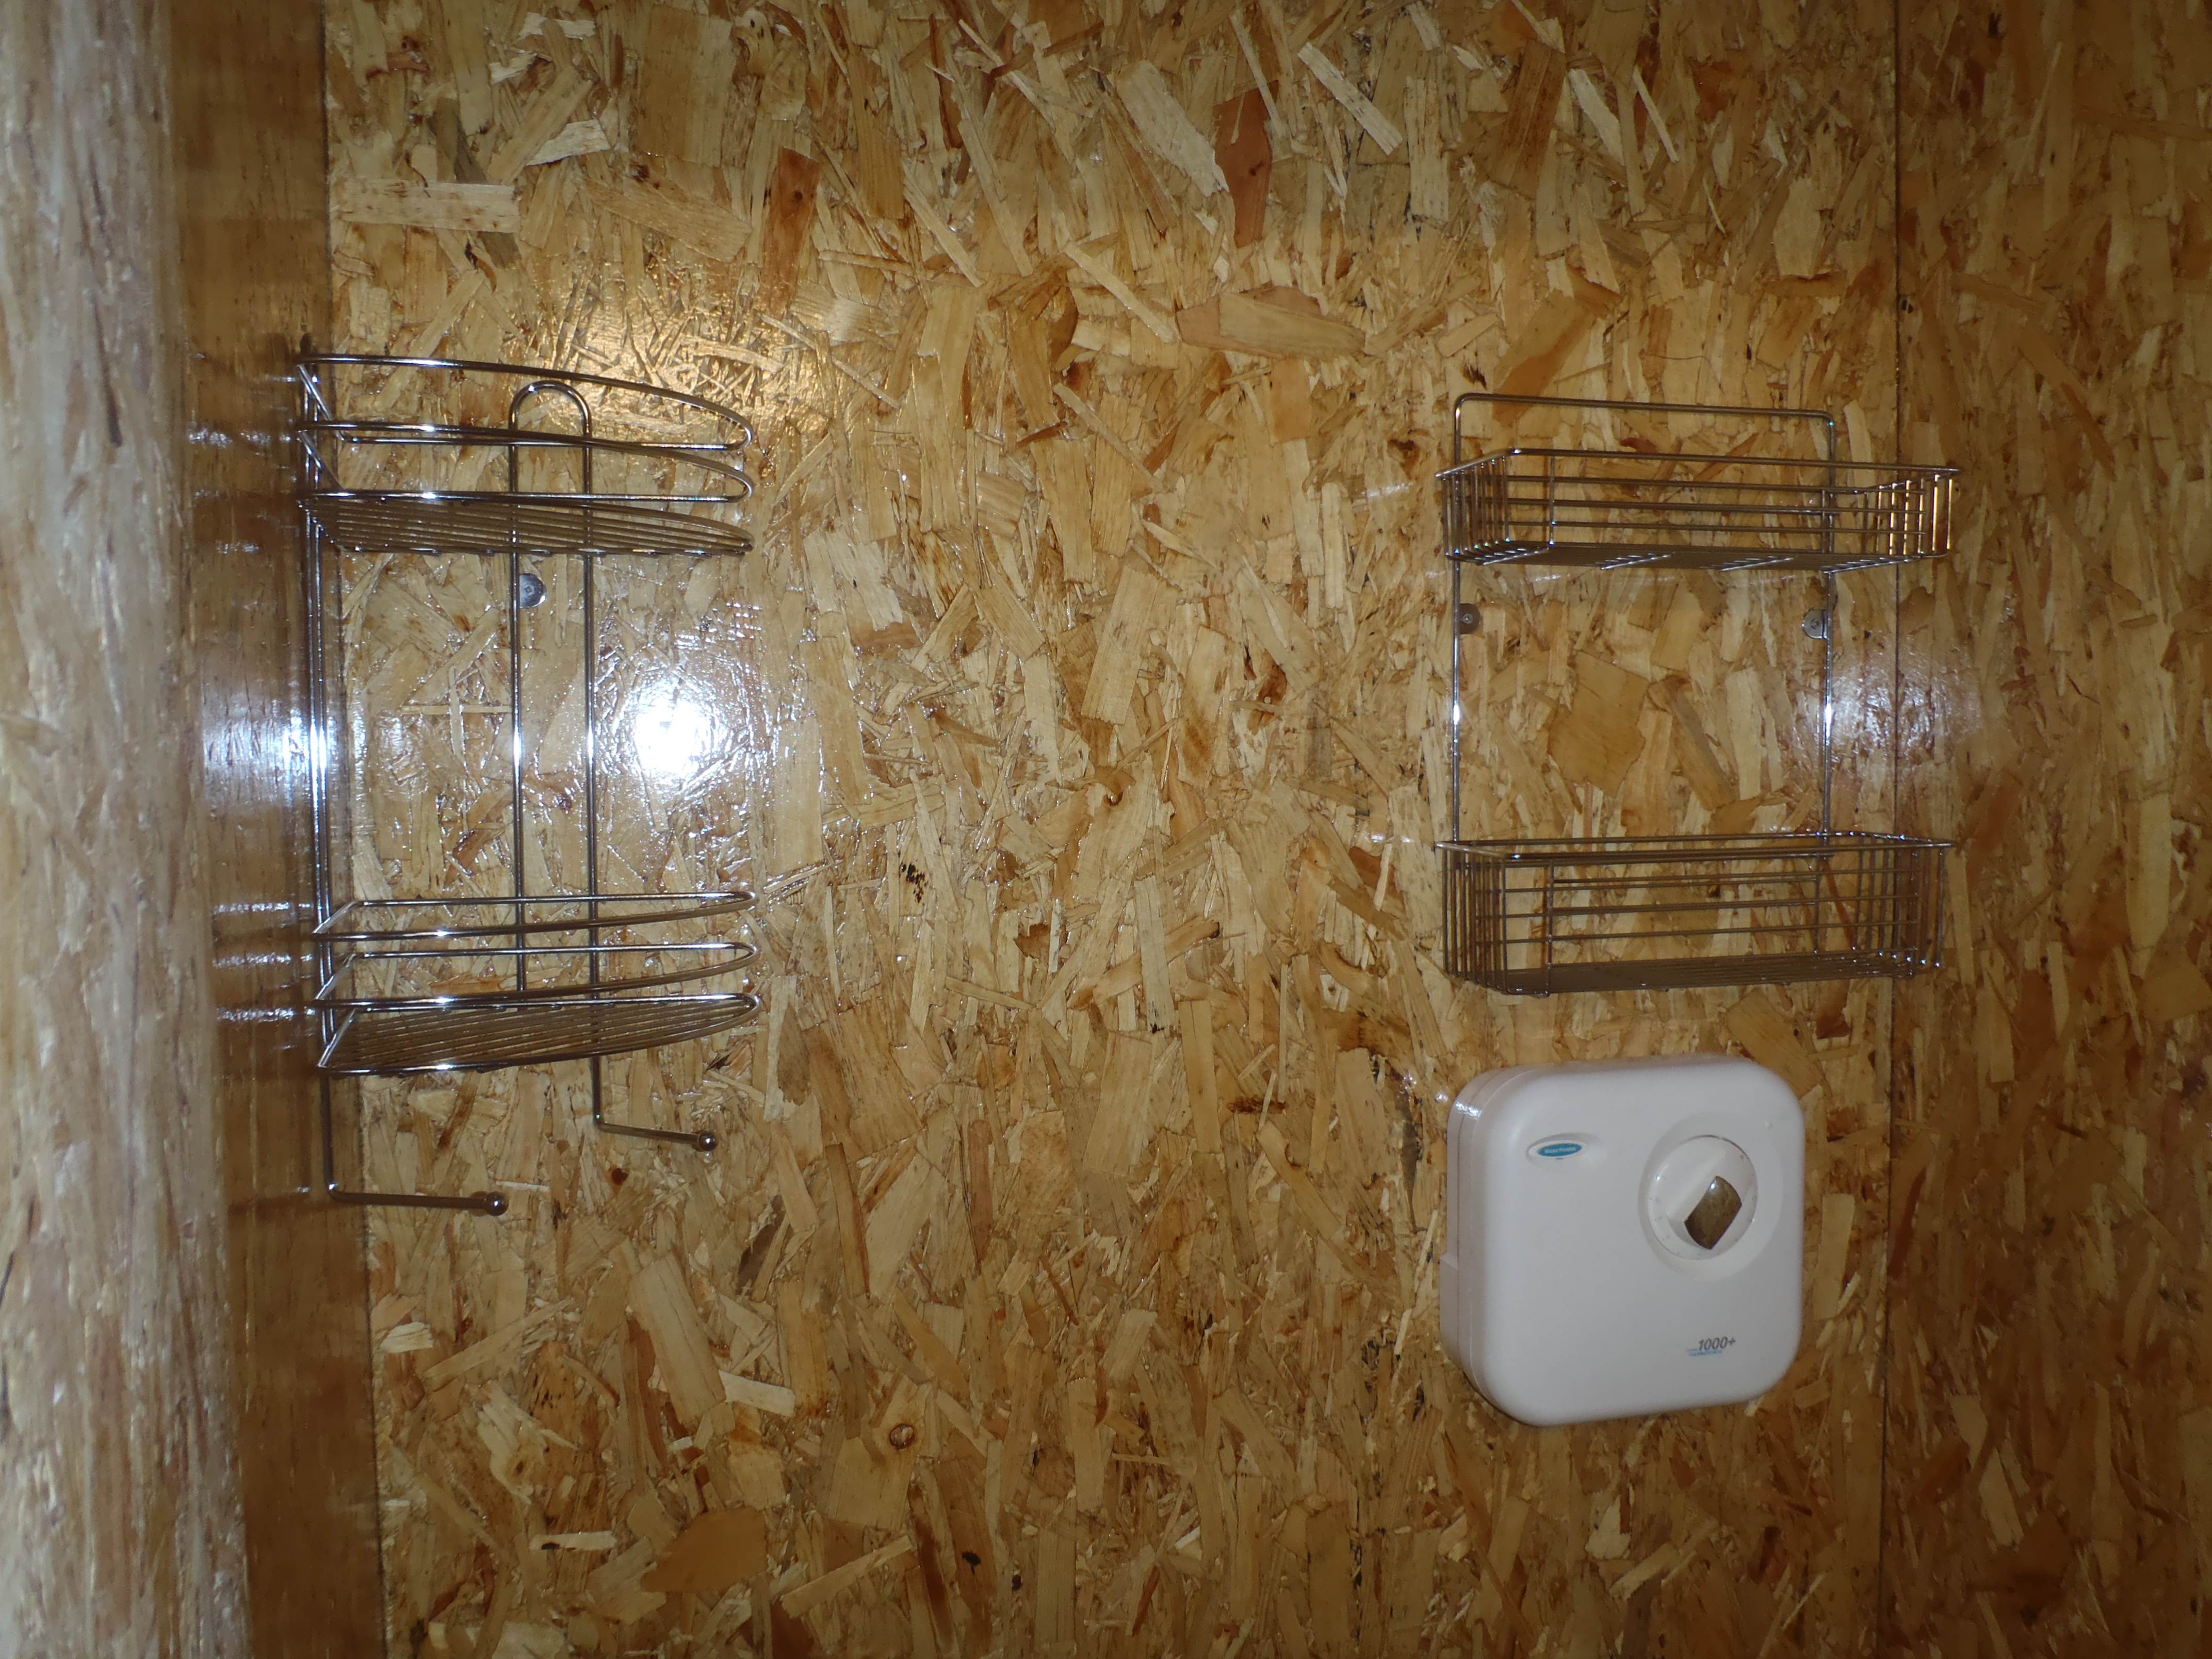
    We put the shelf in under the sink and put a self in the section between the washing machine and the tumble dryer.

    We also sealed off the final part of the air ducting above the air con unit to direct the old waste air up and out of the building. Then we put up a door to cover up the hot water tank cupboard using a piece of 9mm hardwood ply (measuring 560mm wide and 2270mm high) with a slot cut into the edge to allow the lighting channel’s flange to be accommodated.

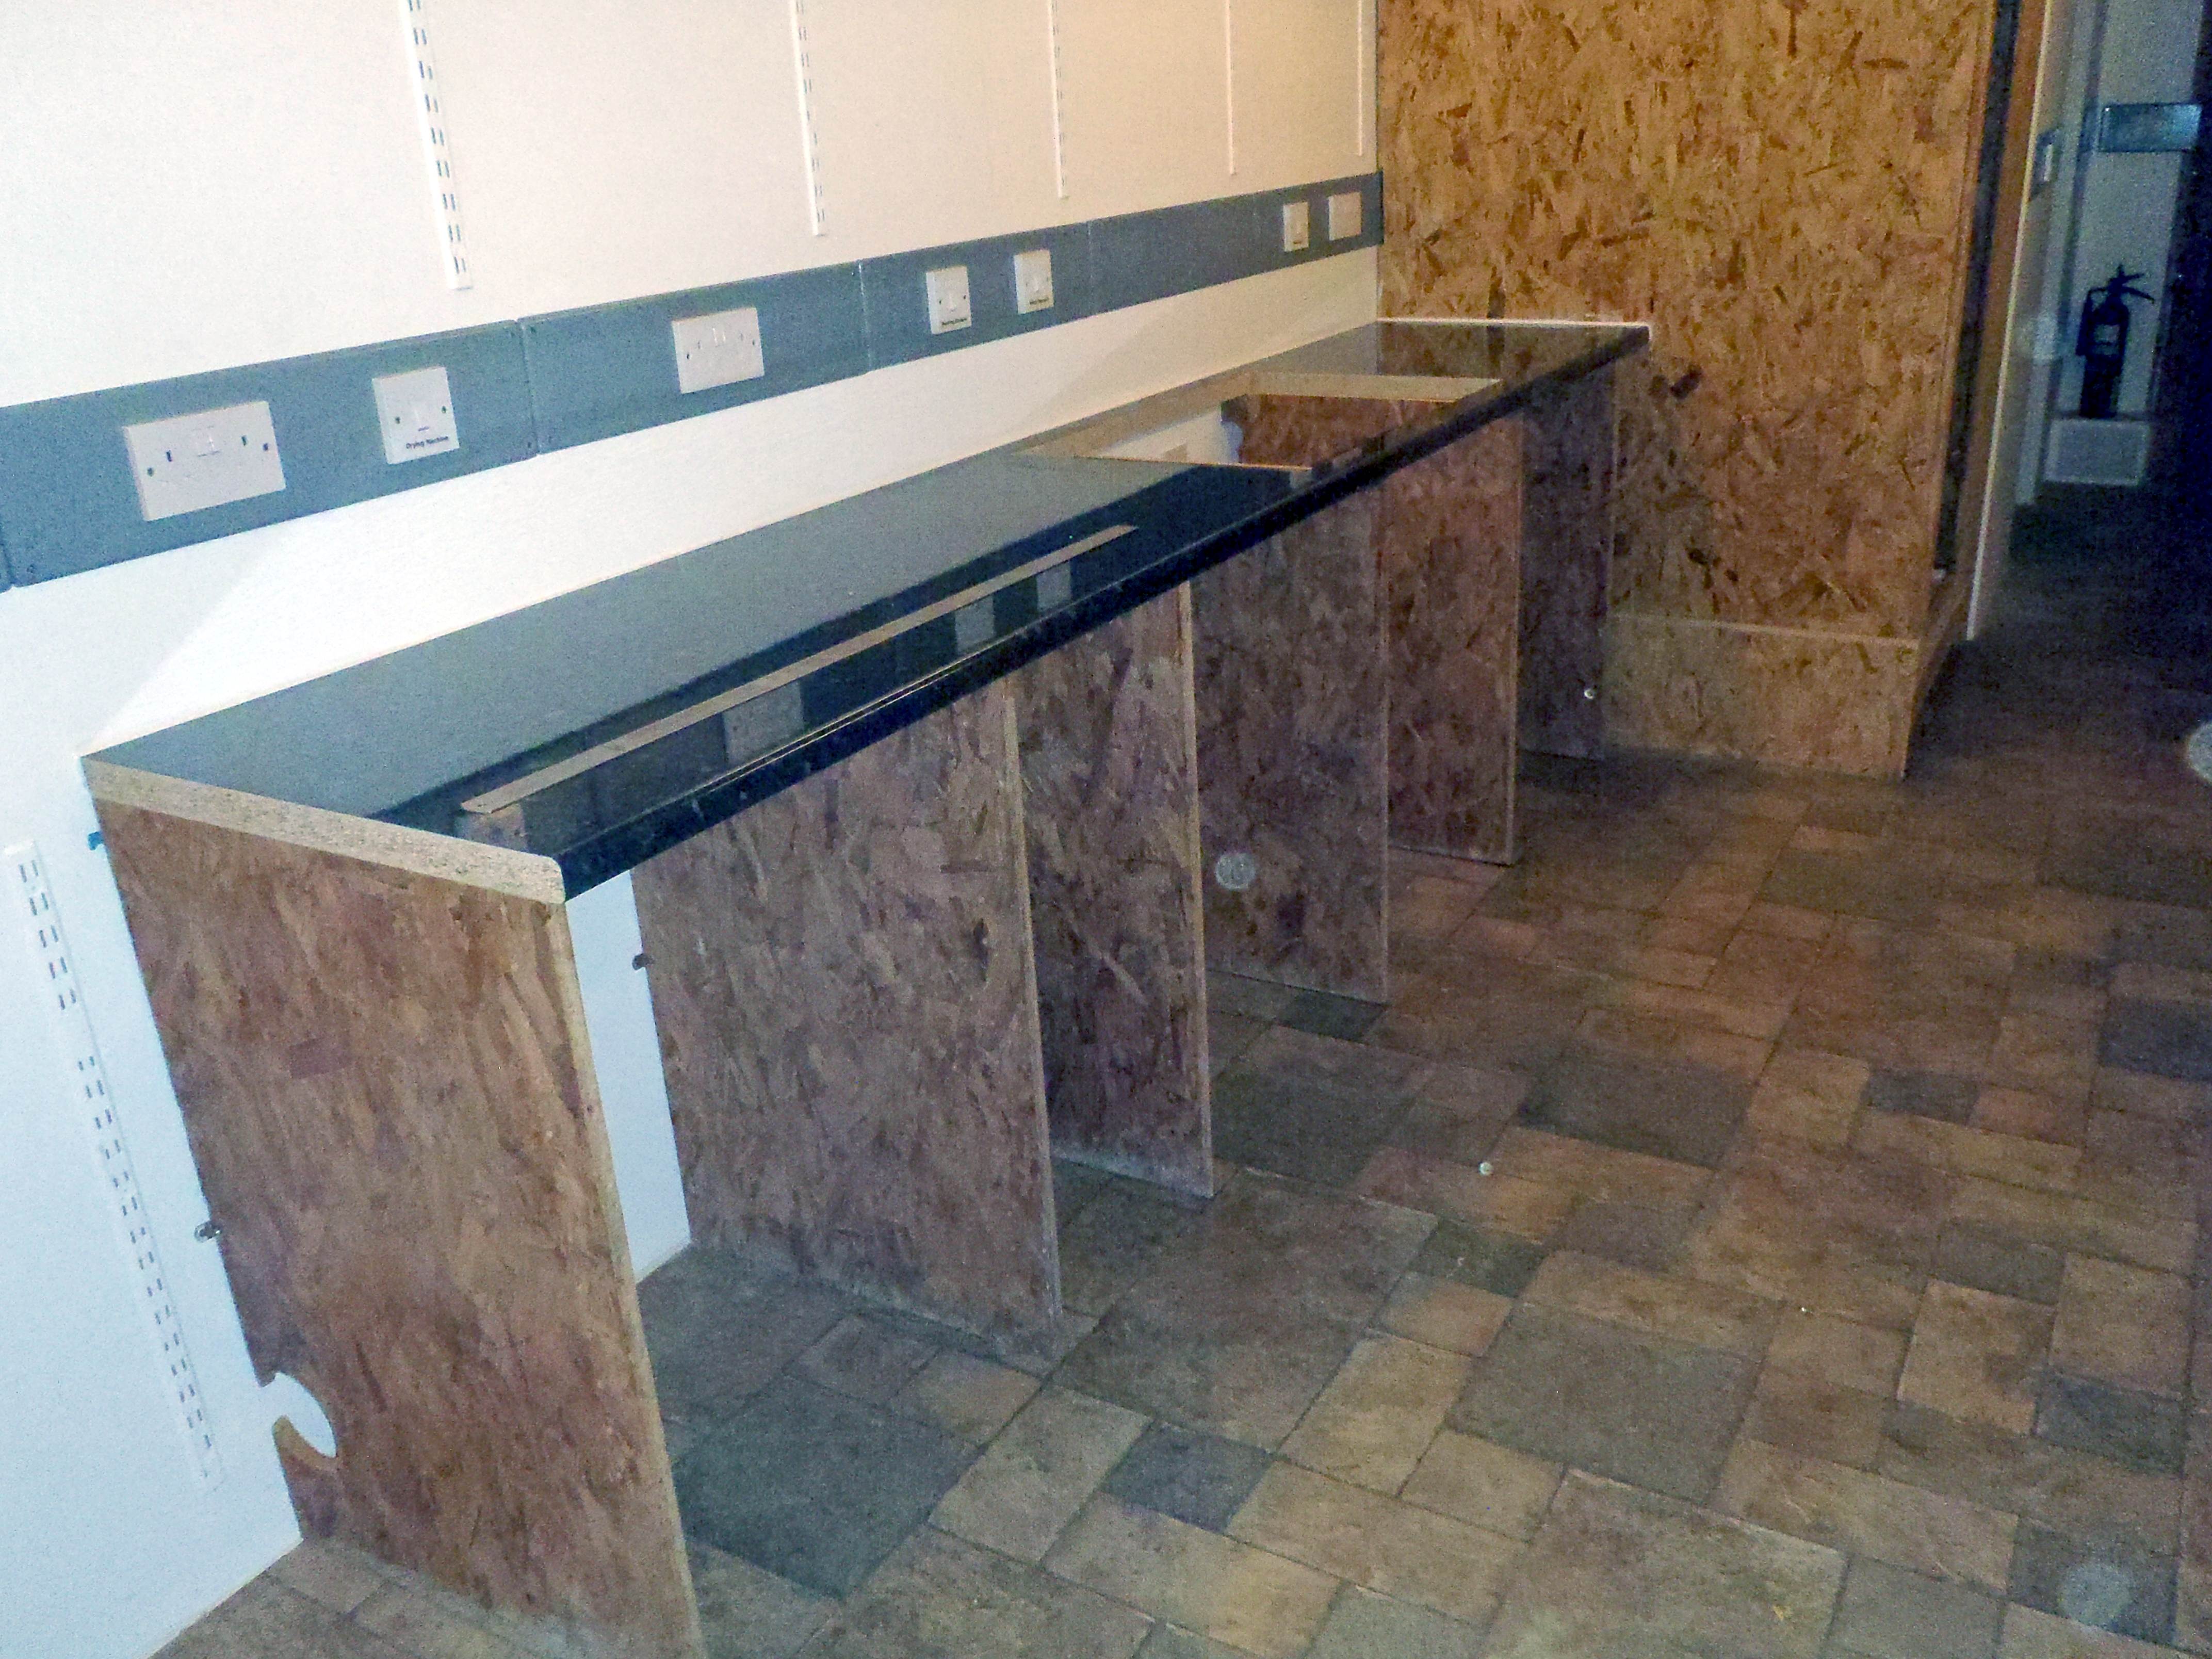
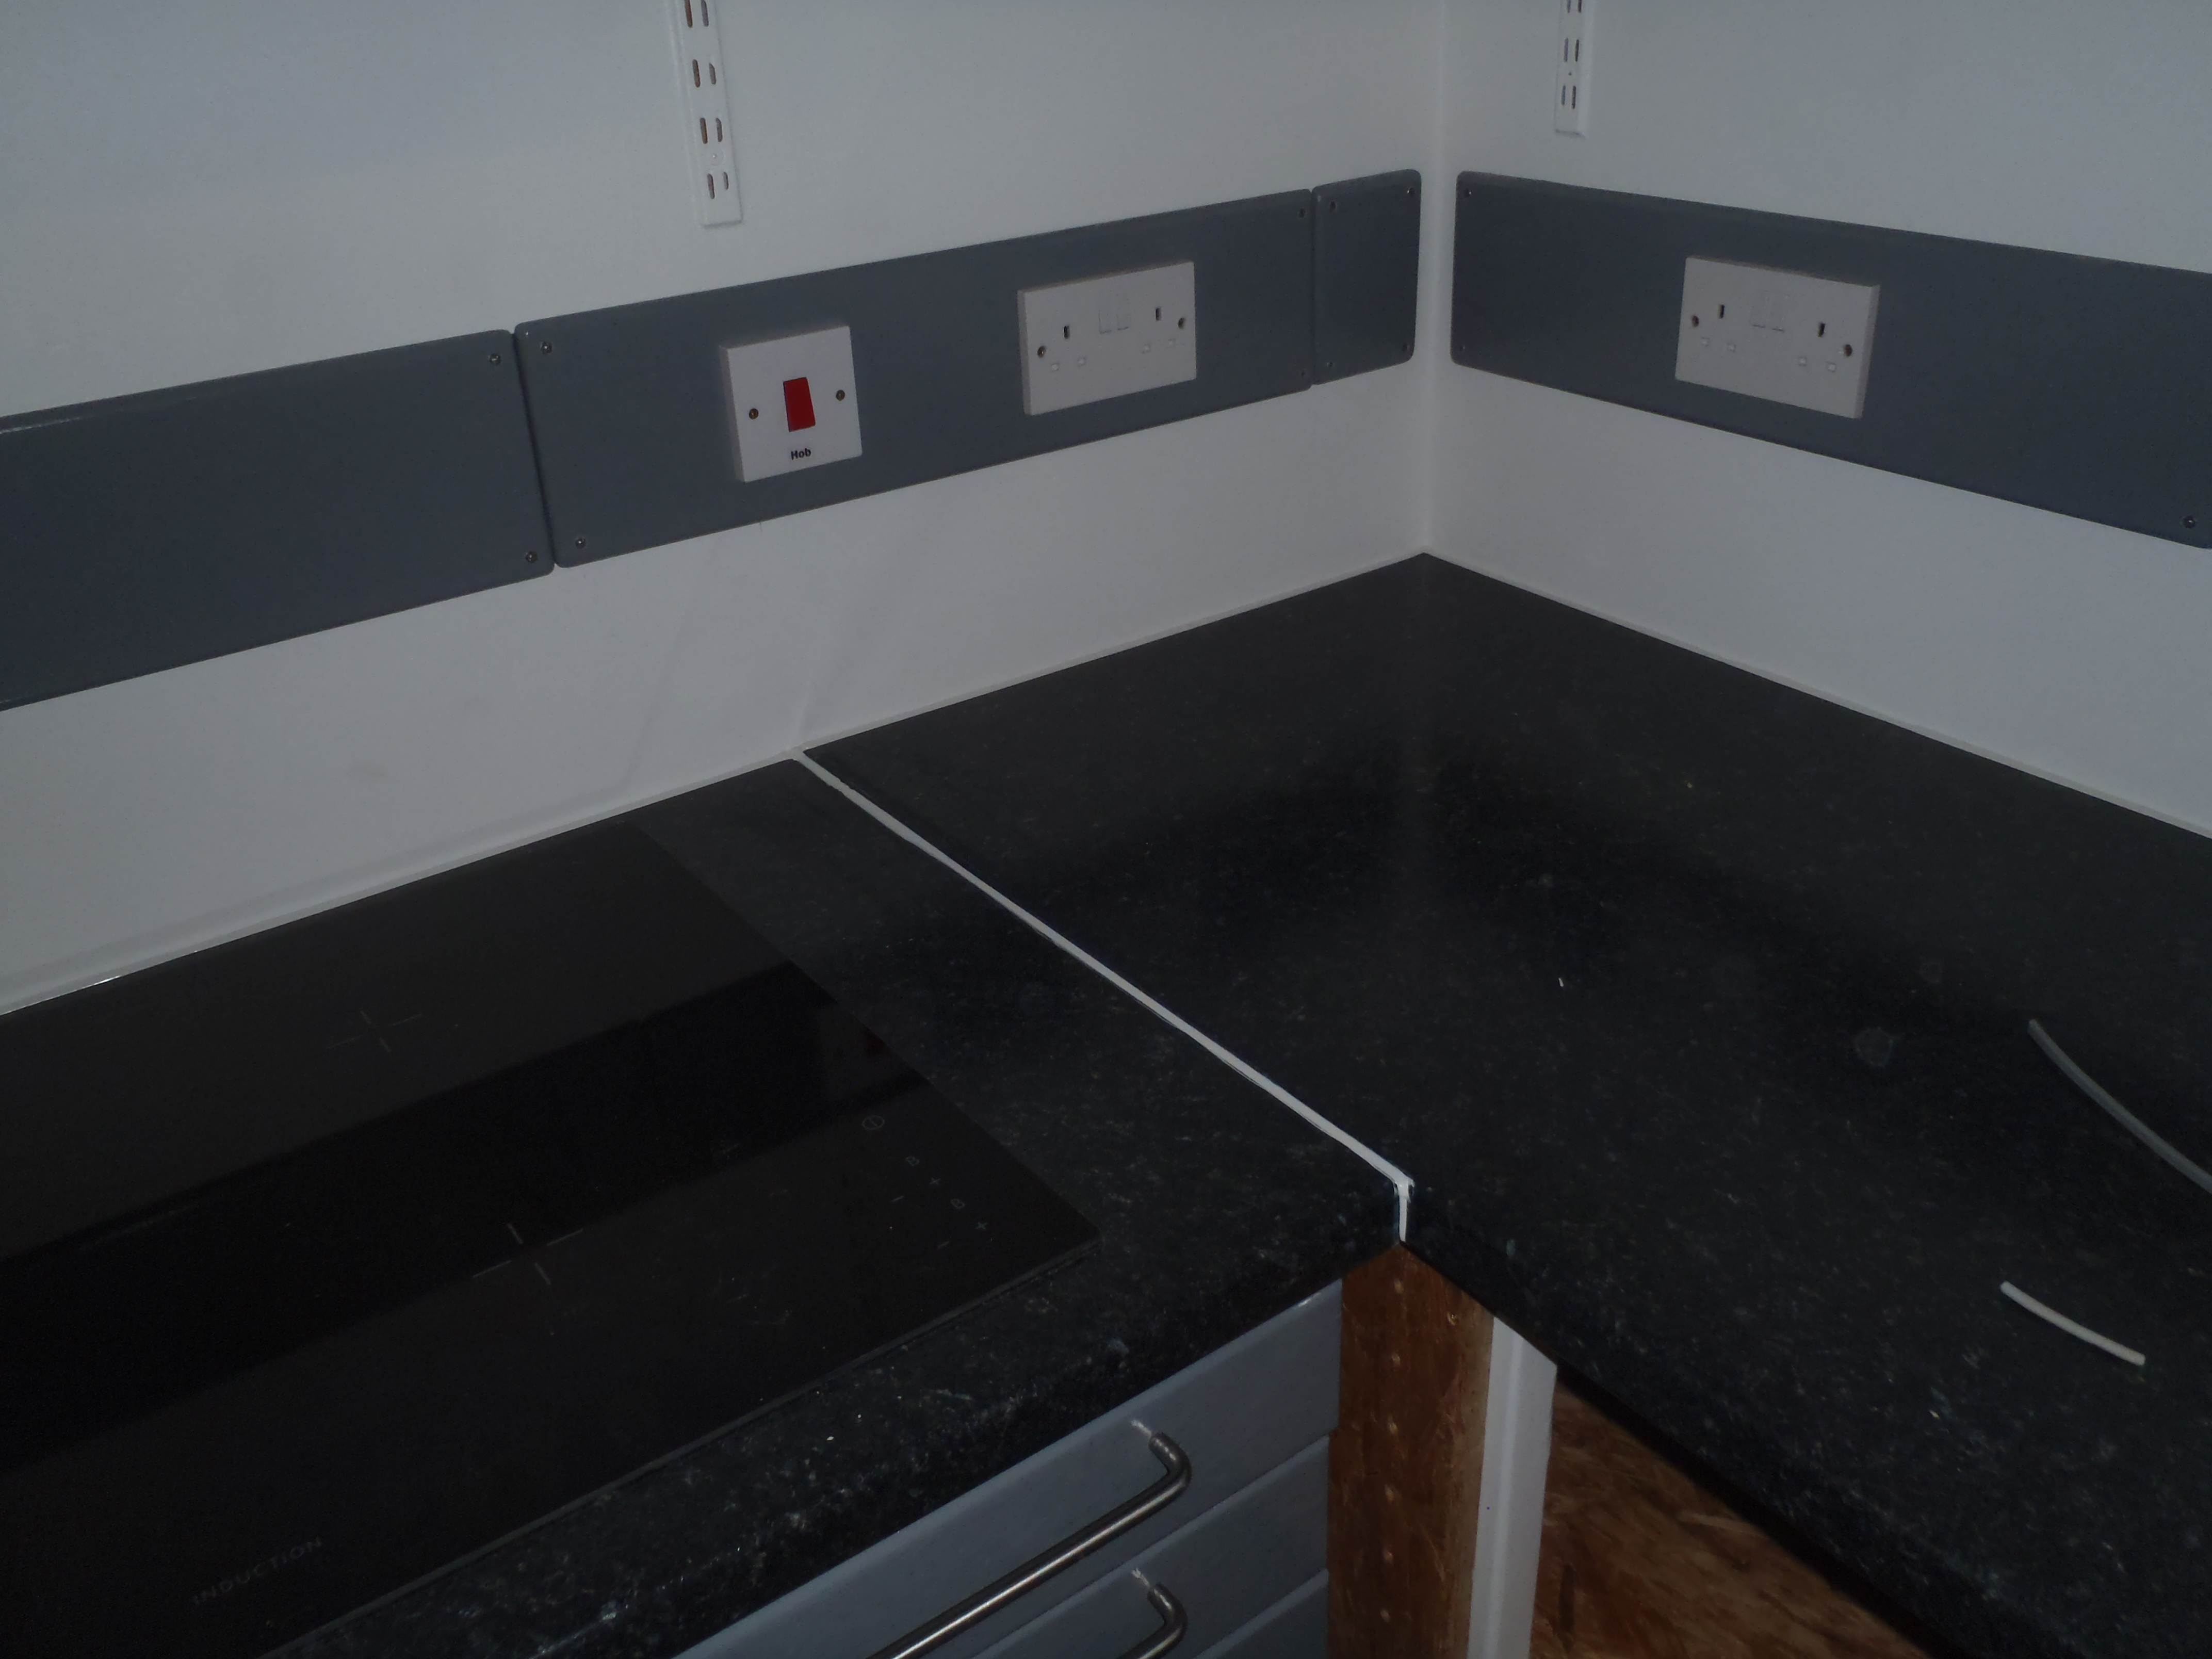
    Tomorrow we will be doing a smaller cover to hide the electronic controls and junction boxes, plus another cover over the air con section. We also will put up open shelves along the back wall above the new worktop ready for all the “stuff” of our kitchen! With just a splash of white paint on the bare wood surfaces to finish off then the kitchen would be ready for occupying!

  • Shower Cubicle Bits and Pieces

    We put together a light box with two low energy bulbs in it, to provide plenty of light inside the shower! It was made of spare pieces of our fermacell boards to make a box, with aluminium foil glued onto the inside surfaces, to reflect as much light as possible downwards. The light switch is mounted outside high up on the cubicle.

    We also fitted an air duct from the cubicle to the main ducting to provide some extraction of the steam and heat, to draw in fresh air, as the whole cubicle is one sealed box (ceiling and walls all joined together). The fresh air will enter around the door itself! It probably would get hot very quickly and may feel too stuffy! So we thought we had better fit an air extraction point!

  • Kitchen Sink installed

    Today the sink was installed into the new worktop. The waste disposal unit was attached underneath and the waste pipes sorted ready for the outputs of the washing machine and dishwasher. Also the mains water and hot water supplies for said machines were fitted.

    The kitchen mixer tap was fitted. Everything has been sealed with sealant so we cannot test it until tomorrow.

    We also made a shelf to provide a storage level for the usual “stuff” that lives under the sink!

  • Kitchen Worktop Installed

    Today the final stretch of worktop with vertical panels underneath, to make the sections for the three machines (dishwasher, washing machine and tumble dryer – respectively from right to left), was put up next to the Shower cubicle, along the back wall in the Garden Room.


    The whole worktop was sealed to the wall using PU sealant. It is a very high modulus and we want to see if this kind of sealant holds against wear and tear, and offers better long term protection and resistance against mould growth etc.

    Also the Cooking Section was sealed with the same PU sealant.

    Time will tell!

  • Shower Cubicle Day 9

    We got back to finishing off the Shower cubicle today. We wired up a switched fuse electrical unit to allow us to isolate any of the equipment in and around the shower cubicle (lighting, the data recorder and the shower pump itself).

    Various water pipes were connected on the back of the cubicle before it was pushed finally into it resting place.

    And finally a lid is being made for the heat exchanger!

  • Garden Room Network Enabled

    Today the Garden Room had three pieces of network cable threaded around in the Utility Rail, ready for activation when the ADSL router in moved (from the old house) and installed into the garage on the Tech Shelf! One network cable runs around to the Shower Cubicle to measure the performance of the heat exchanger. The second cable is a short one to the Air Con unit and finally a very long one that goes all the way to the far end of the temporary living quarters to the main hub and servers.

    The network cables has to be mounted on shoulder hooks to ensure a good separation from all the mains voltage cables, both inside the Utility Rails. The network cable hangs from hook to hook, with a cable tie on an occasional one to keep the cable nice and taut!

    The shoulder hooks seems to work quite well but we would like a more definite solid channel so when we are threading a new network cable or other low voltage cables through the Utility Rail in a room, it would be nice to push the guide rods along a solid “lane”. We are thinking of using a L shaped plastic extrusion where it can divide up the conduit into a upper lane for low voltage cables and mains voltage ones all dumped in the bottom!

  • Heat Exchange module Trials and Conclusions

    The water test was performed on the heat exchanger module outside using the garden hose! The “maze” slowed down the water that it took well over a minute (nearer two) for the water to travel from start to finish! It did build up inside the channels but didn’t reach the top and overflow!

    The waste trap did struggle to start letting the water through as it was in the horizontal position but after wetting it, it got going! There wasn’t enough head of pressure to bend the rubber seals apart and being brand new and dry, it was probably sticking together!

    We increased the angle to see how much the flow changed and reduced the water level but in conclusion not a great deal! We were only changing it from a 1 in 75 slope to 1 in 40 slope .. 10mm drop to 18mm over the length (750mm) of the module.

    = = =

    The Copper powder arrived and we mixed some together with some polyester resin and spread it out on a test piece of wood. After lunch it was not as conductive as we had hoped! It wasn’t the magic cure we were looking for to solve the problem with making a good thermal connection between the copper sheet and the copper pipes.

    So throwing off our thinking caps, we decided, with the results of the water test in the morning, putting the copper pipe directly in the water flow inside the “maze” was the best solution at this time and place!

    So we adapted the input and output pipes, drilled two holes in the copper sheet and threaded everything together, sealed all the new joints back up with the usual PU sealant and we wait (again)!

    In the meantime we carefully lowered the drain pipe in the garden room’s floor to its lowest point to allow us the maximum range of tilt (up to a drop of 40mm) of the heat exchanger. Then we fitted the shower pump control box on the inner wall of the shower cubicle, connecting the electric and data cables through holes in the wall (sealed up!) and fitted short plastic pipes to the shower’s cold and hot water inputs, also going through the wall (also sealed up!).

  • Heat Exchanger Stage 2

    Yesterday and today were spent on trying to get the copper pipes soldered to the copper sheet. But it was proving to be quite difficult with several factors playing against success! Like for example the flux was drying up during the heating up process and leaving “dirt” to stop the solder sticking to the copper. Pre-tinning the surfaces was tried but the heat required to melt the solder was also causing the already soldered joints of the U bends to come apart or at least breaking the joint and allowing potential leaks. We put on our thinking caps again!

    The next trick to try is copper powder mixed with a binding agent (like polyester resin) and putting the copper pipes on a bed of this “paste” of copper and fixing everything down with silicone sealant. We await for the delivery of the copper powder!

    In the meantime, we bent up the sides of the copper sheet to form the tray, cut two holes in the required places for letting the waste pipe water in and out. We also sliced up the soffit board (10mm thick foamed PVC plastic) into 45mm wide strips and “glued” them into the copper tray (using PU sealant) to form the maze like long winding path for the waste water to flow over the copper sheet while transferring the heat down into the copper pipes containing the fresh cold water (hopefully getting warmer!) running underneath the copper sheet!

    We have also ordered a half dozen temperature sensors to monitor the performance of the heat exchanger and the “system” efficiency of the Shower as a whole.

  • Heat Exchanger for Shower

    Today we cut the copper pipes (474mm long), 17 of them, along with 18little (24mm) pieces, each to connect the two right angle bends (36 of them!). The whole thing forming a ladder like structure. This structure will be placed in close contact with the copper sheet.


    The pipes are now soldered together but when we tried to solder the pipes to the sheet, the sheet started warping up! We think this is caused by the heat expansion differential of a local spot against the rest of the colder sheet. Our thinking caps are on!

  • Shower Cubicle Day 8

    A few coat of varnish was applied to the underside of the shower tray itself and the “roof”. Then today we put on said roof, sealed it on and screwed it down. Then put on the final full gloss varnish on all the inside surface of the cubicle all over!

    Oh yes nearly forgot, we drilled several holes for the water pipes and electric cable to enter for the shower module itself and a larger hole to allow the extraction of the air (to keep the temperature at a reasonable level!).

    Heat Exchanger

    We cut our copper sheet to 640mm by 840mm and with the cut-off piece we practice bending up the sides to make sure we can do it without breaking the copper or making any holes. It turned out to be fairly easy!


    Tomorrow it is the mounting of the cubicle’s door! And soldering the 15mm copper pipe to the copper sheet to make the snaking back and forth path for the cold water to take in the “energy” of the waste water!