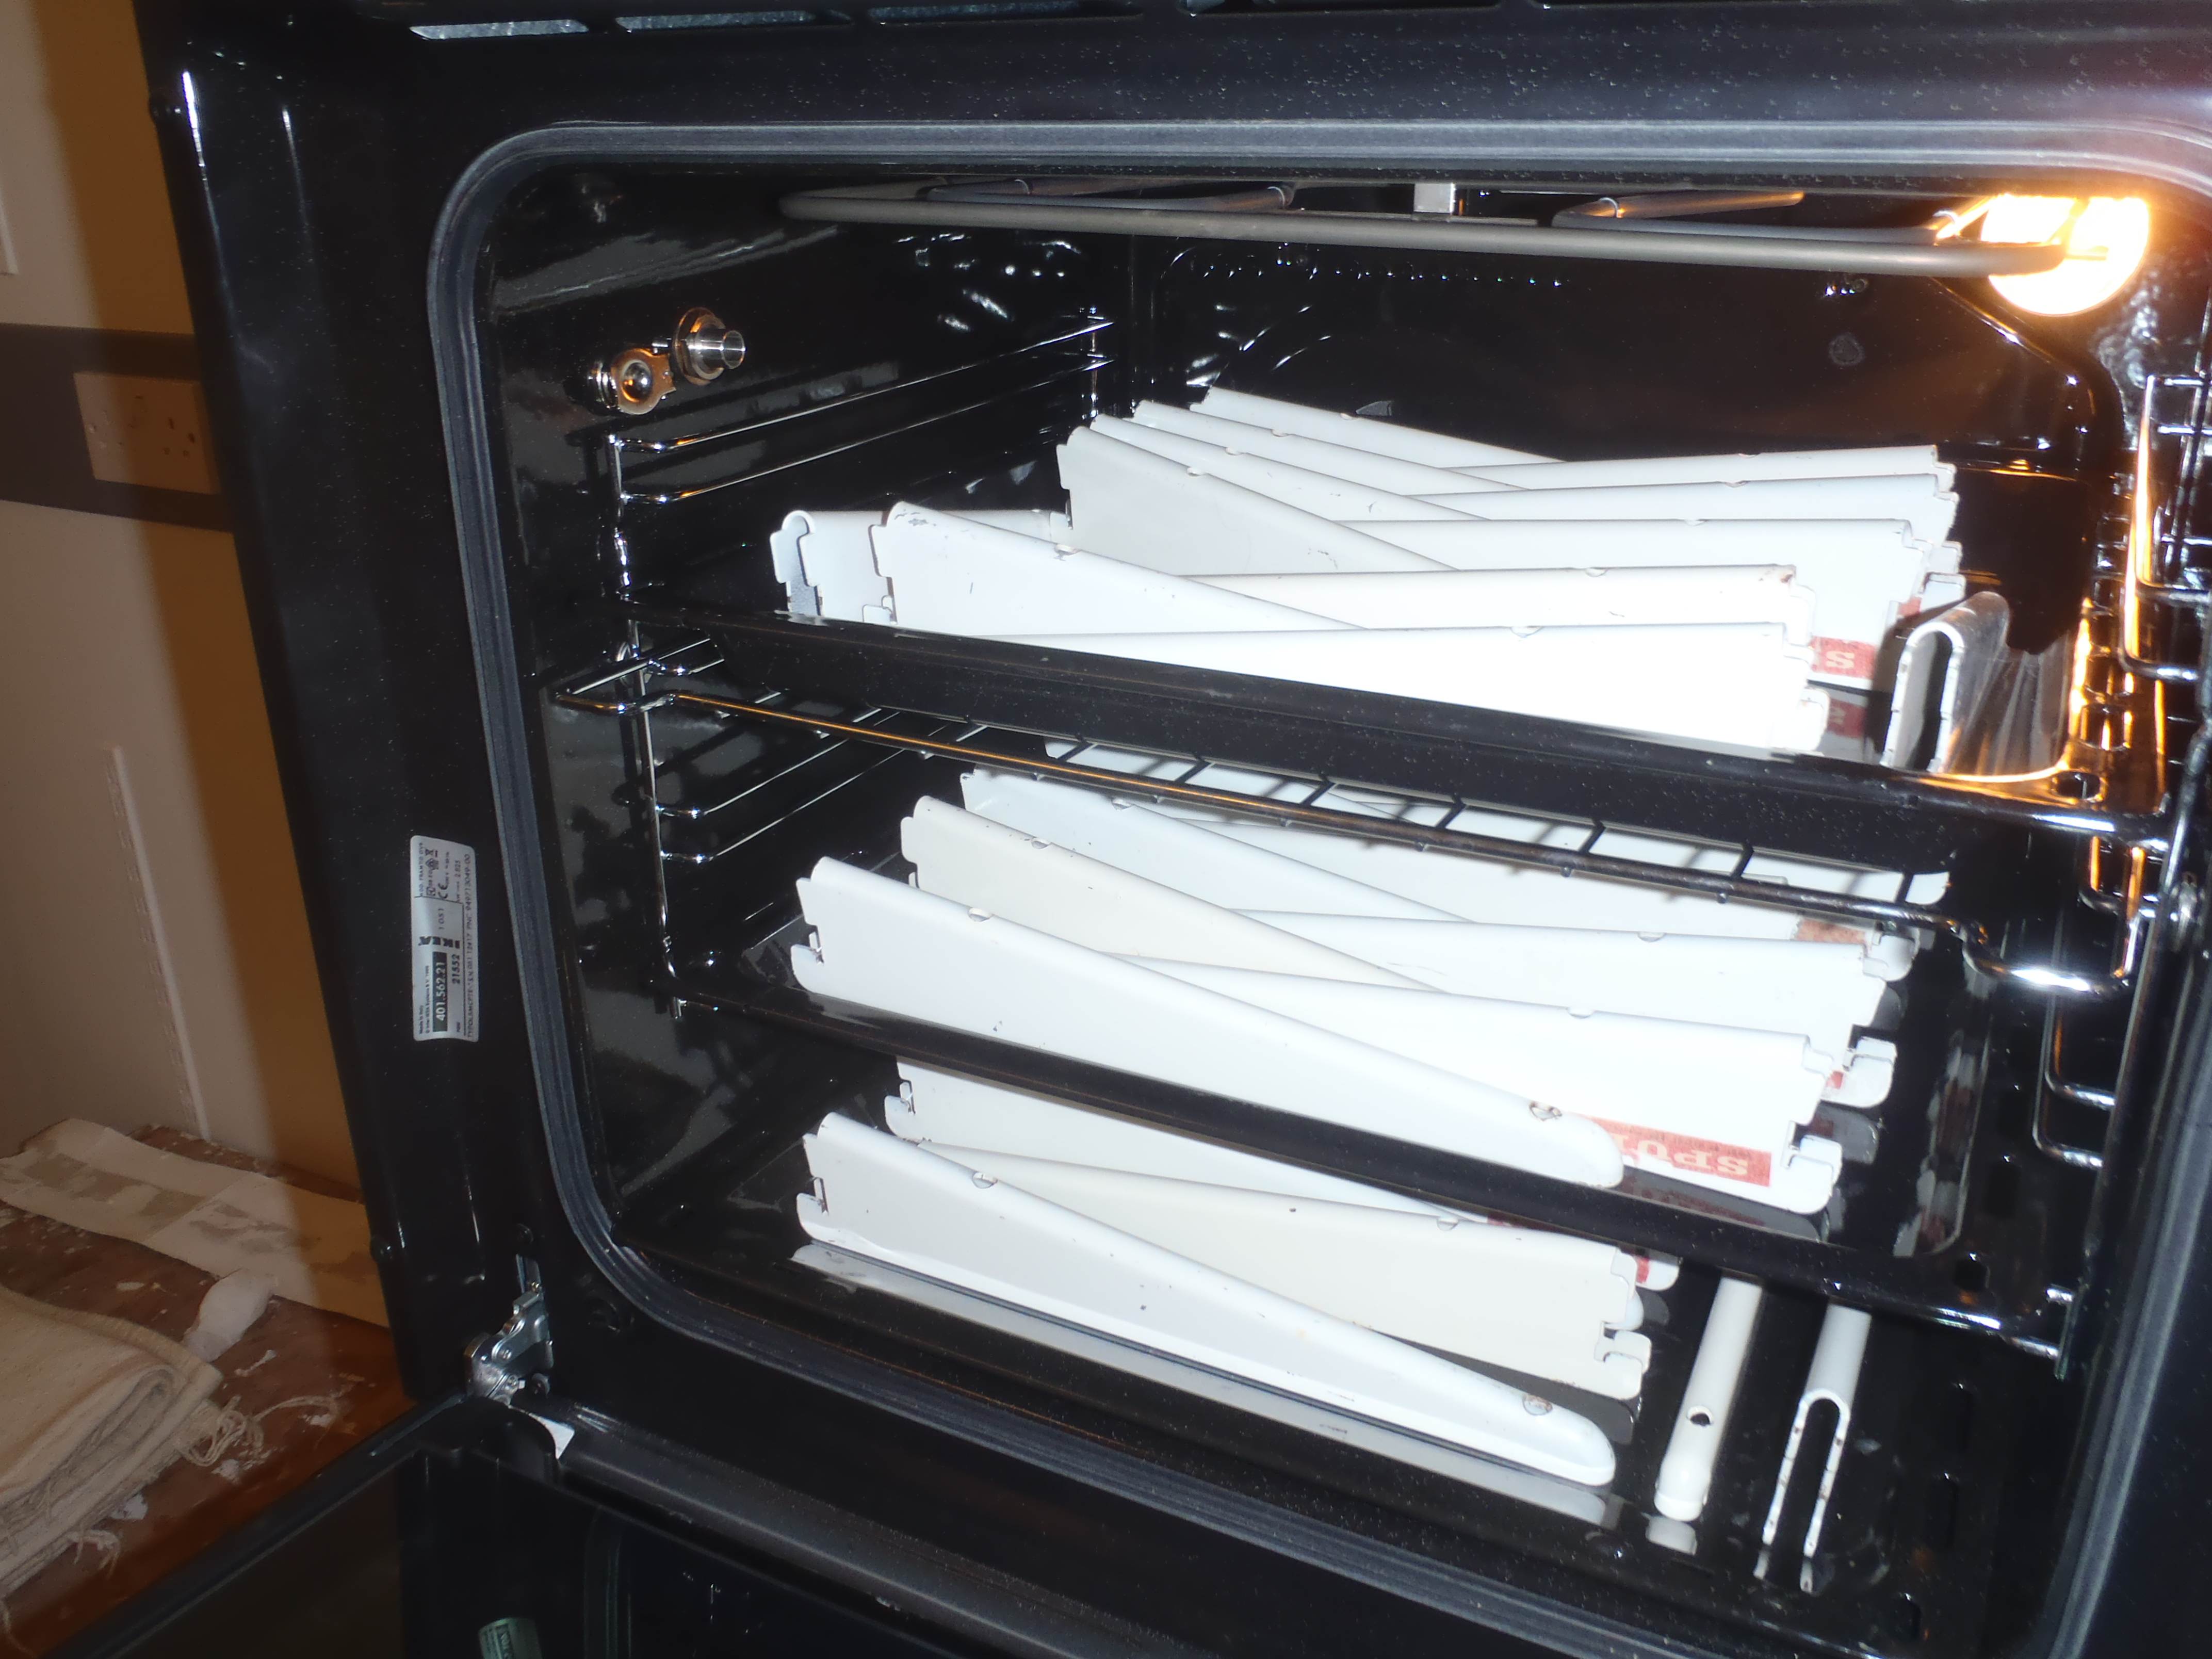
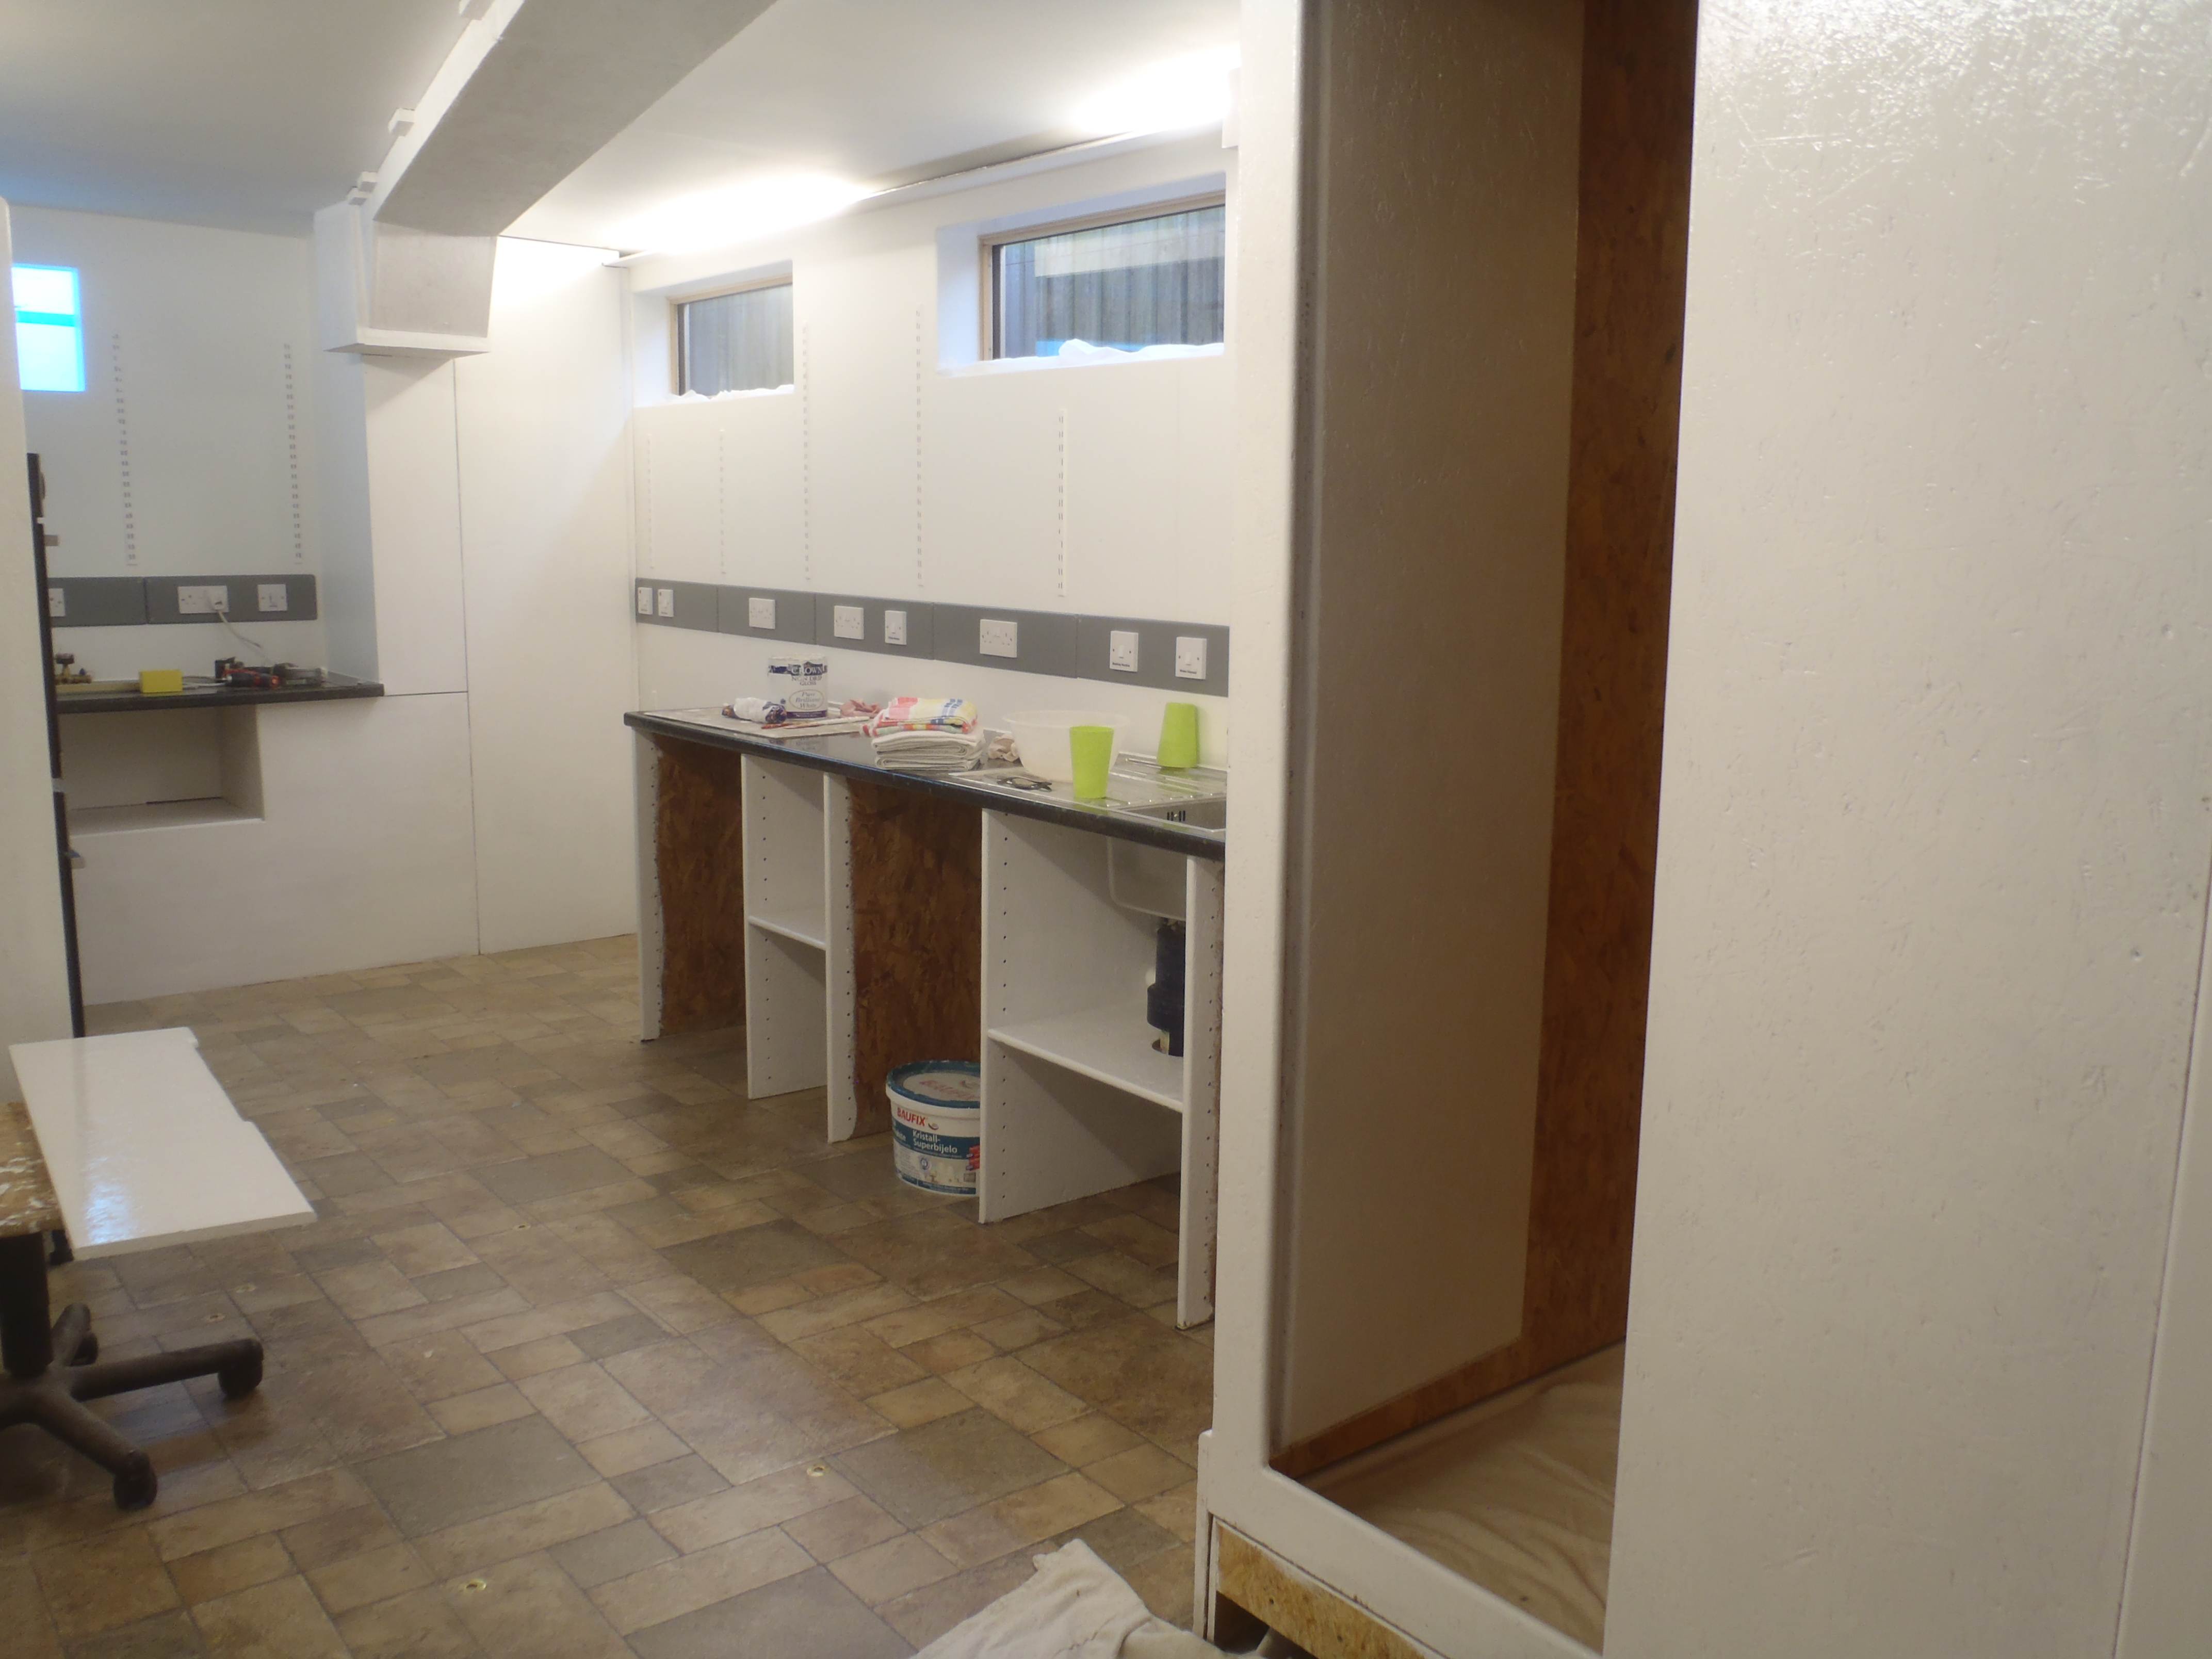
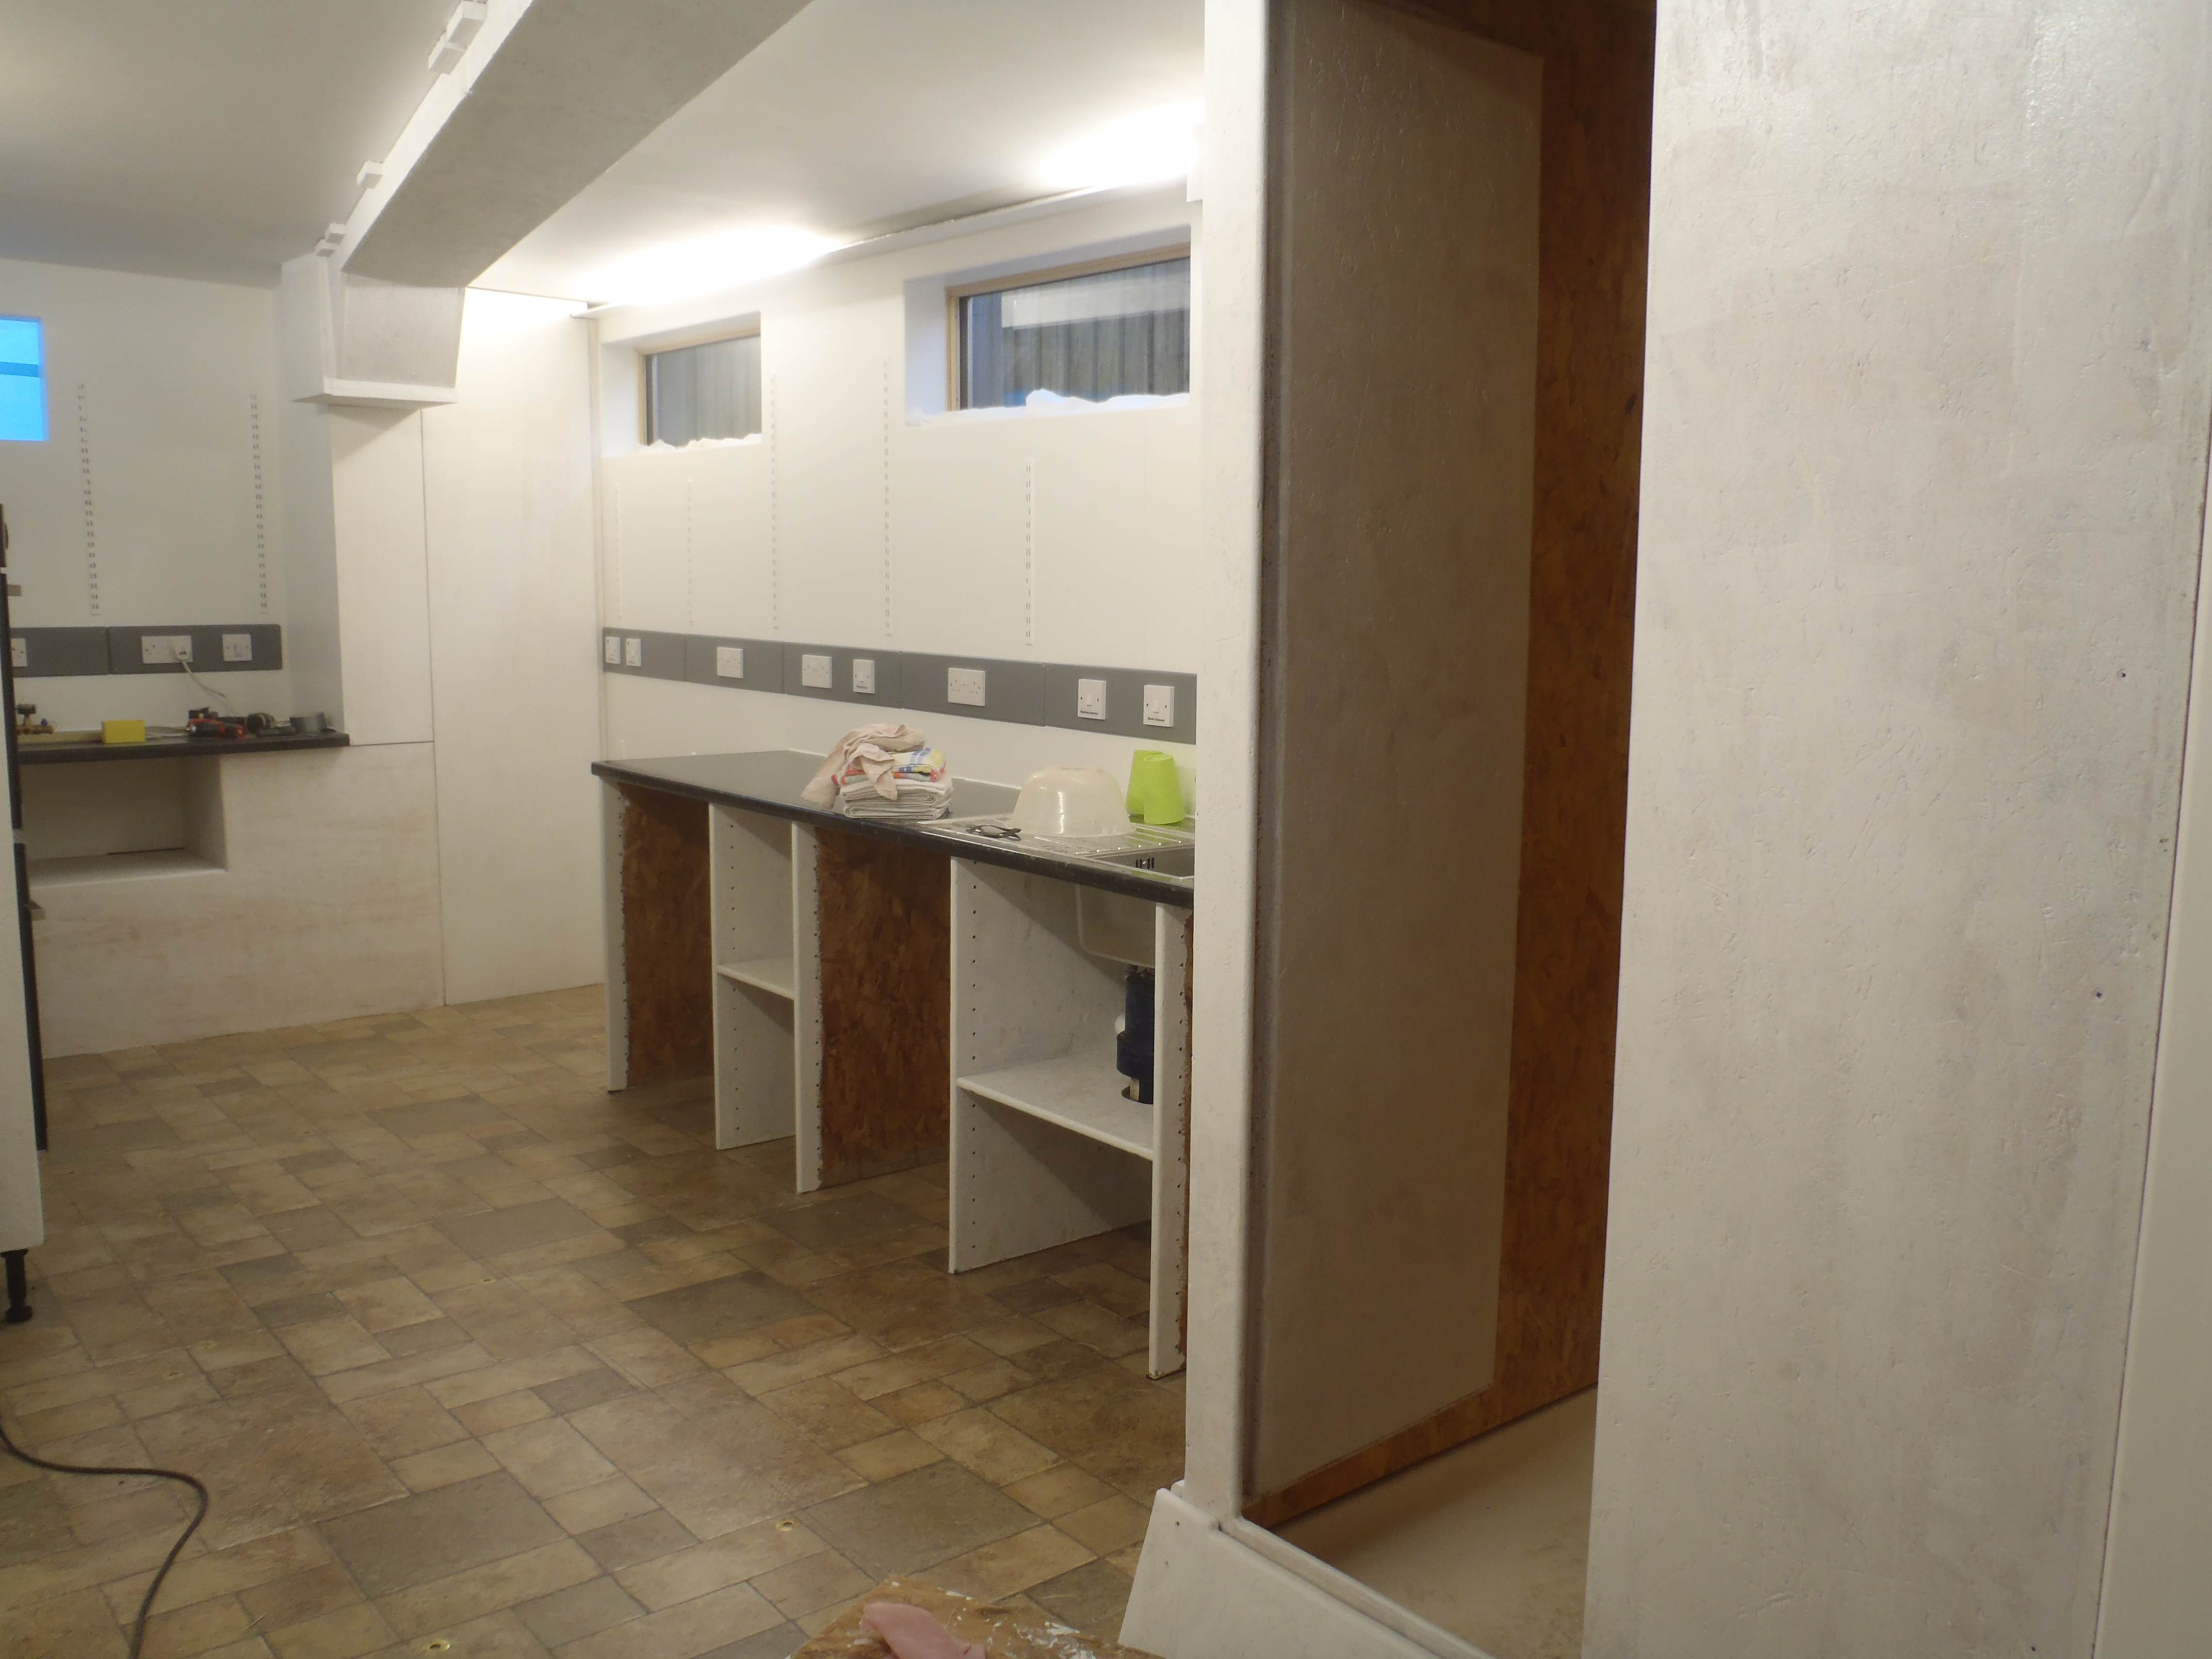
All the shelves are now on their brackets in all locations around the Garden Room! The brackets were nicely dry from the oven.
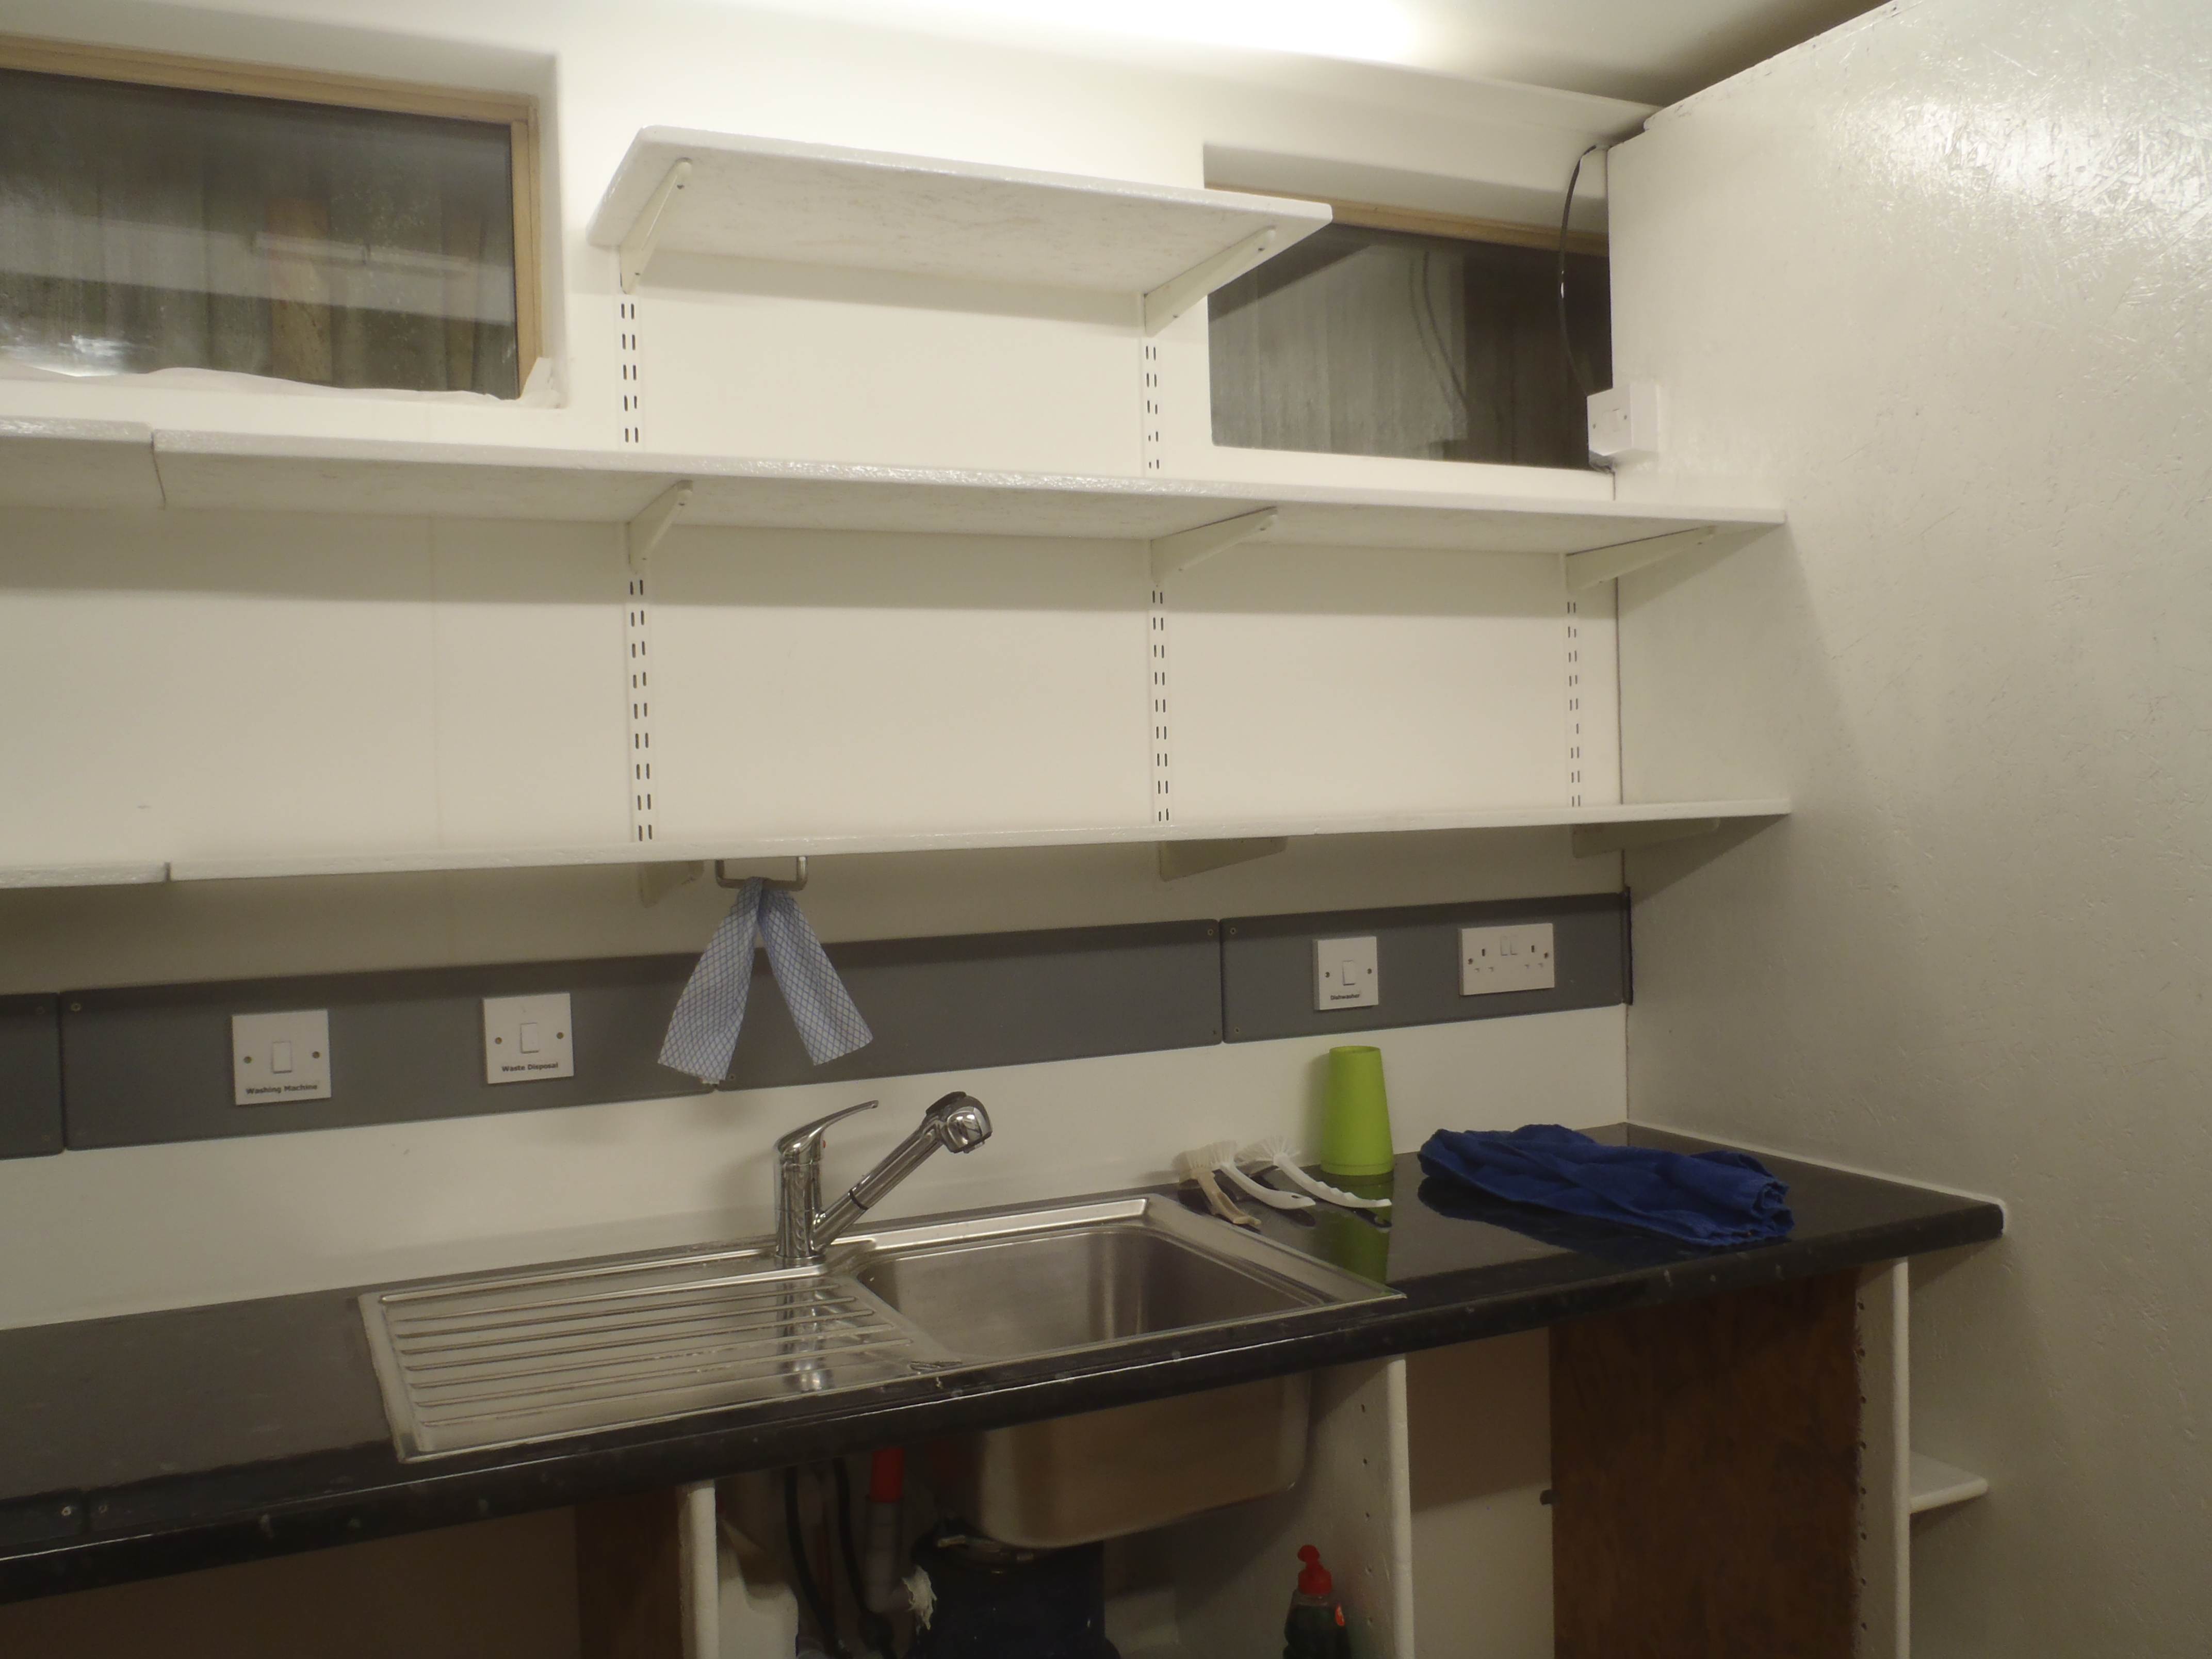
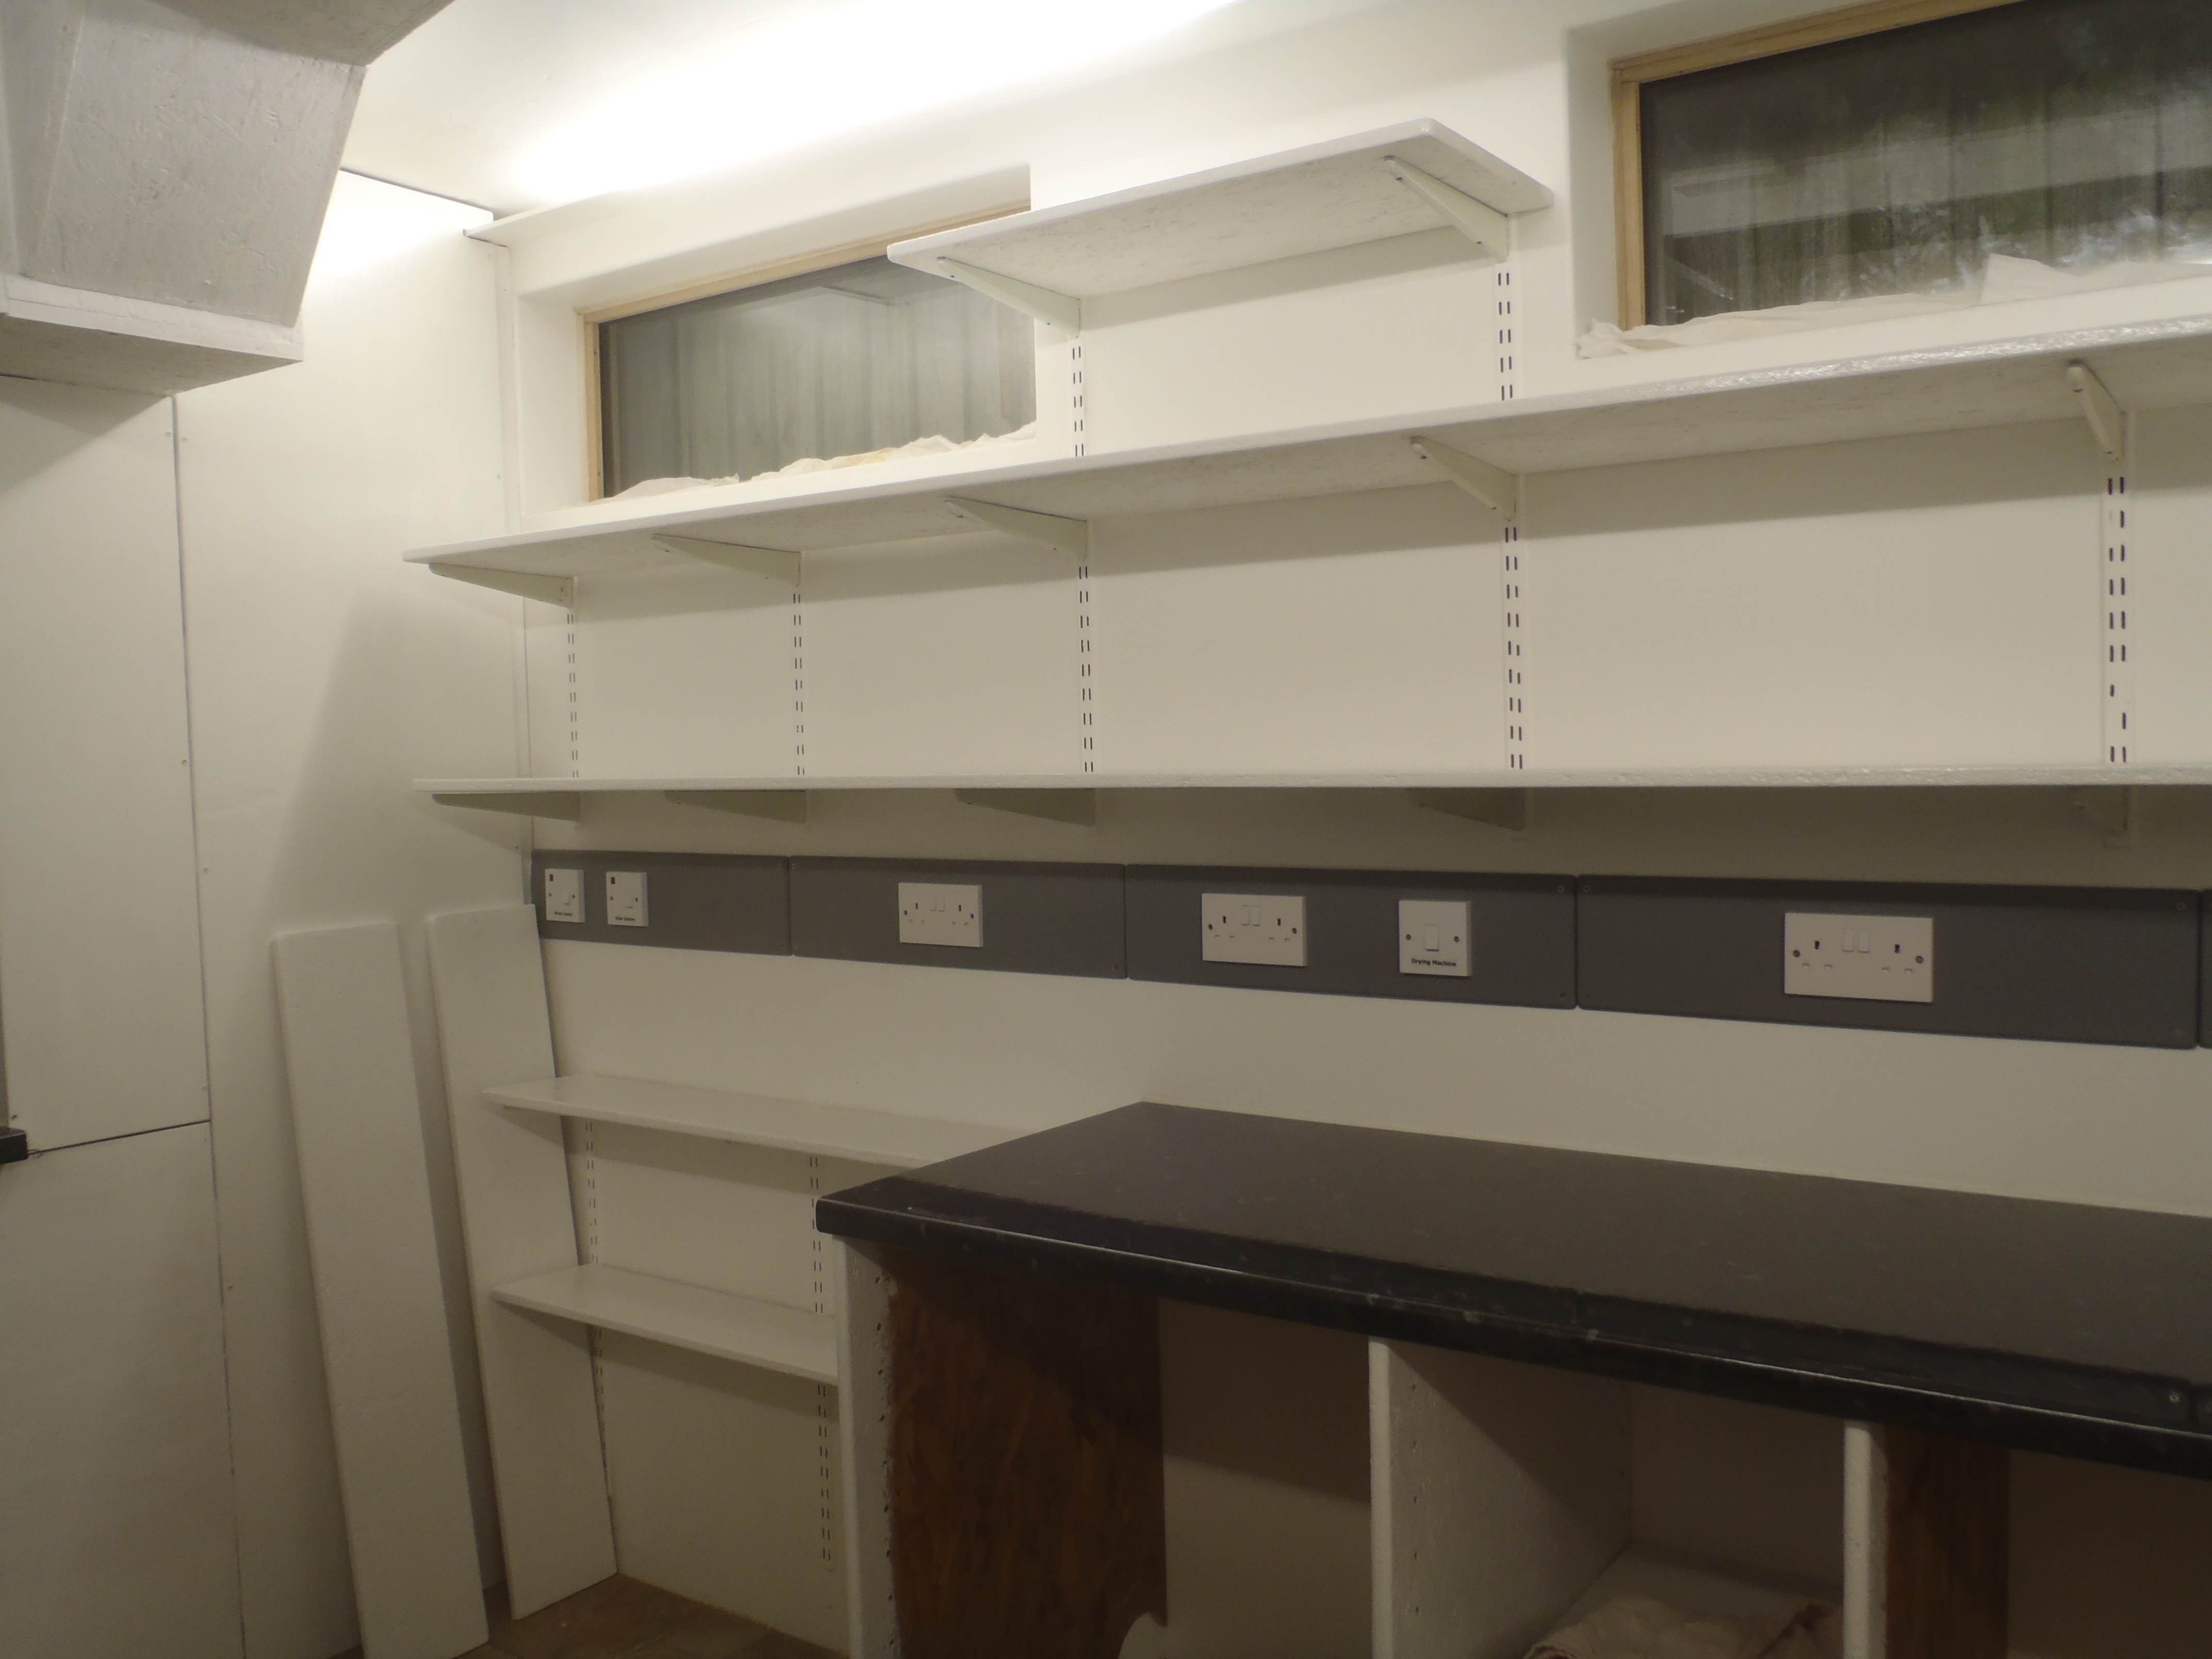
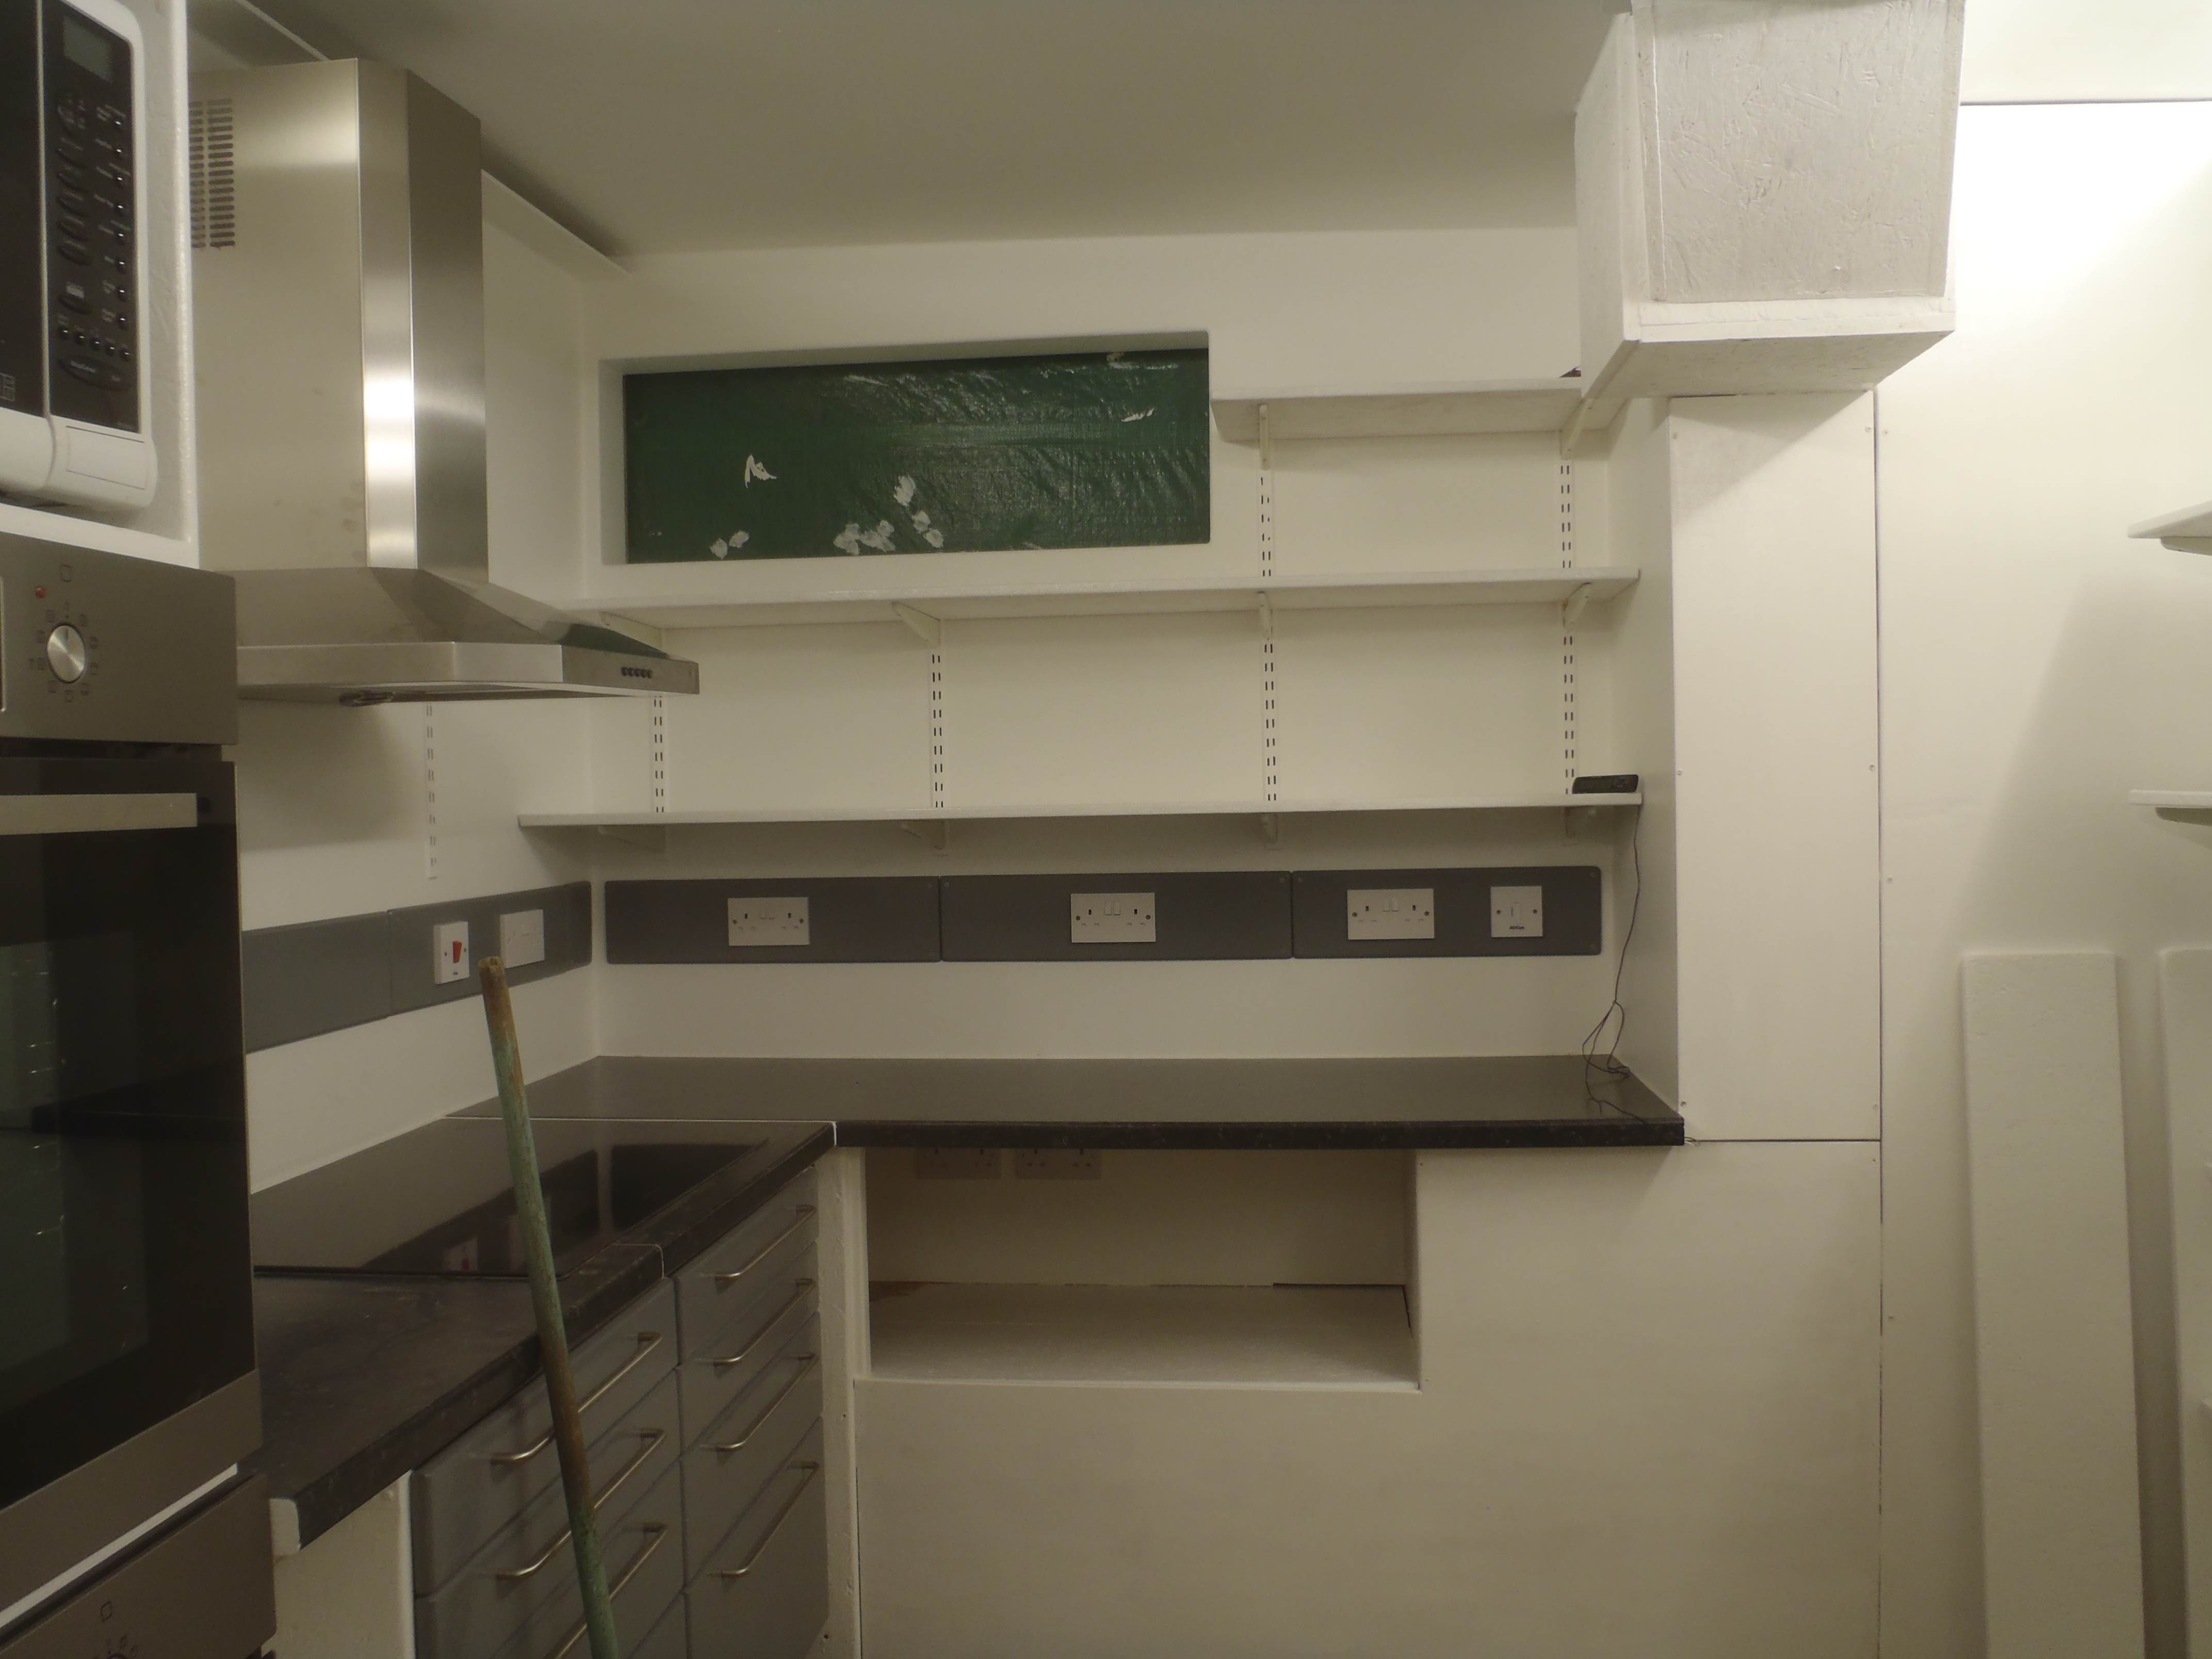

Just a little touch up job here and there and bits and pieces are being installed ready for the big move!
All the shelves are now on their brackets in all locations around the Garden Room! The brackets were nicely dry from the oven.
Just a little touch up job here and there and bits and pieces are being installed ready for the big move!
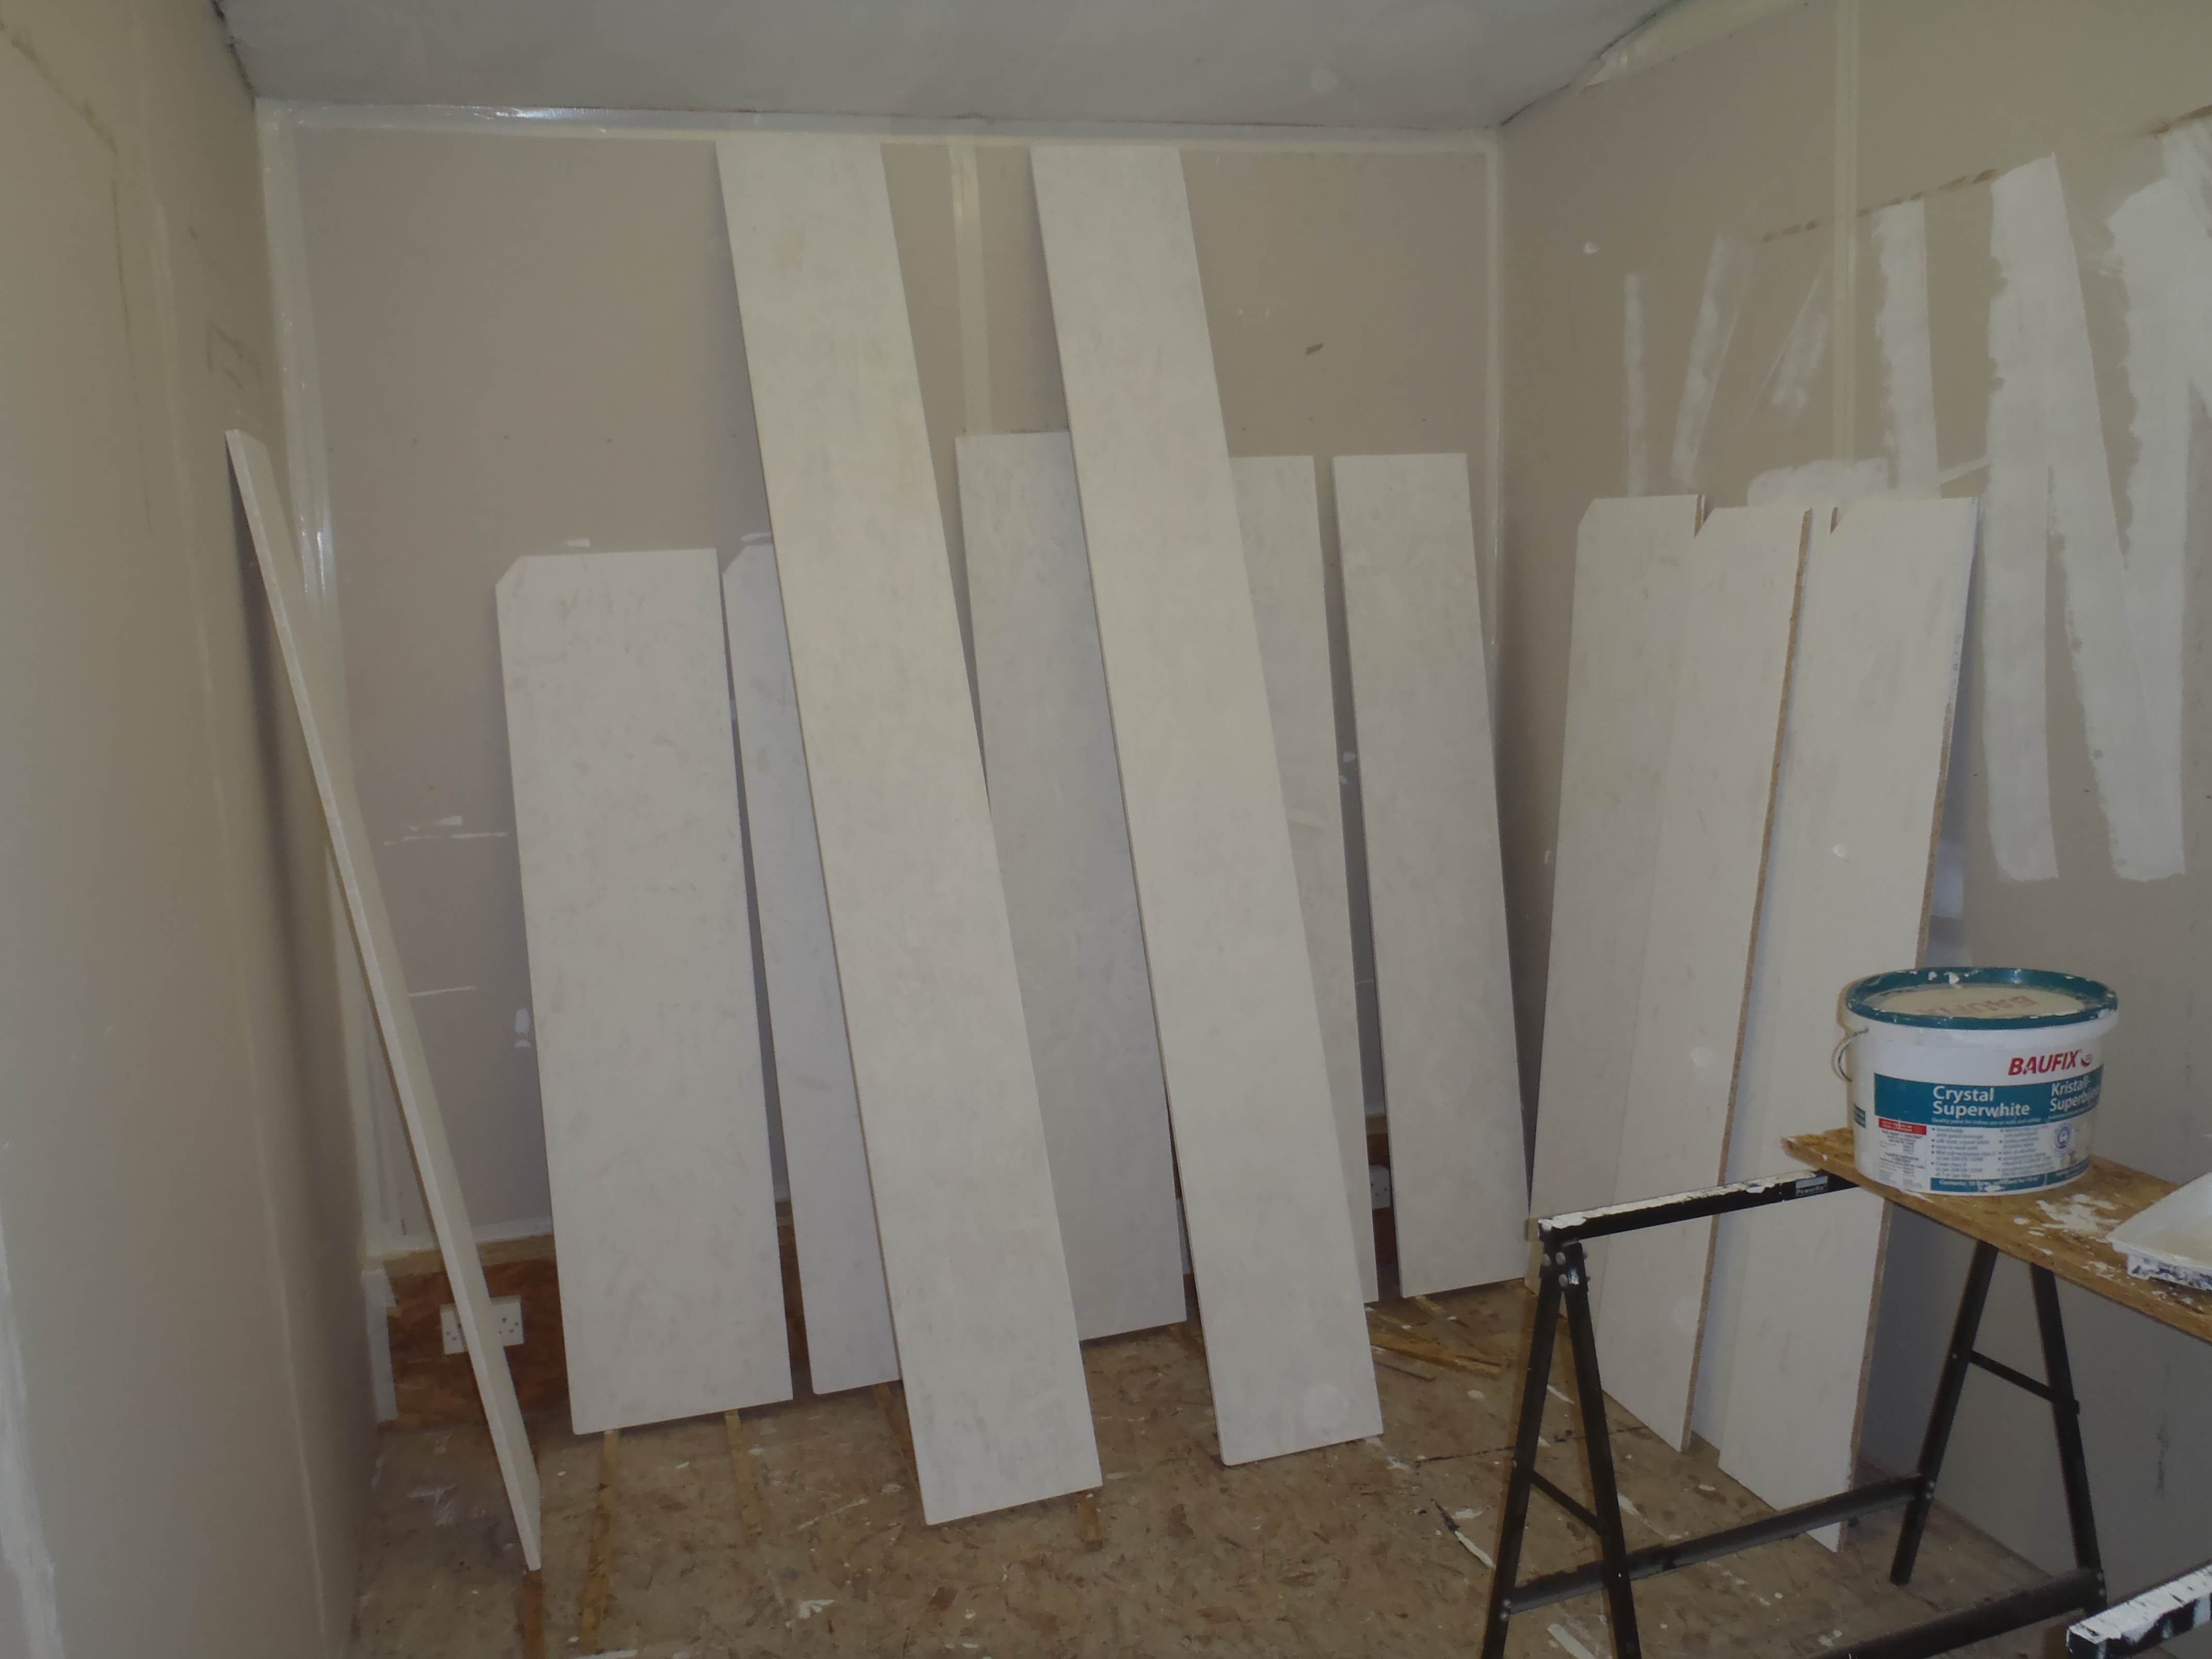
We have completed the task of applying the full gloss coat to all 27 pieces of shelving for the Garden Room, acting as our temporary kitchen for the next two or three years!
We have pulled together two collections of brackets, 54 270mm long ones and 30 170mm in length. These will hold up the 300mm and 400mm plus the 200mm deep shelves. The metal brackets were washed in NilGrim, hot water and dried in our new ovens!

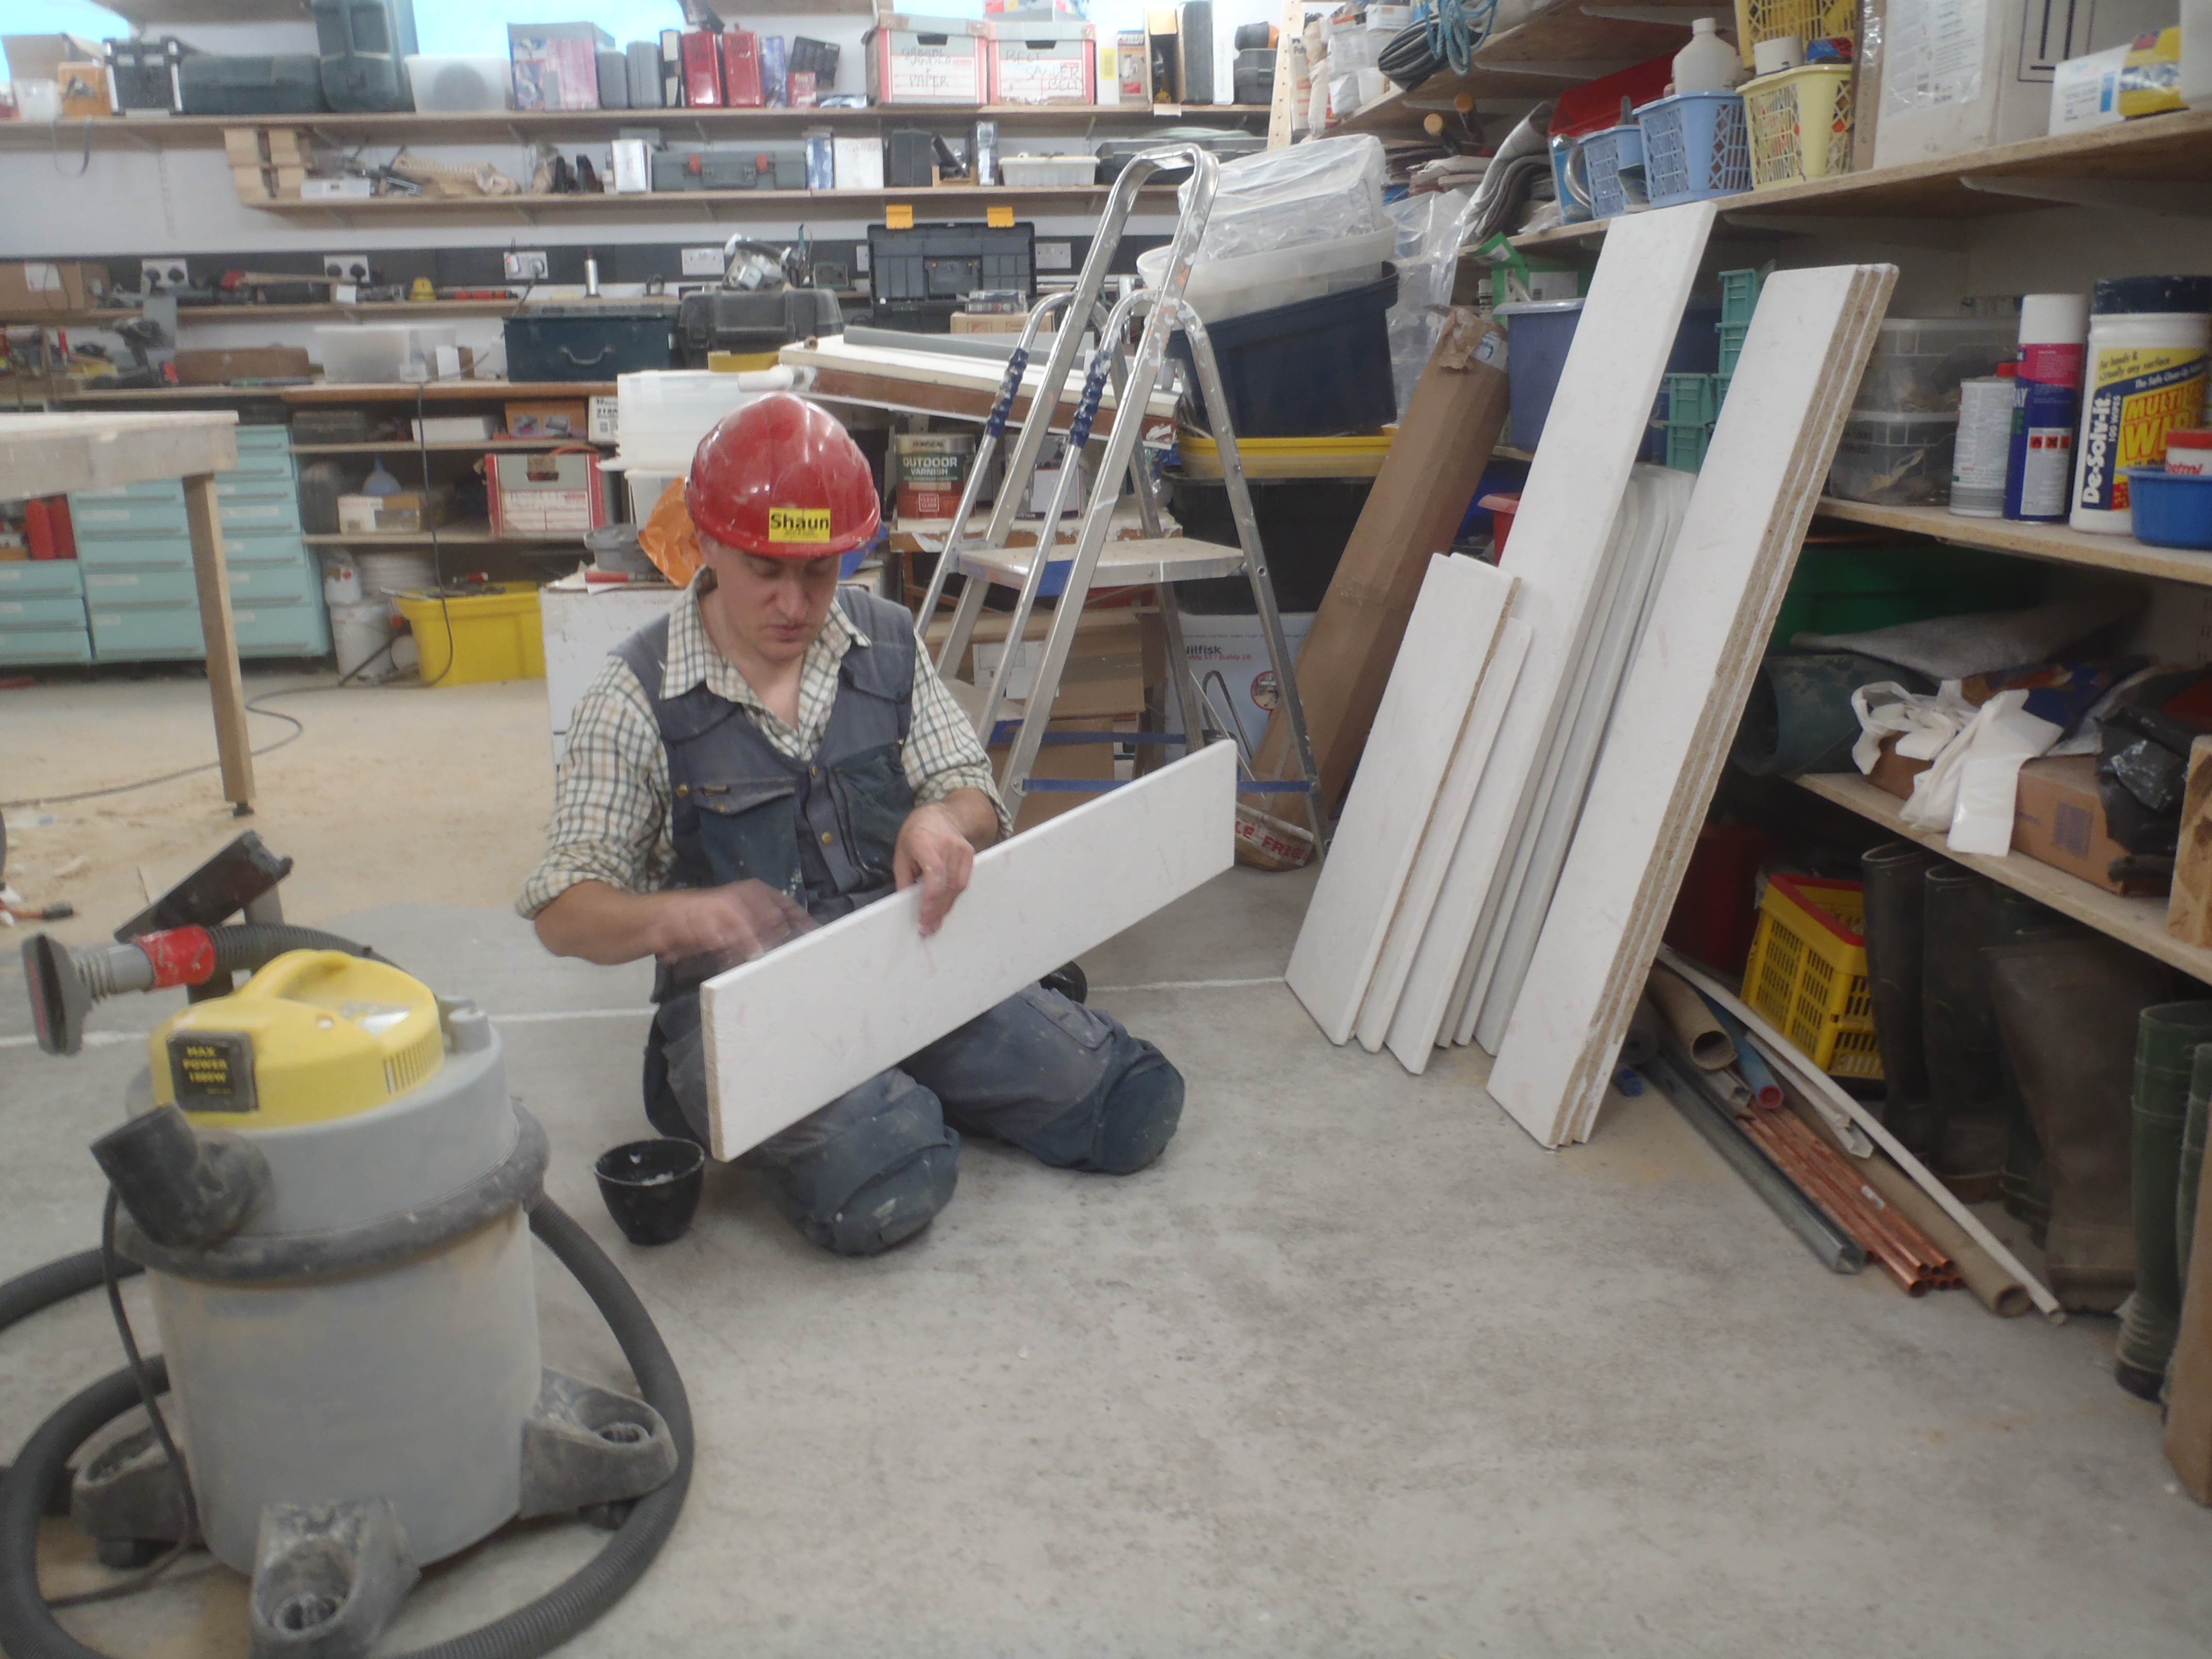
All the selves have now been gently rubbed with fine paper and the edges treated with a caulk filler to remove the worst of the nature of OSB construction. It is not perfect as the caulk shrinks and where it has filled deeper holes, has shrank further. But these shelves are purely of a practical nature and absolute prettiness is not essential for a Garden Room therefore the minimal effort and money spent on it.
OSB boards is certainly a very versatile and strong but cheap material for construction but not really suitable for finishing work! But the Garage and Garden Room are ideal locations for such material for shelving, being a rough and tumble sort of place, containing tools, tins, boxes and other less than “artful” objects!
The 27 pieces of shelving for the Garden Room was finished being sanded smooth this morning. All were vacuumed to remove all the dust and first half painted before lunch.
Then after lunch, while the second batch was painted, the first was gently rubbed with fine sandpaper and the edges filled with caulk, ready for the full gloss coat tomorrow.
The second coat of Oil White paint was applied to the various surfaces that were painted the day before. The shower cubicle is now a gloss white along with the hot tank & air con cupboards and the shelves under the sink & its worktop.
The shelves were sanded and rounded, all 26 separate pieces! The shelves near the doorway into the garage had their corners chopped off to avoid that sharp jab when trying to cut the corner off!
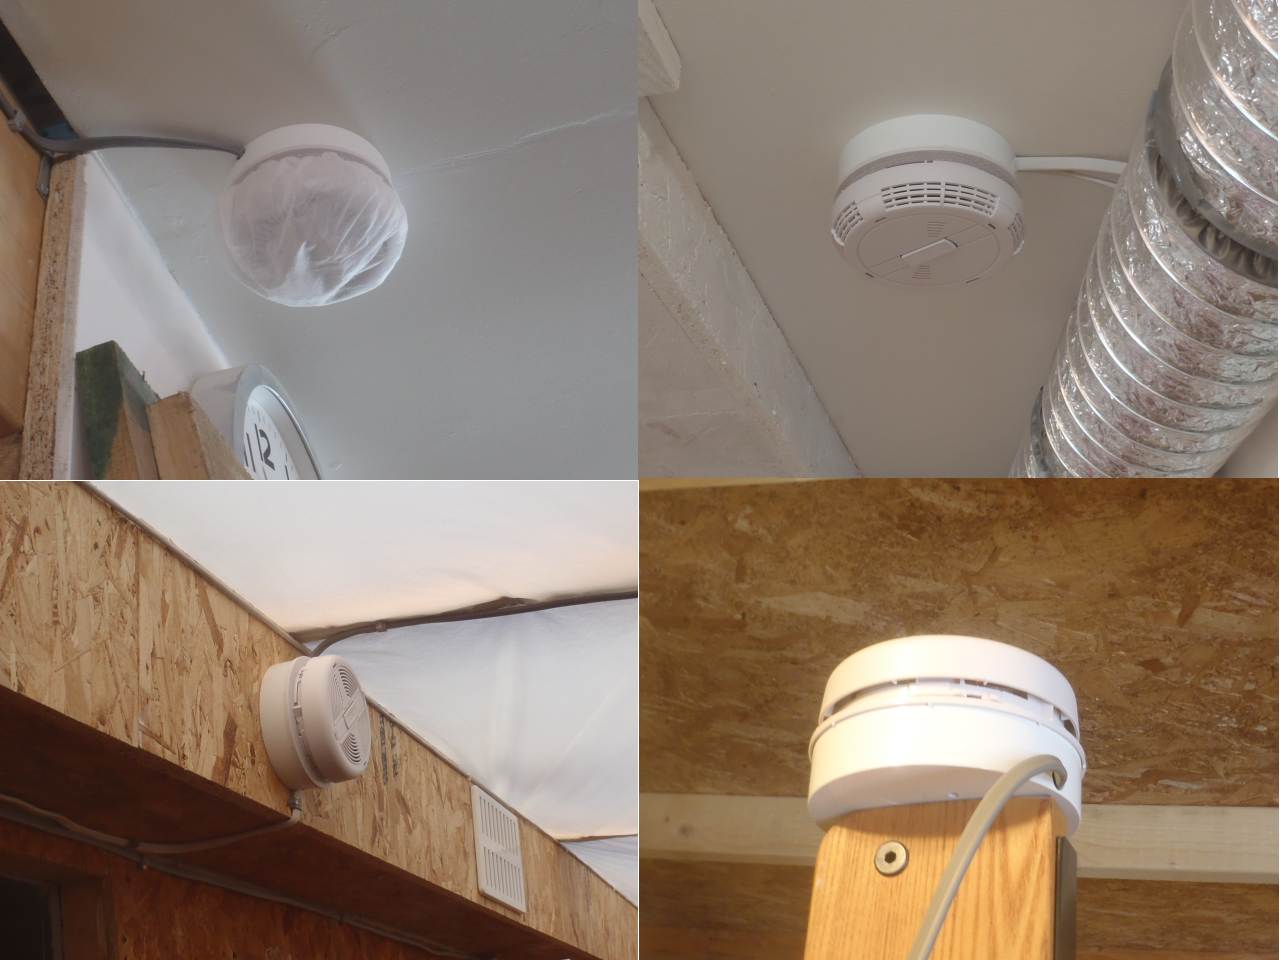
The Smoke and Fire detectors have been wired up and connected into the lighting circuit. All are linked together and seems to be in working order with the pressing of the test button!! Very loud!
All the bare wooden surfaces were painted white. The air ducting, the shower cubicle, the covers over the hot tank and air con unit and the shelves under the sink & worktop!
Next task is to do the shelving!
This morning we put back the sliding doors for the toilet in the Garden Room. They were given a clear coat of varnish a little while ago. We changed the locking mechanism to grip the drive cord running around the two pulleys so it would be easier to release the doors from the drive cord in the future. We have smoothed down the edge and corners of each door and painted down the middle with Walnut varnish to darken the white fermacell to match the colour of the magnetic strips we are planning to use to provide a locking mechanism and also a soft buffer to avoid the clunk noise when the doors slide together!
Later on, we will put in an electric motor and control circuits to control the doors for us and automatically close or open the doors on a press of a switch etc.
We calculated what shelves we needed in the Garden Room to provide storage space while the room is being used as the kitchen. It turns out to be two 300mm (1foot) deep shelves approximately 4.1metres (14feet) long along the back wall above the sink and worktop, two 300mm (1foot) shelves 1.78metres (just under 6feet) long in the gap, above the worktop, to the right of the cooking area and a further three 400mm deep (1 and third feet) 1.6metres (just over 5feet) left of the chest freezer, below the Utility Rail and back to the doorway. Plus Three 300mm (1foot) shelves 2.8metres (9feet) above the Utility Rail over the chest freezer and going back to the doorway too.
Finally a set of six shelves both below and above the Utility Rail positioned left of the doorway, these are only 200mm (8inches) deep.
Oh yes another se set of four 200mm deep shelves below the Utility Rail over by the hot tank cupboard in the gap before the sink worktop!
We have sliced up 4 sheets of 18mm OSB boards! Next to rout the edges and corners to make them safer etc!
The compartments where the hot water tank, air ducting and chimney, and fan lies, are now all covered up!
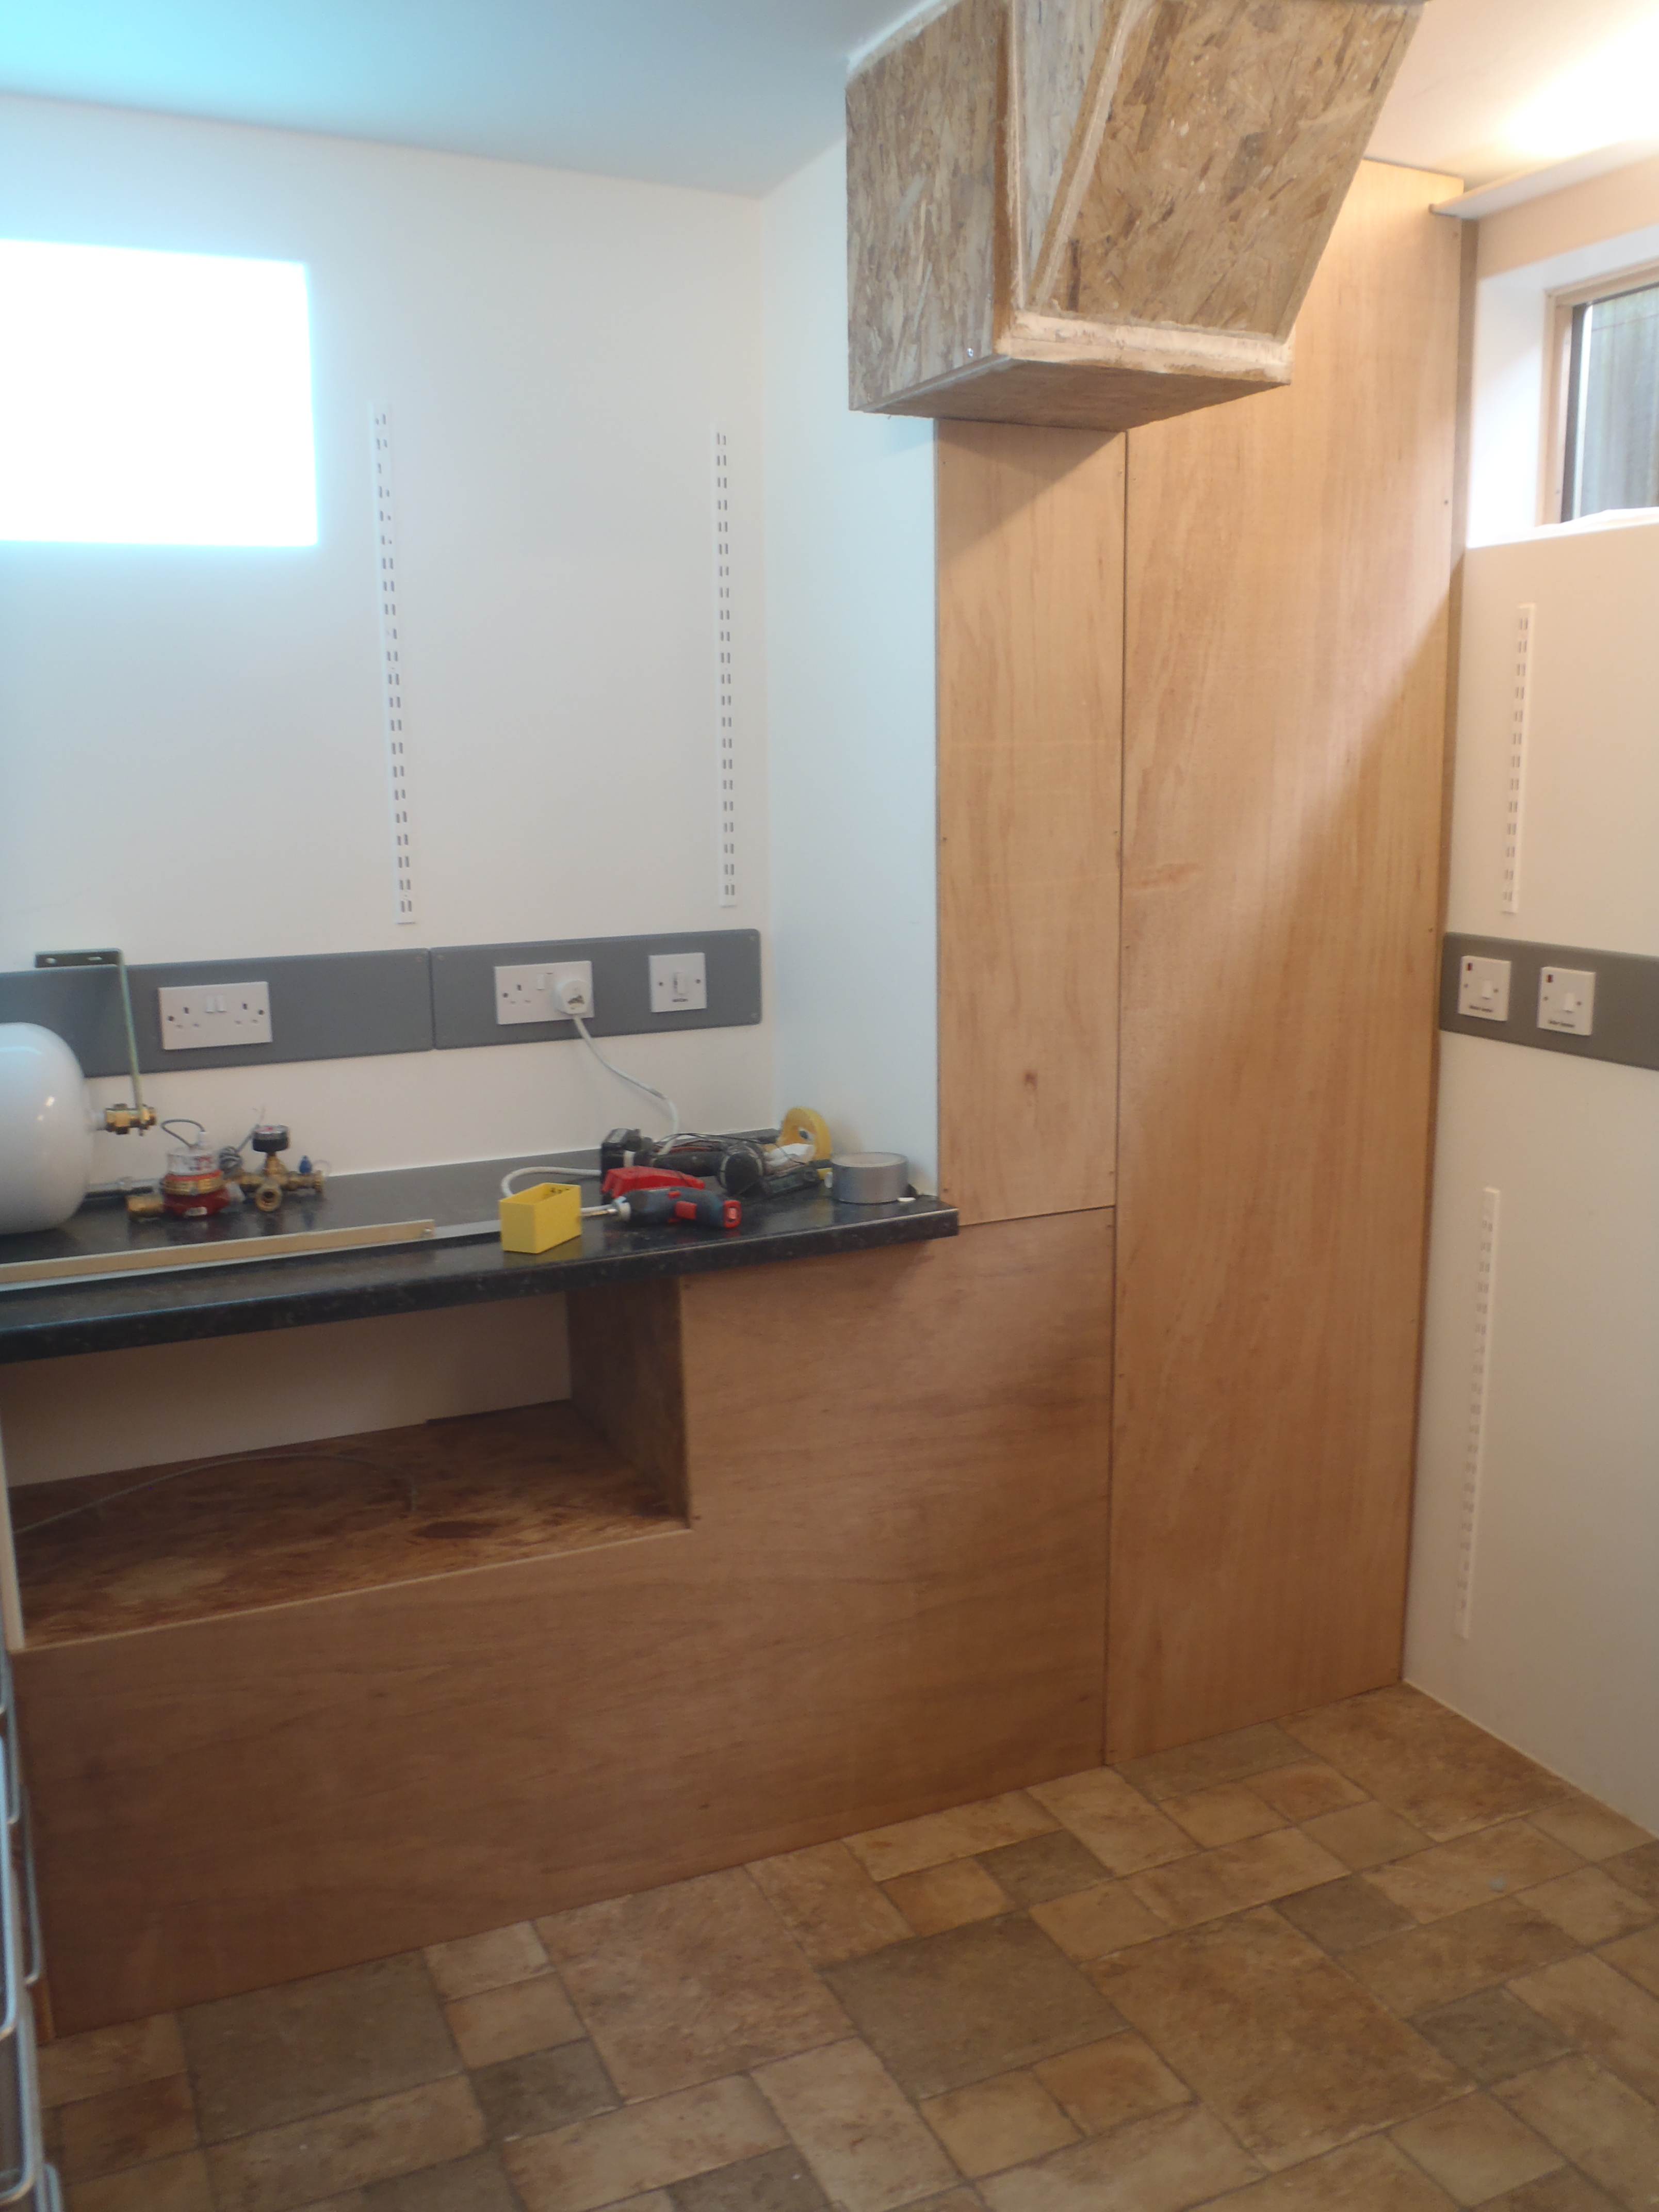
They just need a coat of paint!
We analysed our building layout including our temporary living quarters and selected 4 devices, 1 optical smoke detector, 2 ionising smoke detectors and 1 heat sensor, all linked together as required in the regulations. The two ionising type of detectors are for the store room and our living quarters in the corridor between the lounge and bedroom 1. The optical type is in the kitchen and finally the heat sensor in the garage right up front on the highest point of the room (the ceiling slopes upwards towards the front).
We started laying in the 3 core & earth, lighting grade cable, through the building. We will tap into the lighting circuit in the garage.
The detectors should be arriving soon, along with batteries for each of them.