Category: Build Progress

  • Shower Cubicle Day 7

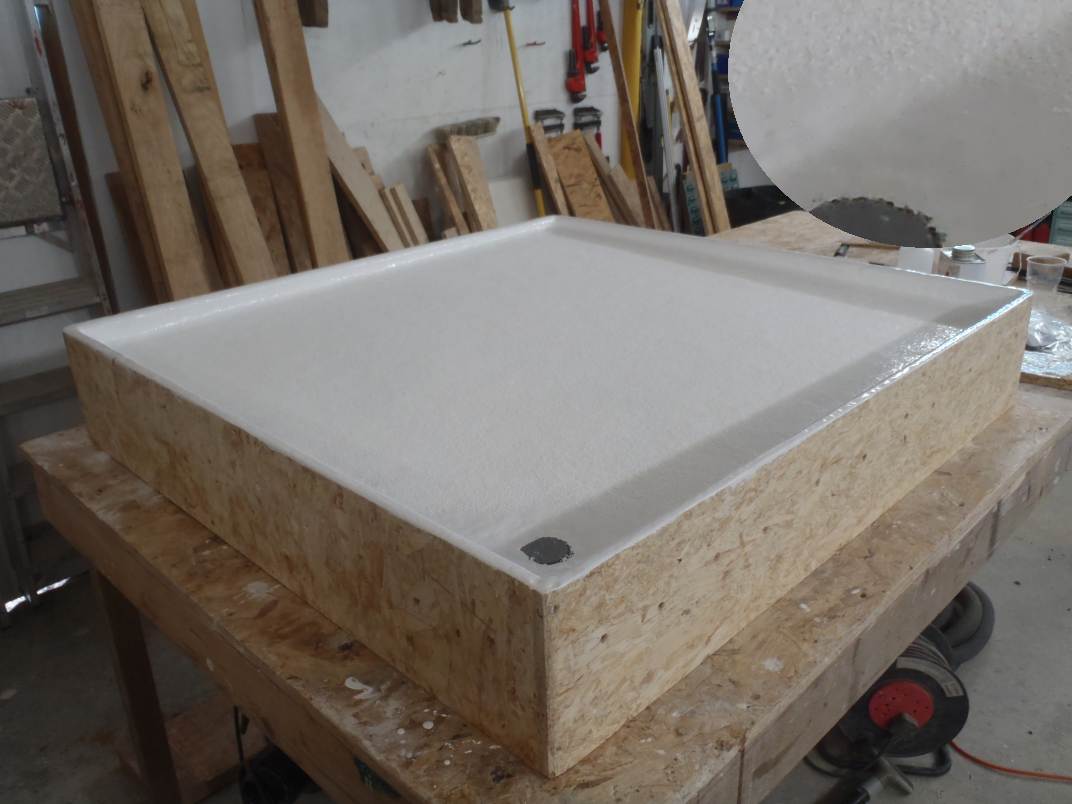
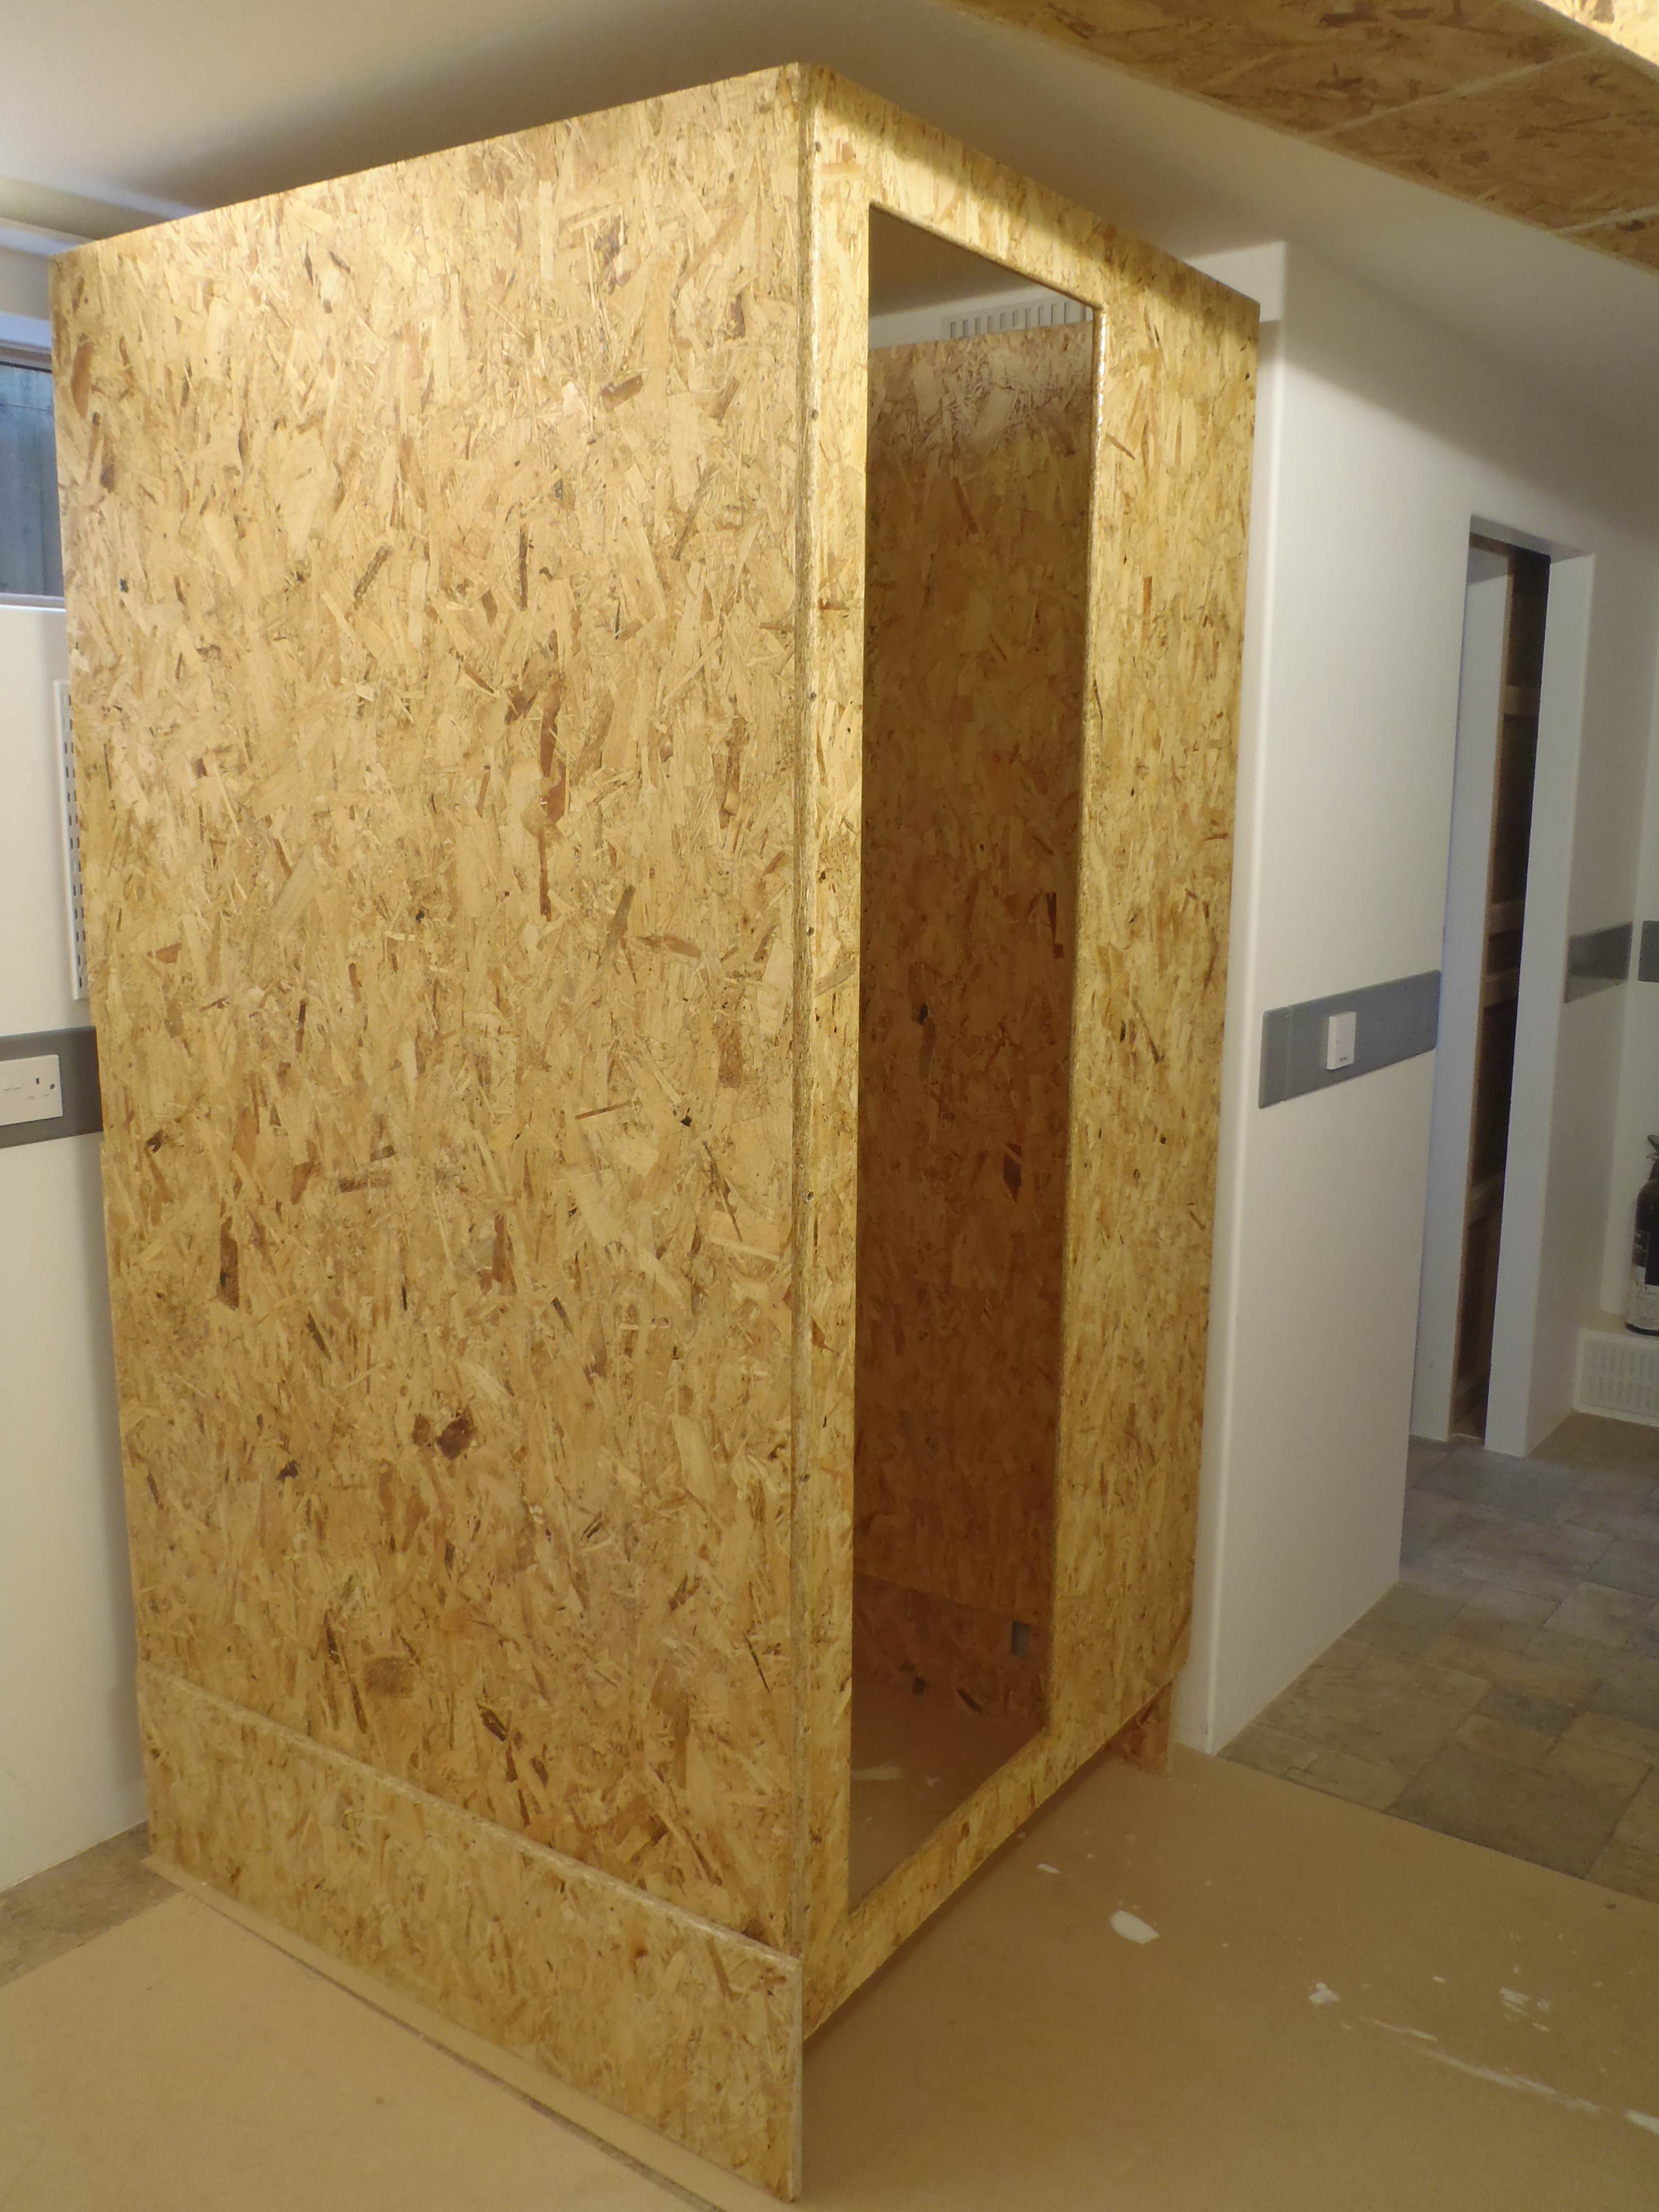
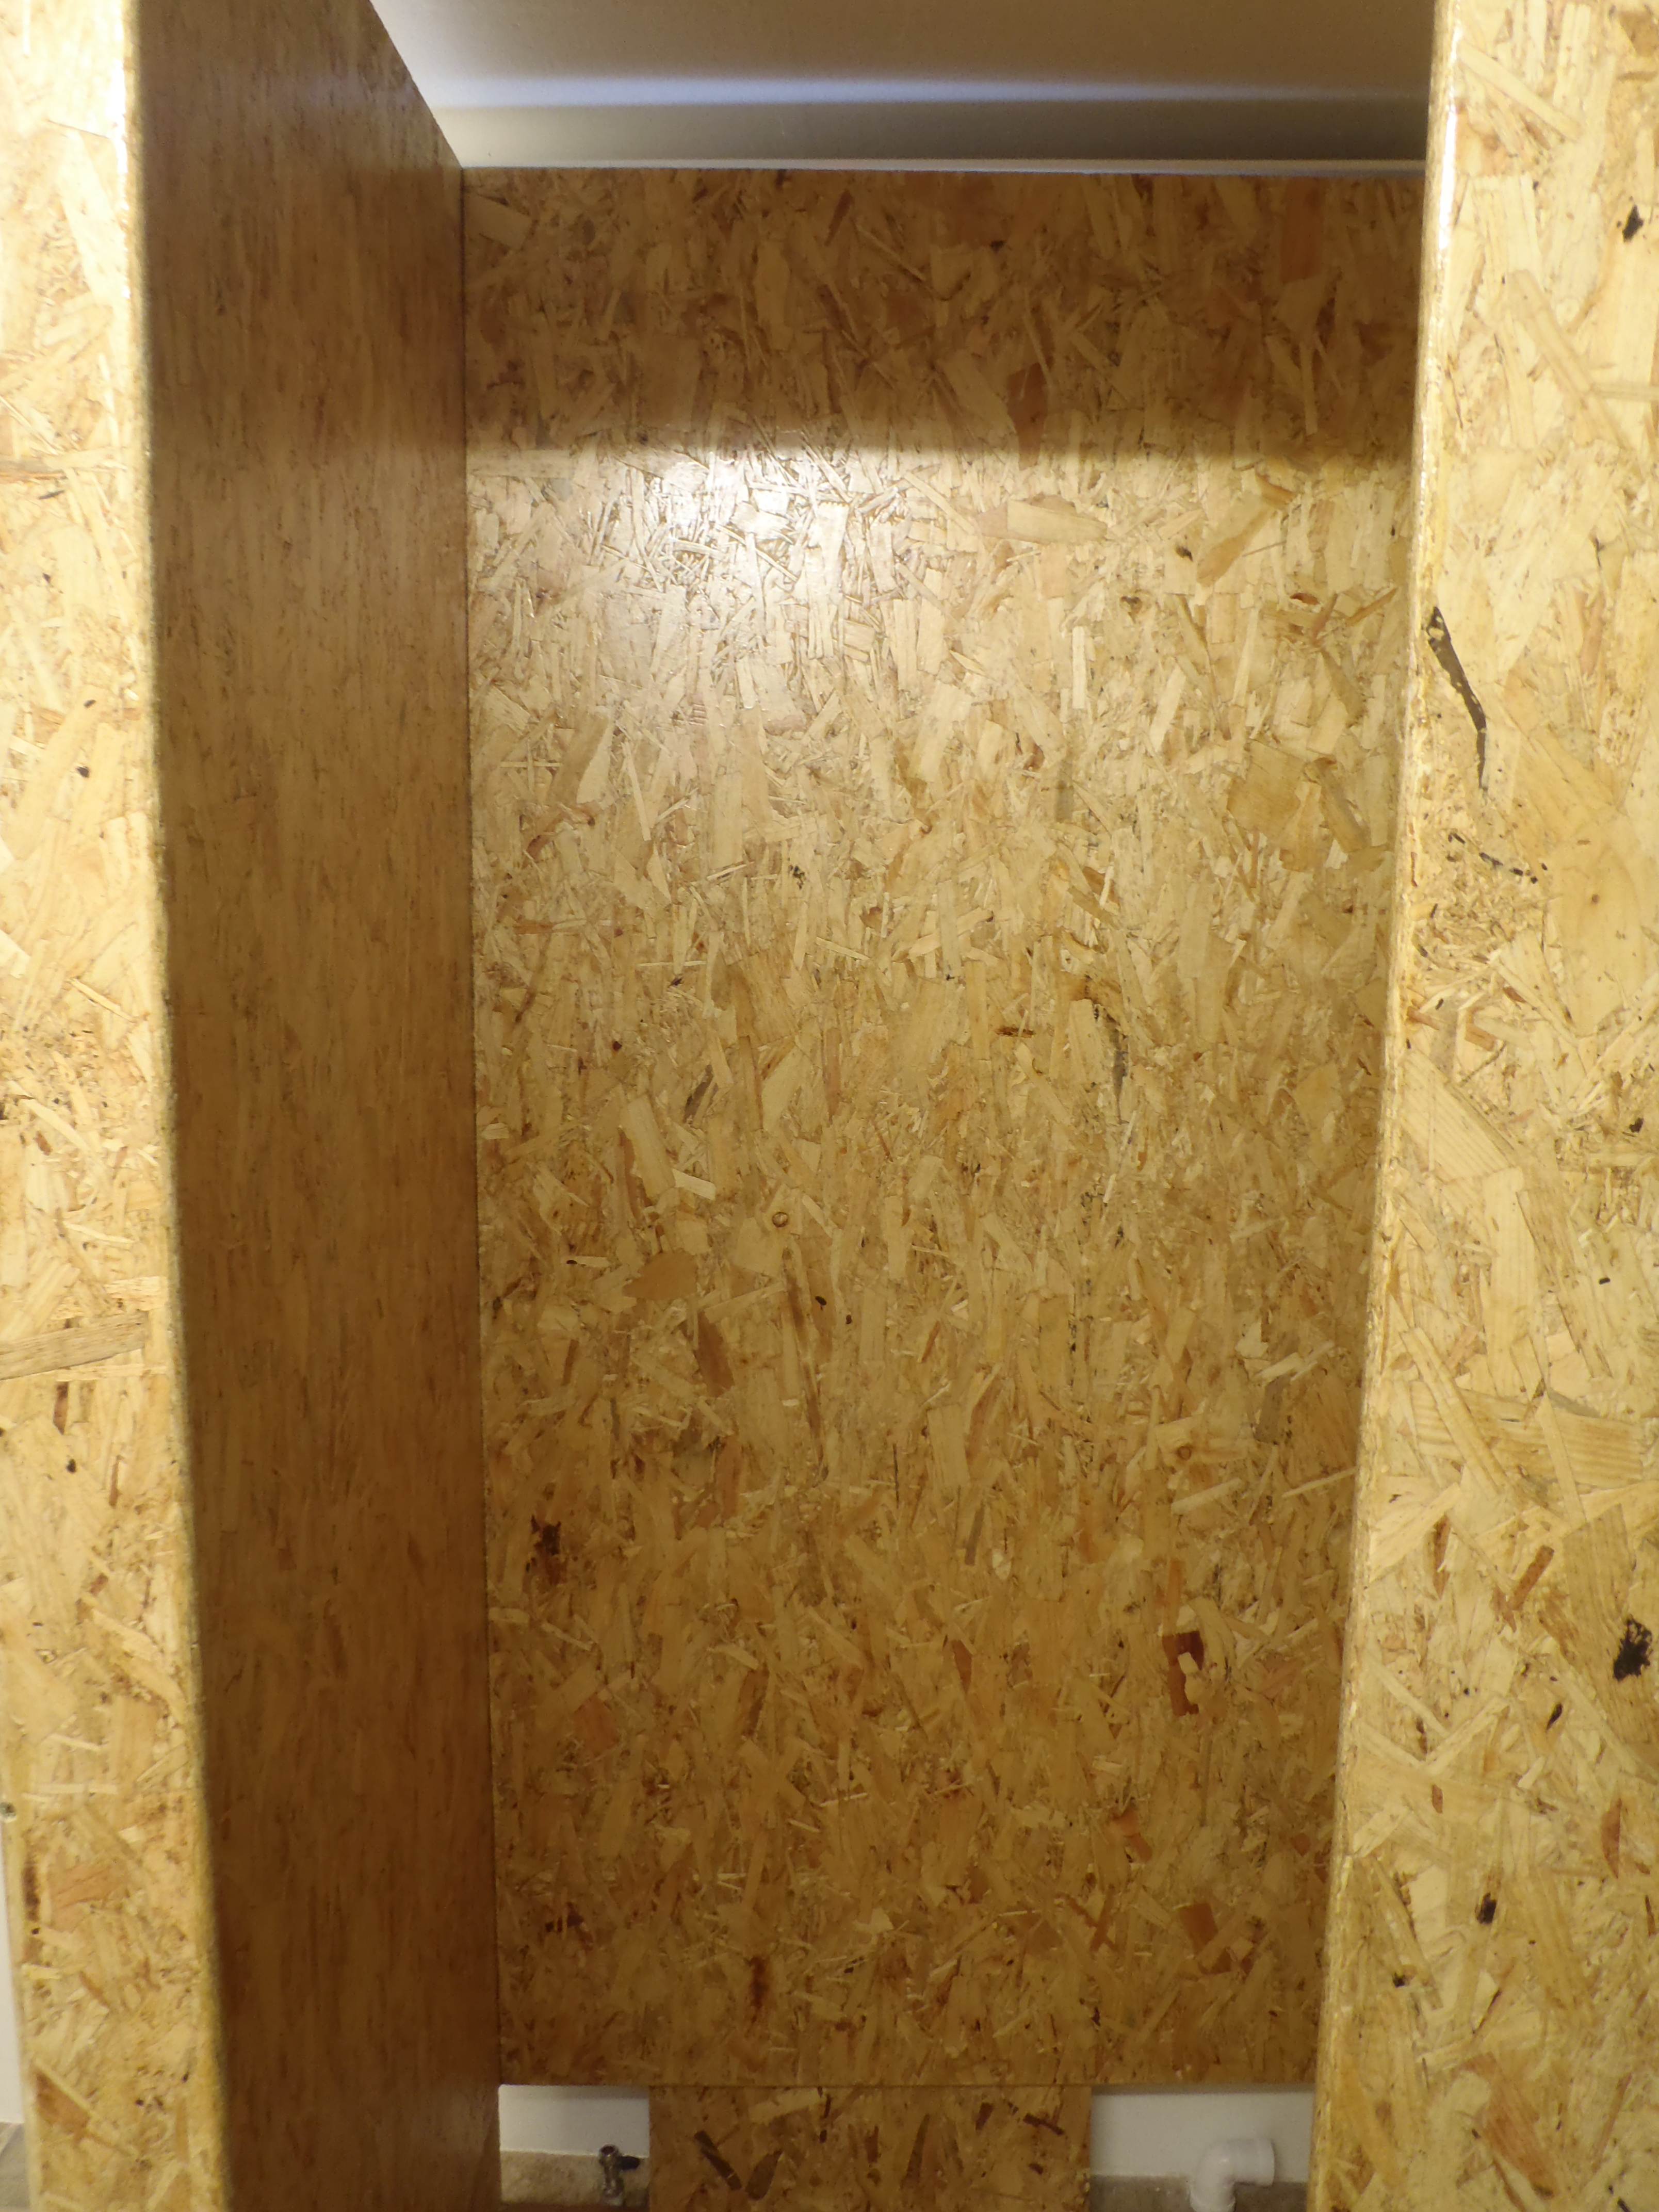
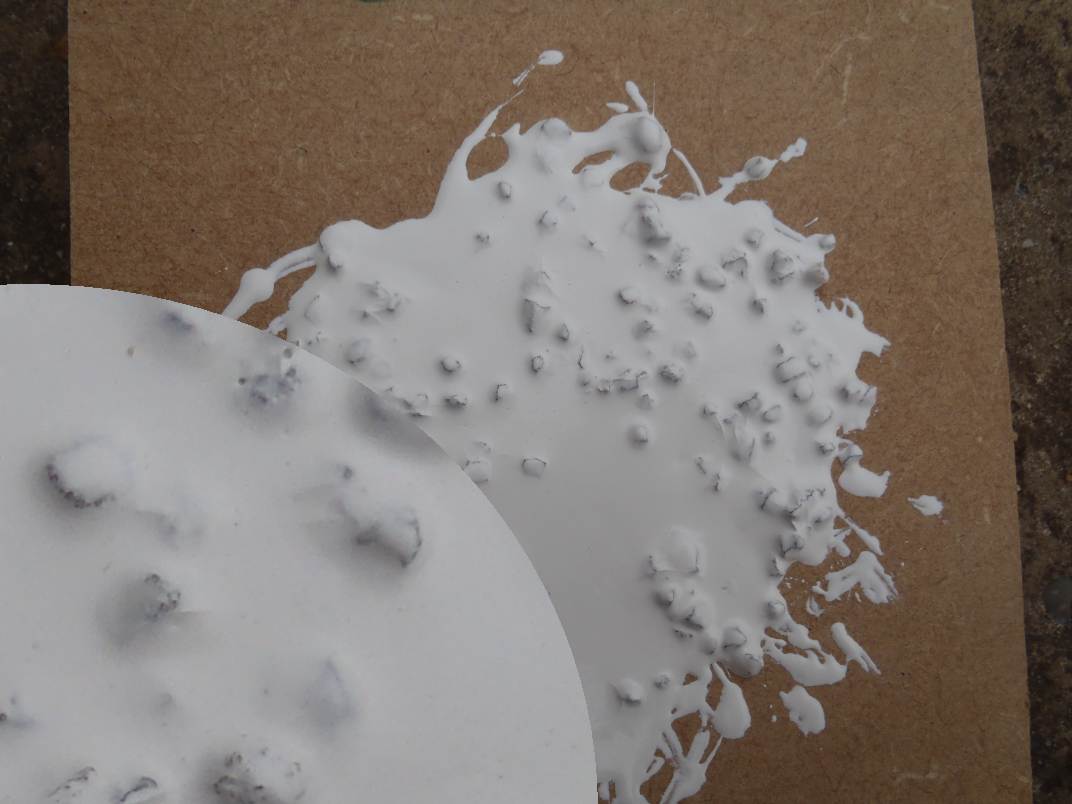
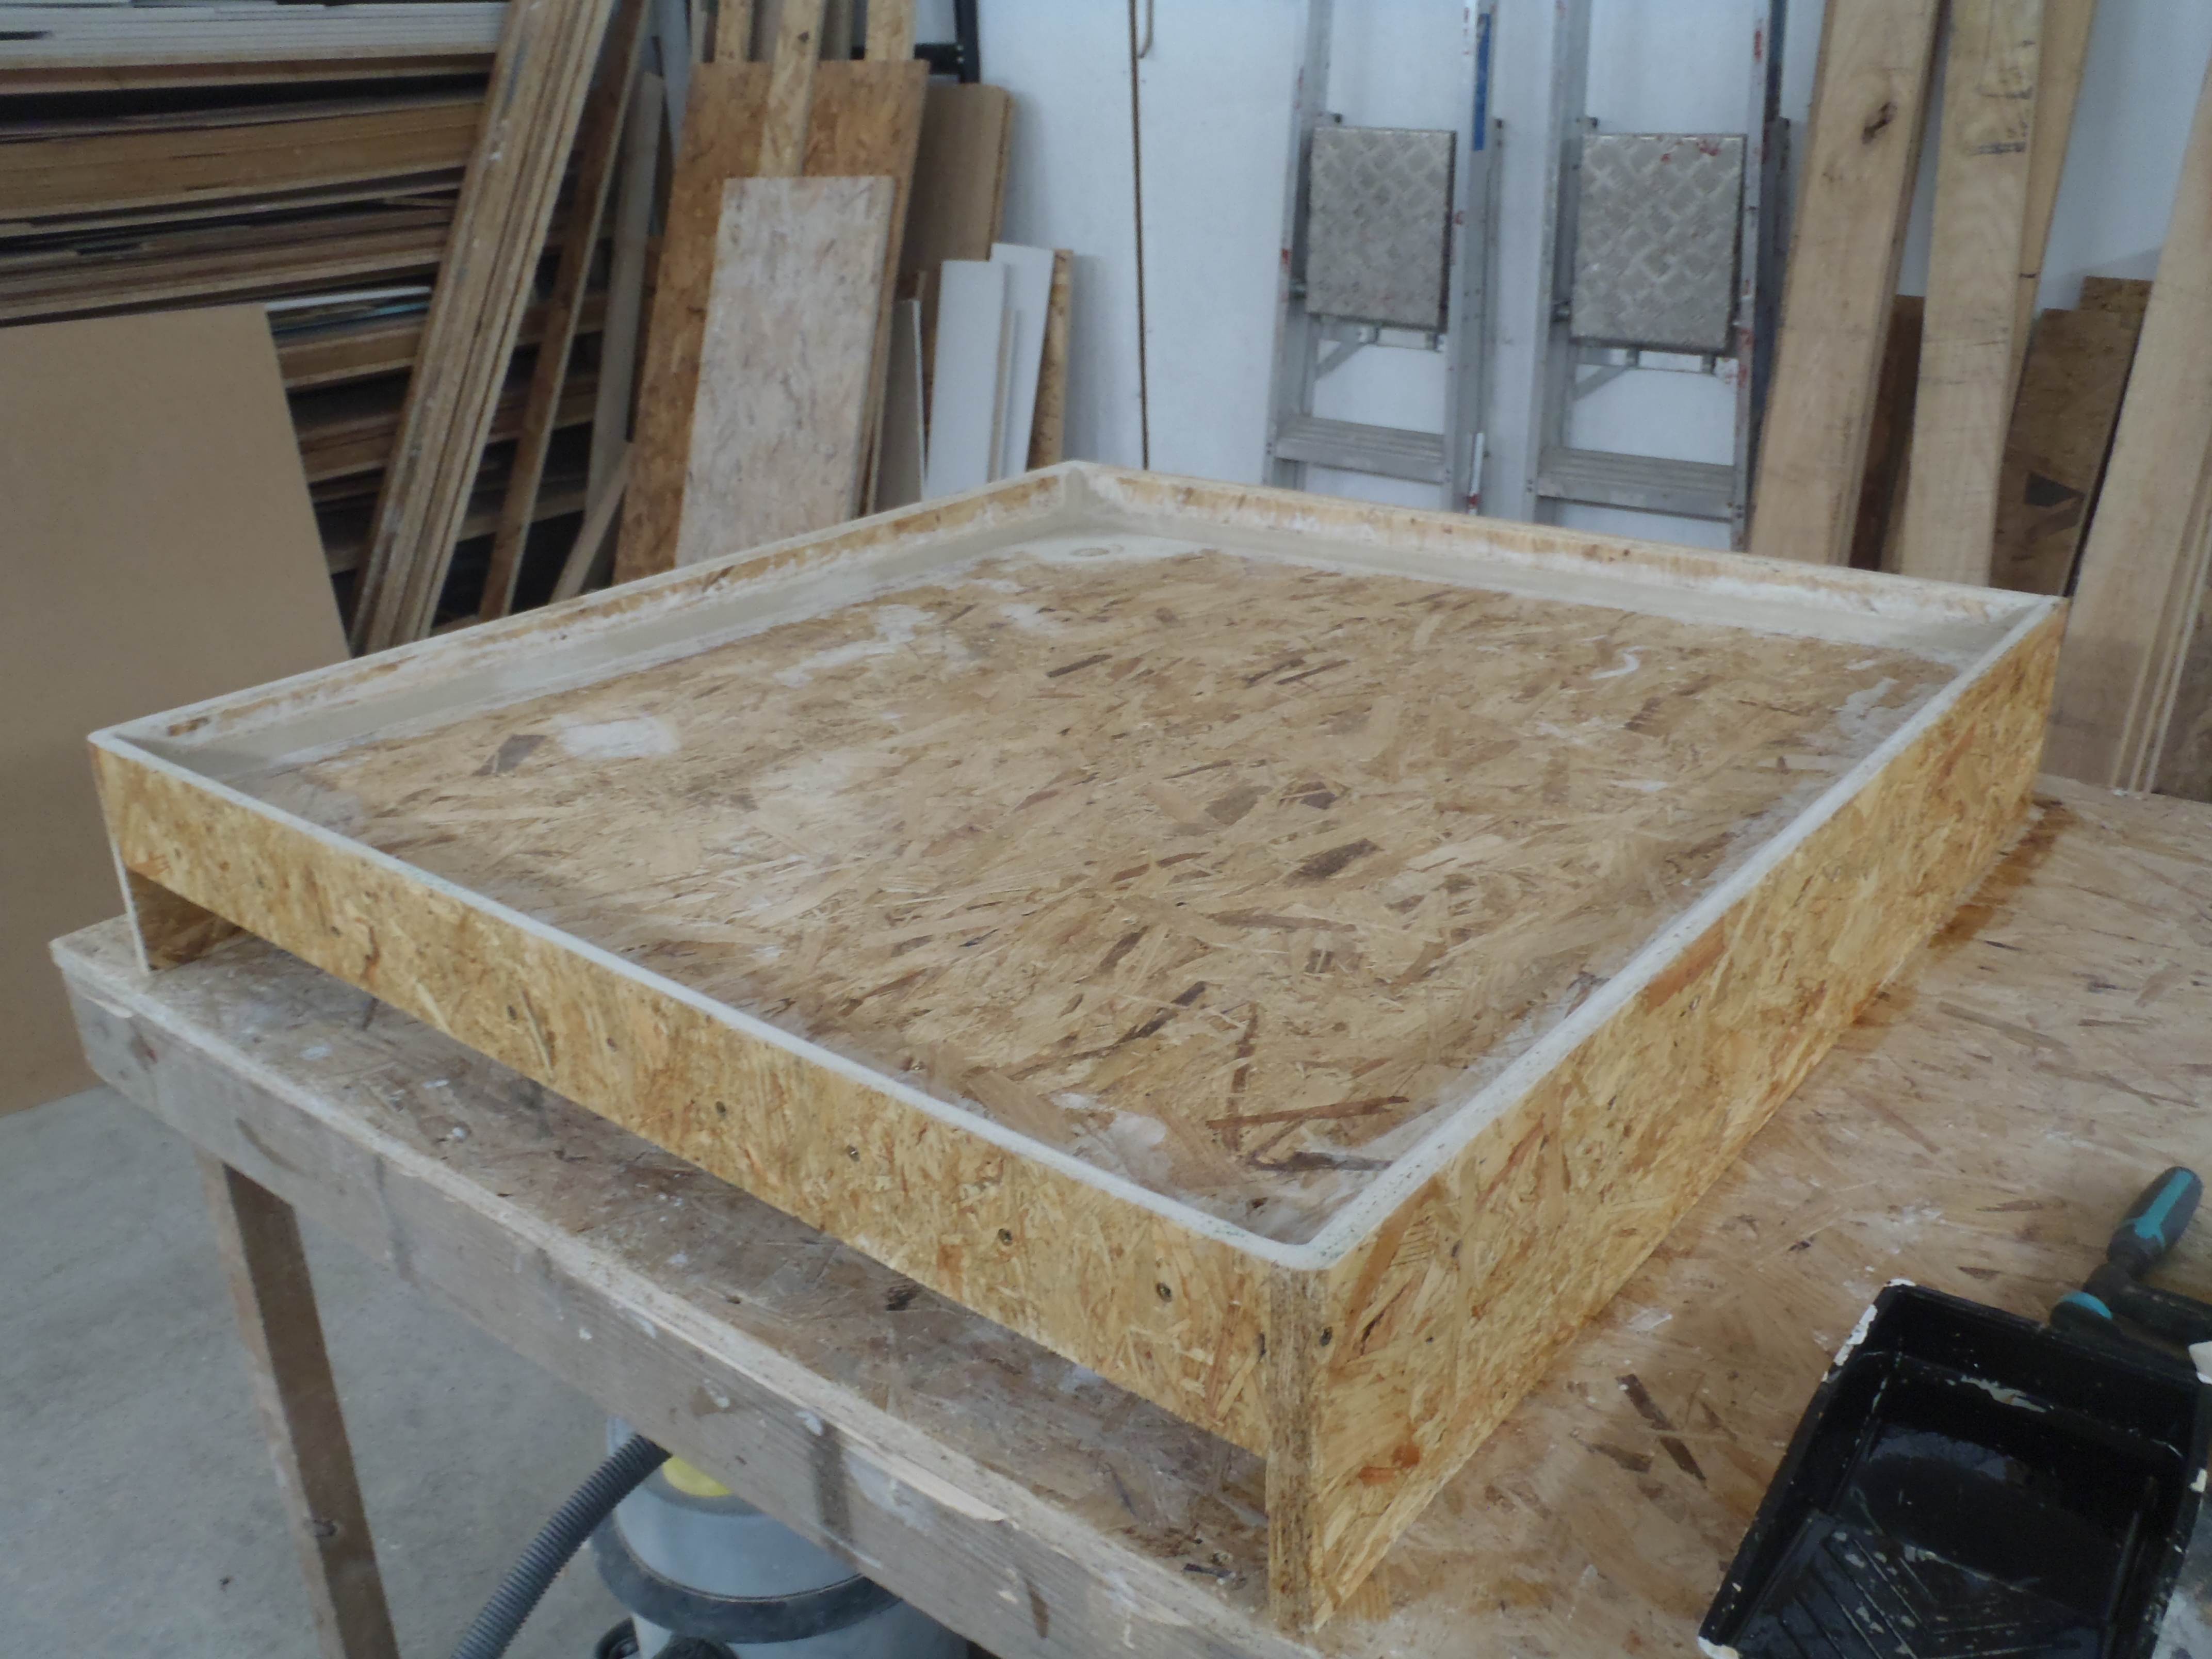
    The shower tray now does not leak! The sealant did the trick! We made the roof for the shower cubicle and cut out a small opening to insert a polycarbonate plastic sheet to act as a light source. This and the shower tray were giving their first coat of varnish.

    The cold water valve was changed over from the straight kind to a right angle type. That is ok and the water is now back on.

    We have all the plumbing bits to assemble the heat exchanger now so that is the next job.

  • Shower Cubicle Day 6

    The shower tray and its white topcoat has set nicely overnight. The sugar was vacuumed up and washed under the outside tap. The water flowed away very nicely so no unwanted build-up of water would not happen unless someone carelessly put their foot over the drain hole of course!! But we did have a small leak around the plastic pipe adapter inside the drain hole. The resin didn’t quite fill all the gap between the wooden hole and the plastic pipe even though we had taped up the opening etc. The lesson learnt here is that this kind of resin (polyester) is too thin and doesn’t stick and build up by itself. We applied some PU sealant in and around the plastic pipe up inside the drain hole to try and seal the leak. Tomorrow will tell!!

    Finished shower tray

    Finished shower tray

    Another adjustment needed was the cold water feed coming up out of the floor which is currently a straight up shut-off valve but unfortunately we need it to do a right angle turn so the cold water can enter under the tray itself to connect to our heat exchanger. The afternoon was spend draining the hot water tank and blocking off the header tank to allow us to change the fitting.

  • Shower Cubicle Day 5

    the four walls of the shower cubicle has been assembled in the Garden Room. It is now waiting for the tray to be finished and the cubicle’s roof cut and varnished.

    The shower’s tray was trimmed around the edges removing excess glass fibre (horrible stuff and very itchy!) and the surfaces rubbed down to remove any pieces of glass fibre sticking out. After the analysis of the samples, the white topcoat was applied all over and sugar sprinkled carefully on it over most of the area, only avoiding the drain hole and the edges.


    Tomorrow it is the turn of the Heat Exchanger!

  • Shower Cubicle Samples

    Here are the pictures and result of the samples we made yesterday.


    Today we have done two more samples where we mixed the fine sand into the white topcoat first before applying to the surface, and the second sample was sugar again but this time just sprinkling it over the resin without patting or touching it at all.

    The result and our conclusion is that the sugar method is the best (without patting it) which produces a very even and nice rough surface without deep holes!

  • Shower Cubicle Day 4

    The second coat of varnish was applied after buying another tin, this time a full gloss finish, on the final wall and the door missed out yesterday.

    We started messing with very smelly polyester resin and glass fibre, to coat the tray in two layers, to provide a tough waterproof surface. Very messy indeed but thank goodness for latex rubber gloves!

    We made five small samples of the white topcoat using different size sand grains and sugar! And later we can decide which is the best for providing a good grip for our feet on the wet soapy shower tray!

    The sugar idea came off the web and once the resin is hardened then simply wash and dissolve the sugar leaving behind a textured surface!

  • Shower Cubicle Day 3

    All the walls and door had their first and second coat of varnish (until we ran out of course!). the outside surfaces of the left wall and the front wall had one coat to seal in the surface ready for the normal white emulsion.

    The shower tray was carefully angled, with the drain hole in the lowest point, and the four edges were sliced to make them vertical. The drain hole was drilled using several different sizes of hole cutters to make a sloping into the hole ready for the glass fibre resin to be painted on and seal the 40mm plumbing waste pipe connector. Then the upstand side pieces were screwed into place to form the tray with a lip to contain the shower water.

    Shower tray assembled

    Shower tray assembled

    Shower tray assembled

    Shower tray assembled


    The whole tray measures 1016mm by 1074mm and the slope drops by 20mm in both right to left and front to back.

  • Shower Cubicle Day 2

    All the pieces of the shower cubicle were sliced and sanded . exposed edges were rounded. The door was cut out of the front wall and overlapping strips placed around its edge, plus a pair of hinges! The floor of the shower was joined together with glue and screws and left to set.

    Tomorrow the first coat of Ronsel’s ultra tough polyurethane varnish will be applied.

  • Shower Cubicle Designed and work started

    We have designed our shower cubicle, a free standing unit to sit in the Garden Room as a temporary module while we live out of the way of the main house being (or will be) built!

    We started the implementation by slicing up 5 sheets OSB boards for the box like floor standing cabinet, approximately 1metre (3¼ feet) square and 2metres (6½ feet)high. It will have to built-in down lighters, a set of wire rack shelves on the back wall alongside the shower unit itself and a pull across curtains. The shower tray will be 150mm (6inches) up off the floor which is slightly sloping down to the back and tilting right to left to where the drain hole is located. Under the tray is a heat recycling system where the hot waste water is guided along slim channels made of copper, zigzagging back and forth many times with hopefully will allow enough time for the cold water, coming through in own 15mm copper pipe soldered underneath the copper base, to collect the heat and warm up the cold water and send it back into the shower! We don?t know what kind of performance we will get, we will have several thermometers placed in and around on the copper plate to measure the temperature of the waste water going down the drain hole and the temperature of the incoming cold water. All the data will be collected and stored on the computer for further analysis and we can make adjustments to the angle of the heat exchanger etc.

  • Kitchen Cooking Unit Finished

    The stainless steel handles came today and were fitted and we also bought a longer piece of heat resistance electric cable for the ovens. We now have a completed Cooking Section.

    Cooking unit completed

    Cooking unit completed

    Cooking unit completed

    Cooking unit completed


  • Cooking Section installed

    At last we can and have installed the Cooking Section unit into place. The induction hob is fitted, the eight drawers are slid in (apart from the missing handles – due to arrive in the post soon!), the microwave oven is plugged in and almost the two ovens are fitted but discovered that their heavy duty cables are too short to reach our sockets!!