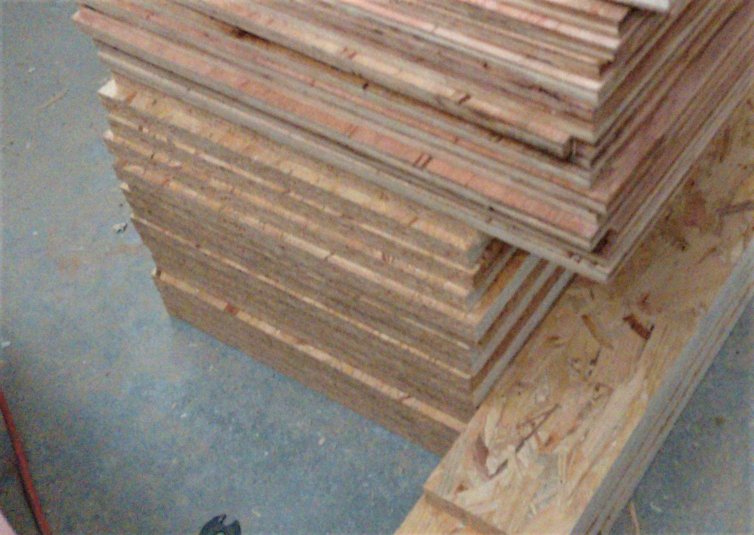
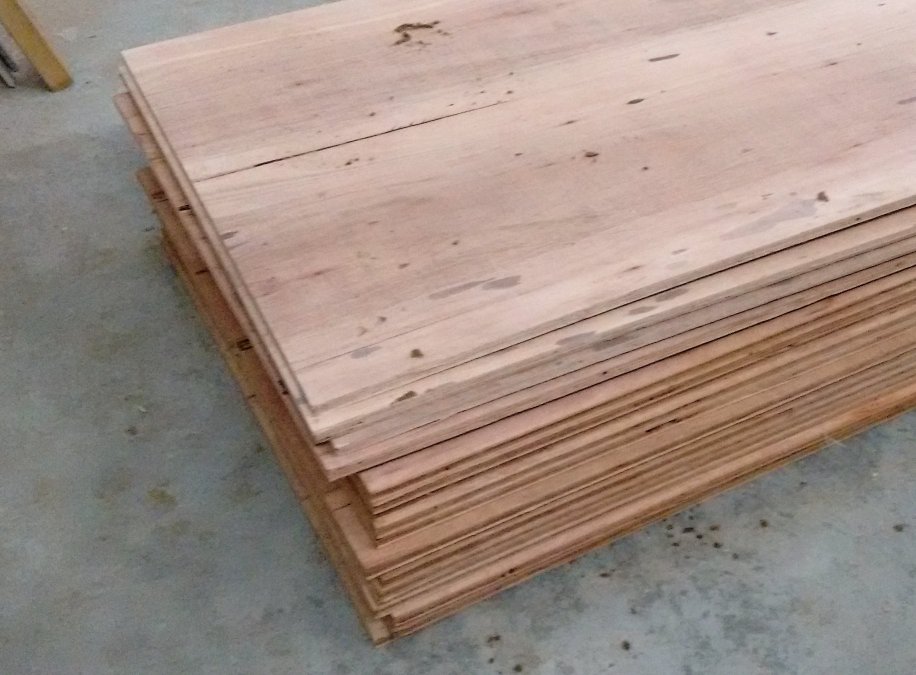
At the crack of dawn this morning, well perhaps not that early but early enough at 7:40am, the delivery of our special LVL timber arrived. LVL is Laminated Veneer Lumber and it is made of layers of about 3mm thick veneers glued together and our particular size we wanted has thirteen layers in total giving 38mm thick.
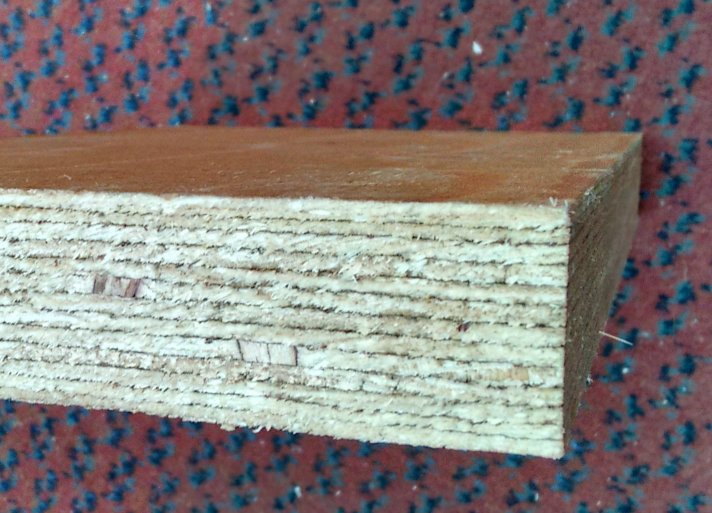
The-many-layers-of-a-LVL
The original timber was 220mm wide but some of it was sliced down the middle as we wanted so we have a heap of 110mm wide pieces as well as 220mm wide pieces (all of the wide lengths will need to be sliced in half eventually) and they came in a range of lengths from a maximum of just over 7 metres (24 feet) down to mostly just 3.5 metres (11 feet). We managed to load the whole lot onto our large trolley at the top of the Loke on the main road (the delivery driver offered to try and back down the Loke but as the lorry was a full length articulated one we decided to offload onto the trolley) and then hauled it back down the Loke.
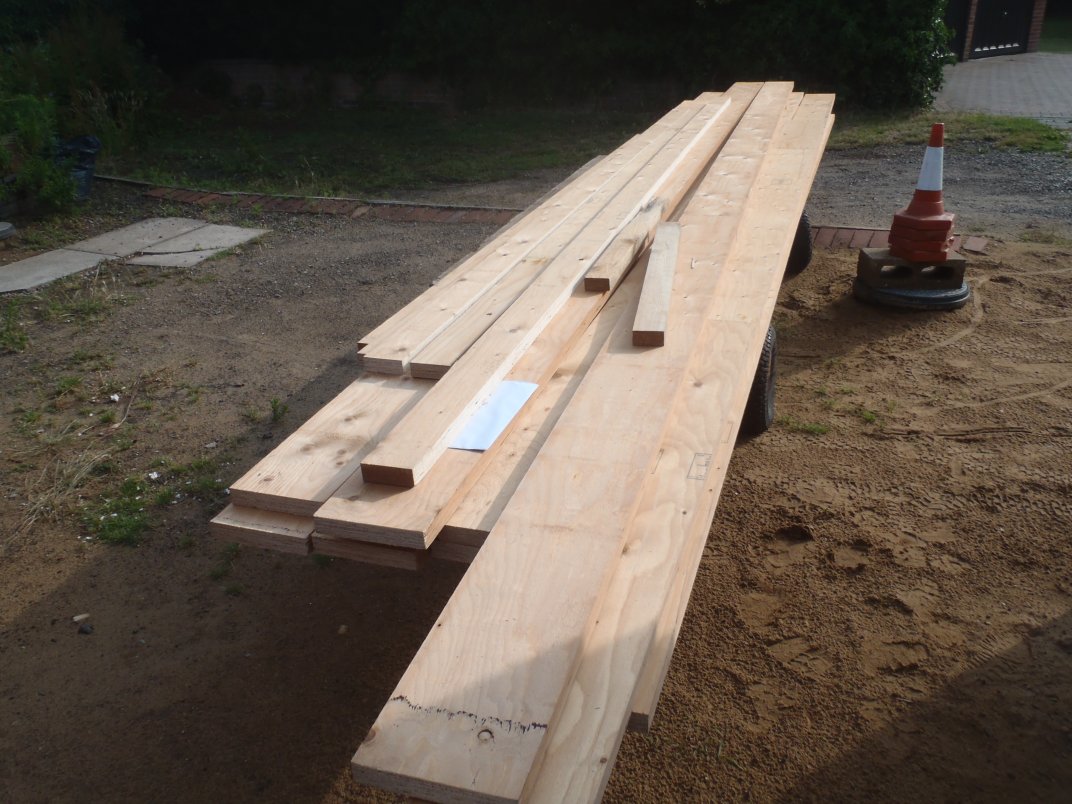
LVLs-on-the-trolley
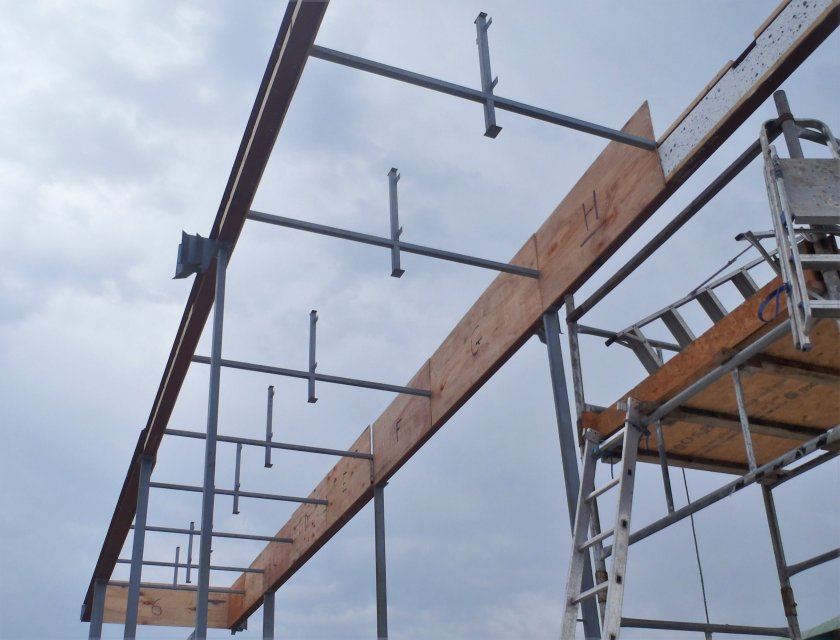
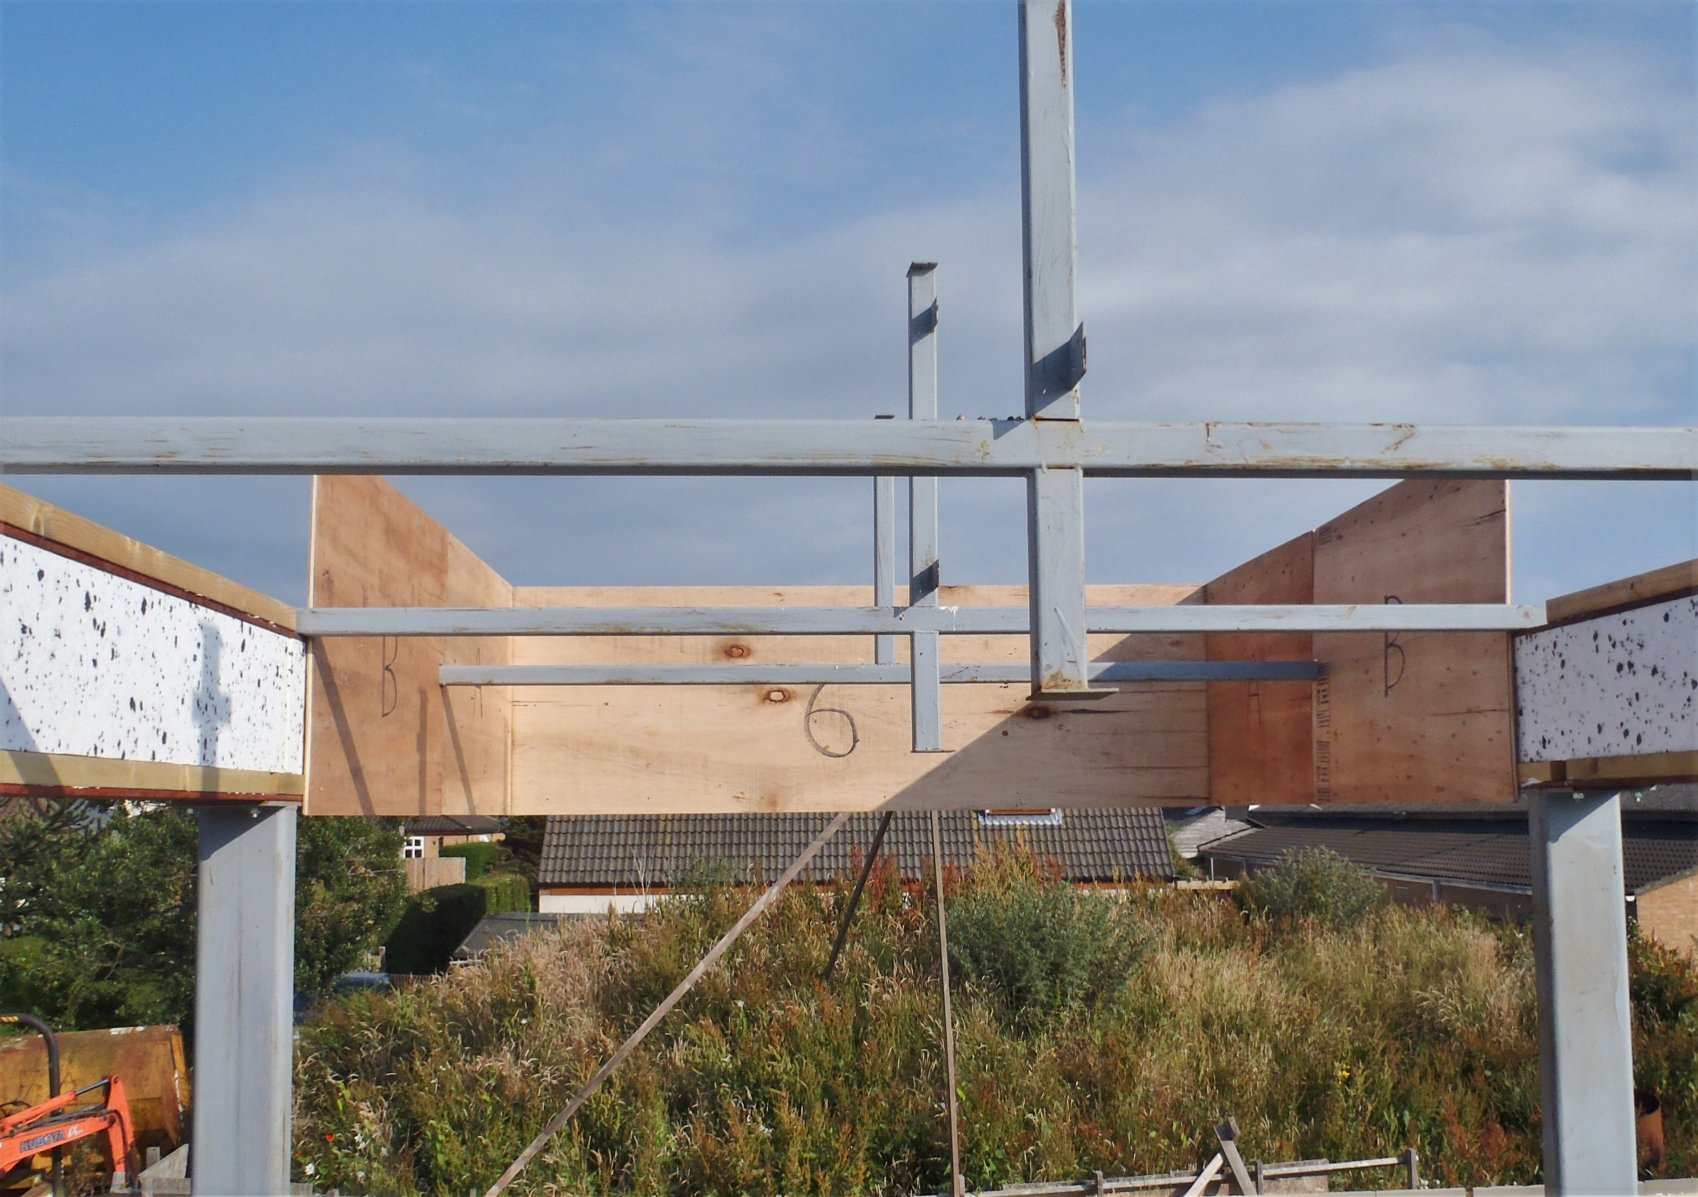
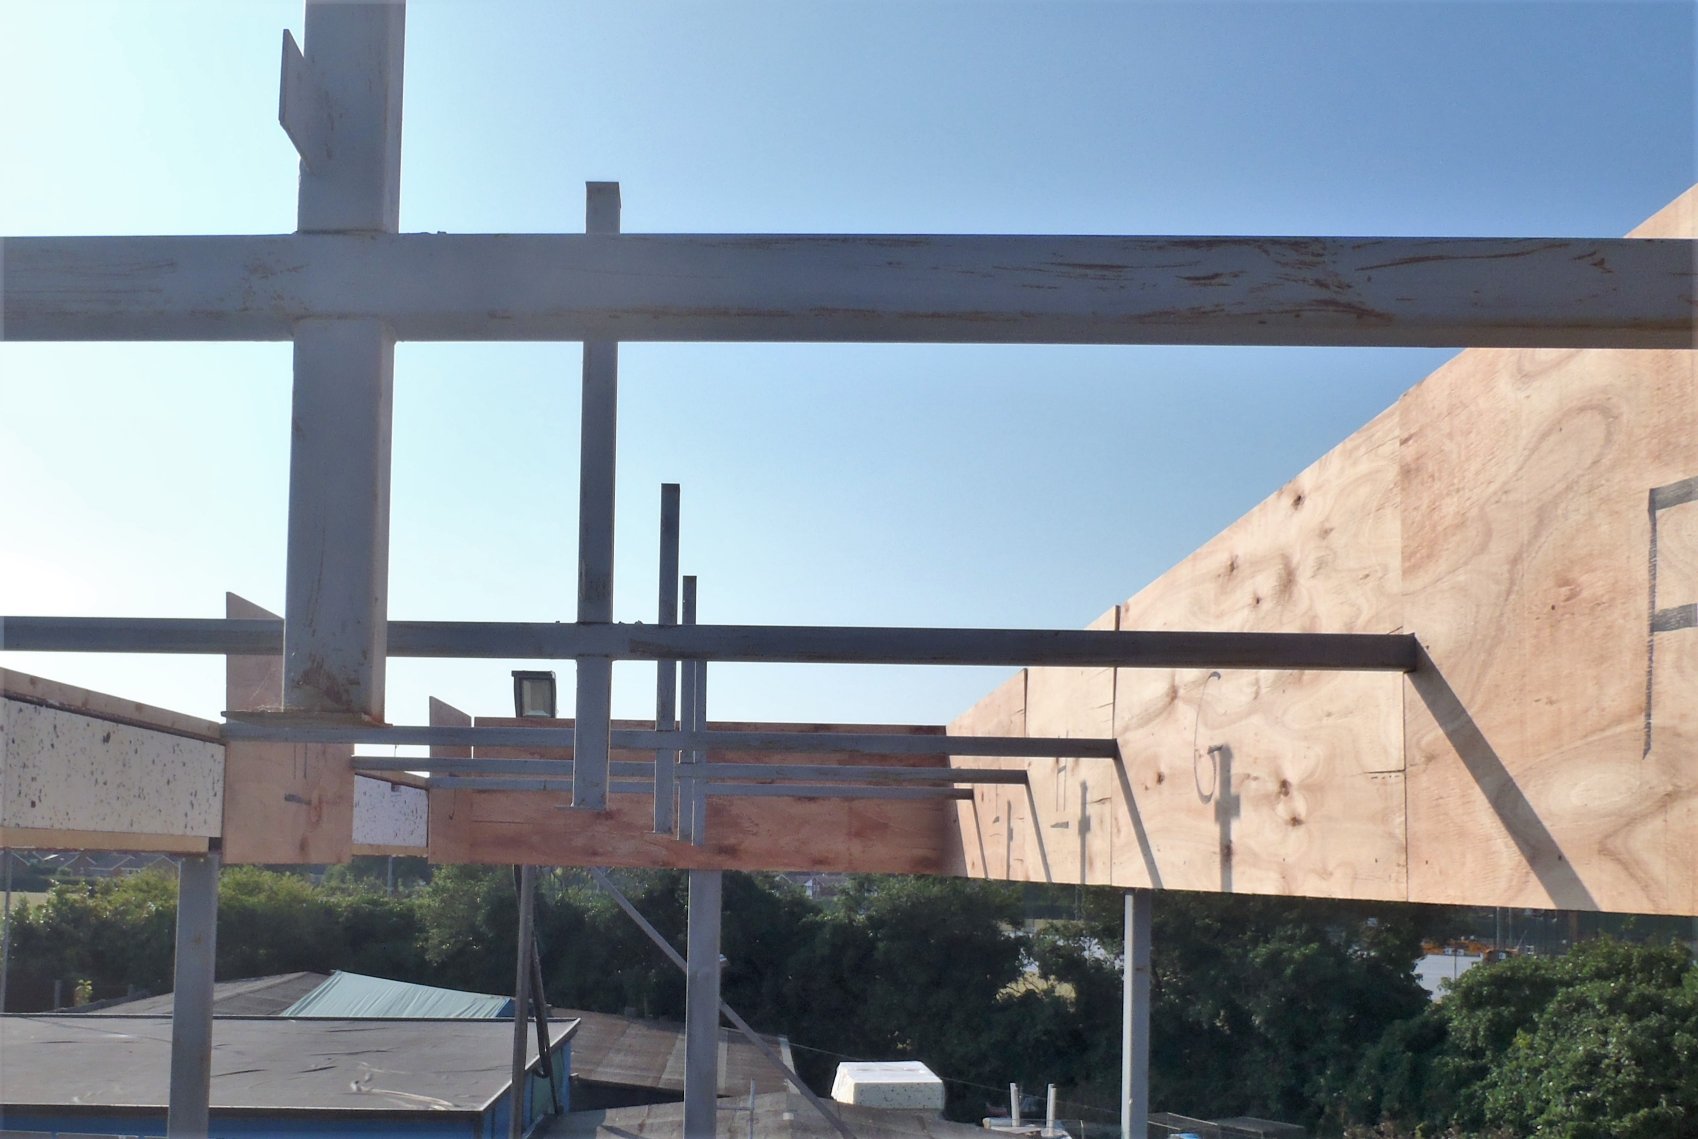
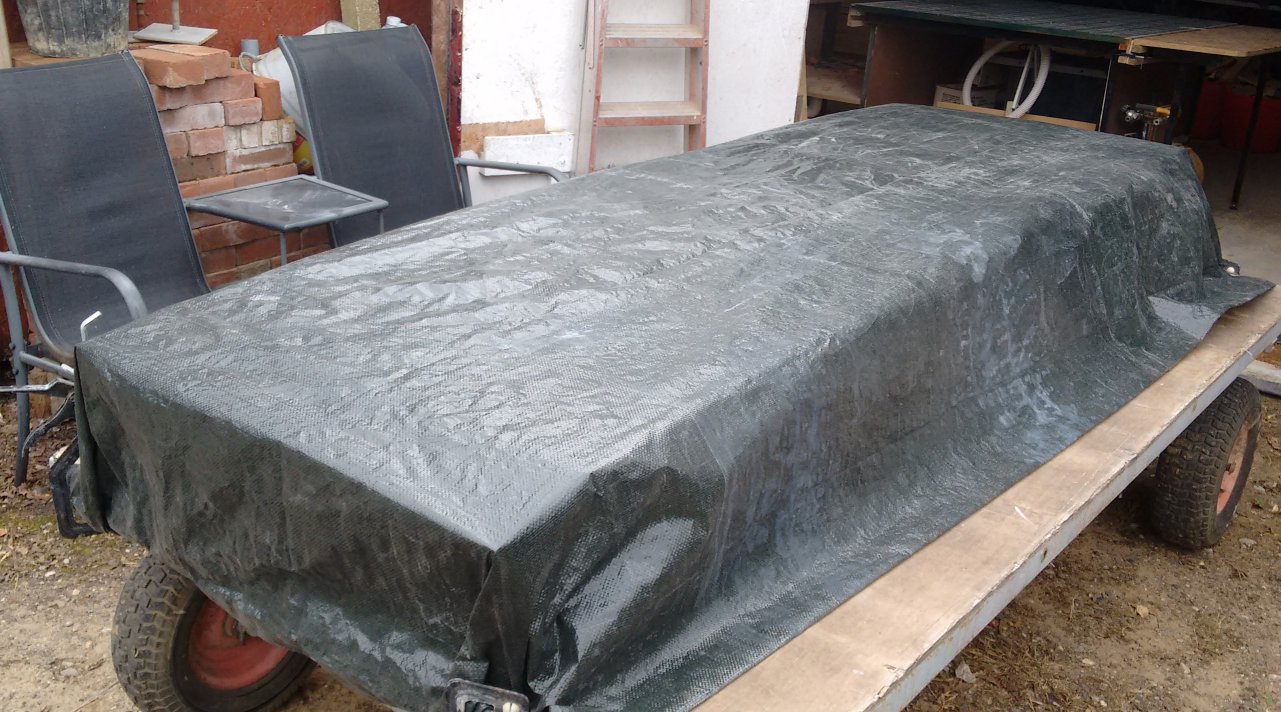
Now we will put the pieces under our Rain Shadow area to keep it dry while we finish off our current jobs and then start working on creating our diagonal rafters that these LVL timber pieces will help to form for each of the 14 roof intersections (the valleys, hips and ridges).
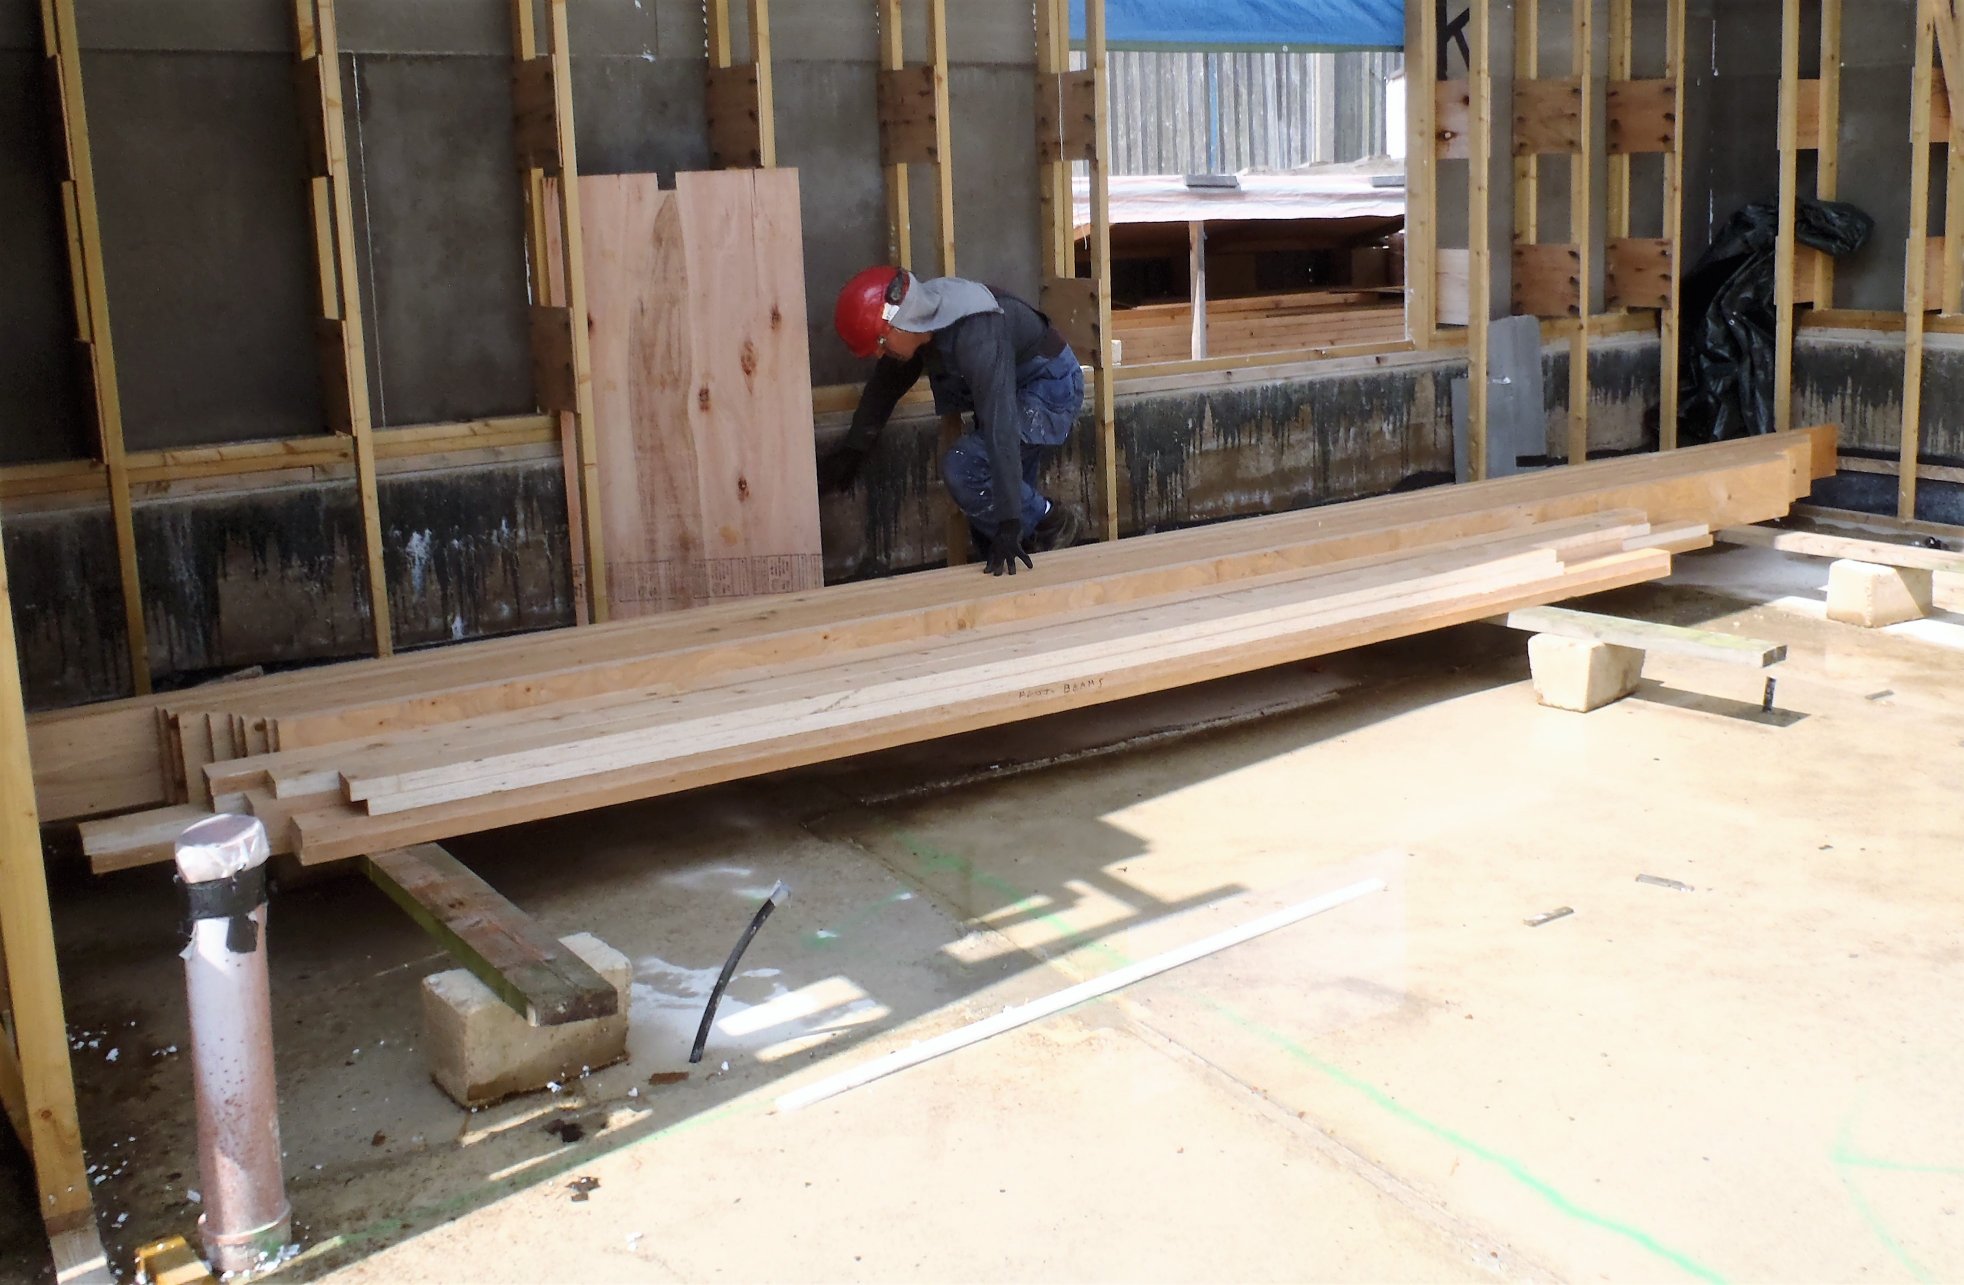
LVLs-stored-under-cover