Blog

  • Analysis and Parts List Completed

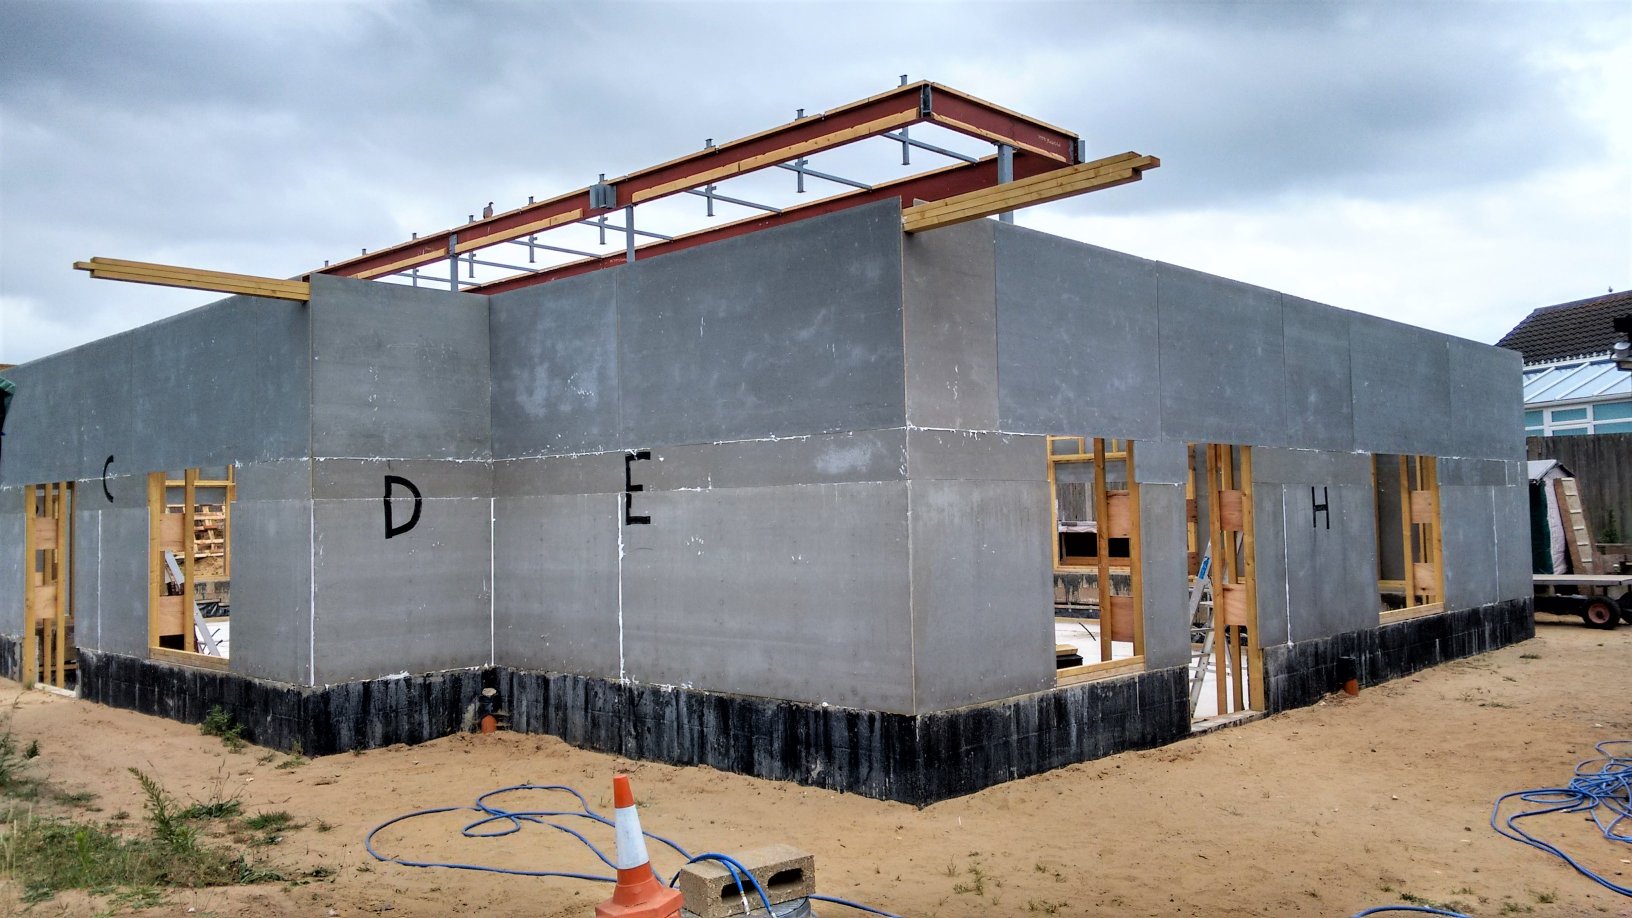
    Over the last three days, we have been reviewing the design of the skylight and it’s kerb. The exact detail have not been look at for a few years and needed updating to reflect the actual size of timbers bought. Then an analysis of all the parts that makes up the structure and framework for the skylight was performed.

    We have now a list of parts (see list below)we need to generate in our workshop and using those bits and pieces, start building the kerb and framework that will hold up the Skylight window modules.

    • 12 sheets of 18mm OSB boards, cut into 35 metres of 300mm wide strips
    • 20 sheets of 12mm plywood boards, cut into 35 metres of 740mm wide strips
    • 3 lengths of 89mm CLS timber, sliced in half to make 20 metres of 43mm by 38mm timber length
    • 3 lengths of 63mm CLS timber
    • 8 lengths of 63mm CLS timber, cut into 120 vertical posts, each 300mm high.
    • 38mm thick PU foam boards, to fill the gap in the framework.
  • Cutting Slots on Top of Cement Panels Continues

    Also today, we were continuing with the task of cutting the vertical slots that will allow the rafter top flange to come through to form the support for the eves.

    Removing-a-nail-before-routing-a-slot

    Removing-a-nail-before-routing-a-slot

    Routing-slots-in-top-of-the-wall

    Routing-slots-in-top-of-the-wall


    We finished wall L and Wall J and I. Then around to wall E and finally wall D, a total of about 15 slots in all.

    After lunch, the template was adjusted for the next size and angle of the roof which is 40 degrees which means the bird mouth has to be bigger hence the slots needs to be deeper down the cement panels to allow the rafters to fit properly.

    Wall-P-with-rafter-slots

    Wall-P-with-rafter-slots

    We then continued on Wall H and Wall N and finally finishing wall P, a total of another 20 slots. Tomorrow, the template will be changed again to the last setting, ready to do the roofs which have an angle of 45 degrees which are the two back extension (wall K and wall O) facing the swimming lane.

  • First Bit of Skylight Kerb Goes Up

    Now that we have our part list sorted, the first pieces of timber can be generated and put up on the steel I-Beams to start forming the structure and framework for the Skylight.

    The first pieces were made from ripping in half planks of 89mm CLS timber down the middle to form 44mm by 38mm pieces. These went up on the lower flanges of the I-Beams on the inside.  This support piece provides a mounting point for the tall plywood panels that will go from the very bottom of the I-Beams, all the way to the top just under the glazing framework.

    Lower-Kerb-supports-started

    Lower-Kerb-supports-started

    We have done about half the way around, about 15 metres of a total of 35 metres. Tomorrow, that will be completed and the next job is to chop and slice the various timber and sheet materials into required sizes.


  • Building Inspector Comes and Approves Our Walls

    Our building control inspector came along this afternoon to take a look our new walls. He was curious about our cement panels and what they were made of and we reassured him that they are made of wood chip mixed in pure cement and compressed into flat 10mm sheets. He also wanted reassurance that we are fire proofing the necessary cladding along the back walls which are the nearest to the boundary line. We said we are already looking into various methods and options.

    He had a look inside for a minute or so and that was it!

    He was happy and we are happy too!

    Lovely!

  • Slots On Top of Walls Started Today

    After finishing off the clearance of the openings this morning, we then switched over to the other router, we tackled the next job of slicing 38mm wide vertical slots at the top of the walls to allow the roof rafters to come through. Using our specially made template (which hooks around a vertical post) to guide the router in the exact locations where there are vertical posts which is where we want each of the roof rafter come down and sit directly on top of the solid post for maximum strength and load bearing.

    We managed to do wall B and Wall A (along the front of the building) and then Wall M and half of wall L (along the back of the building).

    These rafters are coming down at an angle of 32 degrees which means a bird mouth of 37mm deep cut into the top flange of the rafter and hence the amount of cement board needed to be removed pass the line of the top-plate. This is to allow the rafter to lock onto the top of the walls in a very secure fashion and have plane of the roof exactly 60mm above the top-plate and also the edge of the cement panels (these are coming up to meet the roof boards).

    Birds-Mouth-Cut

    Birds-Mouth-Cut

    Sits-on-top-of-wall

    Sits-on-top-of-wall

    and-passes-through-the-cement-board

    and-passes-through-the-cement-board


    in-a-Slot

    in-a-Slot

    On Monday, we will finish off the remaining walls that has these same 32 degrees sloping rafters (wall L, J, I, E and D). then the template is adjusted to do the next walls that has the 40 degrees angled rafters and finally the 45 degrees angled one after that.

  • Router Straight Cutter Ruined!

    During the task of cutting the vertical slots into the cement panels on top of the walls, Shaun ruined the router cutter bit on a nail! He didn’t see it in time or rather feel it and remove it with a crow bar and hammer! The cutter bit now has smashed edges!

    Broken-cutter

    Broken-cutter

    So an hour was lost while we went off to the shop to buy 5 more bits, some spare ones too just in case!!

  • All Doors and Windows Are Now Neat and Tidy!

    This morning, we finished off the task of removing the excess cement boards overlapping the openings. We had another three and half to go to complete  all 15 openings. Again, wearing eye protection, dust mask and safety helmet, went long the front of the building to conclude the slicing the cement sheets away from the three Windows and one Door, the front door and the windows for the Kitchen, the little Hall window and Entertainment Room.

  • Remove Overlapping Waste Cement Boards on Windows and Doors

    This morning, we sliced up one of our cement boards into lots of 110mm wide strips and went around gluing and nailing them under all the windows to complete the covering up of the timber framework.

    Strips-added-to-bottoms-of-windows-and-doors

    Strips-added-to-bottoms-of-windows-and-doors

    We also did the small vertical bits of the doorways too, two each side of the door right down at the bottom section of the timber framework which was still exposed.

    Then this afternoon, we routed the waste overhanging cement boards around all the openings, 15 of them, around the house. Using a straight cutter with a ball bearing little wheel at the tip of the cutter, we ran the machine around the edges of the windows and doors, using the inside surface of the timber framework to guide the little wheel on the cutter.

    Bearing-guided-cutter

    Bearing-guided-cutter

    Shaun-in-Action-trimming-around-window

    Shaun-in-Action-trimming-around-window


    The cutting generated a lot of dust, Shaun had both a breathing mask and goggles on to protect him. We managed only to do eleven and half of the opening before the end of the day, with a delay of an hour to repair the router machine.

    Tomorrow, we will finish off the remaining three and half openings (three windows and one door – one of the windows is half done) and the next job is to cut the slots in the top of the cement panels on top of the walls.

  • Router Machine Blew A Capacitor!

    The Bosch router machine suddenly stopped working while cutting the window on the “O” wall of the Great Room. It blew the fuse in the plug back in the garage!

    We managed to track down the problem to a capacitor which had blown up! We replaced it with a new one (measuring 0.15 microfarads 400 volts) which we assumed that this capacitor suppresses spikes from the motor when you initially start the machine.

    It took about an hour to do the repair job and get it back into working order again!

  • Third Line of Cement Panels is Completed At Last!

    During the last two days, we continued putting up the cement panels to complete the third line on the external wall. We did Wall M, L, K and J yesterday and today we completed wall I, H, E and finally wall D to finish the whole circuit.

    Cement-boards-Finished-on-Wall-M

    Cement-boards-Finished-on-Wall-M

    Cement-boards-Finished-on-Walls-K-L

    Cement-boards-Finished-on-Walls-K-L

    Cement-boards-Finished-on-Walls-I-J

    Cement-boards-Finished-on-Walls-I-J


    Cement-boards-Finished-on-Walls-DE-H

    Cement-boards-Finished-on-Walls-DE-H

    It was hard work doing this third line, as a full sheet of the 10mm thick cement panels weighed 38kg each and we had to lift it over 6 feet up!  This is why we had our handy wooden mini platform to hold the sheet half way up – phew!

    The next job is to do the narrow strips under all the 12 windows to complete the covering of the framework around the window and narrow vertical strips down on both sides of the 3 doorways. Then, we will slice off all the overhanging waste parts of the cement board and we will then complete the wall.

    The-amount-needed-to-trim-from-windows

    The-amount-needed-to-trim-from-windows

    No hold on a minute, we also have to cut slots in the cement boards at the top of the walls where each rafter is coming down from the roof, as it will need to project to form the eves beyond the walls!!