In the glorious and very hot sunshine, we resumed the task of covering the External Wall with our 10mm thick cement boards.
But first, as instructed in our approved structural drawings, we took a couple lengths of 63mm CLS timber and cut them to fit diagonally inside the “O” wall to help increase the racking strength. The Great Room extension needs this extra stiffening support because the prevailing wind can blow down across the garden and hit the side of the very long stretch of the Great Room (this is wall “P”) and consequently exert a large load on the extension and twist it sideways, hence why the extra bracing.
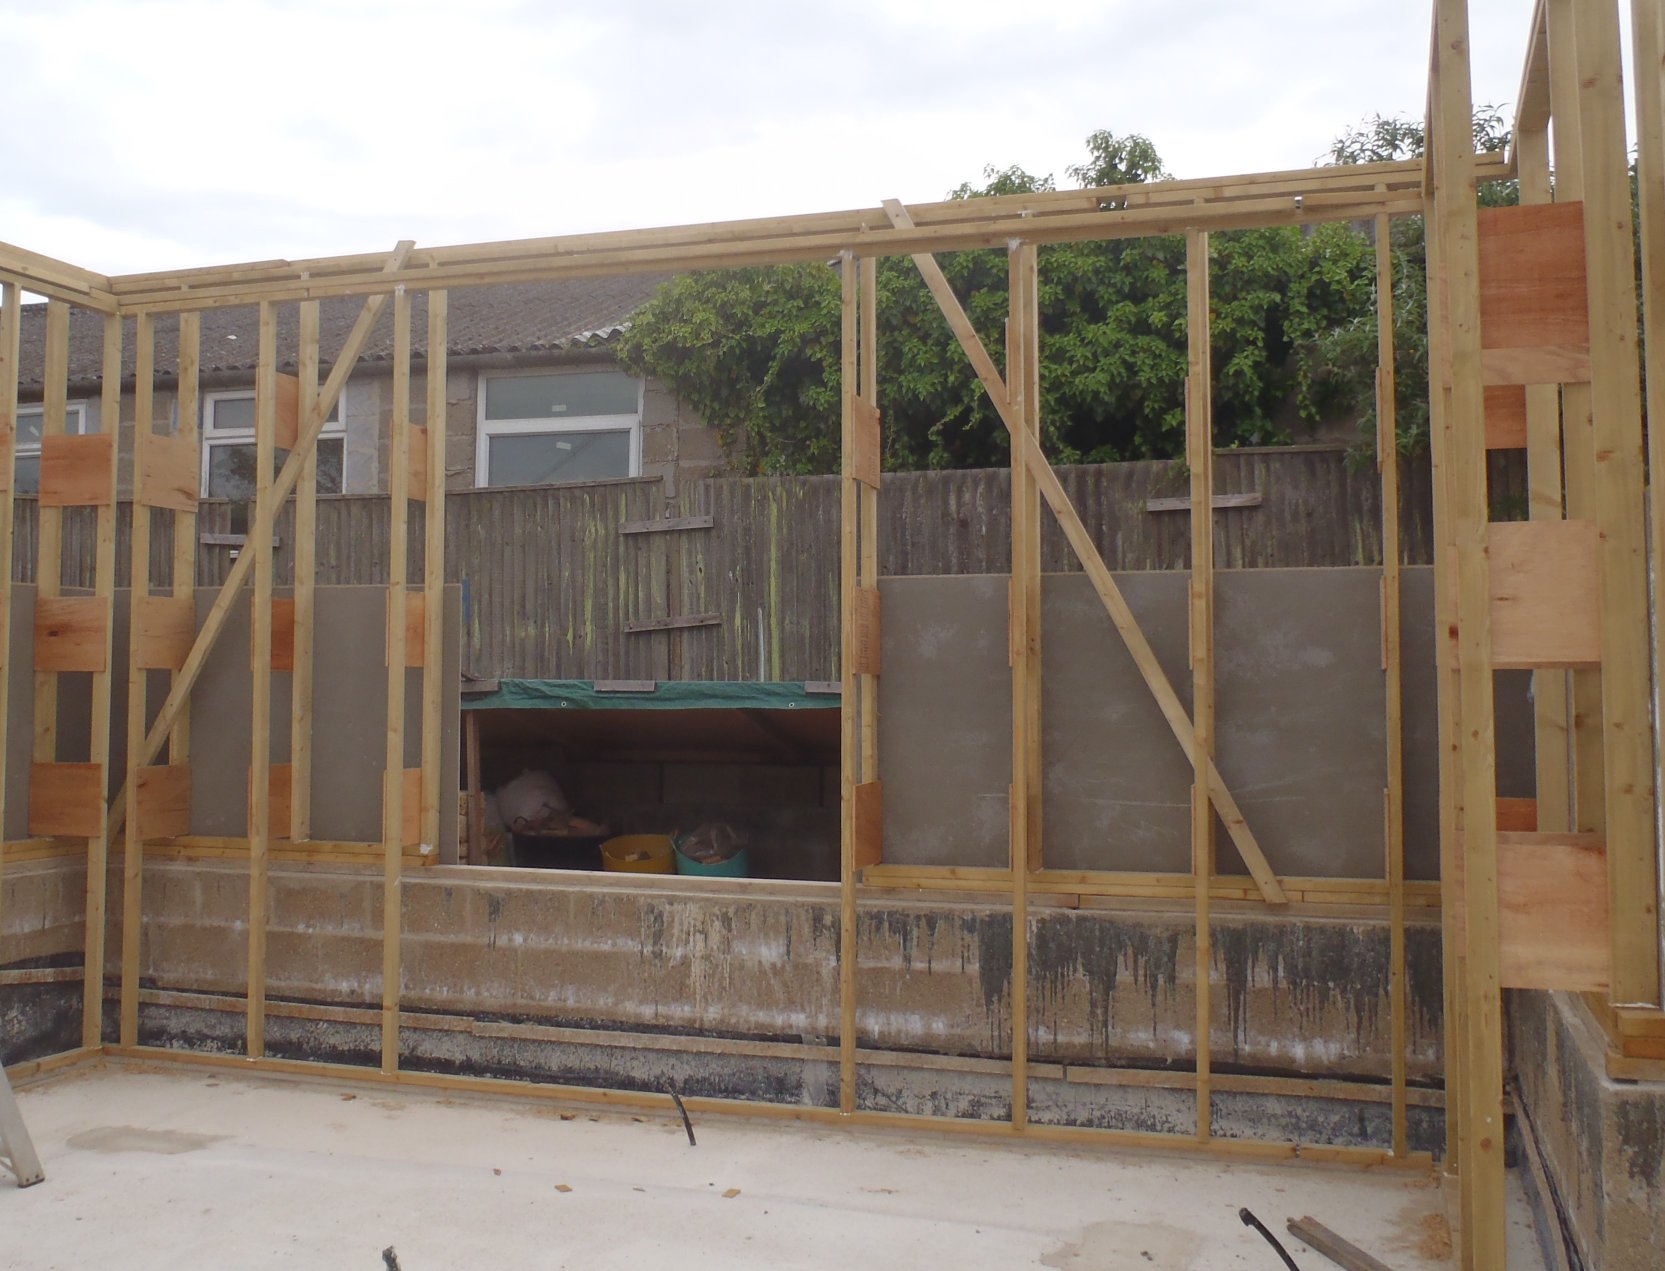
Diagonal-Bracing-on-wall-O
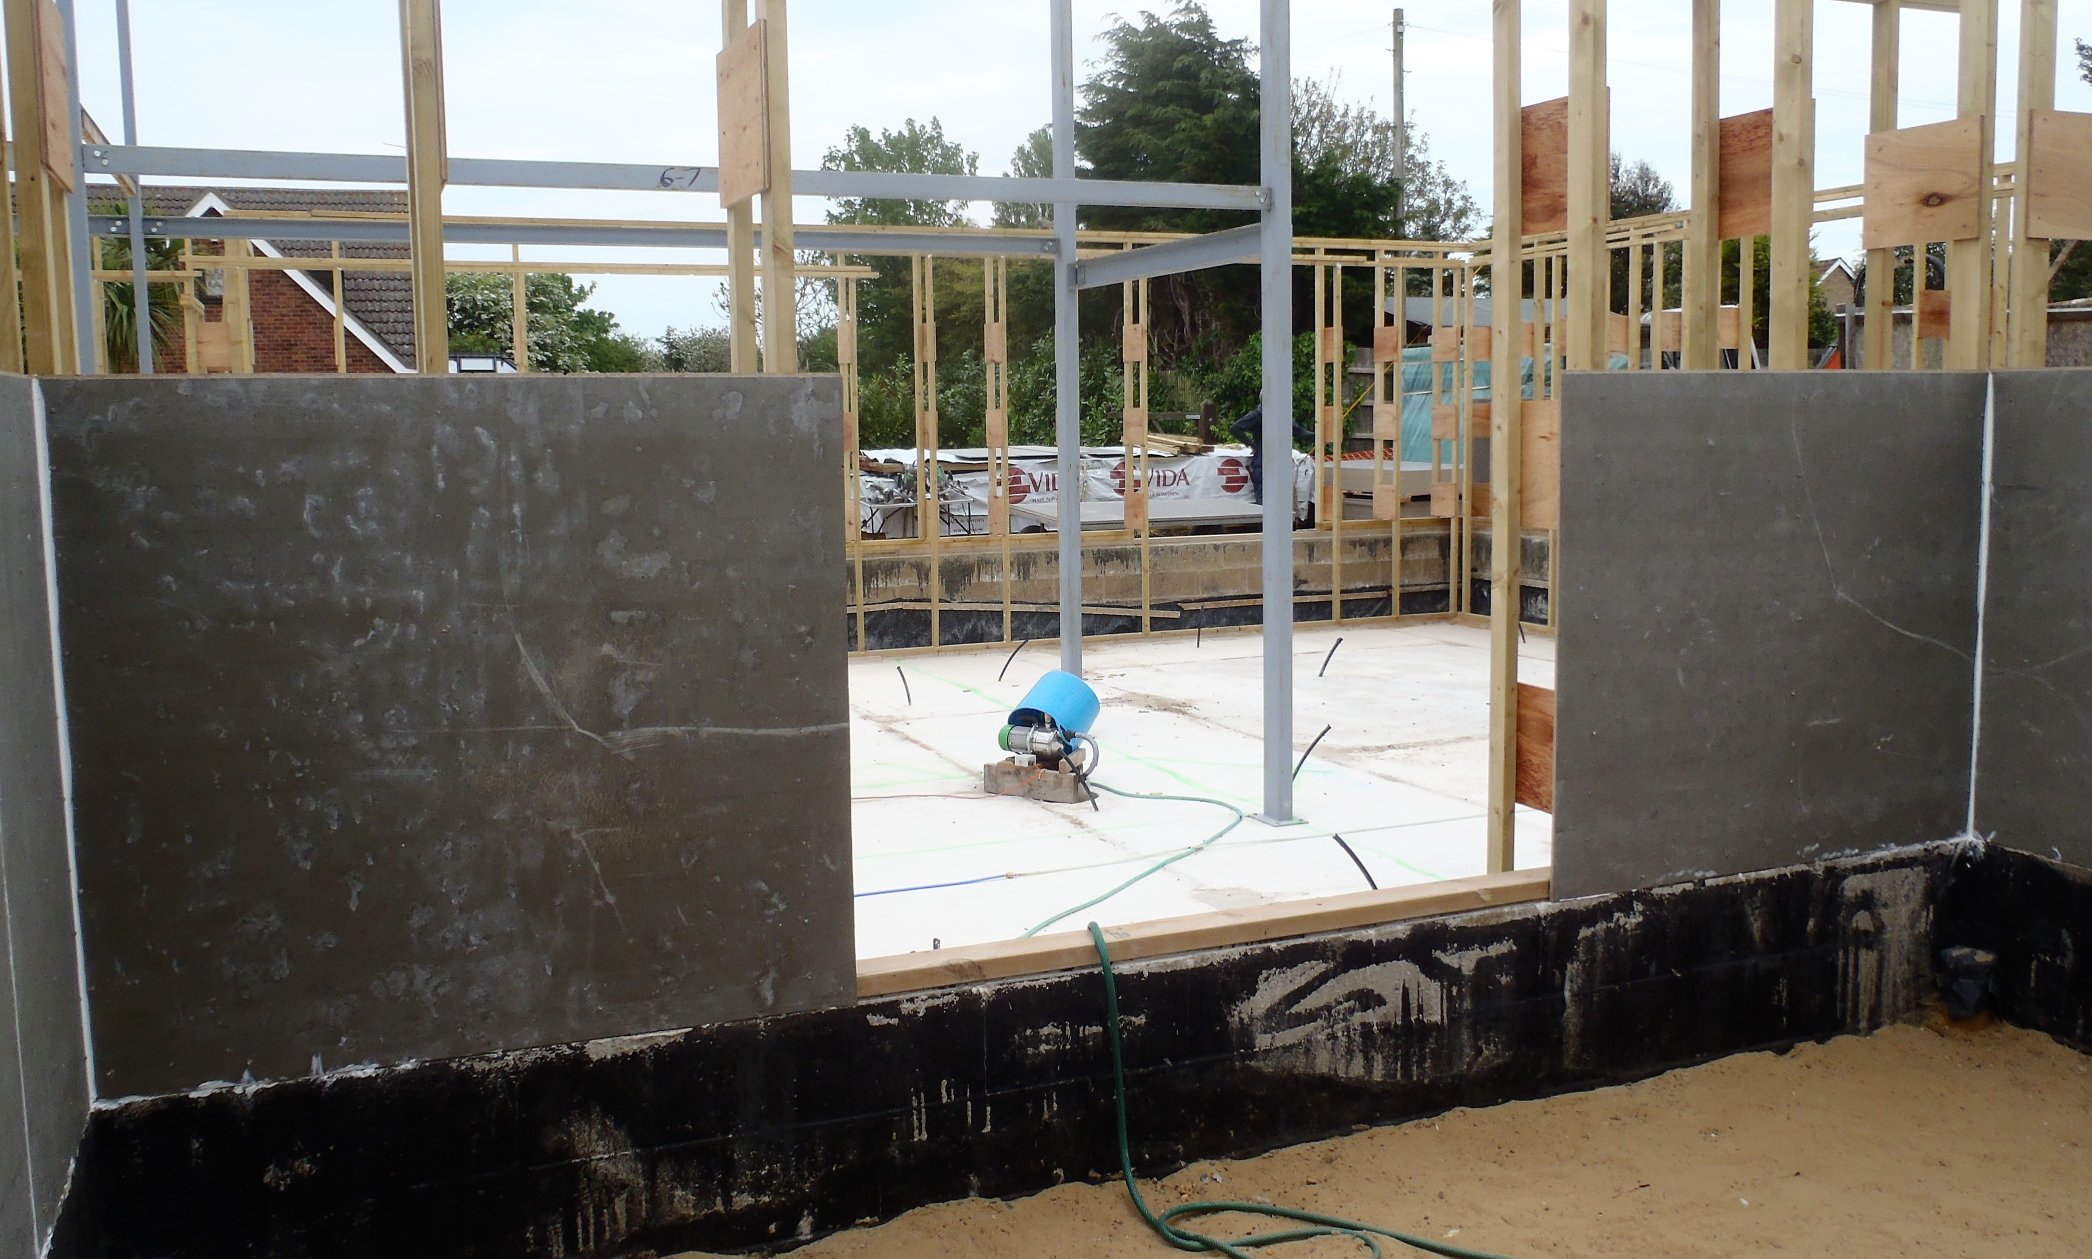
After we had done wall “O” with the above job, and also making sure the Legs were all mostly vertical too, we did the same for wall “N” and wall “M”, pulling them sideways a bit to align the Legs to point more vertically. And also later on, doing the same for wall “P” too. We had to tie down bracing lines to pull and hold the adjustment separately on these walls, moving on when we had put up the boards.
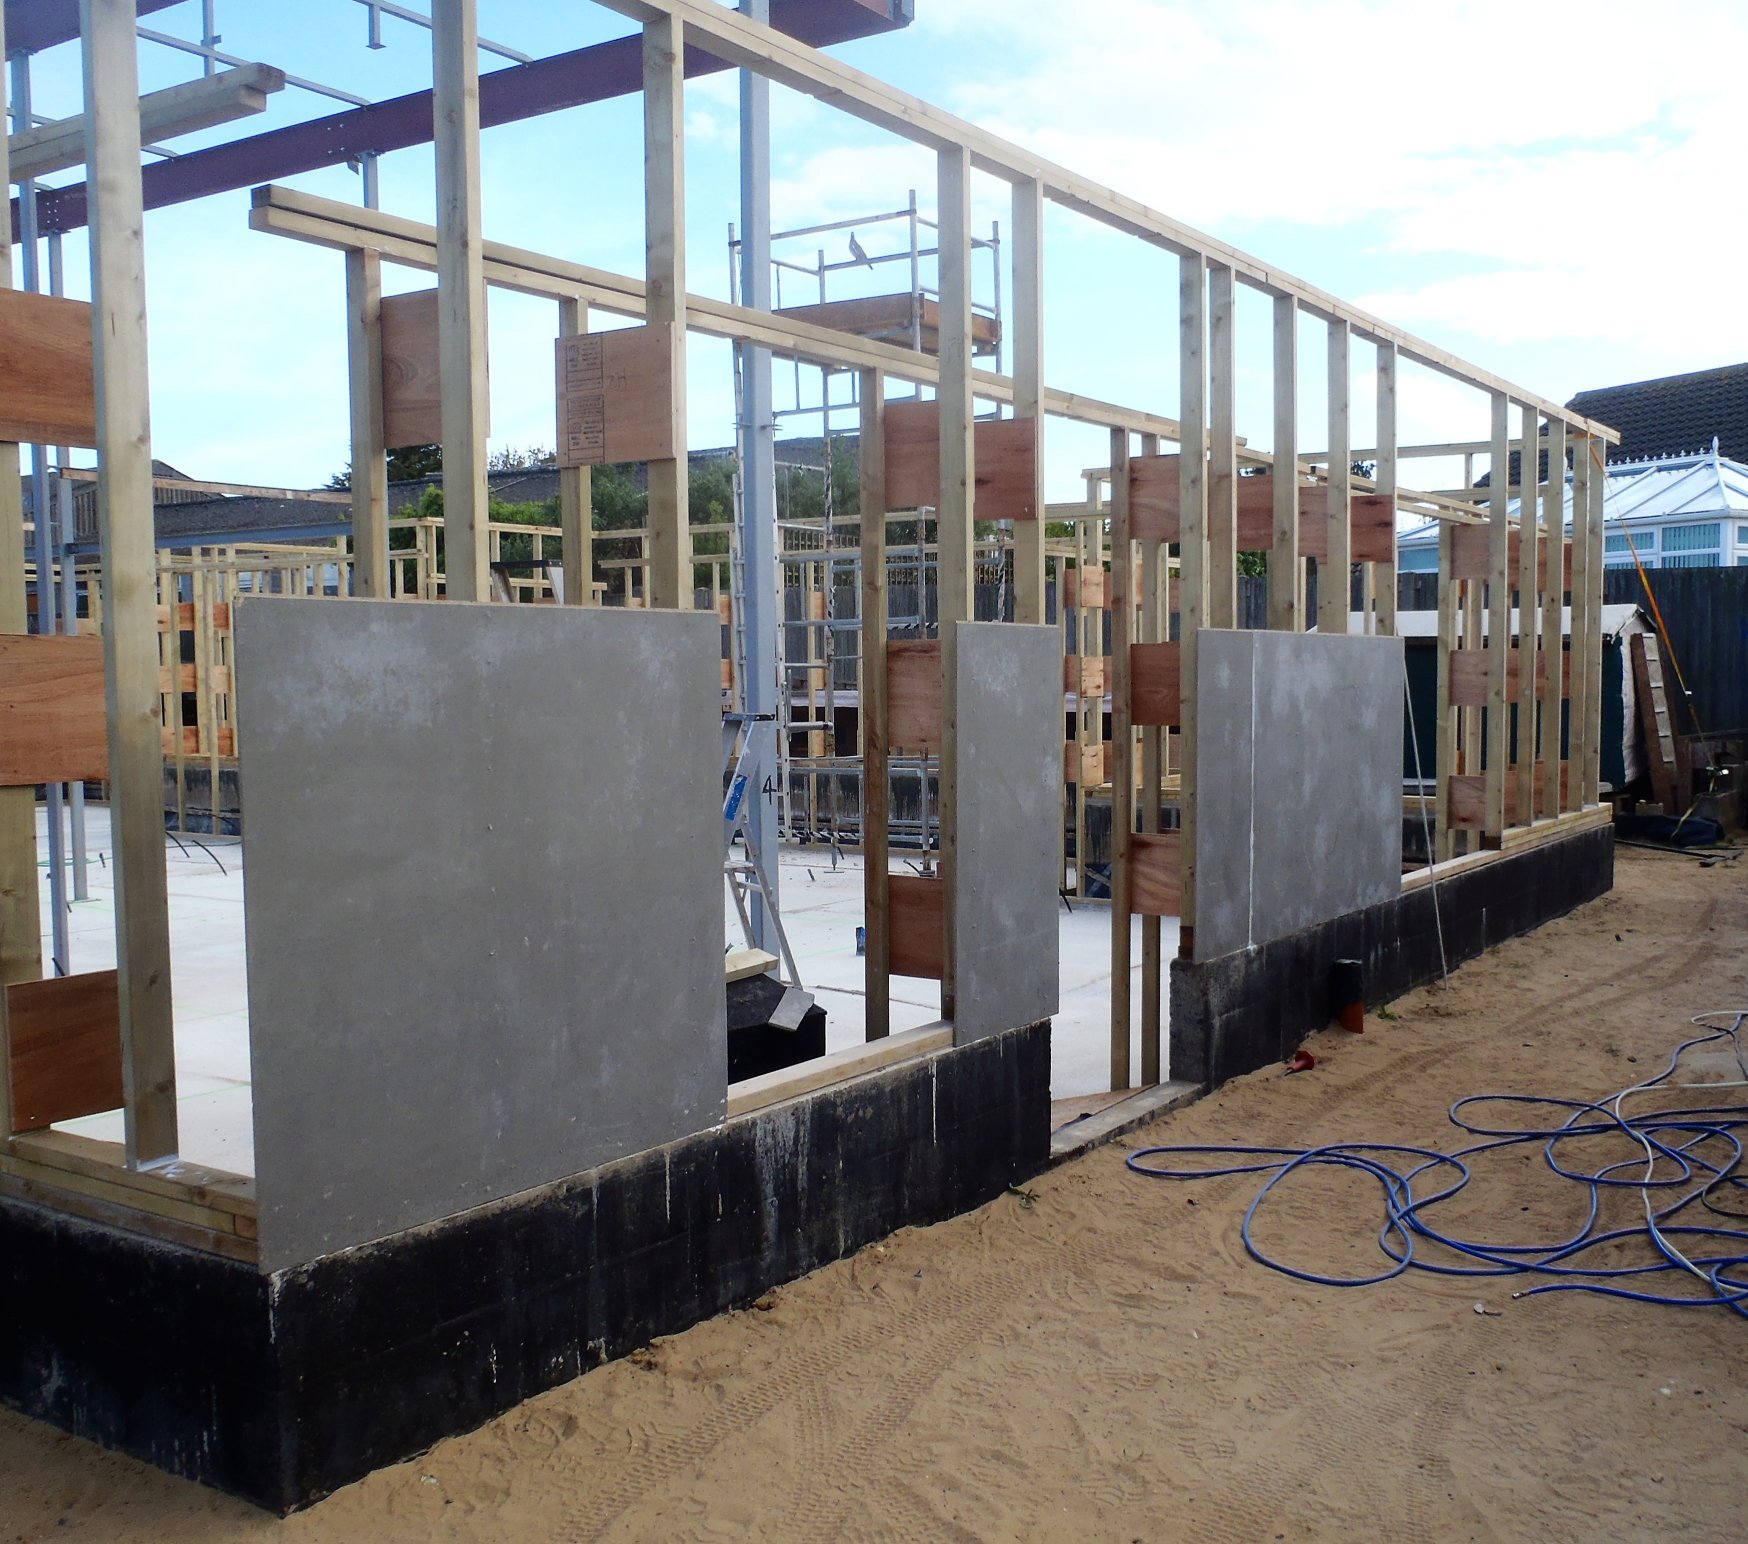
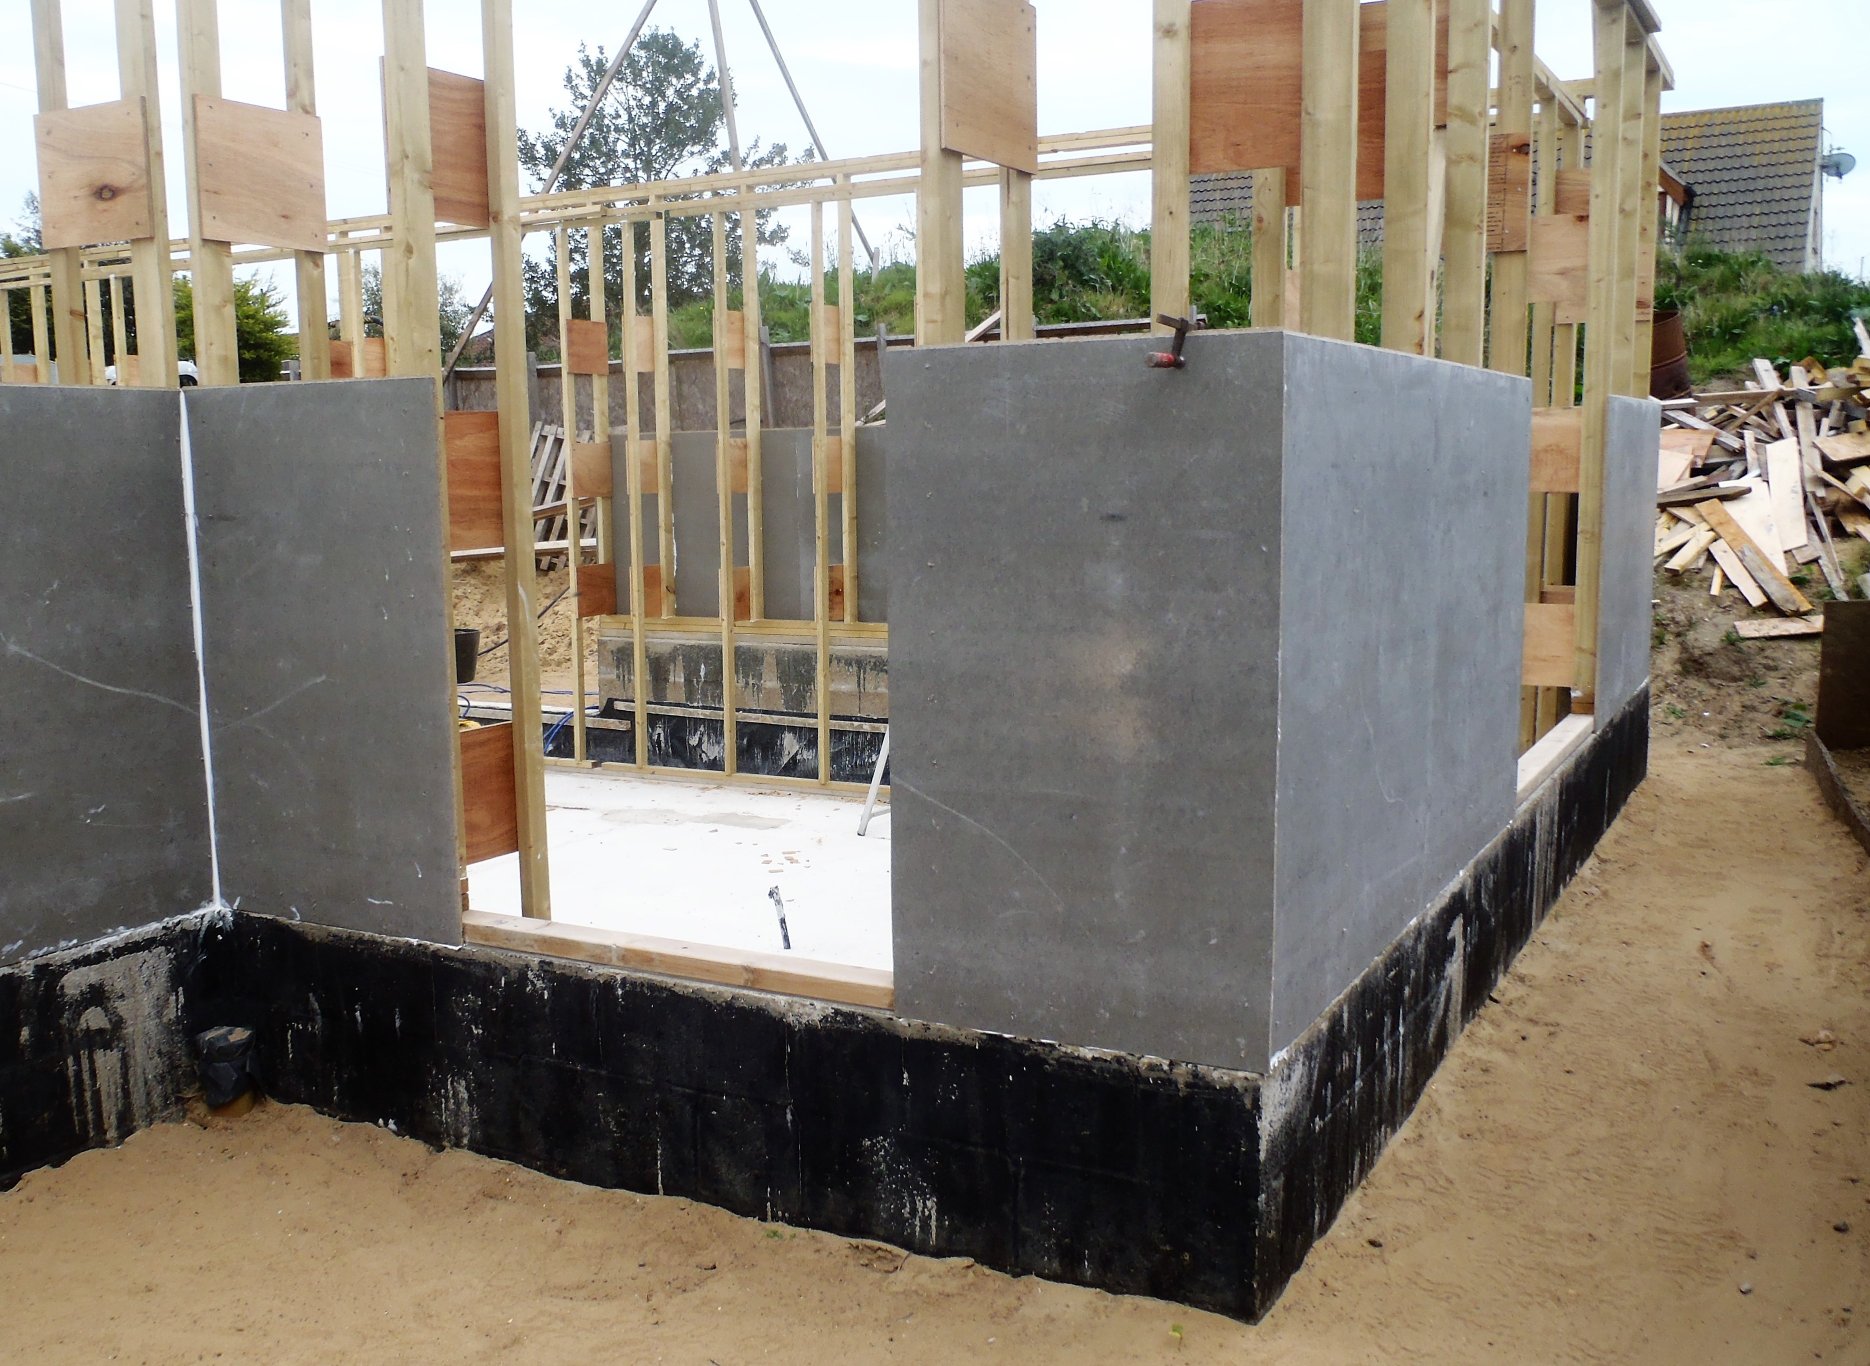
At last, we carried on mounting up the cement boards on “M” wall (Bedroom 1), turning onto the little side wall “N” (the extension of the Great Room), continued around the end of “O” wall and finally completing the longest wall “P” going all the way from the back of the house to the front, this being wall “P”.
Wall-M-Lower-boards
Wall-N-Lower-boards
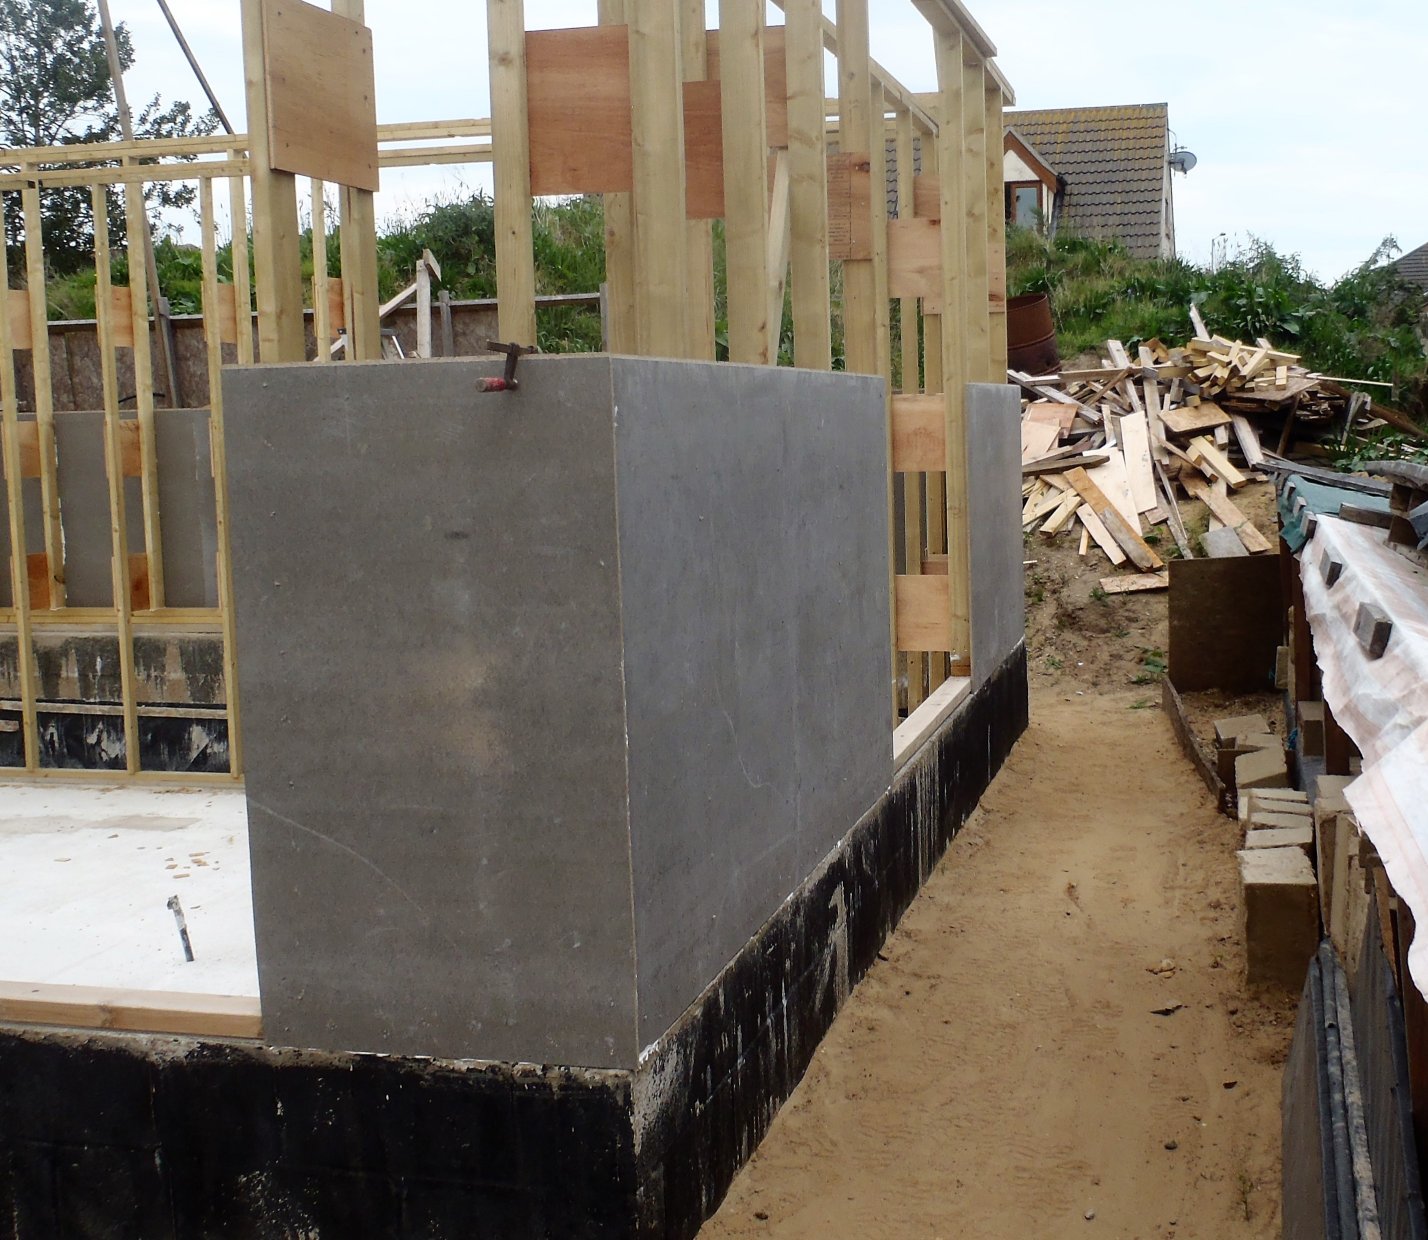
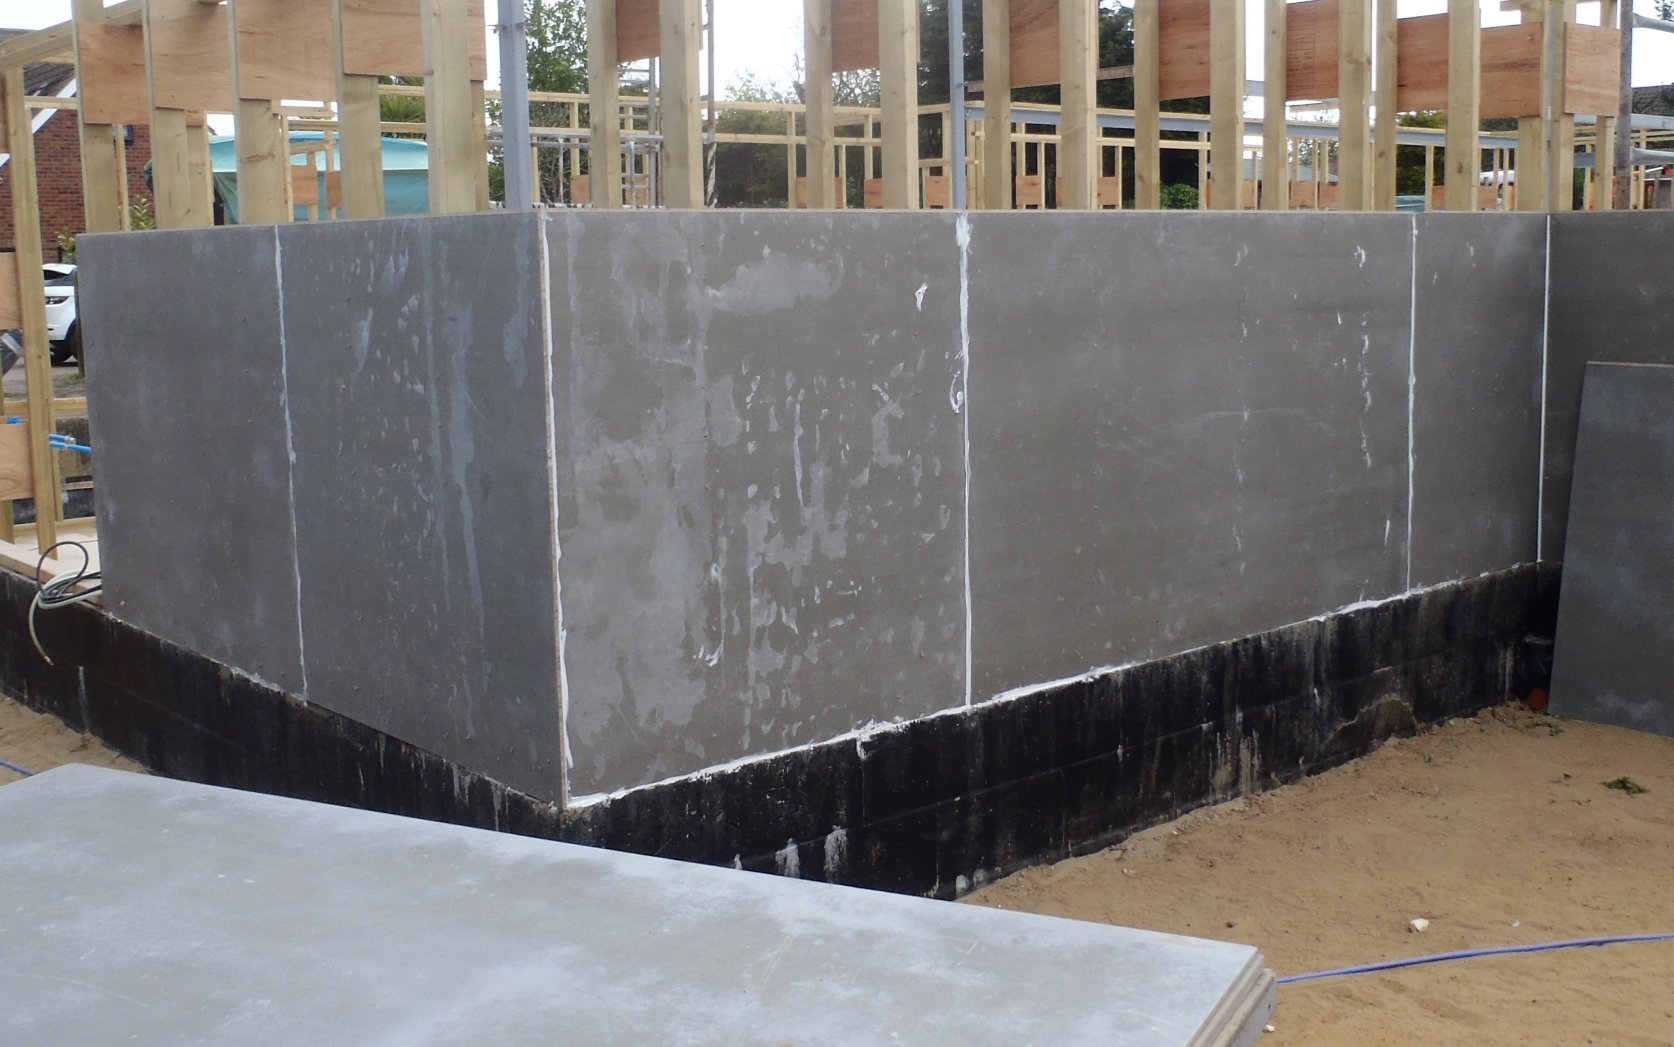
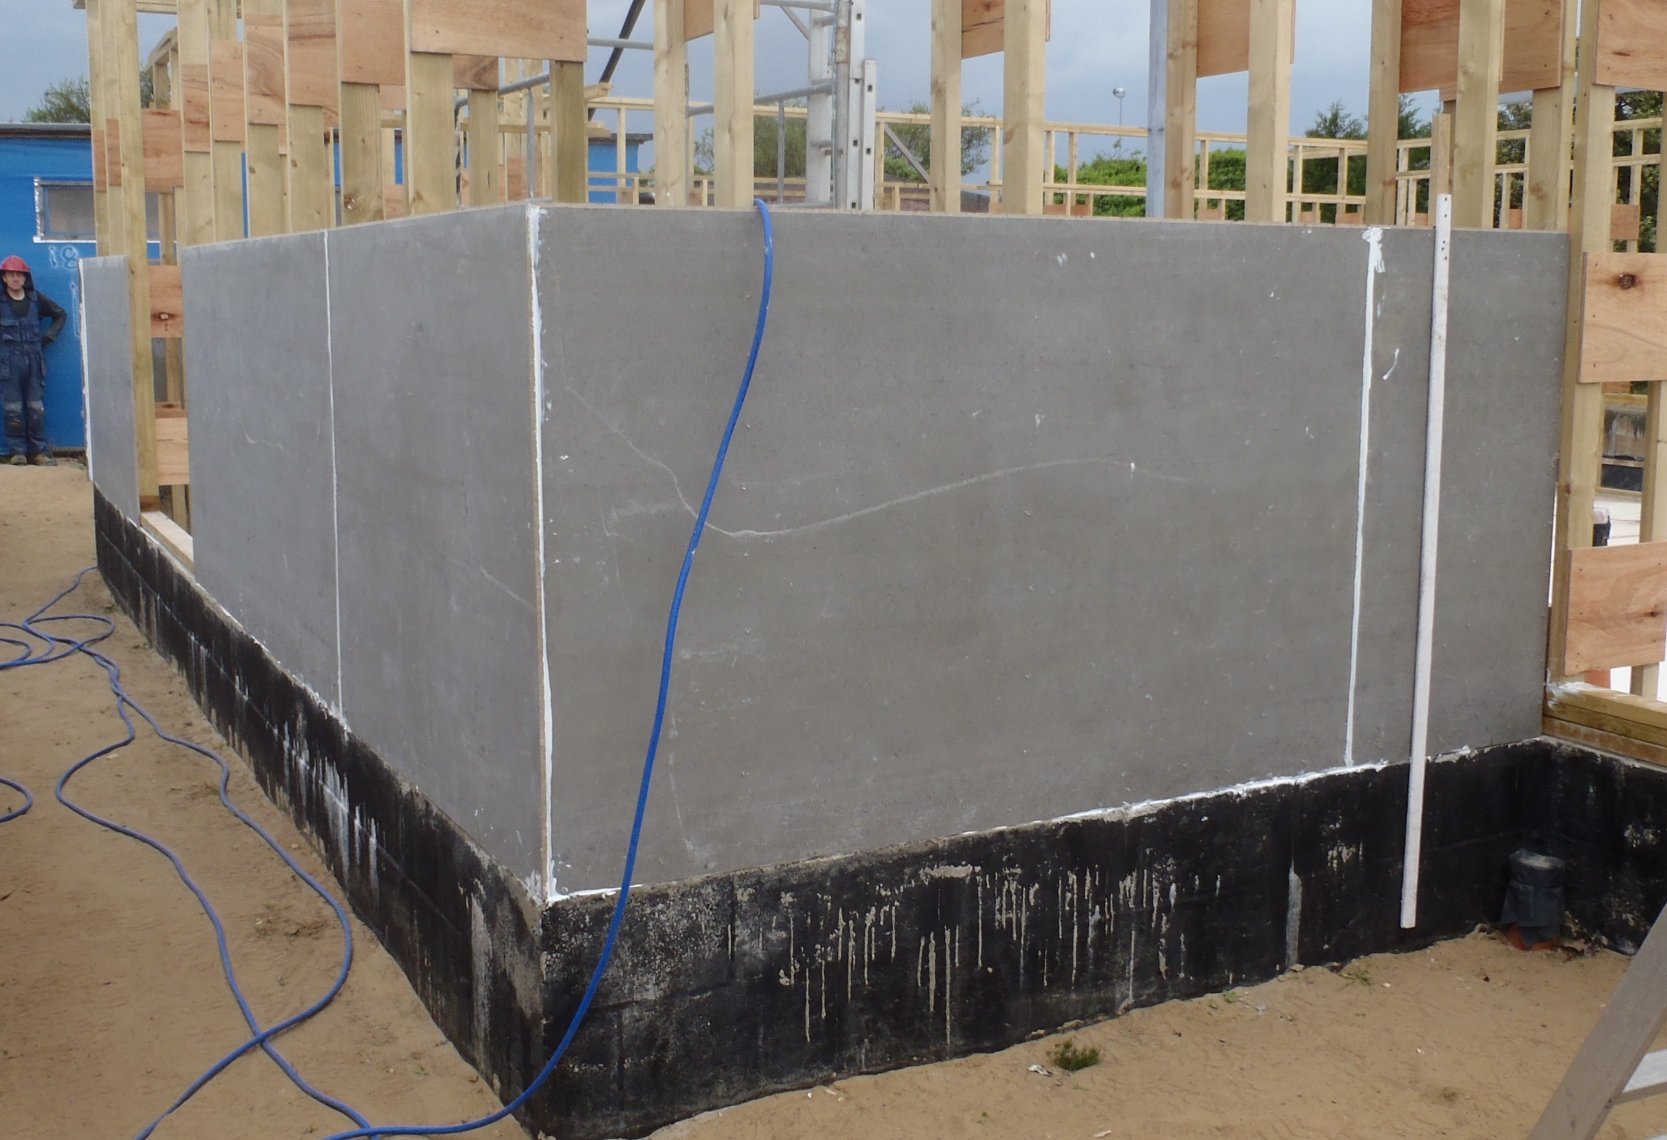
Wall-O-Lower-boards
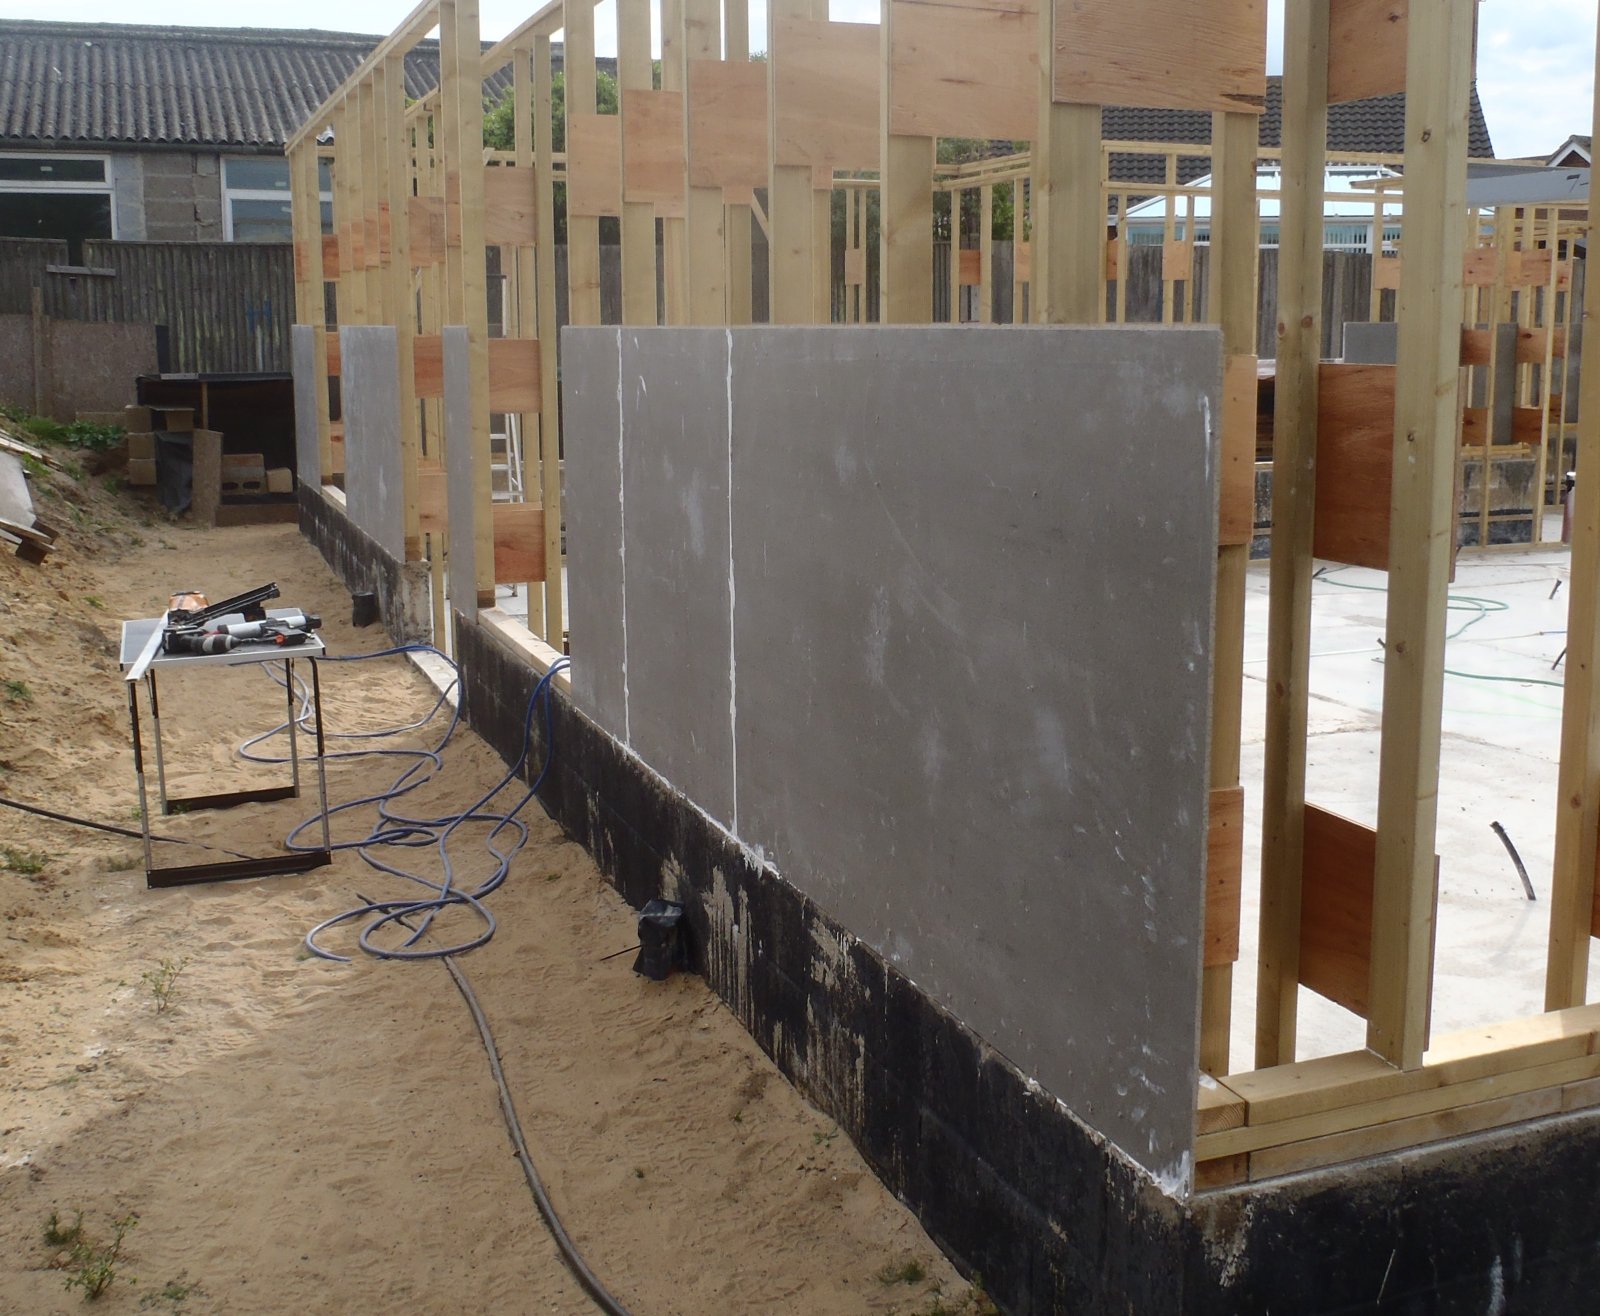
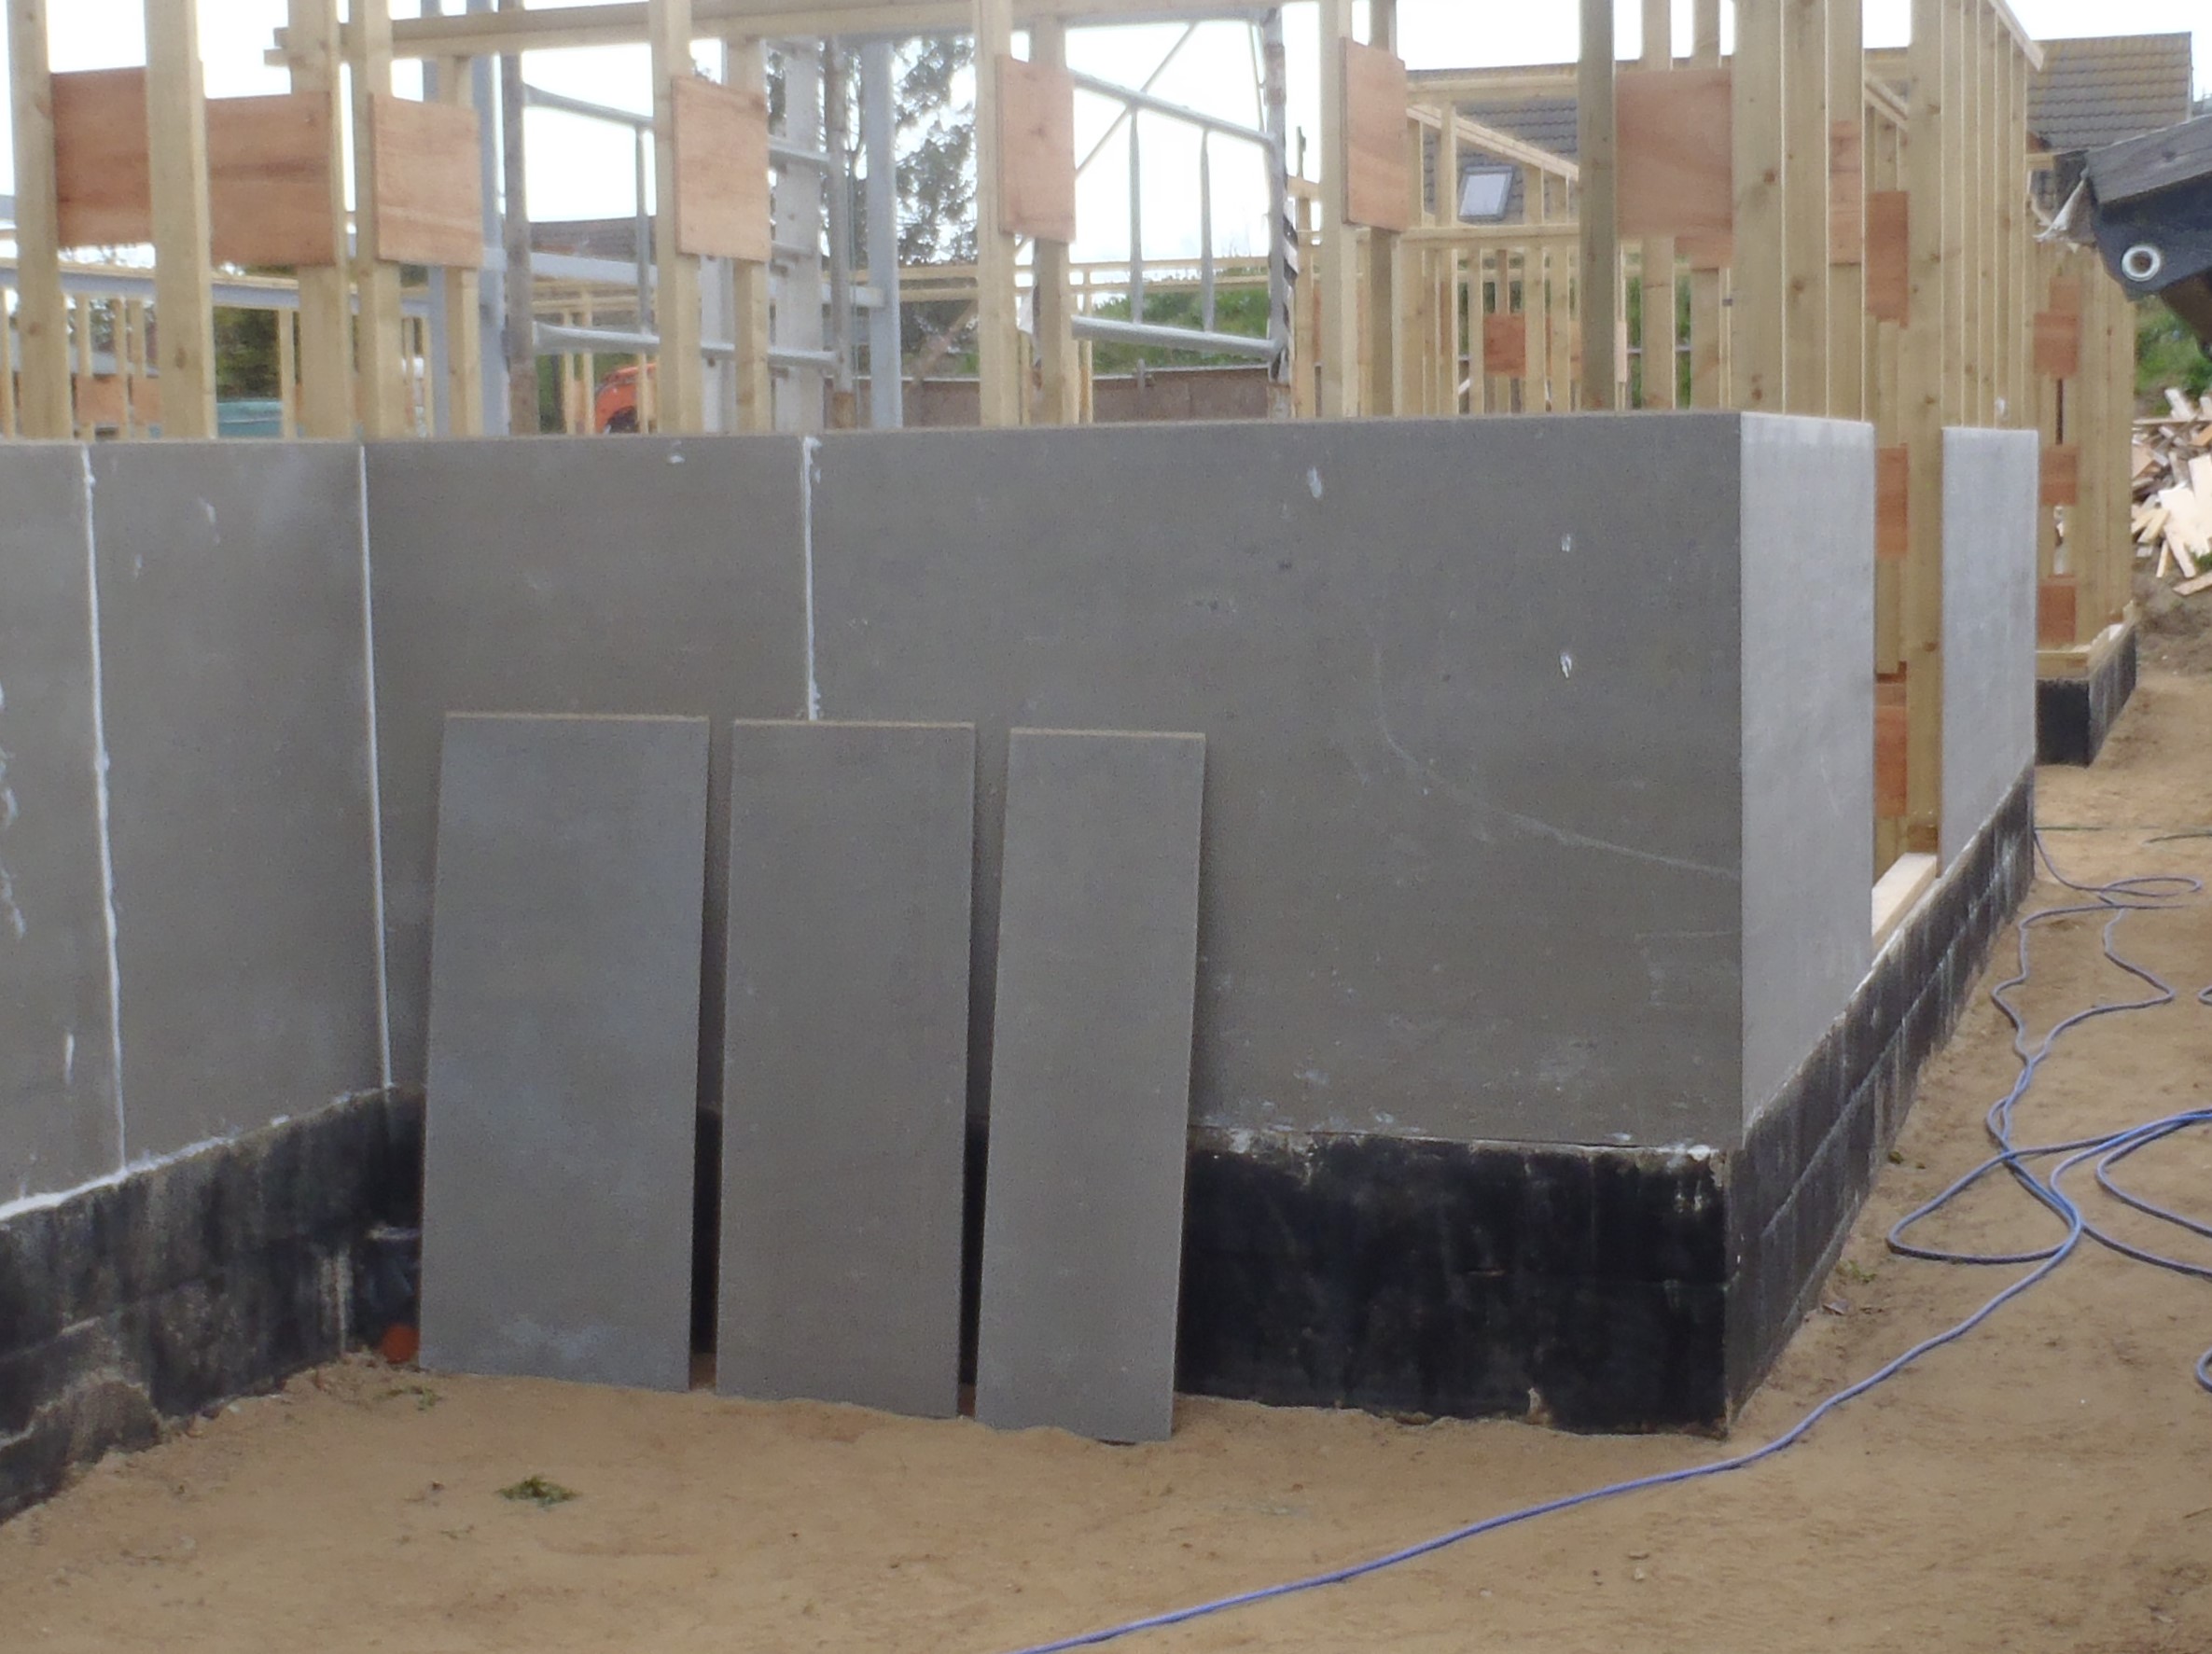
Wall-P-Lower-boards
To finish off the day’s work, we got two spare lengths of 89mm CLS timber pieces and cut them down to size to fit the very front corners of the Front door extension (these being the corners where wall “B” meets wall “C” and again for the corner where wall “C” meets wall “D”). We glued these posts in now so we had something solid to nail up our cement board when we come to it tomorrow.
Tomorrow, weather permitting, we will carry on along the front of the house which is fairly simple and we will be finished .. for this time around! Next job would be to insert all the additional timber framework to form the windows and doors, before we do the second strip of cement board around the house again.