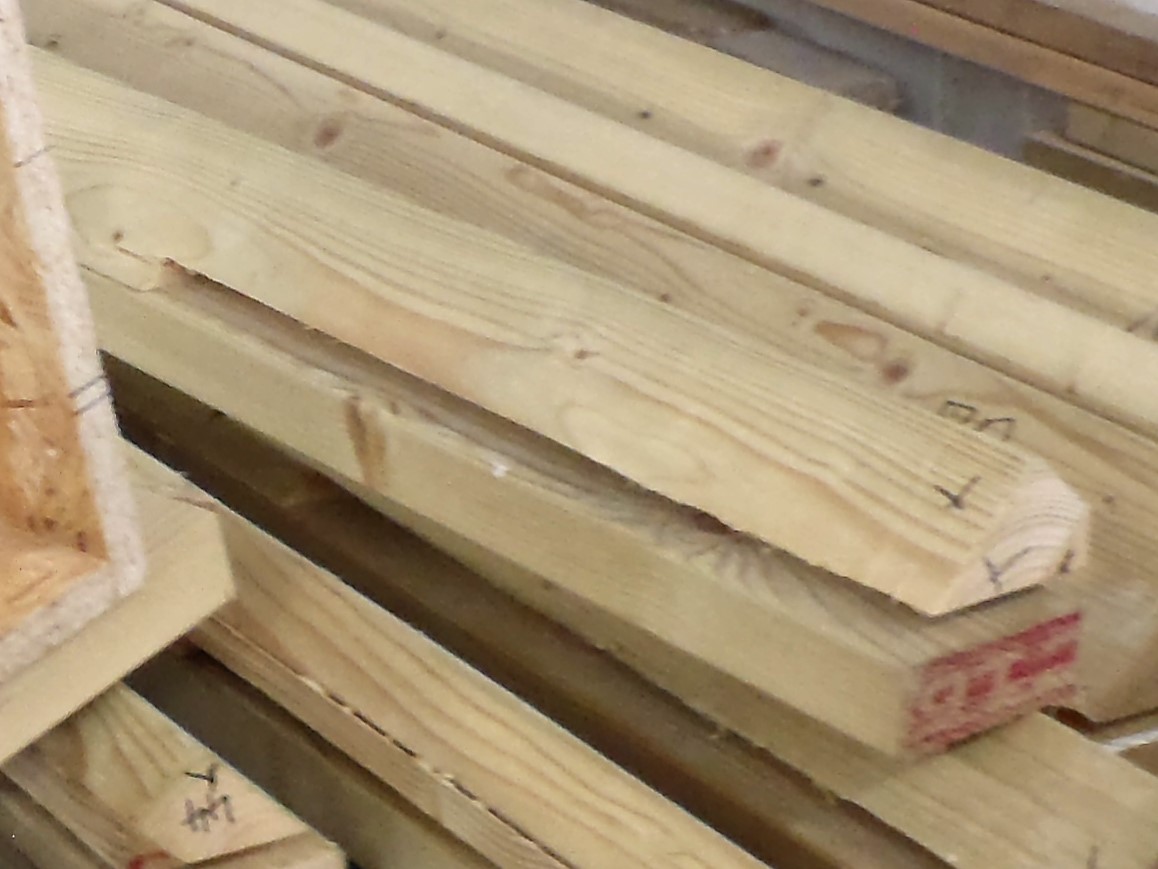
Today, on a chilly and windy day, we took the timber that had already regular slots cut into them, and sorted and cut them for the Top-Plate of the External Wall.
We first went around doing the outer leg position, the 89mm wide CLS pieces, making sure that they go from corner to corner and covering the windows and doors without any breaks, they also have to align with the slots in the foot plates. We had pre-prepared 20 lengths of the 89mm CLS with slots and we ended up using all but 1! We had lots more offcuts because being up on top of legs, we couldn’t just fit in little pieces so we made sure that any smaller piece always went over 2 legs positions for a better connection and strength.
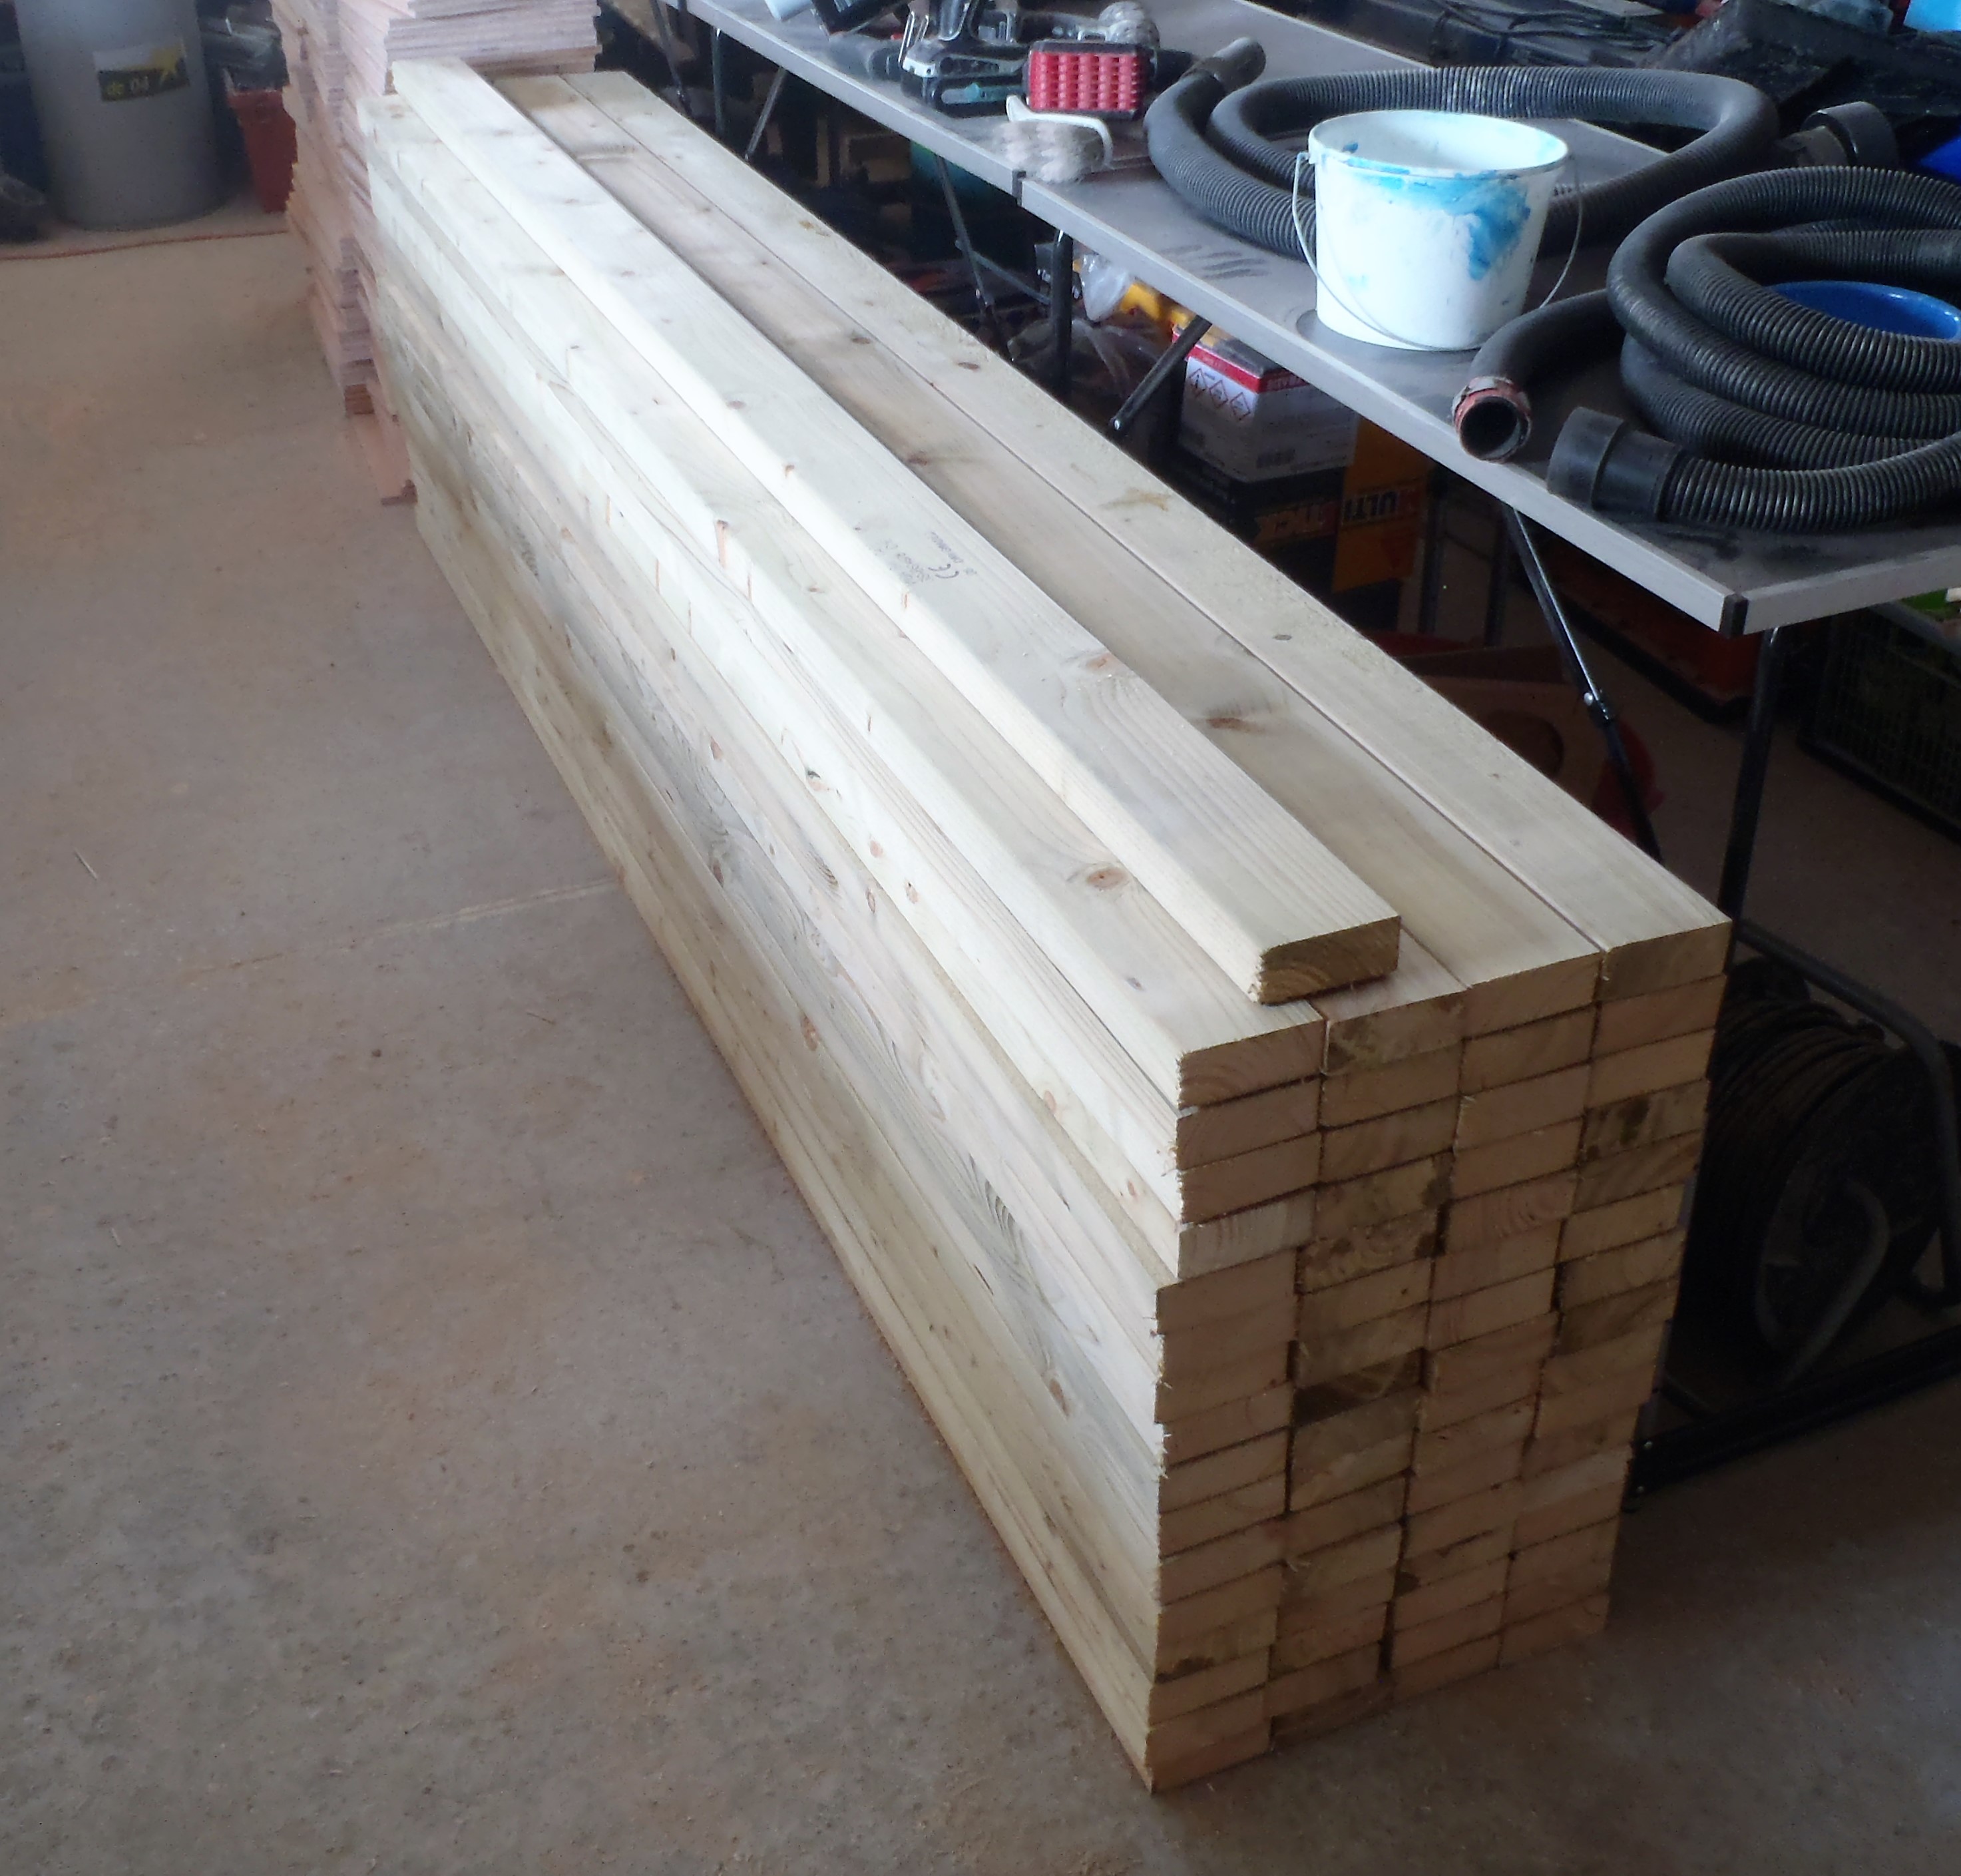
Just before lunch, we brought in 4 more new lengths of 89mm CLS timbers from our pallet and delivered them into the workshop. After lunch, we chopped them up into 6 pieces as follows:
- 2 x 1266 mm
- 2 x 2685 mm
- 1 x 2565 mm
- 1 x 2745 mm
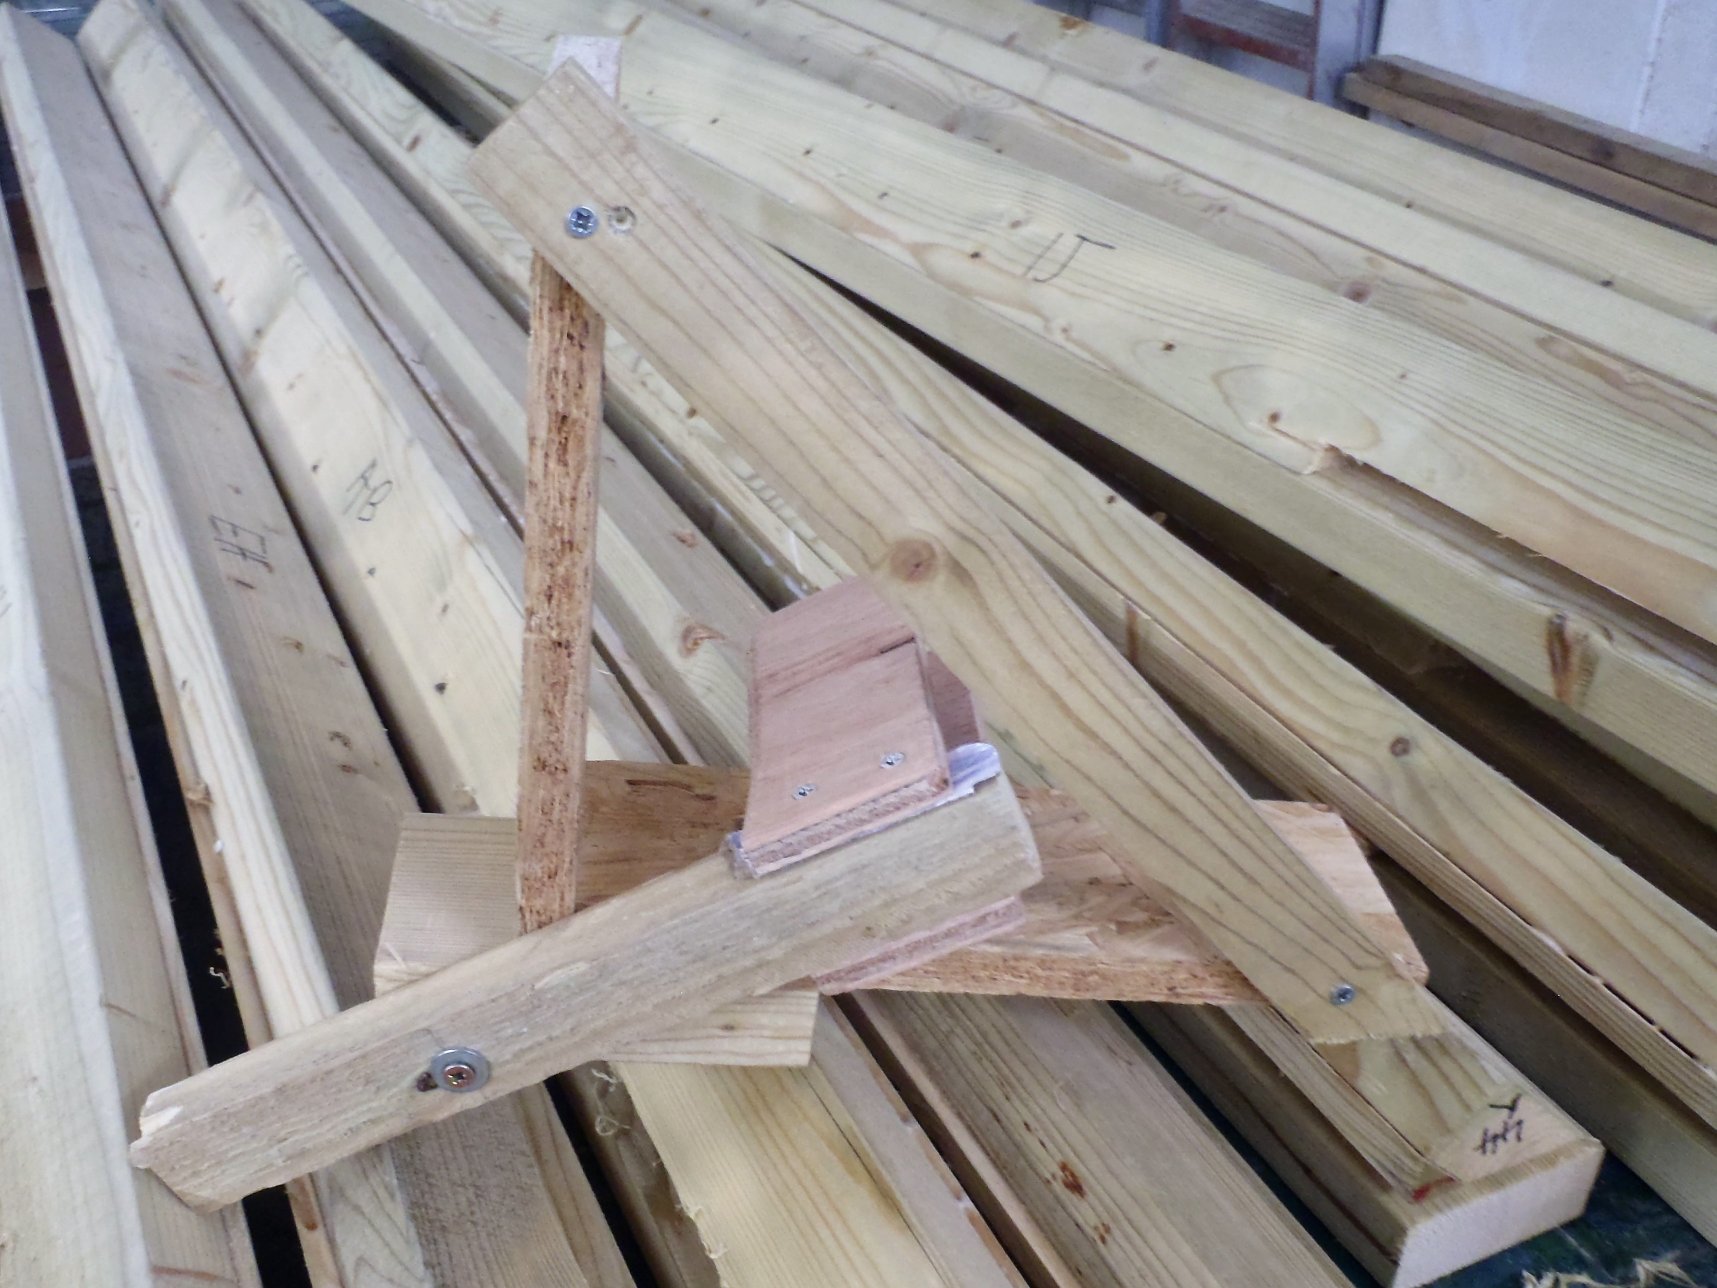
We then glued 2 set of 3 pieces into a single timber piece which will form the Top-Plate for the Front Extension, on wall “B” and “D”, which are the two short sides. These will form a contiguous “beams” that comes out the Front Extension and go out to support the Porch Roof that extends 1200mm beyond the front door area.

Front-porch-beams
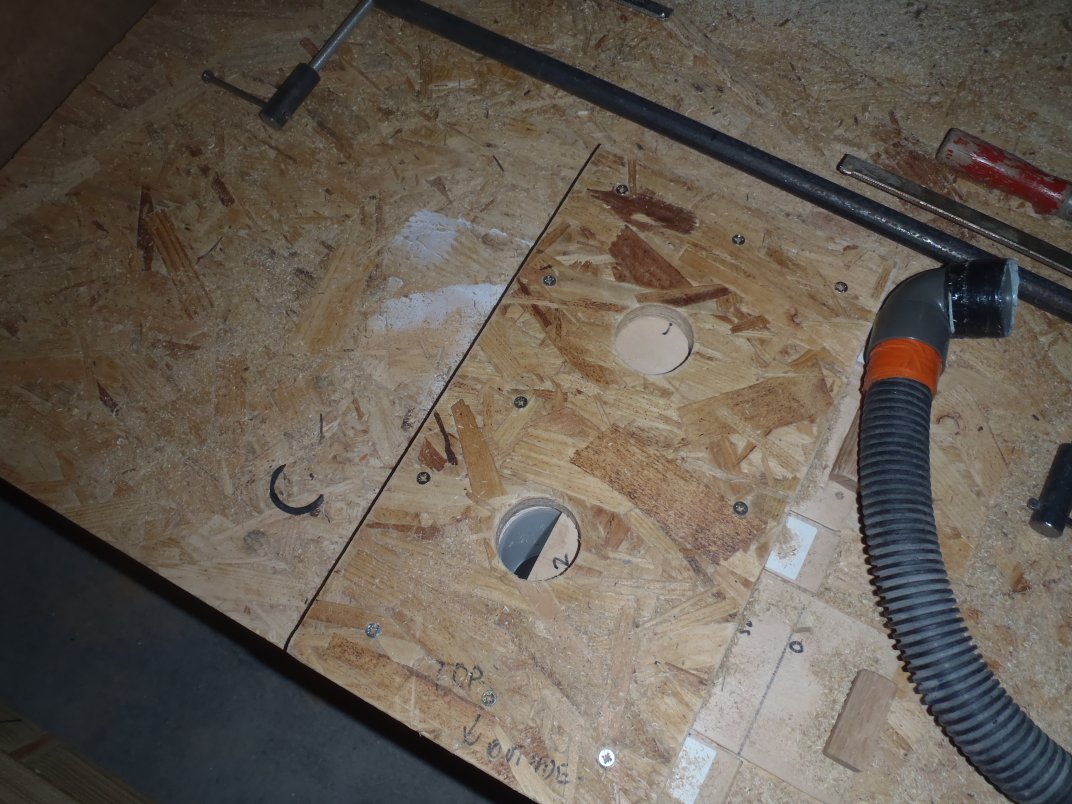
Then we carried on with sorting and cutting the timber, this time for the inner leg position, the 63mm wide CLS pieces.

Top-plates-cut-to-size

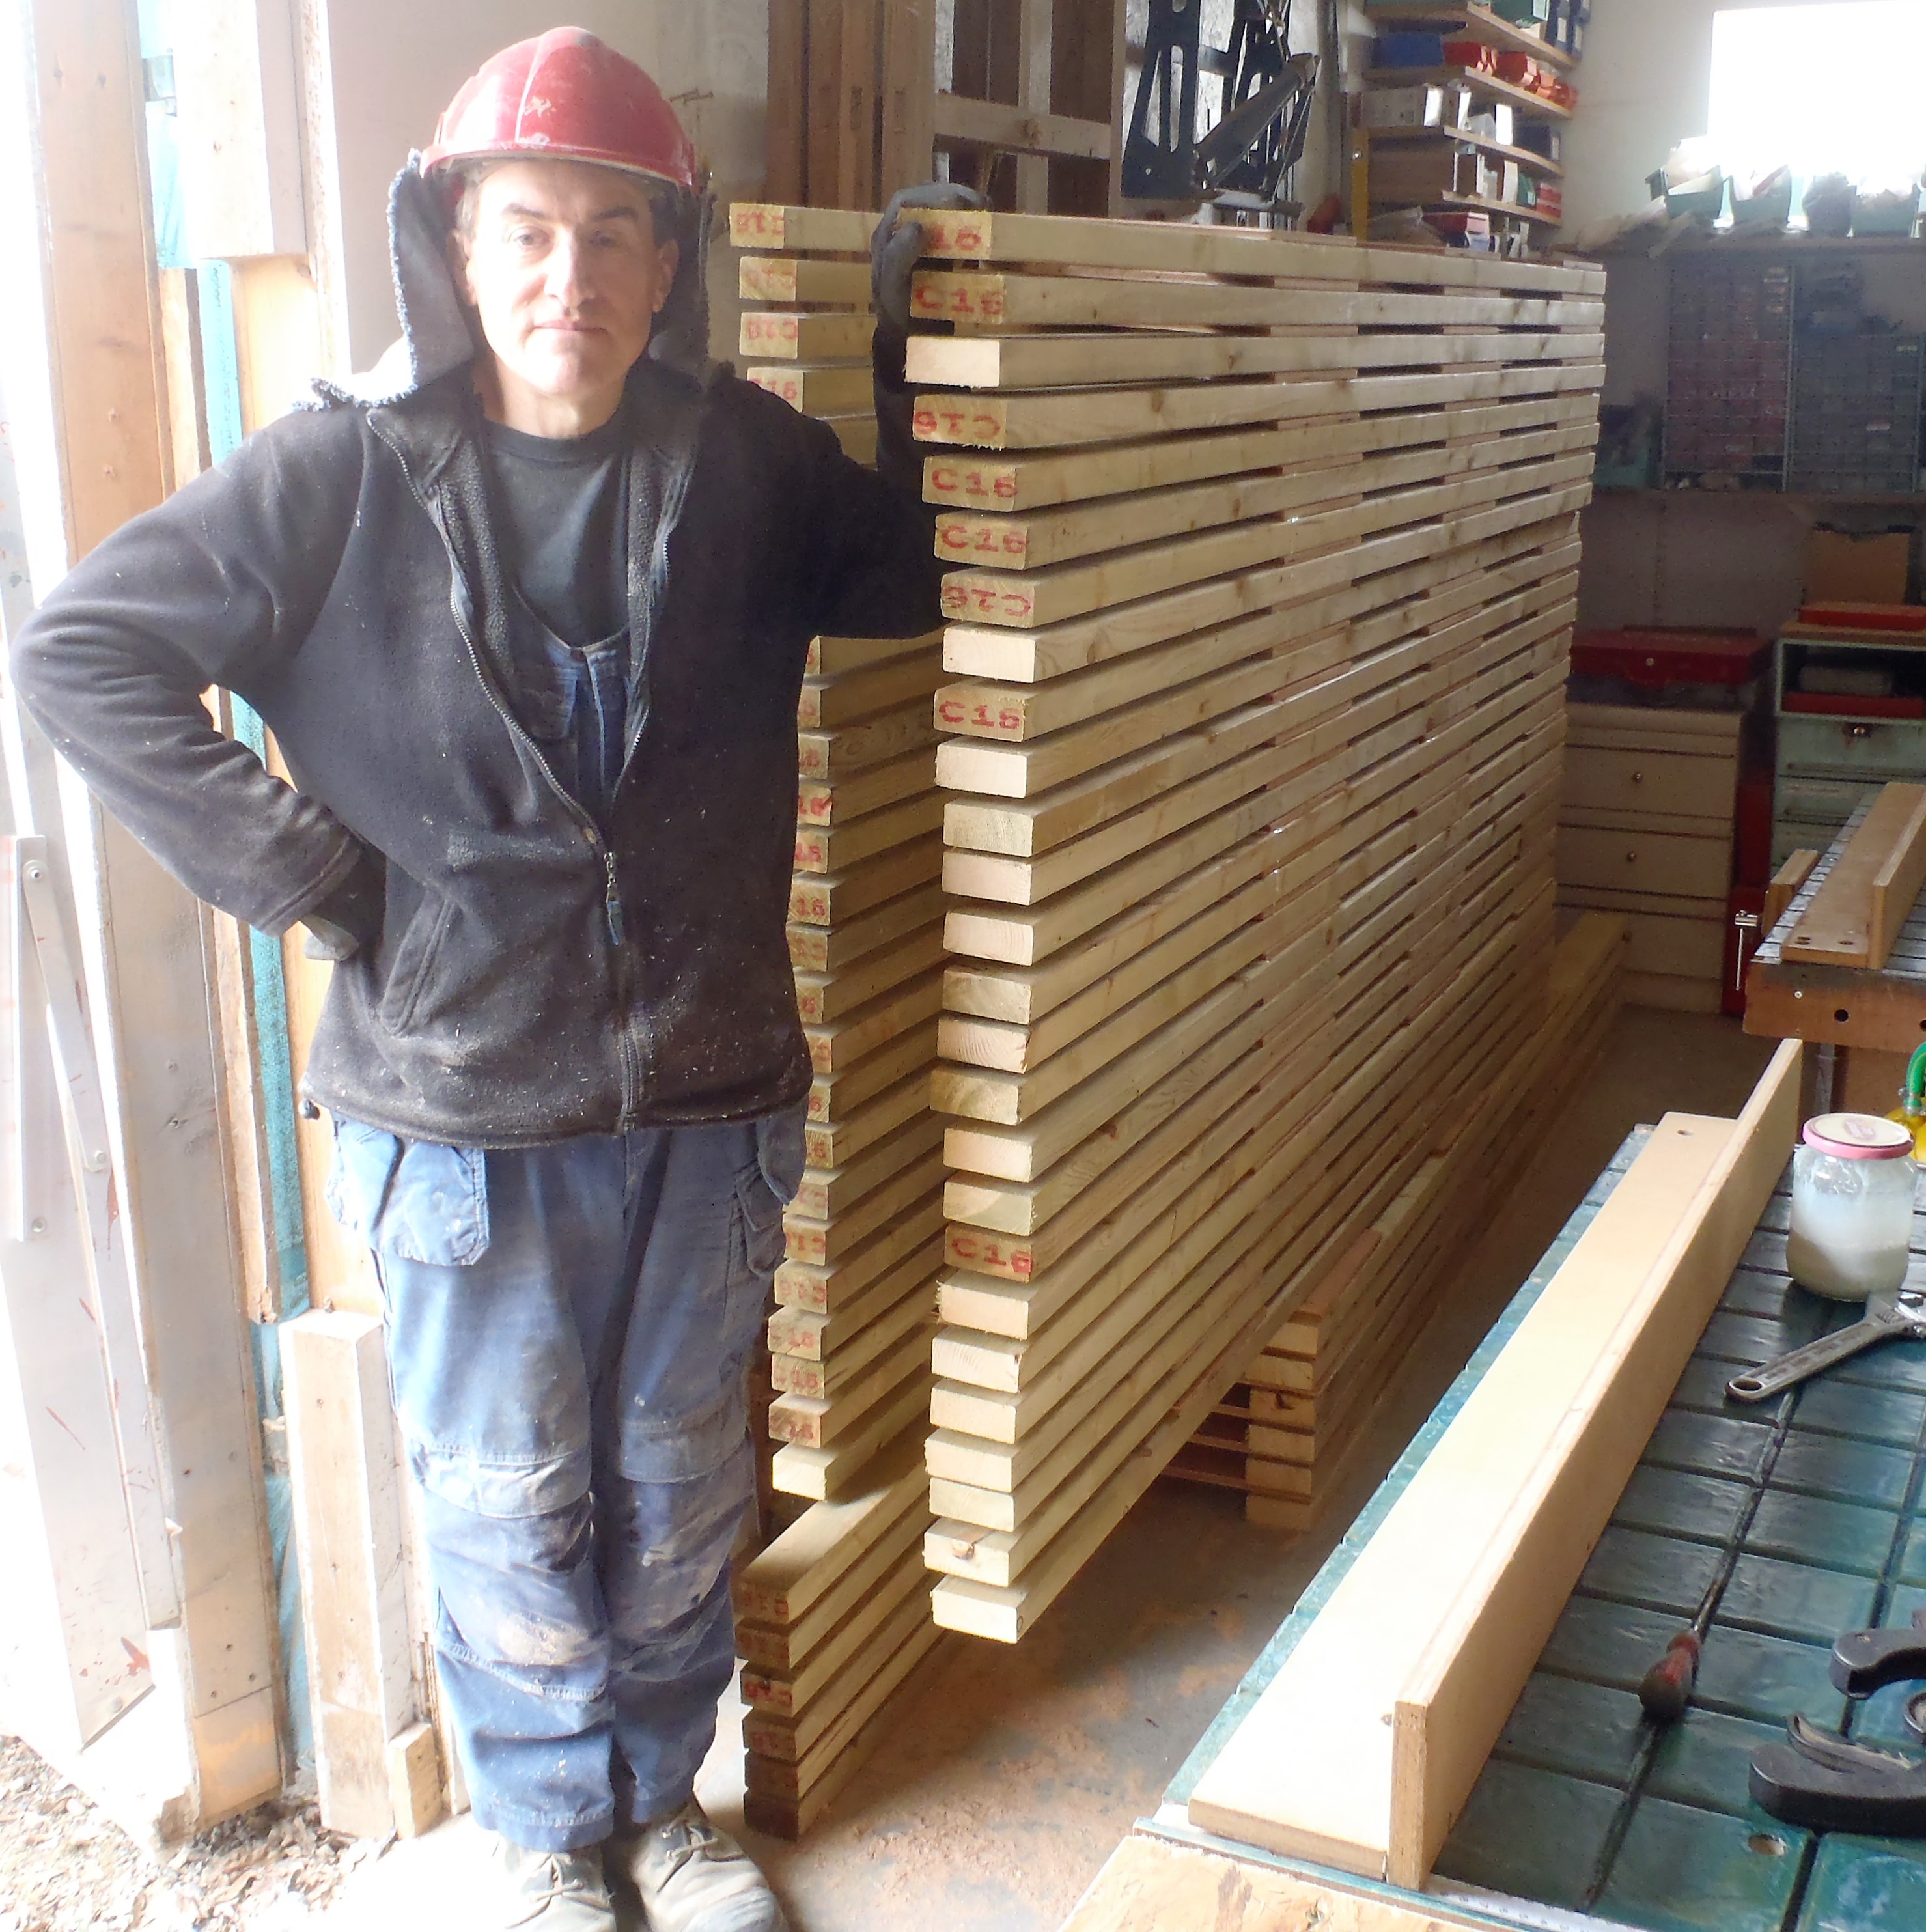
After-aligning-with-foot-plates
Tomorrow, we will go around with our Router machine and cut the extra slots around the doorways and some of the corners that has extra legs surrounding them, in both the 89mm and 63mm CLS pieces we have done today.