Today, we resumed our task of nailing up the 10mm thick cement boards onto our External Wall framework.
After bringing all the tools out for this operation, namely, compressed air work tank, nail gun, glue gun, battery circular saw, cold chisel, two routers, electric cable, ruler, spirit level and several other bits and pieces, plus a heap of nails and a clutter of glue tubes too! We went off to load 10 more sheets on our large trolley and wheeled the stack around to the space between the Garage, Swimming Lane and the corner of the house. here we put another one of our portable table to keep the tools handy nearby for the cutting the tongue and grooves edges.
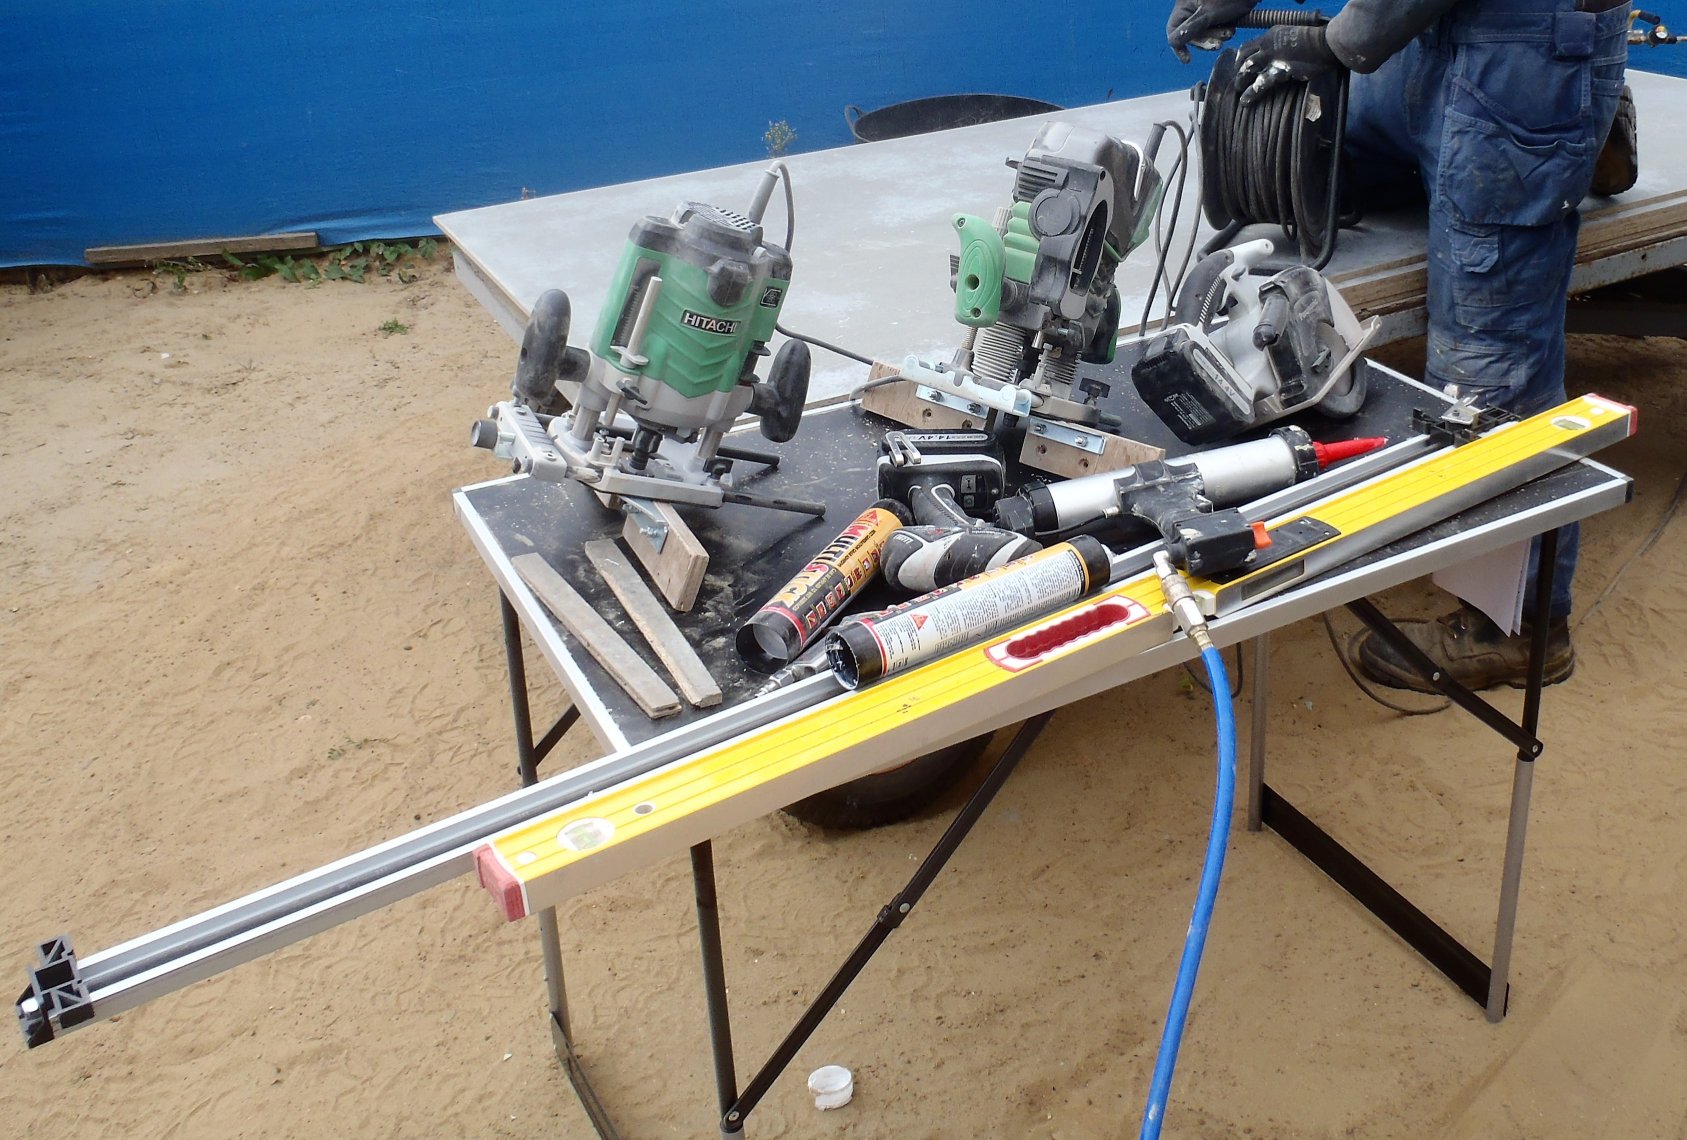
Tools-for-doing-boards
We proceeded to finish off the last section on wall “H”, turning the corner to run along wall “I”, “J” ..
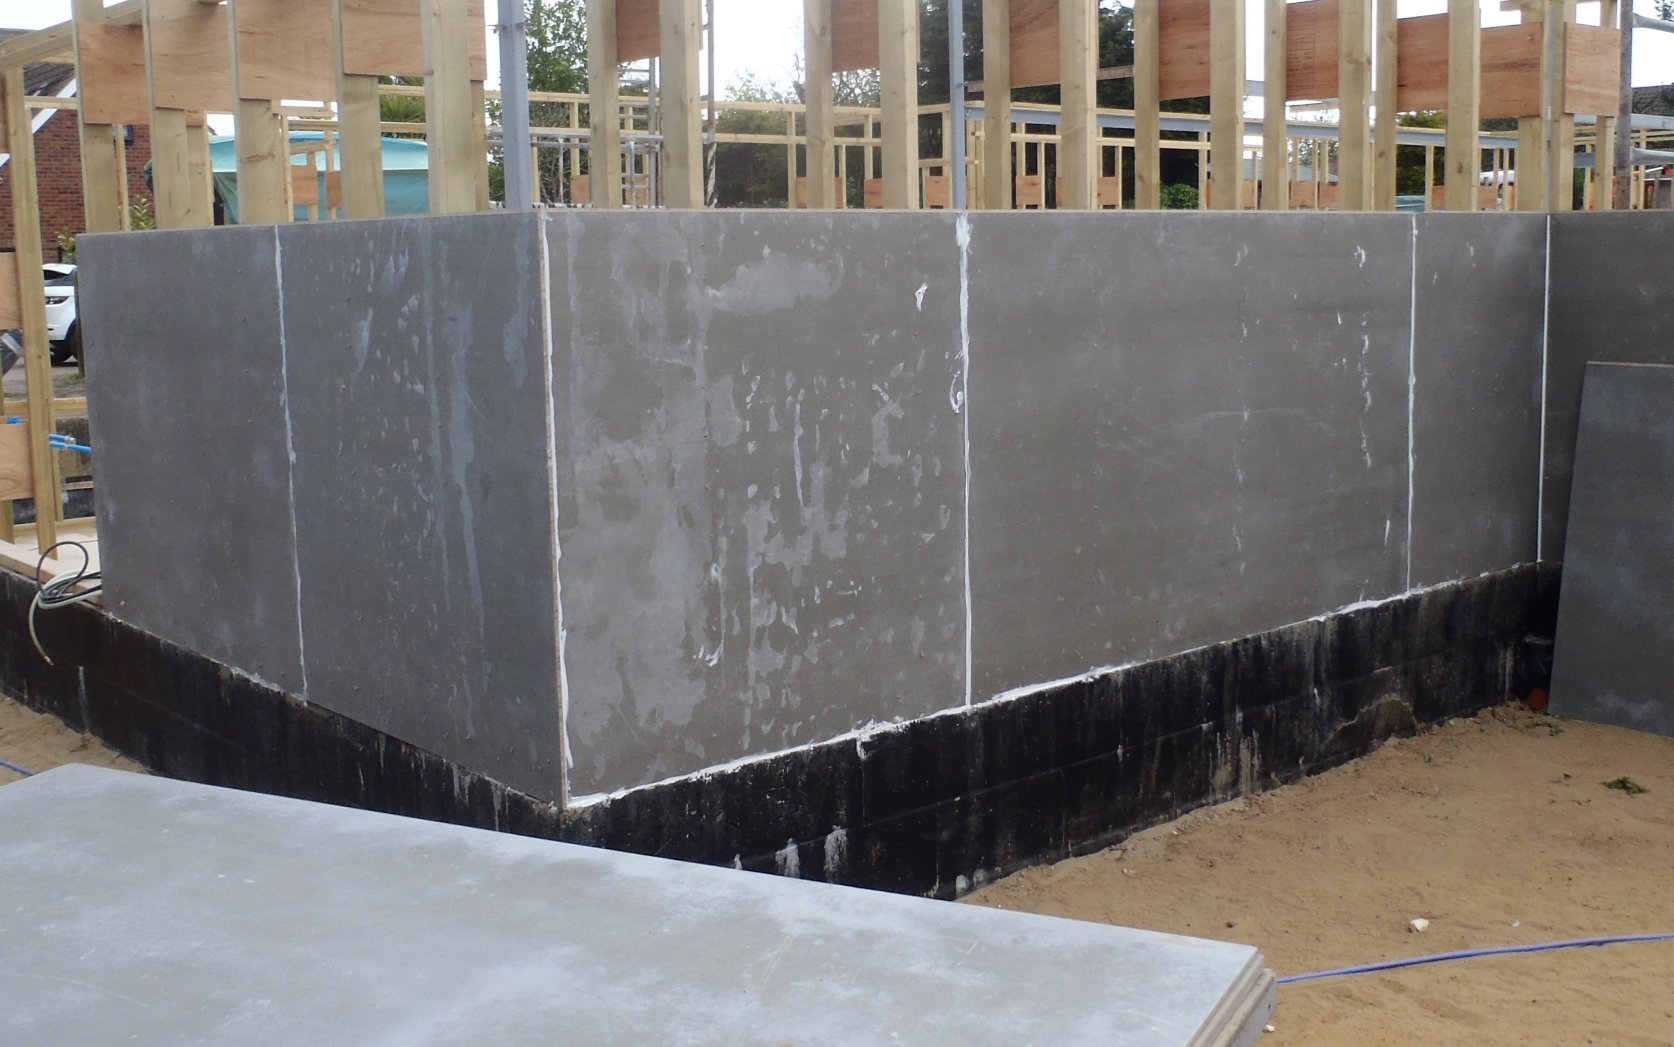
Walls-H-I-Lower-boards
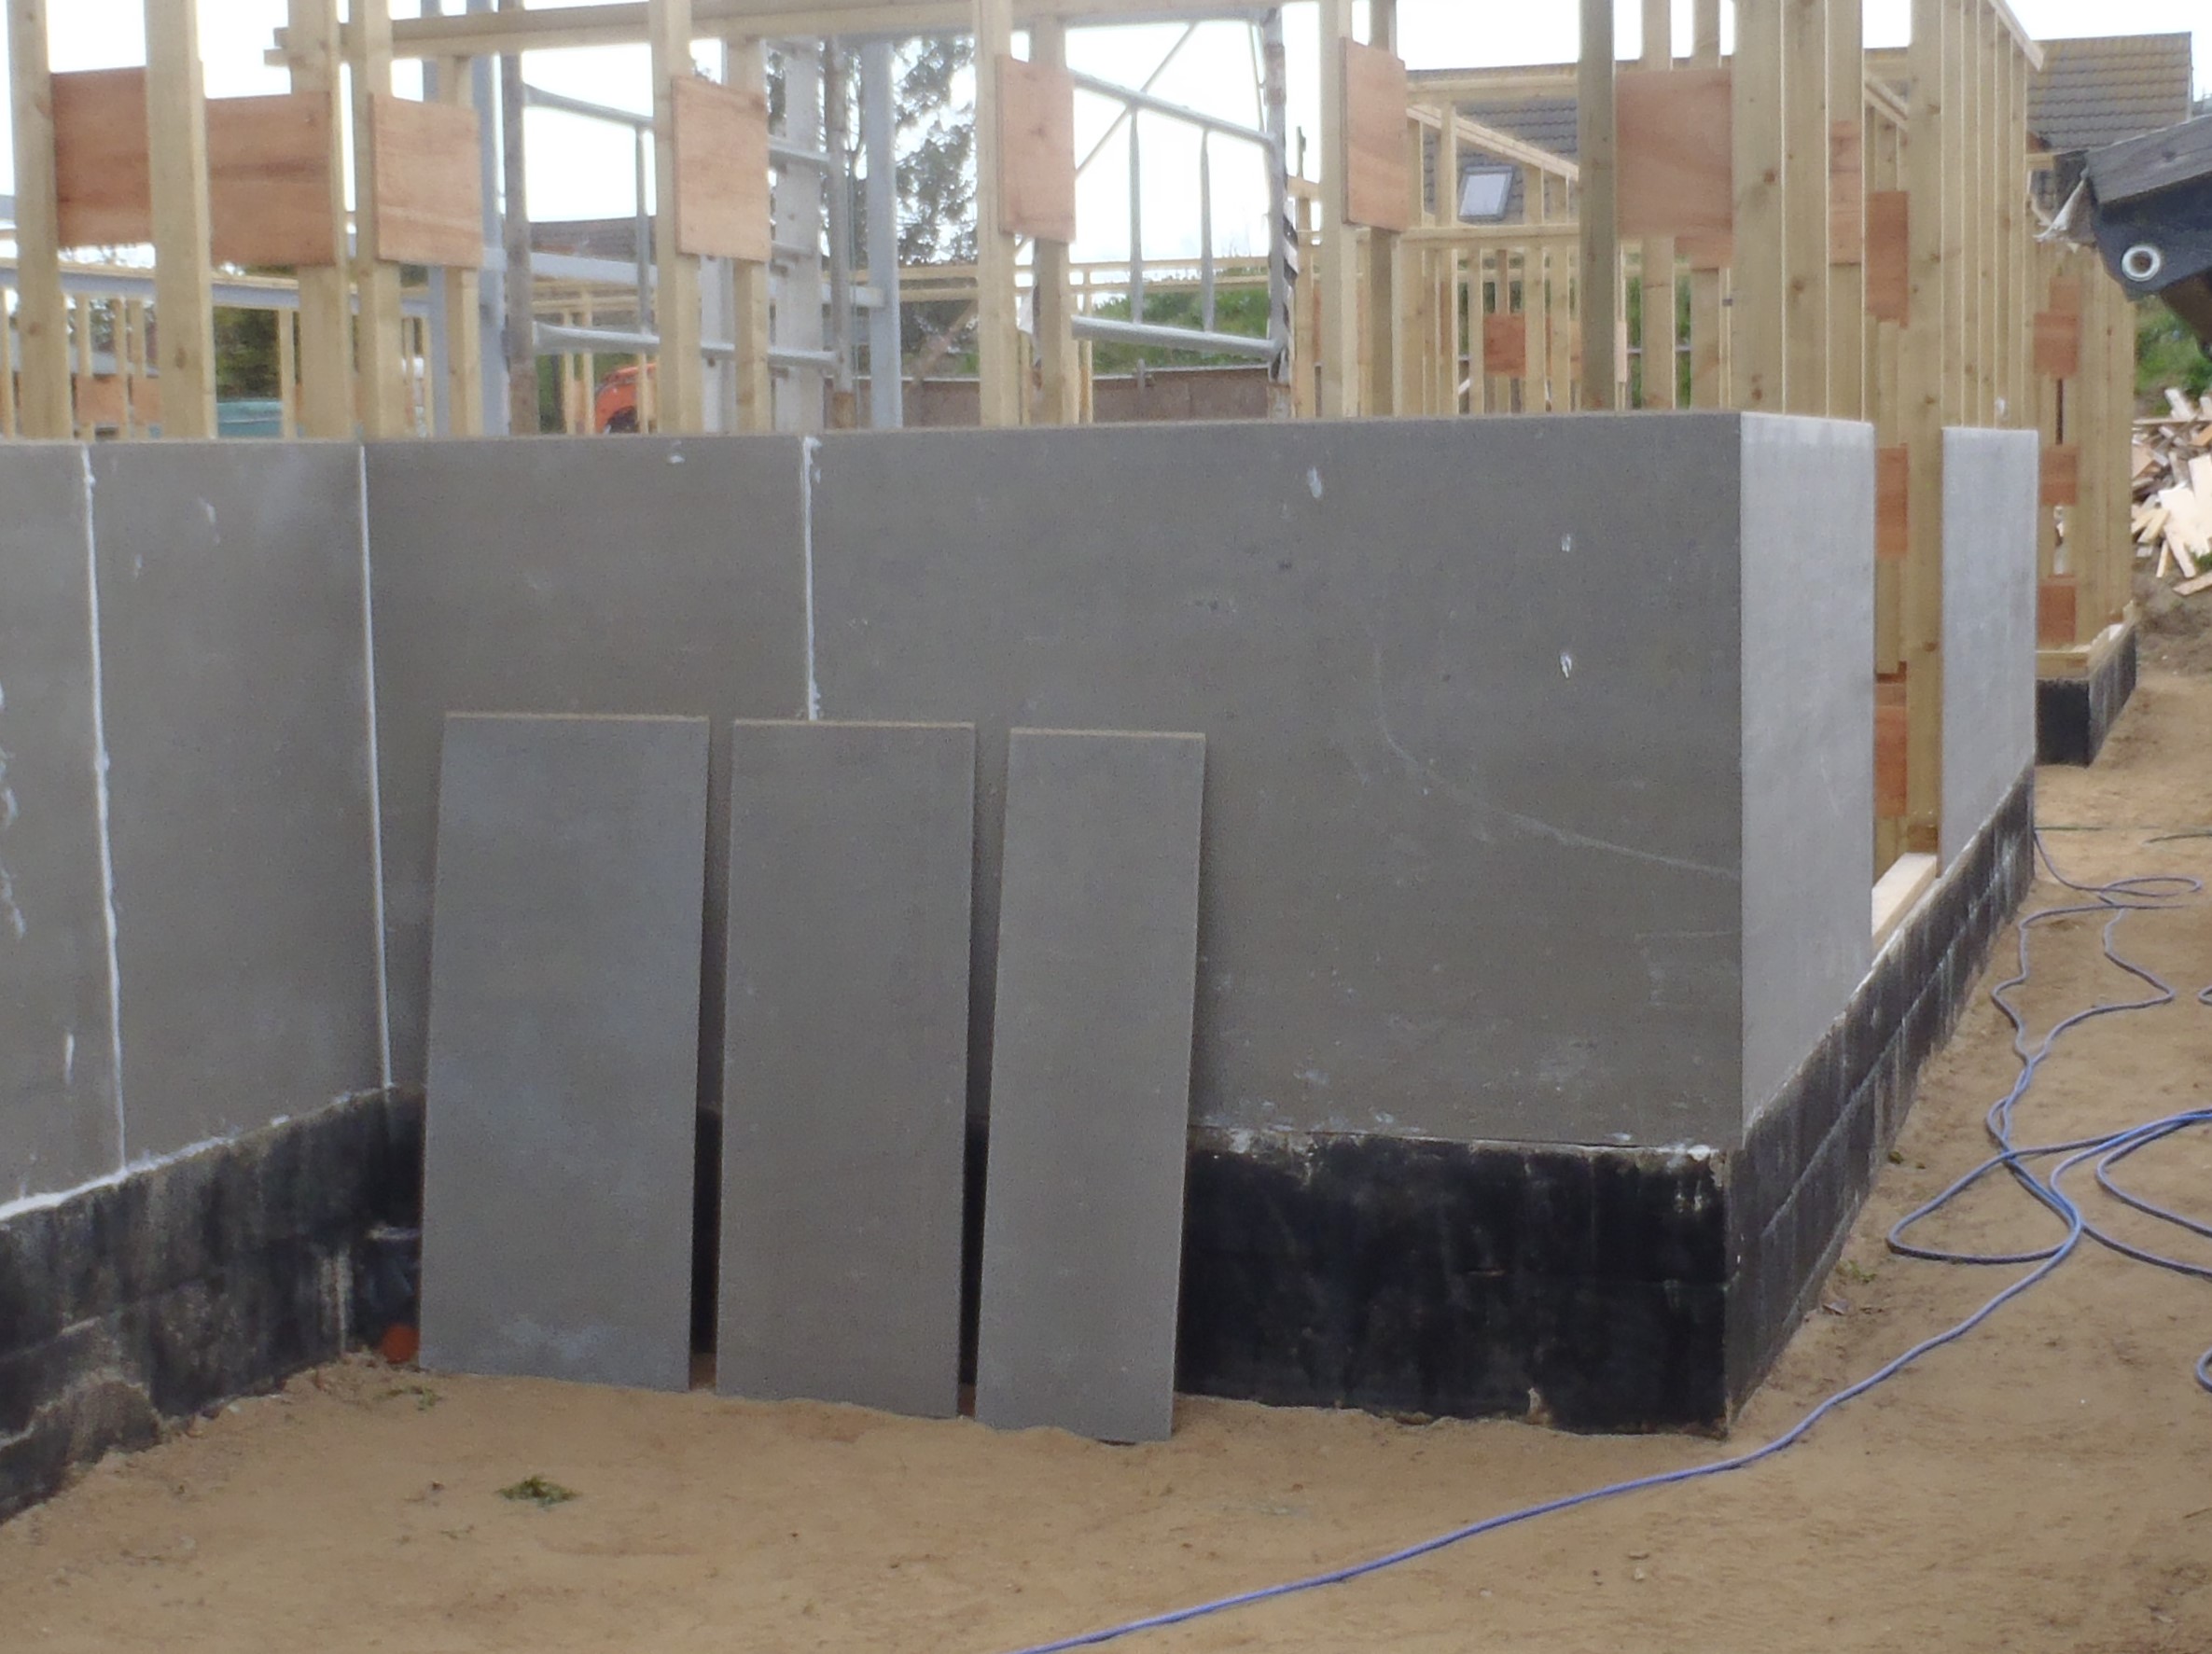
Walls-J-K-Lower-boards
And then along wall “K” which is a longer stretch going past Bedroom 2 and running parallel with the swimming lane and finally turning to do wall “L”.
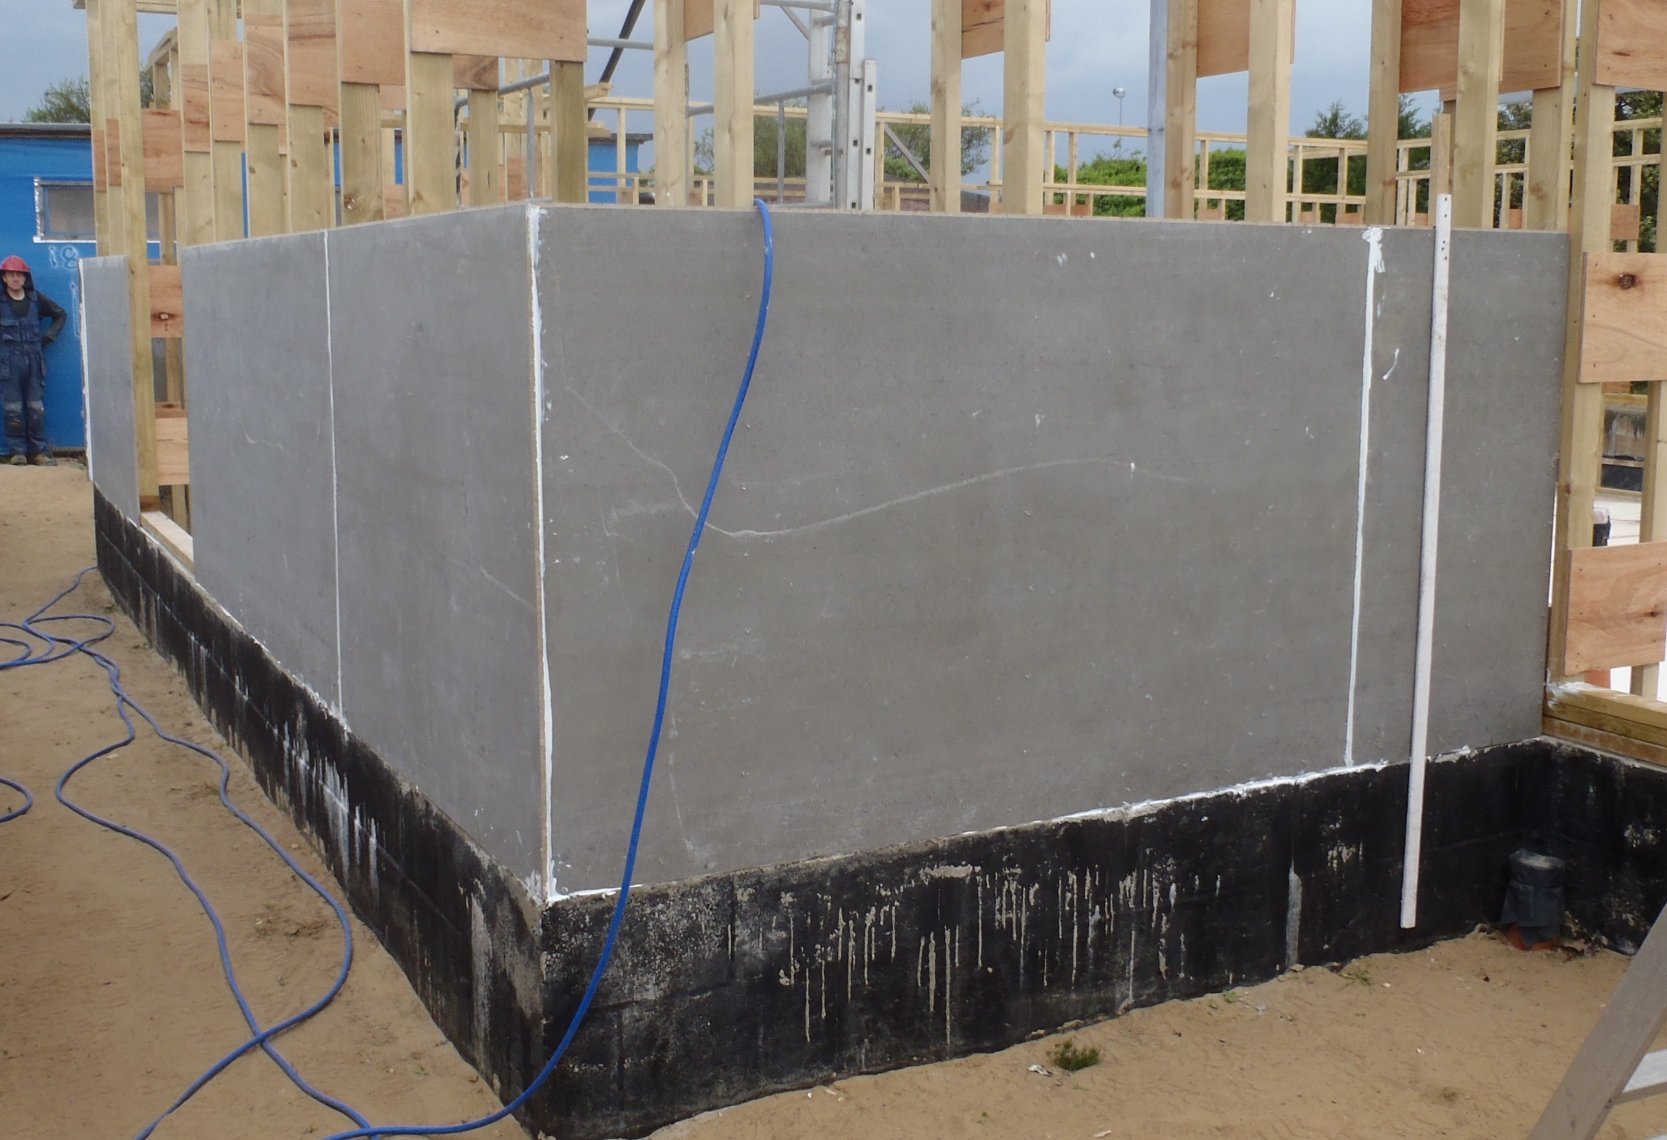
Walls-K-L-Lower-boards
You may have noticed that each of the corners has overlapping sticking out boards and this is deliberate as we will trim off the overlap later and make a neat sharp corner.
On Monday, we will continue on wall “M” (Bedroom 1), around onto wall “N”, wall “O” and wall “P” which are all part of the Great Room. But first, we must adjust the verticality of wall “N” and “O” before we nail up the cement boards, or we will be in trouble – smile!
Leave a Reply
You must be logged in to post a comment.