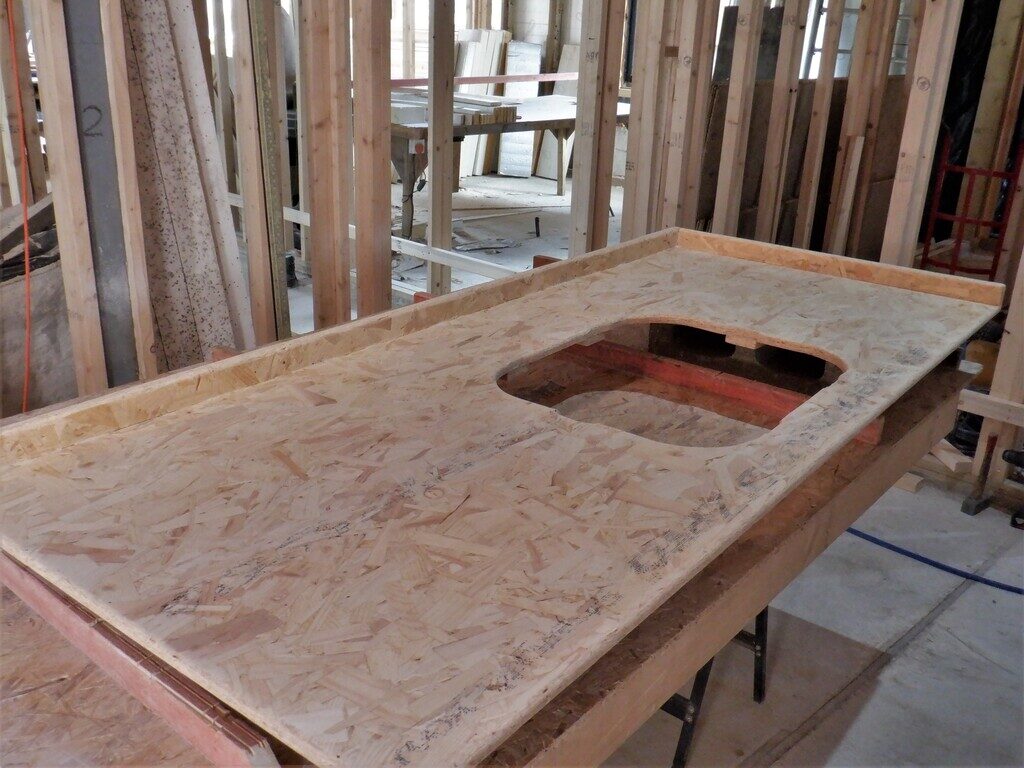
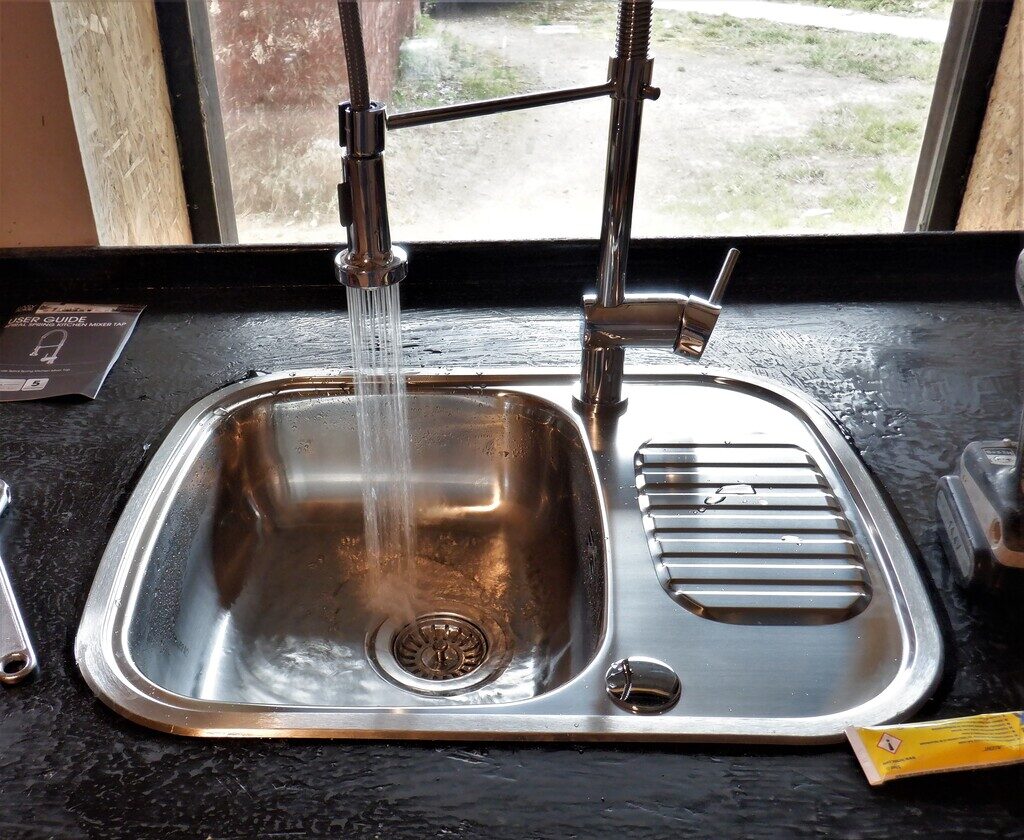
We got the week going by taking our slab of OSB board we cut last week for the worktop in the Utility Room and cutting a large hole in the middle of it for the stainless steel sink to be placed. We wanted it fairly near the front and have more room around the back for pots and bottles to live and be ready to serve anyone using the sink. Then all the edges were rounded using a quarter turn cutter bit to take off the sharpness, rubbed down all over with the sanding machine.
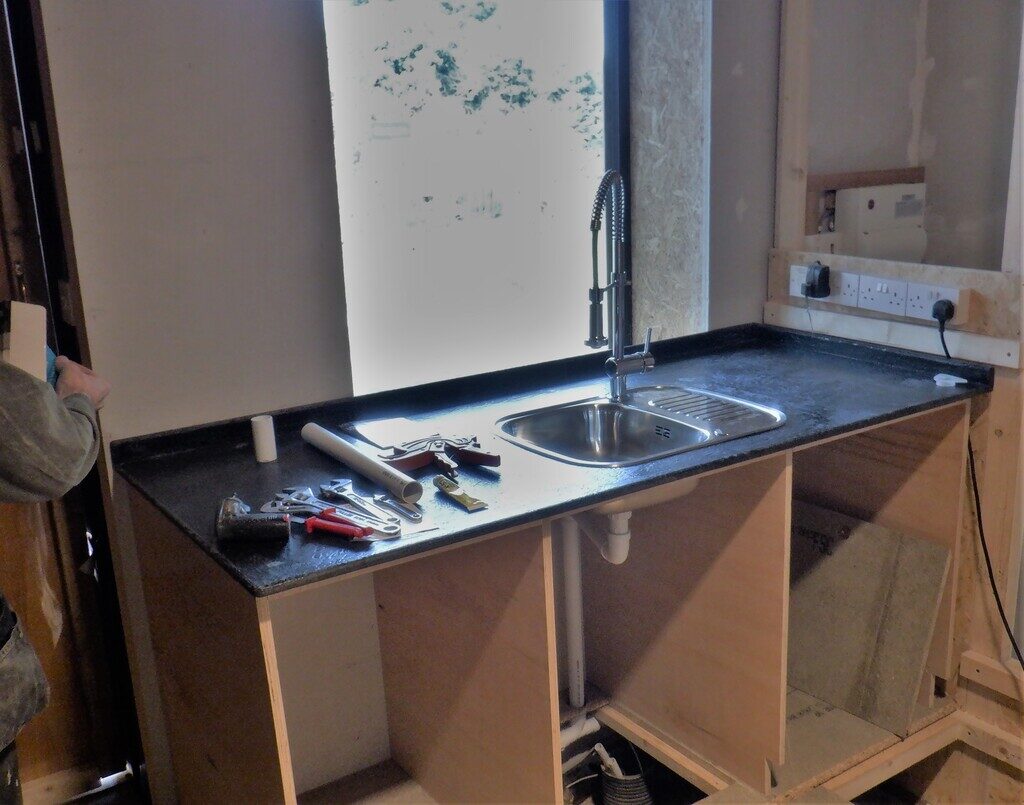
Then a coat of black two-part resin scraped and brushed all over the surface to provide a waterproof barrier. We put the drying worktop upstairs into the warmer sunshine to help cure and harden the resin for a day and then brought it to its final resting place in the Utility room, sitting on top of the four plywood sides supporting the worktop. The stainless steel sink was installed and tied down using the supplied clamps and putting in a line of sealant to stop liquids creeping under the edge and dripping into our drawers and cupboards under the worktop.
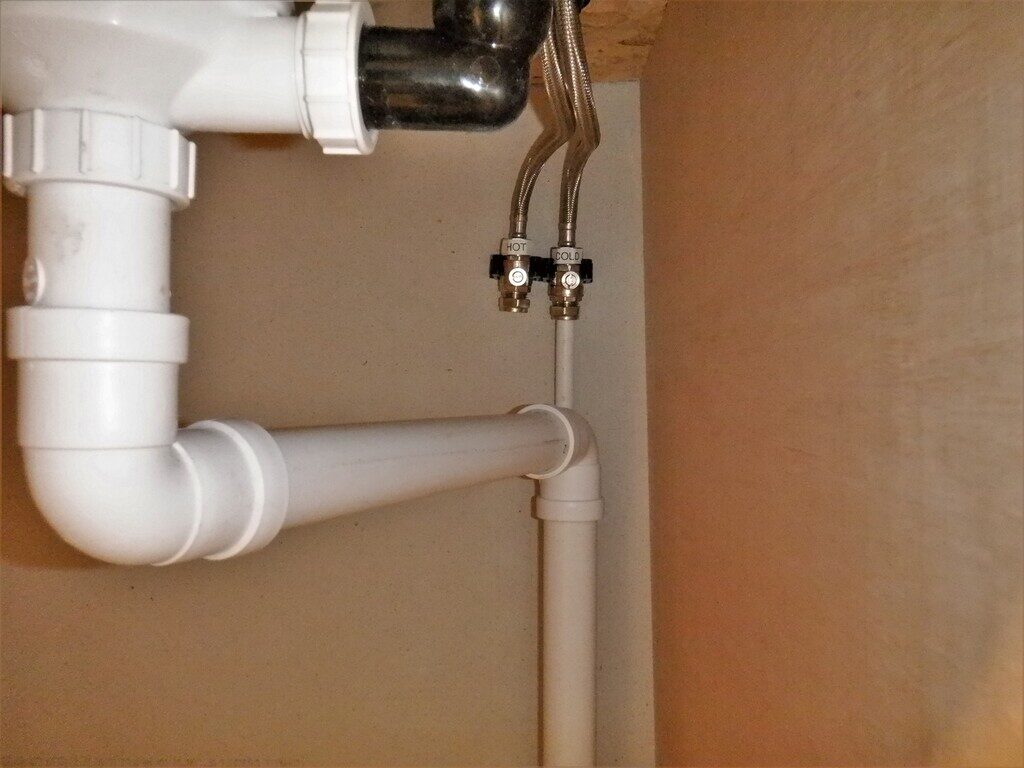
Next, we plumbed in the waste pipe from the sink to the waiting socket we did last week and also inserted a long vertical waste pipe in the other waiting socket just positioned under the floorboard, this second one is for the washing machine in the future setup of the house when we finally move in properly.
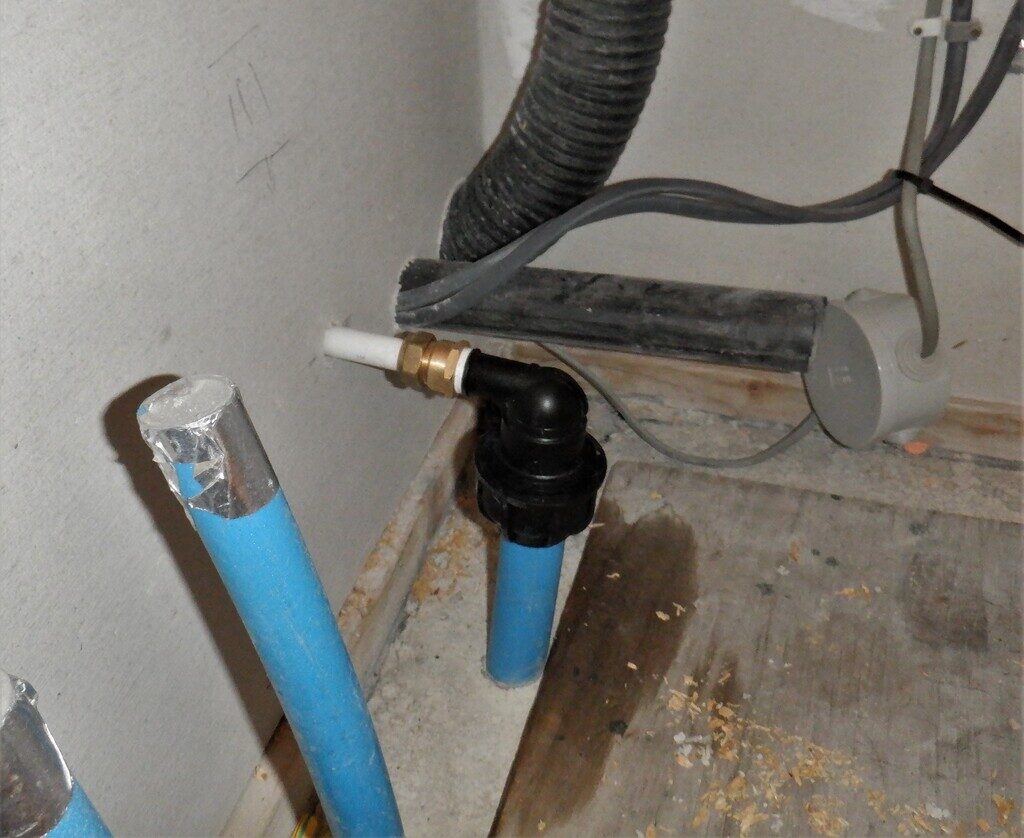
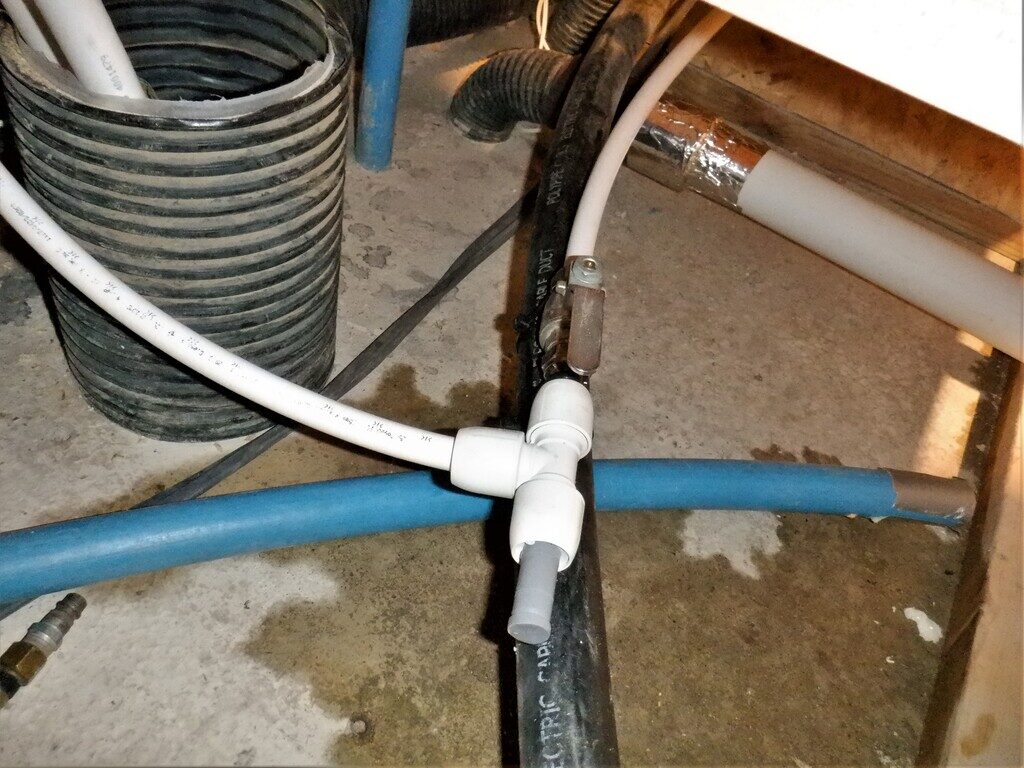
Then, we turned off the mains water supply at our water meter so we can break into the capped off pipe that is coming up through the concrete floor, we put an right angle adaptor to convert from the 32mm diameter polyethene pipe to a standard 15mm internal plumbing pipework. This 15mm feed went through the side of the Equipment cupboard and had a cut-off valve inserted in just at the start of the middle cupboard (still under the floor) so it is relatively nearby and only requires lifting up a trap door to gain access. We will have clear labels to remind people to where it is but also we are planning to employ a motorised valve in series so we can tell the computer to turn off the mains water if we need to do any servicing. The other thing we added after this cut-off valve is a T-junction so we can feed a supply of cold water to our new mixer tap. The continuing 15mm pipe is terminated at this point but it will go all the way to the main kitchen and also upstairs to the header tank to feed those end points too.
The new mixer tap is a large flexible design with a mini shower head on the end pointing down into the sink bowl, being held up on an arm projecting from the body of the mixer tap. It has just cold water coming out for now but we will plumb in the hot water later on when we get that far with the pumps and tanks etc.
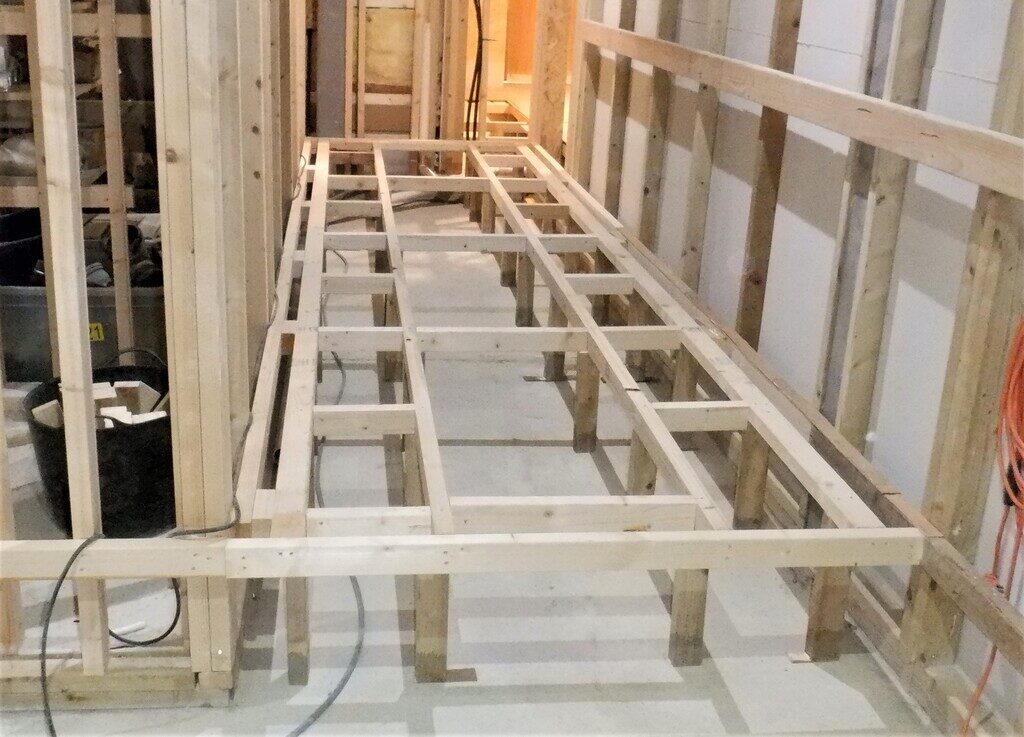
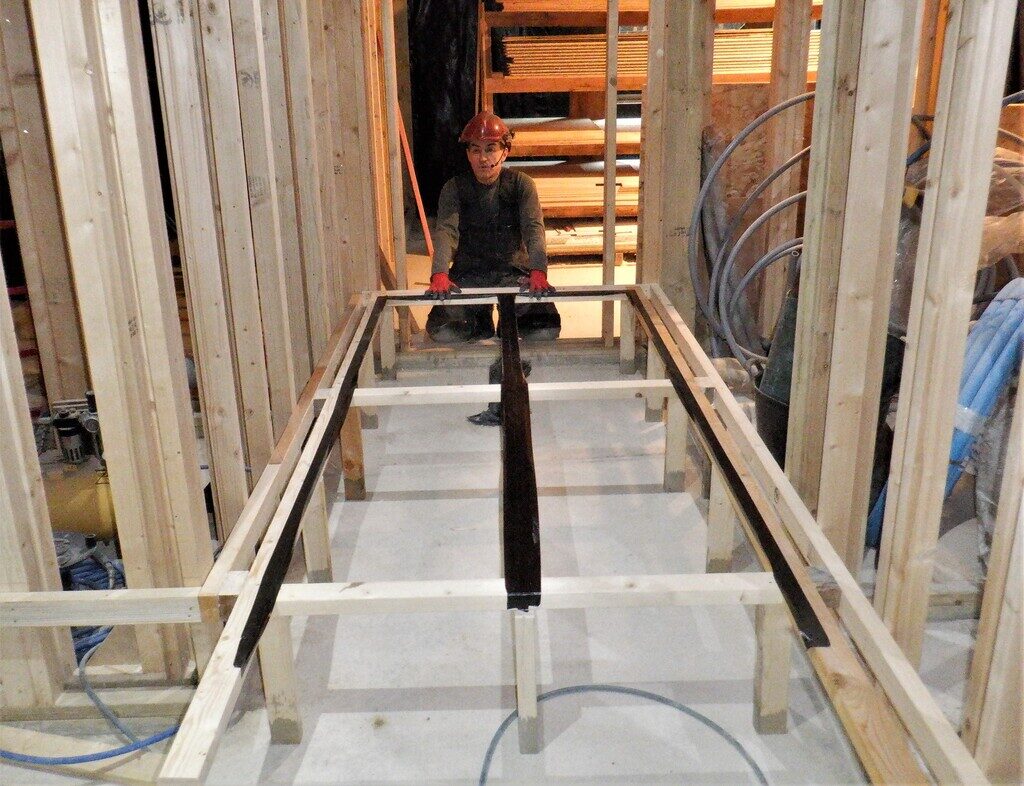
In the meantime, between waiting for the black resin to harden, we proceeded in building the flooring in our hallways. We started outside the Utility Room and Bedroom Three and after much discussing, we wanted to have a middle section to take the large air duct which is 440mm wide and 150mm high, plus also, we need to break up the floorboards into modules so we can lift up an access panel to do any servicing or additions that the house might need in the future. This led us to have four long rails running down the length of the hall, positioned across the width at 440mm and 1100mm apart. In the other direction, down the length of the hallway, we then had noggings every 1200mm and this will be our trap door dimensions. It was quite fiddly getting in the four rails, using 63mm CLS timber, two of them laid flat that will form the outer edge of the liftable panel zones, and two vertically mounted CLS pieces down the middle to support the air ducting. The laser was used to guide us in cutting the legs, every 600mm down all four rails, and then a whole series of horizontal noggings to brace the framework together. Every joint was glued, as well as being nailed, so to avoid any annoying creaking noises if any old timber joint warps or dry out and start making noises in the future. We had to do quite a bit of adjustment in putting in wedges under some of the legs as we discovered that the original horizontal rail we had mounted on the Entertainment wall was ever so slightly lower than it should have been. So we had to “fill” in the gap with thin layers of hardboard (3mm thick) and very thin sheet of veneer 3ply sheet we inherited from one of our deliveries (1.5mm thick), to get it ready for the floorboards to be glued and screwed down.
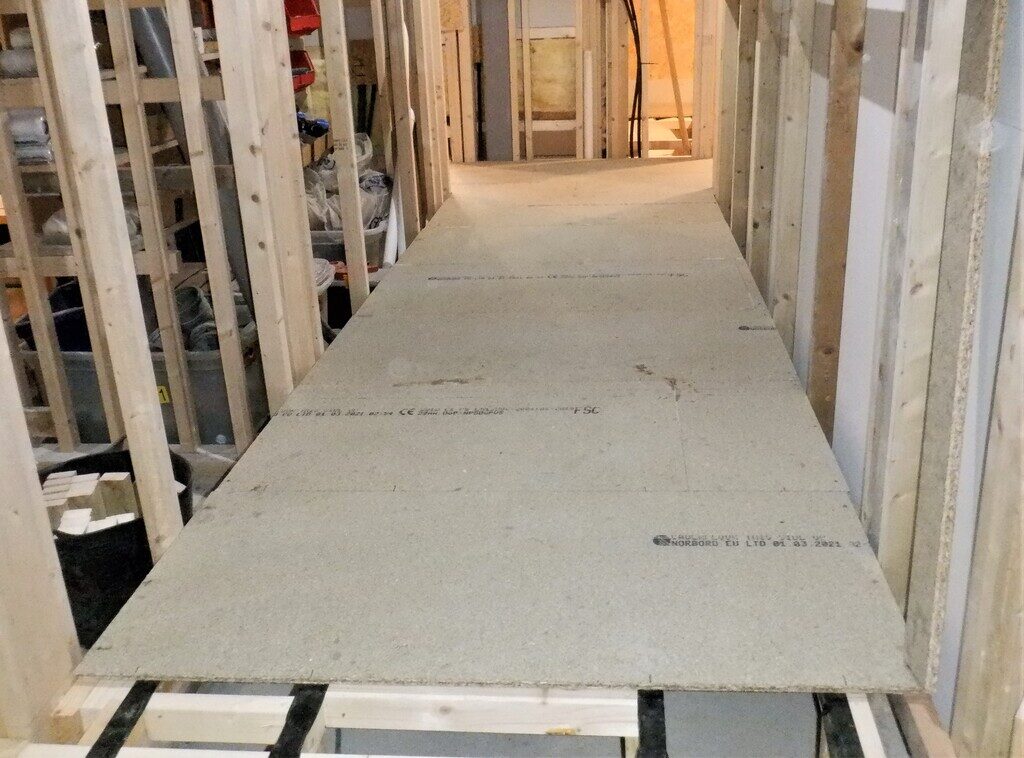
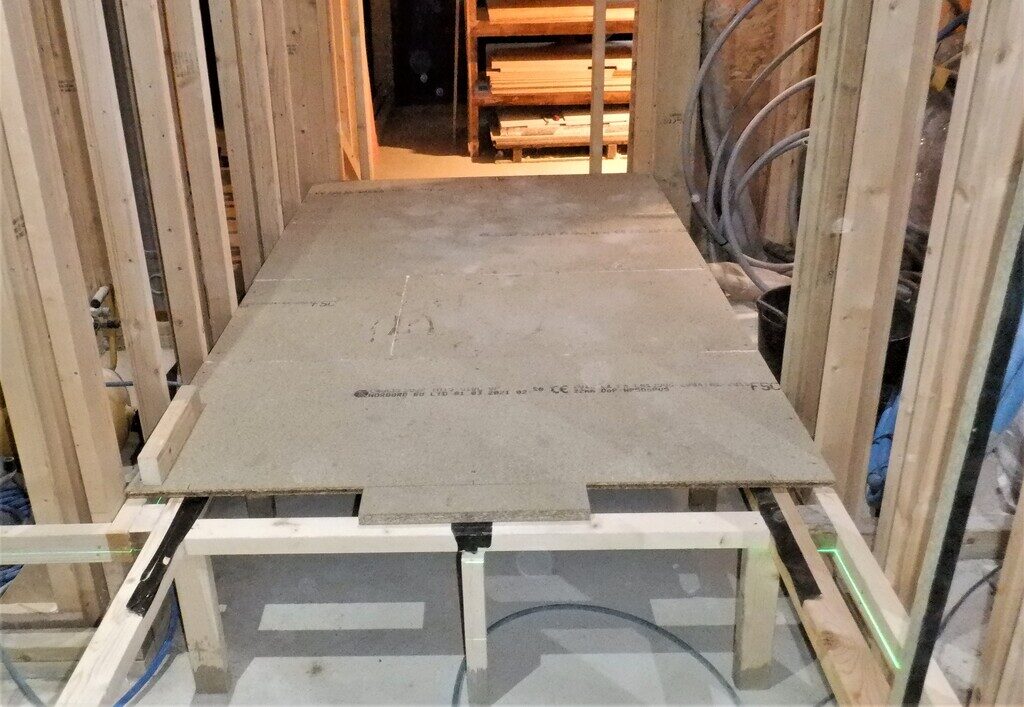
Next, we could then, and did, lay down the floorboards, more of our 22mm thick tongue and groove chipboard material, down the first leg of our four hallways. We went across both doorways of the Utility Room and Bedroom Three, we had to insert extra pieces of CLS timber to support the cut edge of the floorboard at the start of the rooms. We shaped this first and second boards to fit around the two doorways but after that, it was easier in just putting down a row at a time, measuring 1335mm wide (getting slightly wider as we went along the hall) and used our PU construction glue to join the tongue and groove joints together. Oh yes, we also glued the outer edges of the framework but not the middle rails and we also stuck down lines of cheap tape to isolate the glue from the timber so we can free our “doors” when we cut through the floorboards at the correct positions. To this goal, we carefully marked the positions of the rails and noggings, up on to the floorboard surface, ready for that slicing task later on.
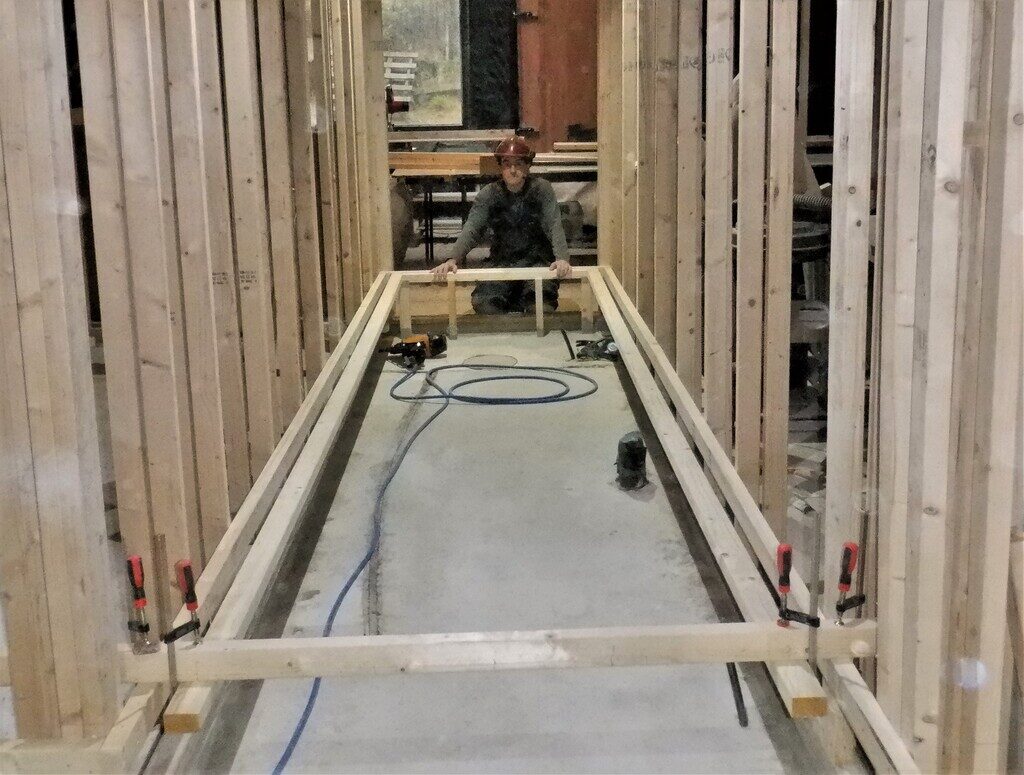
The next section of hallway we decided to tackle, was the shorter one going down to Bedroom Two. This leg is a little simpler as it doesn’t have a full size air duct so we reduced the number of rails to just three, but with a difference. We would still have the tow outside flat rails that defines the outer edges of the removeable door panels but this time, have a flat set of noggings going down the exact middle of the hall. This middle line was made up of a series of 1137mm length pieces but interrupted every 1200mm to put in a full flat nogging going across the width to join the two outer rails together. It was much easier to deal with the cutting of the individual legs, which are still placed at every 600mm point, putting the outer set of legs on first and then put in a middle segment, one by one. Another trick we realised, was to mount a piece of CLS timber across the open end of the hallway, mounted on the side walls with clamps and in turn, clamped the two outer flat rails underneath this supportive bar, while we worked from Bedroom Two end of the hall, towards the open area where all four arms all meet together, at what we call the crossroads. This method allowed us to continue using the laser to highlight the height of the framework, without being blocked by other legs etc.
It worked out quite well, covering about 2.5metres of hallway, which we proceeded to cover over with six rows of the floorboards.
Finally, we finished off the week by getting the first set of the framework up for the third arm, the section coming from the Great Room, passing the Kitchen and Bedroom One. This arm is just over 4.8metres long so we clamped two more flat outer rails, just like the other section we have done and got those glued and nailed into place, with one cross nogging in place down at the Great room end of the hallway, along with their four legs holding that end up and everything.
Next week, we will carry on with that arm and then design the framework for the Crossroads and even perhaps the framework going up to the Front door region, all before we put down any more floorboards. We will see!
