We were interrupted in doing this task by a bout of Covid and waiting for the weather, but we finally got to install an extra layer of insulation foam boards to the roof of our temporary living quarters. We are suffering from the huge rises in electricity prices and we needed to do something about it and save money.
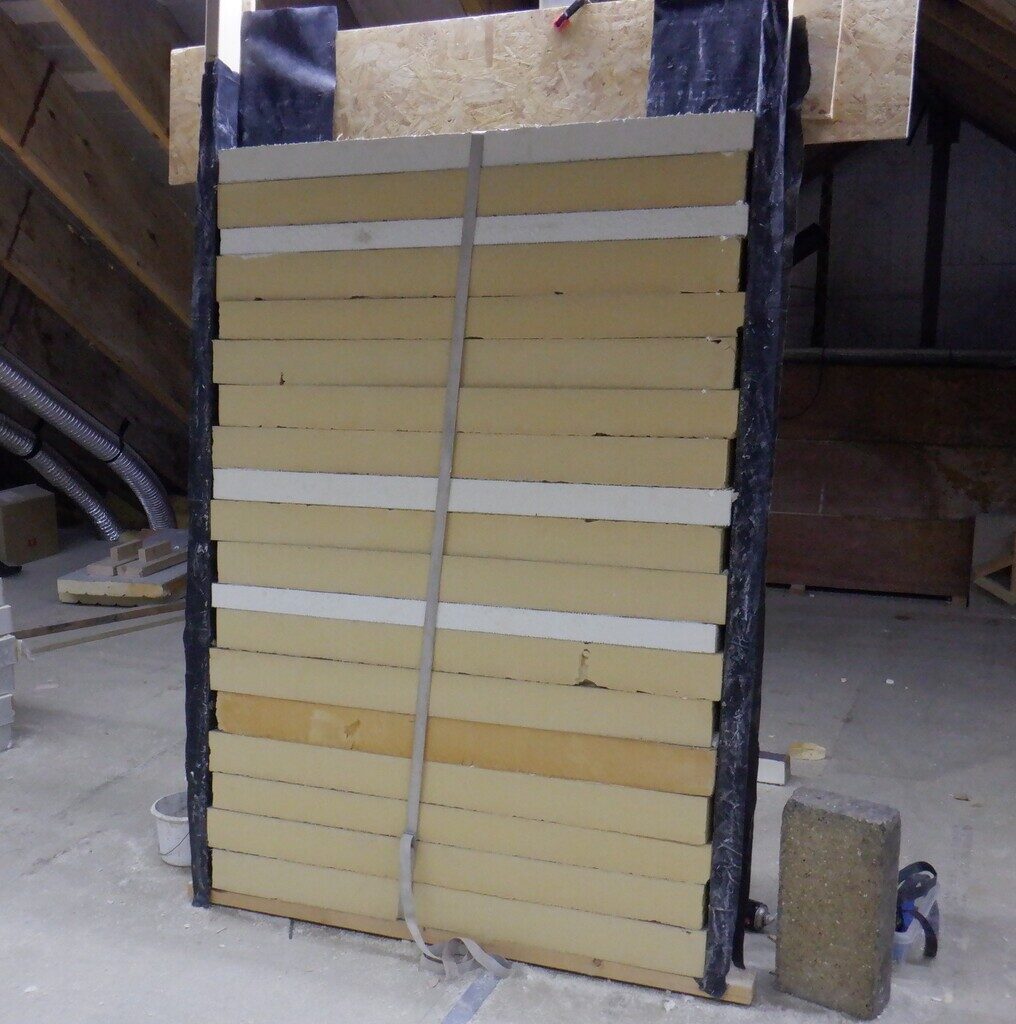
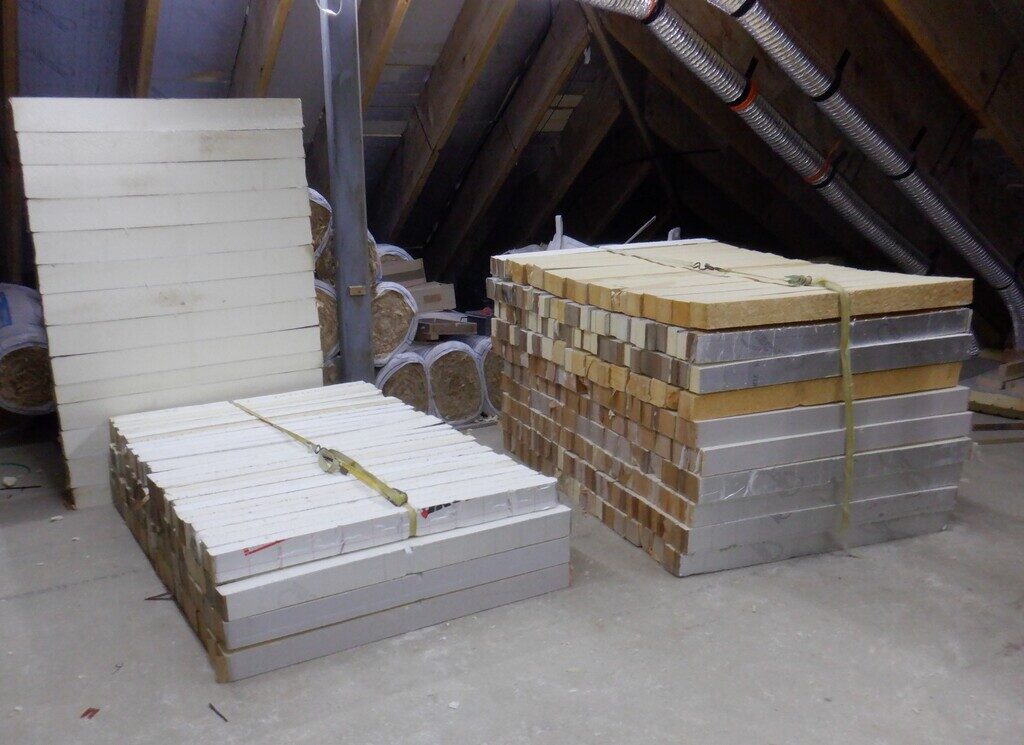
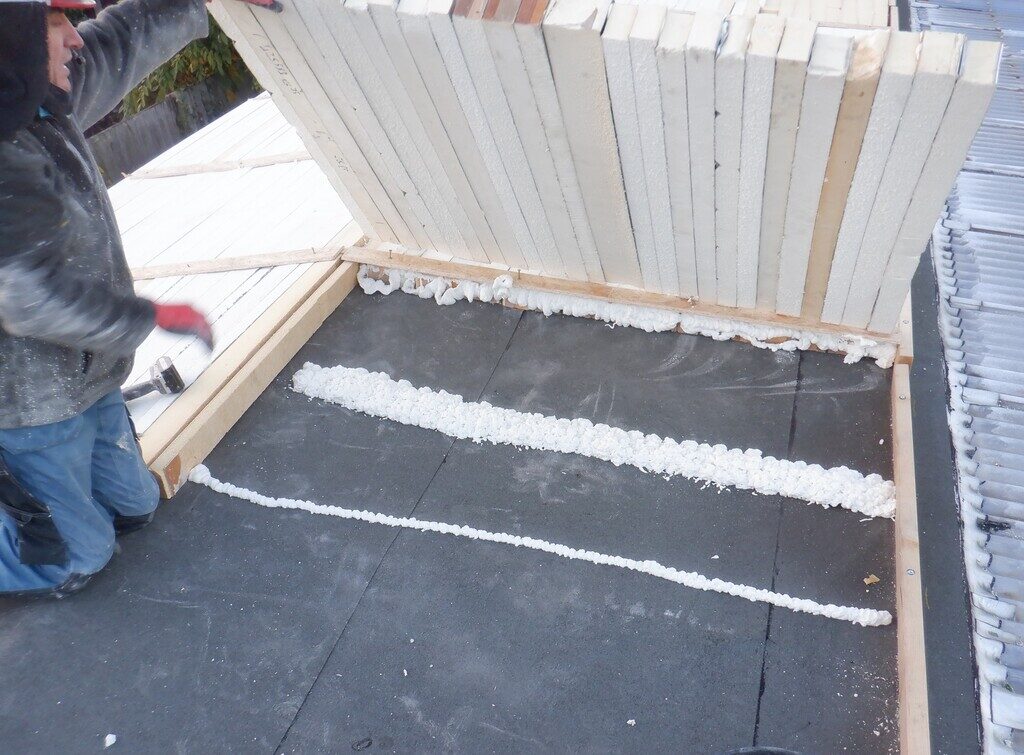
So we decided to make use of our recent supply of recycled PU foam board pieces and construct 90mm thick panels. We took a heap of random sized pieces, only making sure that they were at least 1200mm wide and put them through the slicing machine to make 90mm wide pieces. We then stacked them into a frame and stuck them together with a little bit of PU spray glue. We stacked them up to a height of 1750mm which covers the majority of the roof surface, leaving a small gap down the ridge line, which will be filled in with other 90mm pieces later on.
We proceeded to make sixteen of these panels over the course of several days.
One of the early jobs we did before we got Covid, was to install a series of 89mm CLS timber pieces up on the roof so that we had somewhere to fit down the roofing felt and also retain the foam panels in. These CLS pieces were screwed down with 150mm screws, all the way around the edge.
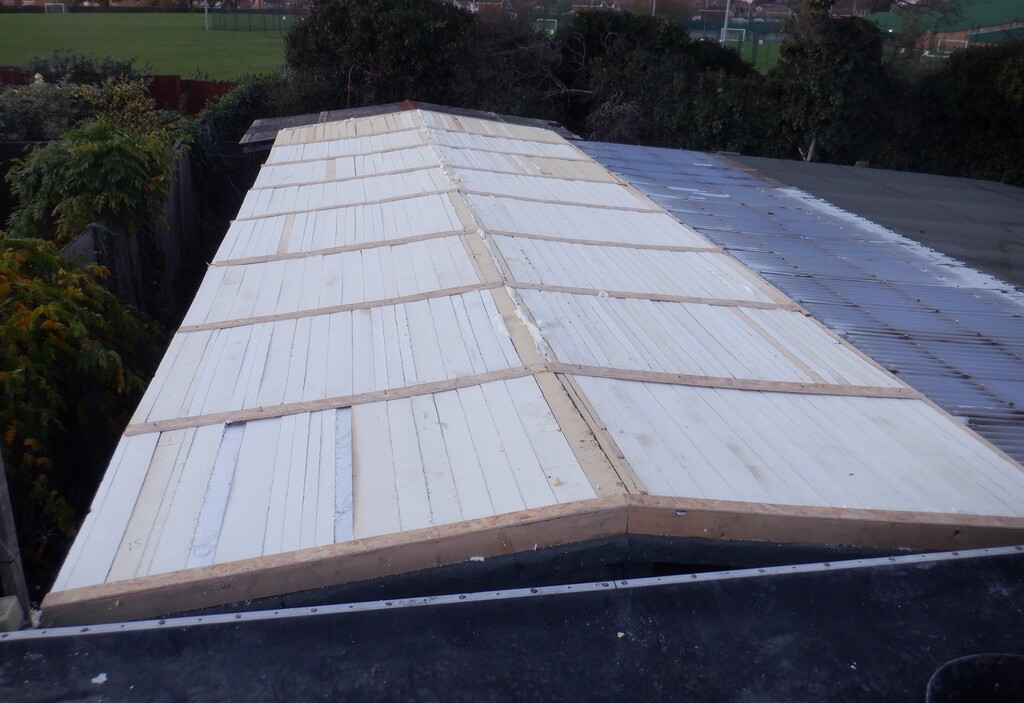
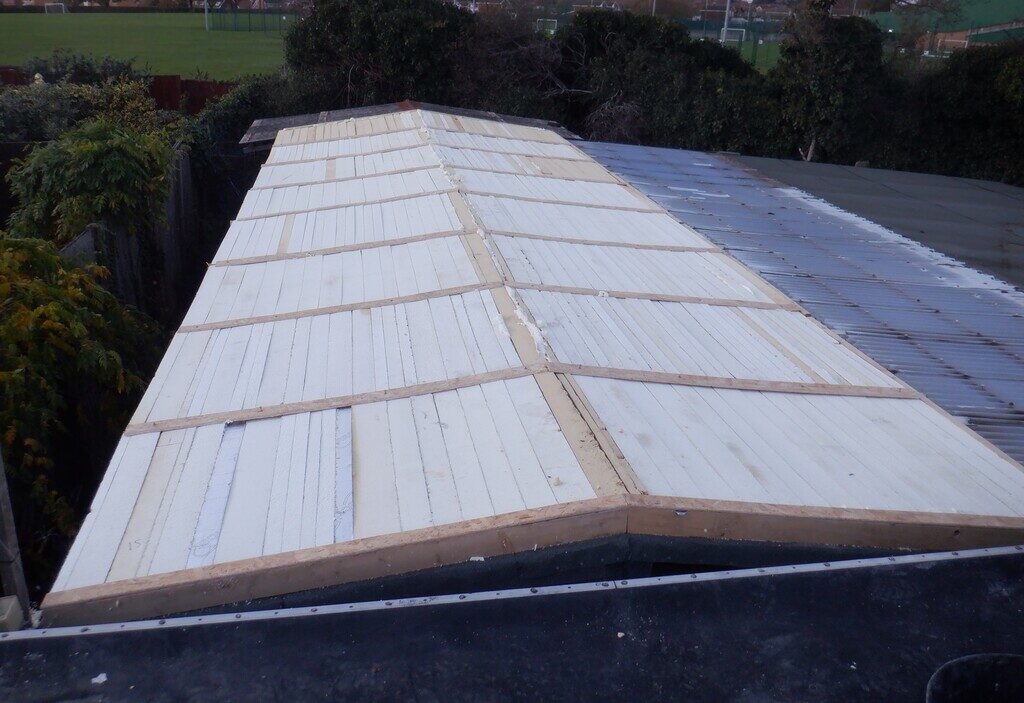
The next task was to slice up some 11mm OSB board to generate fourteen 100mm wide strips and four 75mm ones, all them being 1780mm long. These pieces will be used to clamp down the insulation panels. Eventually, we will laid down a covering of protective roofing felt, so we decided that these OSB strips needed to have their edges chamfered so we put each one through our router. The four smaller strips had a quarter round shaped on one edge and a 45degree slope cut into the other edge. The same 45degrees chamfer was done on both edges of the other fourteen strips.
Then, after ordering a box of 180mm long screws and clout nails for the roofing felt and grabbing a lovely clear day today, we managed to get all sixteen panels up onto the roof, starting at the far end and proceeded to fit each one, sometimes needing to trim them down a little bit and clamping the edges down using the strips of 11mm OSB we made earlier. We had to drive the long screw into the roof, to seek out the old 50mm roof rafter inside the structure, and making sure we found it so we had a solid fixing.
Because the old roof had regular slight hollows, we used lots of spray PU foam to fill this little gap between the new insulation panels and the old roof surface, in order to support the new panels, especially when we walk over the new roof whilst applying the roofing felt.
We managed to get the entire roof covers by about 4pm and the last job to do was to cover this new covering with a tarpaulin, to make sure that the majority of the rain will be deflected away and keep it reasonably dry. The weather is very wet at the moment and we need to wait until we have a full dry day to get the final roofing felt glued and nail down.
Now we wait …
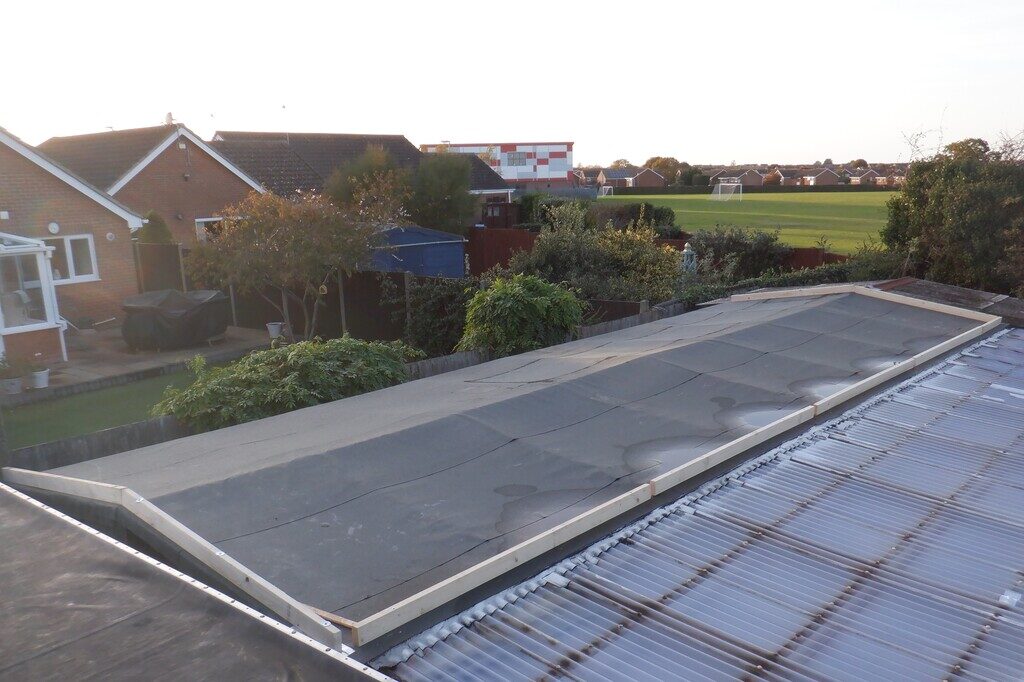
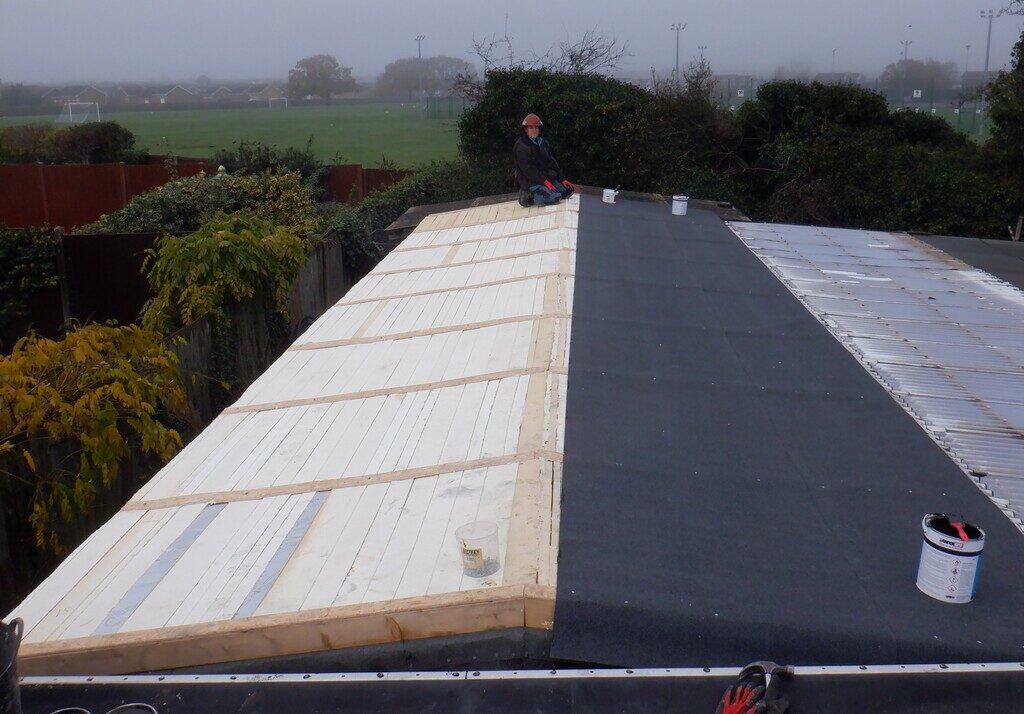
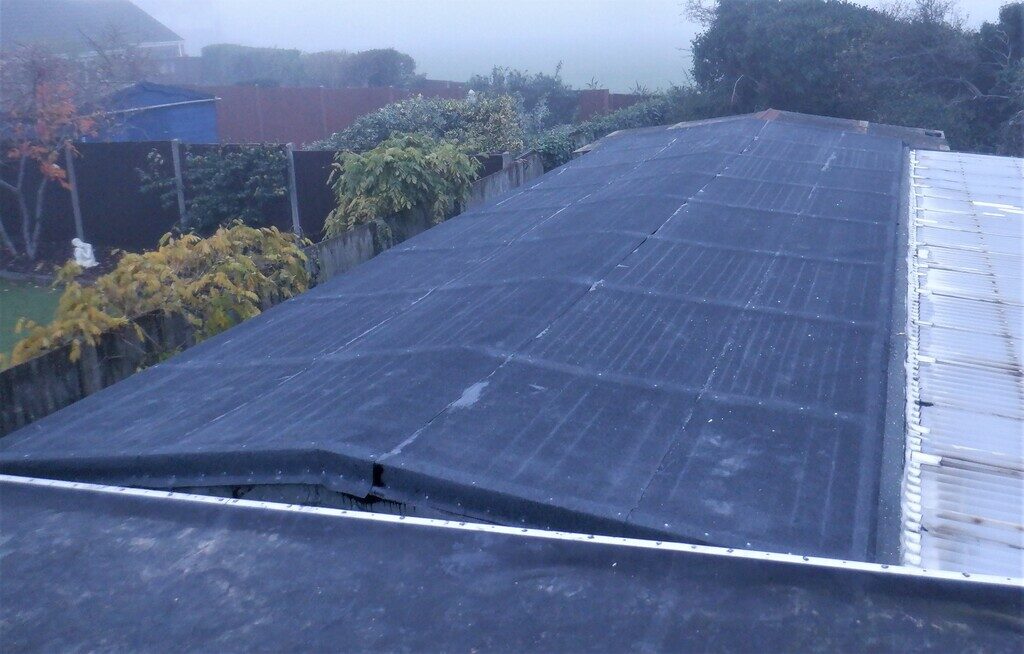
We finally got the roof felt on a week later! It was the first dry day when we did not have other commitments, it turned a to be a very drear day with fog all day.
The felt was rolled onto the roof and nailed around the perimiter and along the OSB fixing strips as well as gluing it to the roof at the overlaps and gluing the overlaps to them selves.
