Over the last three or four weeks, while dodging rain showers, we tackled the problem of moisture up inside our Skylight. See the following posts for more details:
* Installation of Skylight Double Glazing Units – Part 2
* First Stage of Improving Our Skylight Windows
The solution to this annoying problem is to ventilate the gap between the double glazing glass units and the plastic polycarbonate outer layer. We decided that a neater solution is to drill air holes between each window section and then have one larger hole drilled in the middle position, through the central ridge beam, back into the boxing underneath the solar panels, where an additional fan can be installed, to force the air through all the windows in a loop and the “moist” air returns back into the boxing at each ends.
It is quite a complicated task and we had to work from the roof side completely. We didn’t want to disturb the glass units because they were already fixed in with lots of sealant, but also they are damn heavy. Plus also, we cannot access the triangle windows over the Great Room. So, it was from the roof that we did all the work.
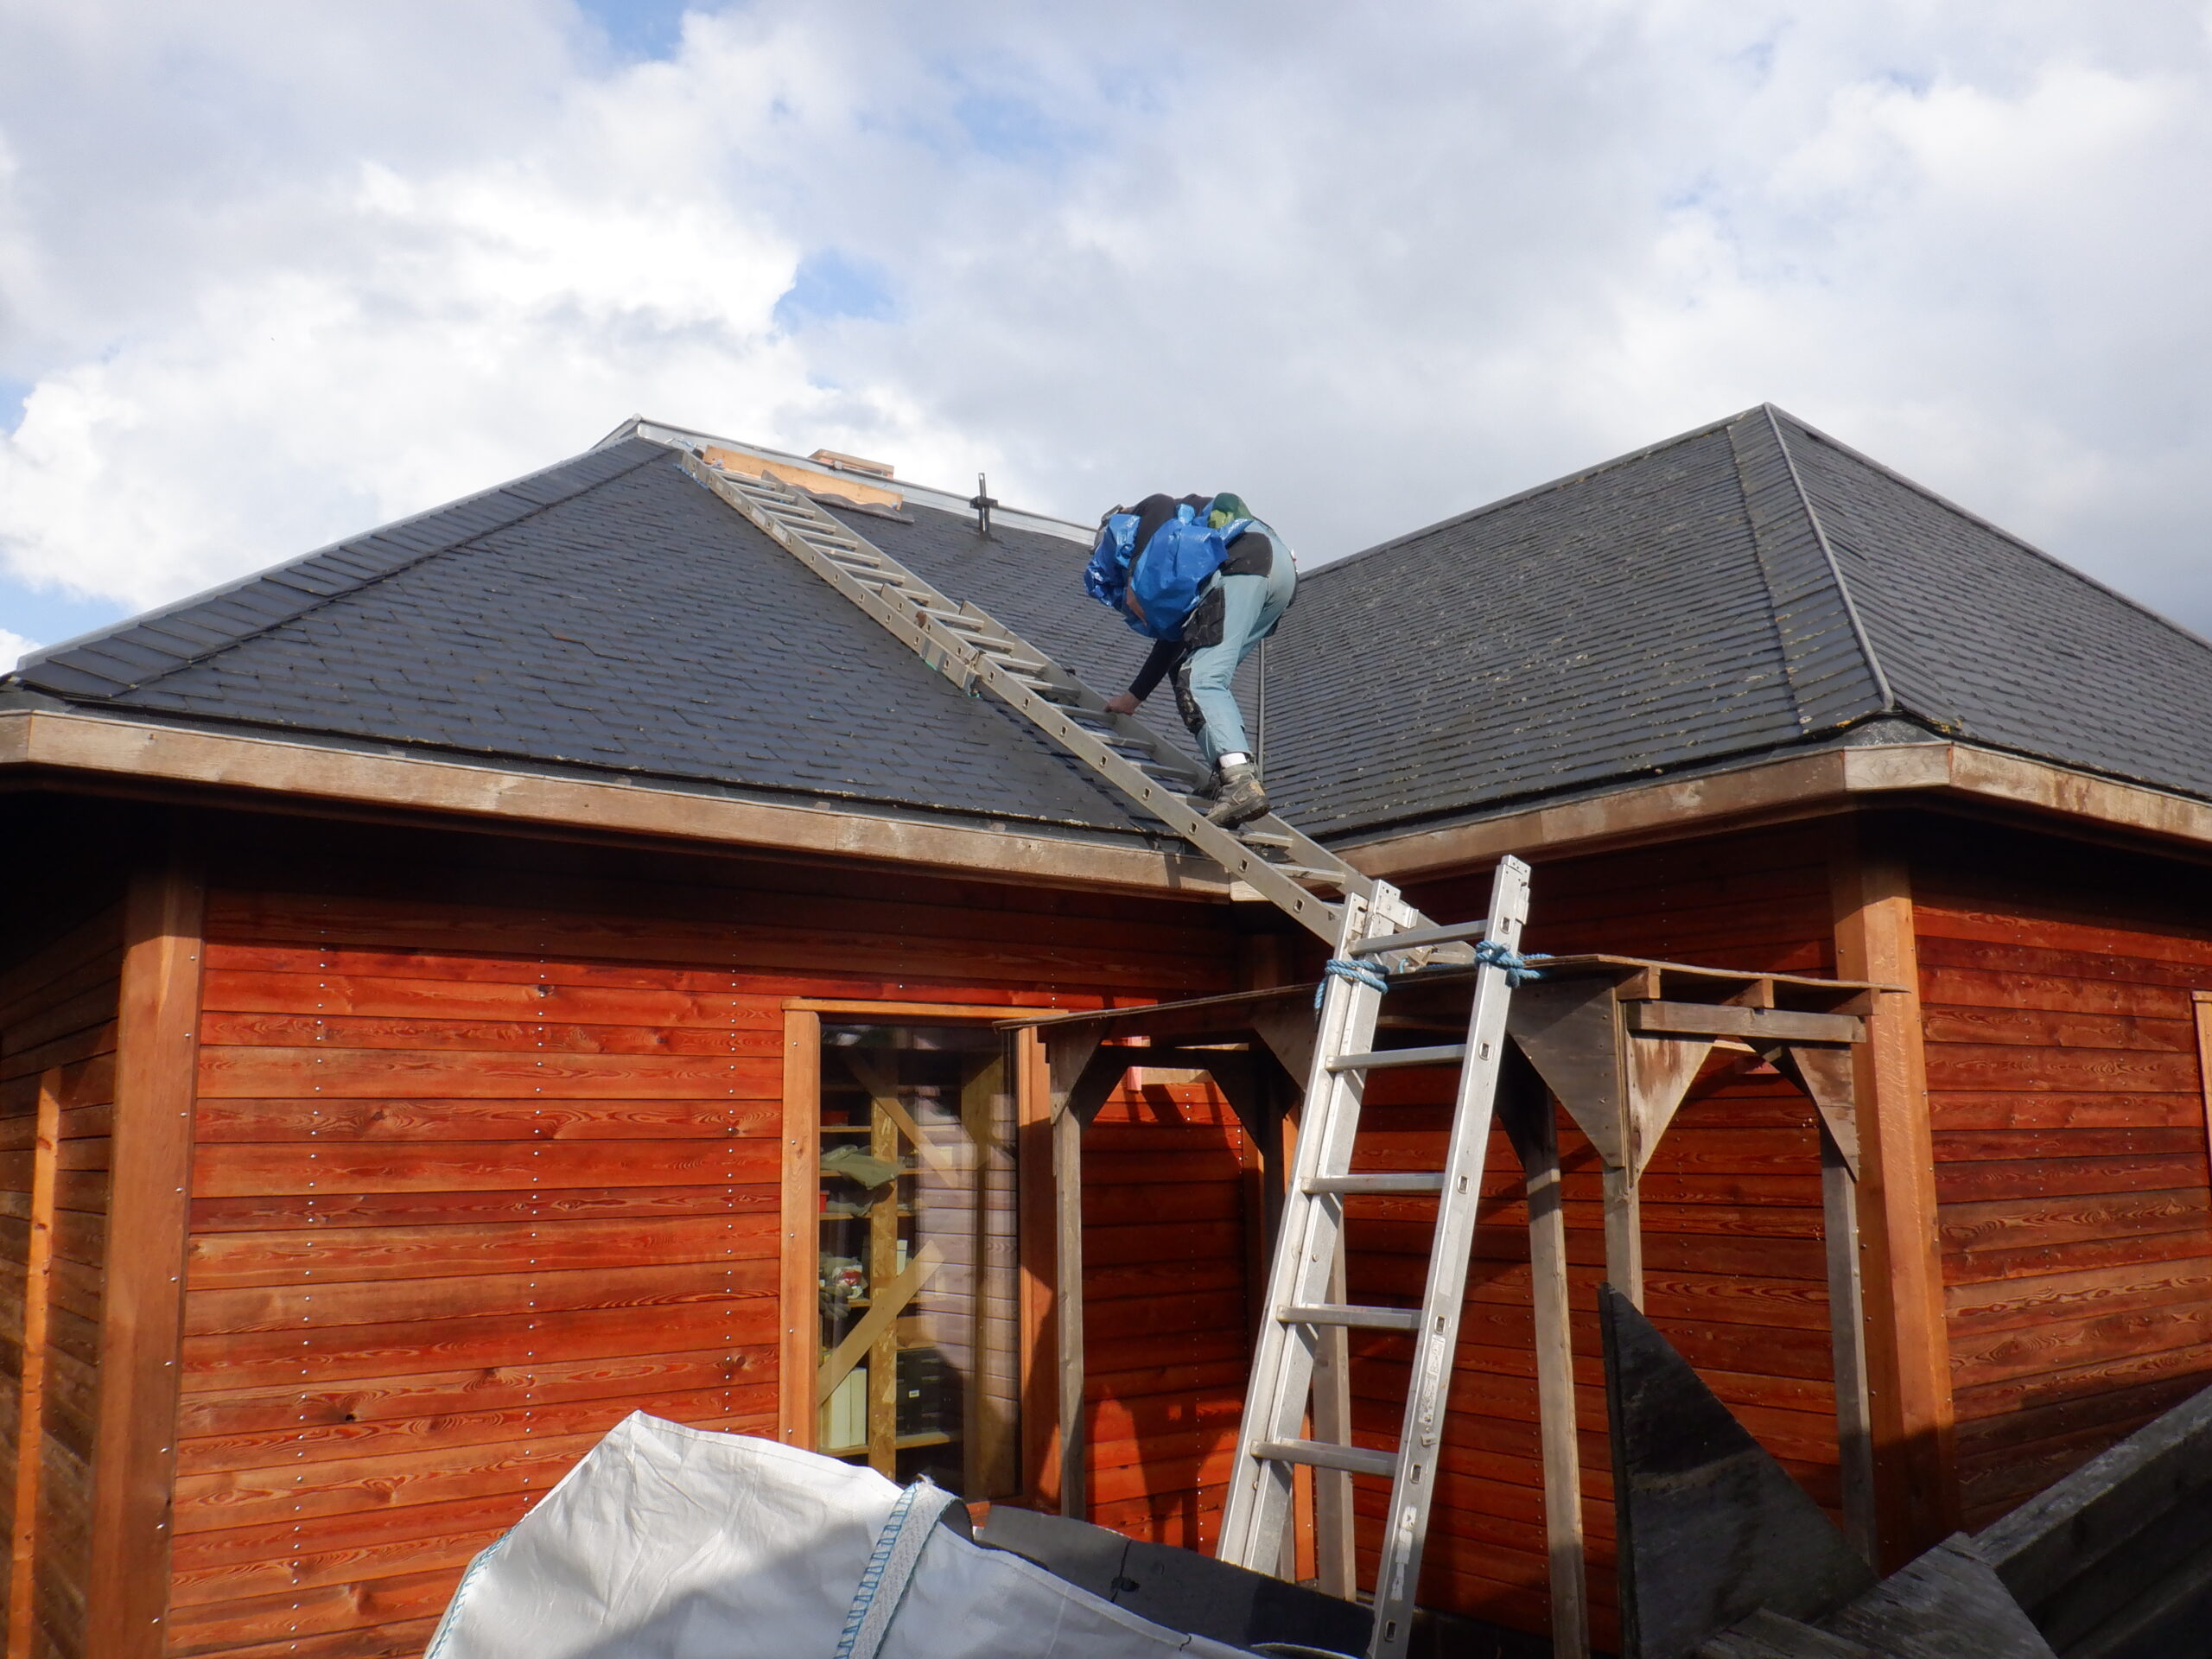
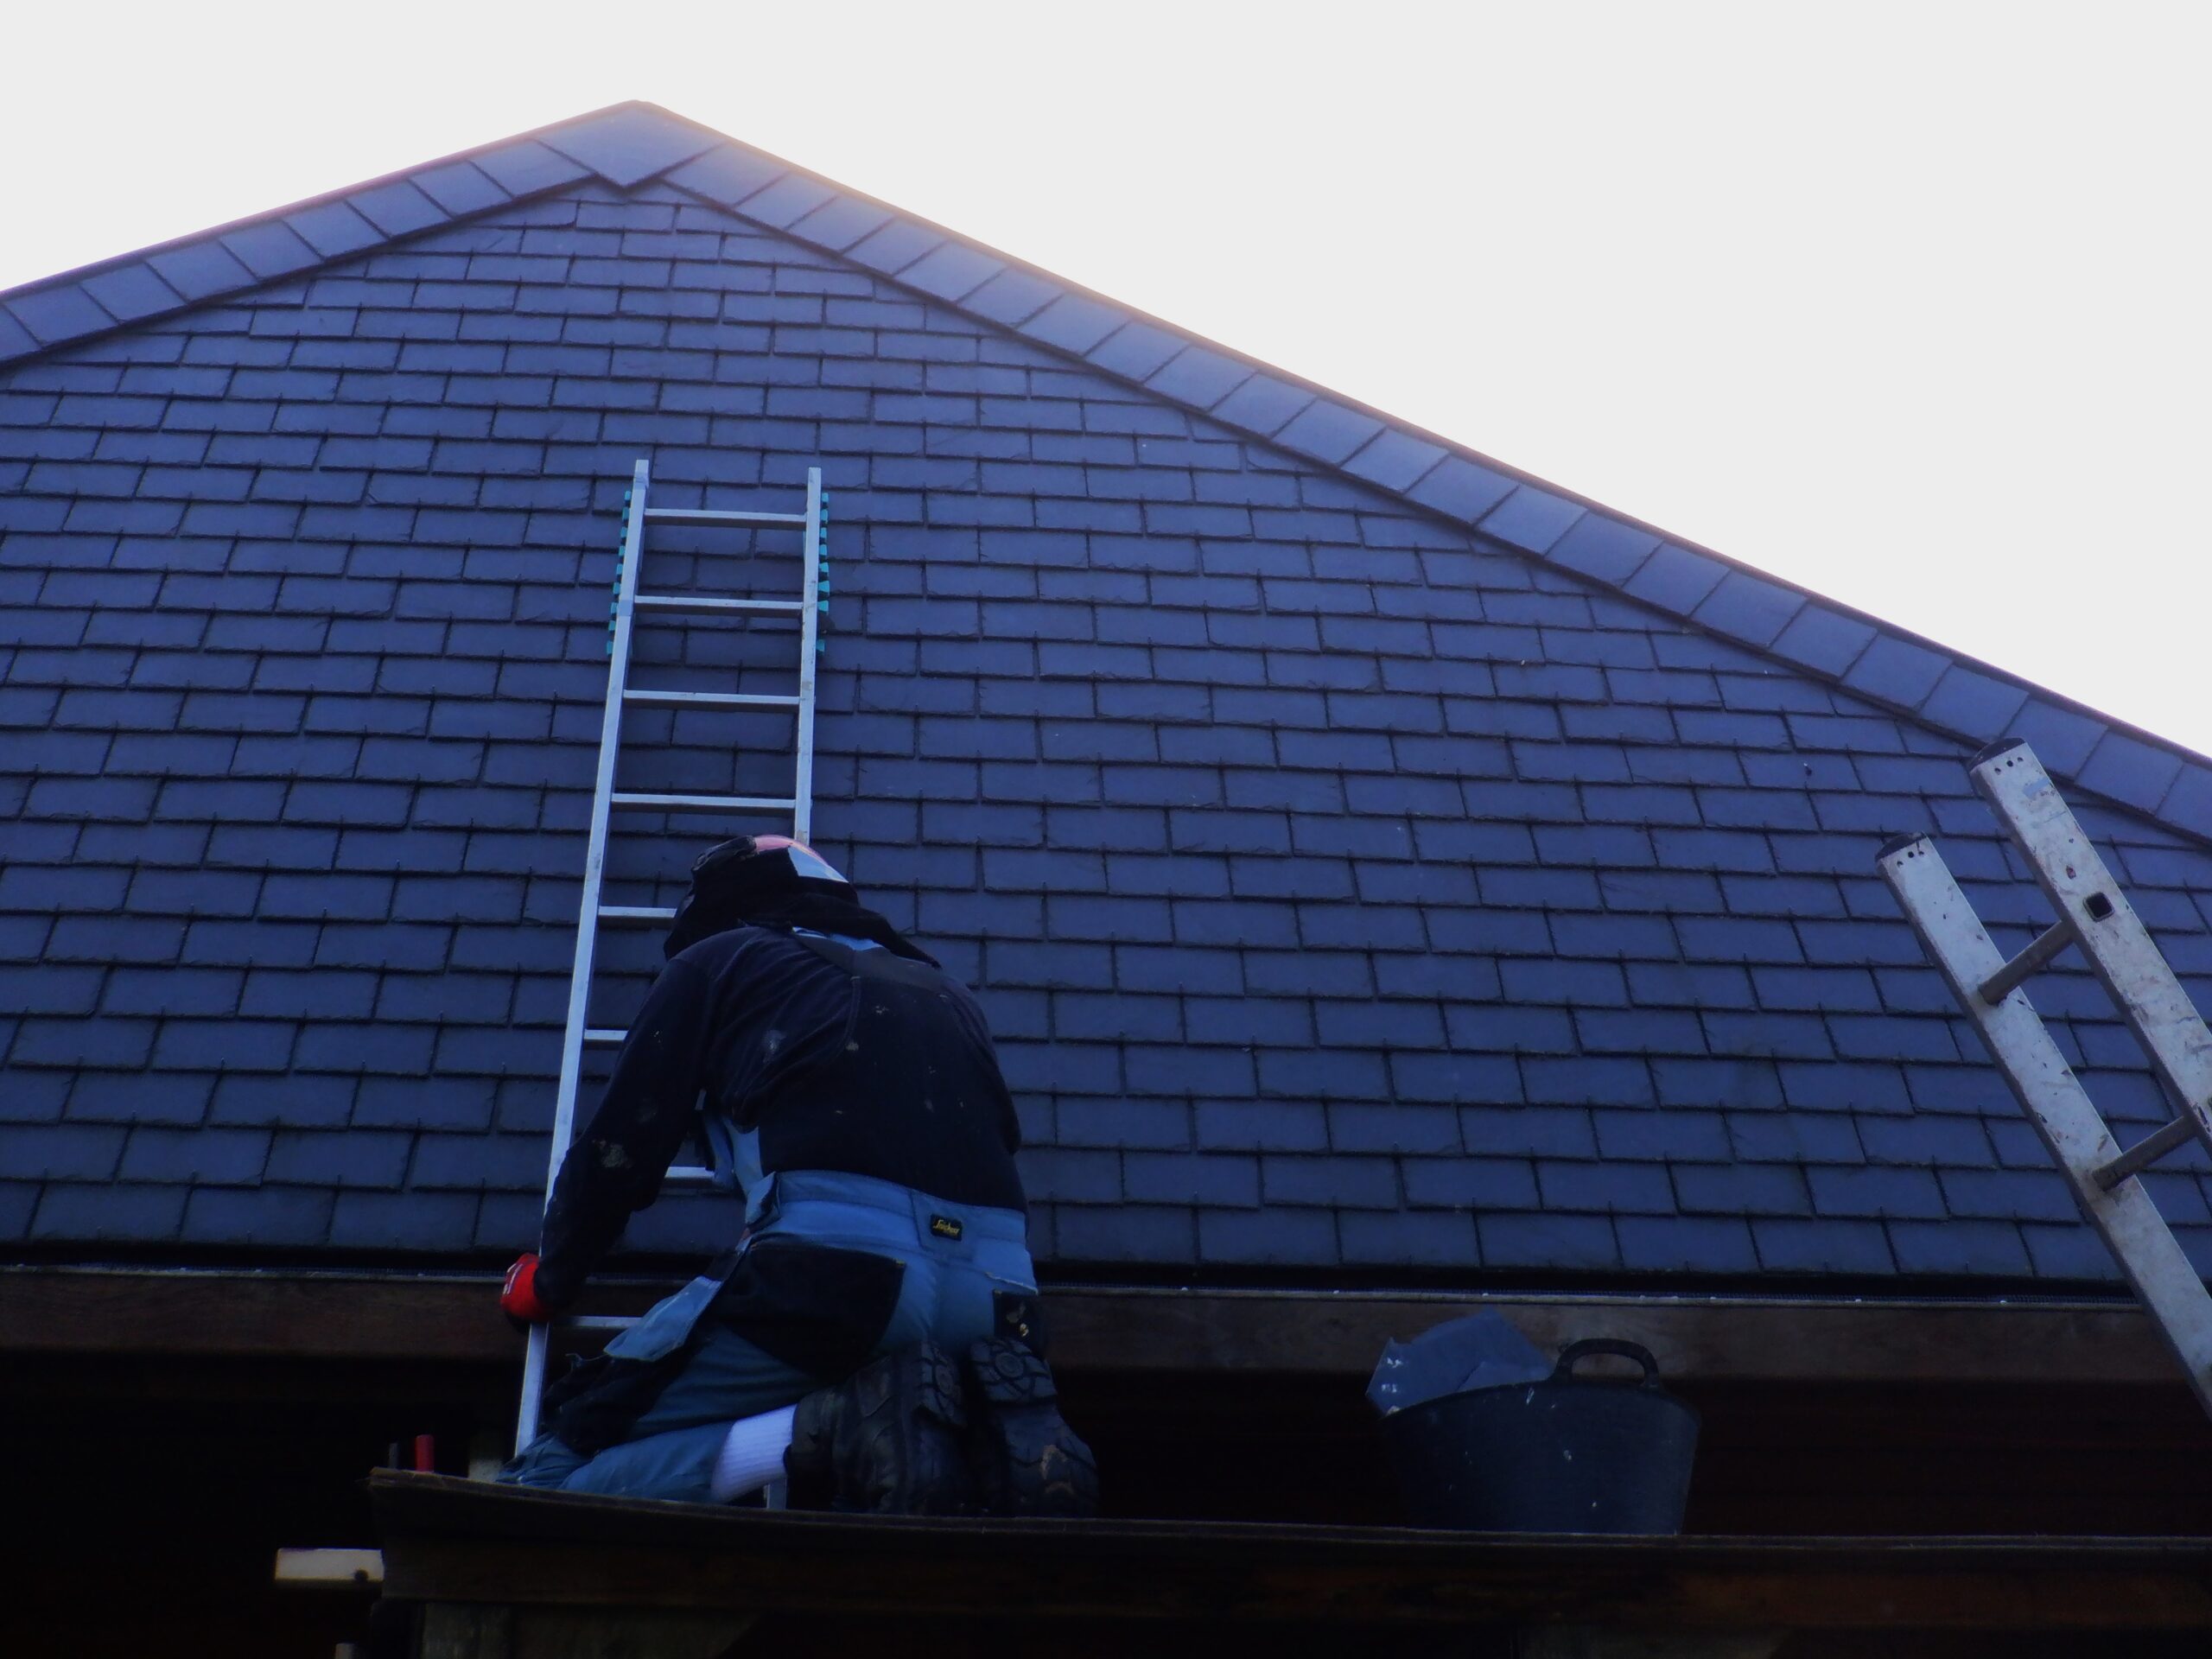
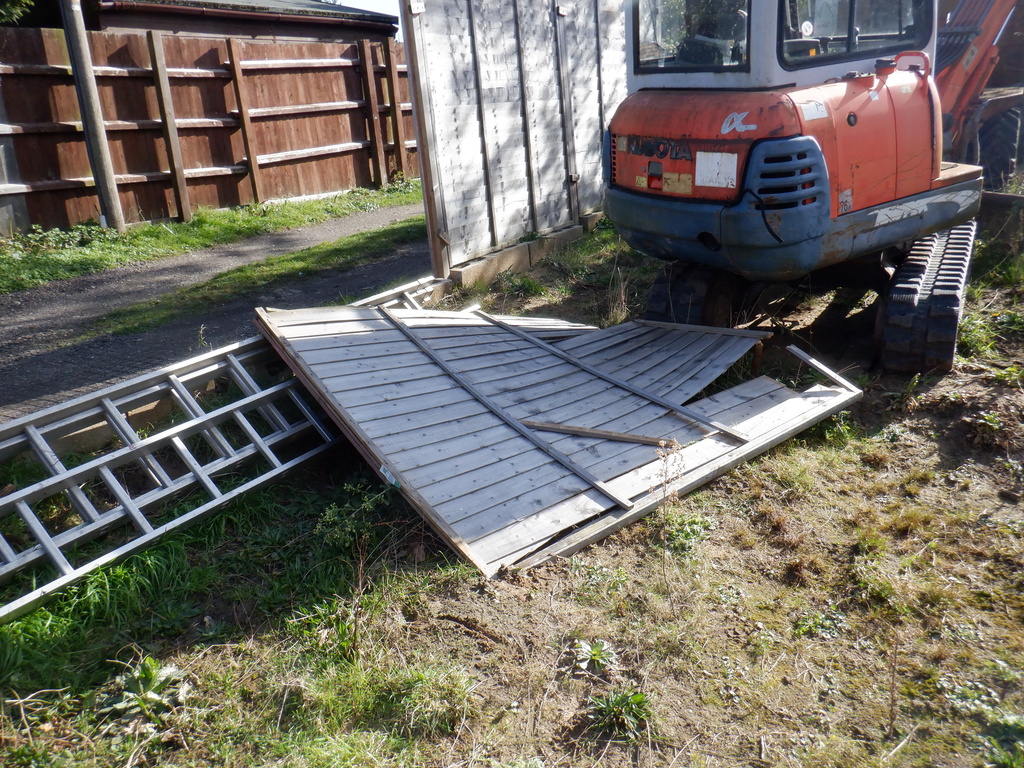
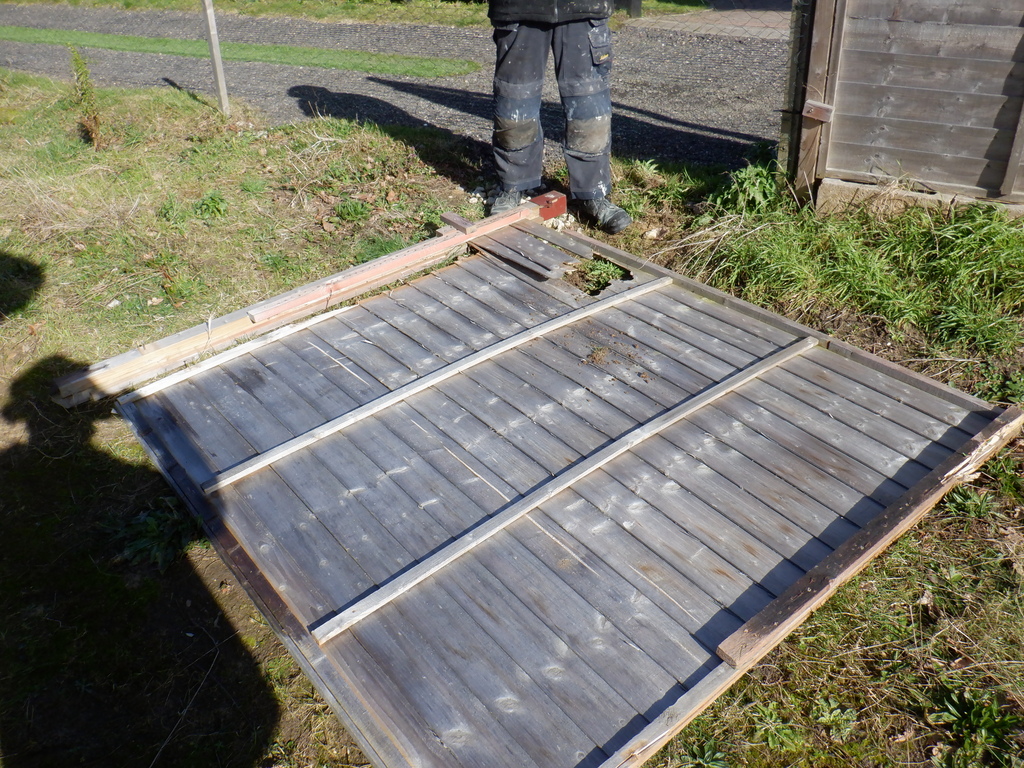
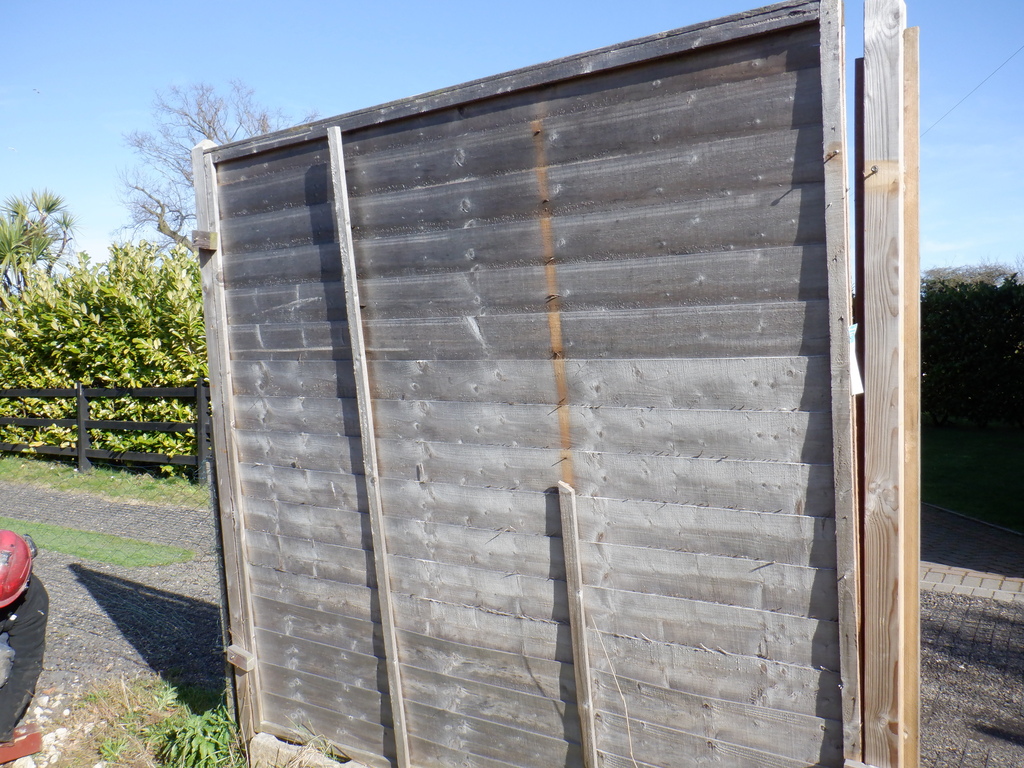
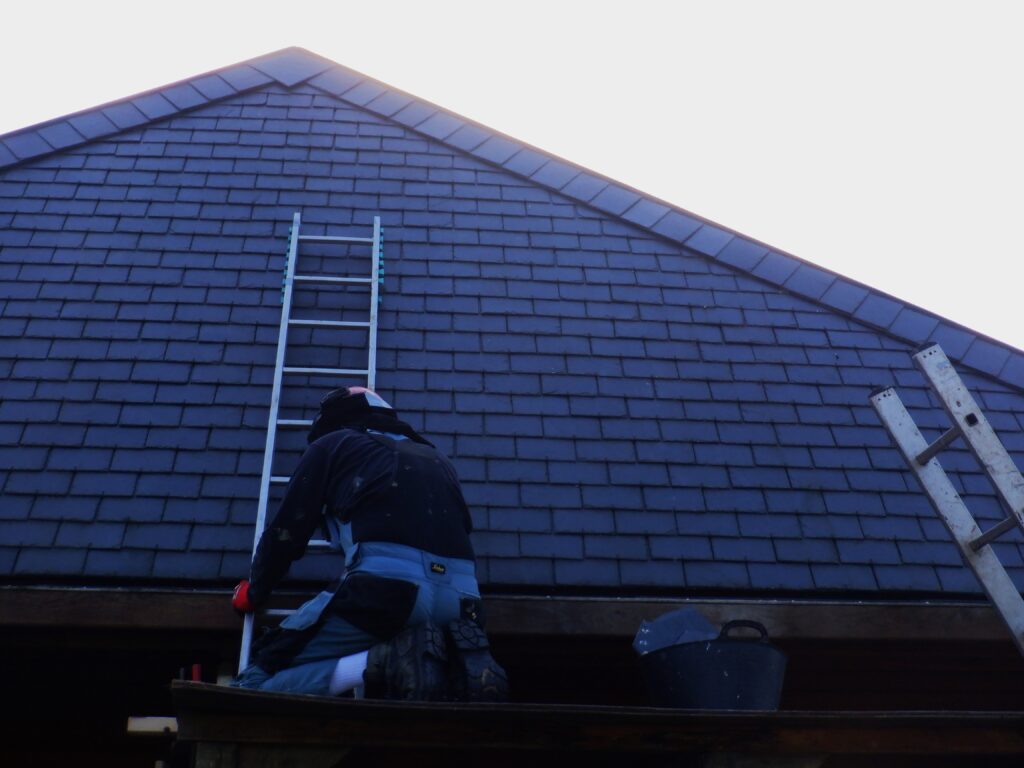
It was slow work, as we needed to be safe while we got up onto the roof. Towards this safety, we assembled one of our old wooden platforms and positioned it around the back of the house, in the corner of one of our extensions. We then placed our giant extension ladder, using two of its triple segments. We taped on pieces of rubber foam to the top and bottom edges of the ladder, to cushion against the nails and bumps of the slate tiles. The foot of the ladder was fixed down to the wooden platform with a block of wood and rope. Then we had a smaller ladder to allow us to gain access to the platform.

Setting up access for Skylight refurbishment
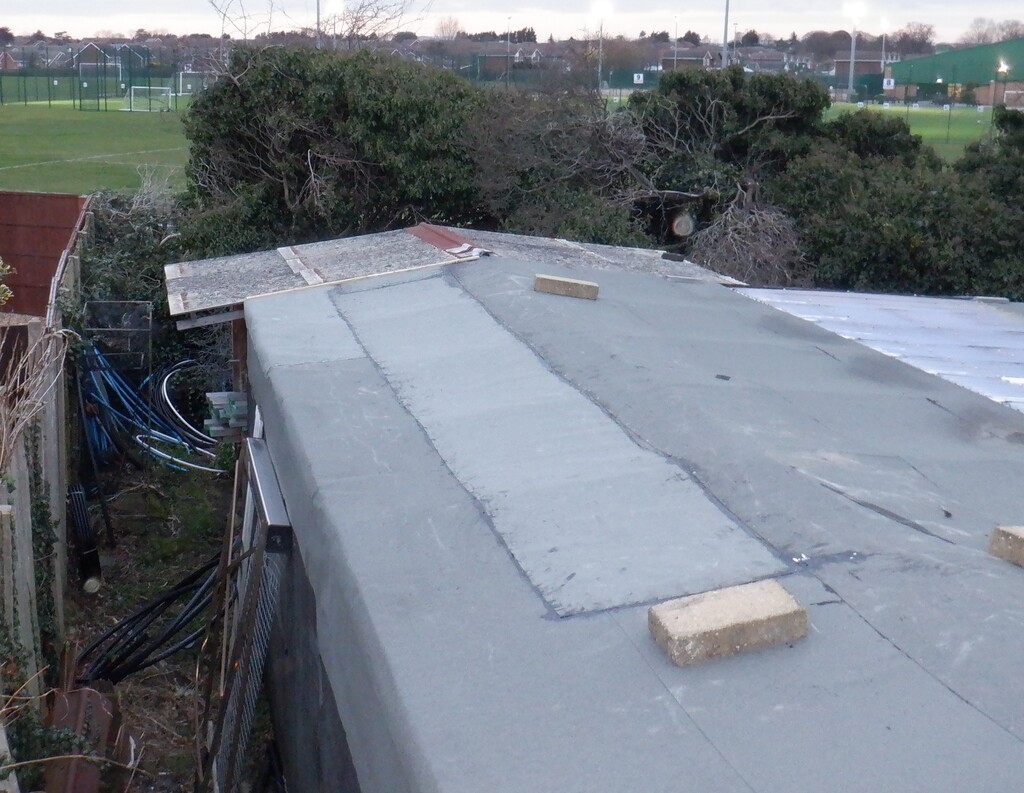
Next, the next step towards our safety regime, was to build three little foot rests that was connected to our steel wire we got running around the whole Skylight. we found some 11mm OSB left-over boards from when we were making the hot and cold water tanks, and screwed on a length of 2by4 timber along its length. This timber had a hole at each ends for a rope and a clip hook attached, ready to quickly hook to the steel wire. The other thing we did was to stick all over the underside of these foot rest with a thin layer of PU foam underlay we had lying around. This would provide some extra grip on the slate nails and also not to put too much pressure on the roof tiles as well.
Now we are ready to get up on the roof.
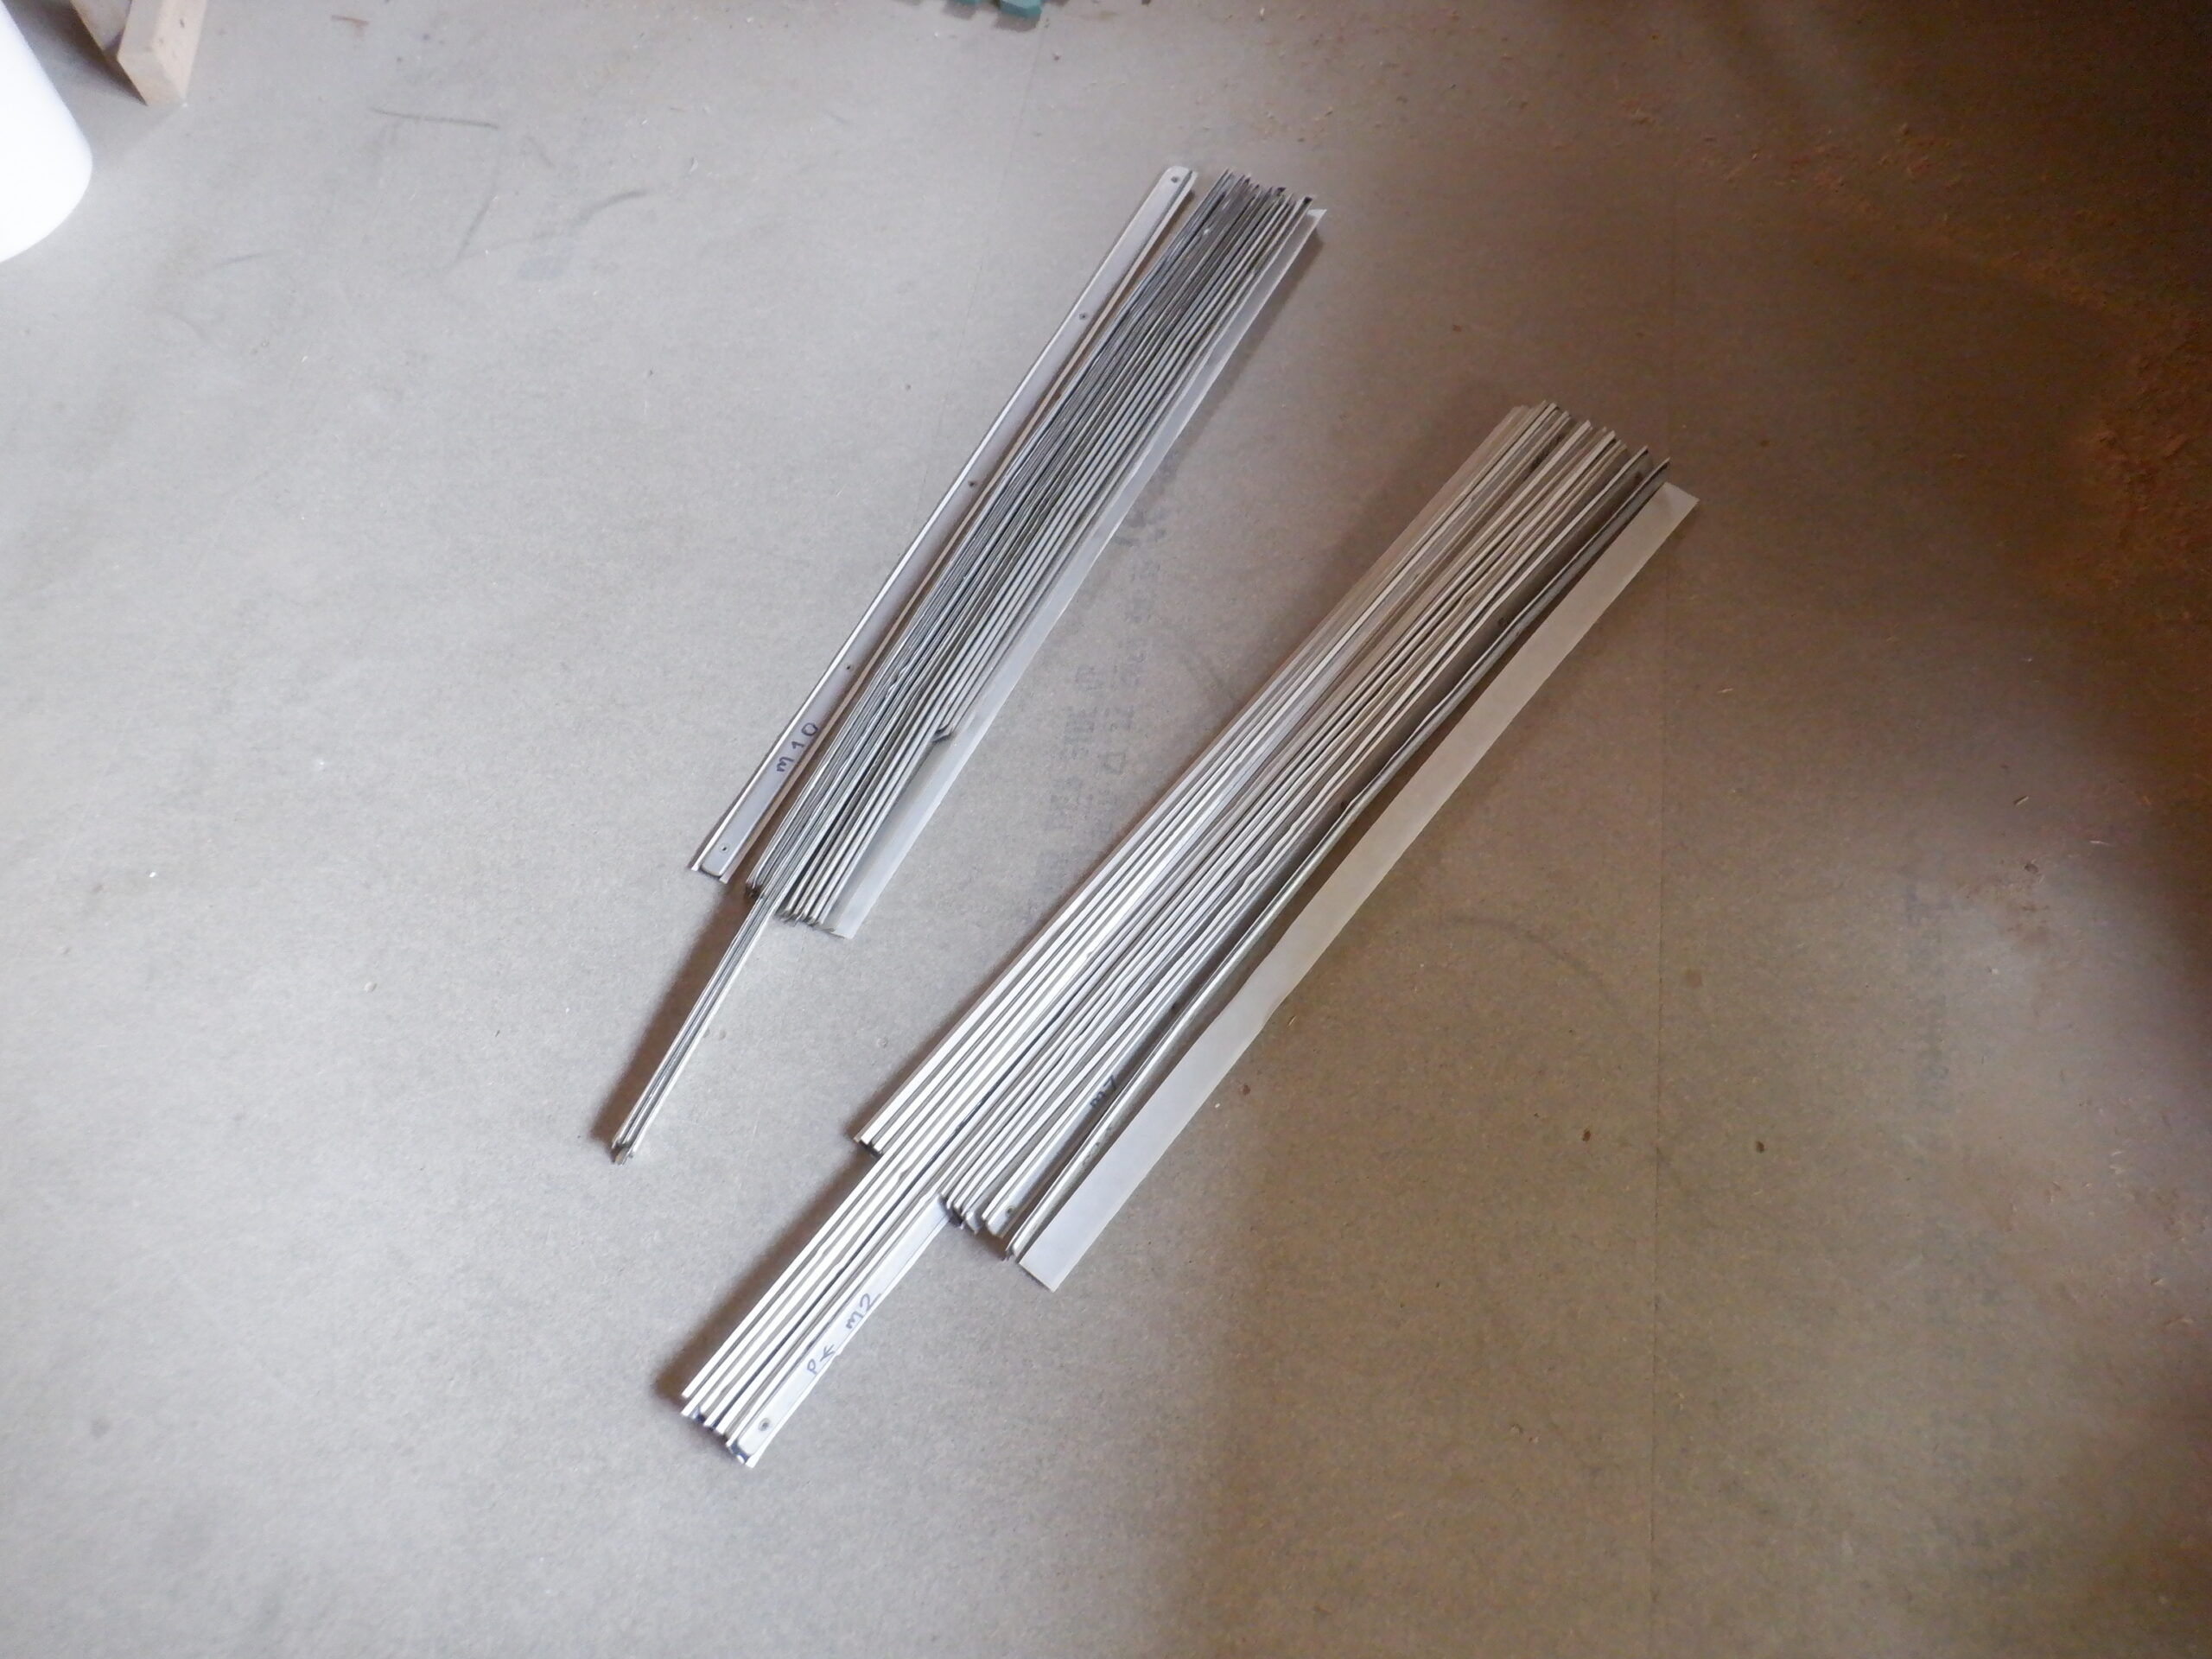
The first job was to undo the bird scarer. This is a set of three thin stainless steel wires stretched down the whole length of the ridge line of the Skylight. We rolled this up on a cardboard tube and then unbolted the brackets and lifted off the rain deflectors, which was in five segments. All these items were brought down to ground level and stored on our swimming lane cover for the short term.
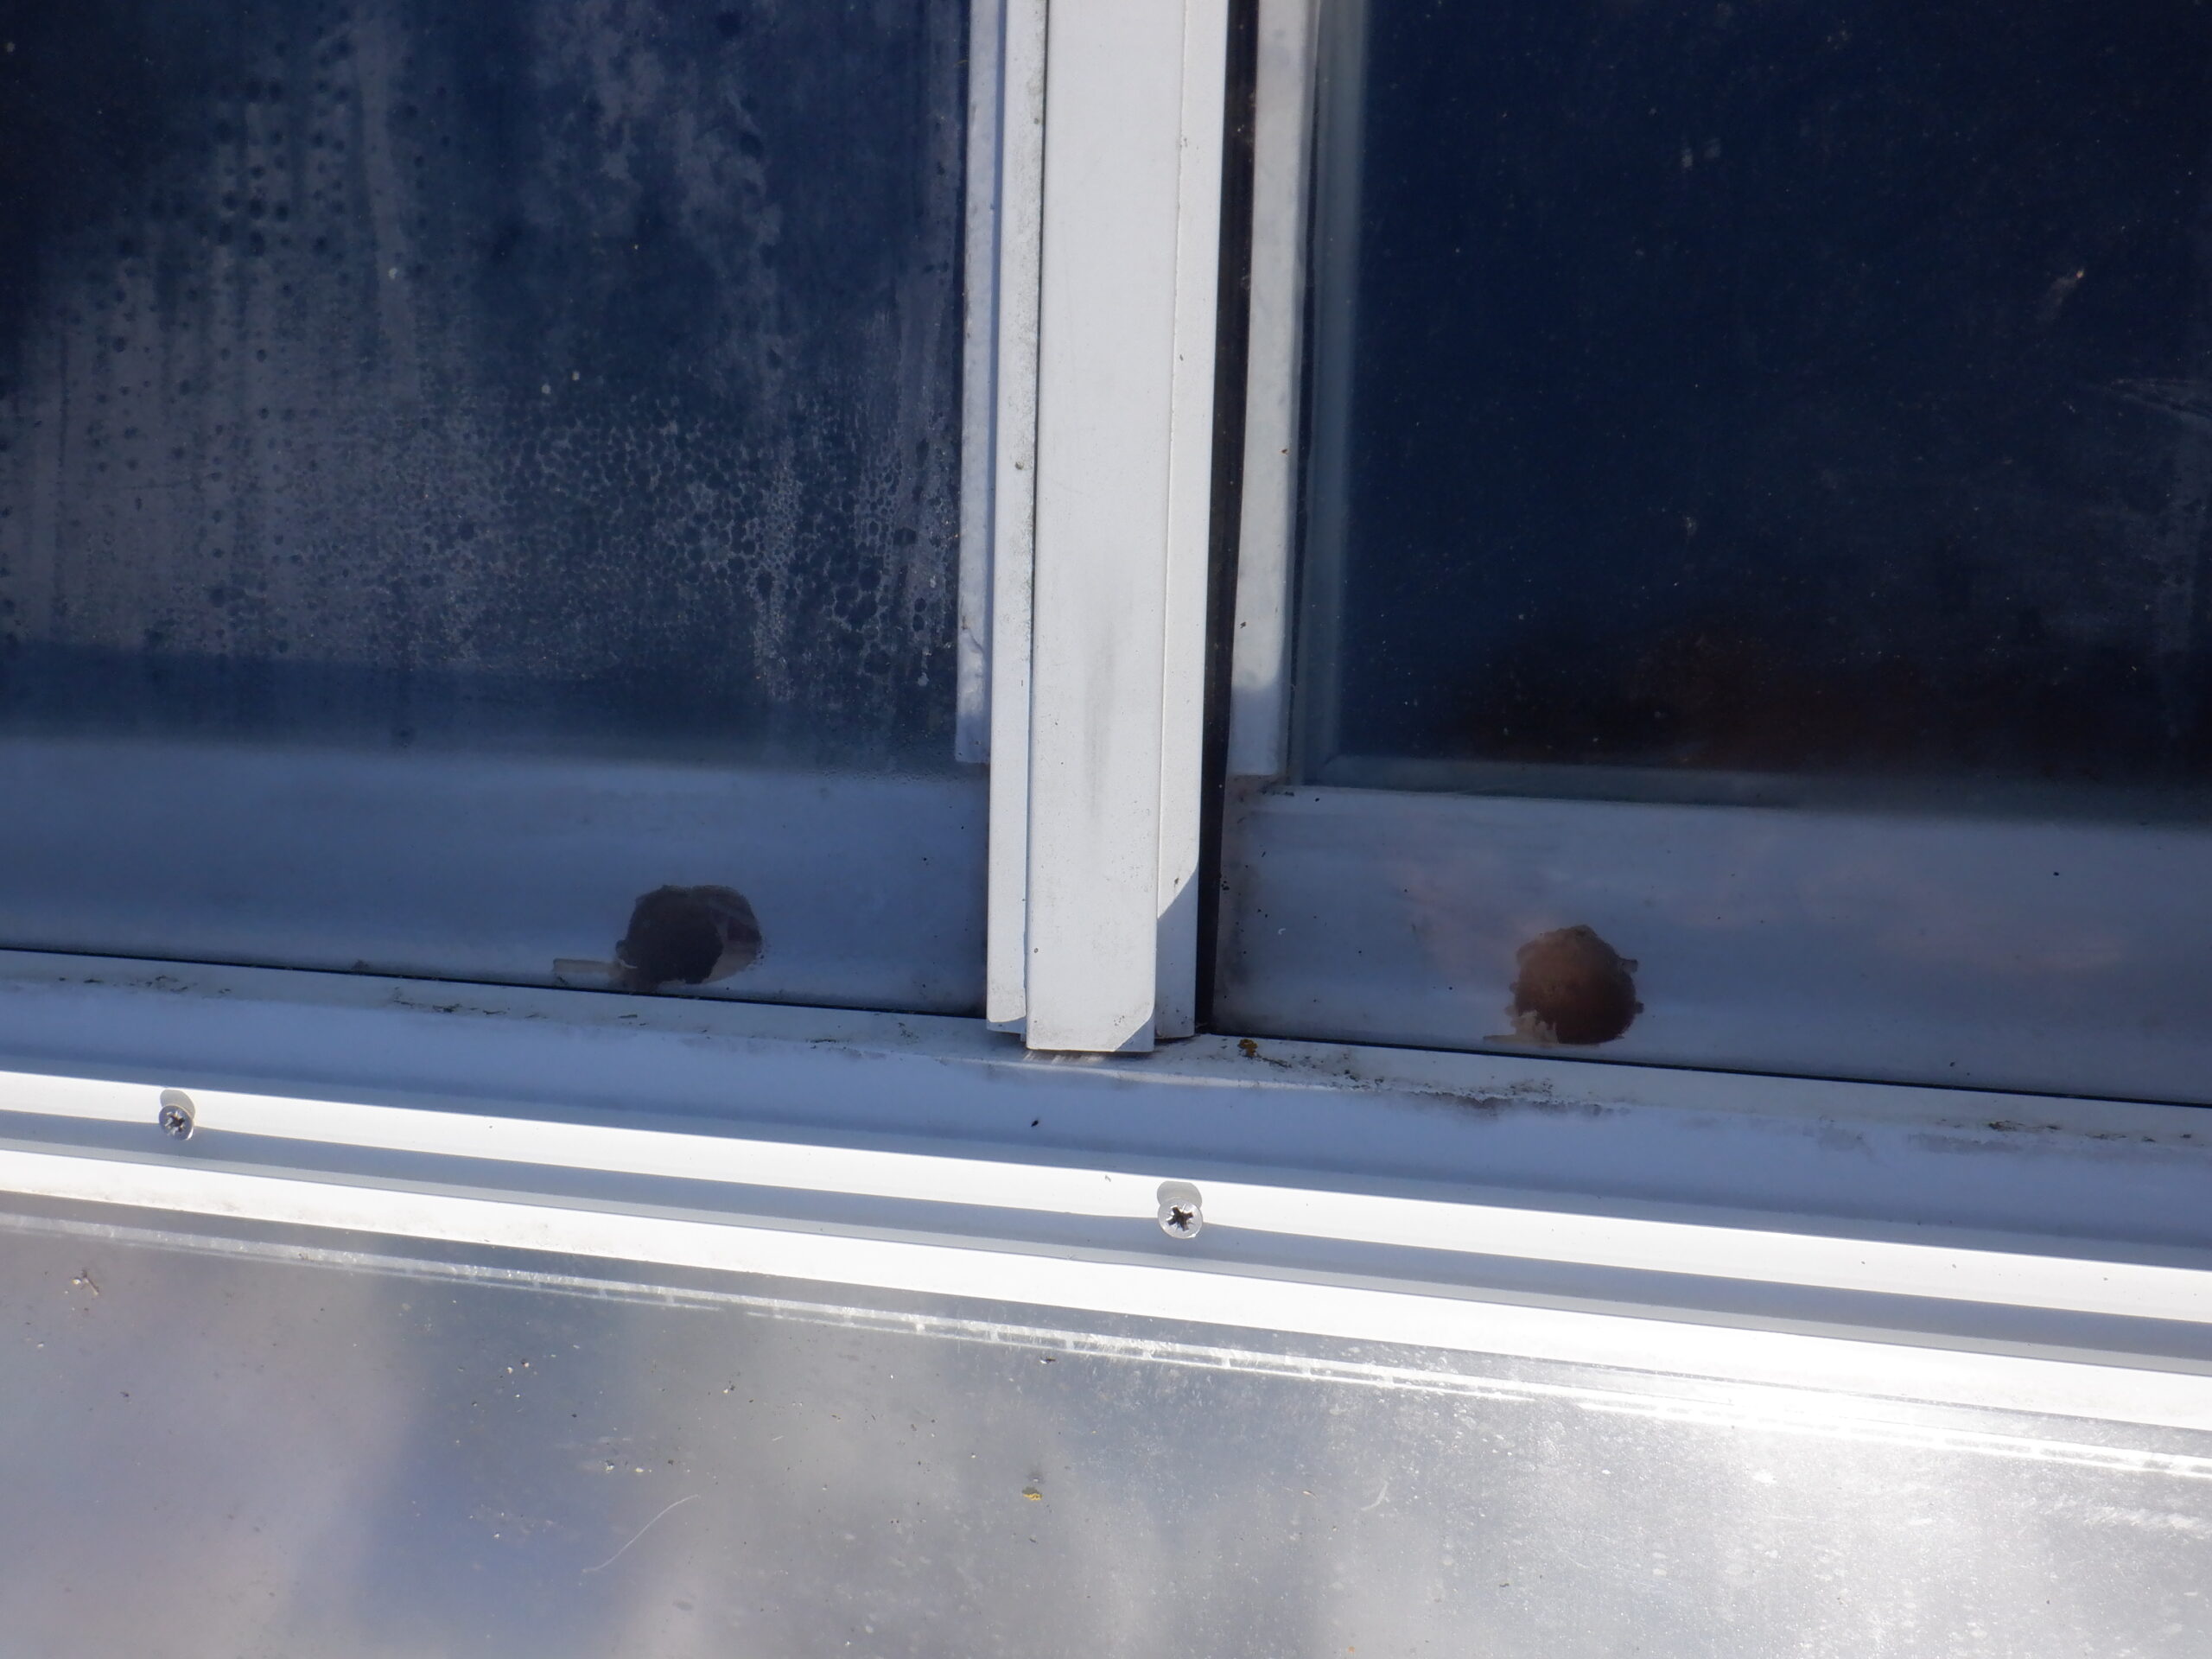
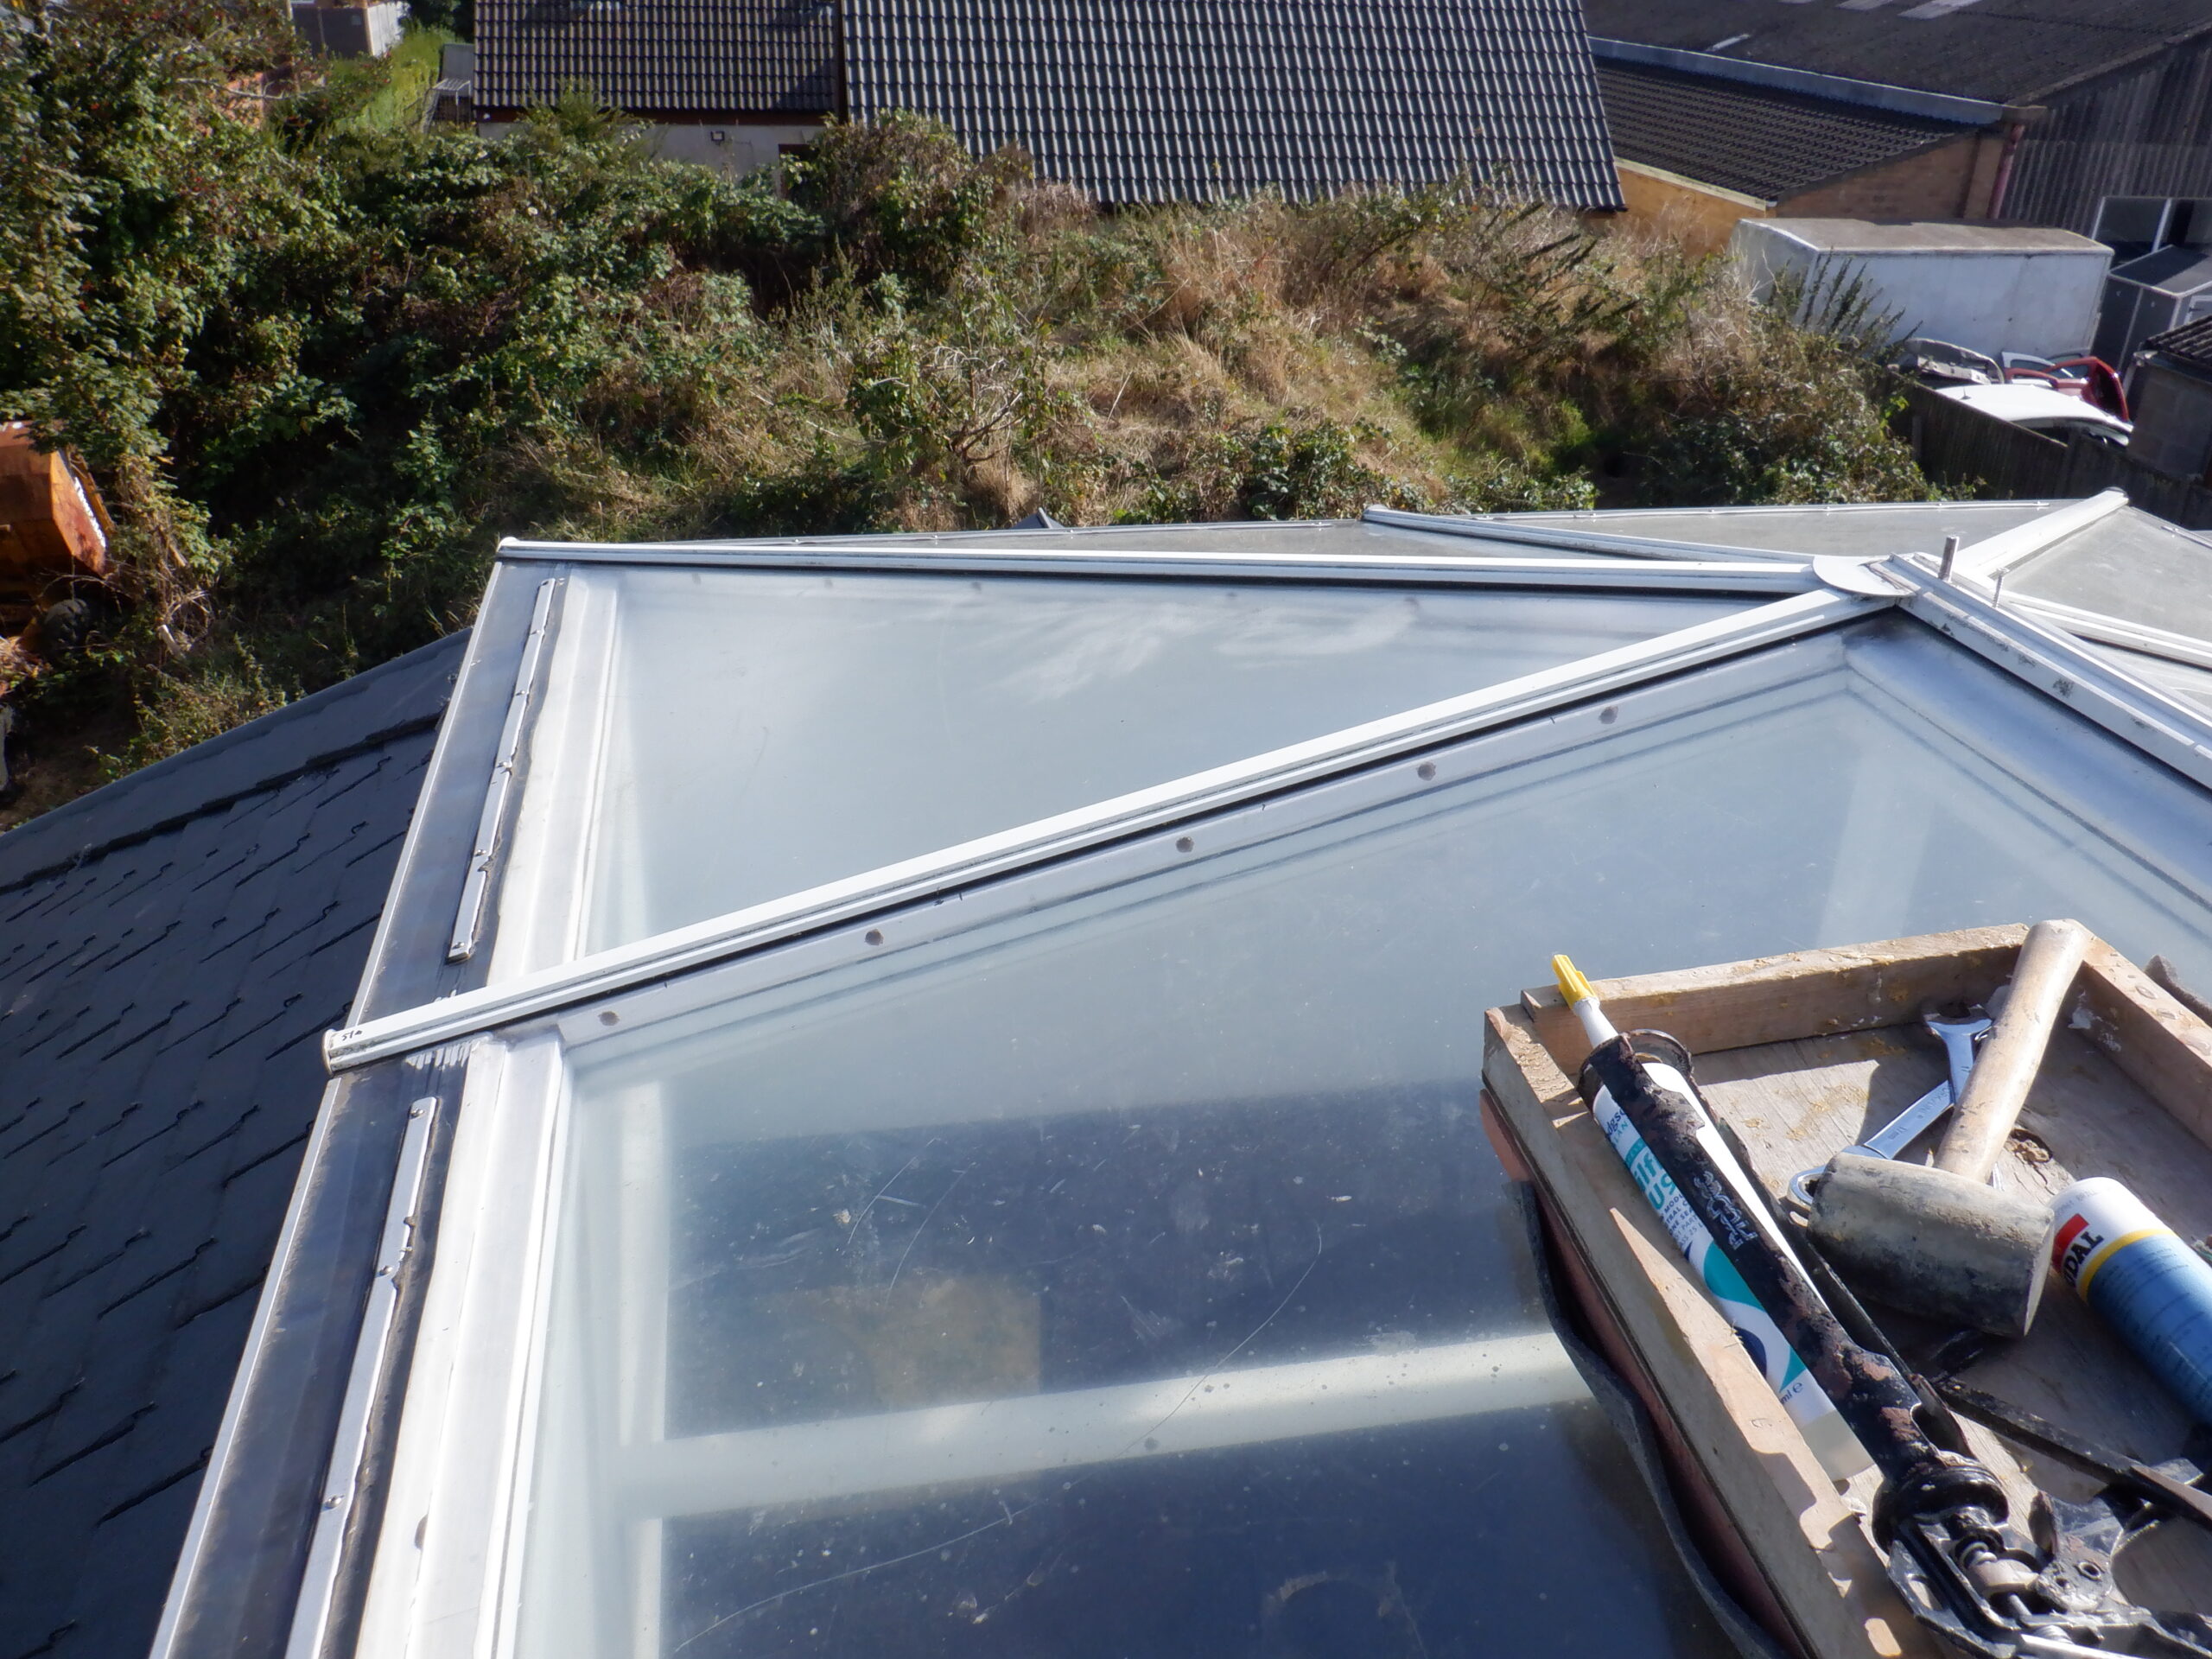
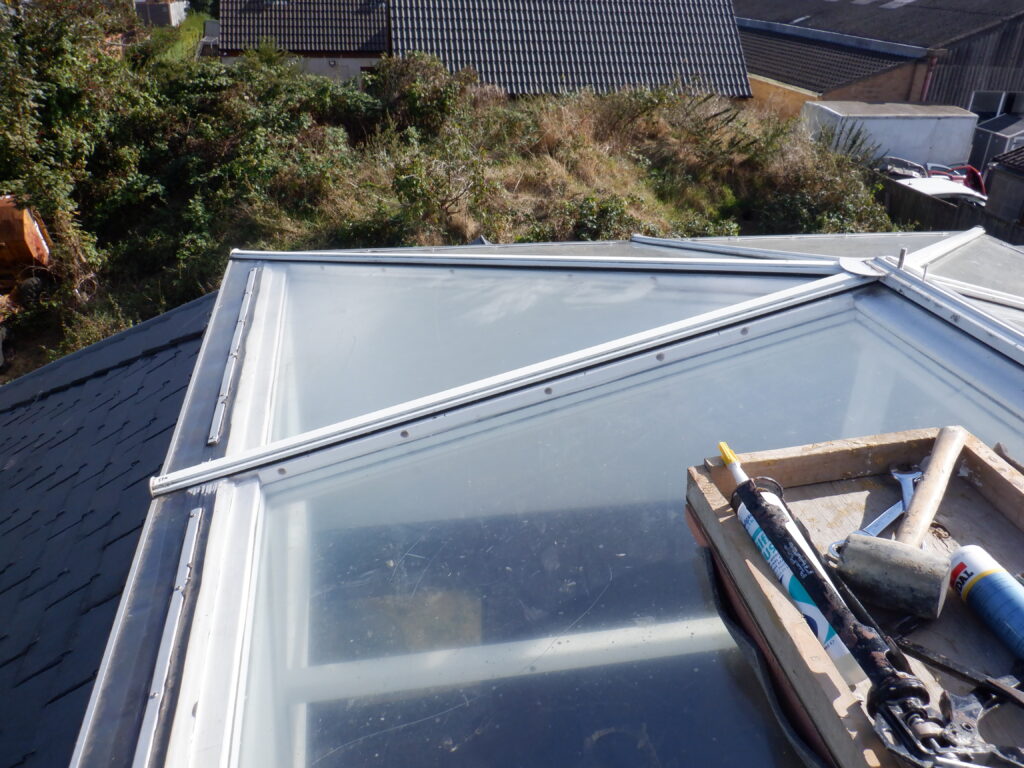
Then, we started on the first Skylight window, which is a triangular one and we undid the clamping bars that are holding down the plastic polycarbonate sheets. Once we got the cover off, we could remove the little aluminium tray of the desiccant crystals (which is now mostly a liquid). We put this into a large rubbish trug we had up with us (it had a couple of bricks in the bottom to hold it against the chance of winds). Then, we washed the desiccant chemicals away with a damp cloth and then tackled the job of drilling holes.
We used a 16mm sized drill bit to make a good air holes.
This first window is different to the other windows because it is a start (or an end) of the sequence of windows that we are planning to allow a flow of fresh air to blow around the skylight. So one side has horizontal holes to connect to the next window in sequence, but, the other edge needed diagonal holes drilled downwards so the air could escape back into the boxing that we will build to cover up the air ducting and solar panels etc. It was all guesswork so we probed by drilling a thin drill through and we can discover where the drill came out underneath. We wanted to miss the solar panel but also avoid coming out on the bottom edge of the joist. We had to be careful because the double glazing unit is sitting right there underneath where we are sitting! BUT, when we changed to the fatter drill bit, and proceeded to drill the larger holes, we must have very slightly clipped the edge of the glass and .. unfortunately .. scattered the whole pane of glass. It was toughened glass so it broke up into thousands of little pieces as it supposed to do. We had few choice words to say out loud !!!!
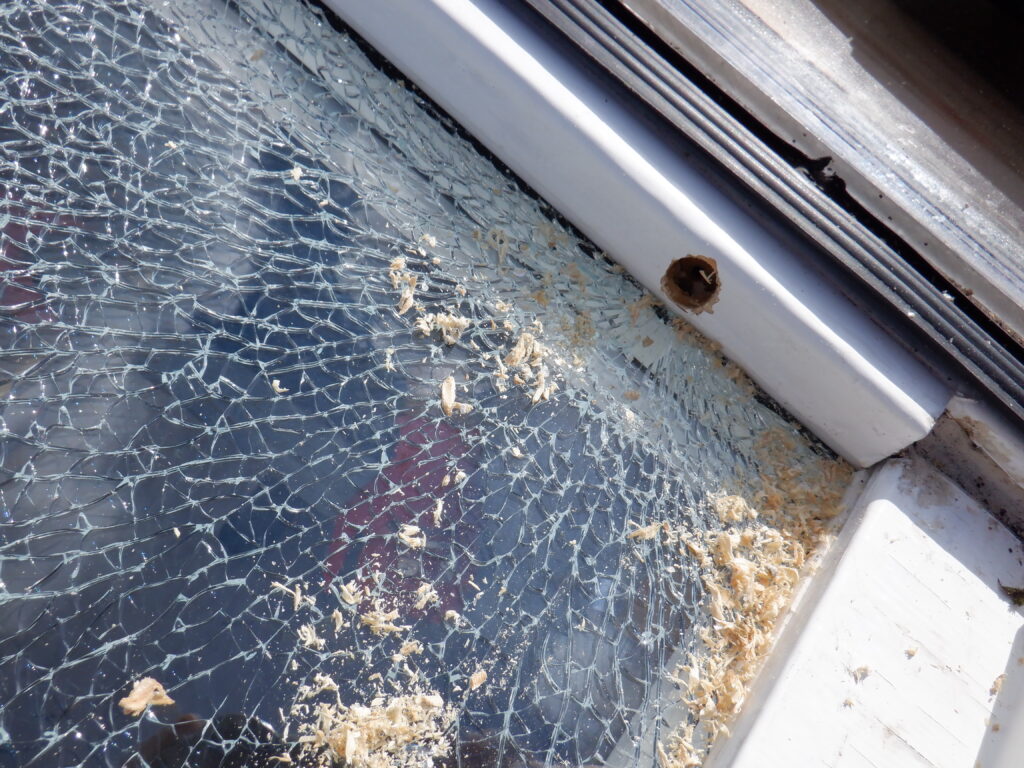
Drilling a air vent and clipped the glass
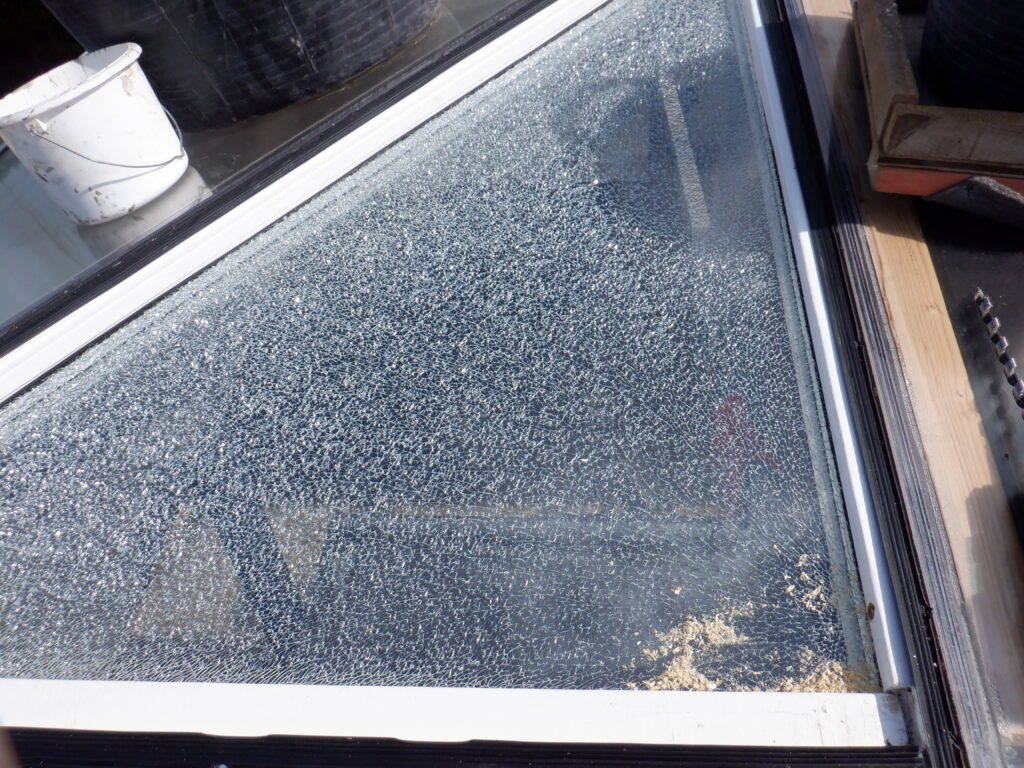
Oops! We broke a window pane
We learnt a valuable, or rather, an expensive lesson! We scooped up all the broken glass into another smaller trug and disposed of that in the recycle bin.
PHEW!
So we adjusted our approach in drilling these diagonal holes and we were able to continue to produce five air holes.
And then, we drilled horizontally on the other side, to connect this window to the next one. We did have to remove the polycarbonate sheet because the drilling angle meant that we could have scratched the plastic as the drill bit came out the other side.
We then vacuumed up the wooden mess and and put back the cover, all the while in trying to minimise other dust and bits being blown in the wind. It was tricky. But, unfortunately, we discovered later on that our new air holes themselves actually allowed some of the wooden rubbish to be blown backwards into the previous window so we realised that we couldn’t rely on getting each window perfectly clear so we decided that we would have to perform a final vacuum on the return trip, once we got to the very end of doing all the windows, all twenty-two of them!!

Drill holes to join up the window spaces
As you can imagine, it was a slow job in opening up one window at a time, removing the desiccant tray, cleaning, drilling holes, vacuuming the dust and then putting the cover back on. Including screwing the clamping bar back down with two screws (there were six or seven screw in total) and then moving on to the next window. We were using our foot rests so they needed to be moved along as well. Plus, on top of all that, we would get the occasional rain shower, which meant that we had to quickly cover things up and wait. Sometimes, we lost a whole day because of little rain showers coming and going. Phew!
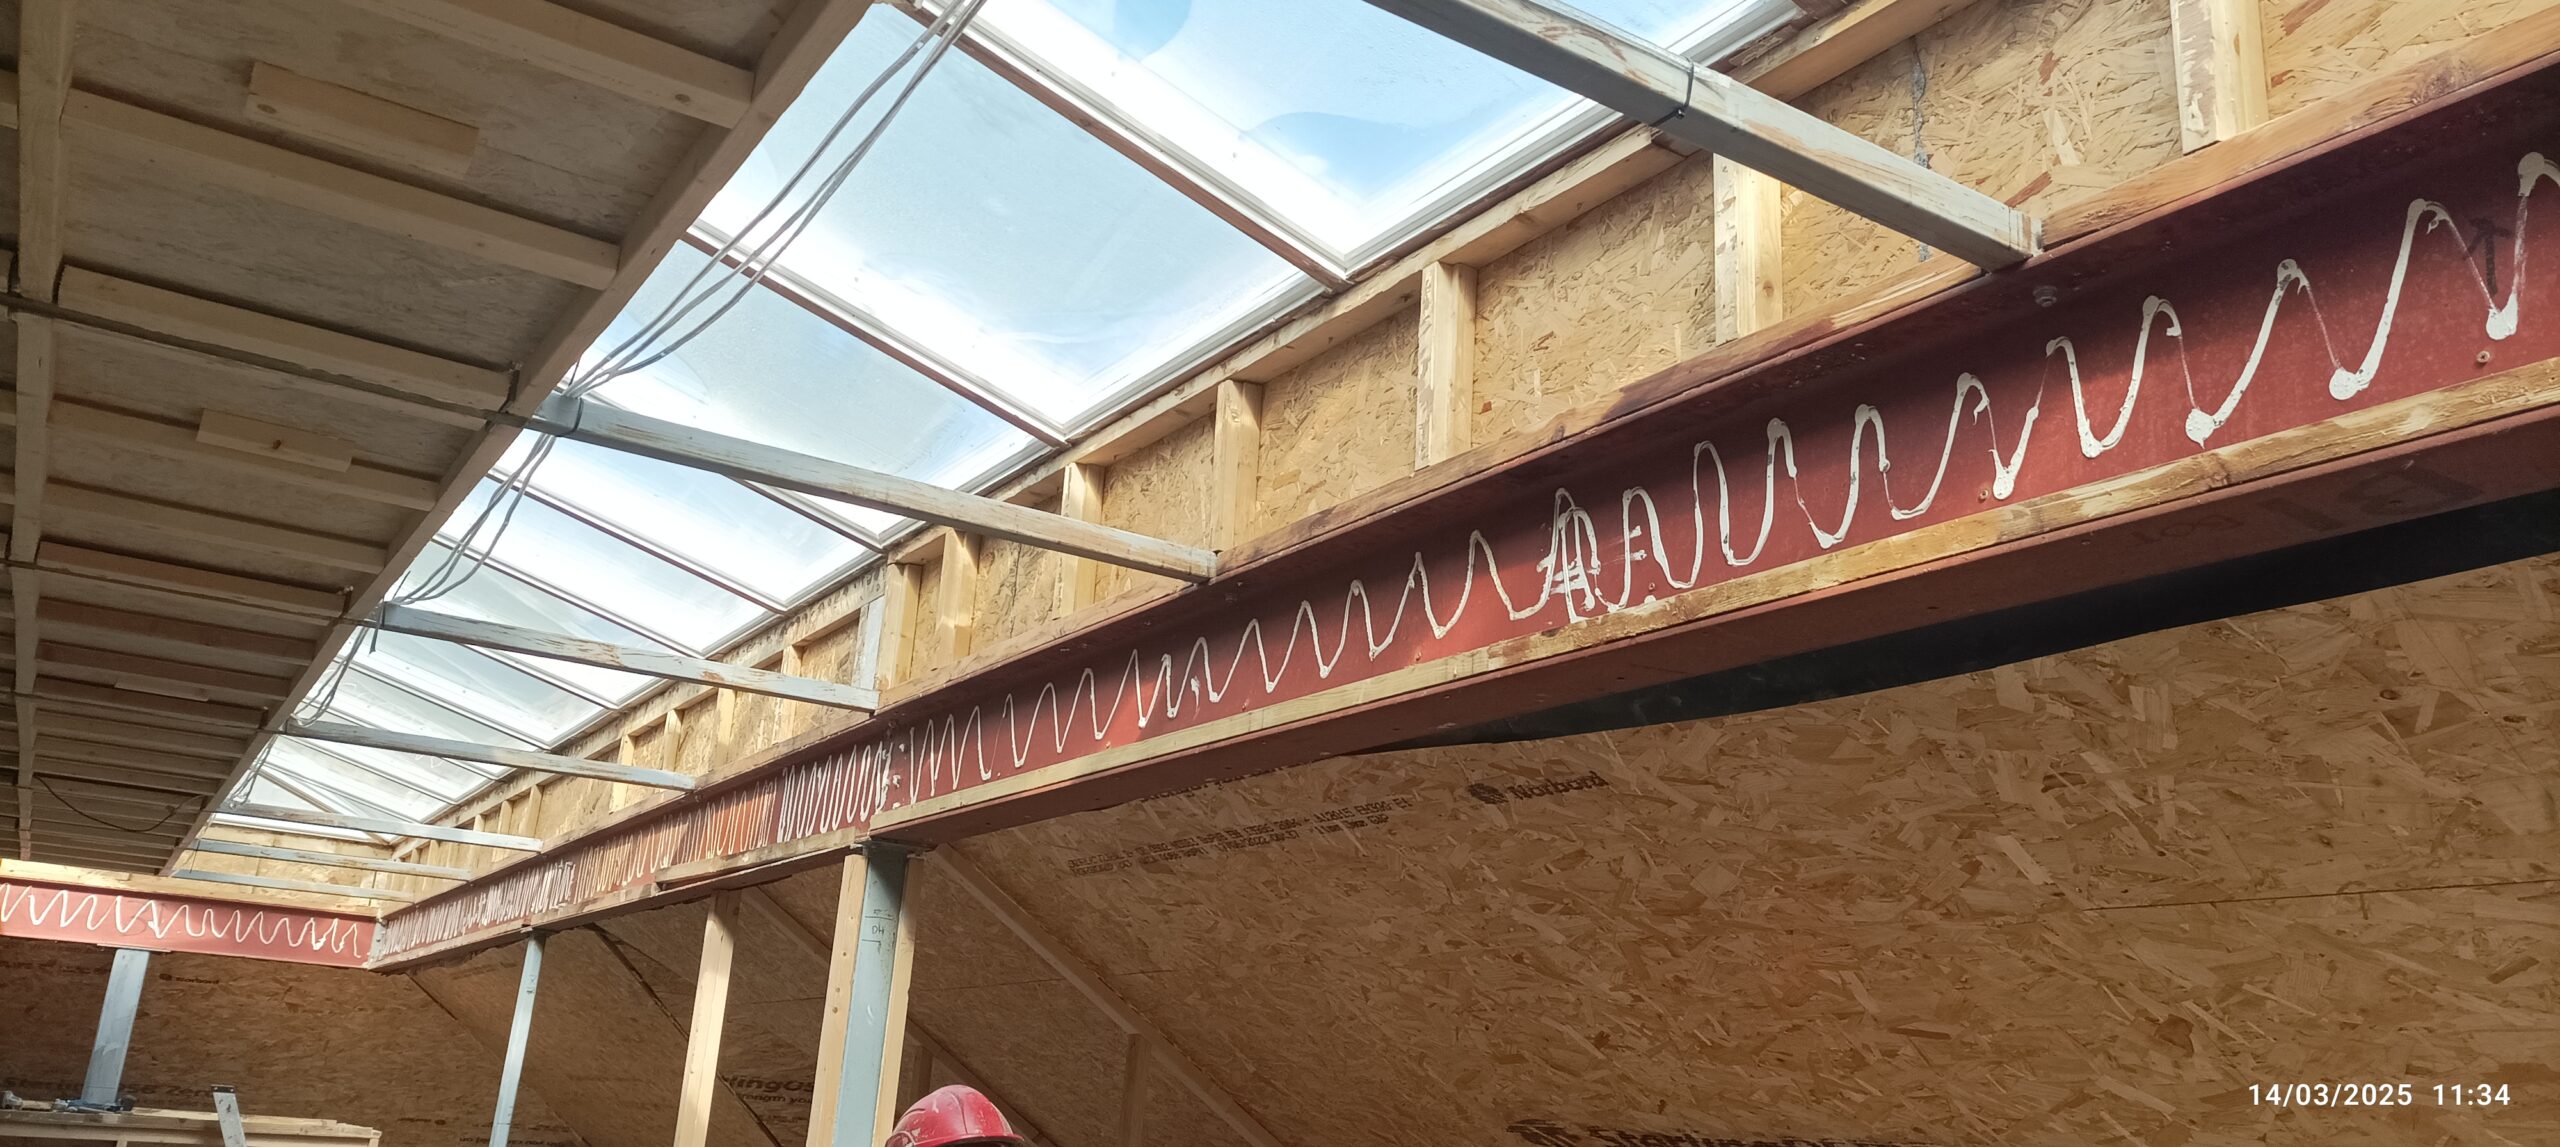
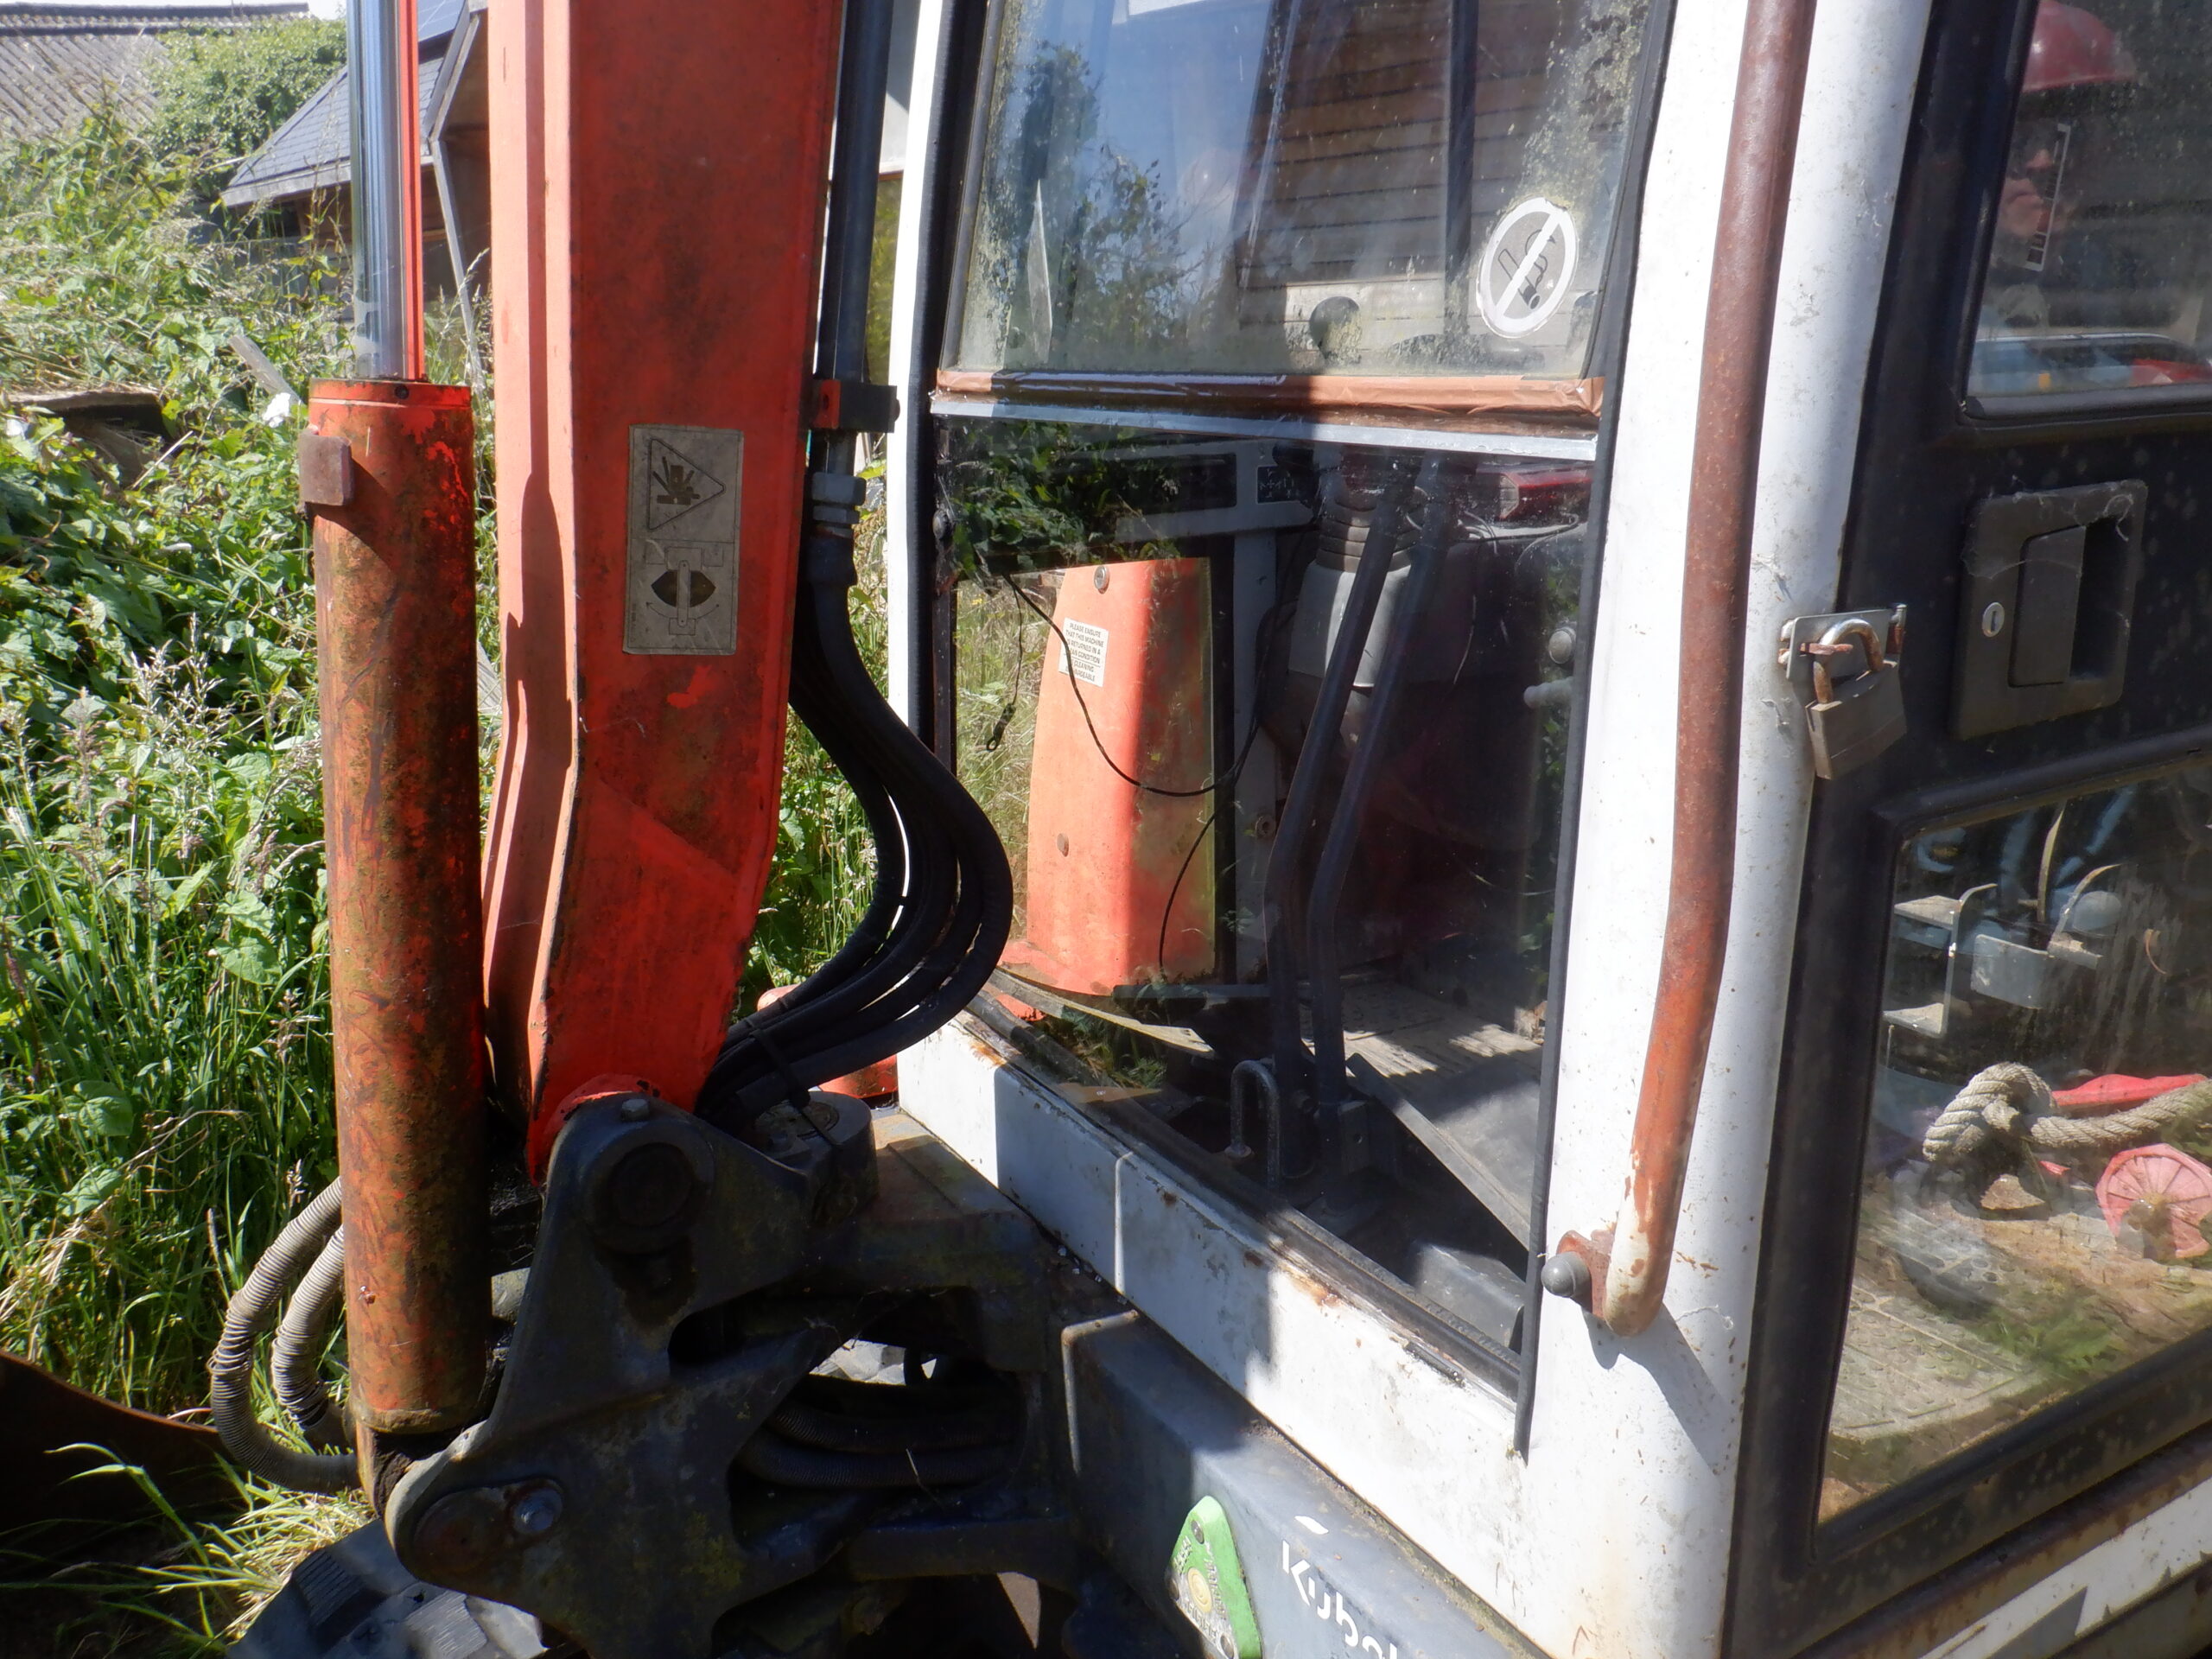
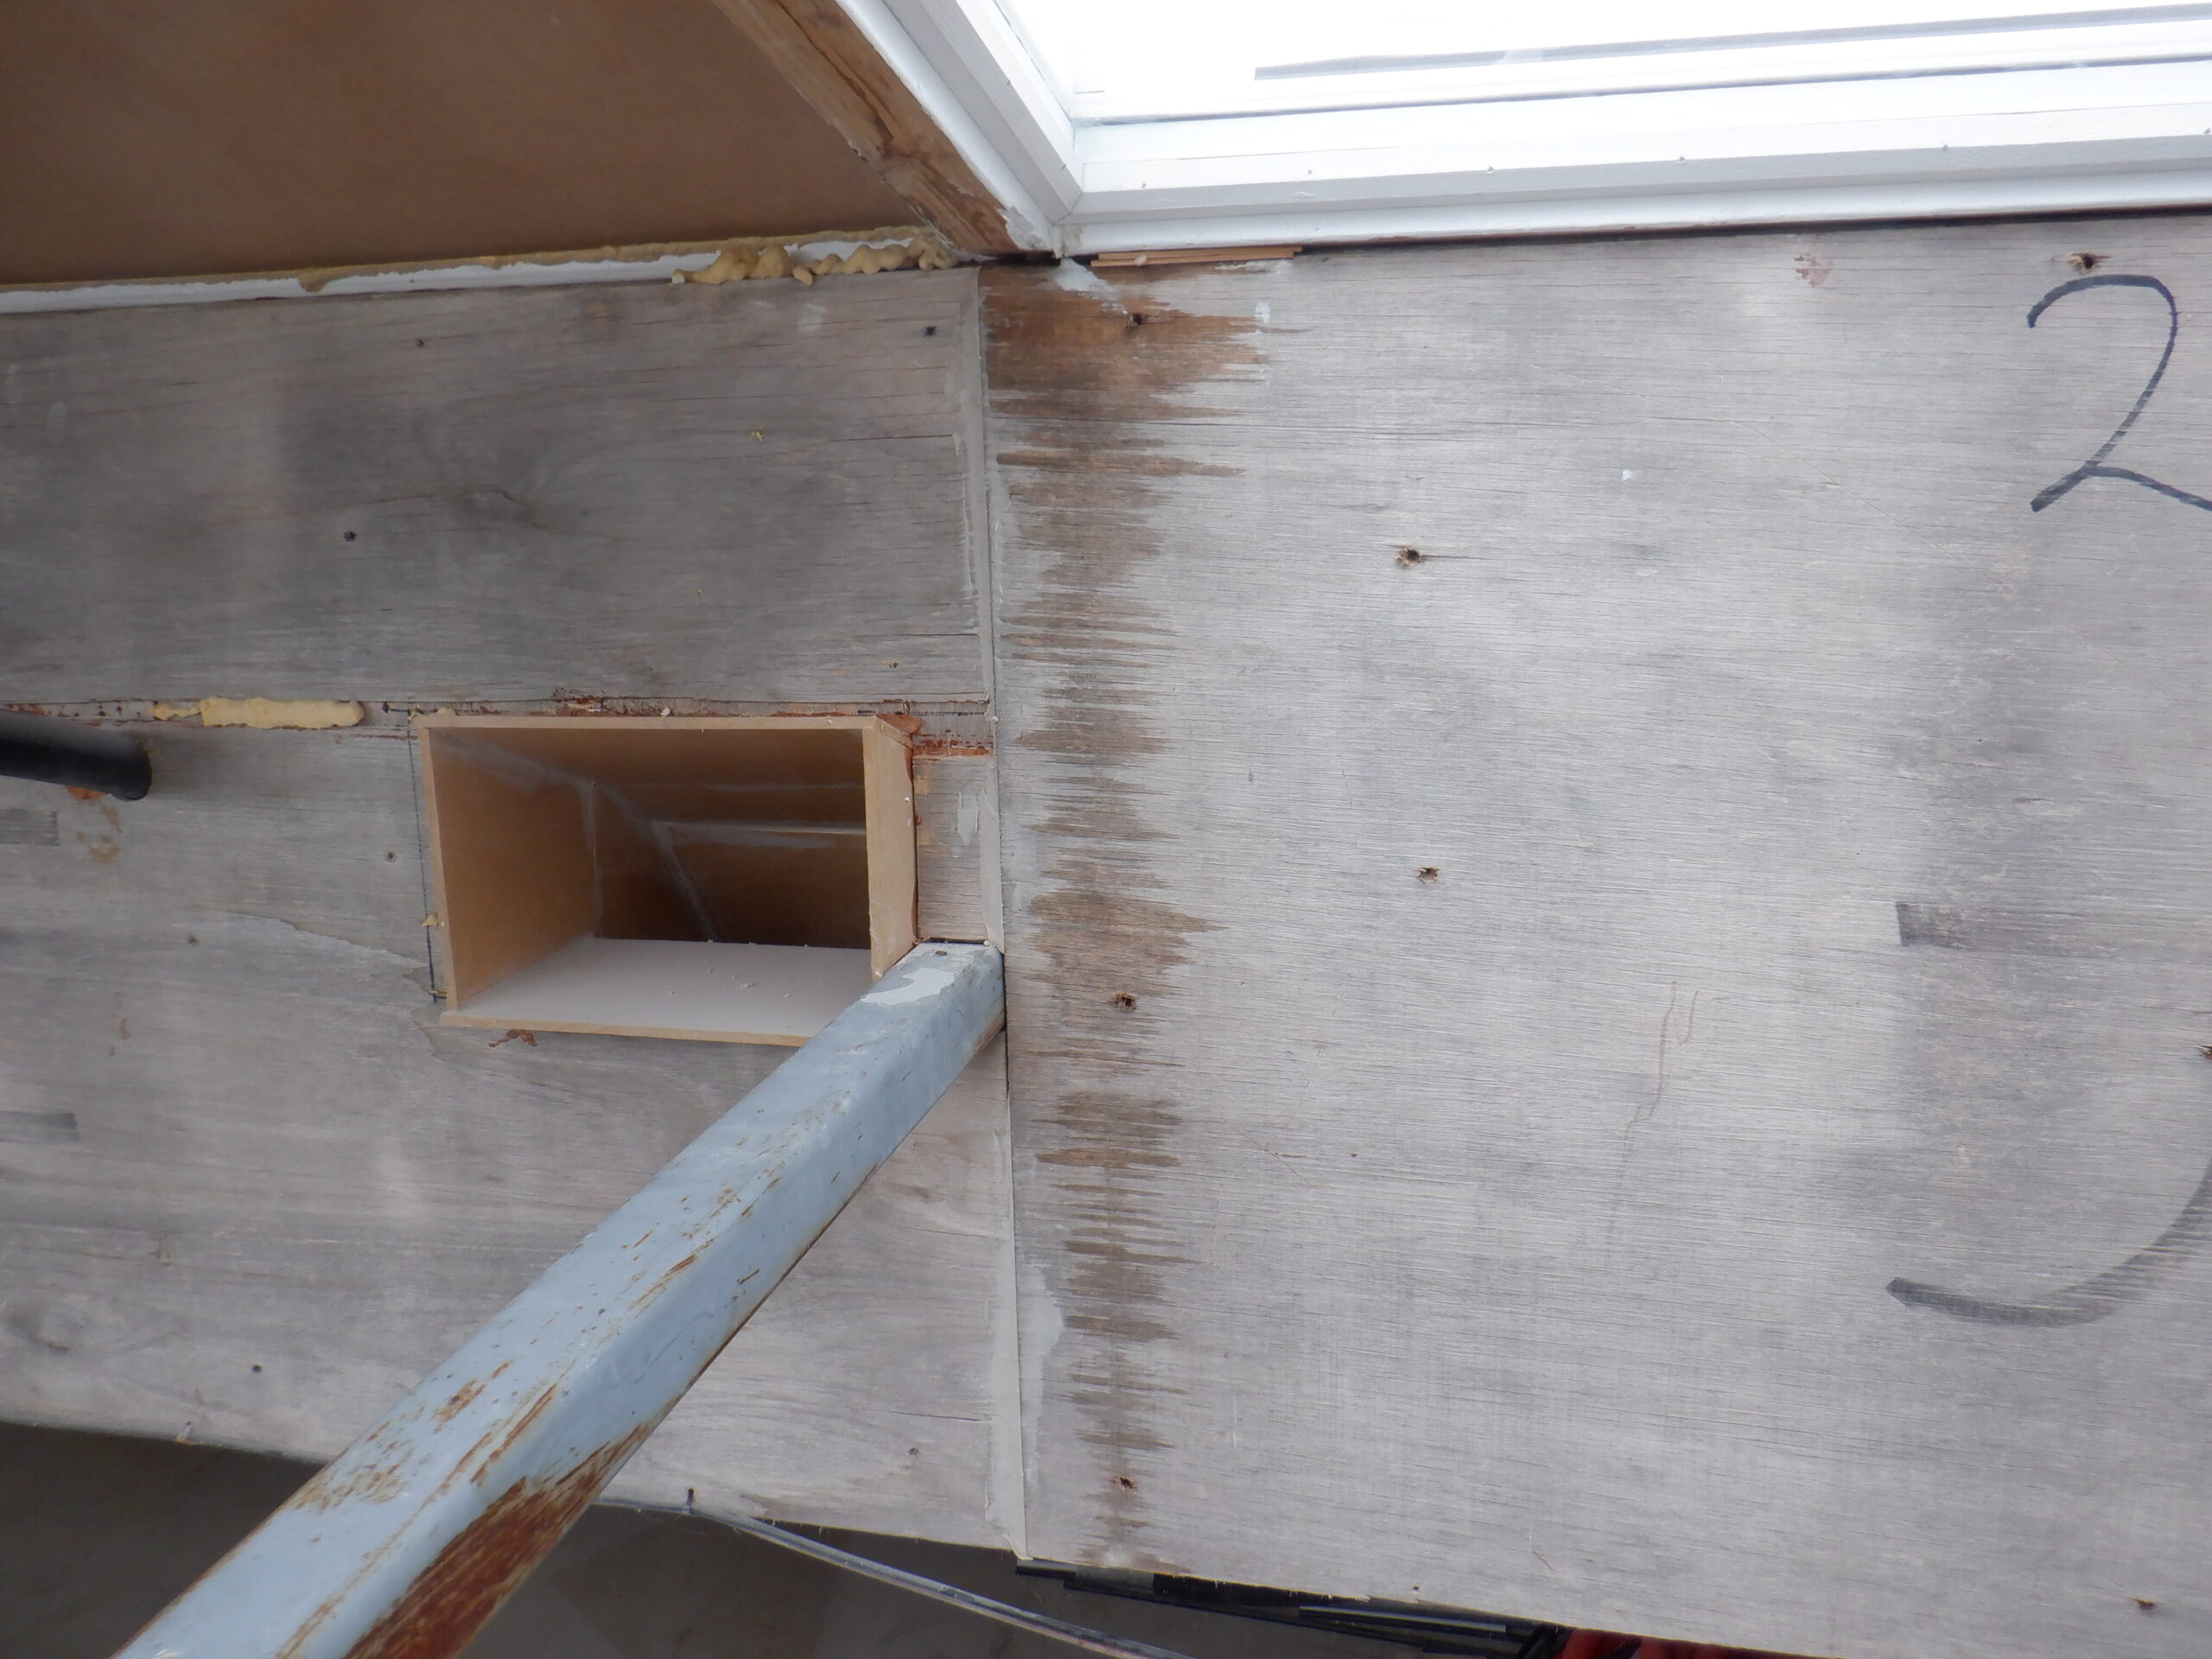
One different occurred for the middle set of windows, right over the staircase, because this is where we needed to provide a much larger single hole for the fresh “dry” air to get into this thin gap in the first place. We took the advantage of this situation over the staircase because there are two slightly narrower window modules so these became the beginning of the “circuit” for the fresh air to travel around all the air holes. So we drilled a large 25mm wide hole diagonally down through the central ridge beam, two of them, one for each of these windows. They popped out just below the solar panel as well, ready for tubing to be connected from a fan. More later.

Holes through the ridge beam into skylight box
Re resumed doing the rest of the windows, going towards the Great Room and arrived at the final window before the start of the solar panels. Here we had to drill another set of diagonal air holes like last time .. but we were very careful and got five holes done without mishaps this time!!
So after we had removed all the trugs of aluminium bars, dirty water and cloth and most of the tools, replacing them with the vacuum cleaner and one or two tools like screwdrivers, we started our return trip. We opened each window up in turn, vacuumed the last pieces of sawdust and put in plenty of glazing sealant on the joints of the rubber seals and then laid the cover back on and this time put all the screws back in the clamp bars. We put more sealant at the top of the clamp bars before putting the rain covers back on.
We made steady progress, working our way back along the whole Skylight and in a few hours, got back to the beginning again.
Nearly done
The final job was to remount the central ridge rain deflectors and then unwound the three thin wires back along the ridge and bolting the “arms” back into place to pull tight the wires.
We have finished the external work of this task so we took everything back down again including the three foot platforms, a rain tarpaulin cover that we had tied a brick in each corner but we never got to use! We then carefully lowered the heavy ladder and put that away too. the final tidy up job was to disassemble the two platforms and return them to the storage stack in the swimming lane.
Oh yes, one of the things we did while we had a platform assembled, was to do a repair job on the Front Porch roof. We had a slate split along an unseen fault line and half the slate had slithered out and a little way down the slope. The slate in question forms part of a line protecting the hip ridge line, on the right side of the porch. So we anchored the platform underneath the spot and proceeded to remove all the slates above the broken one, all the way to the top and levered them off their copper nails. We did end up breaking a couple more slates because the copper nails were ring shank types and really were stuck in the wood. We even broke the large central piece at the top as well! But, fortunately, we had a couple of spare large slates (measuring 300mm square). We then replaced all the slates again, including the new slates and nailed the final central slate back at the top.

Repairing a broken slate on C roof Hip
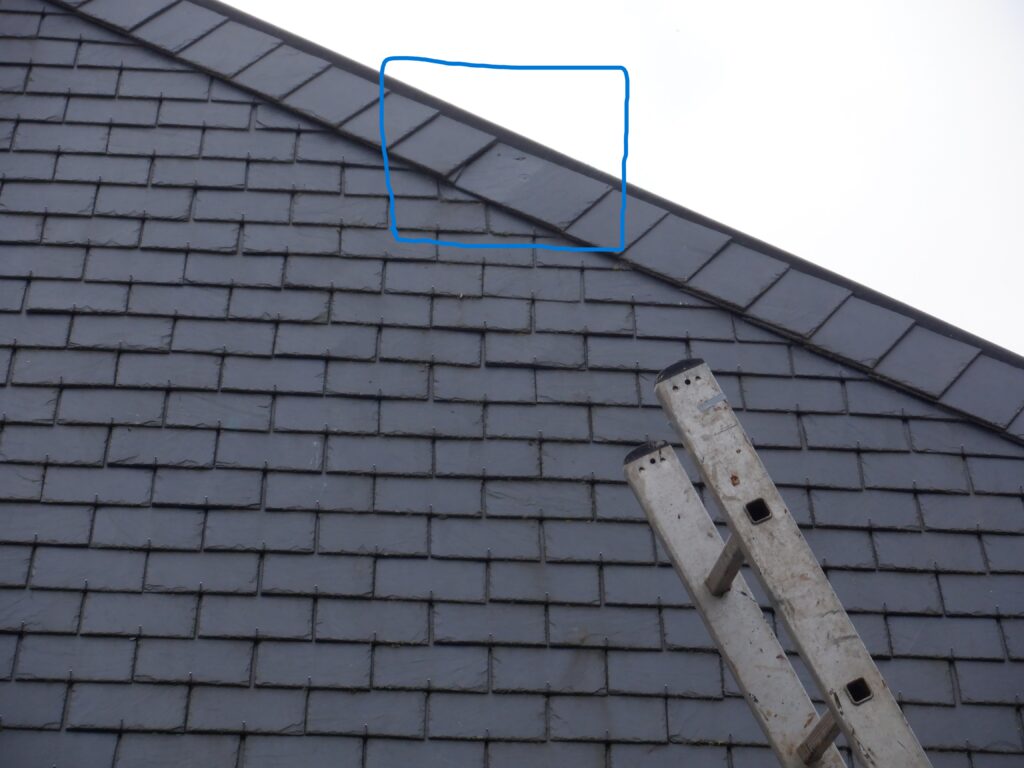
This the the broken one
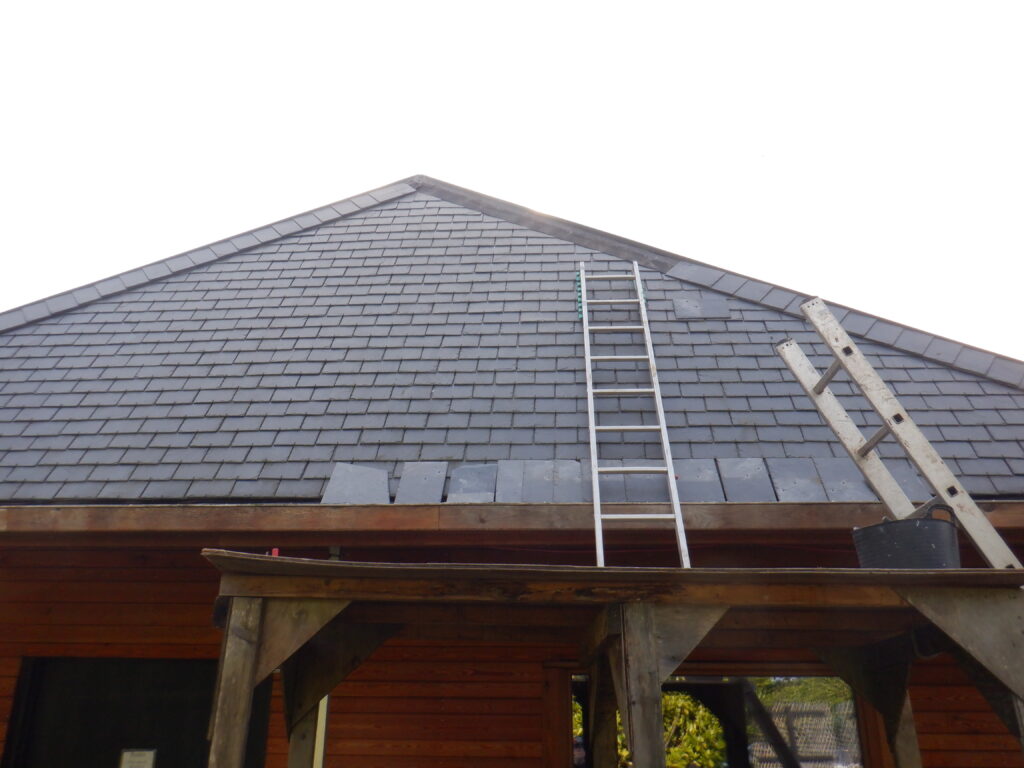
Slates removed to the top
C roof All repaired
That concludes all the outside work but one of the consequences, is that we have scratched the polycarbonate plastic sheets up there and we will have to spend some future time to polish the scratches out, but when it is better weather and warmer!!
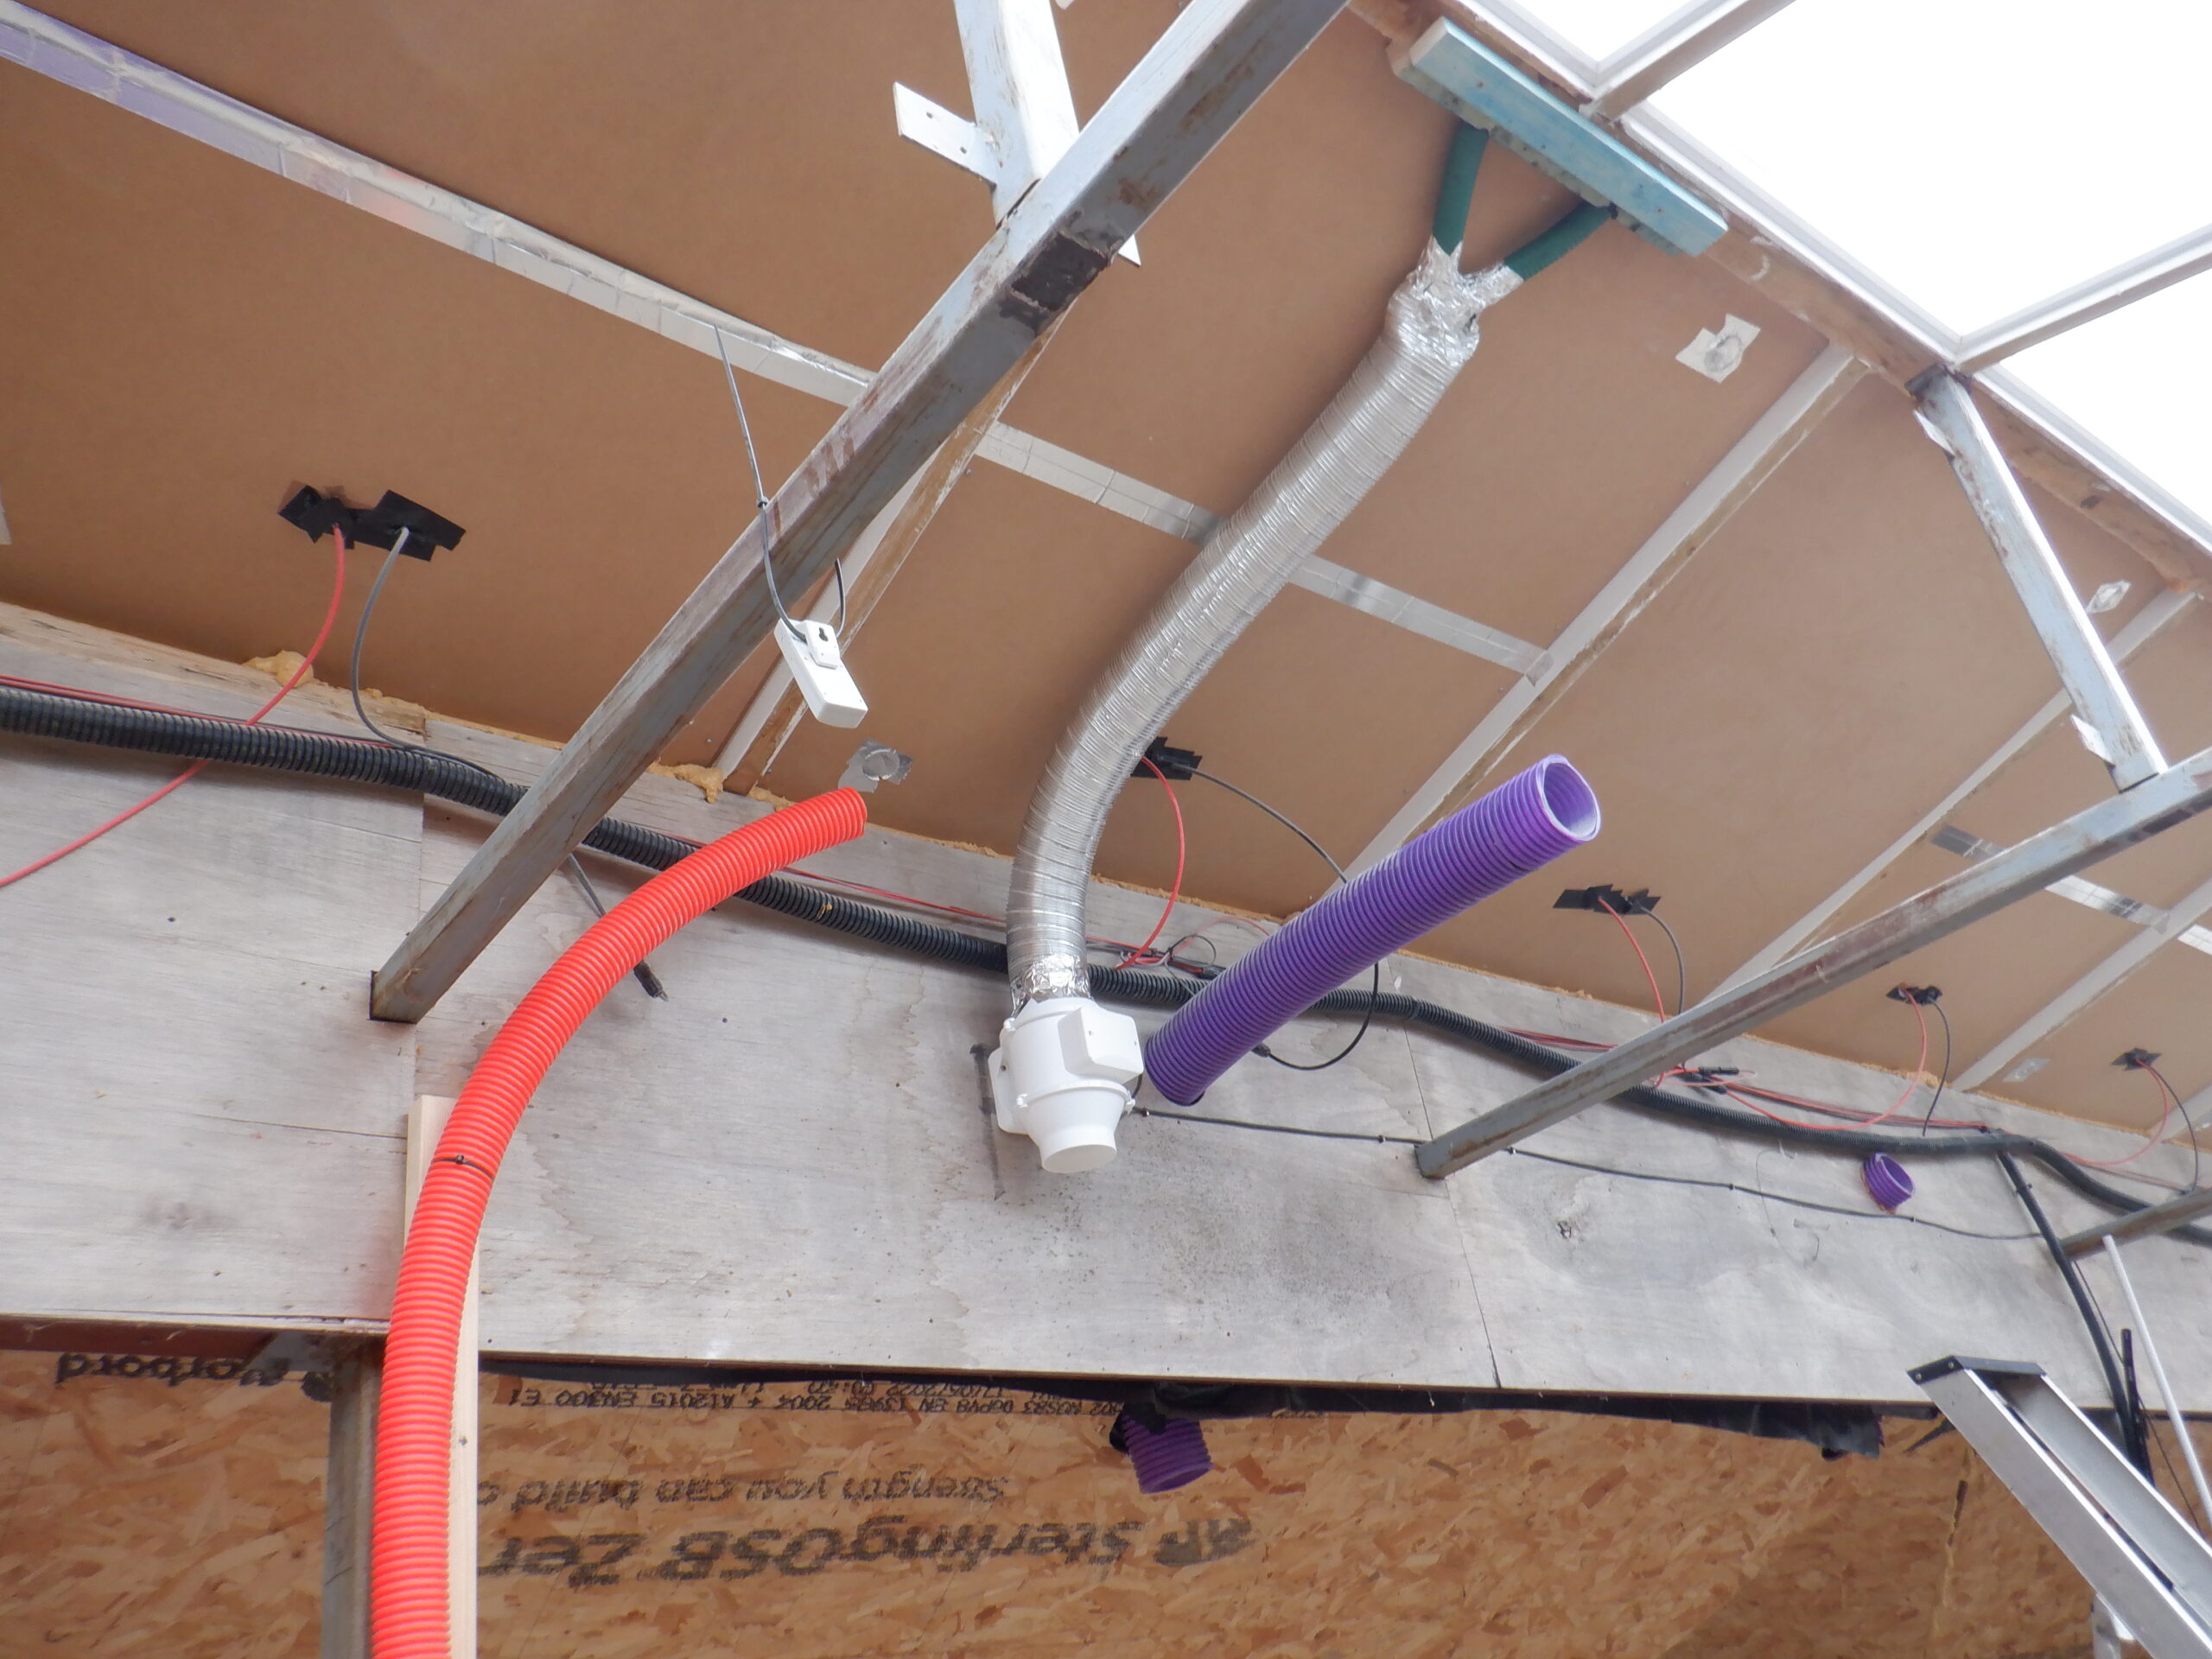
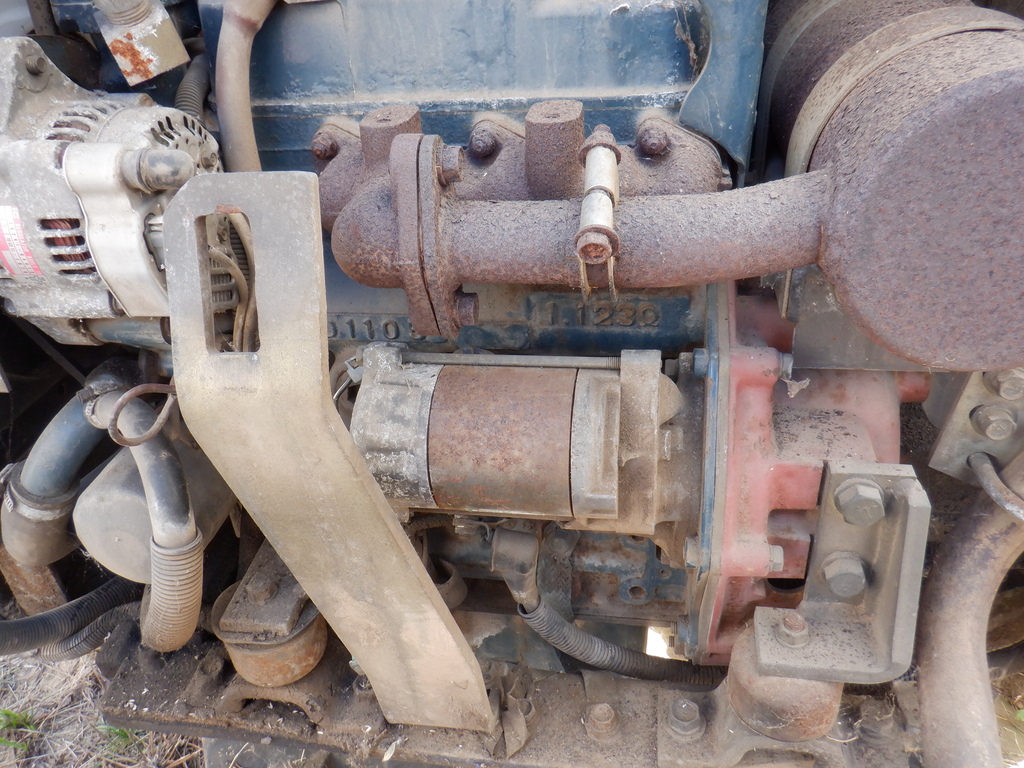
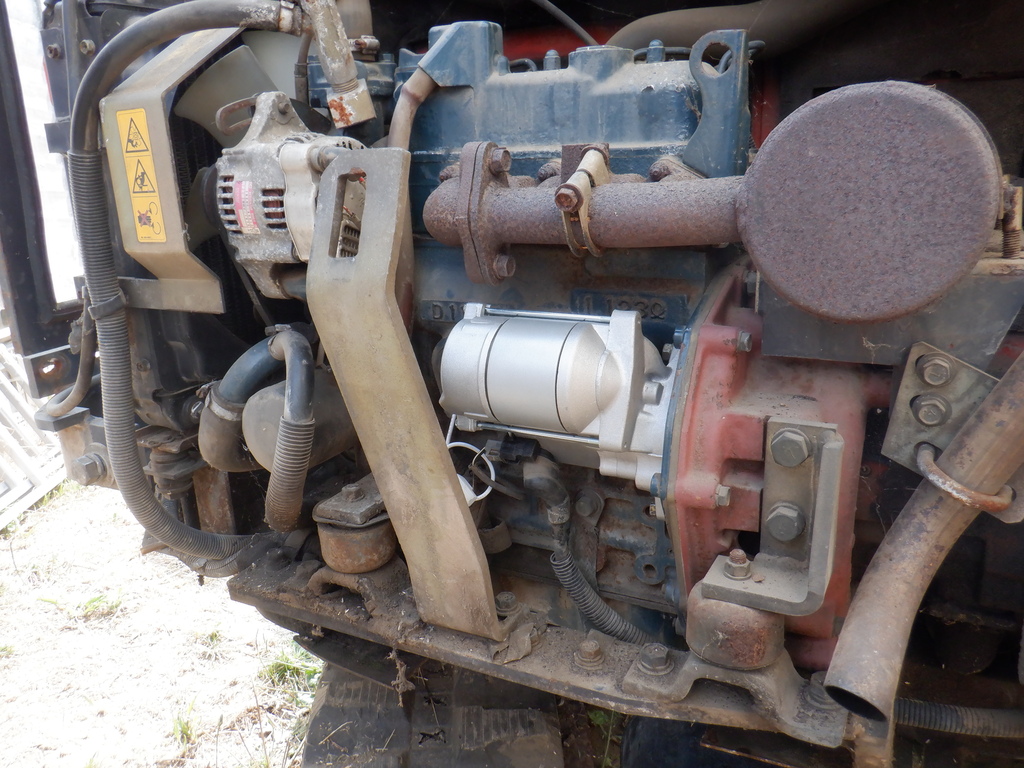
We just needed to finish this particular job by installing a small fan we ordered off the web, connect it to a length of flexible aluminium “stretchable” 100mm pipe, which in turn got squashed down into two separate smaller flexible pipe that then plugs right up through the two big holes we drilled through the ridge beam. The fan is currently just plugged into the mains socket by hand when we can see that the Skylight needs blowing out, to evaporate the condensation accumulating up there. But, eventually, we will automate this process so that a timer will control when to run the fan and for how long. And possibly, detect the humidity levels up there and switch the fresh air supply on and off automatically
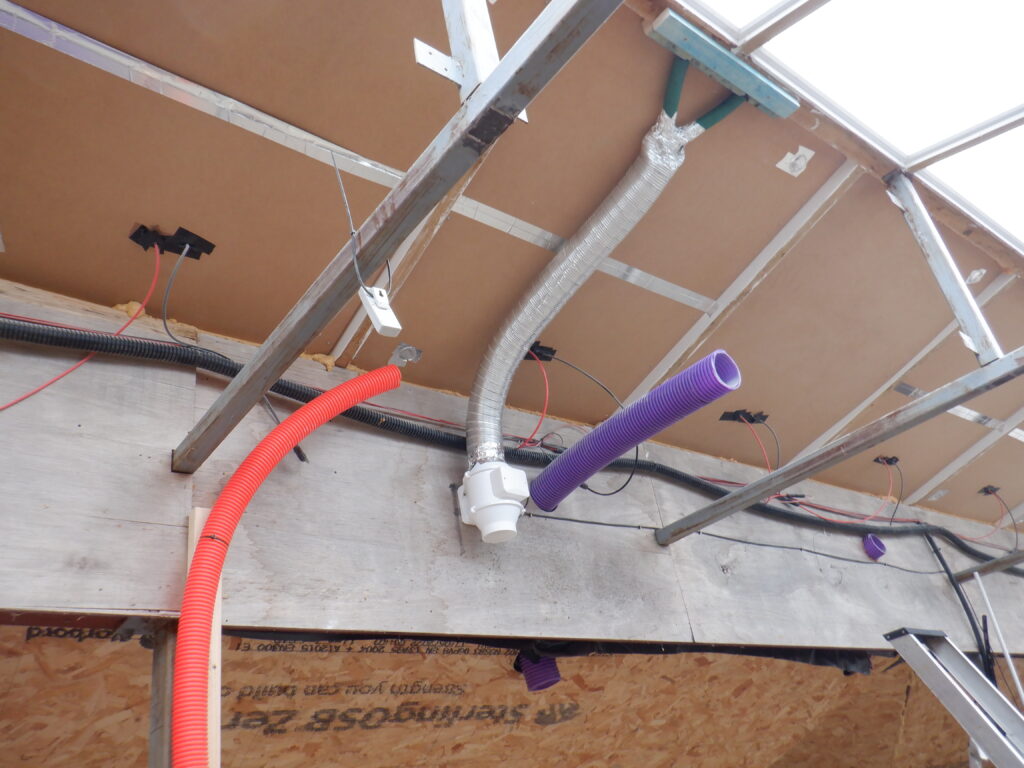
Fan to ventilate the skylight glazing gap
This concludes this necessary work, in correcting a poor design choice we made at the start. We will have to live with this. But, it is now sorted!