Sklight first leak sign
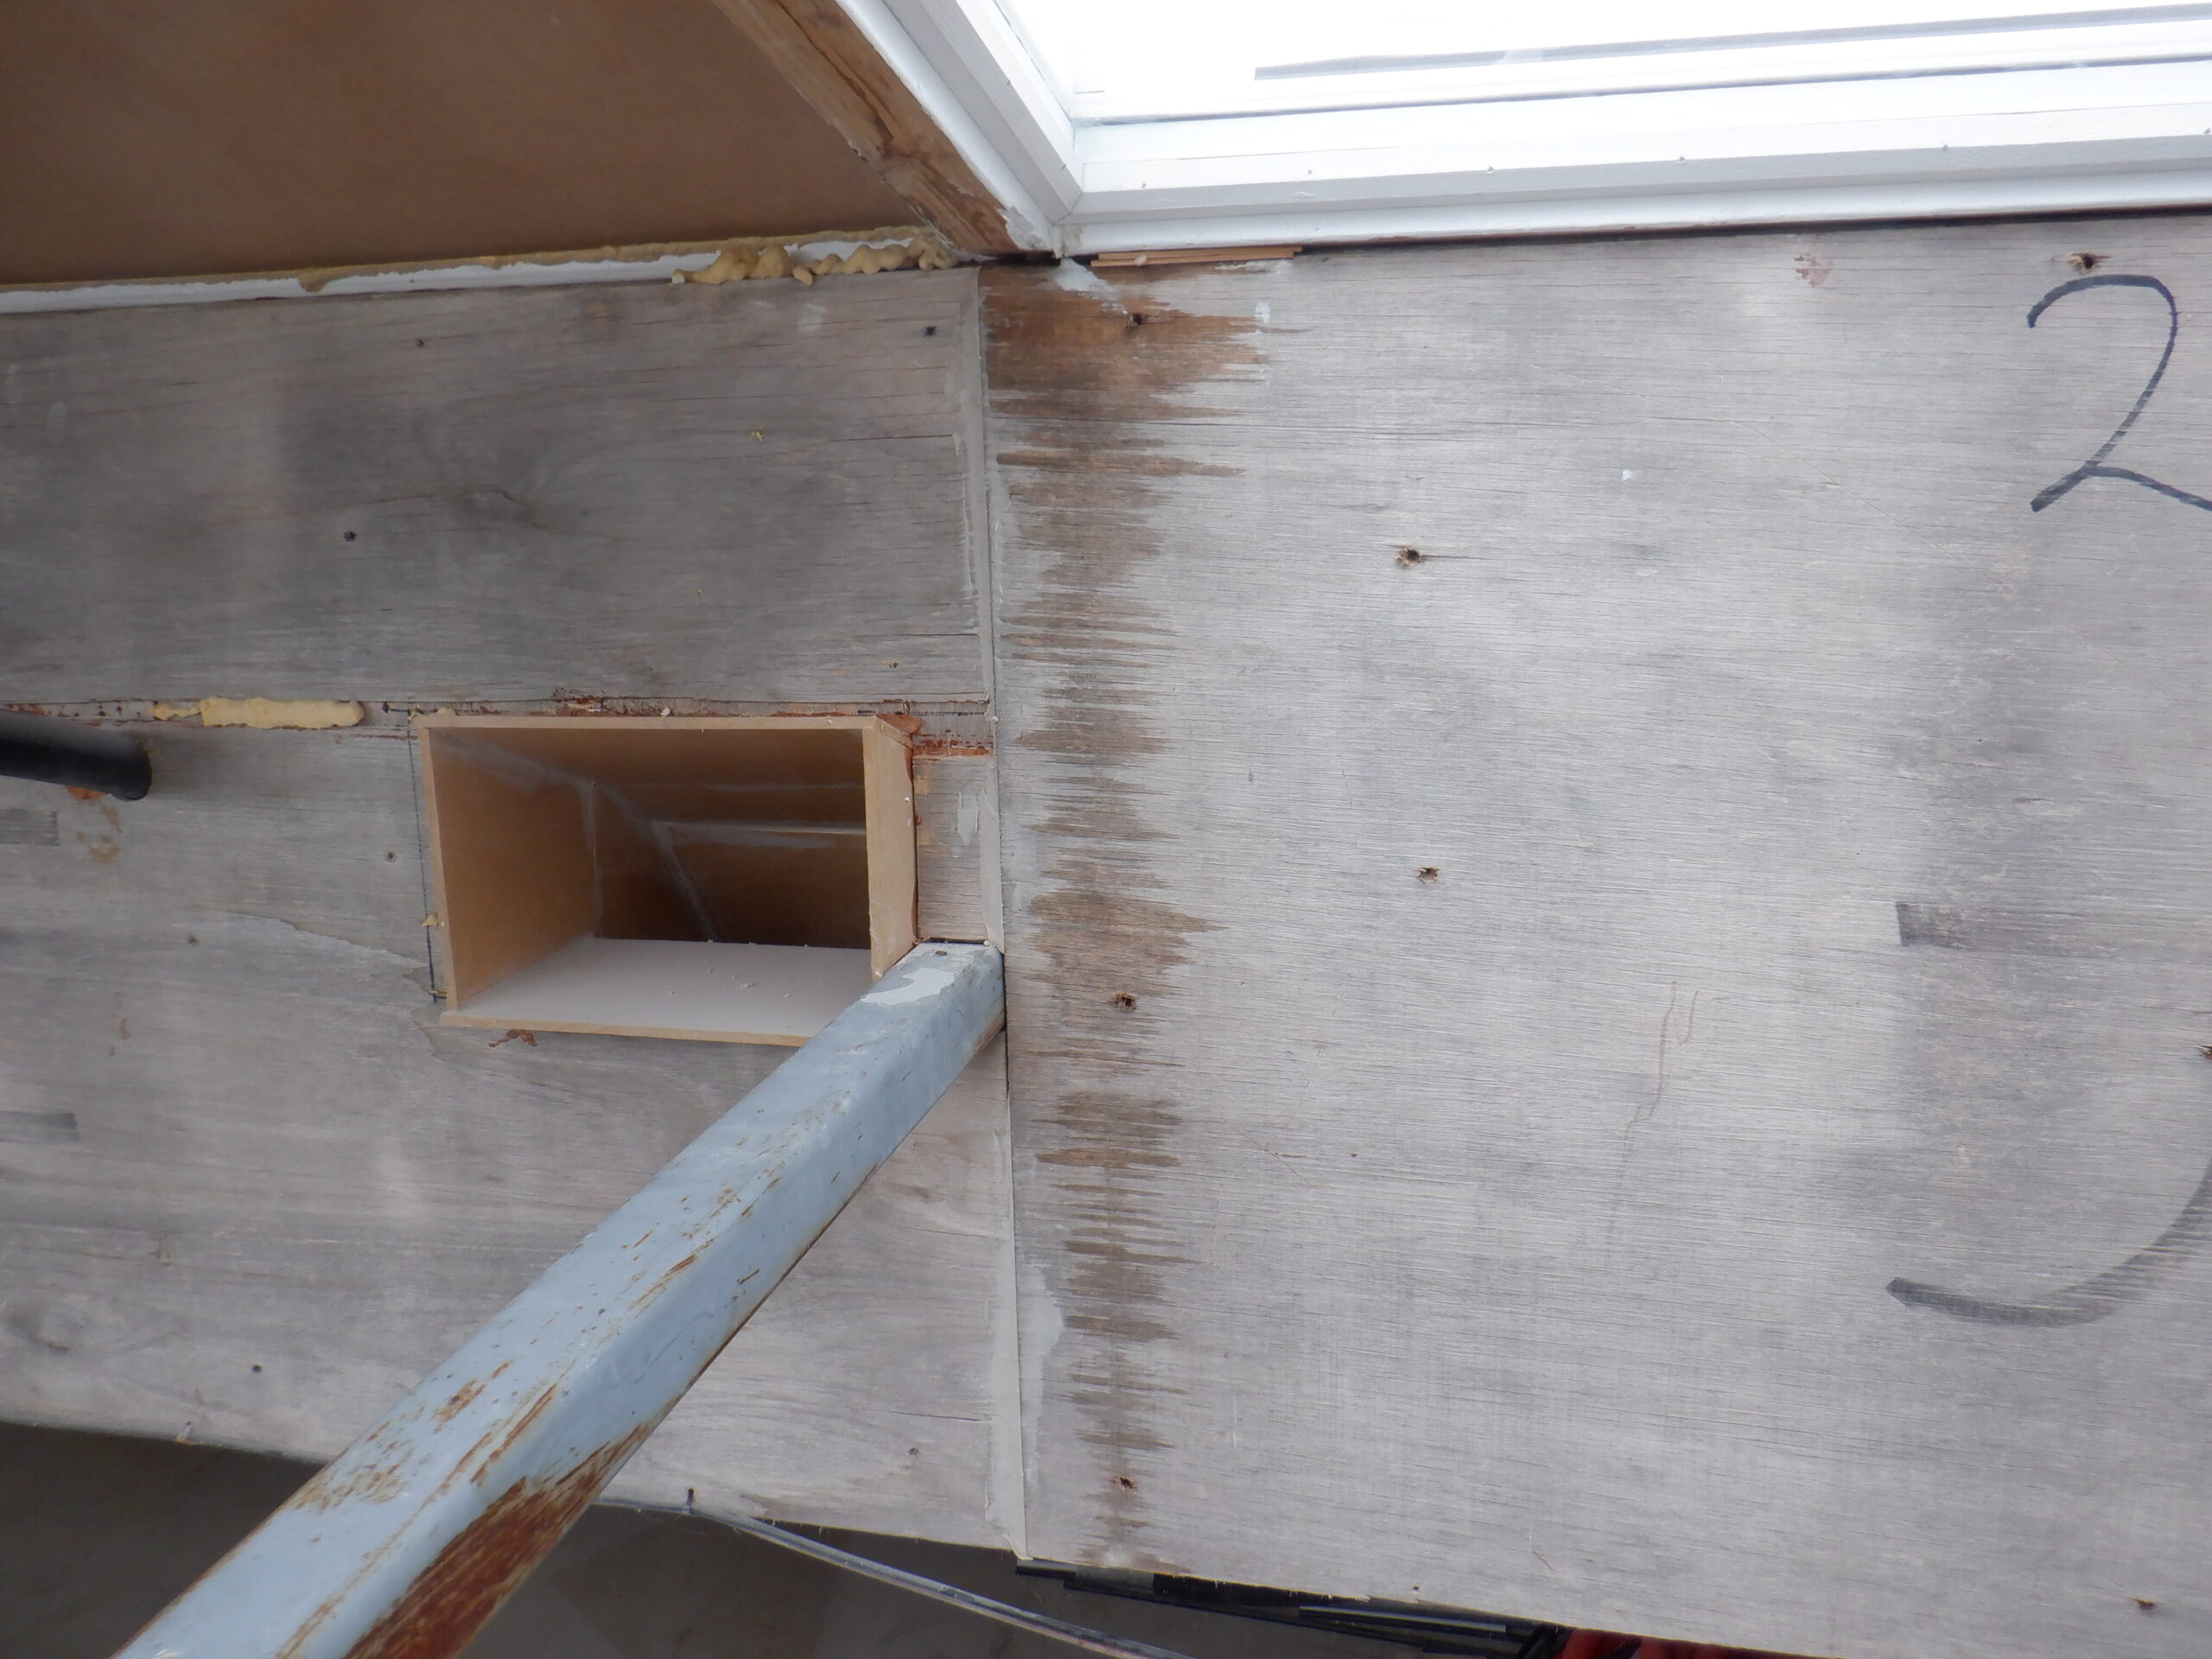
So, we got the task of finding and sealing the windows better, hence this upgrade and improvement task.After careful analysis, even removing a section of the plywood on the inside of our Skylight, to dig around in the body, to backtrace the water, it seems to be coming from the glass and these trays. The “walls” of the Skylight are not damp at all, so the rainwater is not coming in from around the edges, underneath the glass.
This leaves the rubber seals themselves that we got squashed on both sides of the polycarbonate plexiglass material. And when we inspected the window up on the roof the other week (very chilly and very windy), we noticed that the bottom edge is showing definite signs of water moisture underneath the plastic glass, inside the rubber strip. We can see quite clearly through the plastic. We then unscrewed the clamping aluminium bar that we used to hold down the bottom edge of the pane of glass, and it is very likely that the rain water is managing to slide pass the thin rubber padding we got under the aluminium bar, and dribbling into the screw holes we got through the plastic. We didn’t do a very good job of creating a seal to block off the clearance holes. Some of the holes had extra sealant in them, but no way enough substance. Not good at all. we decided that we will replace the thin rubber strip with a 18mm wide strip of butyl heavy duty black glue that is designed to be very long lasting and resistive to drying out and very very sticky. We did that aluminium bar on that day a couple of weeks ago and waited for better weather.
That day came today when at last, we had a calm day and reasonably sunny as well so we got back up on the roof, to first unscrew all the aluminium bars off all the windows, a total of 32 of them, leaving behind the one we did earlier, and take them all down to our tools room. The one thing that we nearly forgot to do, was to label the individual bars with a location code so that we could return each aluminium bar back to its original place.
We then used the bench sanding machine to clean off the old glue, throw away the thin rubber strips and then apply the new strip of the butyl black glue and get them ready to go back after lunch. They got a protective waxed paper on.
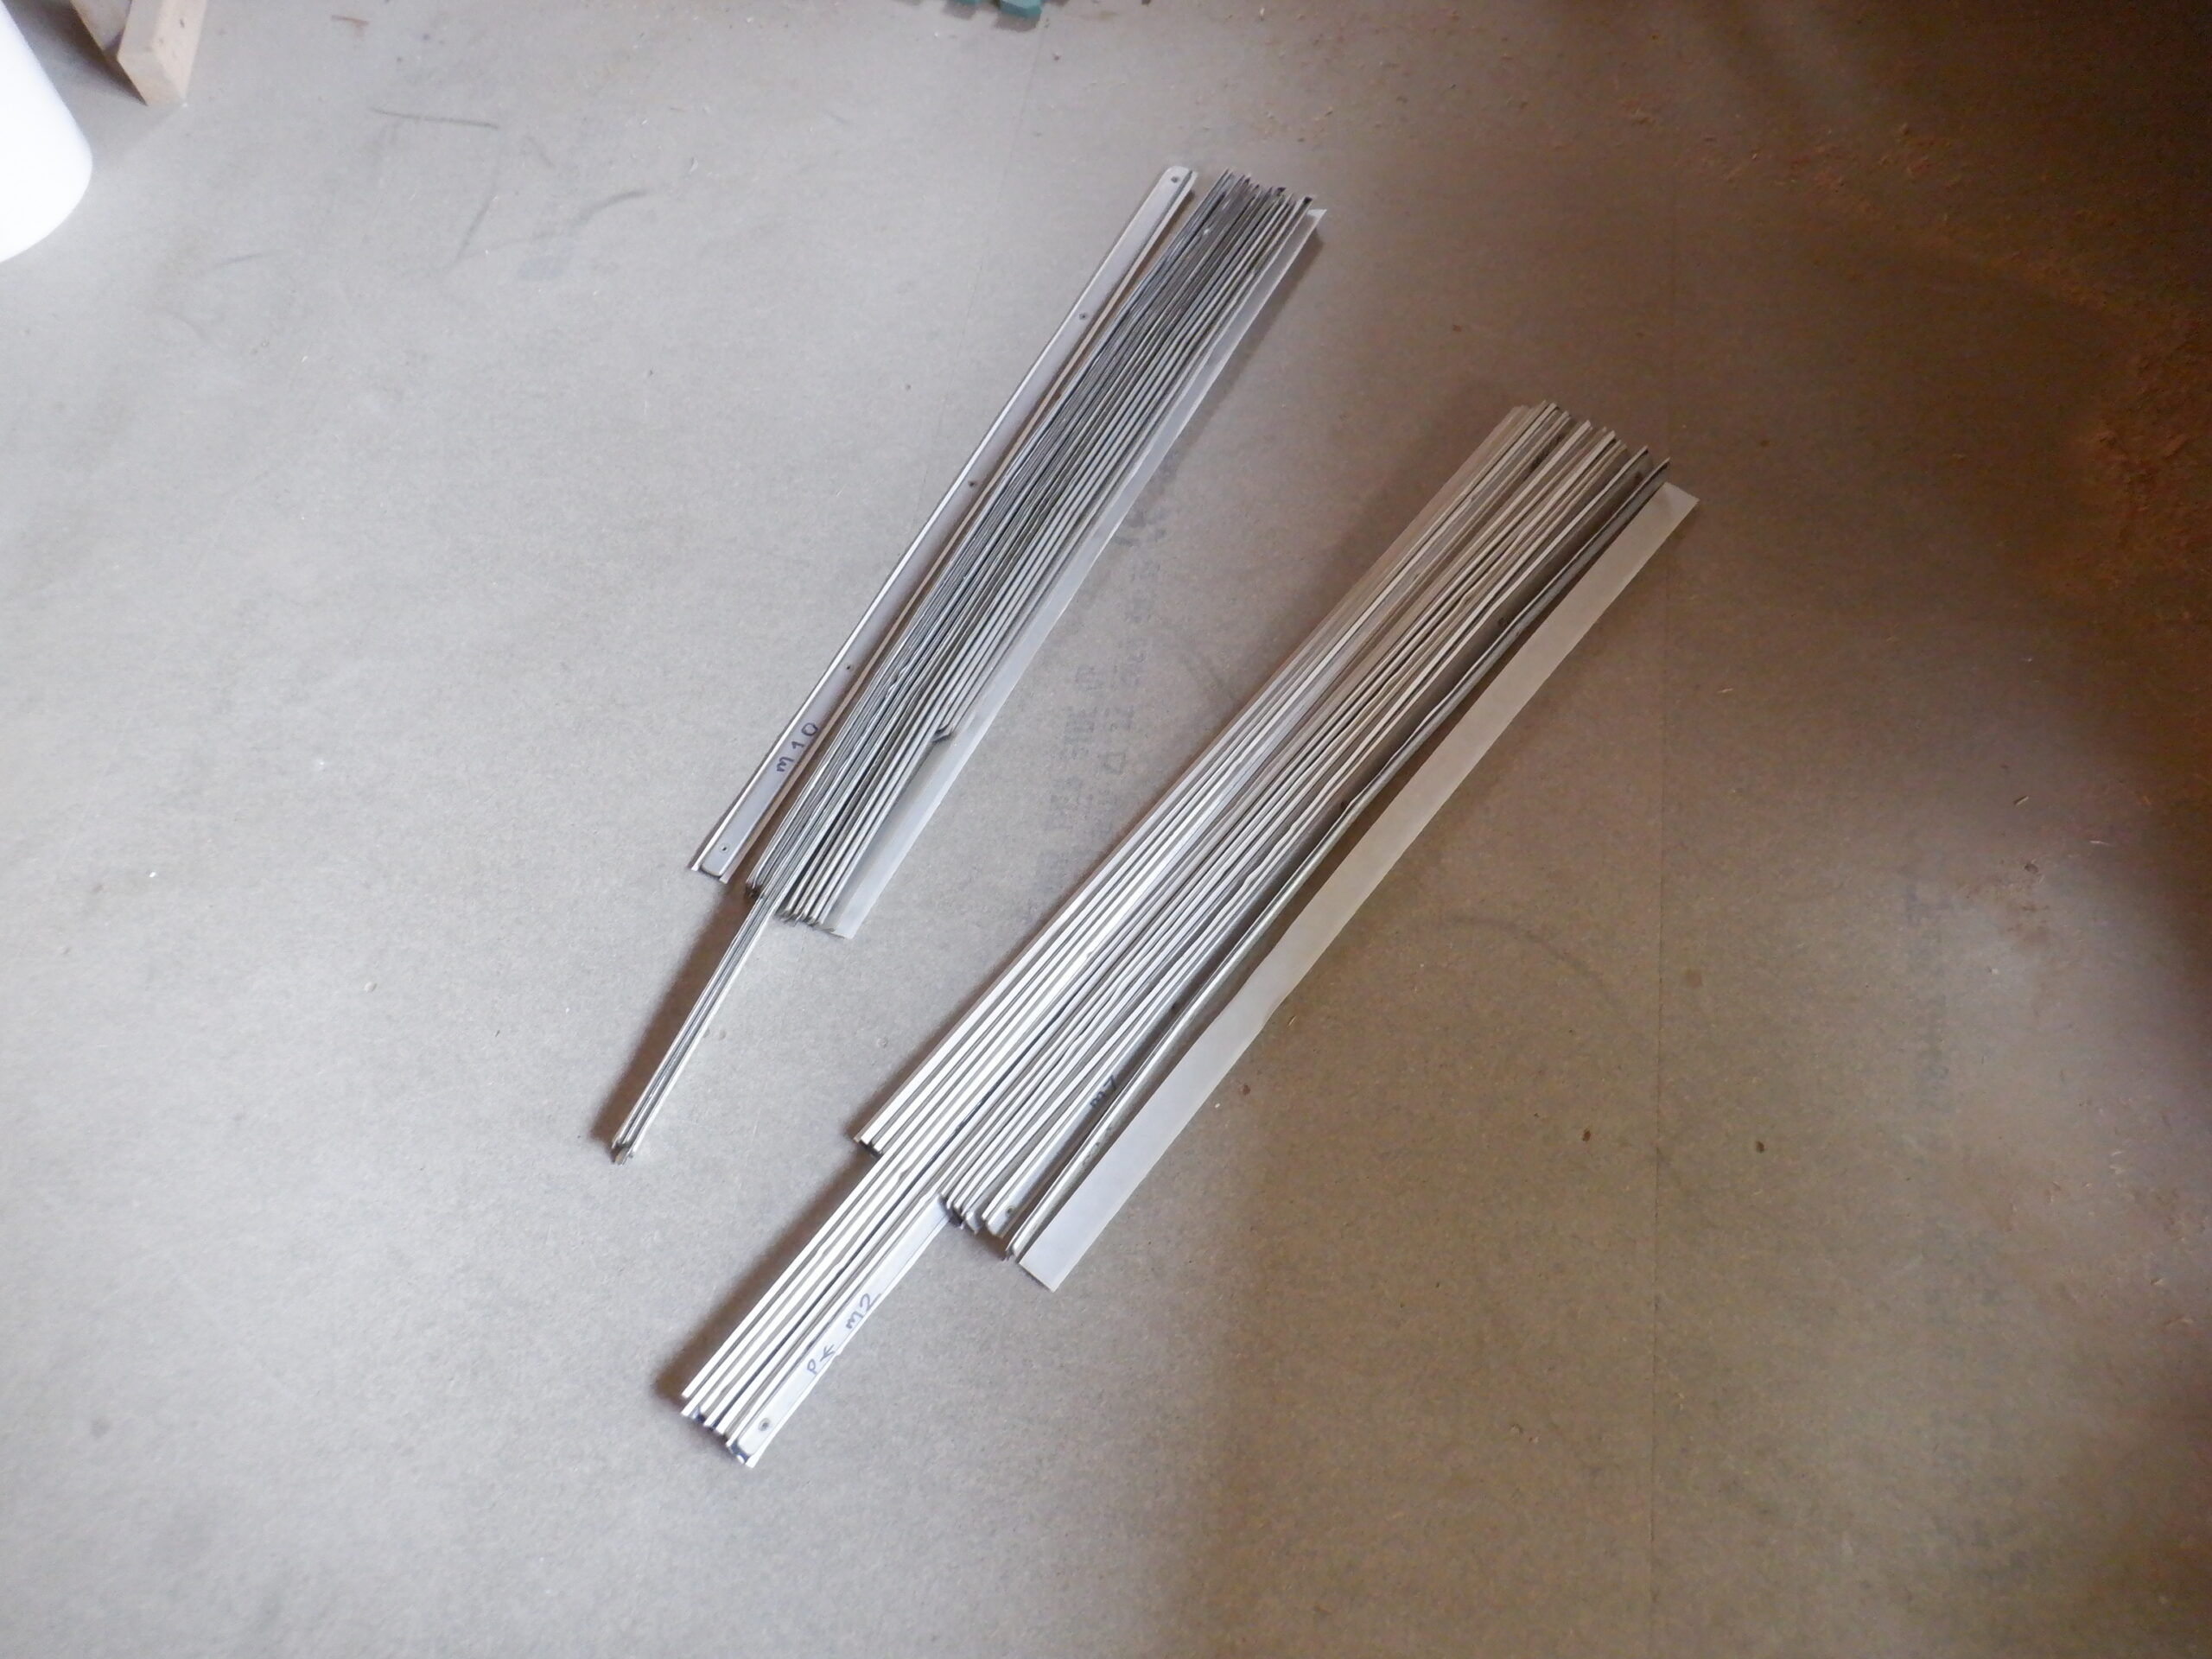
Rooflight front strips with Butyl adhesive applied
After lunch, we took a bucket of hot soapy water and a scrubbing pad to clean the dirt away that was trapped under the bar and a towel to dry it off (it turned out that the Sun was strong enough to help dry the plastic by itself) and we went around clockwise with one of us cleaning the bottom edge of the window, moving backwards and the other poked the screws through the holes and the waxed paper, polished the surface to make sure that it is dust free and dry, position the bar down on the holes and tightened the screws up again.
We completed the job at about 5pm and the last dozen windows was lovely because the built-in solar panels was hot from having the Sun shining on them so we had warm bums !!
We couldn’t do many photos while we were up there and no one to take any of us sitting up on the pinnacle of our house !
Leave a Reply
You must be logged in to post a comment.