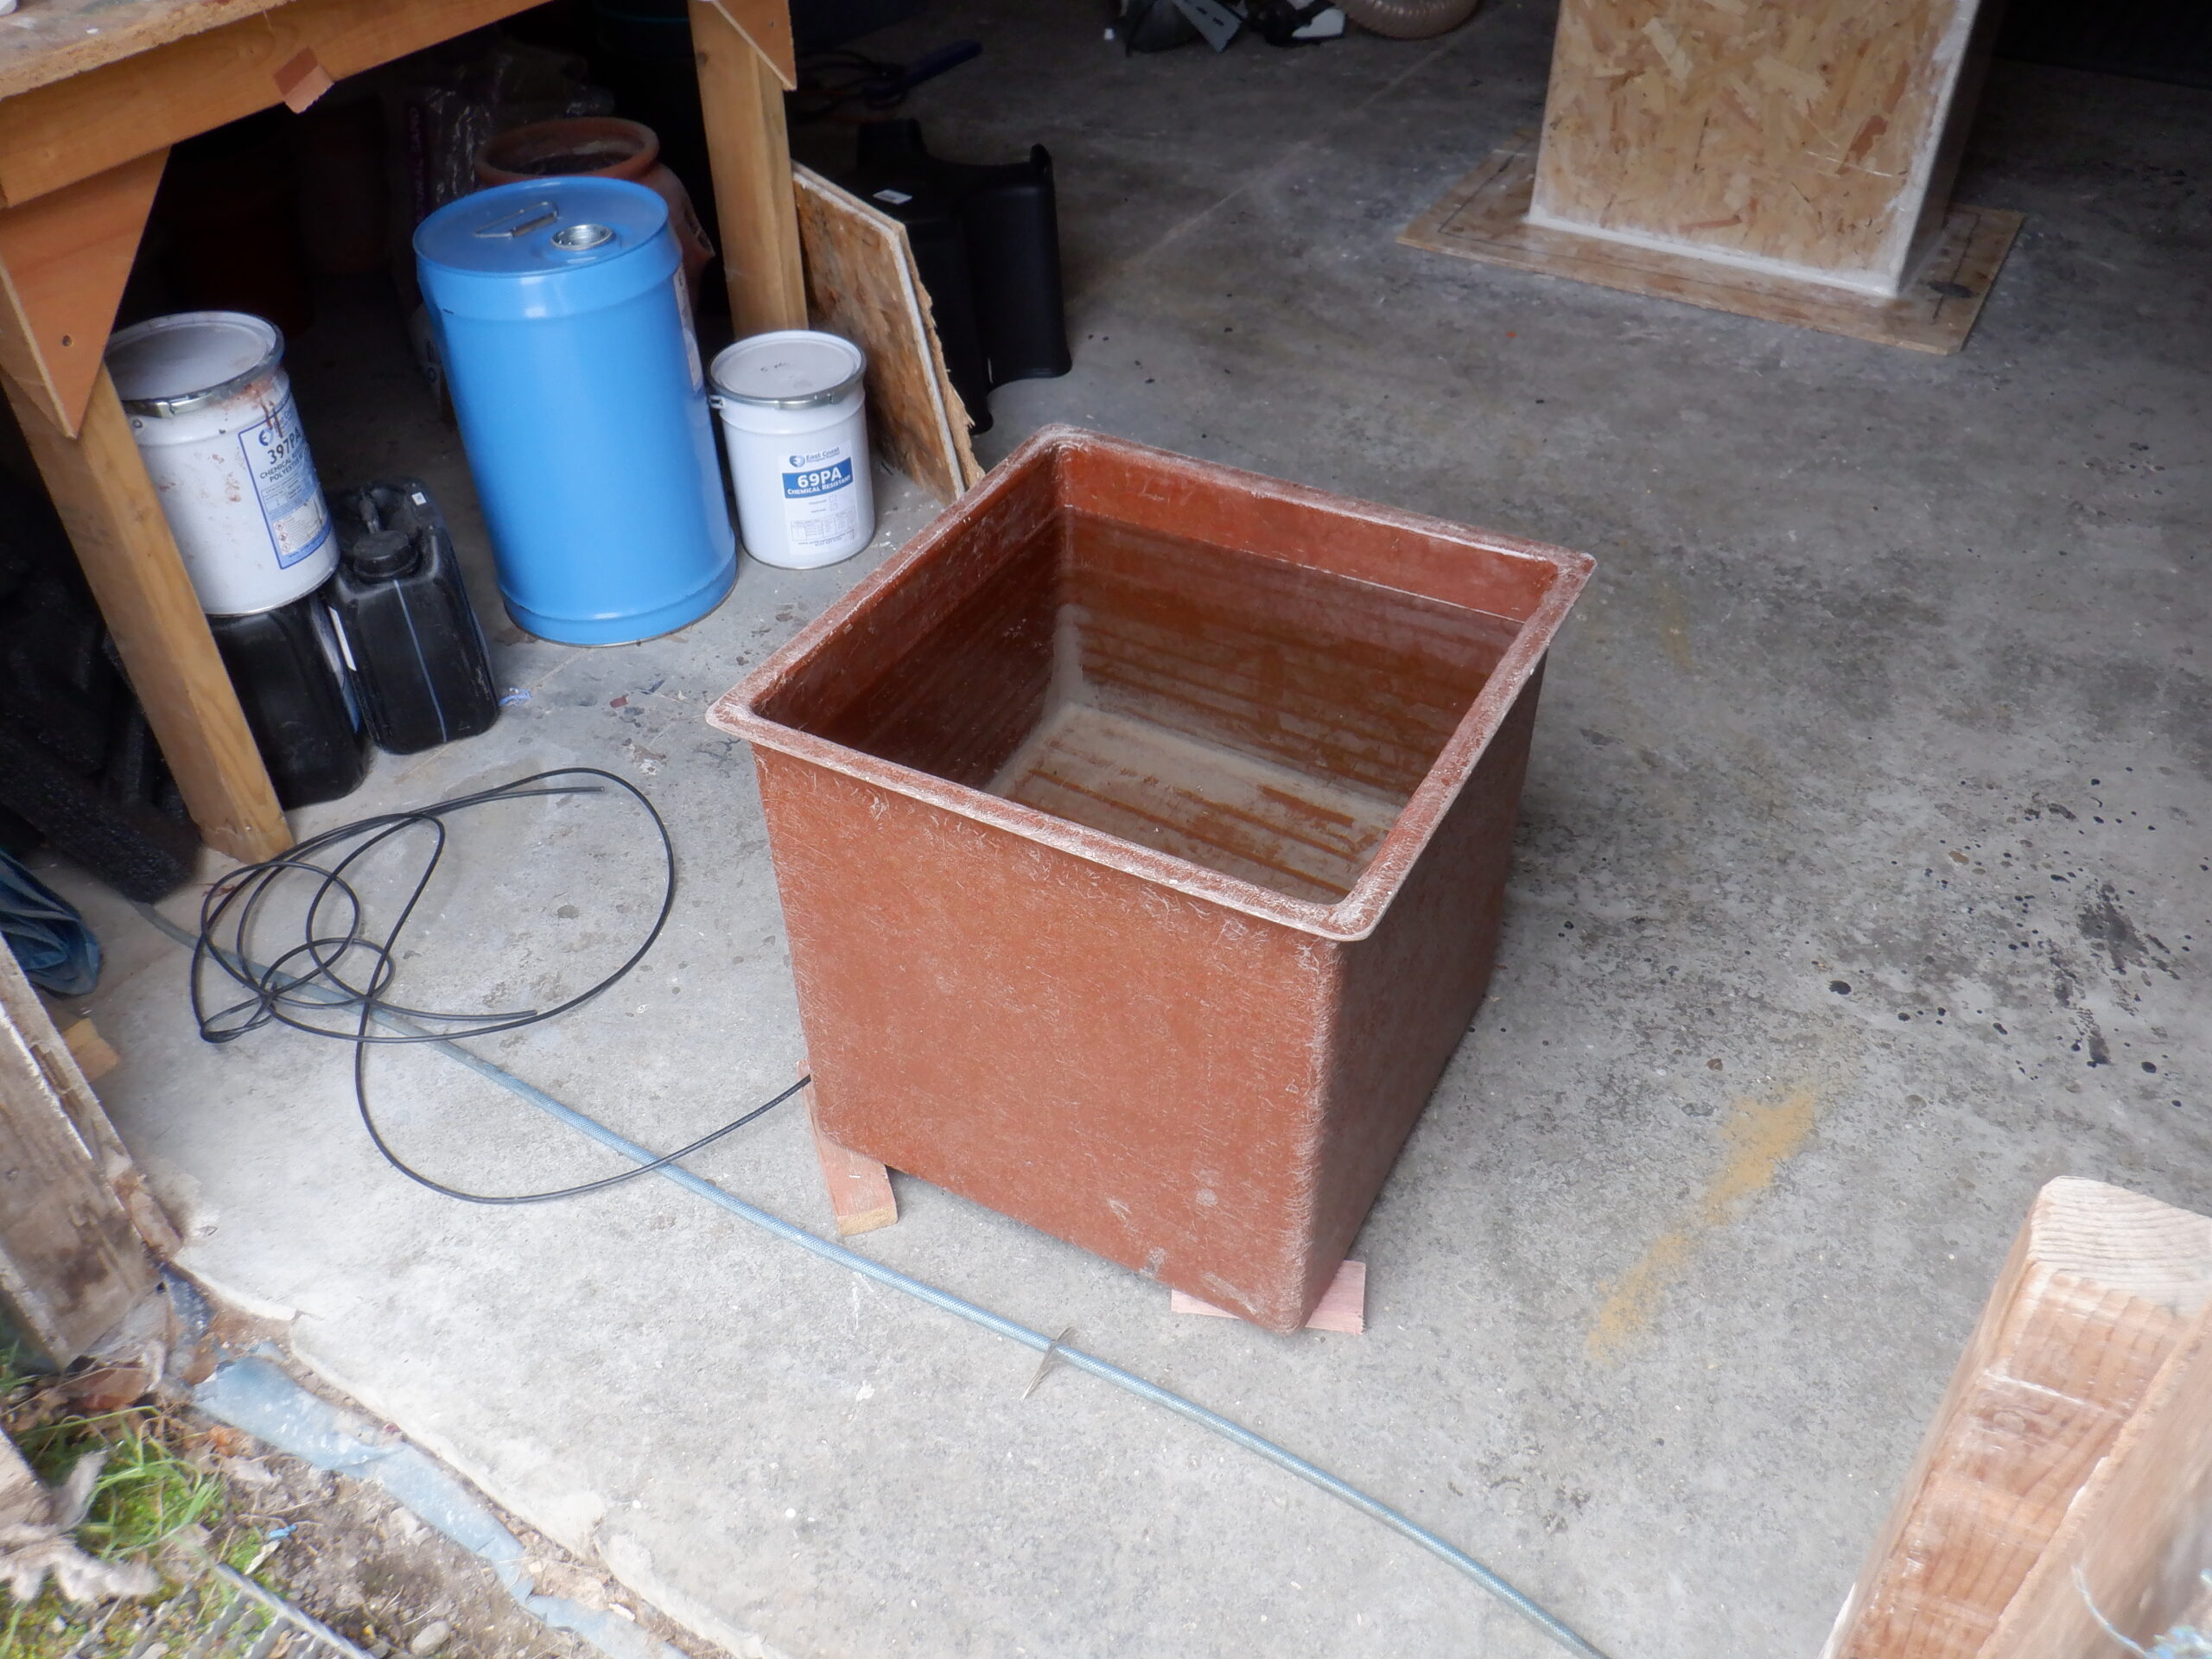
Test tank full of water
There is nearly ninety litres of water sitting there, minding it own business !
One of the reasons for building this test tank, was to see what happens when we put in very hot water in. Normally, this style of construction, using ‘standard’ polyester resin with glass fibre, is not dissimilar to other types of plastics and some of those cannot cope with very hot water and start deforming. What we wanted to know is whether our much larger Hot Water Tank will survive having very hot water in it, for years and years. So, towards this aim, we bought specially formulated polyester resin which have been certified to stay good and solid all the way up to 120°C and built this test tank. So the next step is this test run, is to put in several electrical heaters in this tub of water and bring it up to the boil. If it survives actual boiling water, then it will survive the hot water, up to 90°C, for years.
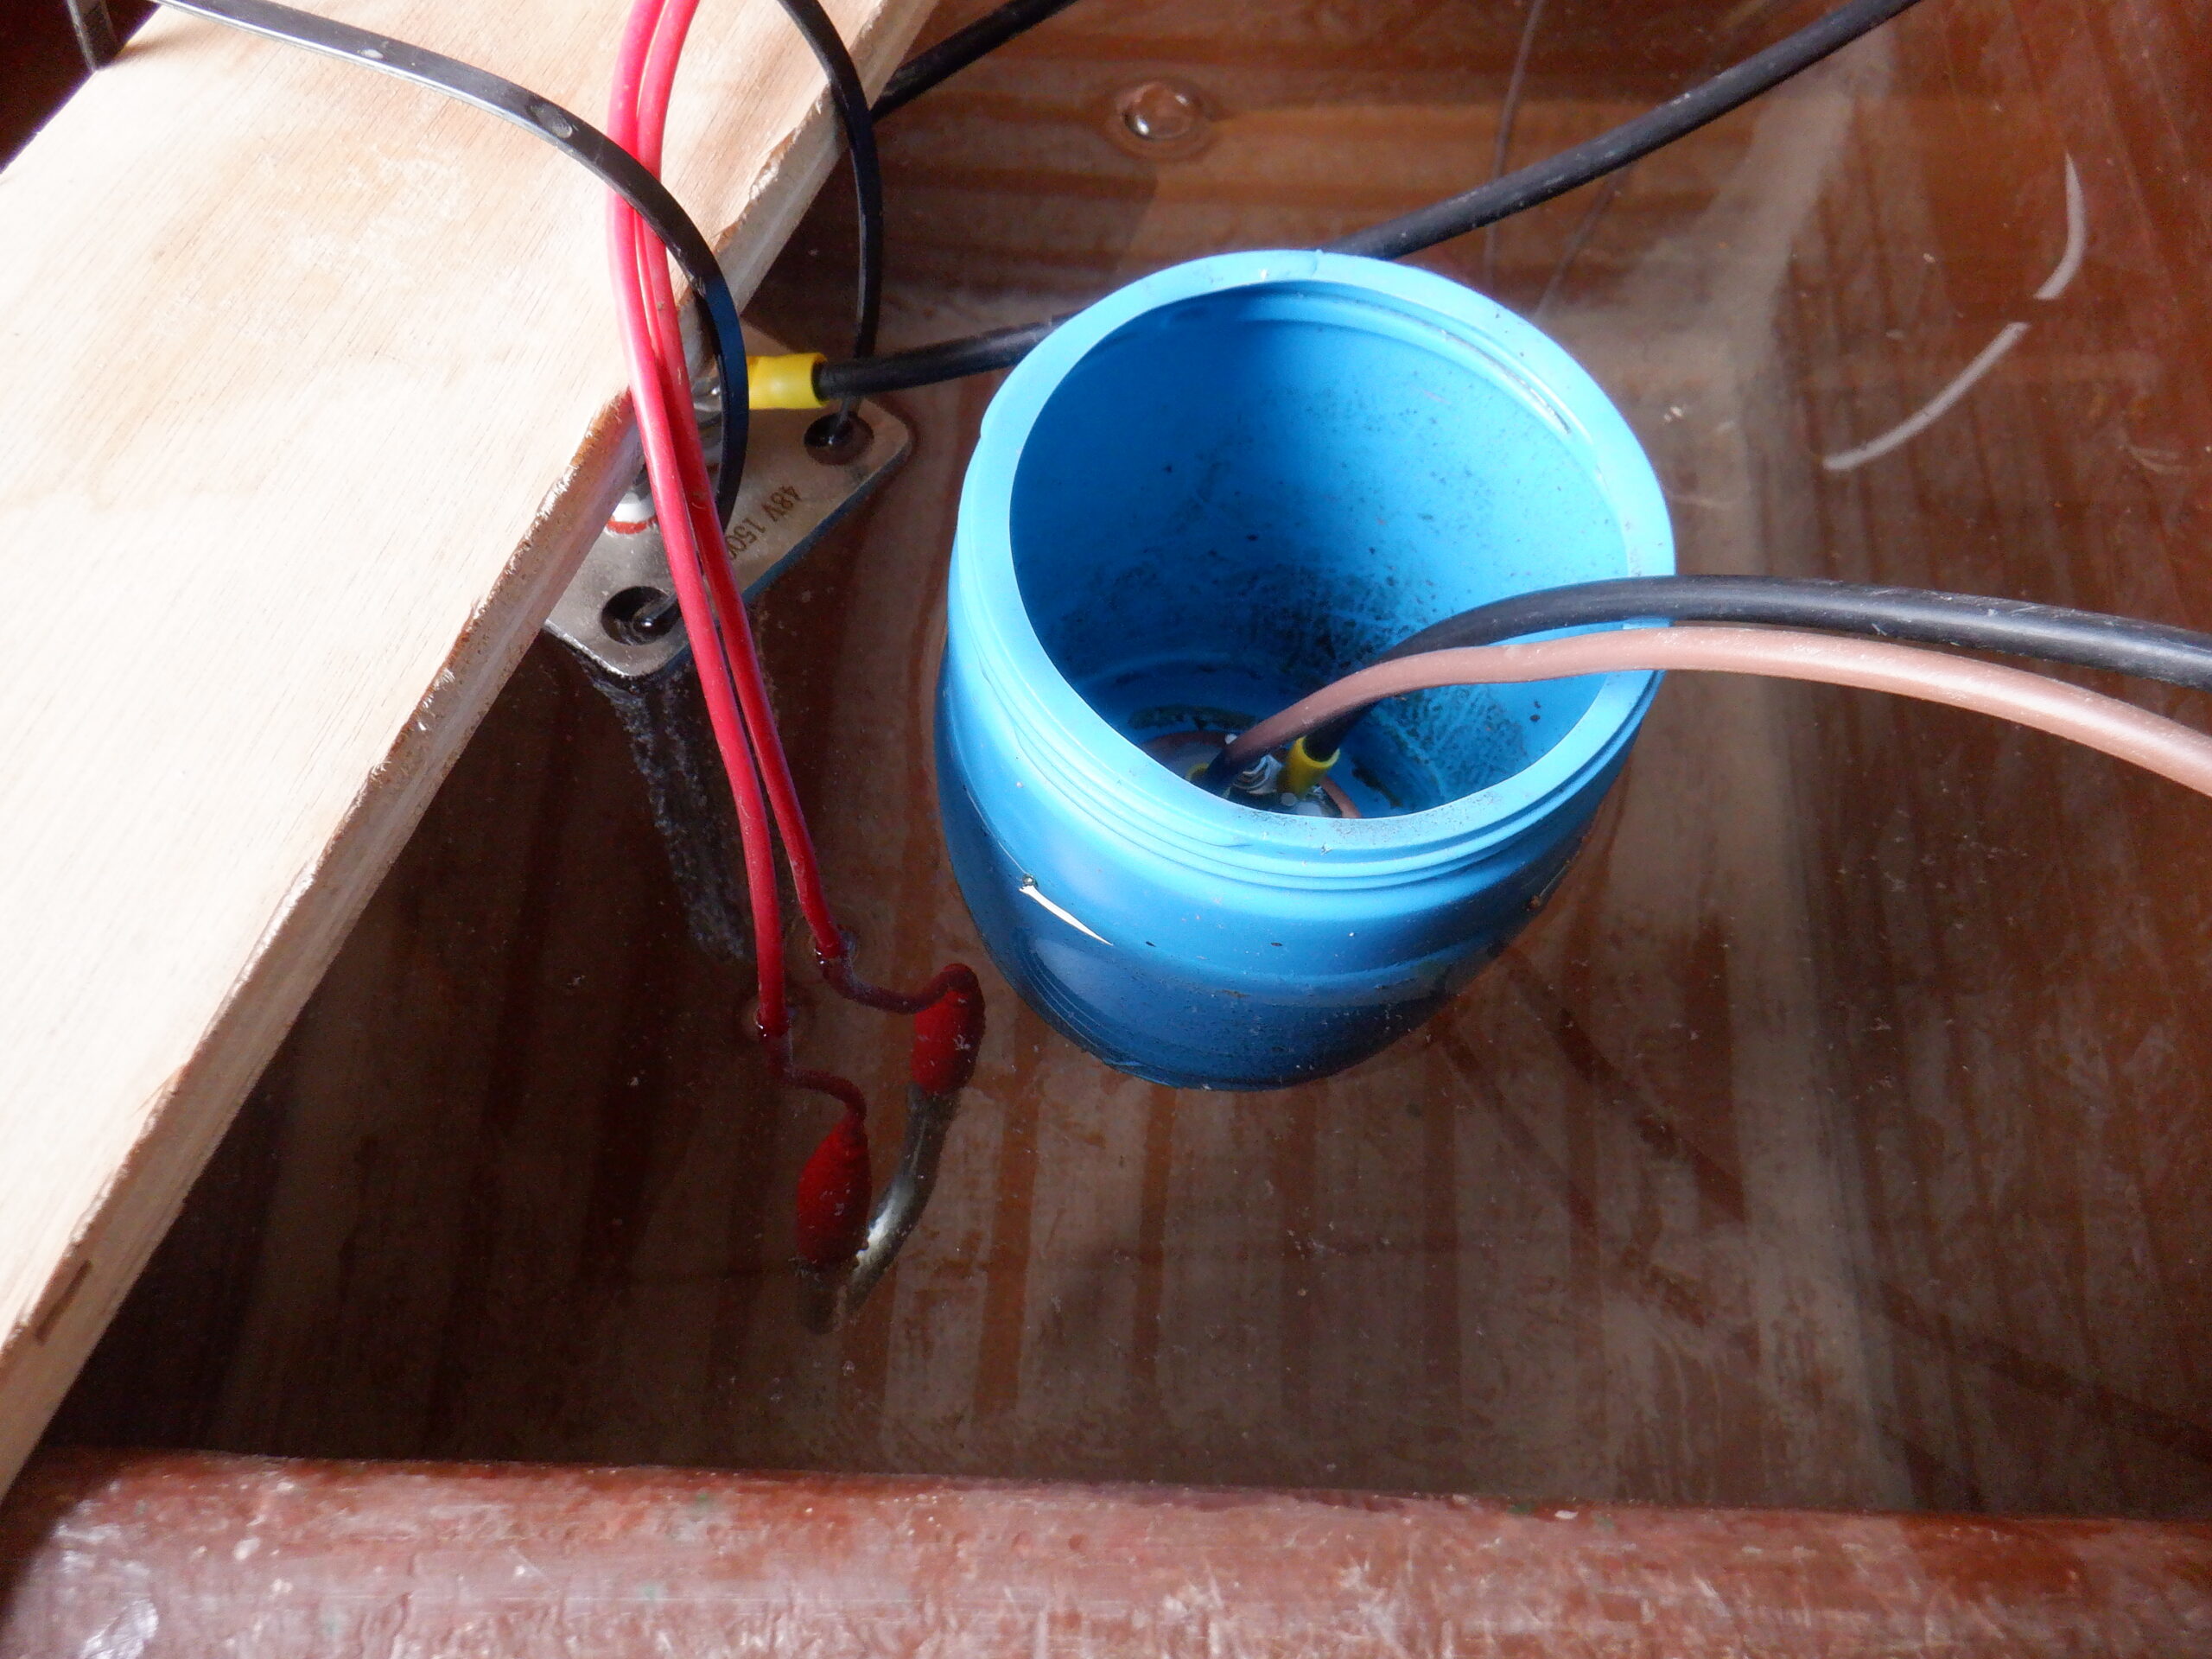
We used two of our 50V power supplies and plugged them into the mains electricity. We wired up three separate heating elements, two 1.5kW capacity and the third one being 750W rated, so we joined one of the 1.5kW and the 750W to one power supply and the second 1.5kW element to the second power supply. We had to carefully dangle the bigger elements so the contacts didn’t get submerged into the water because there was enough voltage to start splitting the water molecule into their separate components; hydrogen and oxygen!! We didn’t want to have that happening, dangerous stuff having hydrogen and oxygen mixing together in their naked forms and with high quantities, and a spark, would cause a rather large explosion!! So, we stopped immediately and solved this issue by carefully lowering one of the element so it just had the heating rods buried in the water and the second element, we found a plastic old pot and put on a tank connector which allowed us to screw the heating element down through the bottom of the pot and it floated on top like a little boat. The smaller 750W element was already waterproof so that could submerge straight away.

Heating Elements (1)
Heating Elements (2)
Heating the Test Tank
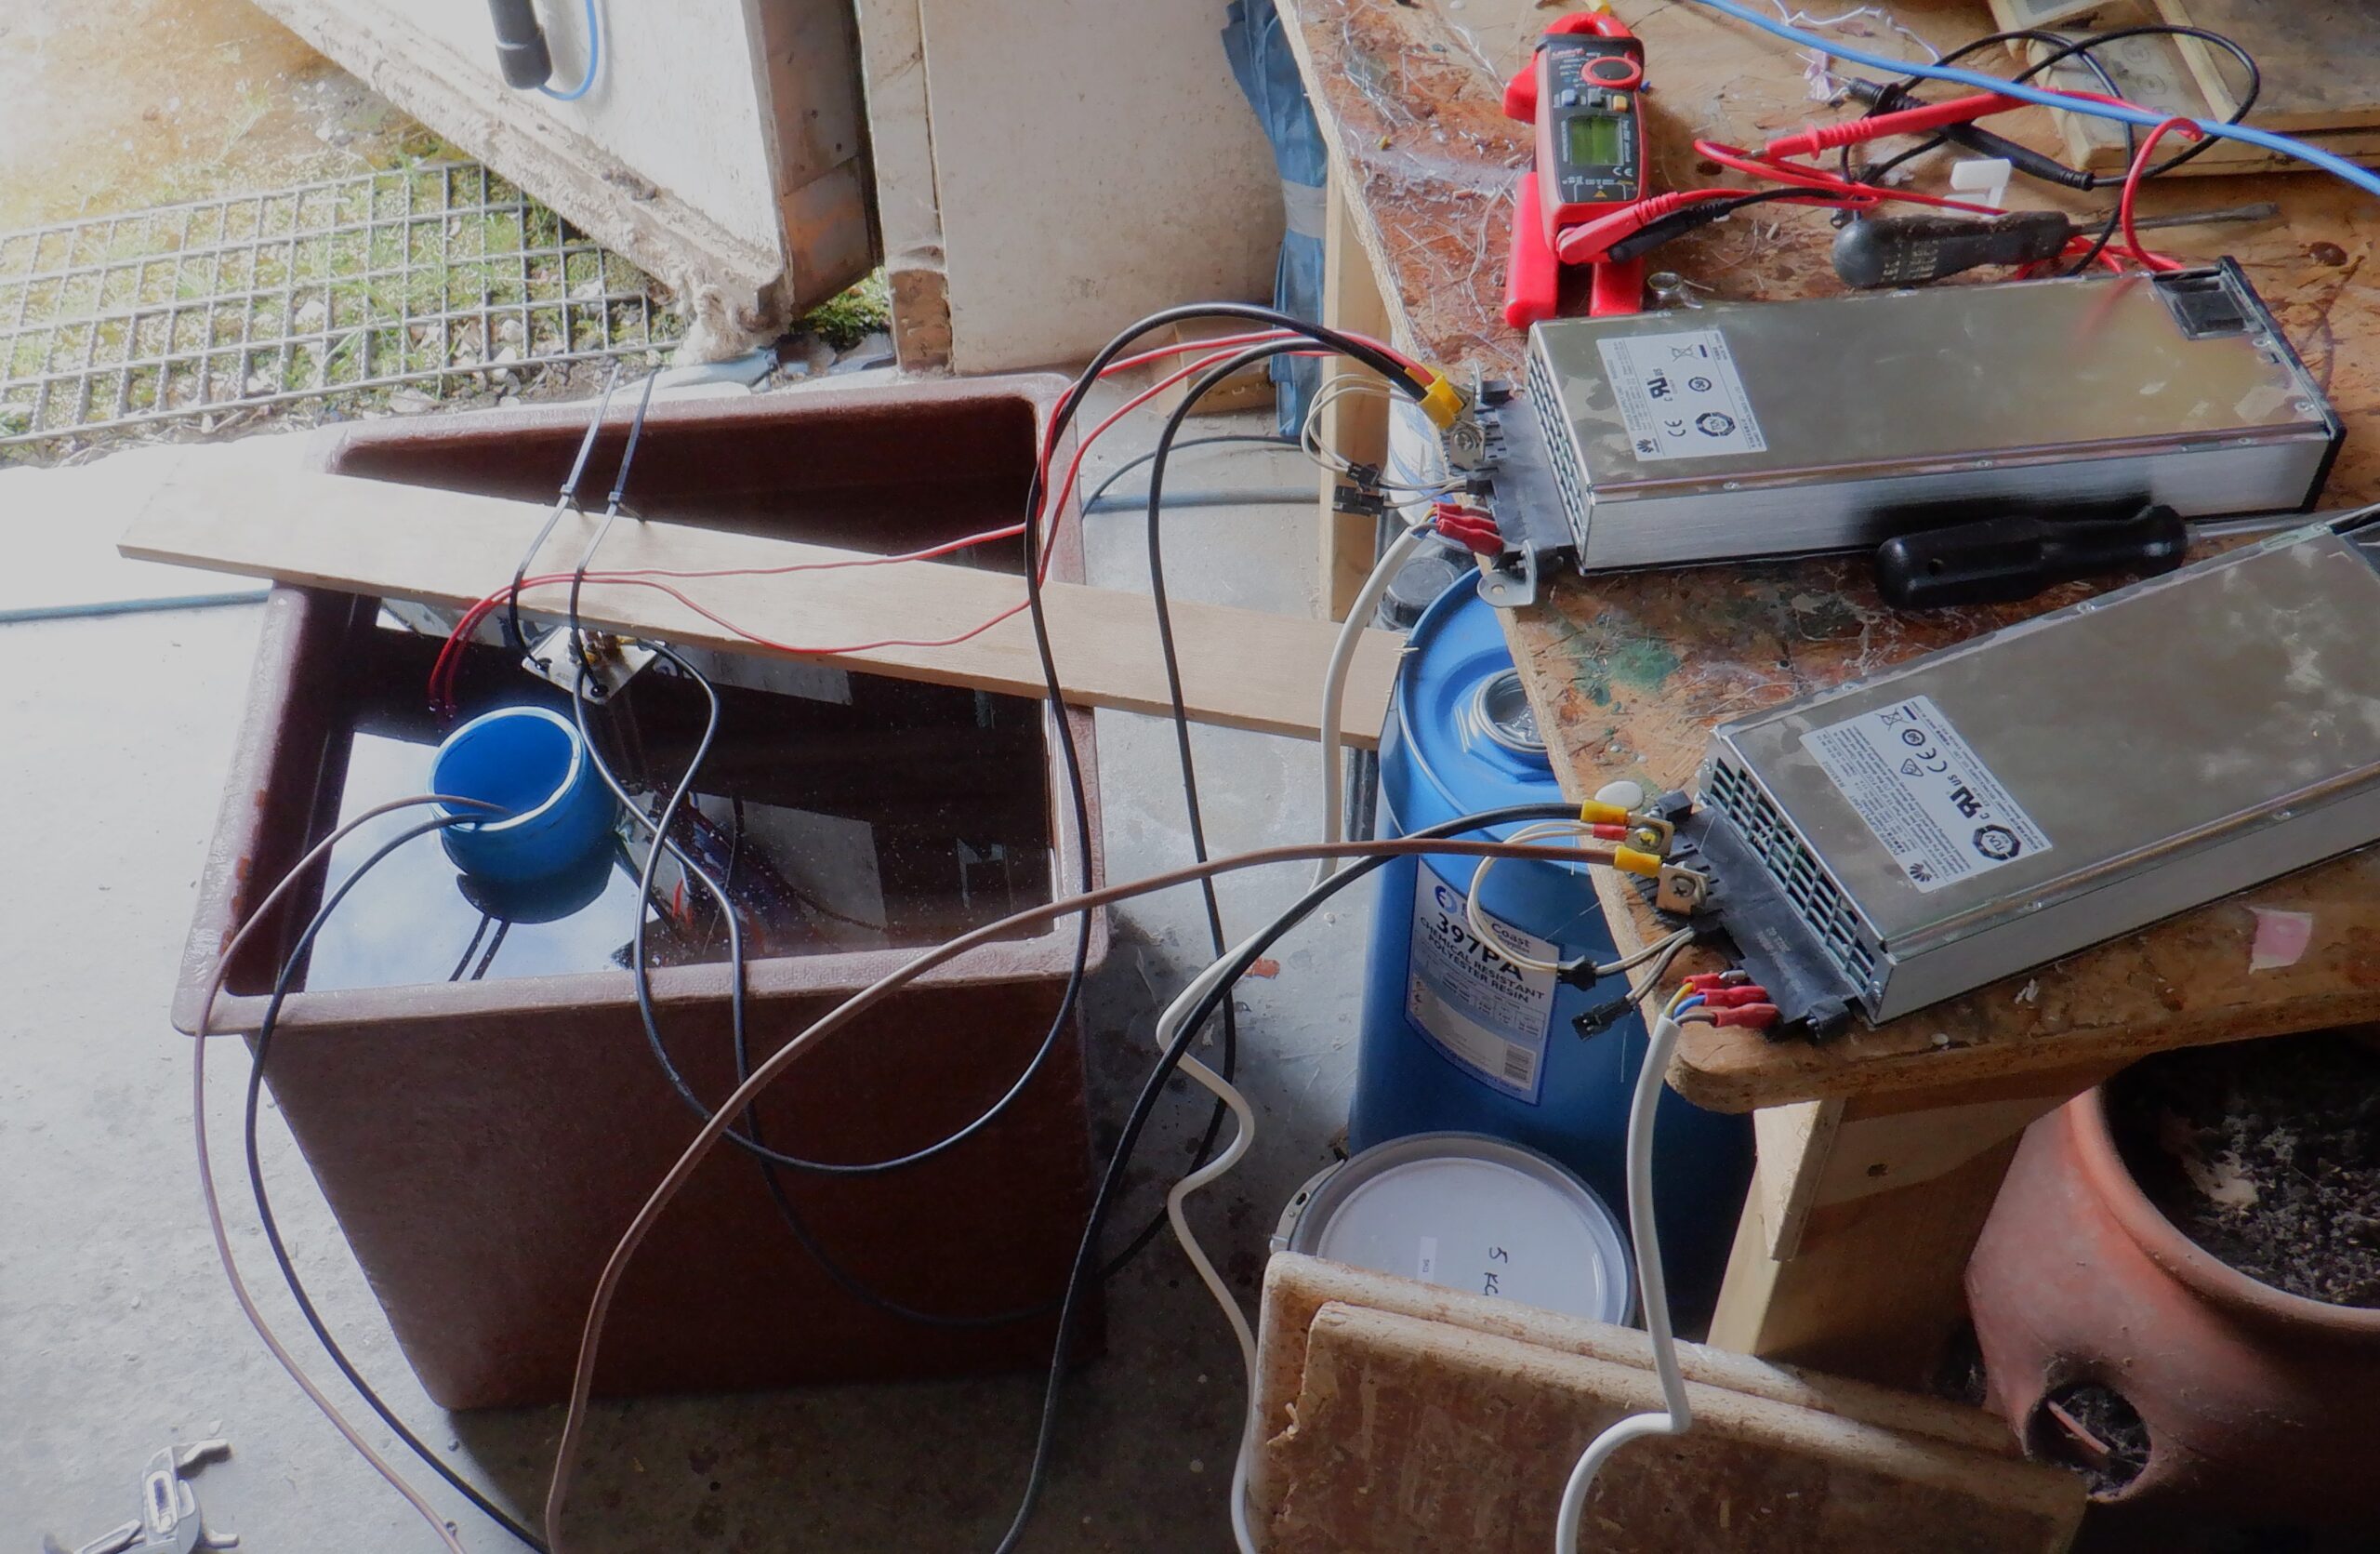
We started at about 12:50pm and we were collecting 4.2kW of energy directly from the Sun! In fact, we were collecting a new record of 6.96kW of energy from our solar panels and we realised that the inverter substation was able to convert more of the sunshine as the battery still needed charging and the left-over, some 1.2kW, was sent to the battery as well as powering our testing setup.
Marvellous !!
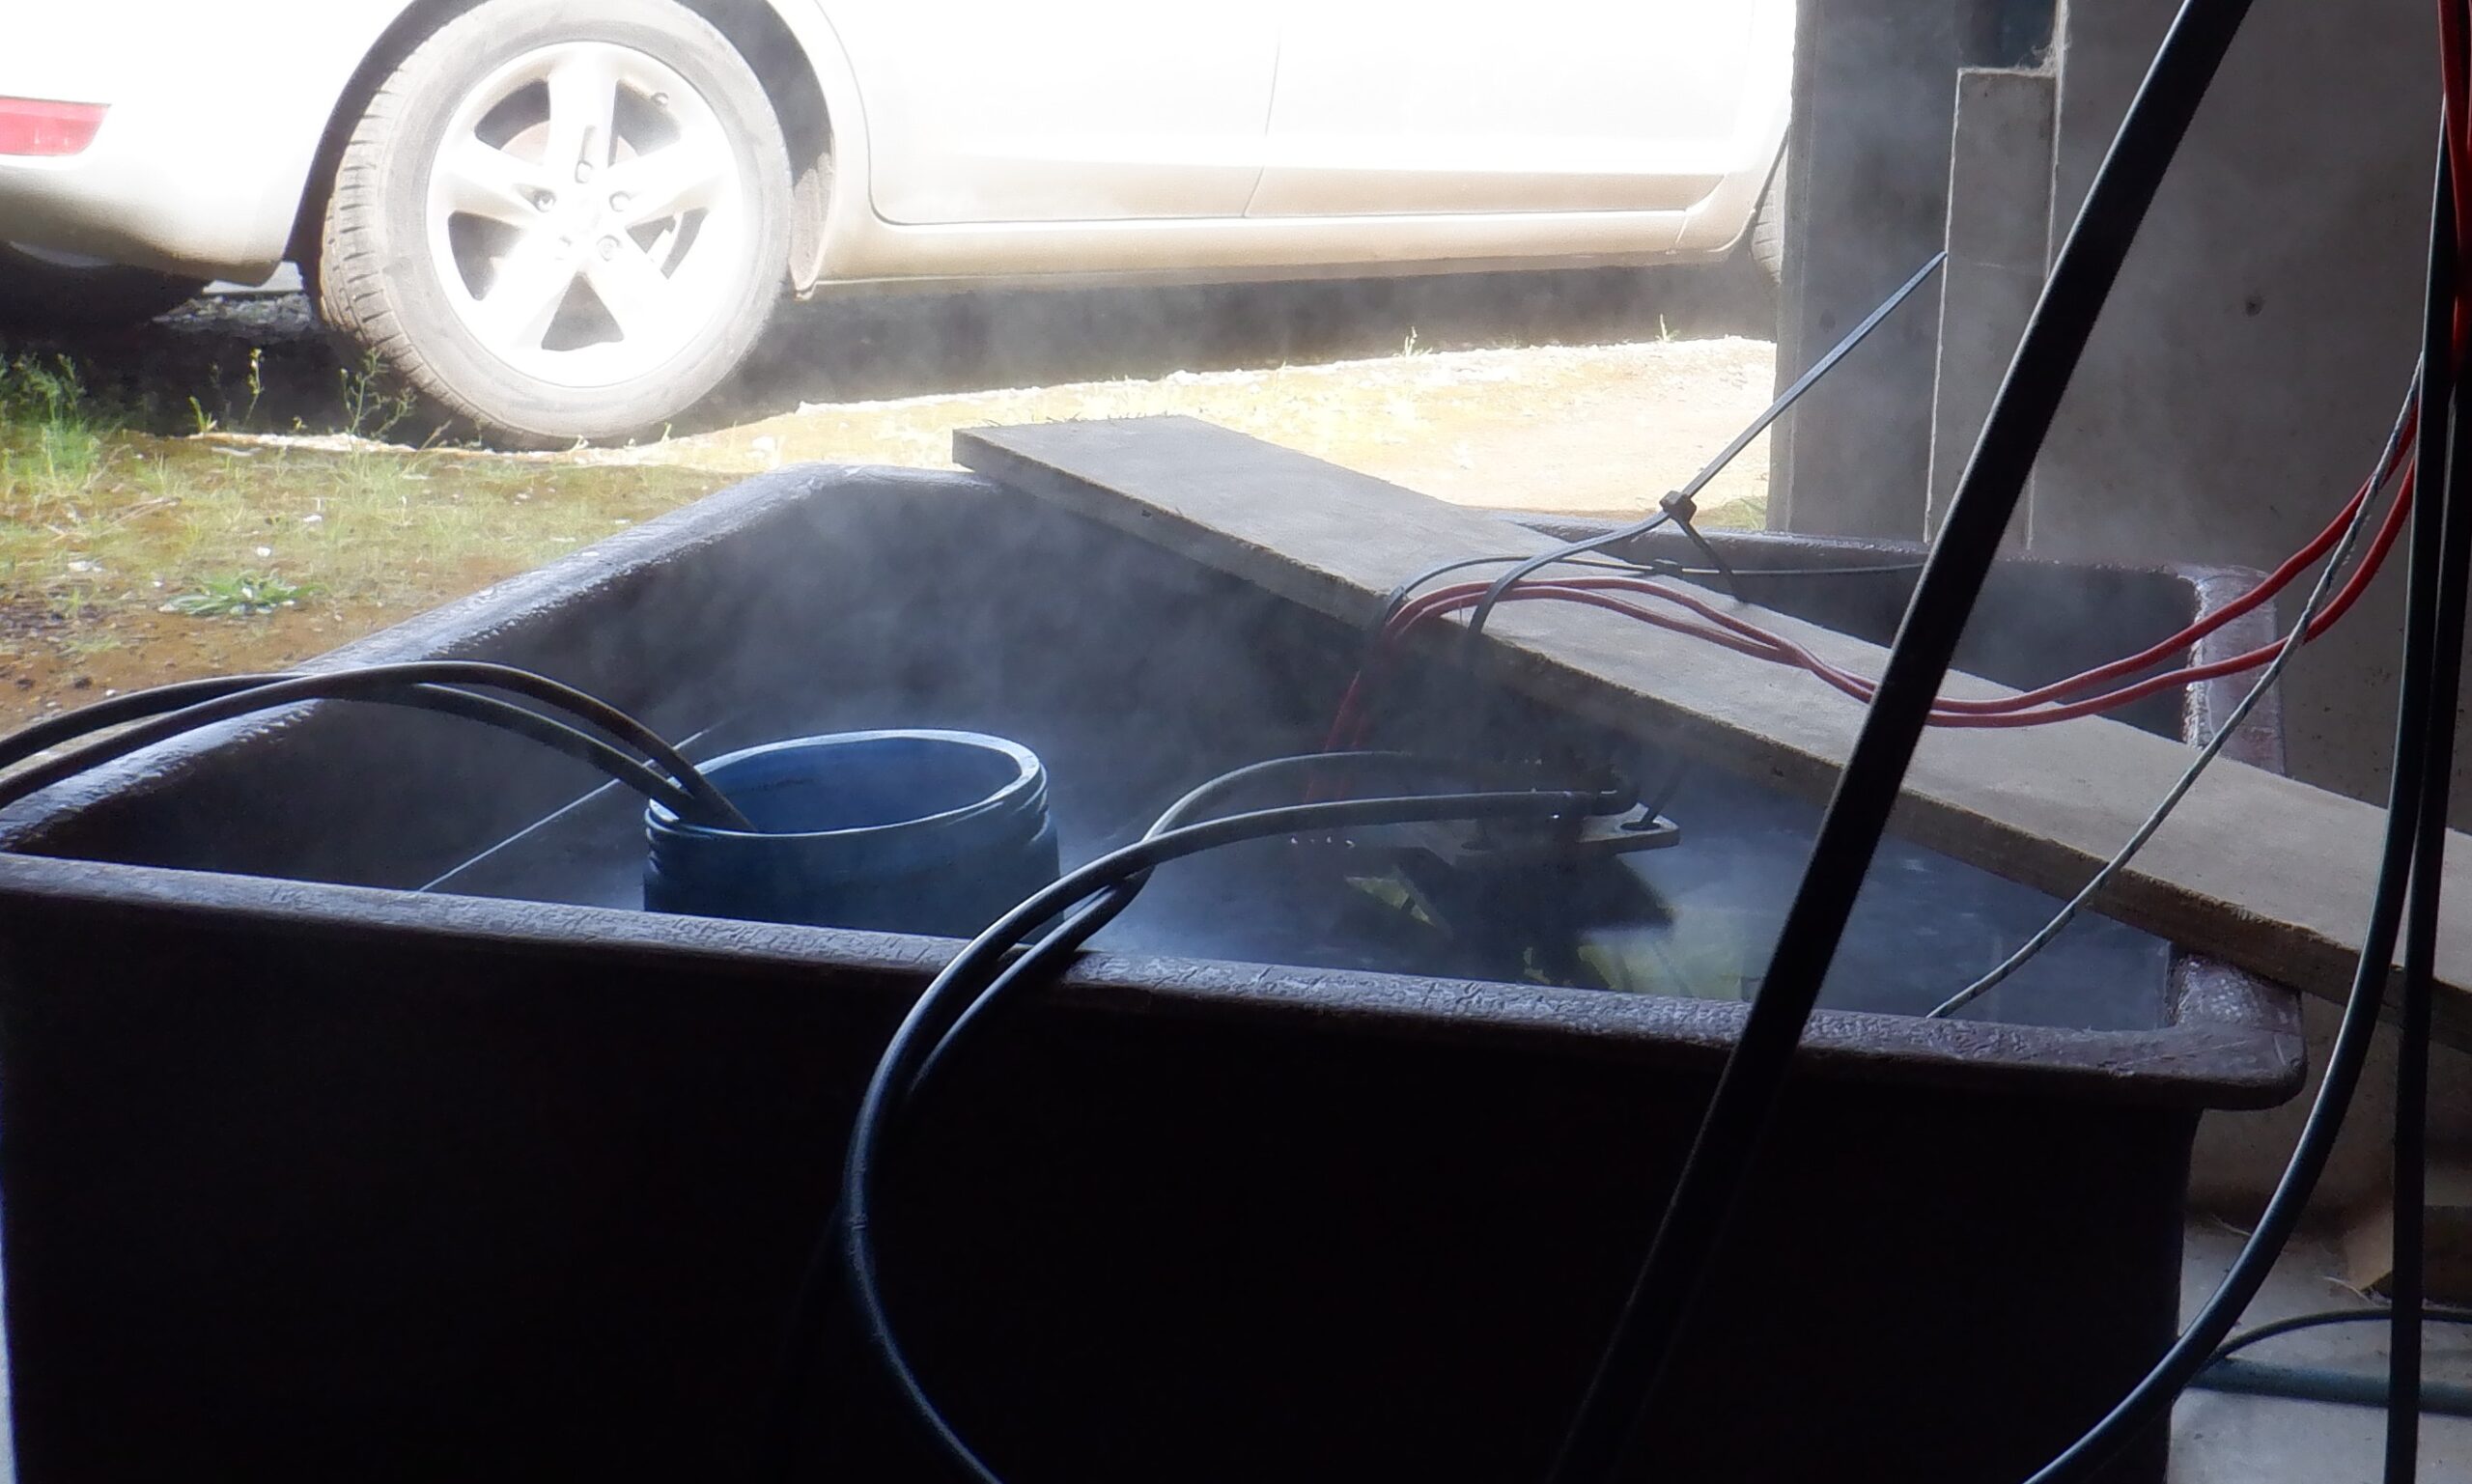
Without stirring the water in our Test Tank, it was already reaching 90°C by the end of lunch at around 2:15pm so we decided that was enough of a test. We switched everything off, pulled out the elements and then see if the tank was still solid ..
In among the twirling steam ..
And It Was .. nice and solid !!
Hot Water
The temperature of the water was in layers as all the heating elements were nearer the top, which is why it only took an hour and a half to get 90°C water, because it was only at the top half that got really hot. We stirred the entire tank and it settled down to 60°C on average. This was good because it is much less dangerous now!!
We then spent the rest of the afternoon, experimenting in using our new 40 layer heat exchanger.
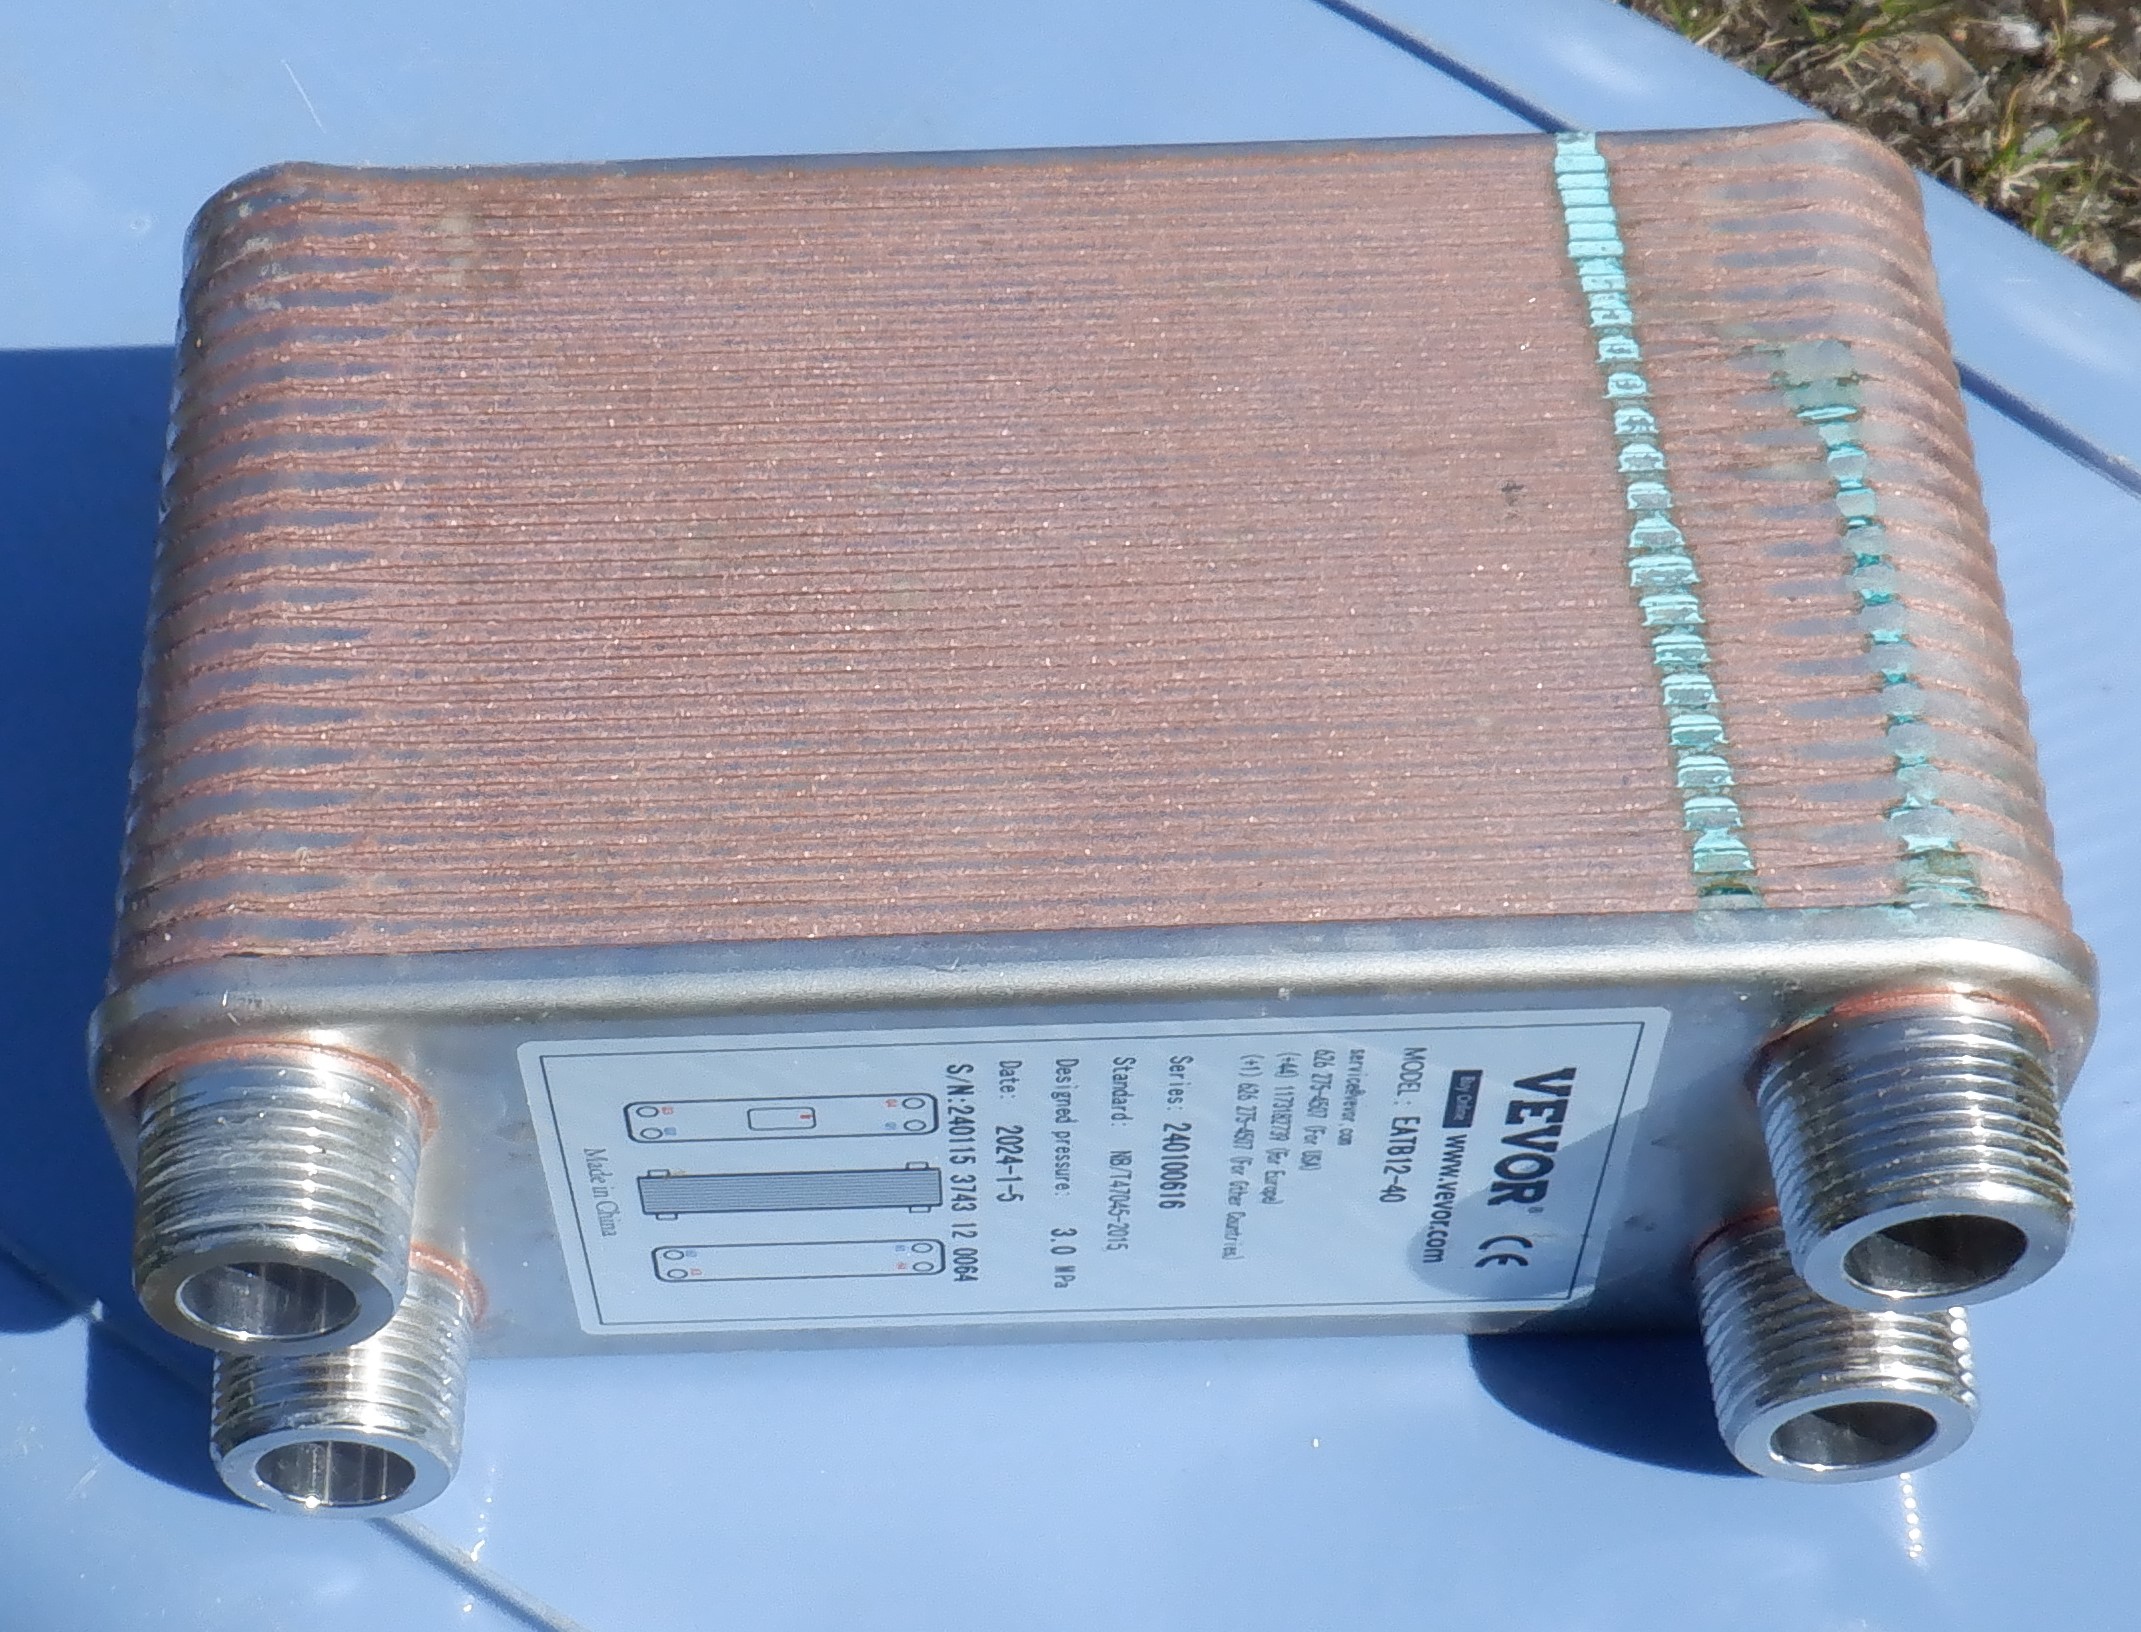
Heat Exchanger (1)
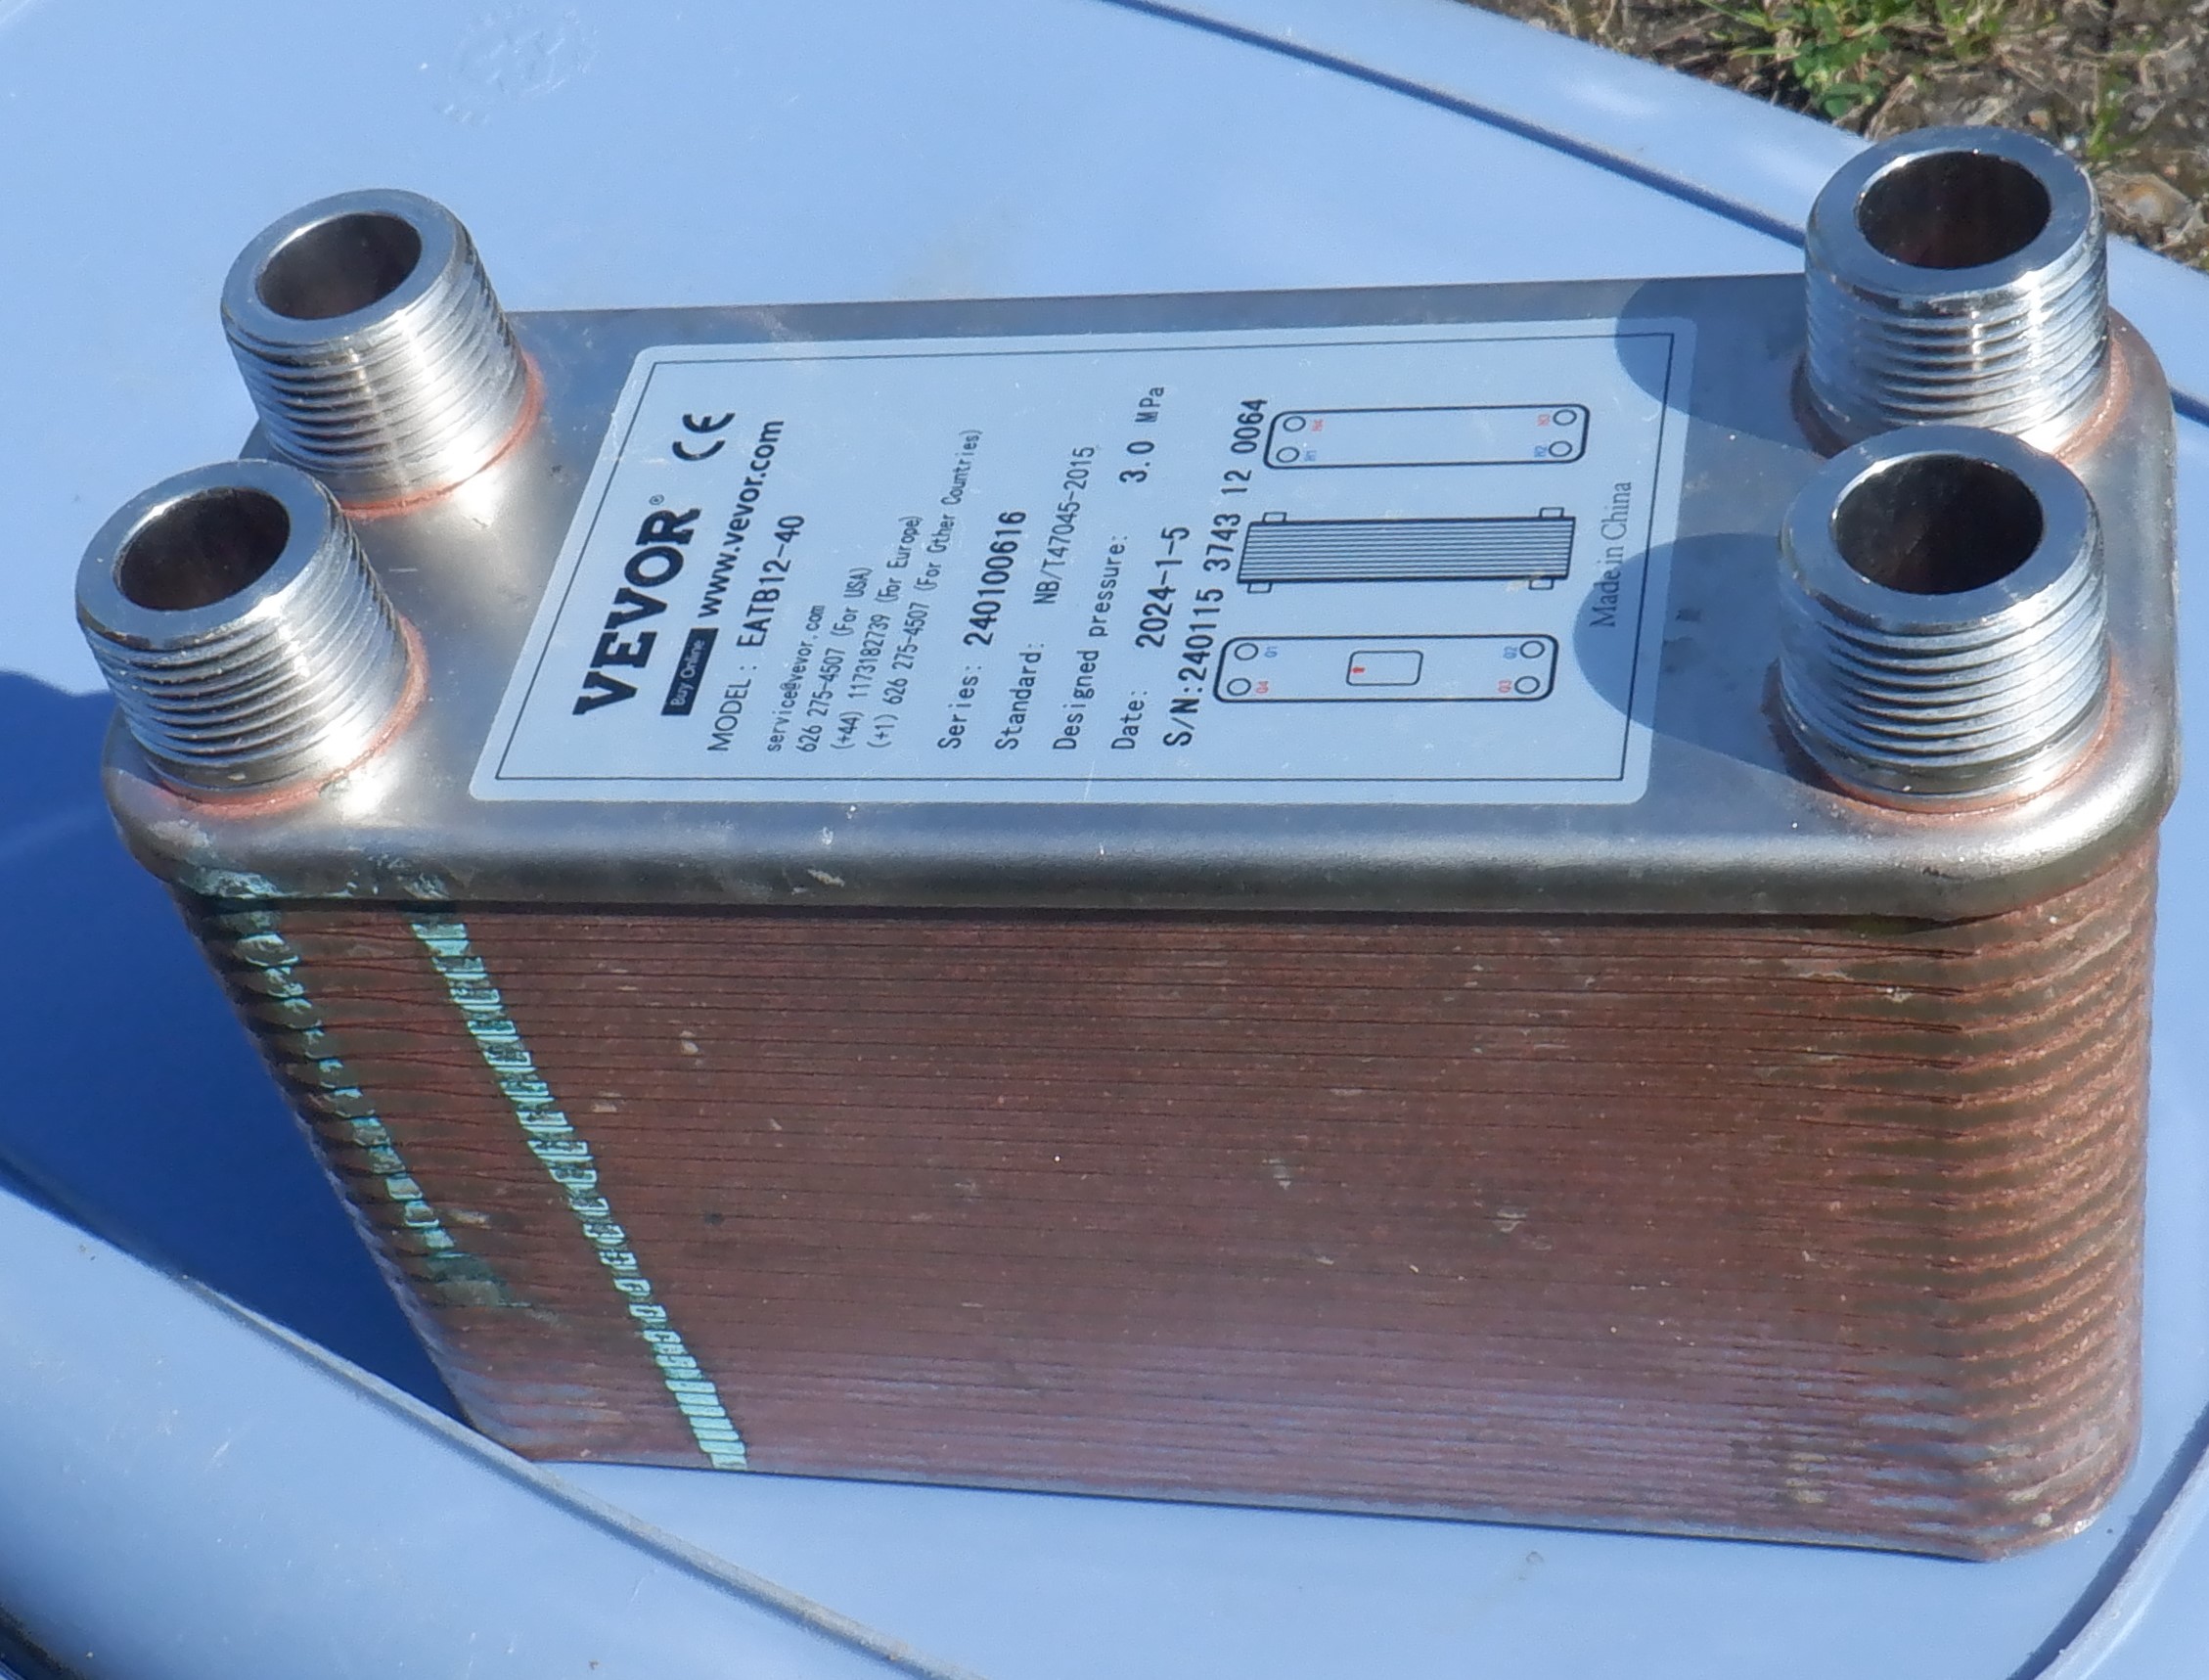
Heat Exchanger (2)
These units will be used to heat cold fresh water from the header tank up to a comfortable temperature to wash hands and shower yourself. They work by have a stack thin metal plates which are connected on alternating layers to either the hot or cold water supply. Then when the water flows heat moves from the hot to the cold water. We bought this unit as a example and will buy more direct from china.
We connected up a hose to our garden tap for fresh mains water in one end, a small pump and pipework to stuck the hot water from the test tank in the other end of the heat exchanger. The outputs from both of these ‘sources’ were just sent out of the Garage door and splashed out on to our driveway.
We put on four temperature probes to monitor the four connections to the heat exchanger and had two flow rate meters so we could control and match the flow rate for both the cold water and the hot water side of the system. We played around with different flow rates, to see how quickly we could cool down the exchanger when we stopped the hot water flowing, plus to what happens if we went at maximum speed etc.
Very interesting! We ran out of hot water but we learnt quite a bit!
That concludes our Testing phase, for constructing a Hot Water vessel and we are now confident and ready to make a start on building our third water tank next week, the Hot Water Tank. This is our final water tank for the time being.
Leave a Reply
You must be logged in to post a comment.