Category: Build Progress

  • Windows Framework Being Installed

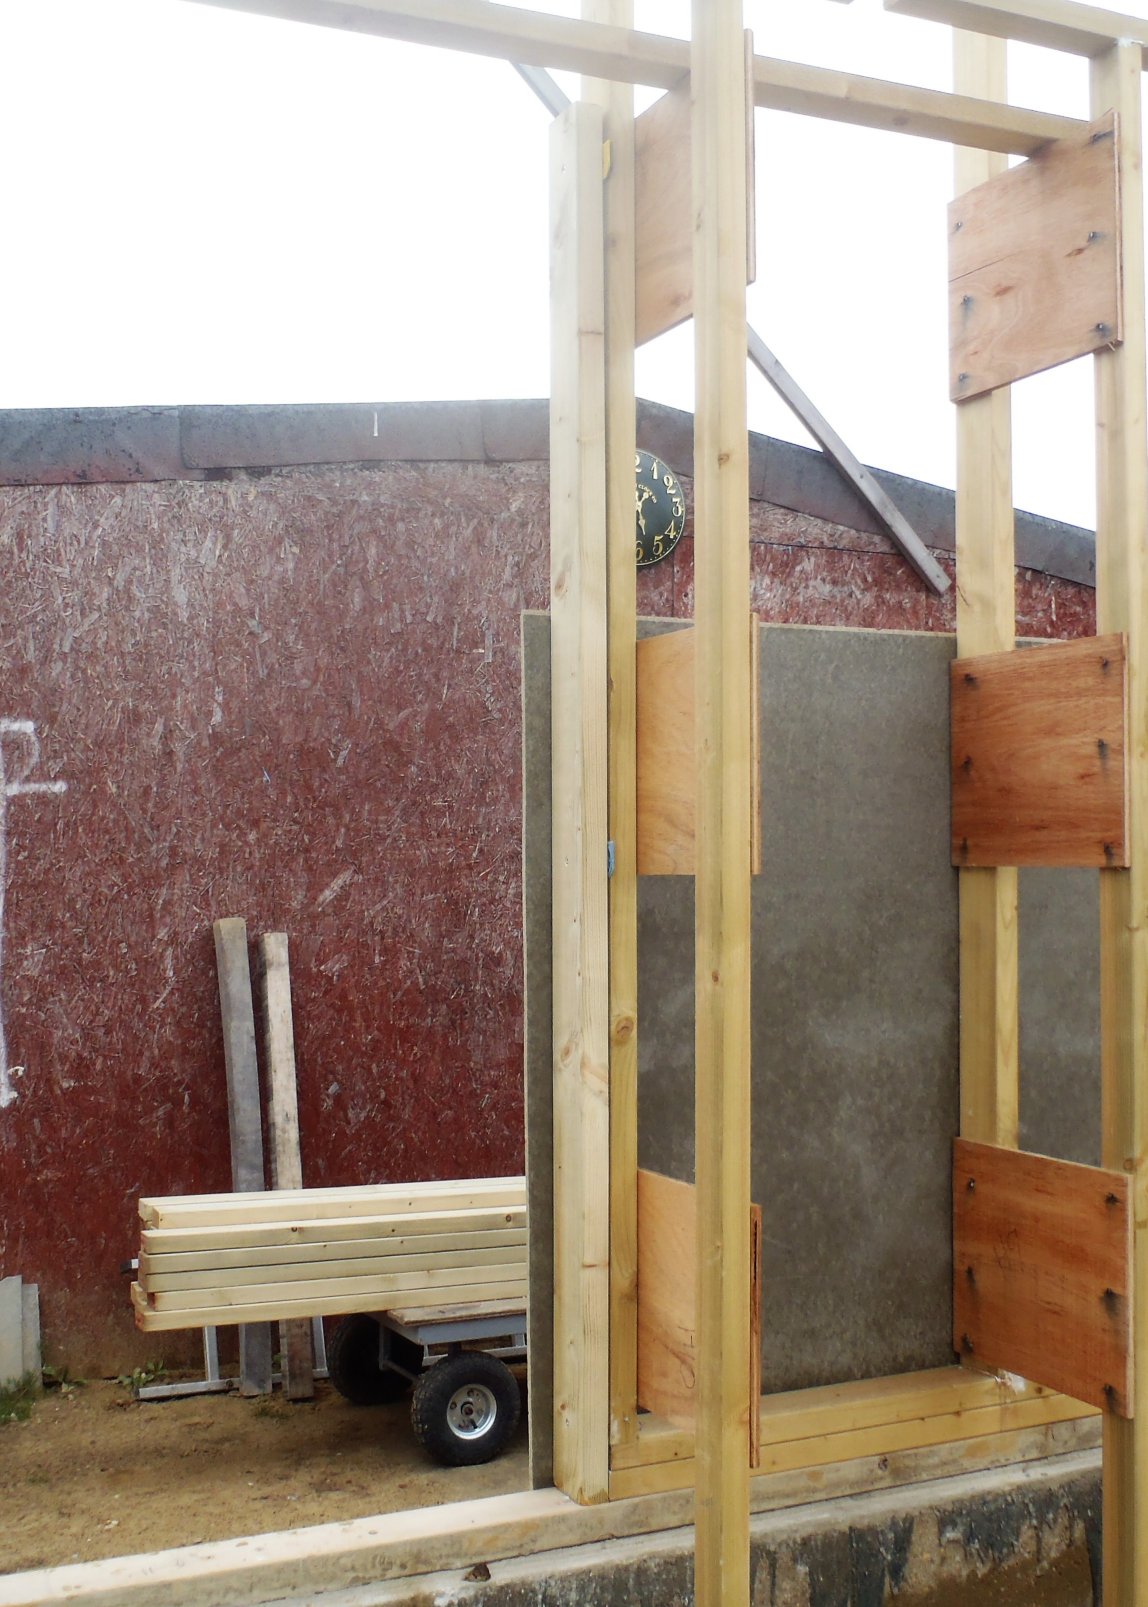
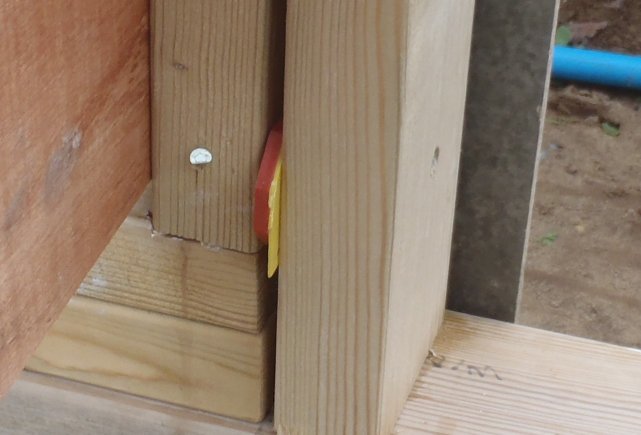
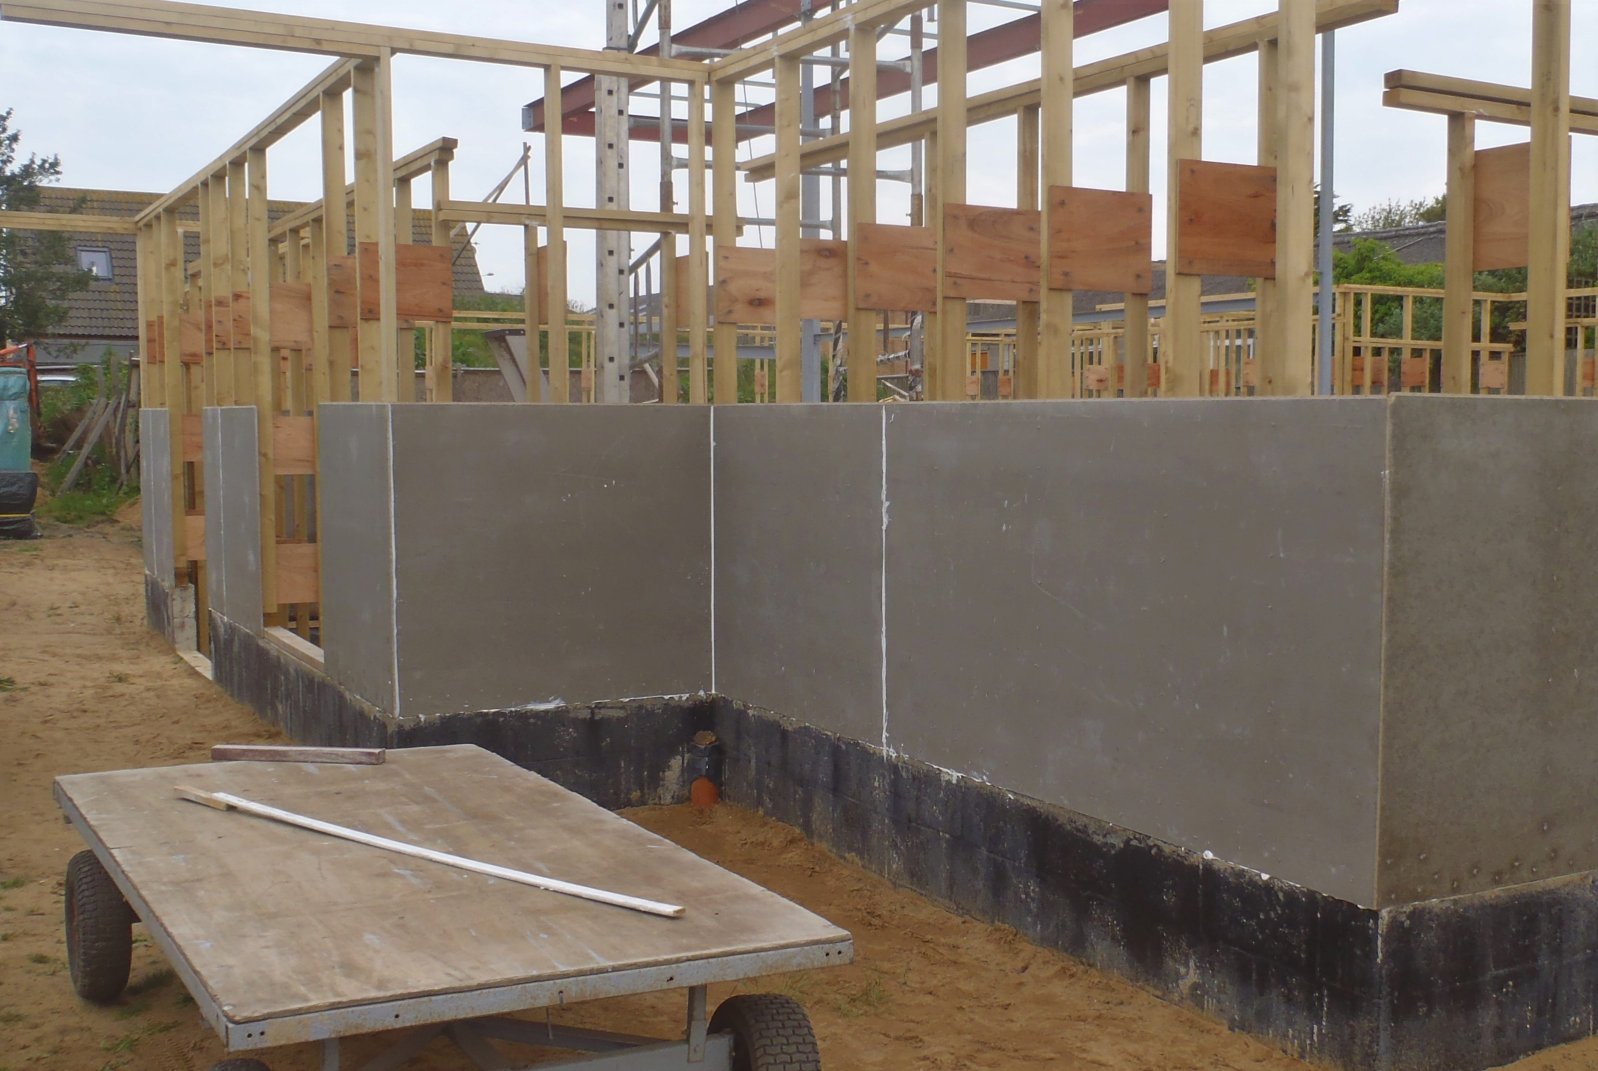
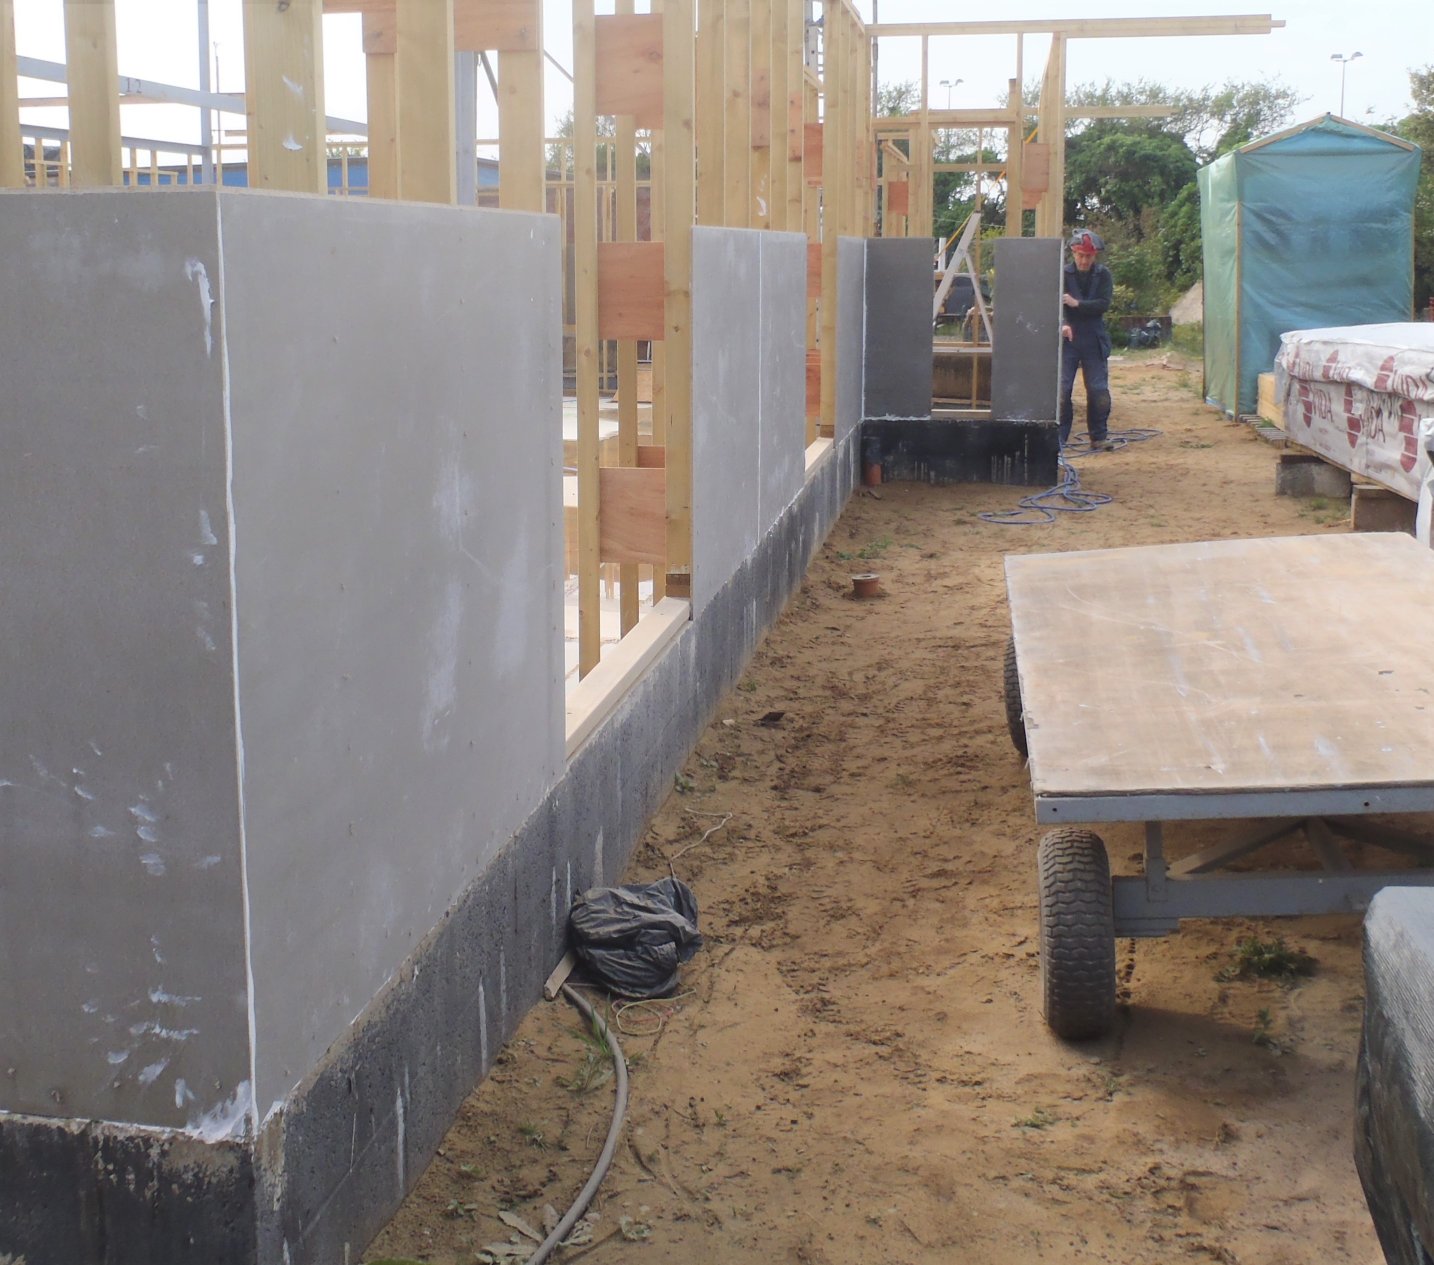
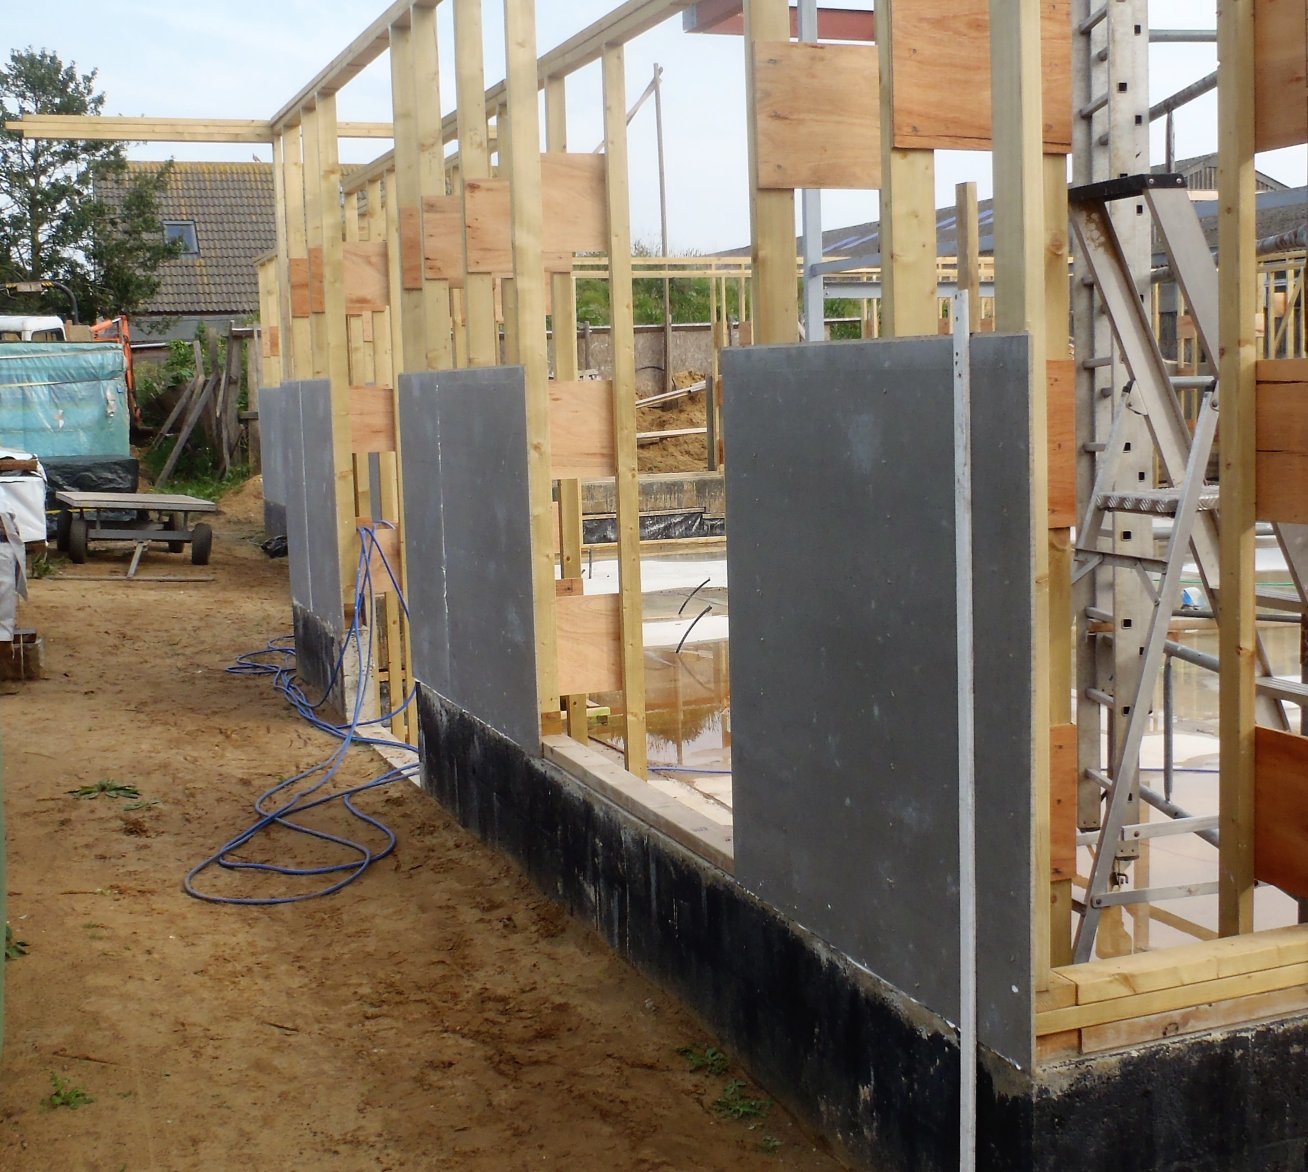
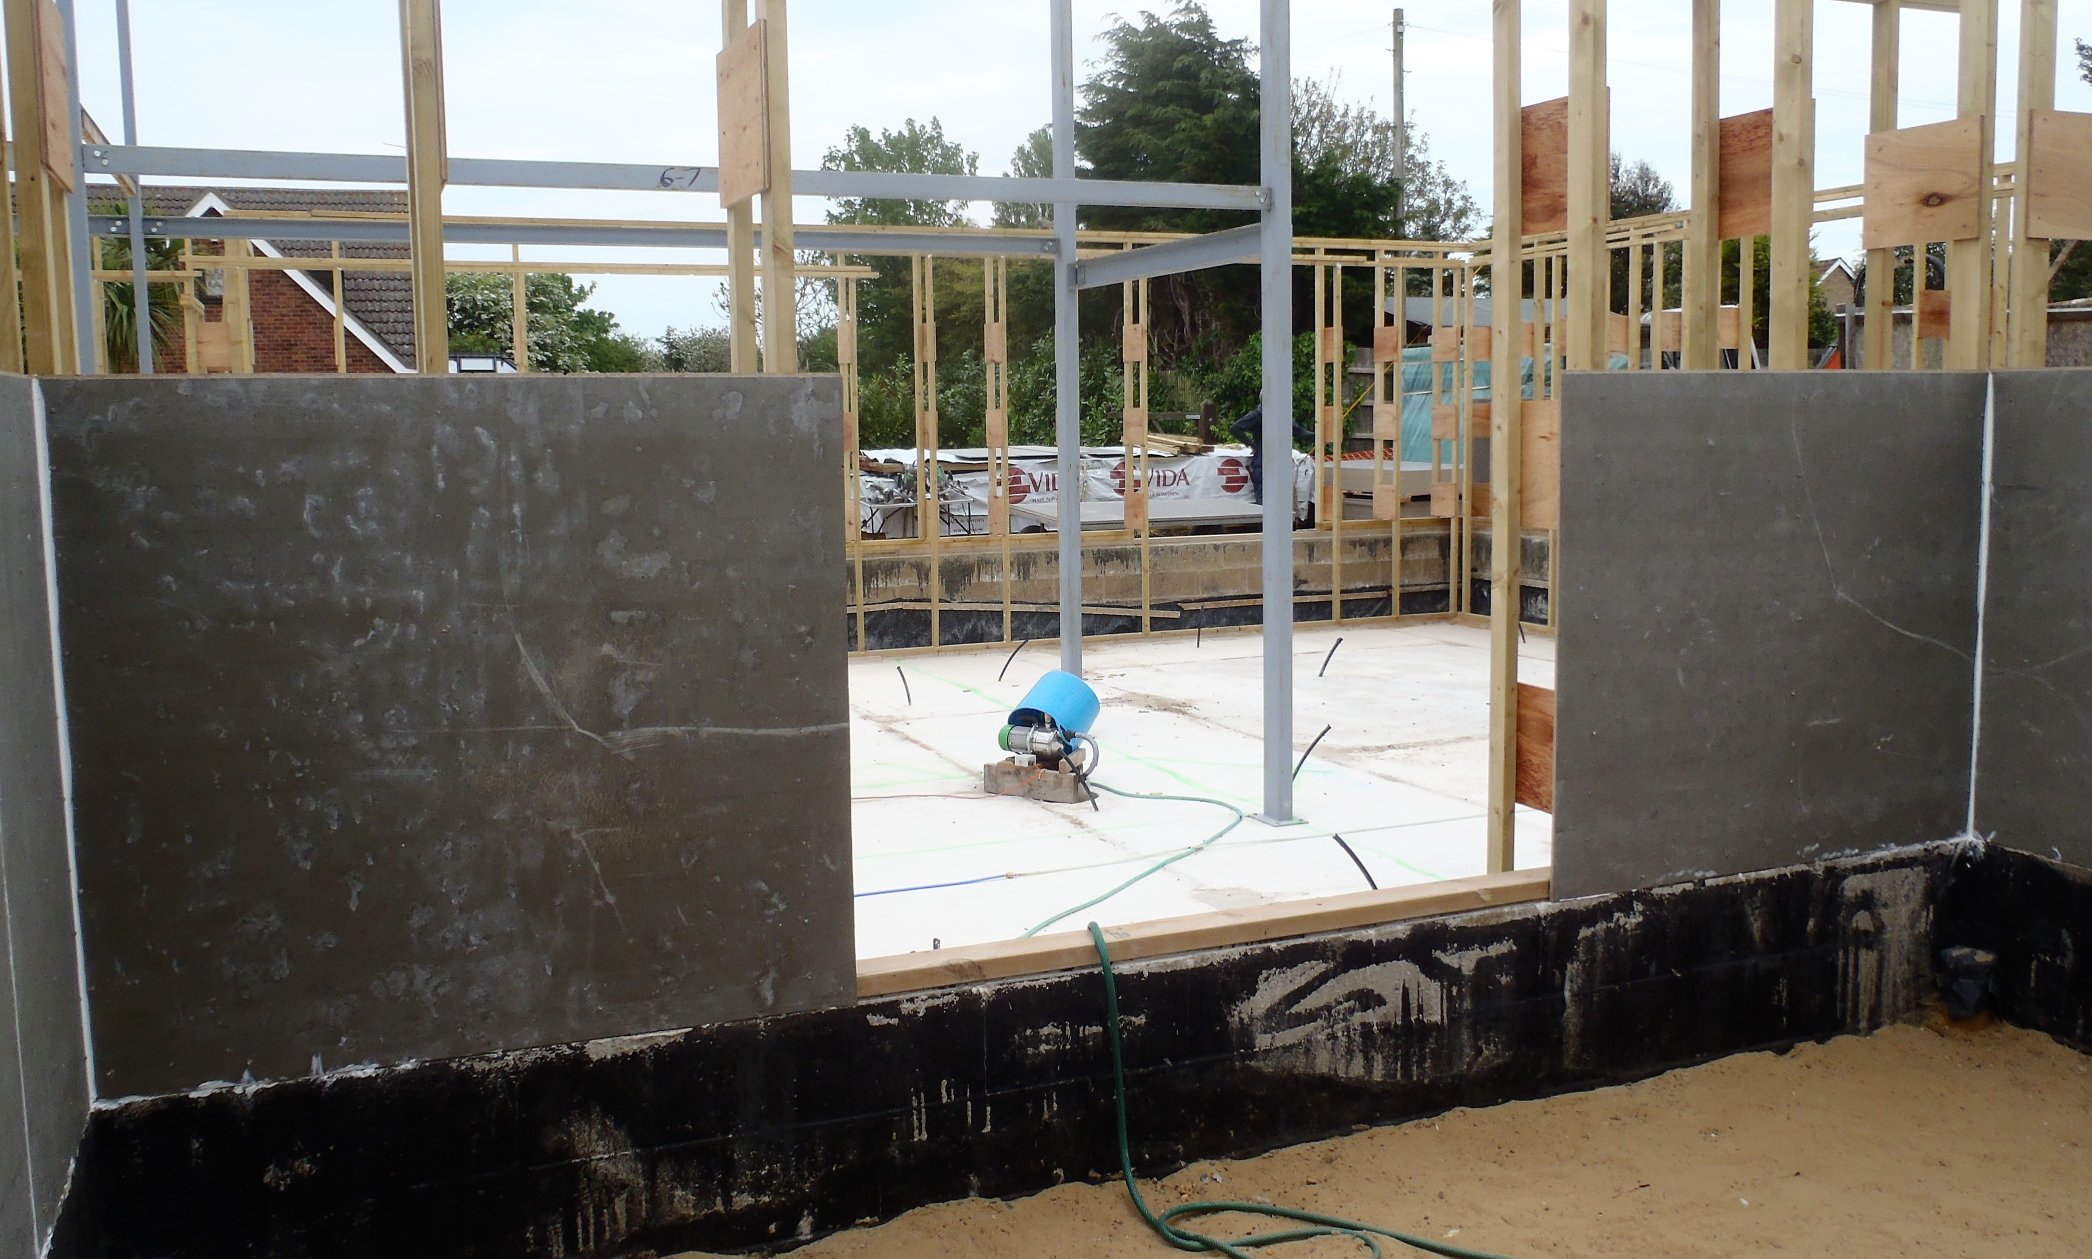
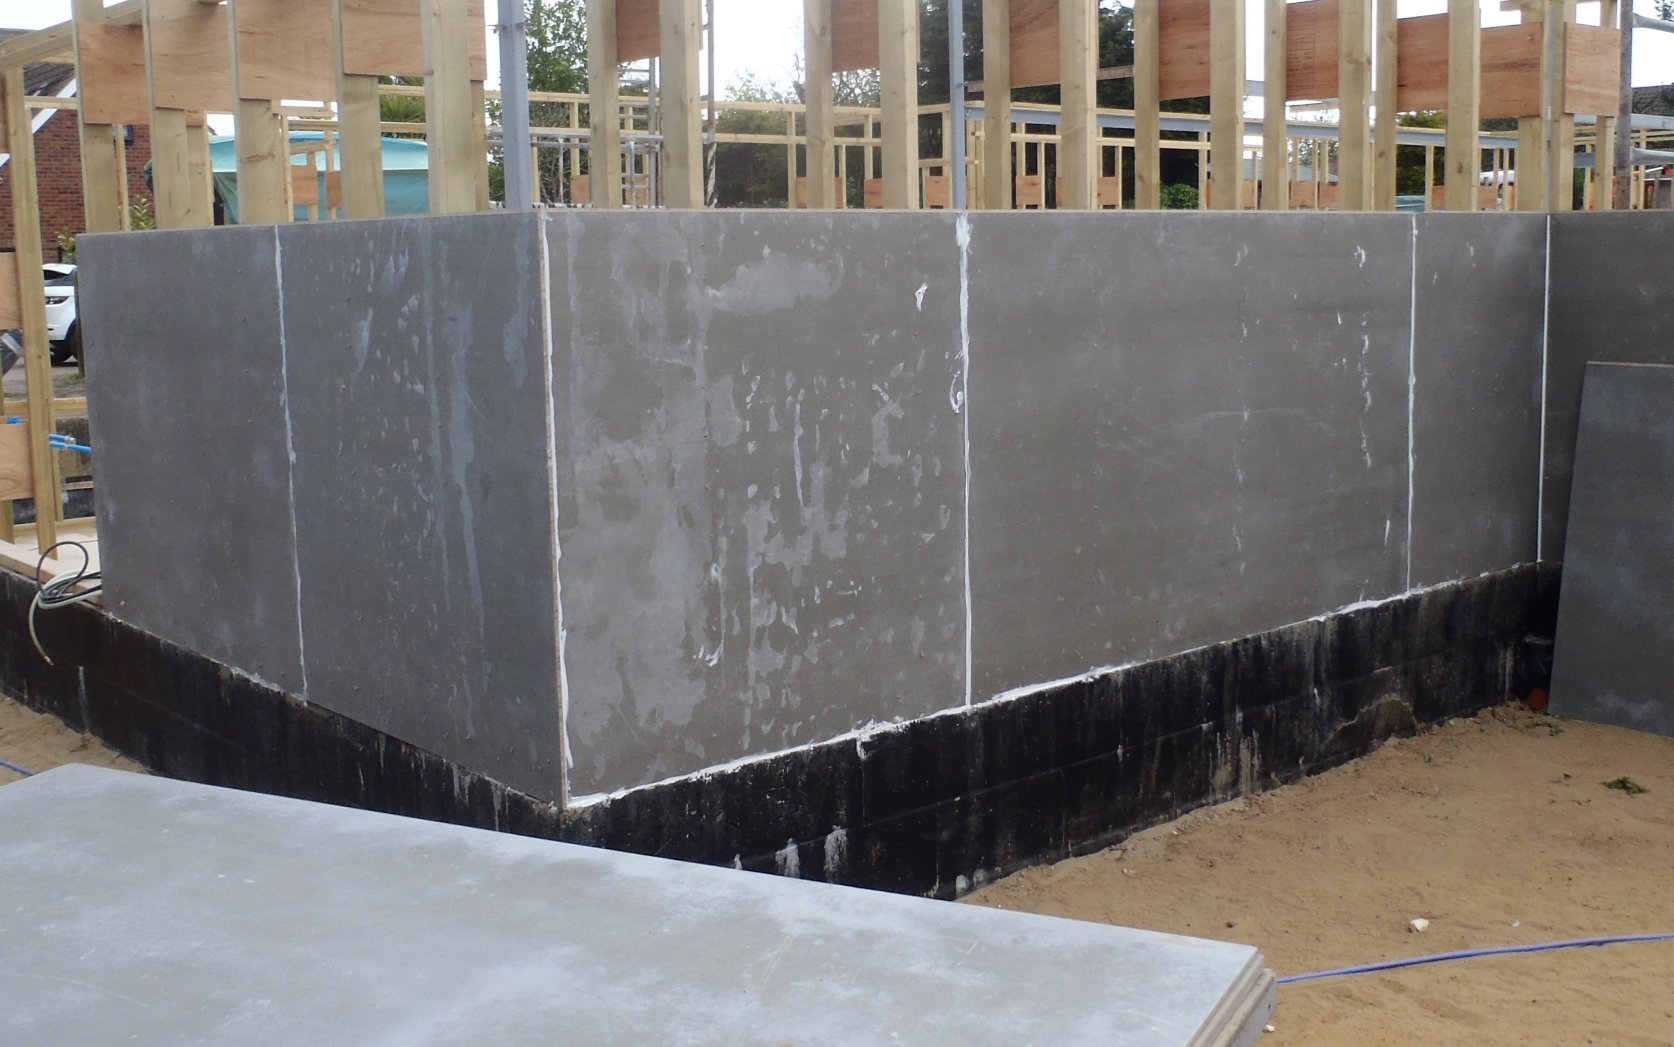
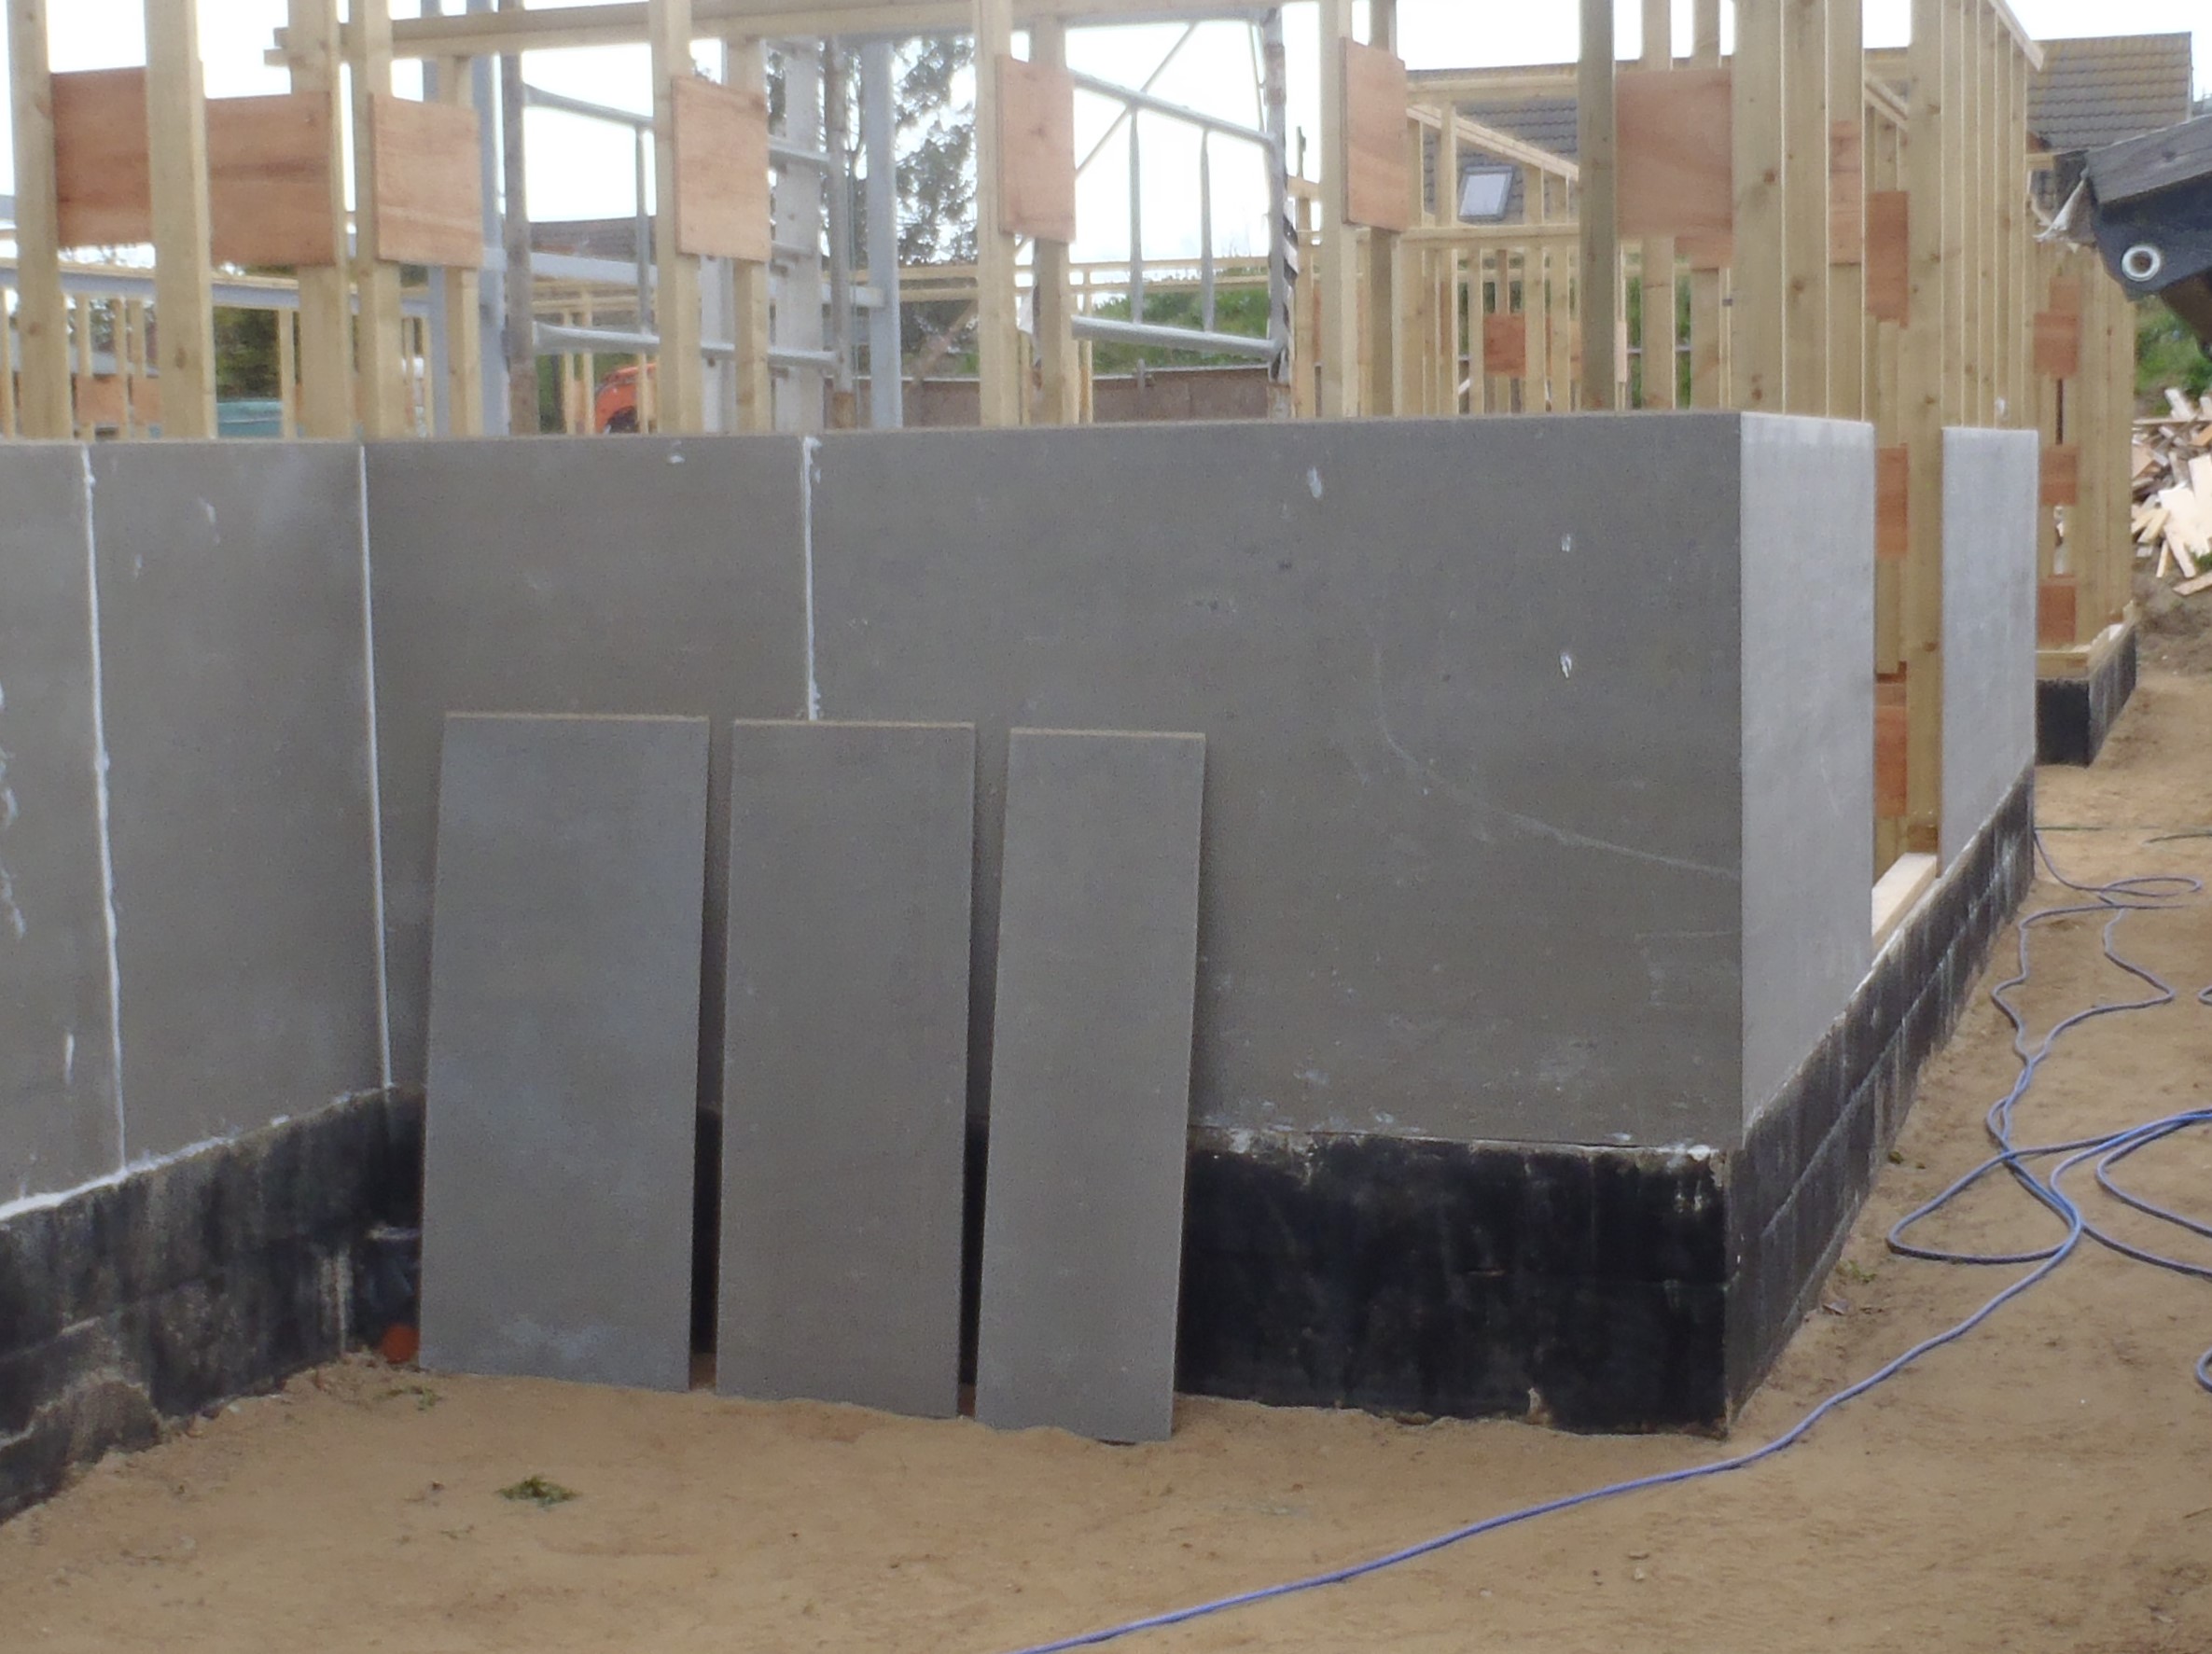
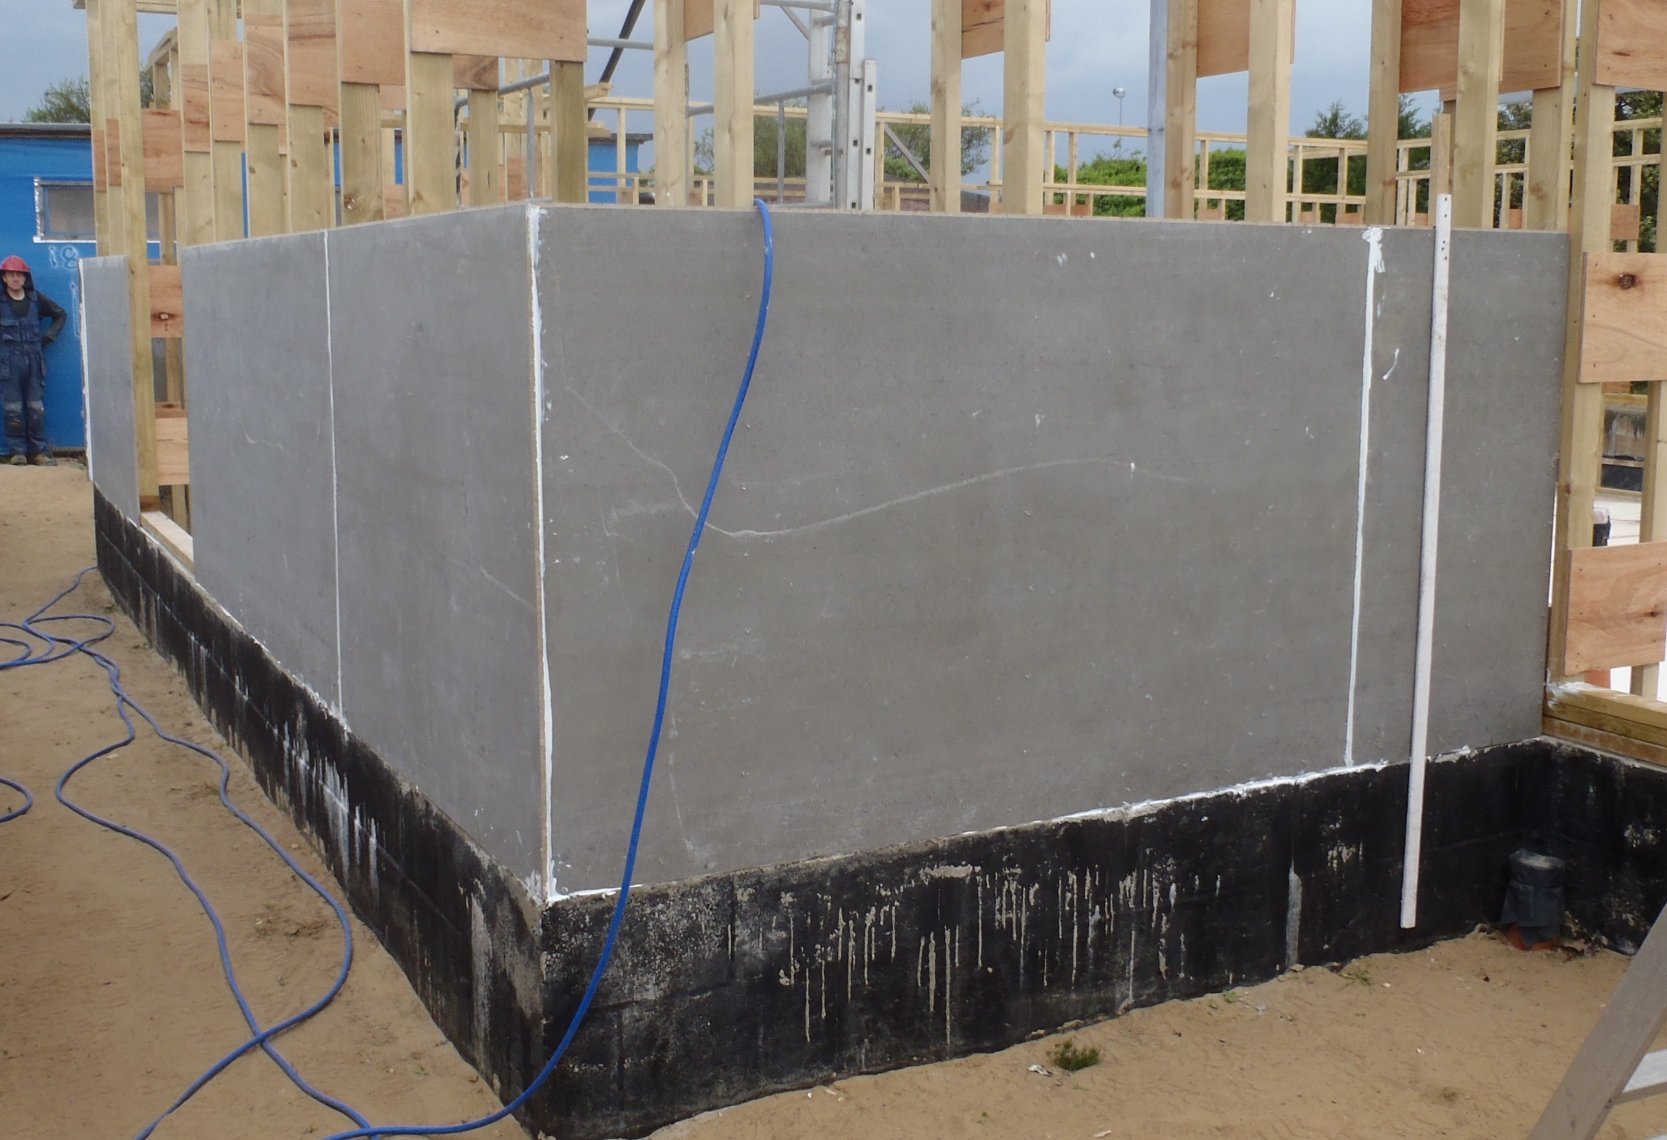
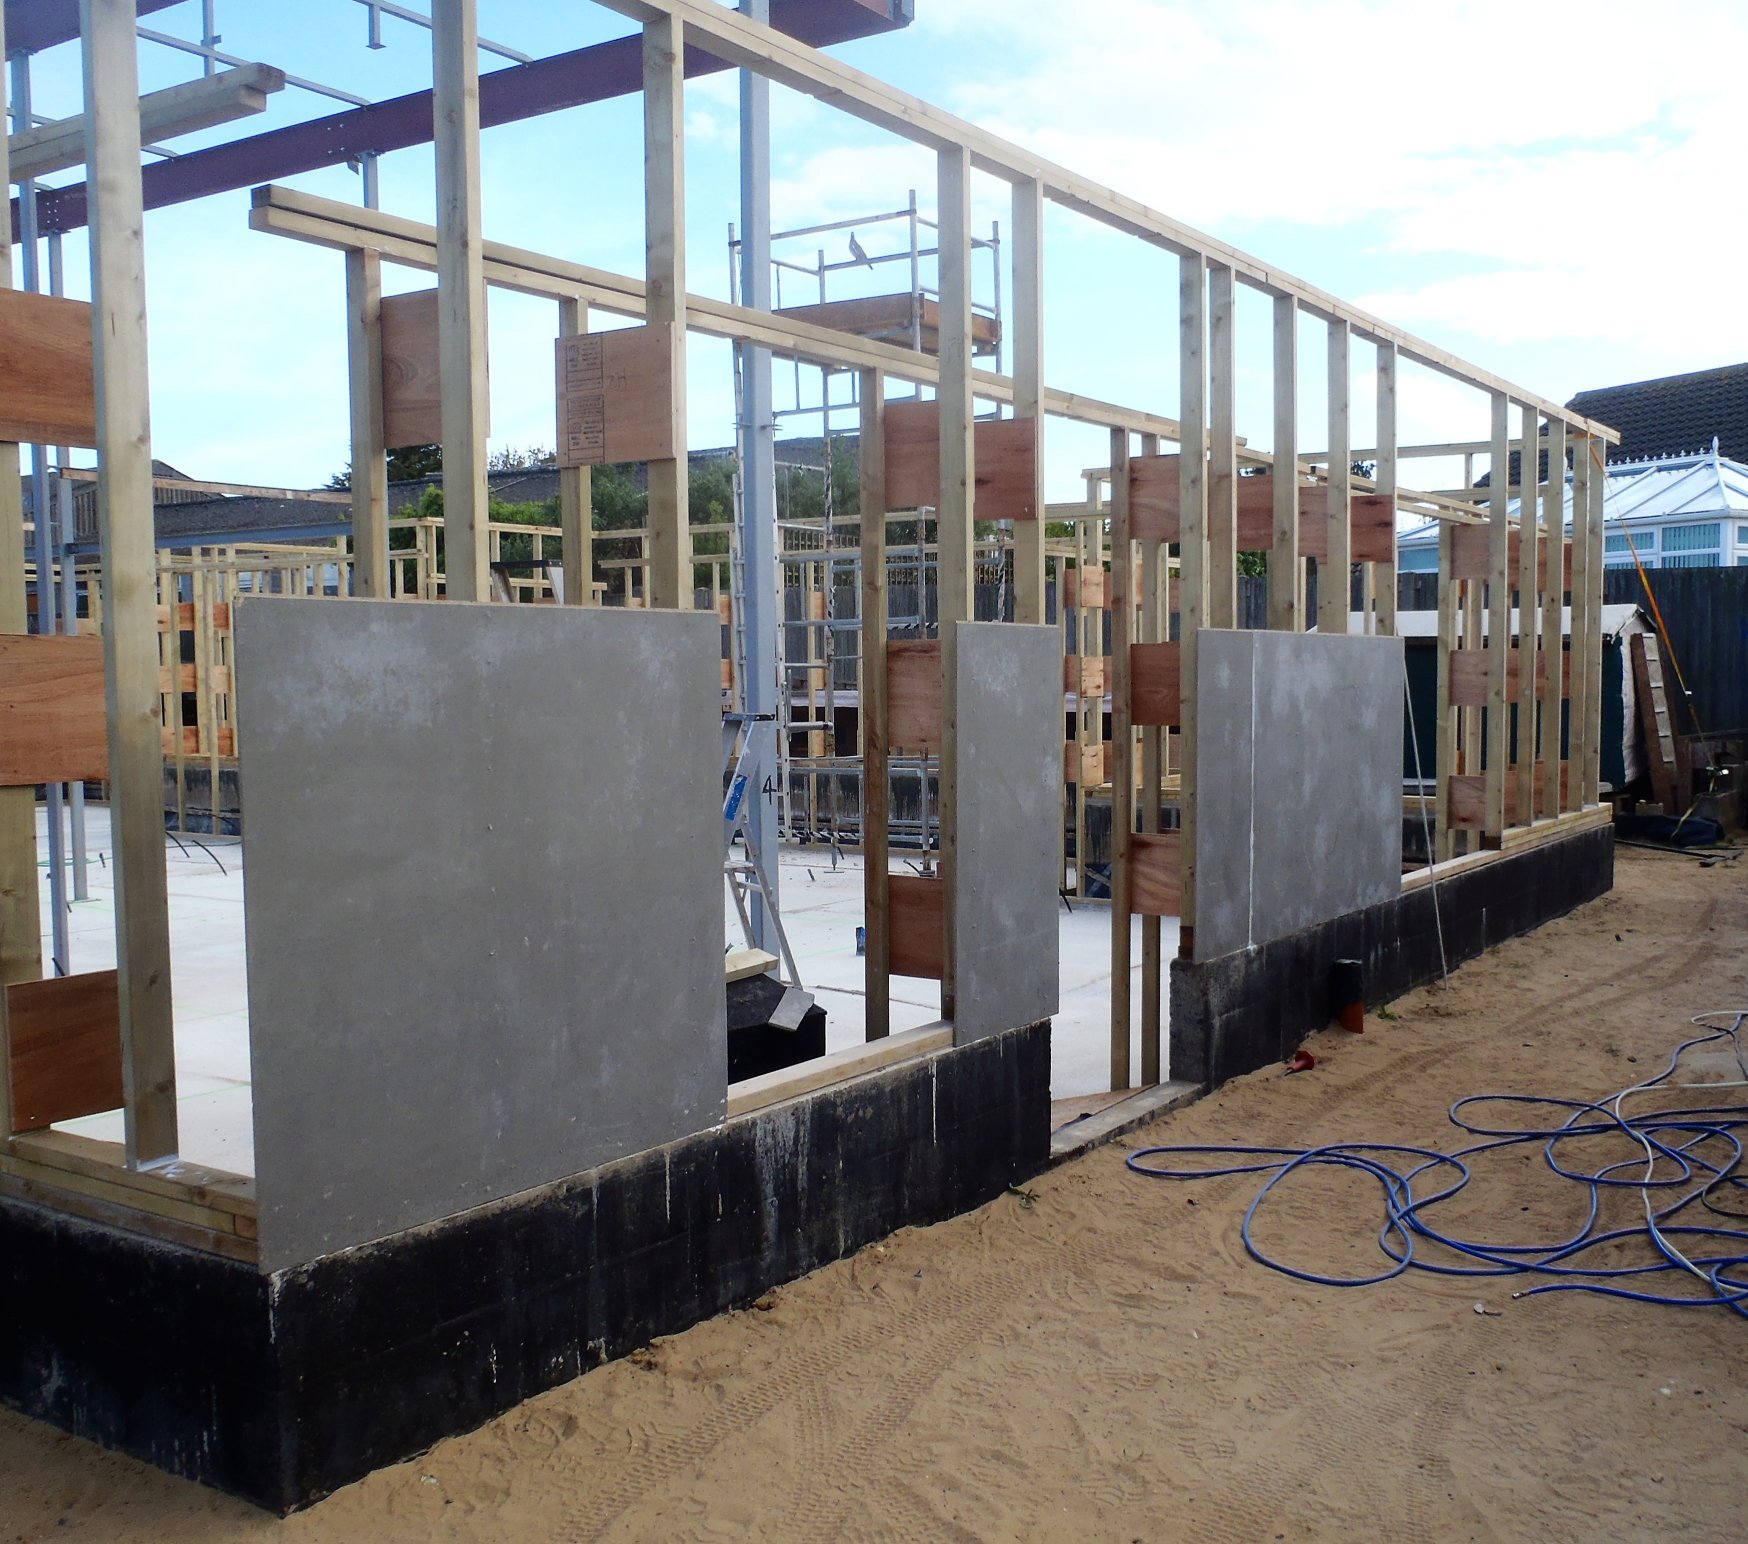
    Today, after our lost day caused by the wet weather yesterday, we resumed our work of putting in the two vertical posts that forms part of the Window frame. We continued on around the building doing each window in turn, putting in spacers to align each post to be as straight and vertical as possible.

    Then just before lunch, we went around measuring all 12 windows and recorded the width at the bottom and at the top. We wanted to know what was the smallest  width and whether we had managed to get the framework vertical too.

    The results are:

    • The smallest width is 1709 mm
    • The largest width is 1718 mm
    • Some windows are not as vertical as we wanted

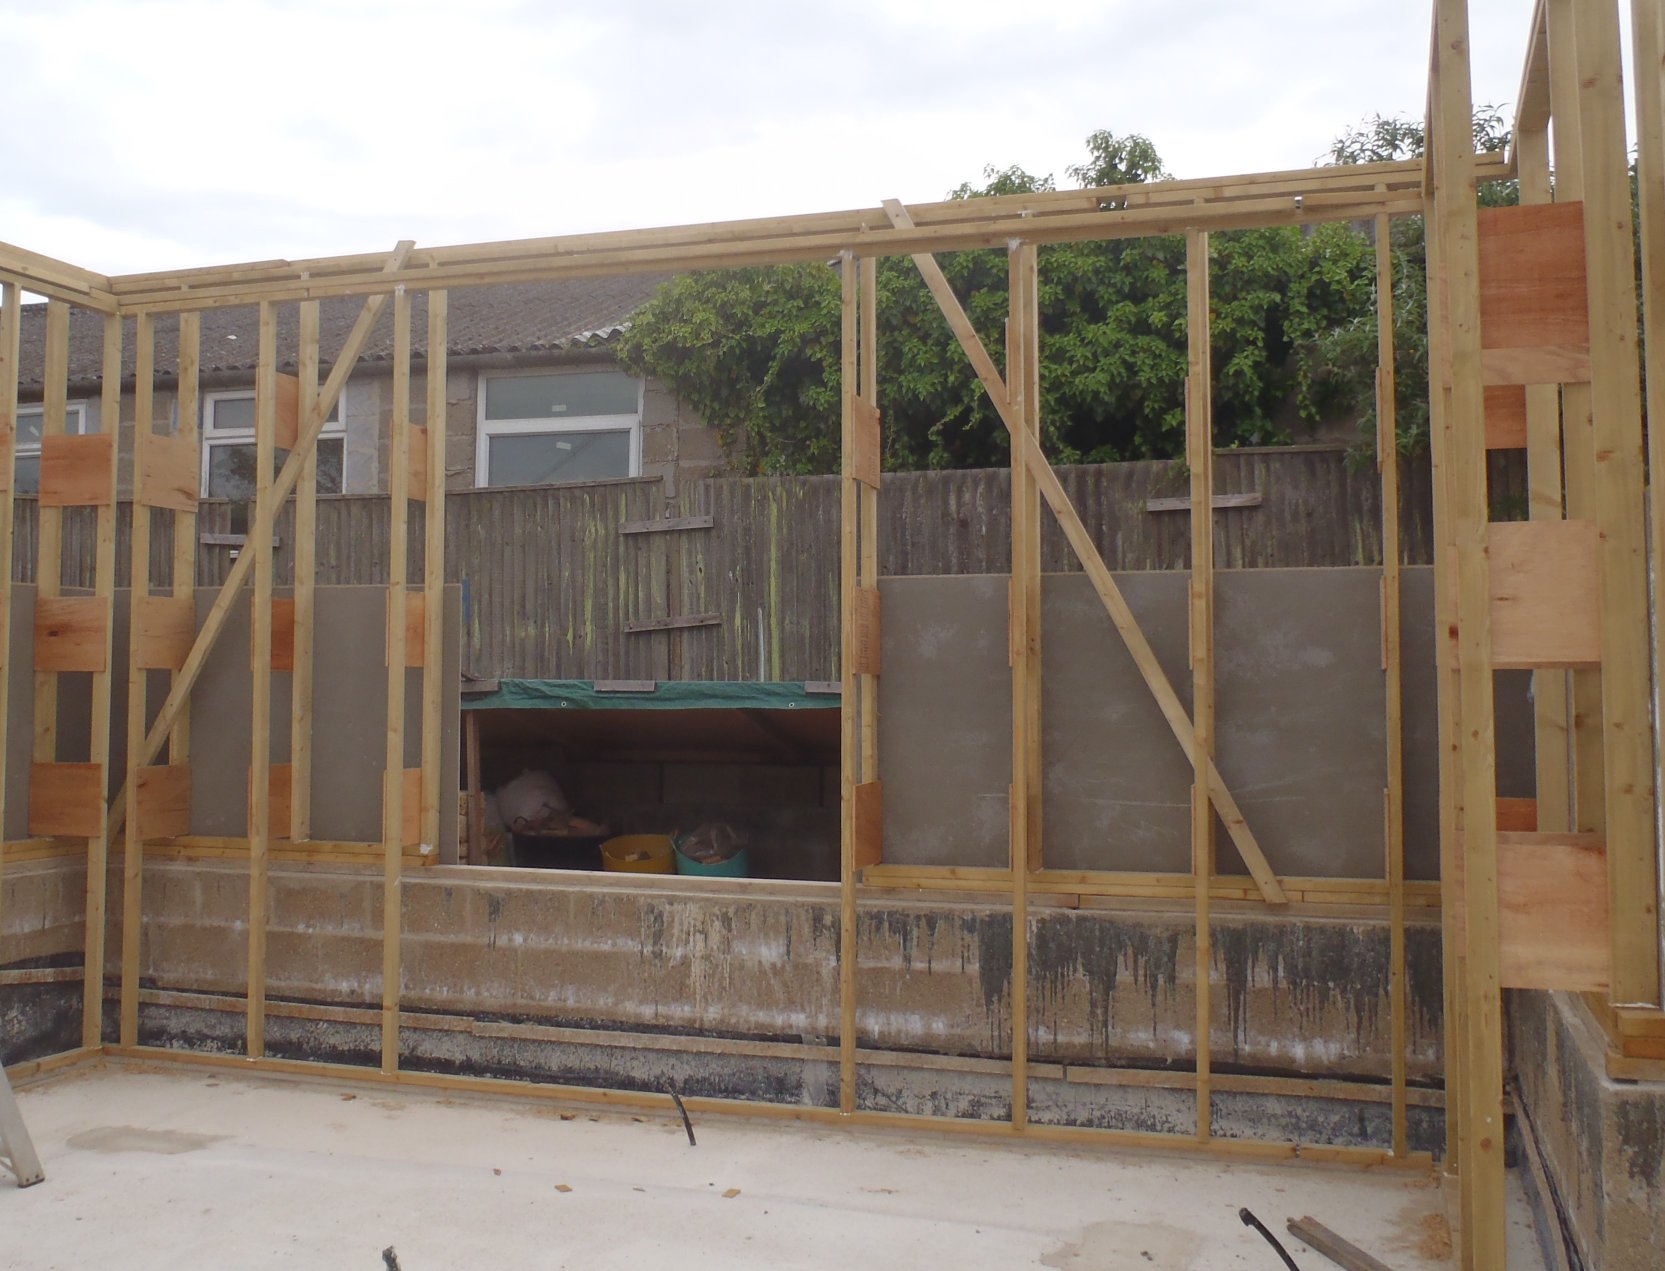
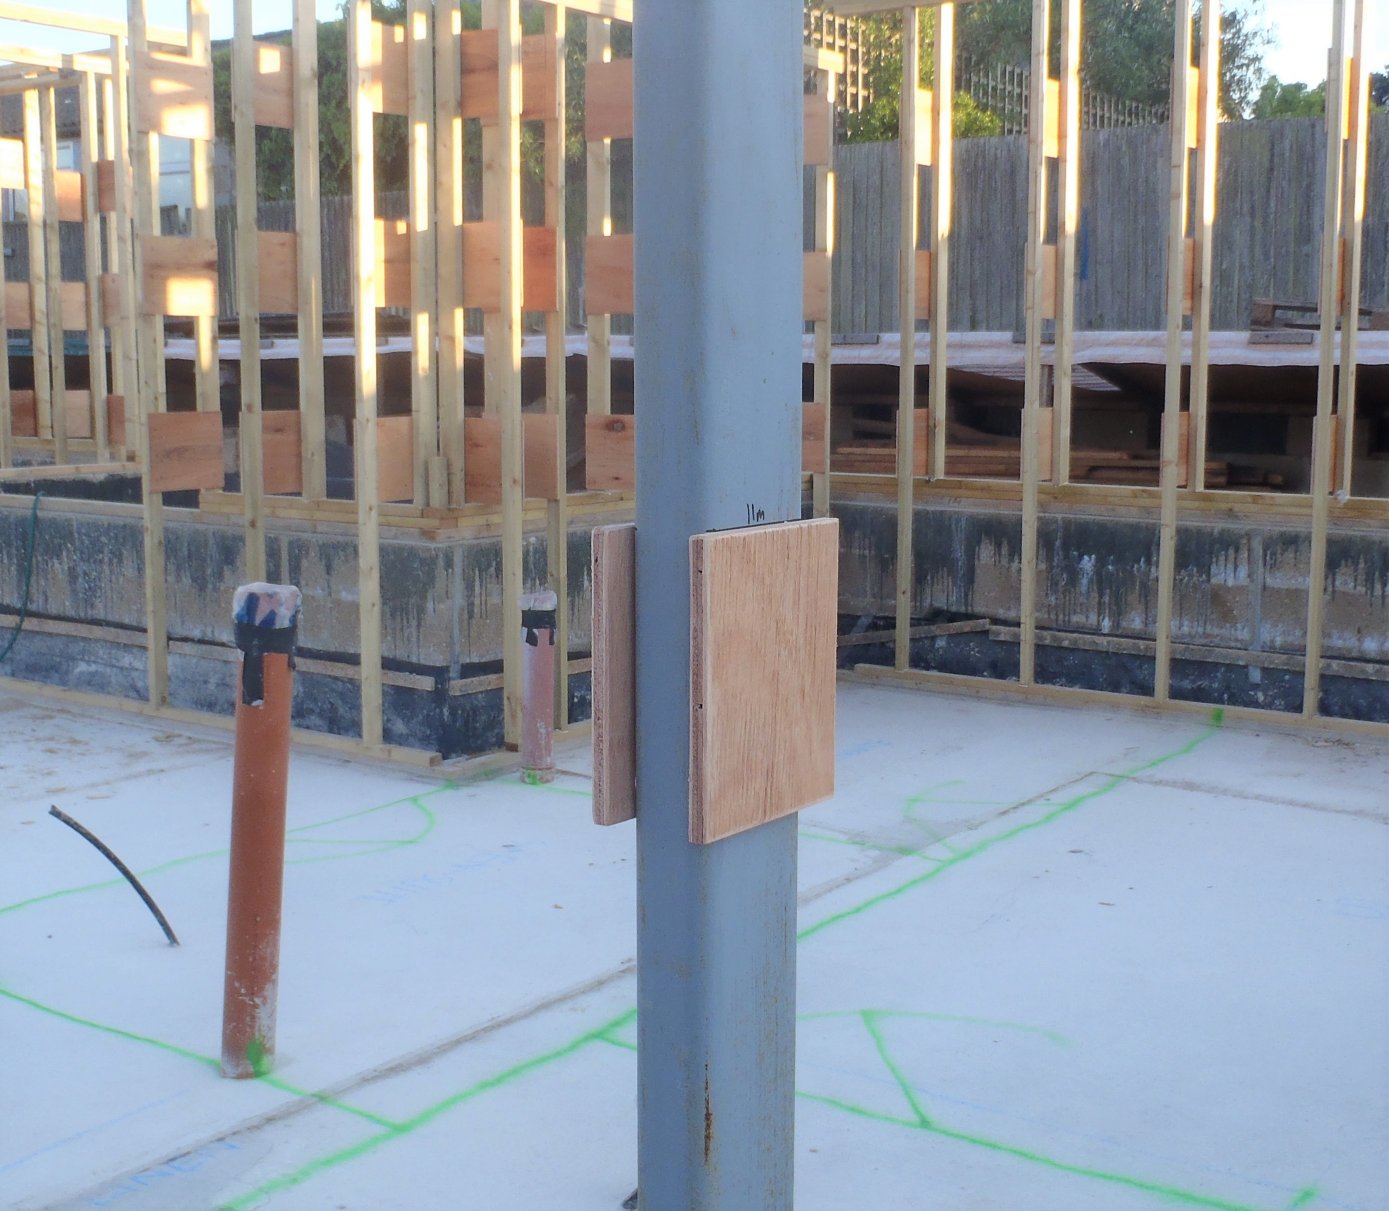
    So after lunch, we designed and made a template frame that represents the exact width and height of a window. This template was made using 100mm wide strips of the 11mm plywood sheet, all screwed together with diagonal bracing and horizontal ones too, to make a very square and rigid template that is exactly 1708 mm wide between the two parallel vertical edges.
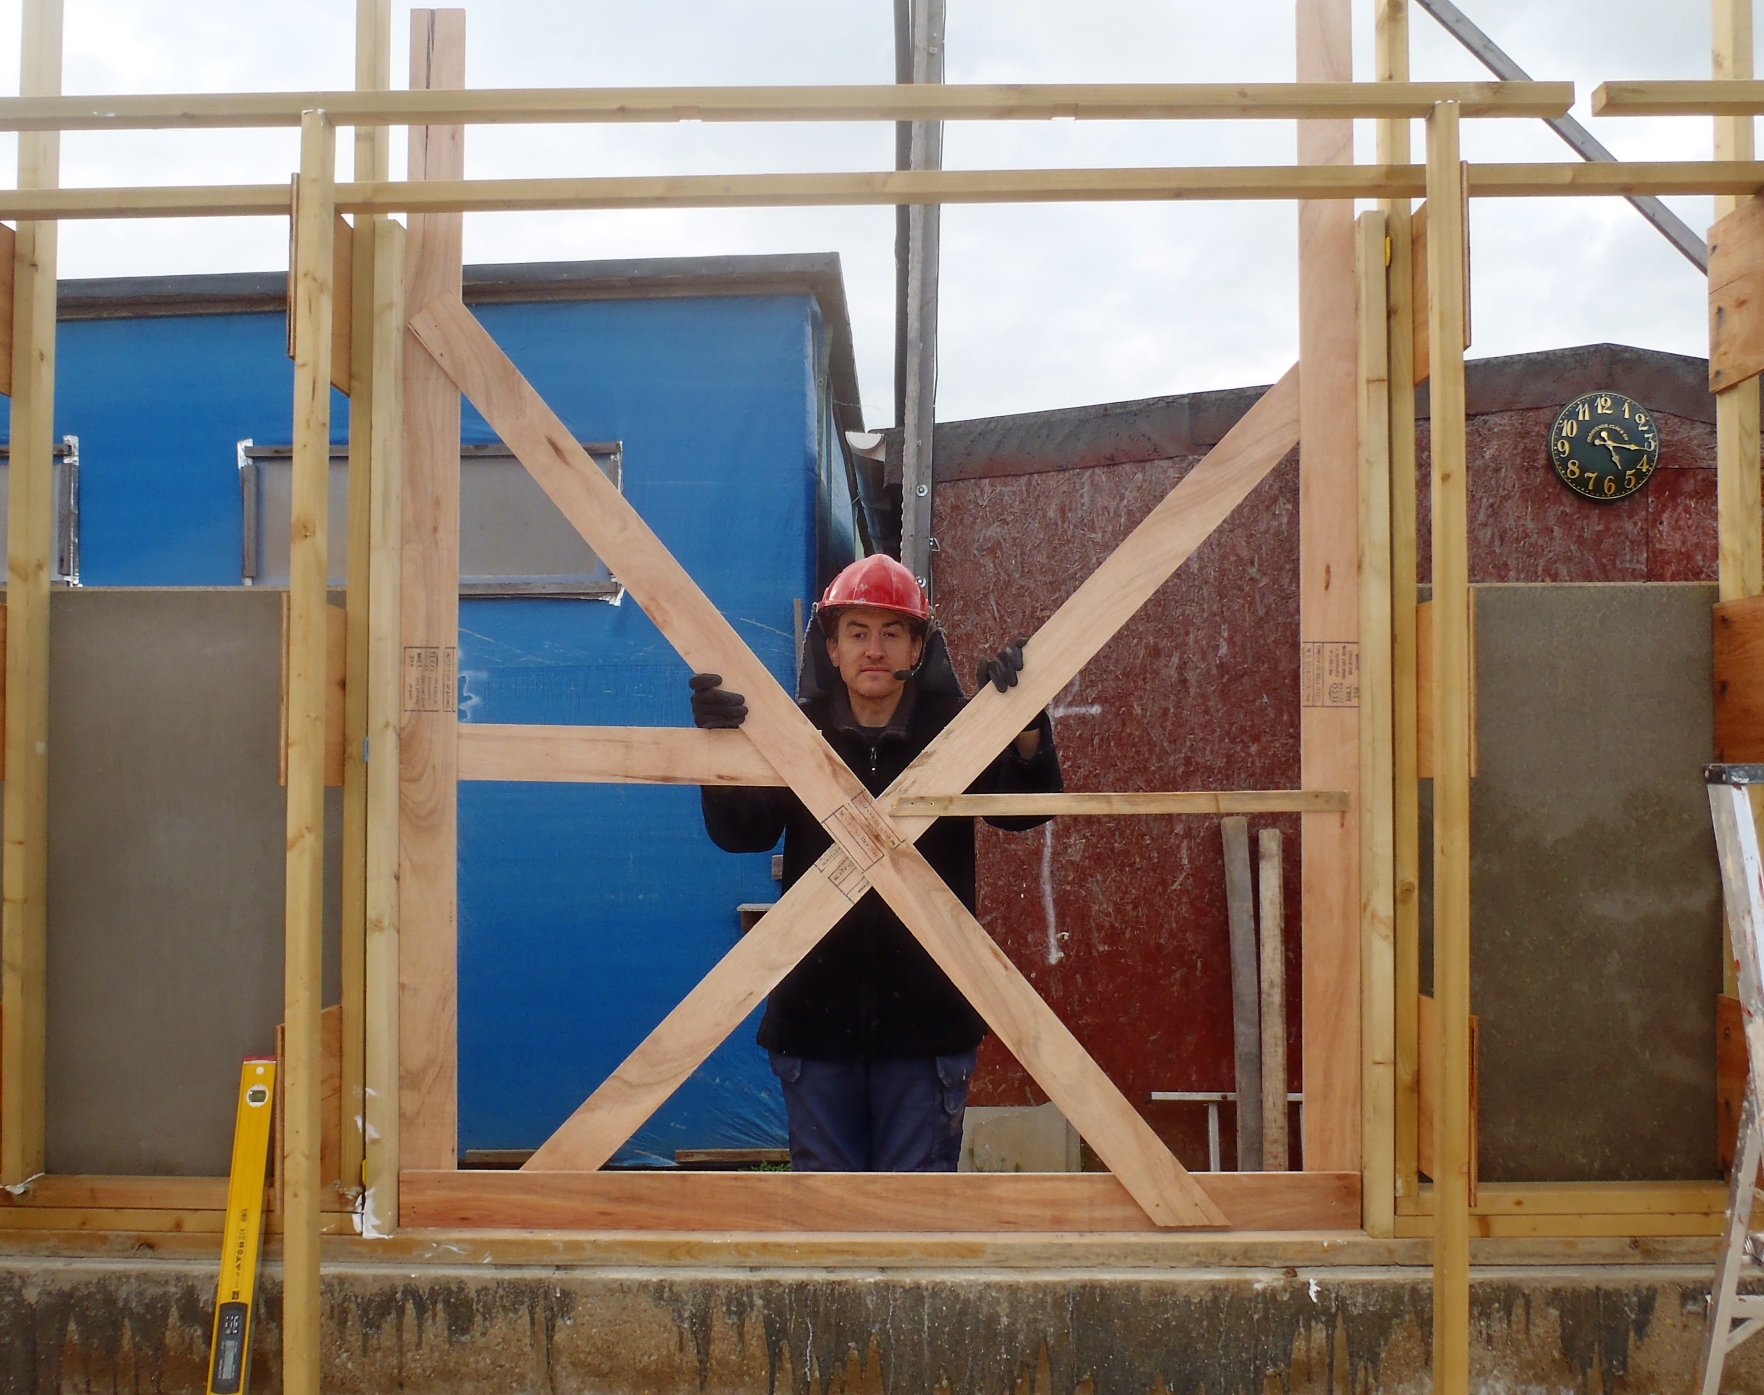
    Window-framing-jig

    Window-framing-jig

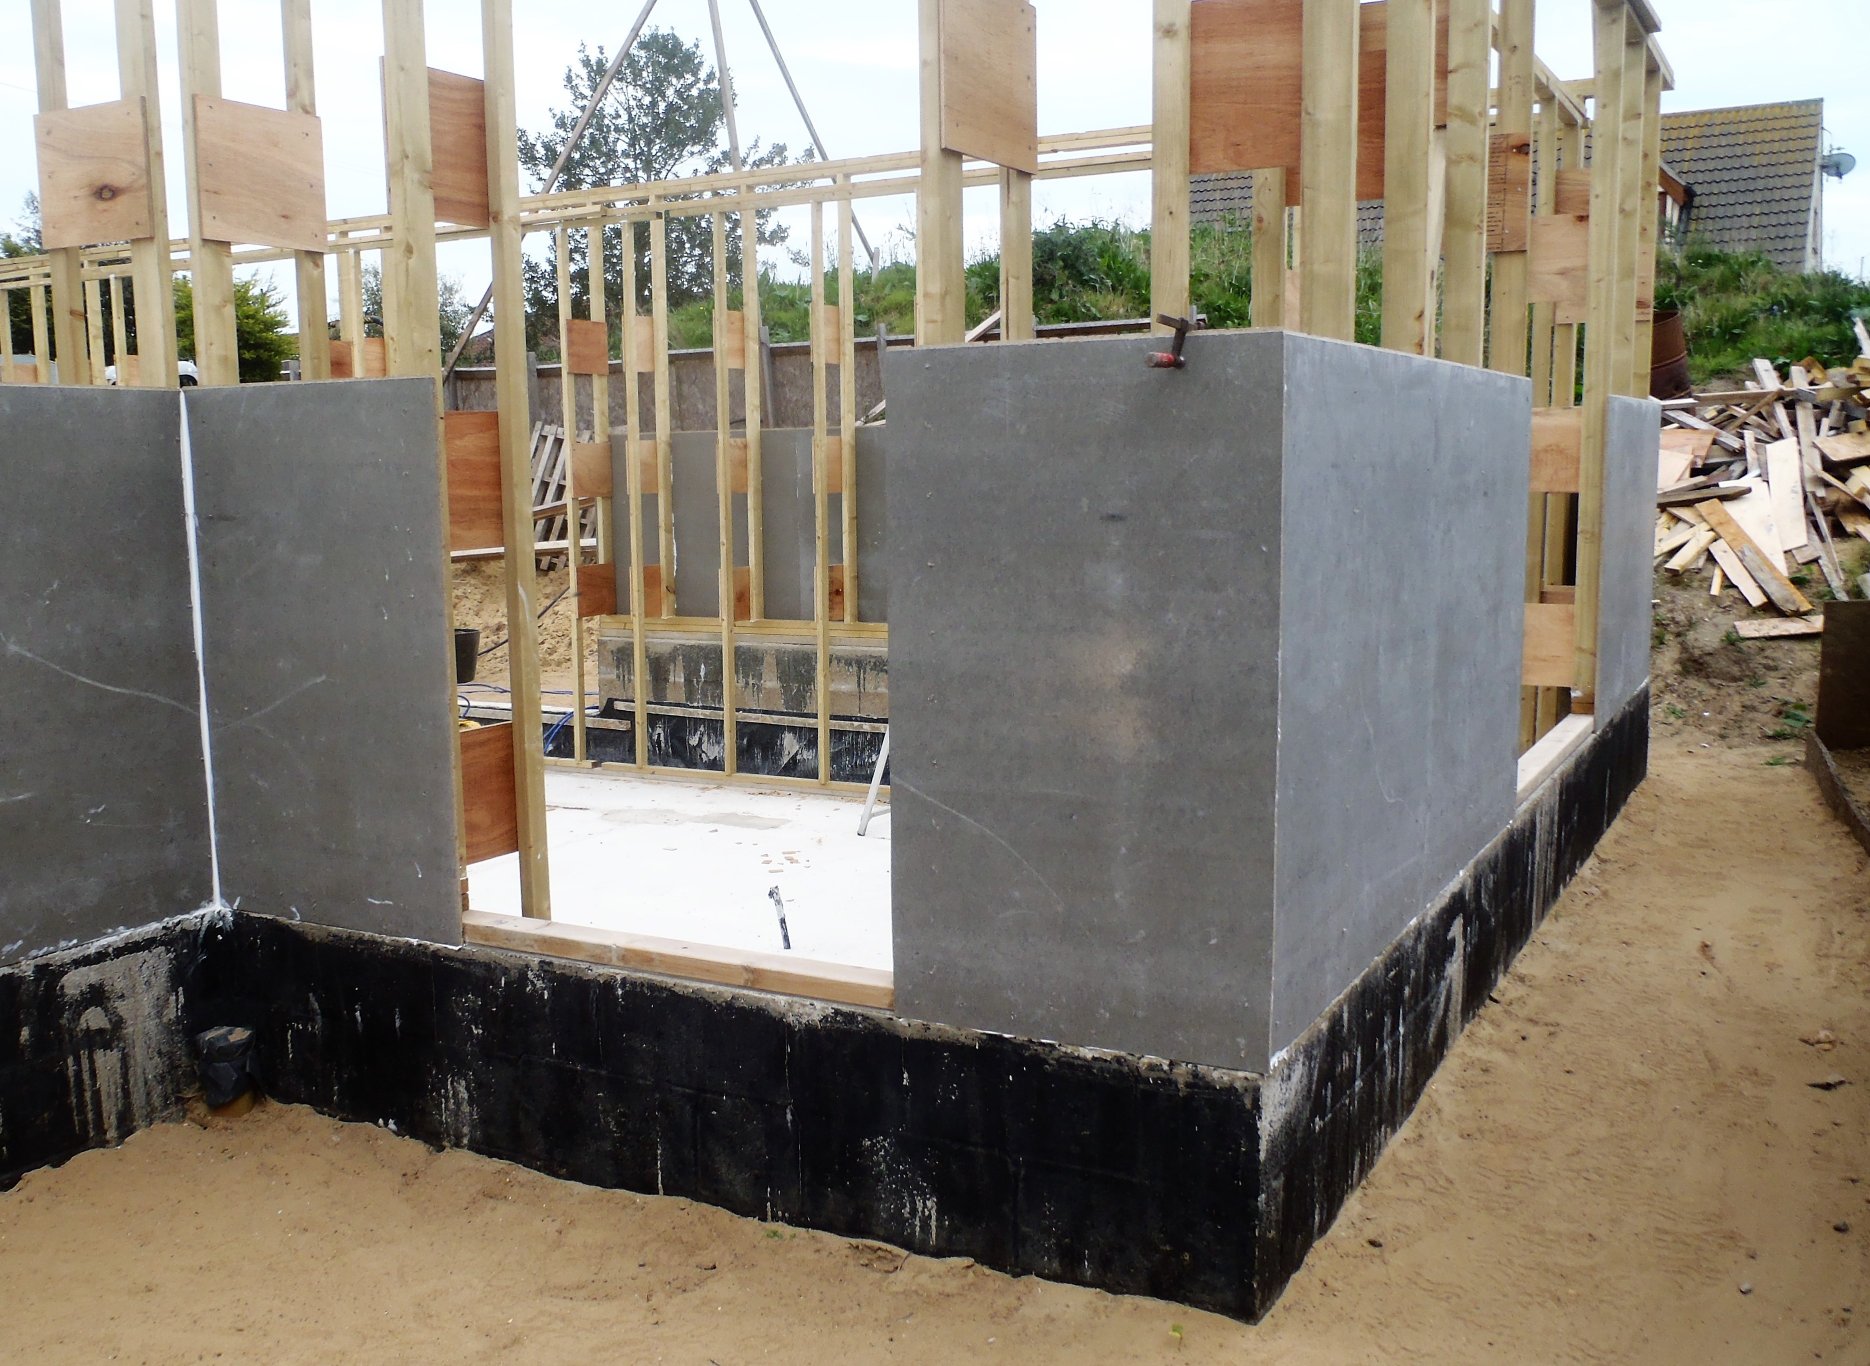
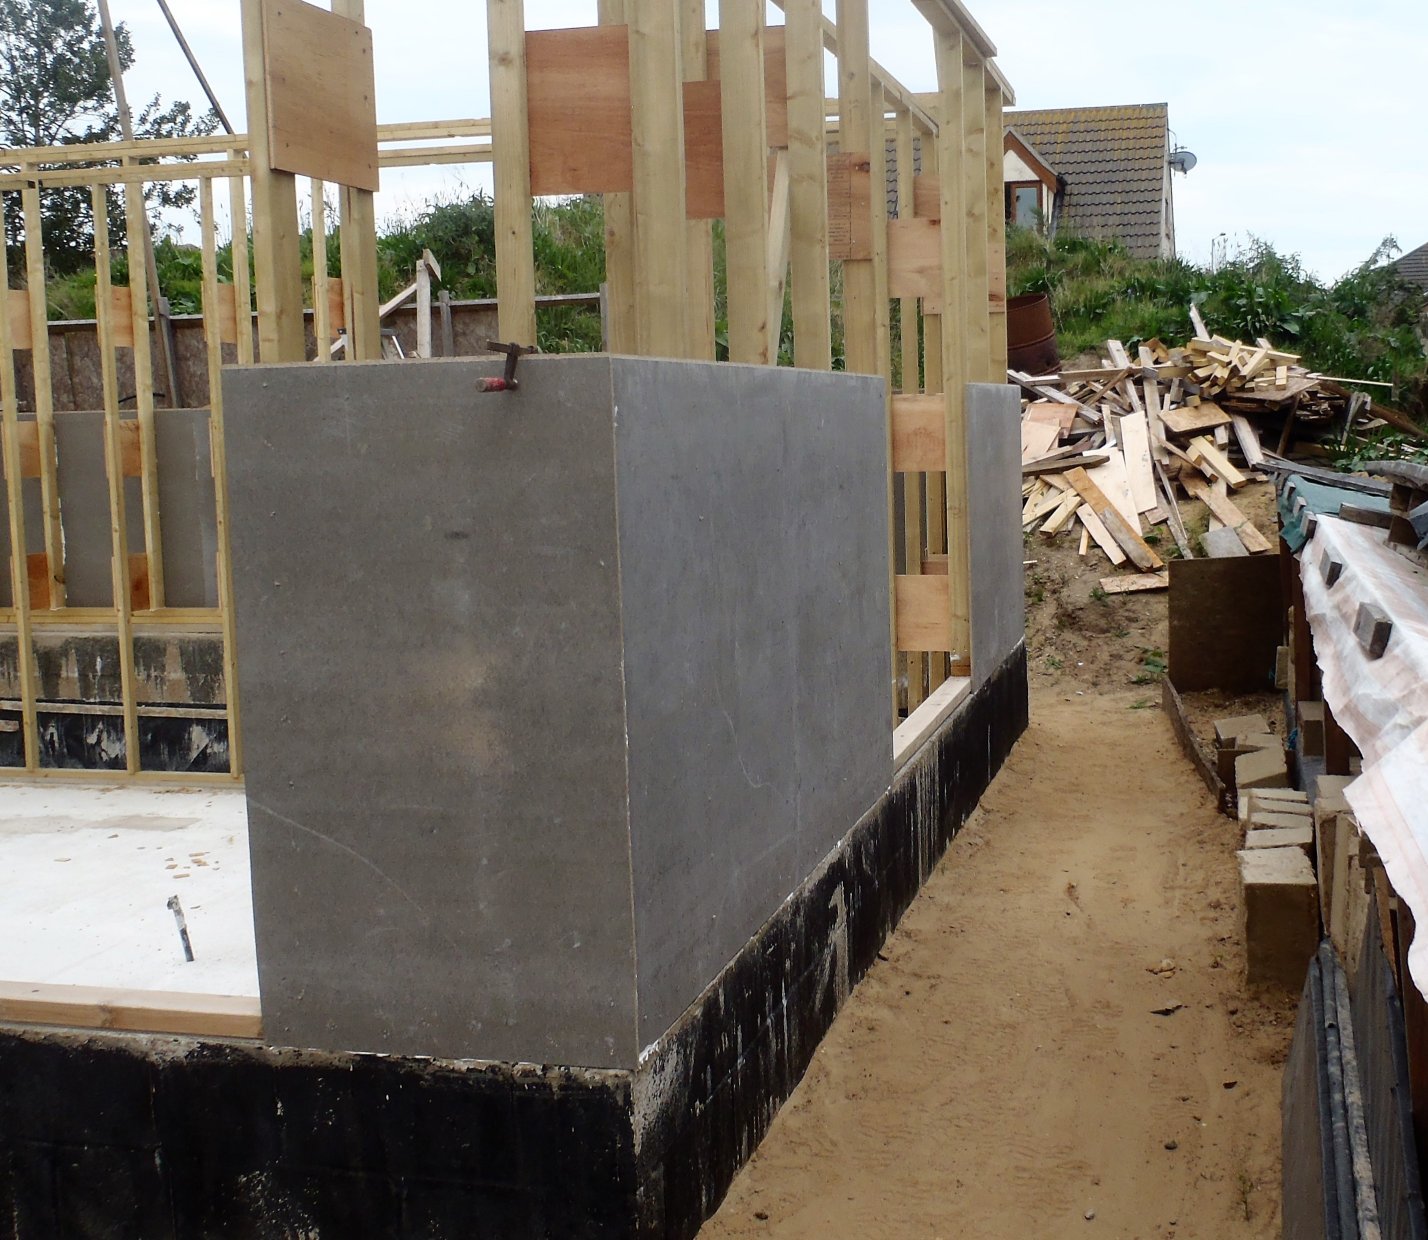
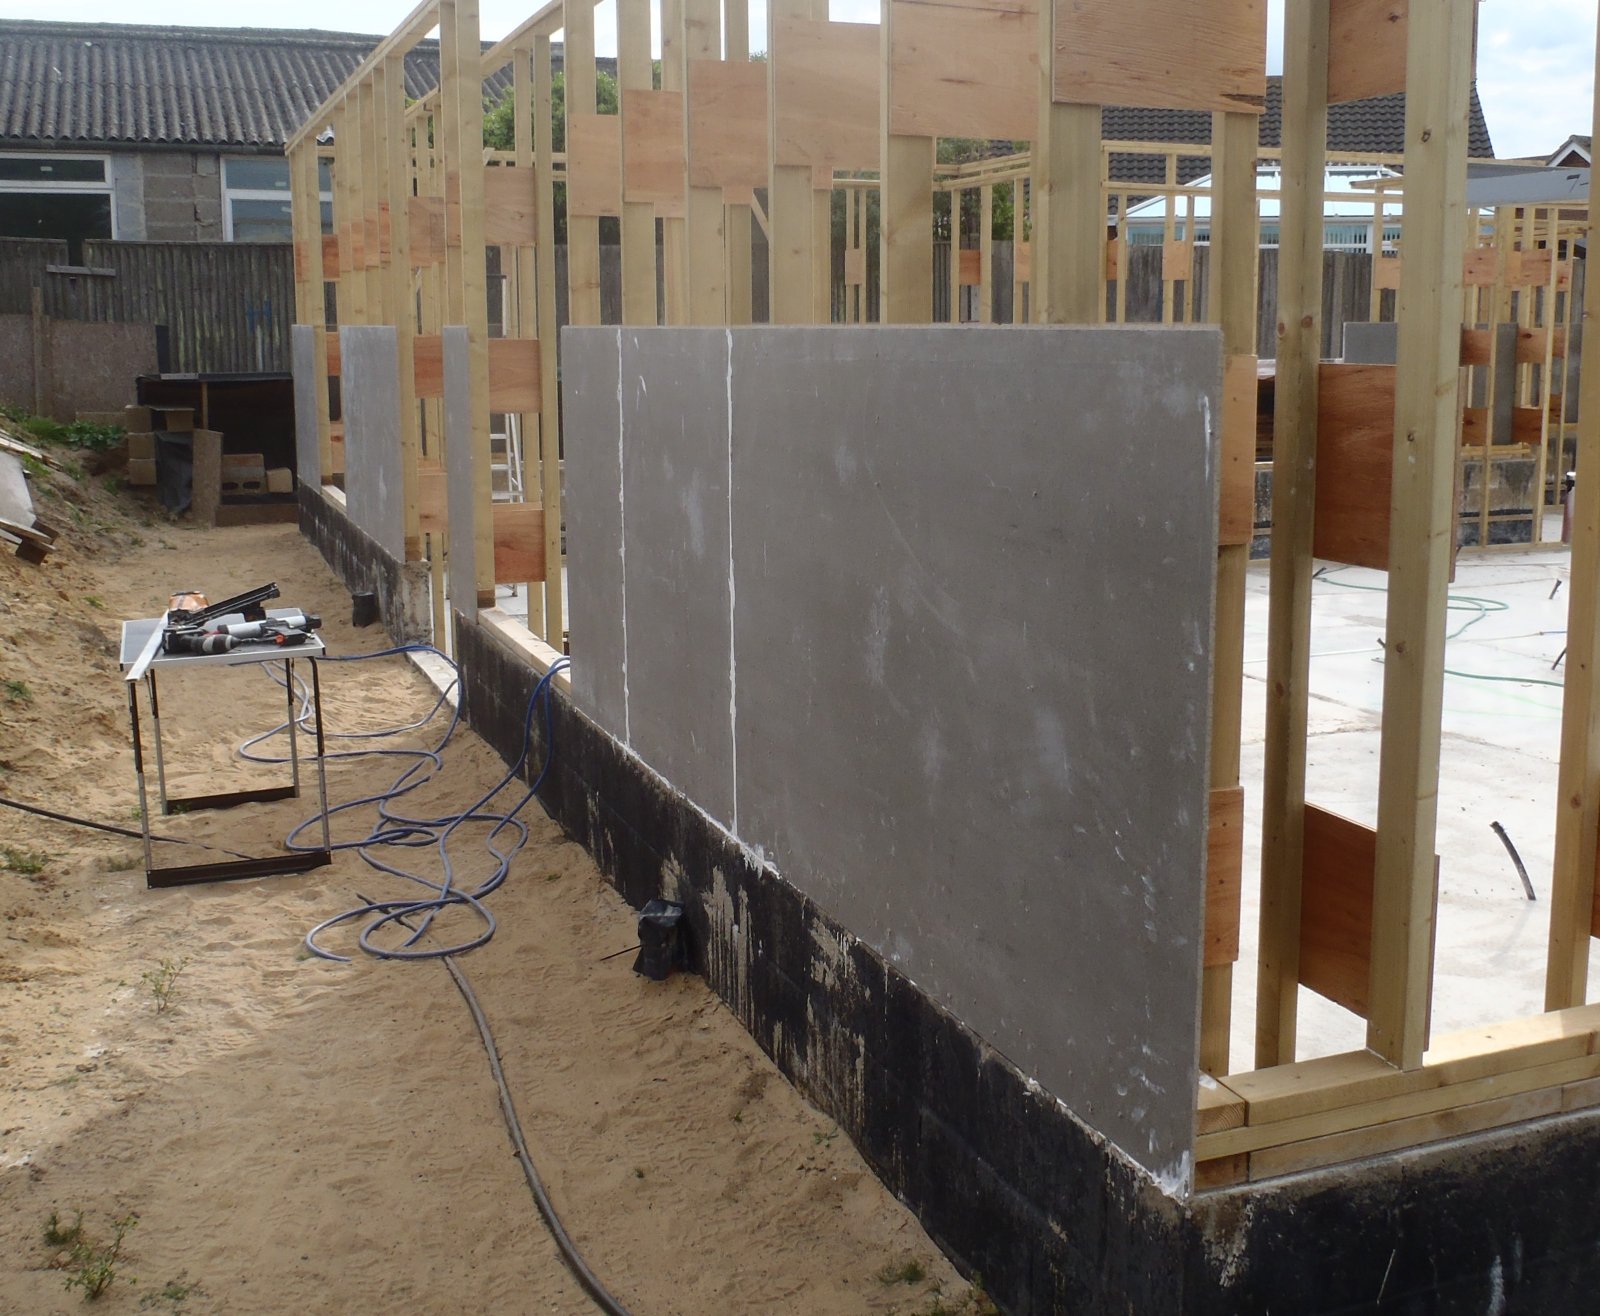
    We will use this template, which is now our master reference for our 6 foot windows, to go around each of the 6 foot windows and adjust them so the vertical posts are truly correct and also exactly the same width. This operation is the Real Thing this time around, meaning that we now applied the construction glue to the cement board and the timber to set it in place permanently. We managed to do three windows (Bedroom 3, Bedroom 2 and Bedroom 1) before we stopped for the day and weekend.

    On Monday, we will continue around the Great Room, then the Kitchen and the final 6 foot window on the Entertainment Room. Then we will do the 4 foot windows (2 of them) and finally the single 2 foot window.

  • Window Frames Starts Being Installed and Cement Boards Goes on External Wall to Completes the Circuit

    We had more rain overnight so we decided to leave off doing the last 2 sections of External Wall until the afternoon session. So instead, we started on doing the Window Framework for our 12 windows around the house. Each Window has two vertical posts measuring 1790mm high which will then have a horizontal lintel (made of two layers of 89mm CLS timber) sitting on top of these side posts and two further shorter vertical posts to bridge the gap up to the Top-Plate that is running around the whole wall.

    We first went around to double check the absolute level of each window sill using our spirit level and most were quite flat and level with only some having a 1mm per metre angle error. That is very good!

    So we fetched in 10 more lengths of the treated 89mm CLS timber from our pallet and then chopped them down into the required length in our workshop.

    We started on the Utility Room’s window and using plastic spacers, combined in different layers to provide the necessary adjustment to ensure that both posts were as vertical as possible. These plastic spacers comes in 3 different thicknesses: 1mm, 3mm and 5mm. You can then combine any of these to make any thickness from 1mm upwards.

    We then carried on and did Bedroom 3’s window, around the corner and did Bedroom 2’s window to finish before lunch.

    Window-side-frame

    Window-side-frame

    Spacers-in-window-frame

    Spacers-in-window-frame


    After lunch, we had the delivery of our new sump pump to replace the worn out old pump. So we  spent the next couple of hours installing the new one, including replacing the drain hose pipe with the new 32mm (inch and a quarter diameter) flexible pipe, connected from the pump itself and travels across the concrete and out Bedroom 1 window to then connect to some rigid plastic pipe to go to our rain soakaway downpipe. We will bury this rigid pipework into the sandy soil to keep it out of the way of our building work.

    We had about 15mm of rainwater from the rain showers we had yesterday and the new pump quietly did the job of shifting about 3500 litres of rainwater in about an hour flat! So much better than the old one!!

    The only problem we discovered was that the water would drain backwards once the pump stops so it would fill up the sump hole and switch the pump back on which of course would empty it and .. repeat the cycle again! We didn’t realise that the new pump come without a non-return valve that the old pump had. We couldn’t use the old one because it was designed to fit 38mm connectors (inch and a half) and the new pump takes 32mm (inch and a quarter) connectors, so we had to order on the web a smaller non-return valve.

    The-new-sump-pump

    The-new-sump-pump

    New-pump-in-the-sump

    New-pump-in-the-sump


    Finally, we got to finish off the first line of the cement board on wall “D” and wall “E”. It took only another three sheets to complete the full circuit of the External Wall.

    Walls-D-E-Lower-boards-

    Walls-D-E-Lower-boards-

    Tomorrow, we will carry on doing the Window framework and making additional adjustments to the width of the grouped sized windows, for example, we have 9 nominal 6 foot wide windows, 2 x 4 foot wide ones and 1 x 2 foot wide window. We want to make sure that all these three common sizes are all the same so we can order the same sized double glazing  units and not worry about each window having to be a unique size.

  • Cement Boards Stage 1 Almost All Done

    We had an interrupted morning with the rain coming in, quite a consistent downfall, averaging about four millimetres per hour, for four hours, making a lake of water collected inside our house. Having discovered that our automatic water pump had started making odd groaning and mechanical noises, it seems that it is already worn out only after a few months of operation. So we decided to buy a much better quality pump and a larger bore water pipe to transport the water over to the rain soakaway inlet.

    So We put aside the morning to allow the wood to dry off as much as possible before we started work after lunch.

    We resumed on along the front of the building with wall “A” (the Great Room and Kitchen), did the little sticking out piece of the extension which is wall “B” and then along wall “C” (the front door and Entertainment Room).

    Walls-A-B-Lower-boards

    Walls-A-B-Lower-boards

    Wall-C-Lower-boards

    Wall-C-Lower-boards


    Tomorrow, we hope to get the final two wall sections done (wall “D” and “E”) and we will be back to where we started. After that, we will do the framework for the doors and windows, putting in the lintels etc. before we put on the second layer of the cement boards.

  • Cement Board Skin on External Wall Almost Done

    In the glorious and very hot sunshine, we resumed the task of covering the External Wall with our 10mm thick cement boards.

    But first, as instructed in our approved structural drawings, we took a couple lengths of 63mm CLS timber and cut them to fit diagonally inside the “O” wall to help increase the racking strength. The Great Room extension needs this extra stiffening support because the prevailing wind can blow down across the garden and hit the side of the very long stretch of the Great Room (this is wall “P”) and consequently exert a large load on the extension and twist it sideways, hence why the extra bracing.

    Diagonal-Bracing-on-wall-O

    Diagonal-Bracing-on-wall-O

    After we had done wall “O” with the above job, and also making sure the Legs were all mostly vertical too, we did the same for wall “N” and wall “M”, pulling them sideways a bit to align the Legs to point more vertically. And also later on, doing the same for wall “P” too. We had to tie down bracing lines to pull and hold the adjustment separately on these walls, moving on when we had put up the boards.

    At last, we carried on mounting up the cement boards on “M” wall (Bedroom 1), turning onto the little side wall “N” (the extension of the Great Room), continued around the end of “O” wall and finally completing the longest wall “P” going all the way from the back of the house to the front, this being wall “P”.

    Wall-M-Lower-boards

    Wall-M-Lower-boards

    Wall-N-Lower-boards

    Wall-N-Lower-boards


    Wall-O-Lower-boards

    Wall-O-Lower-boards

    Wall-P-Lower-boards

    Wall-P-Lower-boards


    To finish off the day’s work, we got two spare lengths of 89mm CLS timber pieces and cut them down to size to fit the very front corners of the Front door extension (these being the corners where wall “B” meets wall “C” and again for the corner where wall “C” meets wall “D”). We glued these posts in now so we had something solid to nail up our cement board when we come to it tomorrow.

    Tomorrow, weather permitting, we will carry on along the front of the house which is fairly simple and we will be finished .. for this time around! Next job would be to insert all the additional timber framework to form the windows and doors, before we do the second strip of cement board around the house again.

  • Cement Boards Continues around External Wall

    Today, we resumed our task of nailing up the 10mm thick cement boards onto our External Wall framework.

    After bringing all the tools out for this operation, namely, compressed air work tank, nail gun, glue gun, battery circular saw, cold chisel, two routers, electric cable, ruler, spirit level and several other bits and pieces, plus a heap of nails and a clutter of glue tubes too! We went off to load 10 more sheets on our large trolley and wheeled the stack around to the space between the Garage, Swimming Lane and the corner of the house. here we put another one of our portable table to keep the tools handy nearby for the cutting the tongue and grooves edges.

    Tools-for-doing-boards

    Tools-for-doing-boards

    We proceeded to finish off the last section on wall “H”, turning the corner to run along wall “I”, “J” ..

    Walls-H-I-Lower-boards

    Walls-H-I-Lower-boards

    Walls-J-K-Lower-boards

    Walls-J-K-Lower-boards


    And then along wall “K” which is a longer stretch going past Bedroom 2 and running parallel with the swimming lane and finally turning to do wall “L”.

    Walls-K-L-Lower-boards

    Walls-K-L-Lower-boards

    You may have noticed that each of the corners has overlapping sticking out boards and this is deliberate as we will trim off the overlap later and make a neat sharp corner.

    On Monday, we will continue on wall “M” (Bedroom 1), around onto wall “N”, wall “O” and wall “P” which are all part of the Great Room. But first, we must adjust the verticality of wall “N” and “O” before we nail up the cement boards, or we will be in trouble – smile!

  • External Wall Skin Starts Growing

     Today sees the start of the cement board skin being mounted on our External Wall framework. But first, we did some measurements of all the corners and also transferred the ground height reference point to inside the house .

    New-height-reference-point

    New-height-reference-point

    As the photo shows, we first duplicated the Ground Reference point that we have on the Garage wall and put another one on our Steel Legs (specifically Leg number 5. we nearly forgot to do this task before we completely blocked the laser beam by having our new External Wall assembled with its skin! So this morning, we cut two pieces of 11mm plywood to exactly 160mm tall and 130mm wide and positioned the pair on the Steel Leg so they are on either side of the leg and the top edges are exactly at the Ground Reference mark – 1 metre above Ground Zero and or the level of our floor inside the house and all the footpath and doorways etc. We glued the plywood pieces in place and clamped on while it dries.

    Then, we went around measuring the height between the bottom-plate to the top-plate at all 14 corners and wrote down on our plans so we will be ready to cut and slide into place those complex composite Corner Legs. We also went around and seeing where we needed extra posts to support the cement boards and only 2 extra ones were cut to size and glued into place on wall “E” and wall “H”.

    After that, we double checked the spacing between the Wall Legs at places where the Top-Plate has joints in it and making sure the spacing was 612mm between centres of the two legs either side of the joint. We adjusted several of these around the perimeter.

    Finally before lunch, we wanted to see how vertical  the wall we are going to start putting the cement boards on, so using the spirit level, we looked at all the legs along wall “H” (the one nearest the Garage) and the wall only needed a slight amount of pull to straighten it up. We did this by employing our canvas strap ratchet device and anchored one end at the end of our swimming lane where we have some sticking up steel re-bars and the other end tied on to the top of the nearest Leg. This wall only needed an adjustment of about 10mm pulled towards the swimming lane.

    After lunch, it was the long preparation job of setting up the two router machines, one with the Tongue cutter and the 2nd machine set up with the Groove cutter. We discovered that it makes it so much, much better joints if we had two machines and we cut the boards on the same side with the two machines, to produce either the tongue or the groove. It  is expected that many of the manufactured building material have some variations in the thickness as we indeed discovered  with our cement boards today!

    So starting at the beginning of wall “H” at the corner with wall “E” (near the Loke and Driveway), we started the whole process of mounting the 10mm thick cement boards to form the skin, by first cutting a tongue along one of the long edges, and then slicing off specific lengths to go from the corner to the first window, then covering the small gap between that window and the back door (all part of the Utility Room). we left a good overlap of 75mm on both the windows and doors so we can assemble the window and door inner framework later on and glue and nail them on the back of the sticking out cement boards. All our cement boards are being glued and nailed (the nails are hot-dipped zinc galvanised, ring-shanked (has serrations on it) and coated in wood glue for maximum long life proof against rust and good stable grip in the wood)

    We managed to get as far as the 2nd window along wall “H” (belonging to Bedroom 3) before it was “knock off” time! There was a lot of experiment and learning what and how to do the various steps (the routing of the edges on the cement boards, gluing, nailing etc.)

    The-first-few-cement-boards-in-place

    The-first-few-cement-boards-in-place

    But we are learning quickly and will be able to speed up over the next day or so.

    Tomorrow, we will continue to mount the 1st line of the 4foot high cement boards right around the building, before we do the 2nd line and then finally the tiny 3rd line right at the top of the External Wall!

  • External Wall Completed – Day 4

    In glorious sunshine, we finished off the final wall sections to complete the circuit of the whole house. Wall’s “B”, “C”, “D” and “E”, I.e. the Front Door and Entertainment Room Extension and the Utility Room, which had a total of 20 Legs to trim, glue and nail into place. The ready-made composite top-plates were put into place as well for wall “B”, “D” and “E” because they had sticking out bits for extended porches.

    Wall-B-Framed

    Wall-B-Framed

    Walls-C-D-Framed

    Walls-C-D-Framed

    Wall-E-Framed and Shaun playing 'King of the Castle'

    Wall-E-Framed and Shaun playing ‘King of the Castle’


    So in 4 days, we mounted 104 Legs, traversing a distance of about 77 metres, fired well over 1000 90mm nails, used 4 tubes of the special waterproof glue and a dozen 150mm long screws to build the framework of our External Wall!

    The next job will be to ensure that all the 14 sections of the walls are perfectly vertical, put in the 14 corners, maybe the window and door lintels and frames too, and then start fixing up the 10mm thick cement boards.

  • Day 3 of External Wall Going Up

    We started the day in lovely hot sunshine .. but only for about 2 hours this morning before it got cloudy and chilly. We continued working on assembling and building up the External Wall, finishing off wall “P” from yesterday, and then turning the corner to go along the front section and completed wall “A”.

    Wall-P-Framed

    Wall-P-Framed

    Wall-A-Framed

    Wall-A-Framed


    We did a total of 29 Legs in all. Tomorrow, we do the Front Extension, wall “B”, “C” and “D” and finish off at wall “E”, just another 19 Legs to complete the full circuit of our External Wall!

  • External Wall Continues to Grow – Day 2

    In a very misty like sprinkle of rain, we started the new week by continuing with the erection of the External Wall, doing wall “M”, wall “N” and wall “O”, all these sections going along the back of the house, that is 17 Legs all glued and nailed.

    It is the same old procedures of adjusting the height of each Leg, then gluing and nailing them into place and finally the top-plate positioned and nailed into place on top.

    We then got half way along wall “P”, this being the longest stretch of wall on the left side of the house and the Great Room, having adjusted 8 Legs out of the 16 needed to be done.

    Walls-MN-O-Framed

    Walls-MN-O-Framed

    Tomorrow, we will finish wall “P” and continue around onto wall “A” going along the front of the house.

    P.S. Here is a diagram of the Walls with labels.

    Wall-Labels

    Wall-Labels


  • Construction of External Wall Continues

    It was a long 9 hour day minus a 45 minutes lunch break and also a little “tea” break too! We continued with the assembling of the External Wall using our Leg elements. We finished off adjusting the final 4 Legs on wall “I” we left from yesterday, and then brought out the compressed air nail gun and tubes of the special waterproof glue, to fix each Leg into place along wall “H” and “I”, a total of 20 Legs.

    Walls-HI-with-legs-in-place

    Walls-HI-with-legs-in-place

    Nails-and-Glue-on-posts

    Nails-and-Glue-on-posts


    Then we put on the Top-Plate pieces of timber on top of the legs and anchoring at the corner with temporary screws to make the whole wall so much more solid and stable.

    Walls-HI-with-top-plates

    Walls-HI-with-top-plates

    We then resumed adjusting more Legs on the next section, wall “J”, another 4 Legs, using the chop saw and guillotine

    Chop-saw-and-Gilotine

    Chop-saw-and-Gilotine

    Chop-saw-slicing-thin-pieces-off

    Chop-saw-slicing-thin-pieces-off

    Gilotine-in-operation

    Gilotine-in-operation


    And nailing and gluing those in place, plus the top-plate too.

    We progressed around onto the next wall section “K” which was a longer stretch with a window in it, a total of 9 Legs.

    And finally, we completed wall “L”, another 5 Legs, getting half way along the back of the house next to the swimming lane.

    Walls-HI-Framed

    Walls-HI-Framed

    Walls-IJK-Framed

    Walls-IJK-Framed

    Walls-KL-Framed

    Walls-KL-Framed


    A grand total of 38 Legs we installed today! Only 65 Legs to go! Phew!