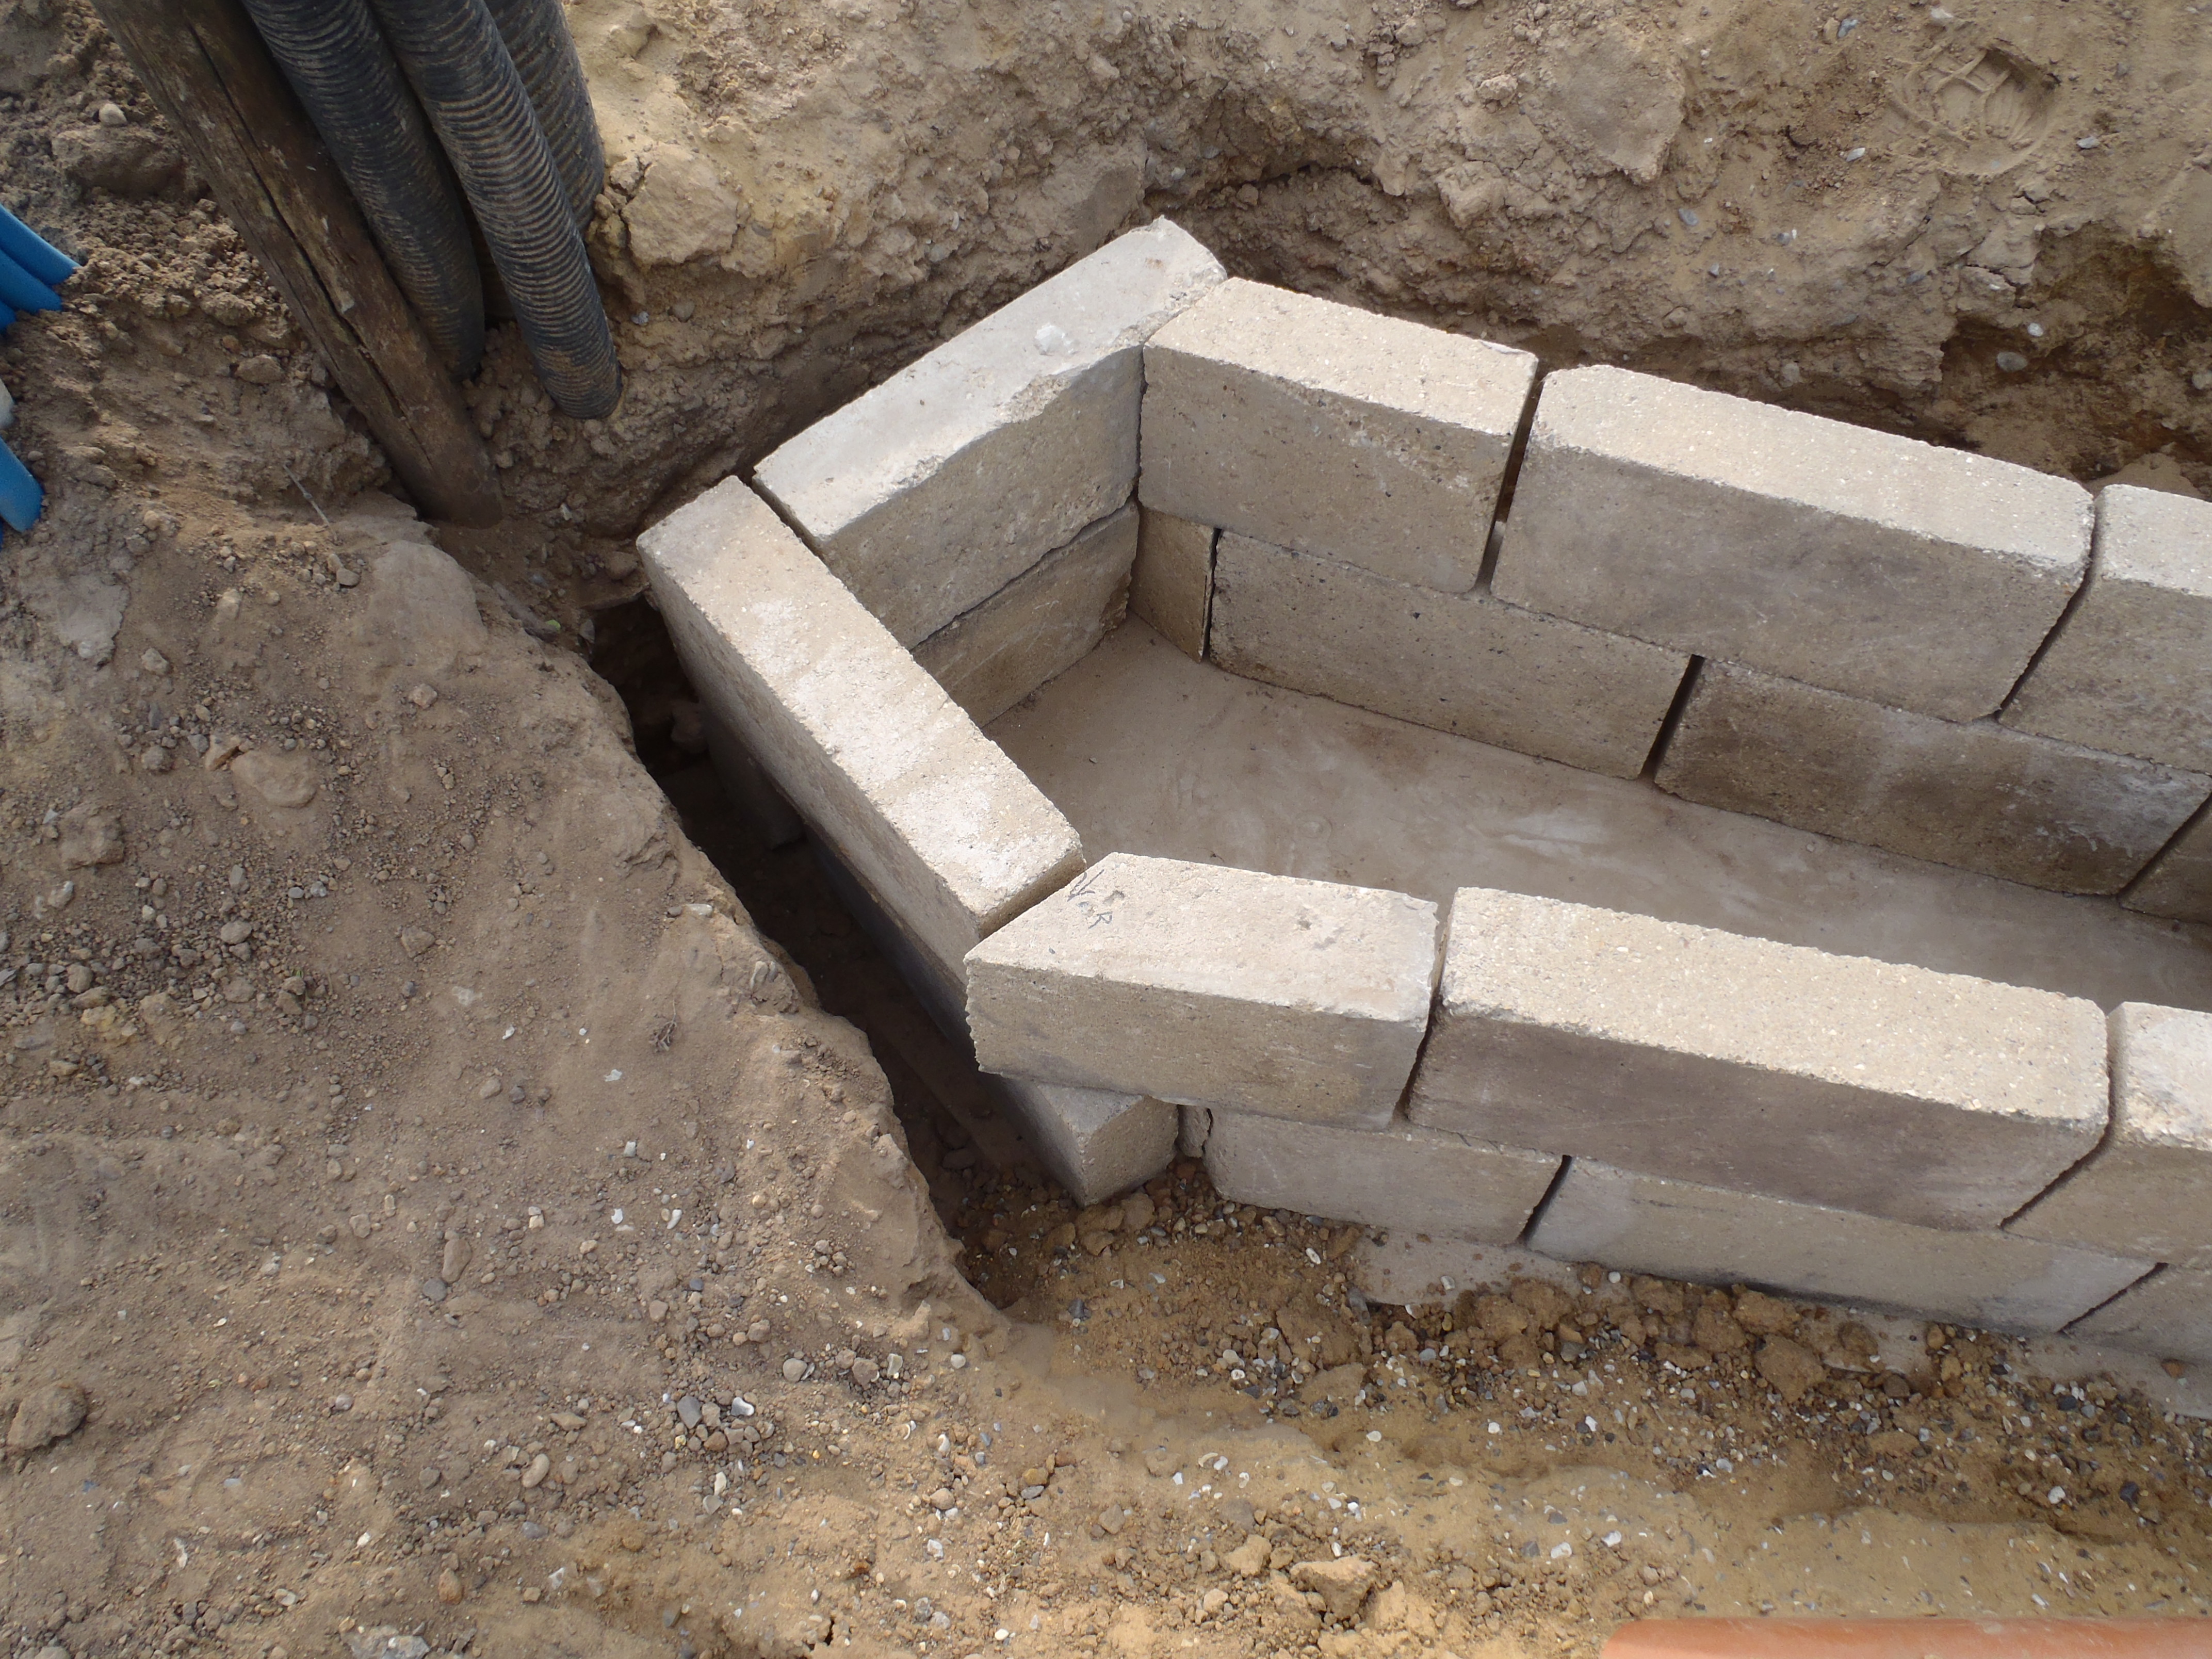
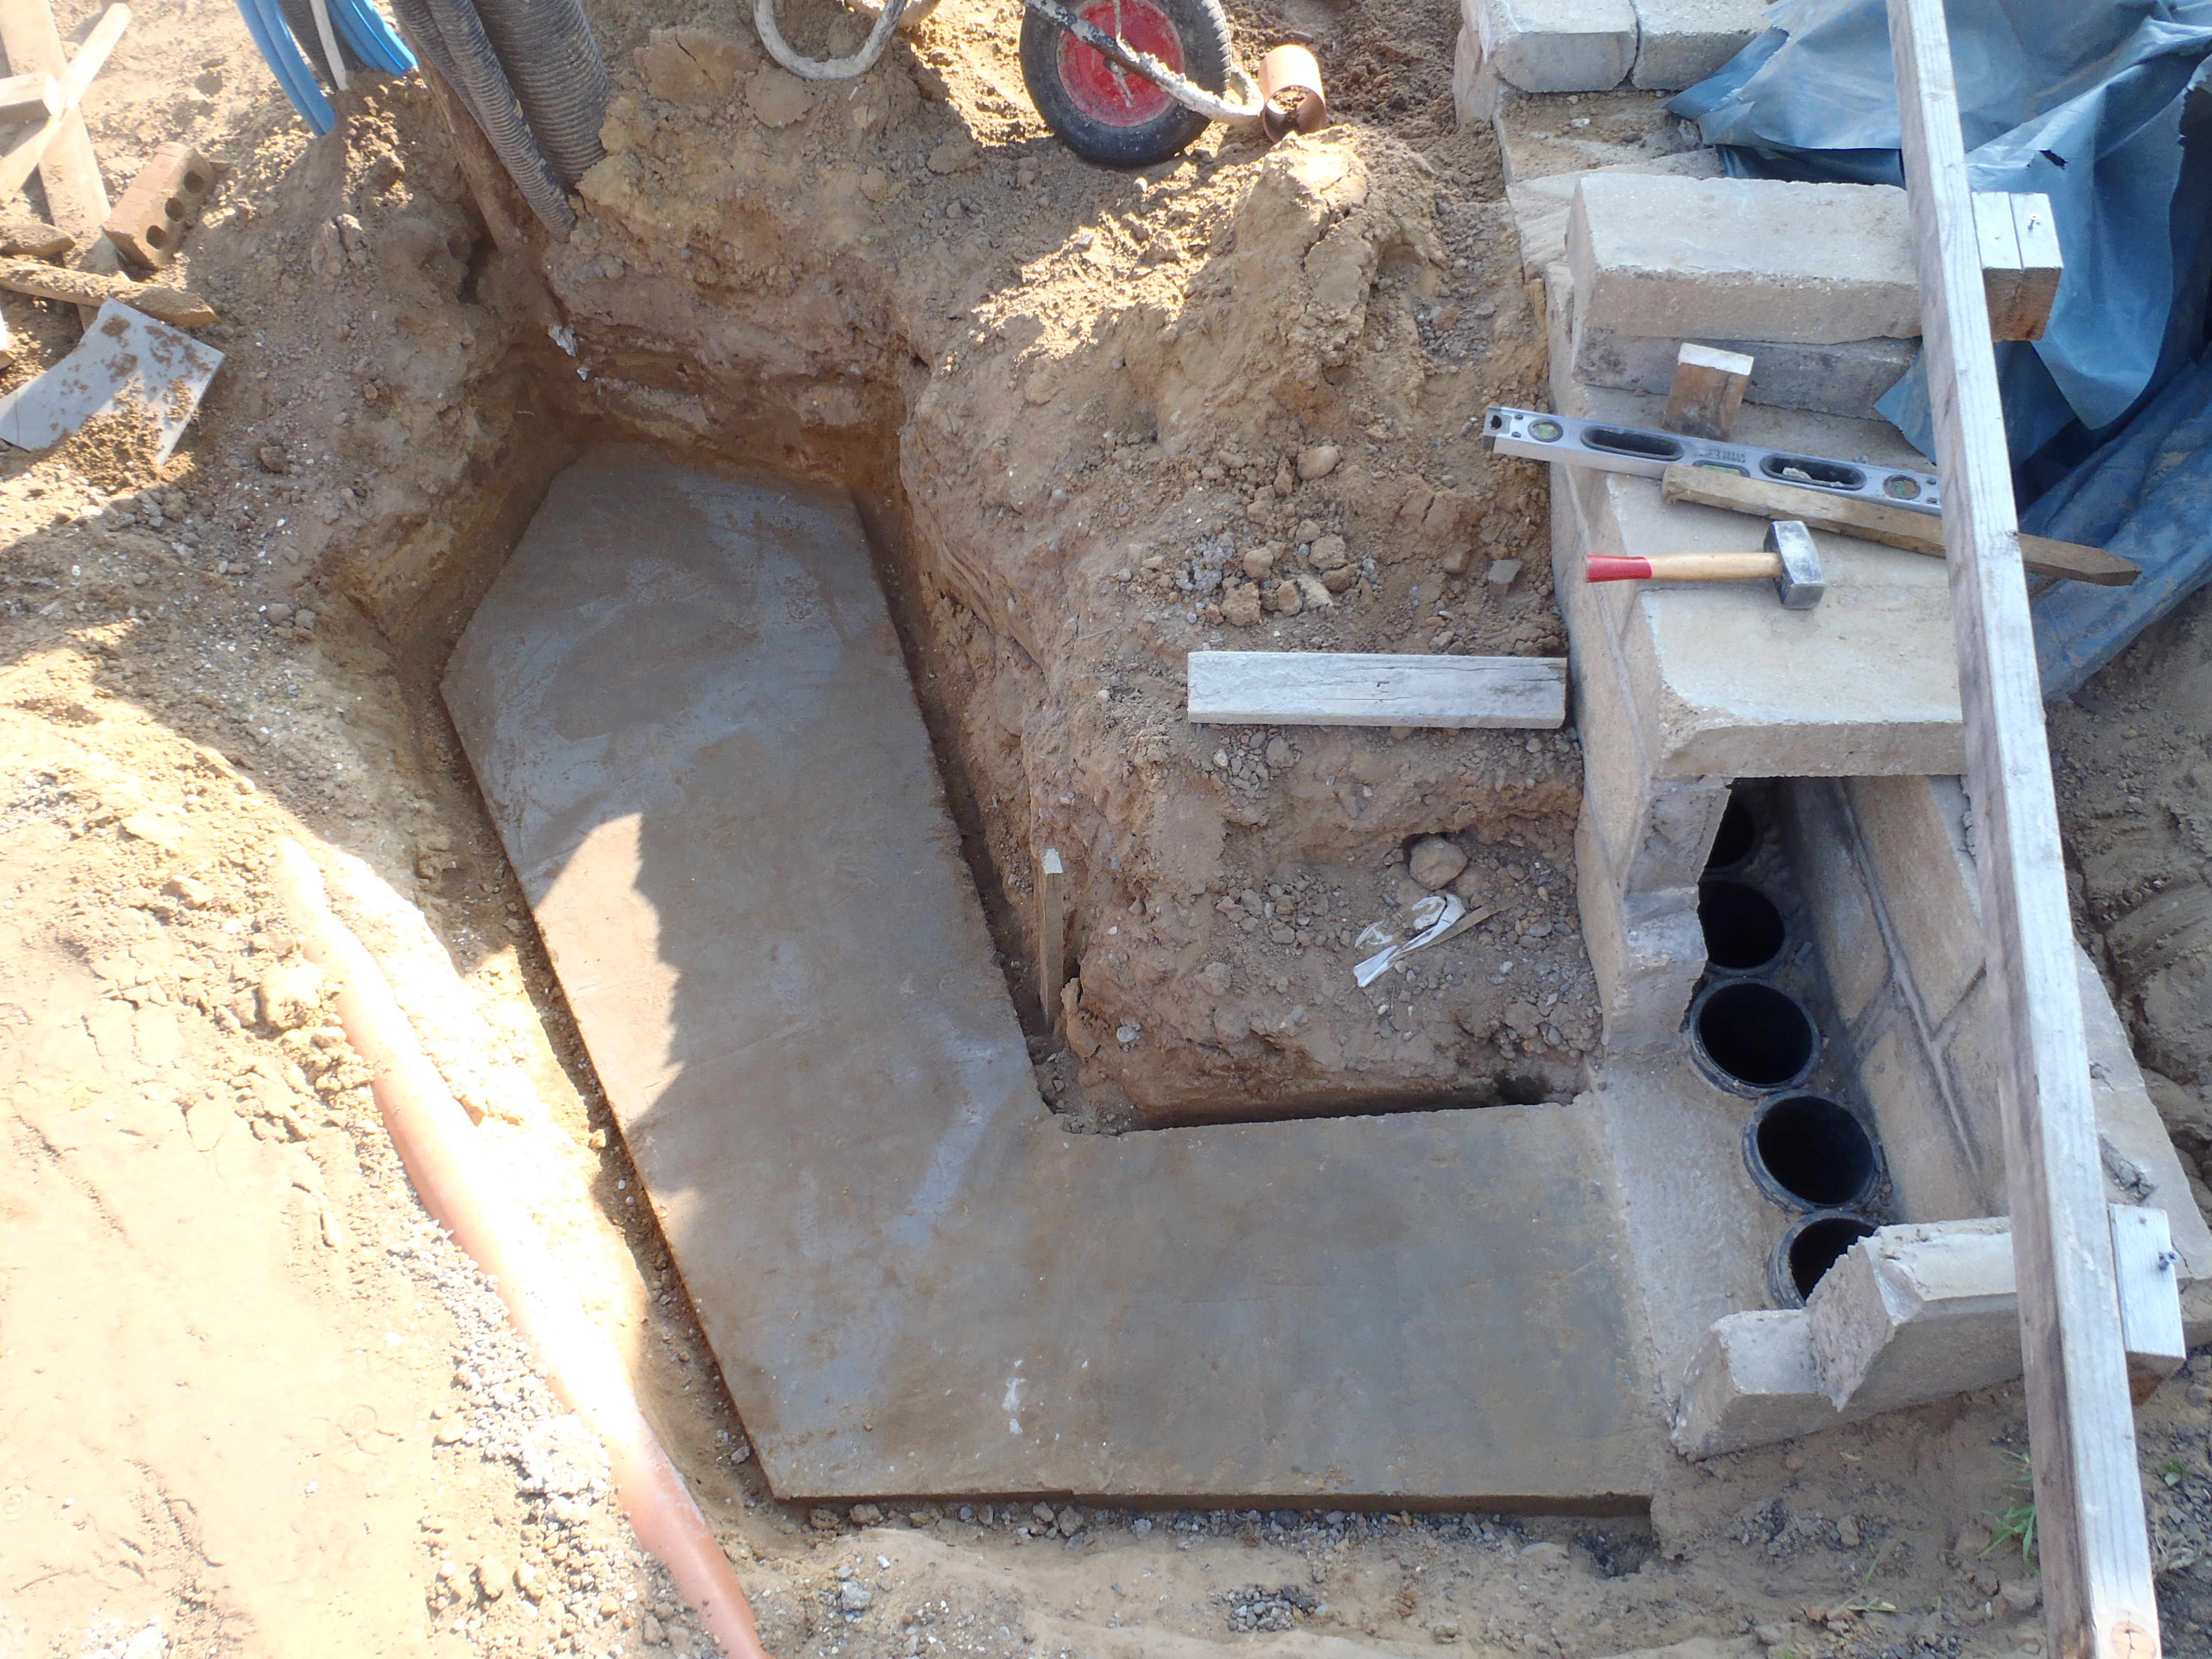
Today, while we waited for the delivery of our 300metres of the 20mm black
plastic pipe to come, we worked on finishing off the Earth Tube Mixing
Chamber and the Air Tunnel structures.
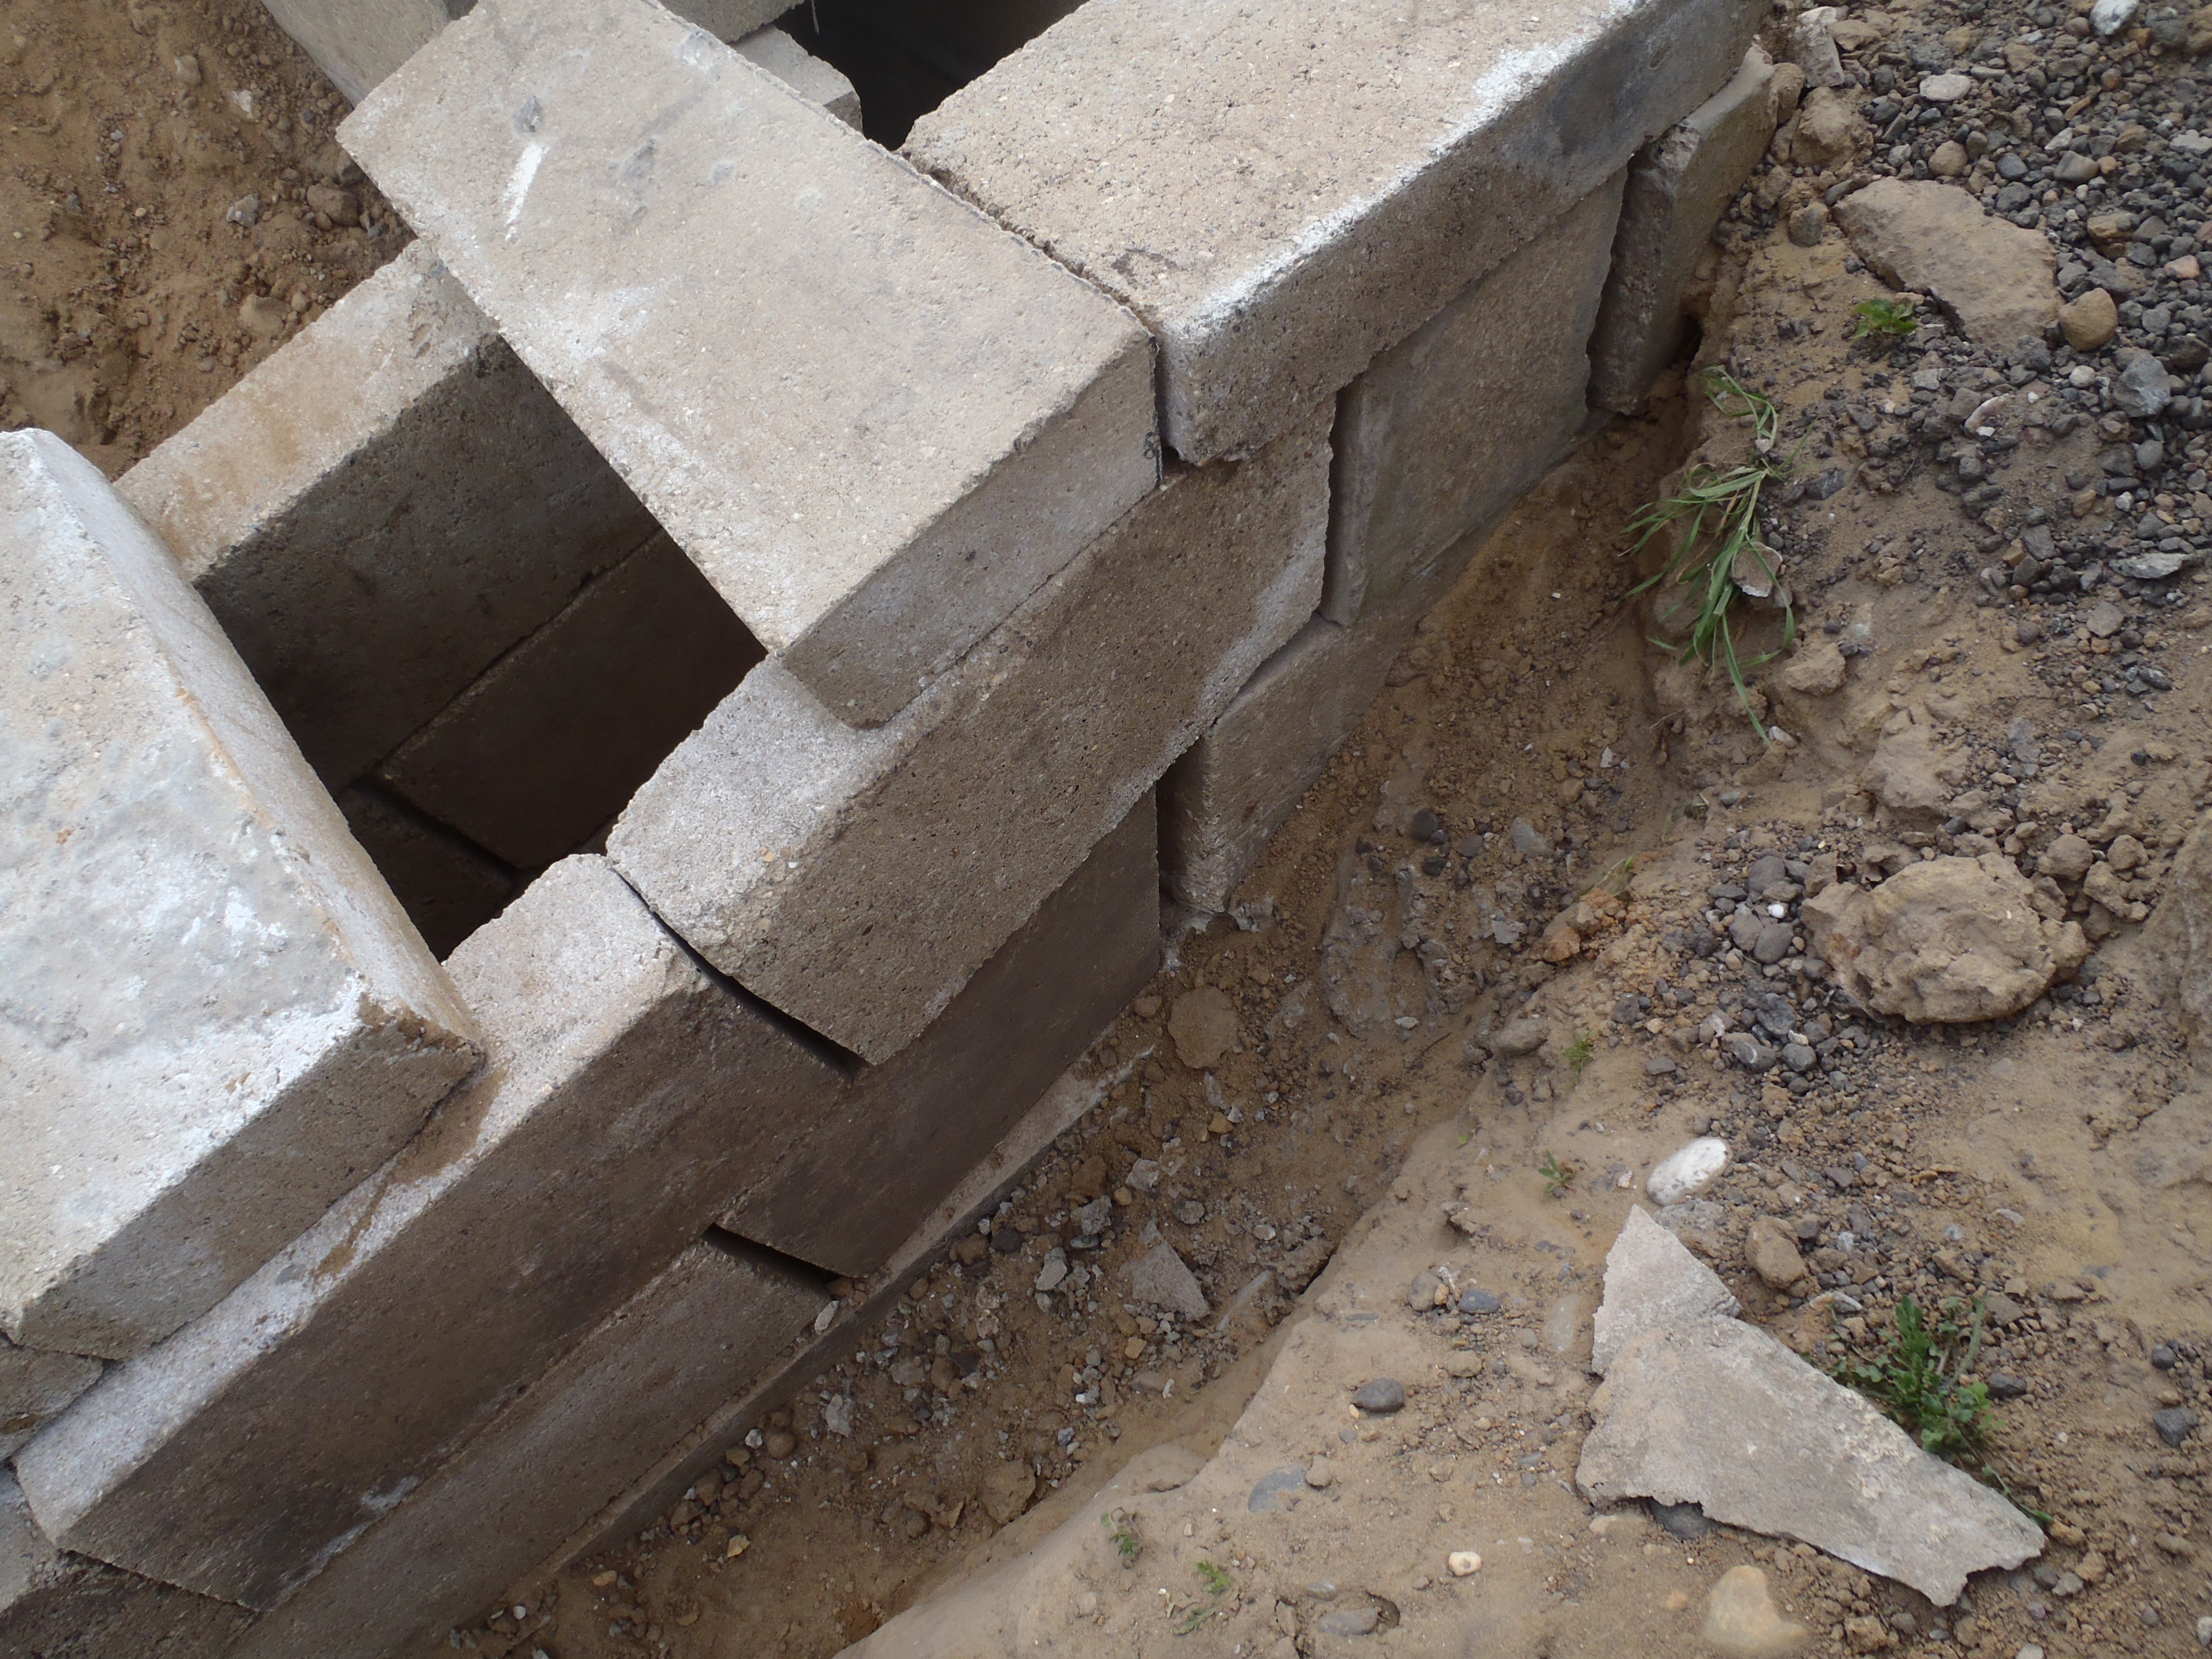
We dug around the whole chamber and tunnel, removing a spade width of soil,
down to the foundation slab. This is to allow for us to insert a layer of
DPM plastic sheeting all over the concrete blockwork plus a sticking out piece of
about 100mm as well. All this is to keep the whole unit dry and keep our air
supply from getting damp with wet weather.
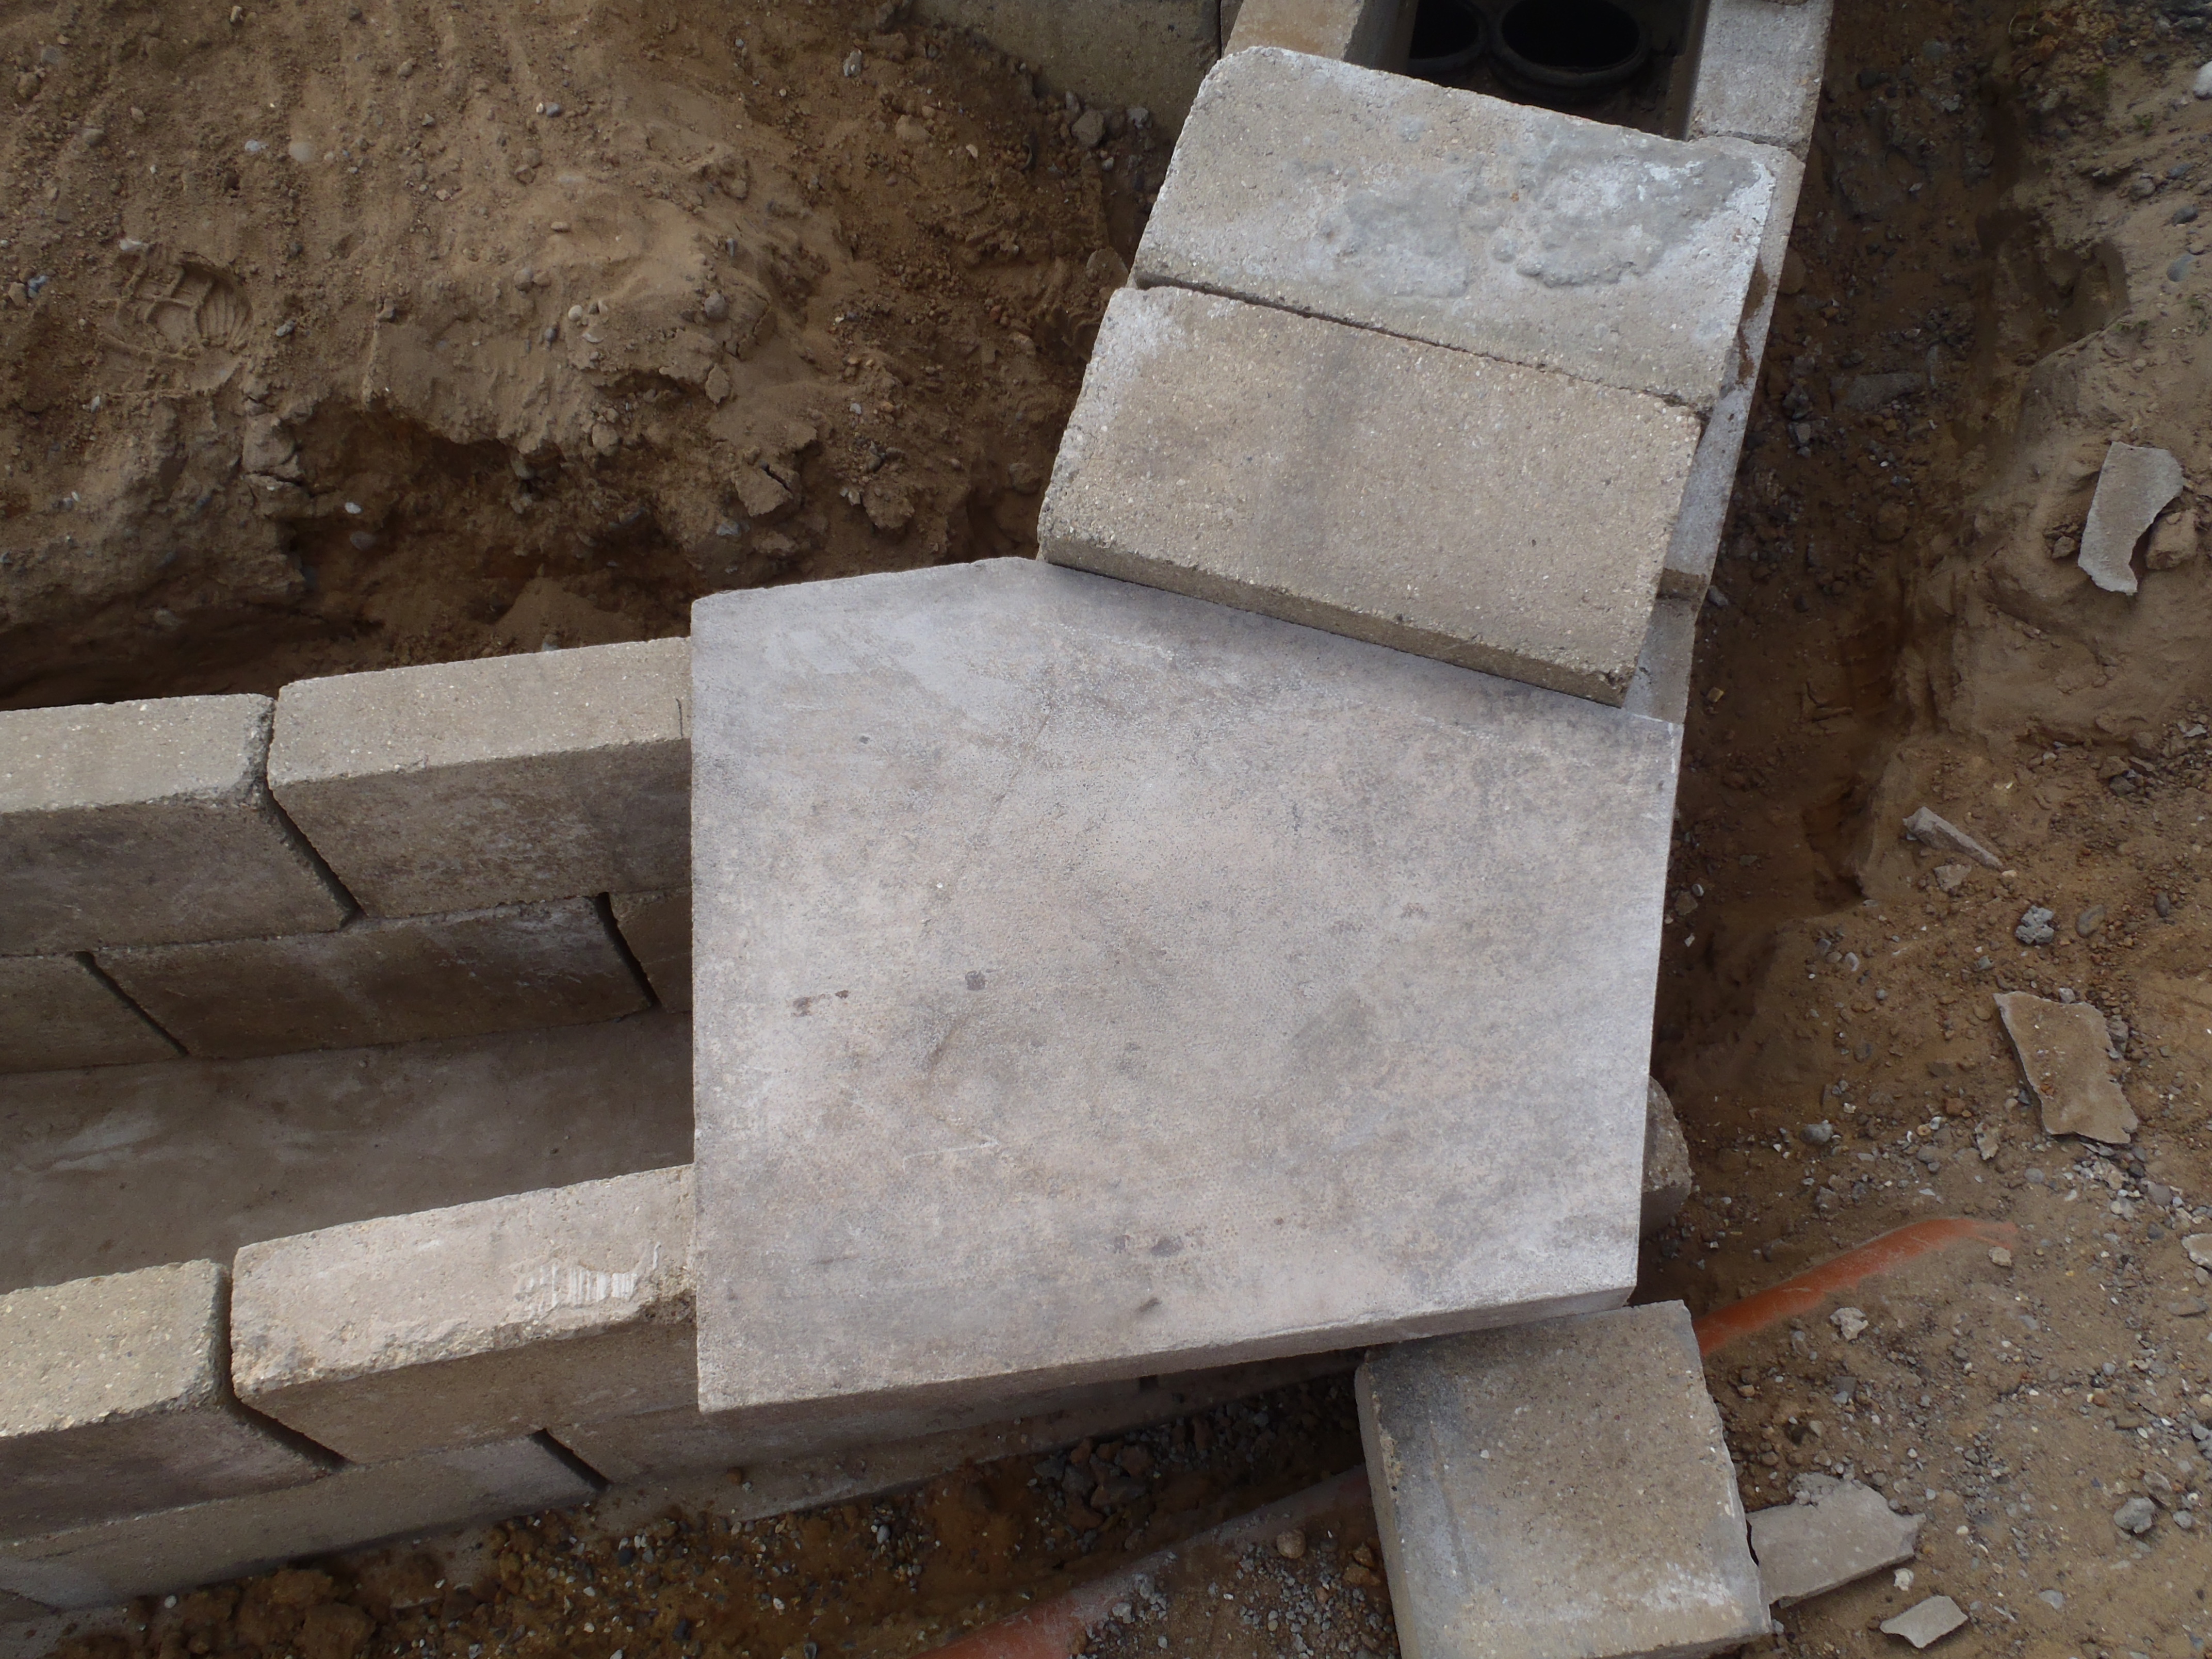
Next, we got a large piece of cement board, 10mm thick stuff, and placed it
on top of the remaining part of the tunnel that goes under the main house
foundation, and cut it down to size, with a triangular notch cut out to make
a 300mm square “hole”.
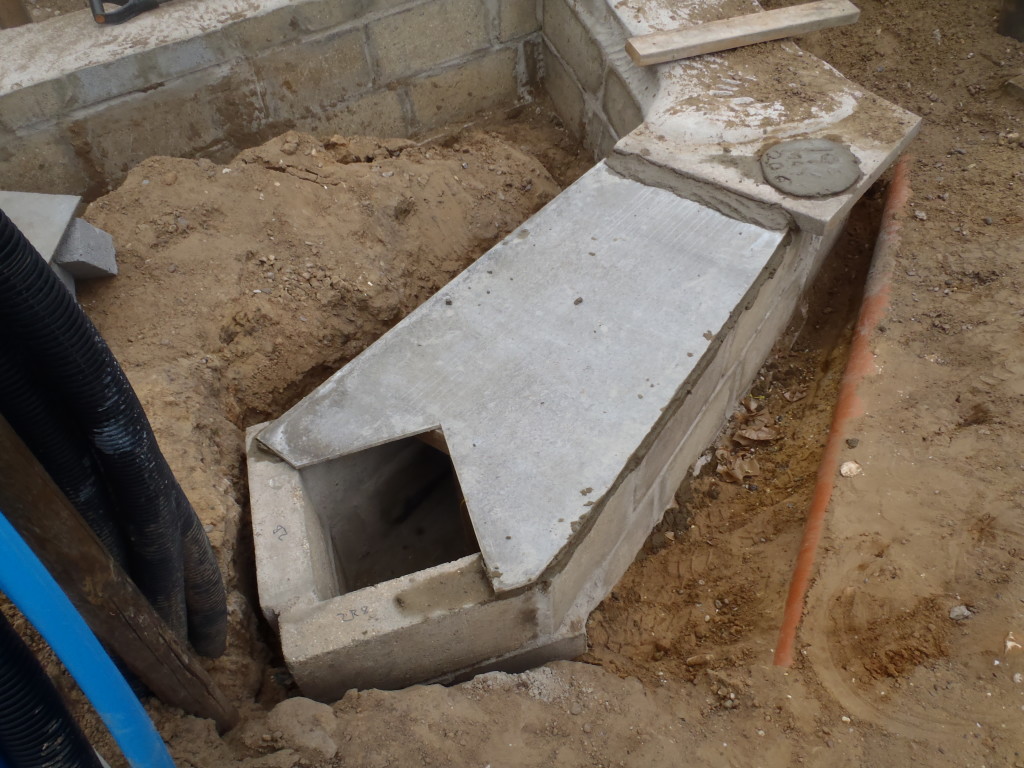
Cement-board-mortared-in-place
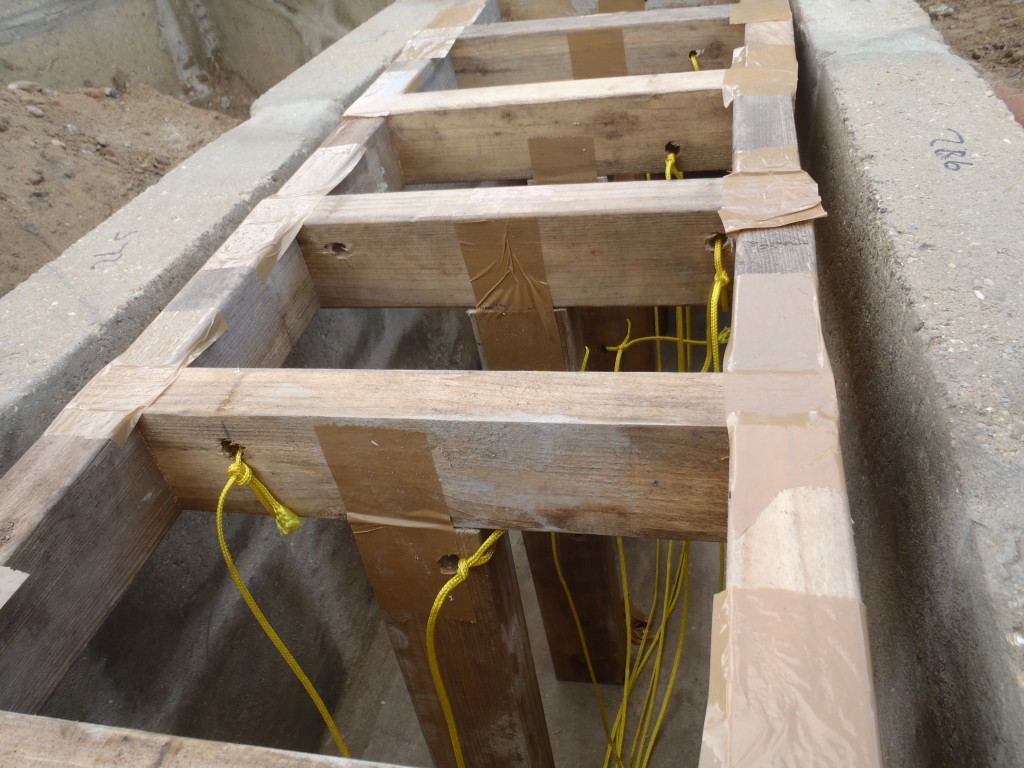
This cement board needs lots of extra support inside the tunnel as it is
going to have to take the load of ready-mixed concrete being poured on top.
We wanted to make sure that the weight of the fluid concrete will NOT
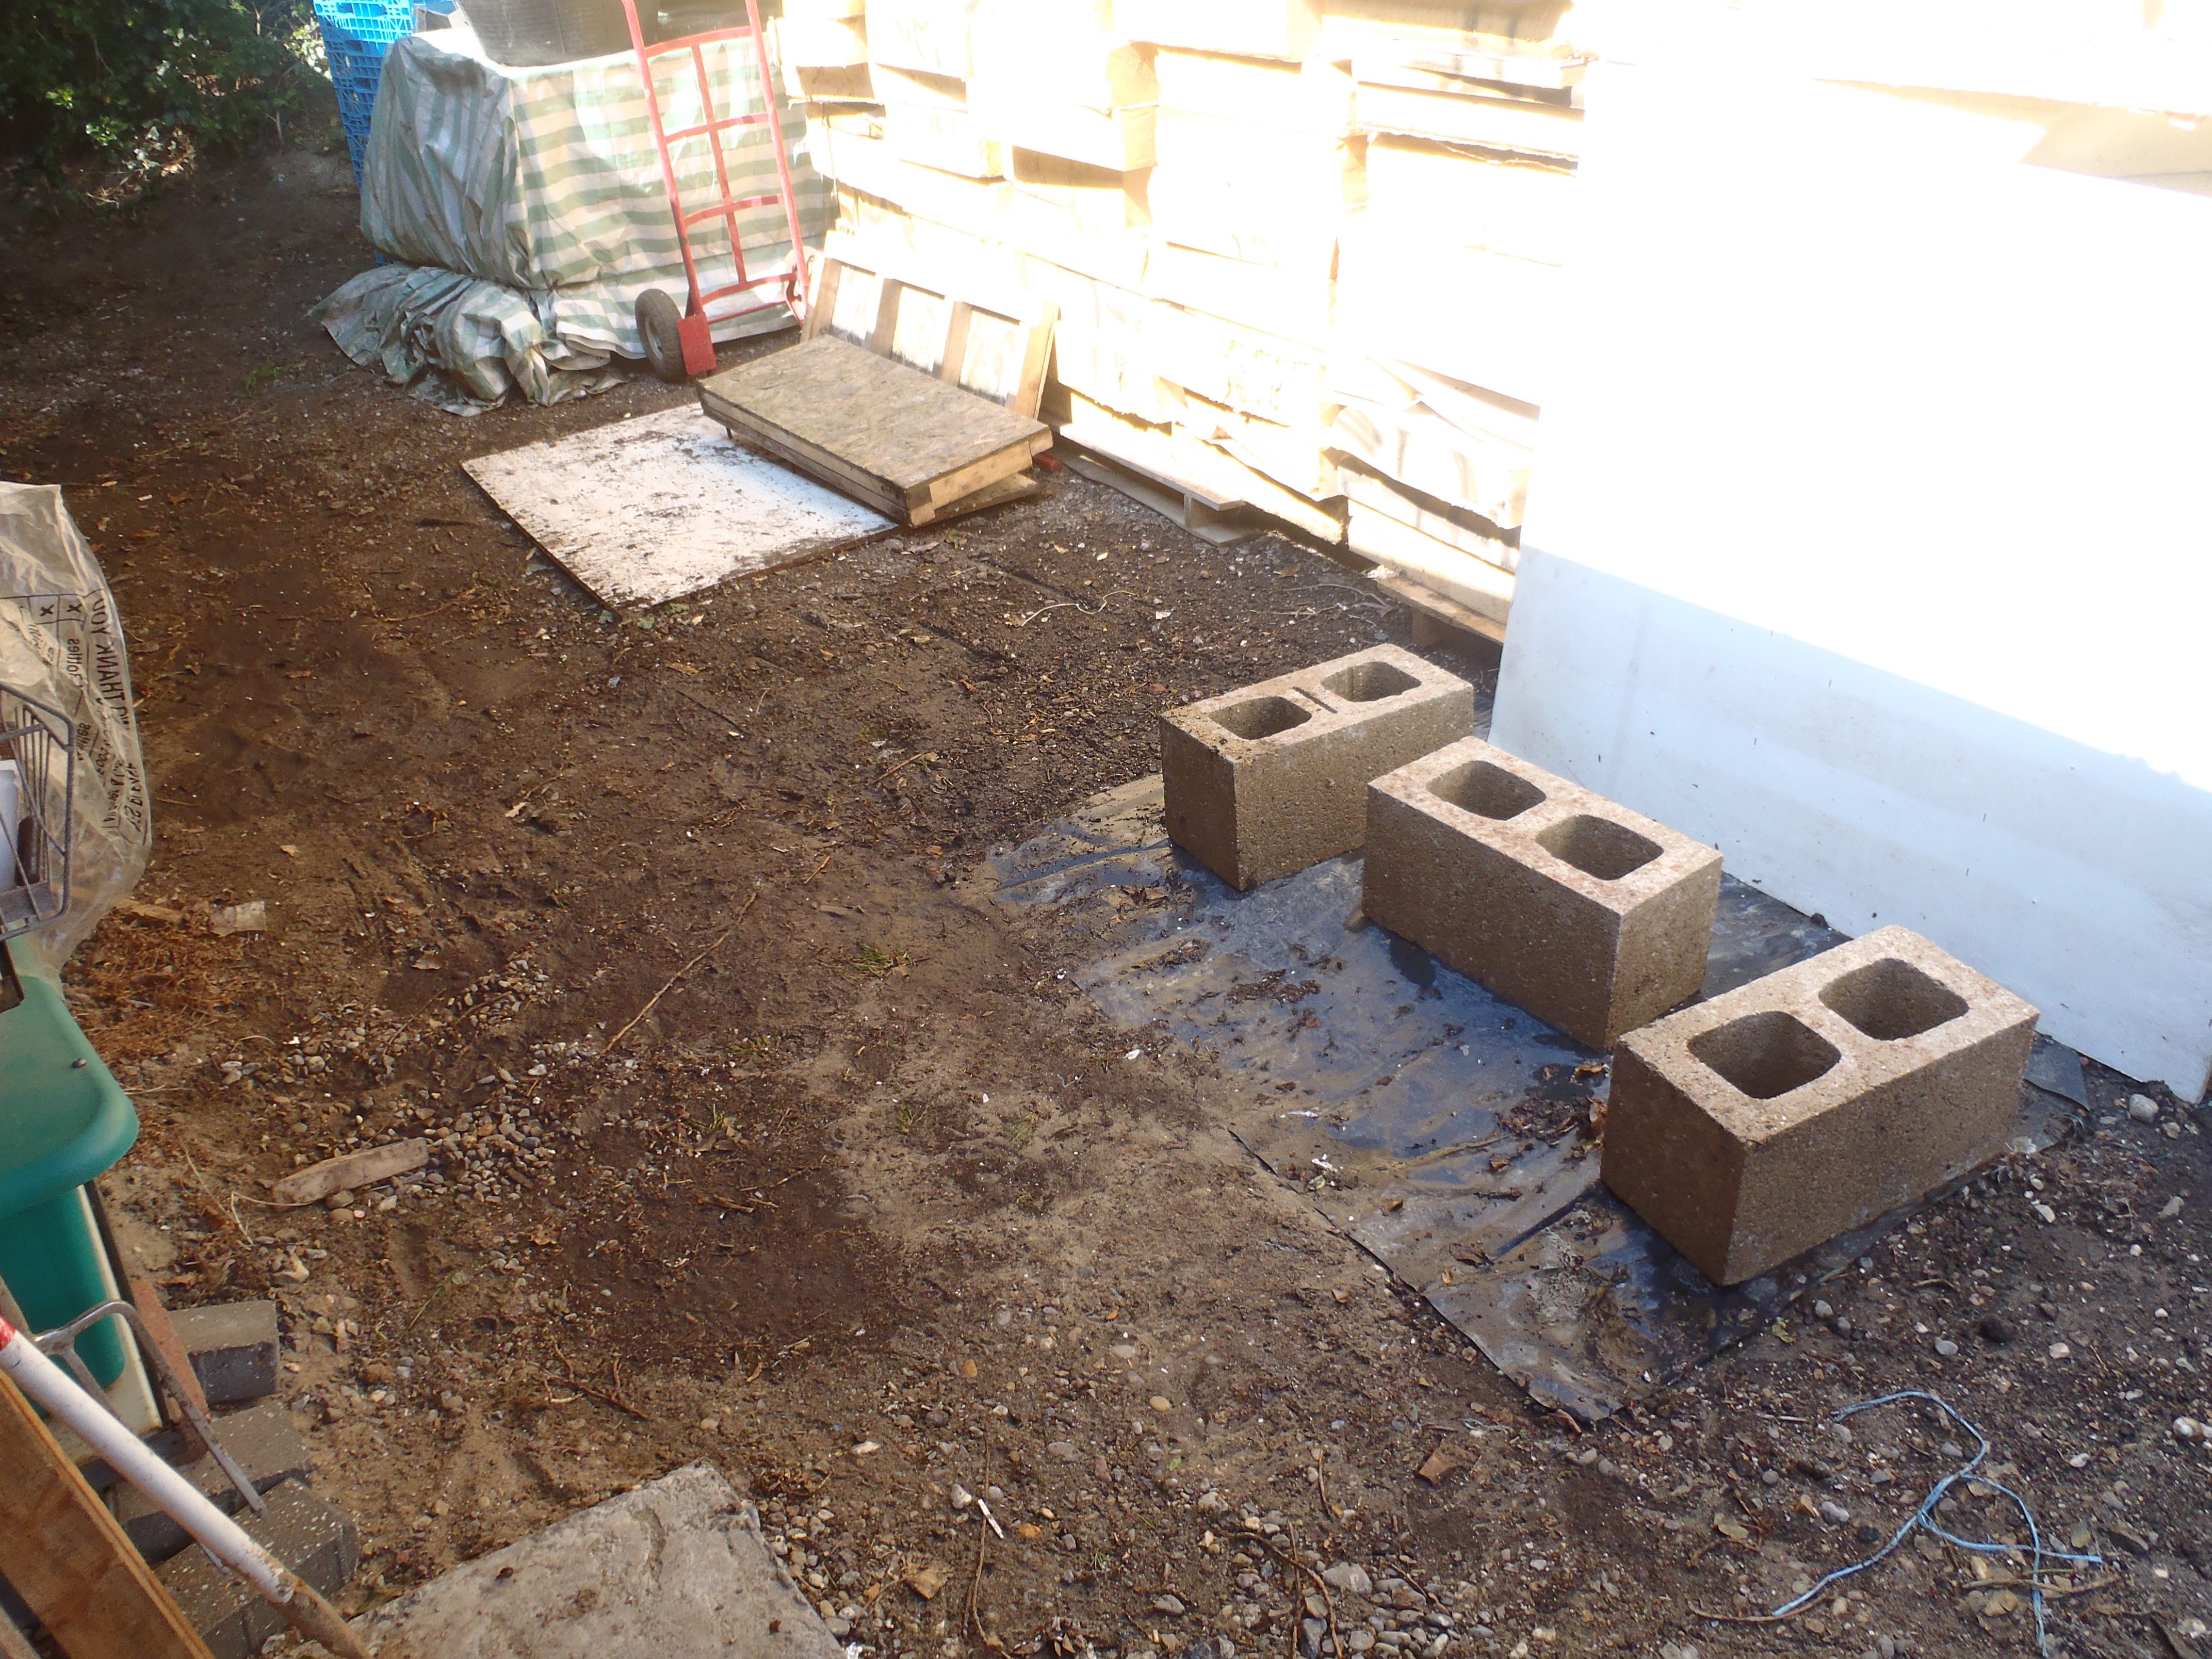
suddenly snap the lid! We tested the strength of the cement board by putting
a medium sized piece 150mm apart on two bricks, and put more and more load
on the middle and find out if broke or not. It survived Stephen’s weight of
80kg at the end!! We tried separating the spacing to 250mm and worked our
way up with the extra load but it snapped with my weight of 70kg. This led
us to conclude that a spacing of 180mm would be just fine and we can have
enough to fully support the whole board.
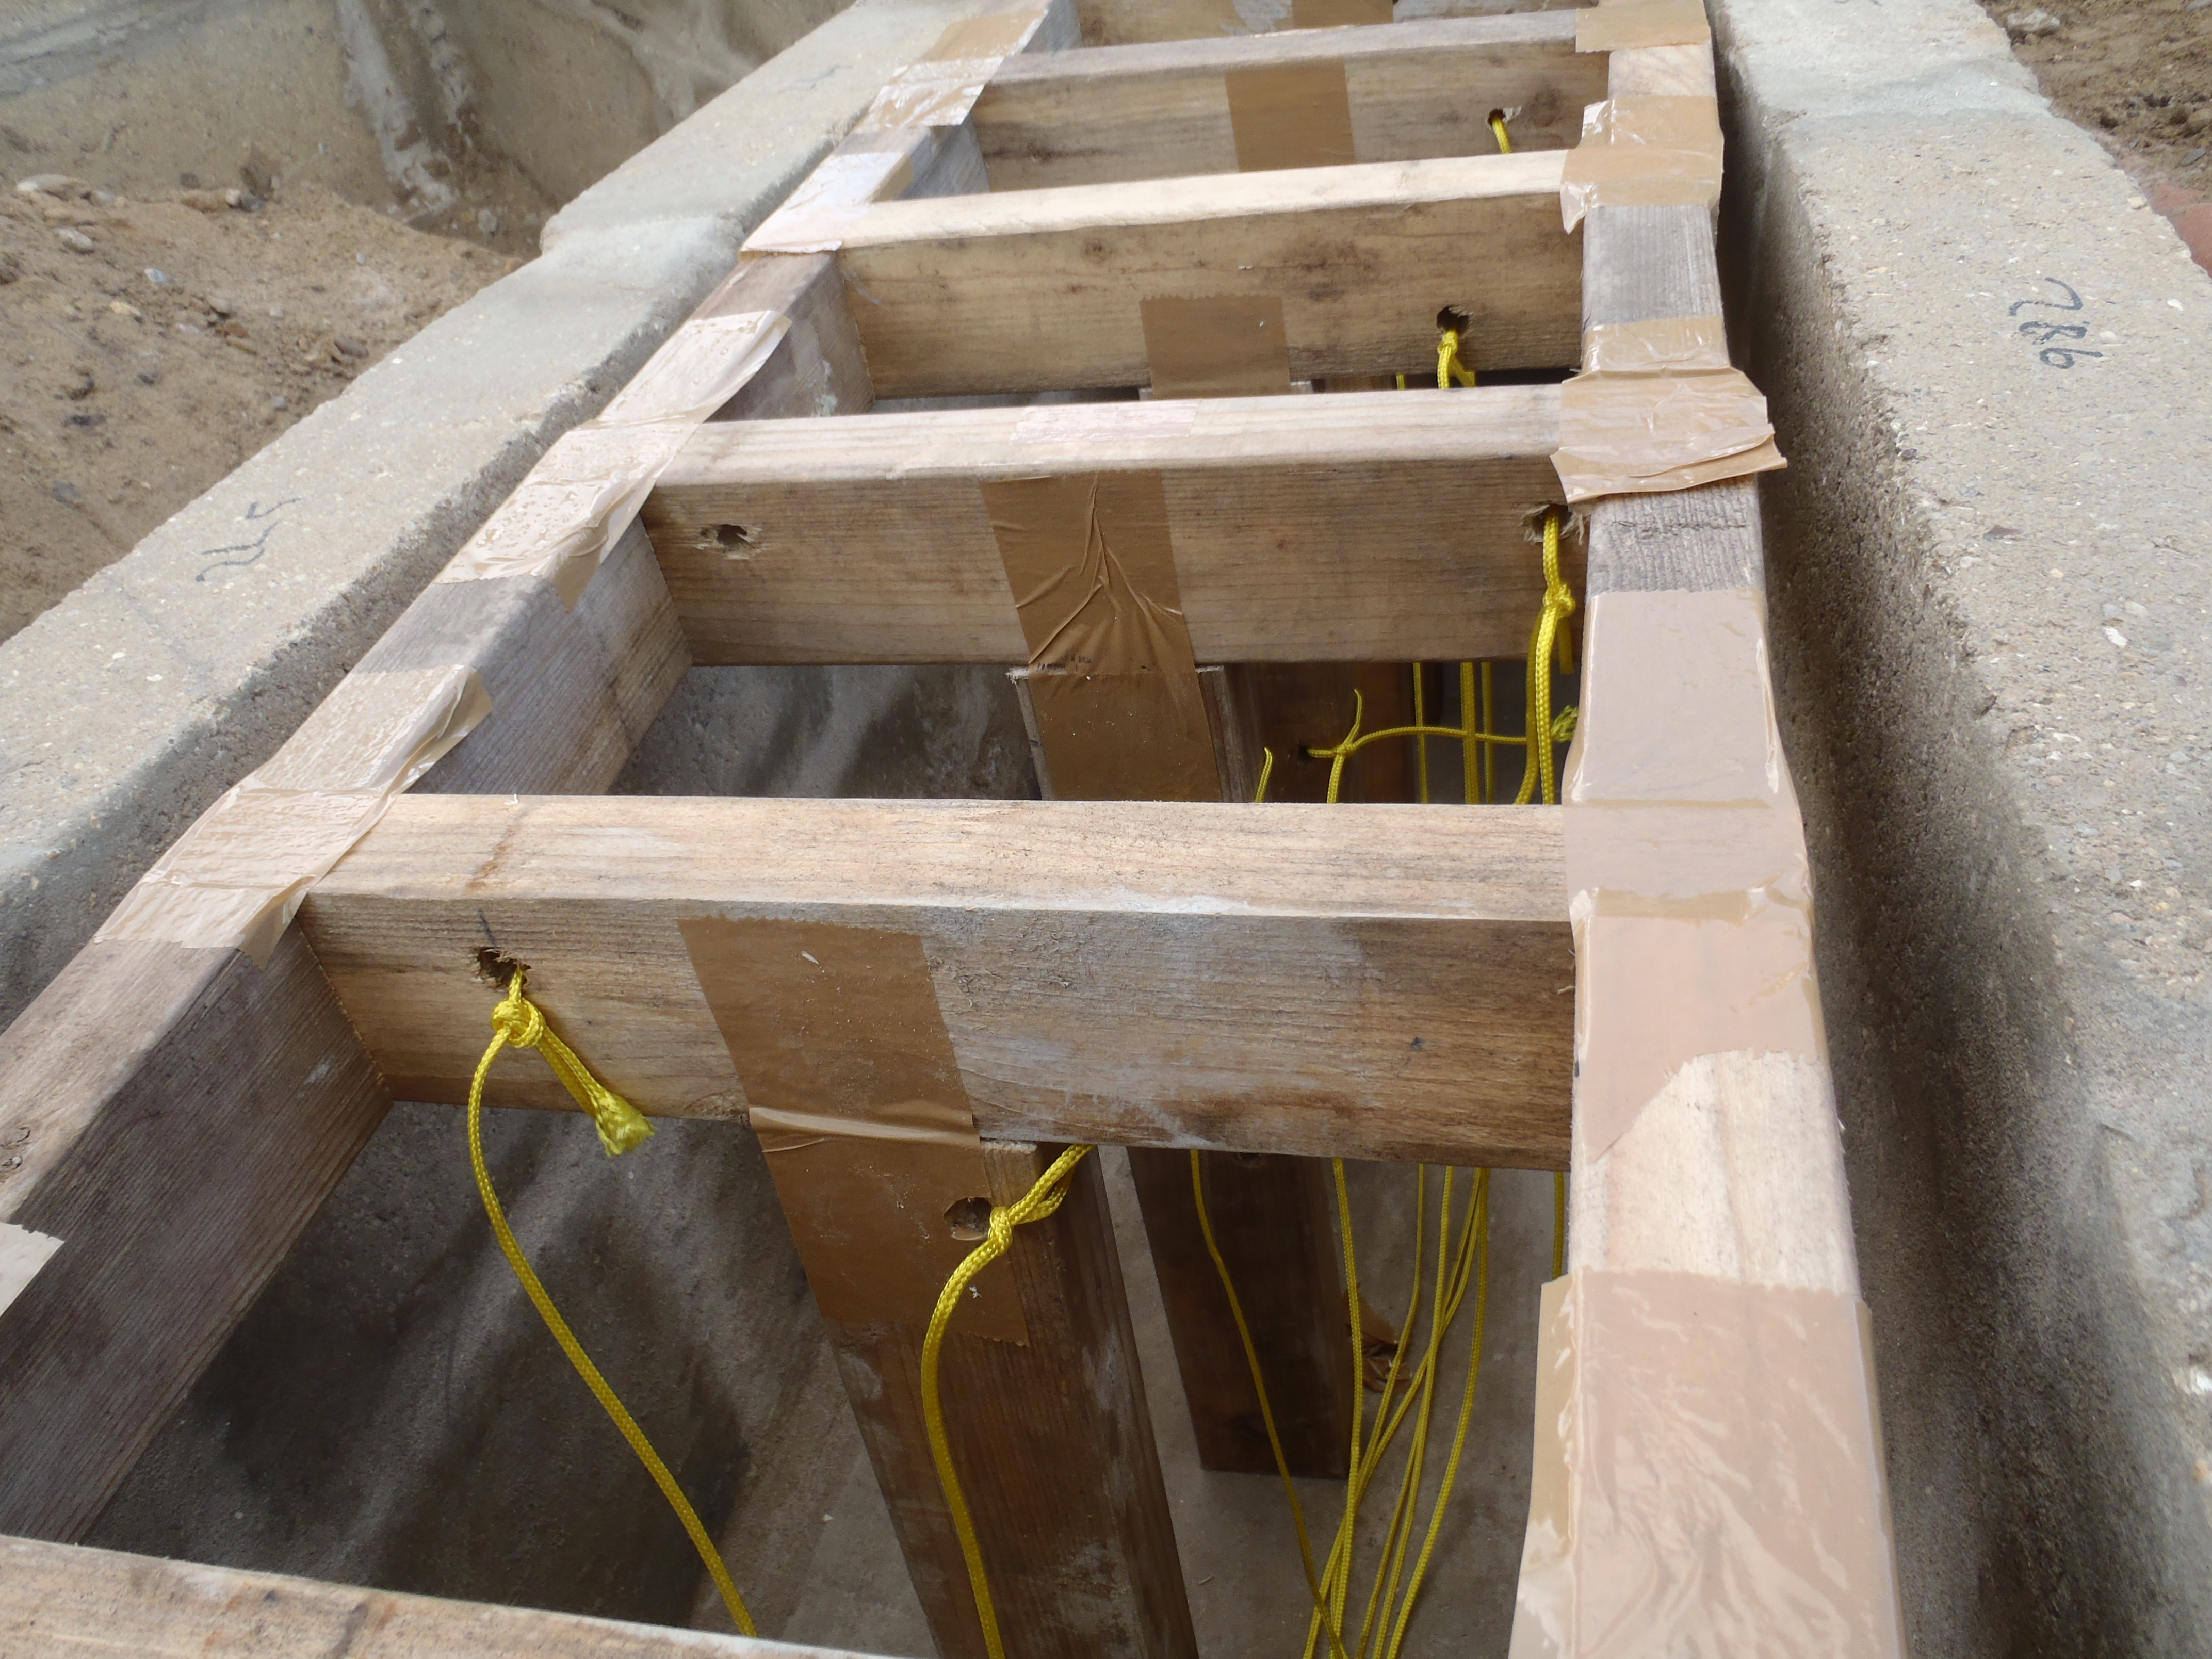
So we made six T shaped wooden module with one horizontal strut and one leg.

Cement-board-supports-1
Cement-board-supports-2
Each piece of wood will have a length of string tied to them, ready for the
final process of removing this support mechanism.
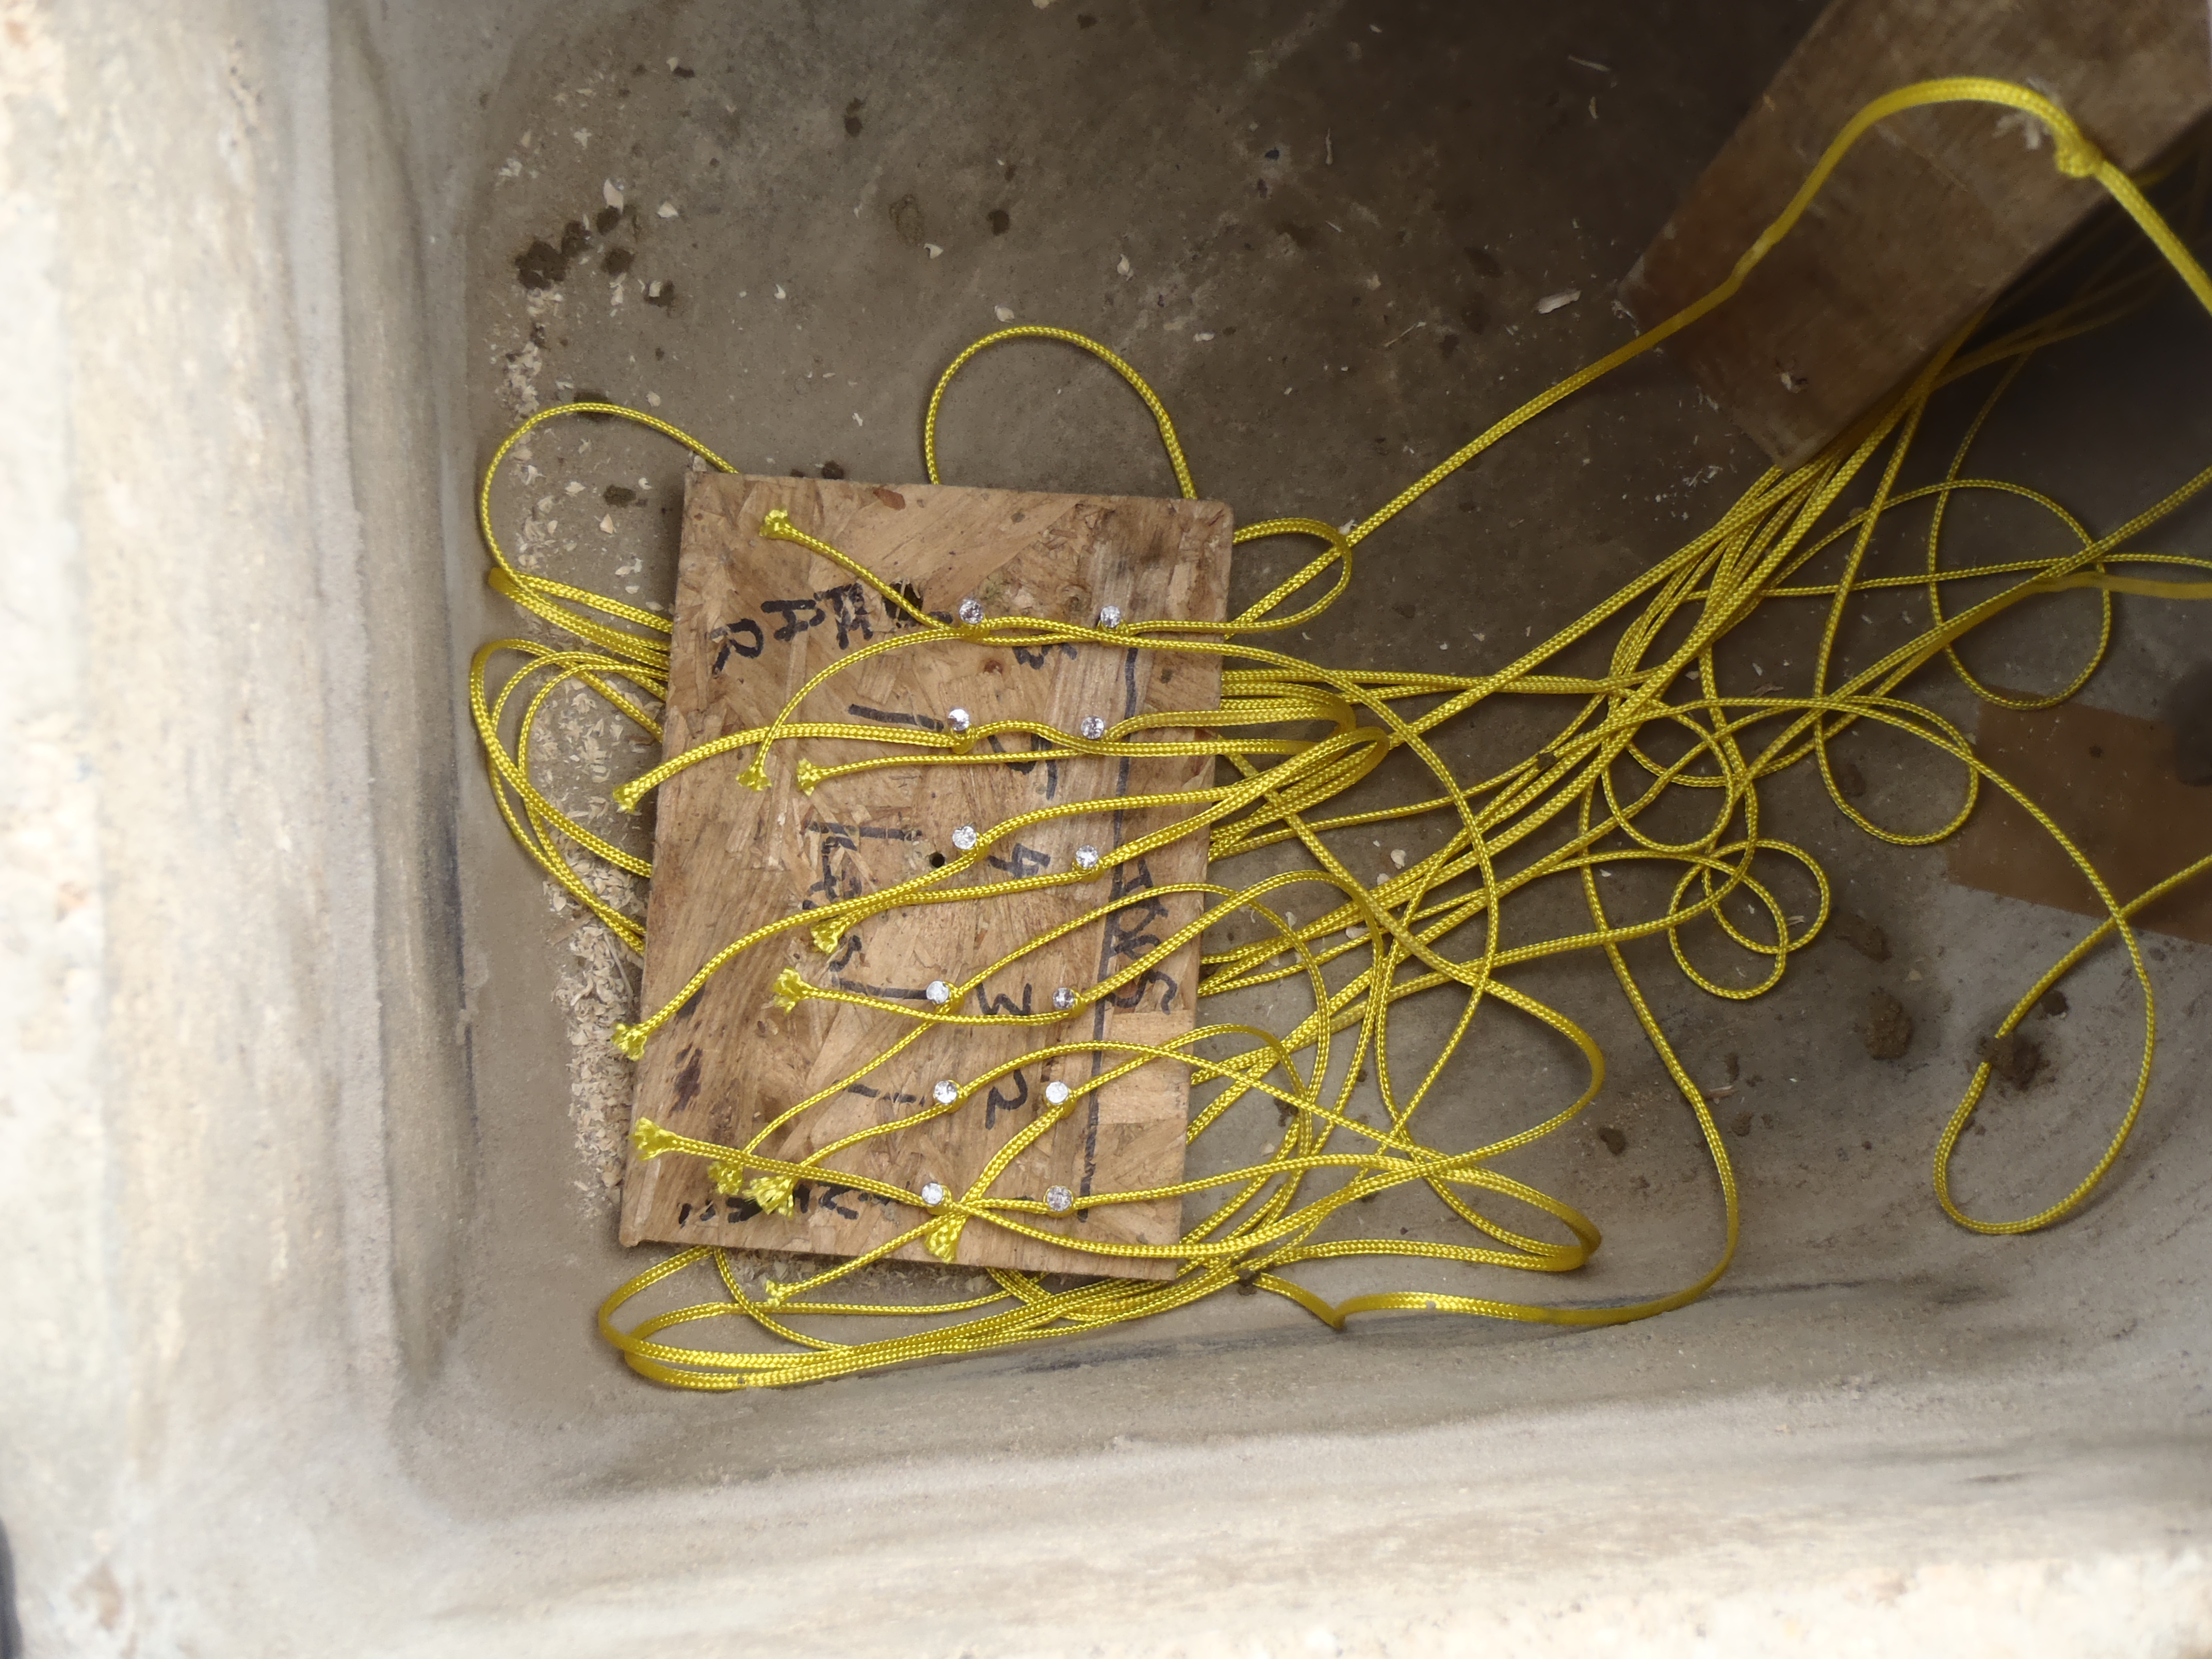
Tomorrow, we will seat the cement board on fresh mortar on the edges of the
tunnel and press down to firmly hold the support struts into place. Once the
concrete is poured and set, we can pull on the twelve ropes to yank out the
individual pieces of the support modules!! We hope we can rescue the pieces,
all 22 of them!!

The-strings-to-remove-the-supports