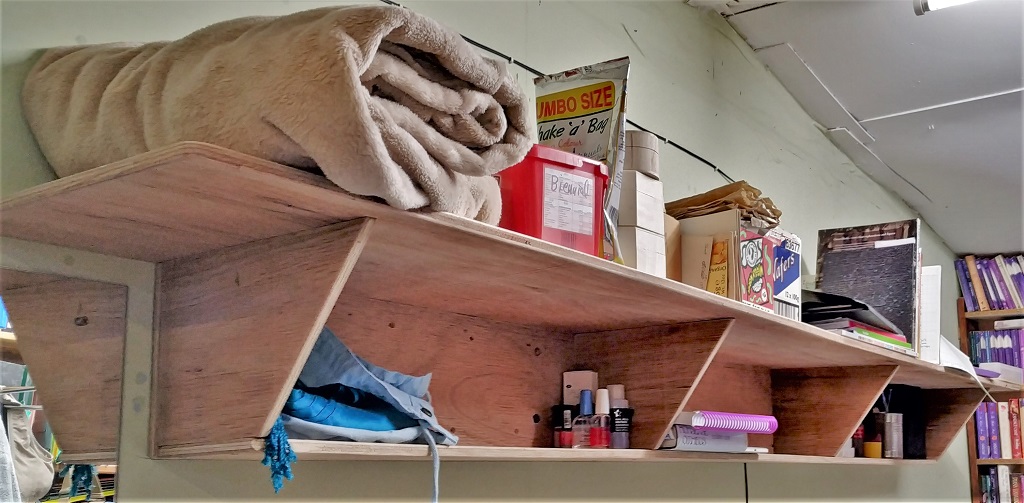
Monday, we had a little quick job of making some extra shelving for our living quarters, made out of pieces of plywood lying around
New-shelves-for-Mum
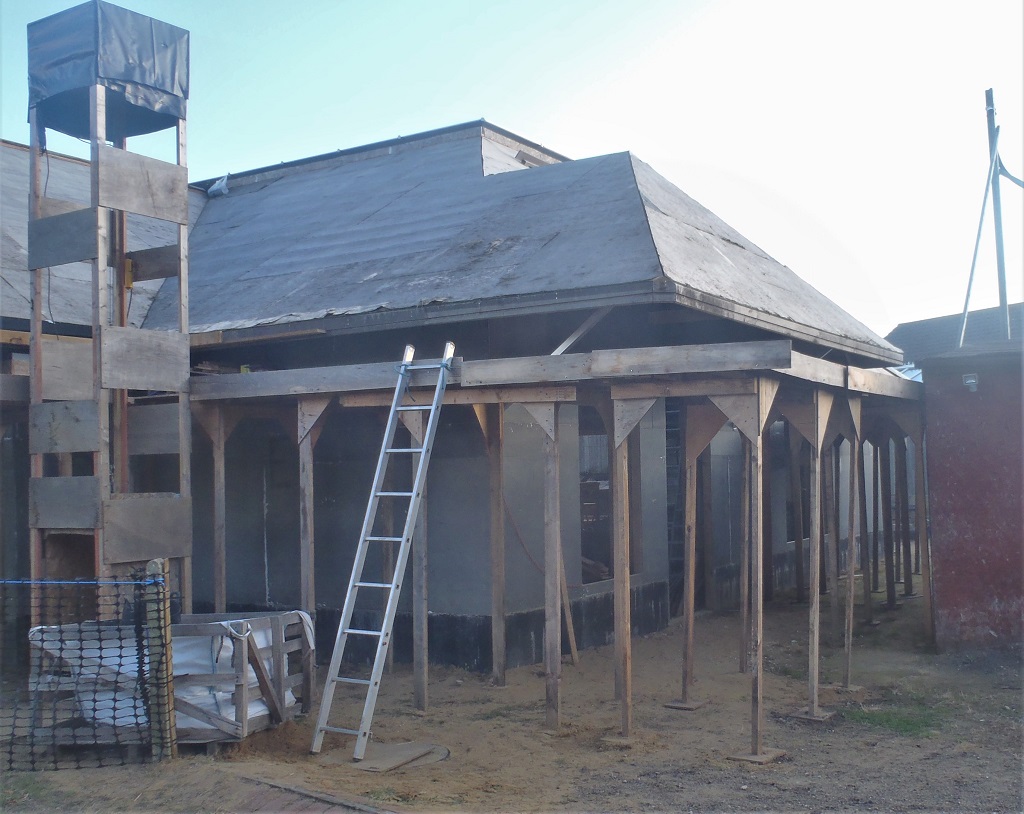
Then we got on with installing the last two metal aluminium legs for the Front Porch and its roof. We managed to hoist up the beam running underneath the roof edge, using our car hydraulic jack to lift it up 10mm on the outer corner and then a more distance (30mm) in the middle. All three legs are now bolted down into the concrete foundation pads and the plain steel concrete bolts were covered in bitumen sealant to protect them from damp sand in the long run. The top of the legs were screwed into the wooden beam using stainless steel coach screws.
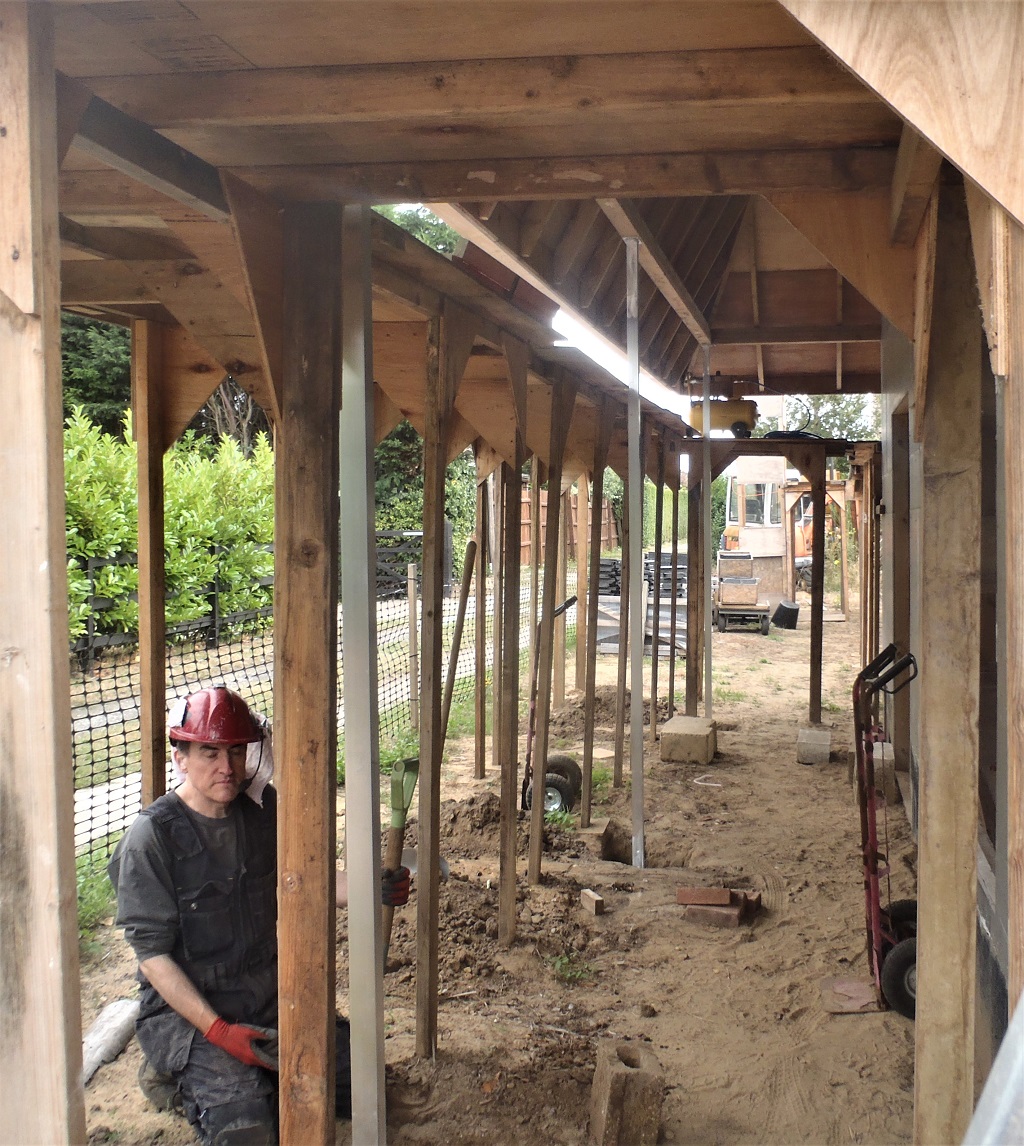
3-metal-poch-legs
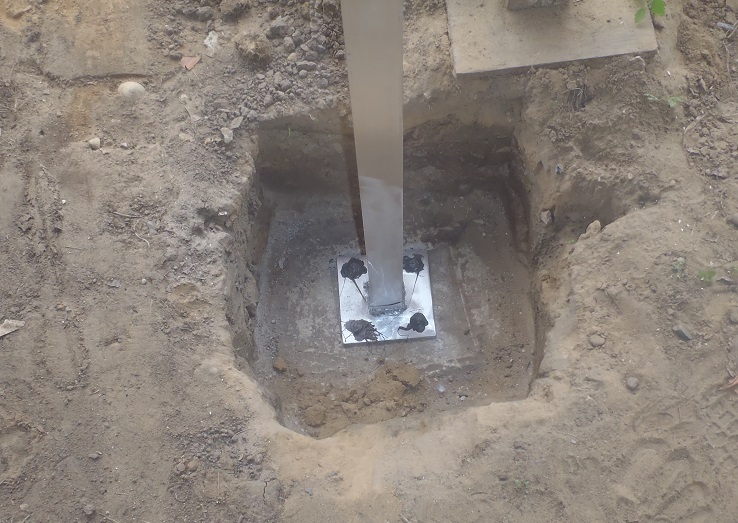
Porch-leg-concrete-bolts-masticed
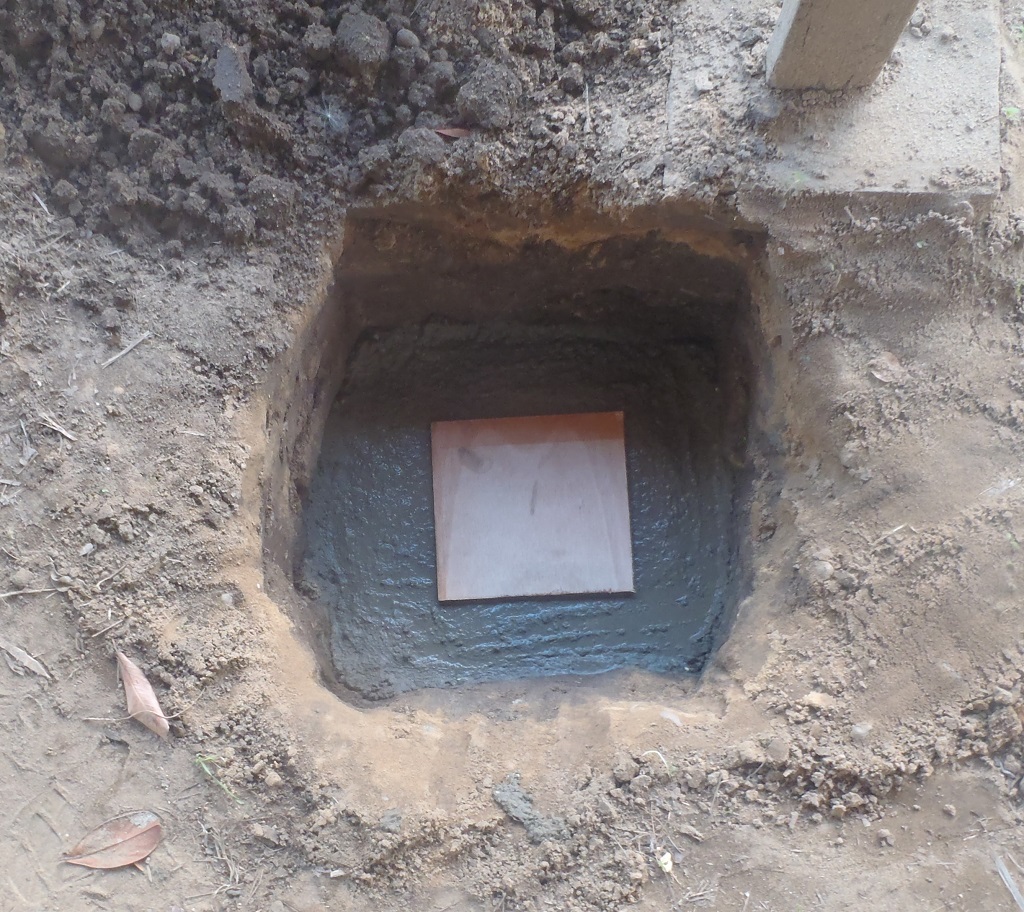
The final job of Monday was to clean out the man-hole chamber that got damaged several months ago by a delivery van driver. We used our vacuum cleaner to suck up the sand and then wrapped a strip of rubber membrane around the top of the chamber to cover up the broken edge to stop further sand and soil to leak in. we will do a proper repair later on when we get the driveway laid.
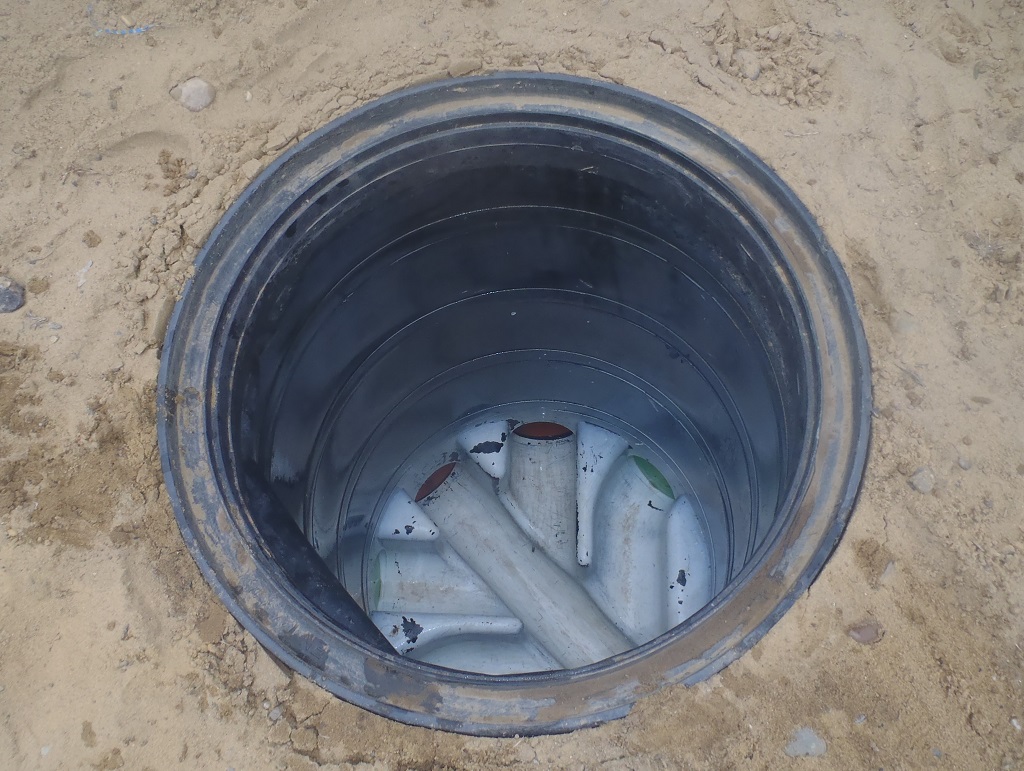
Manhole-repaired-2
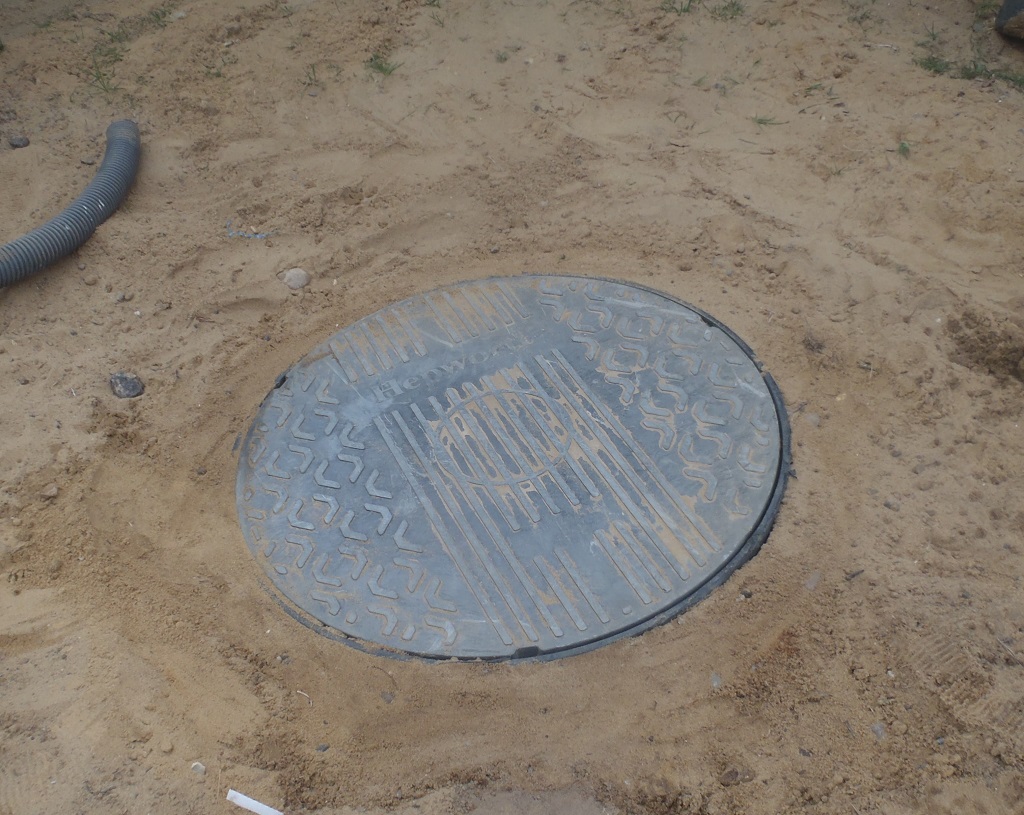
Manhole-repaired-1
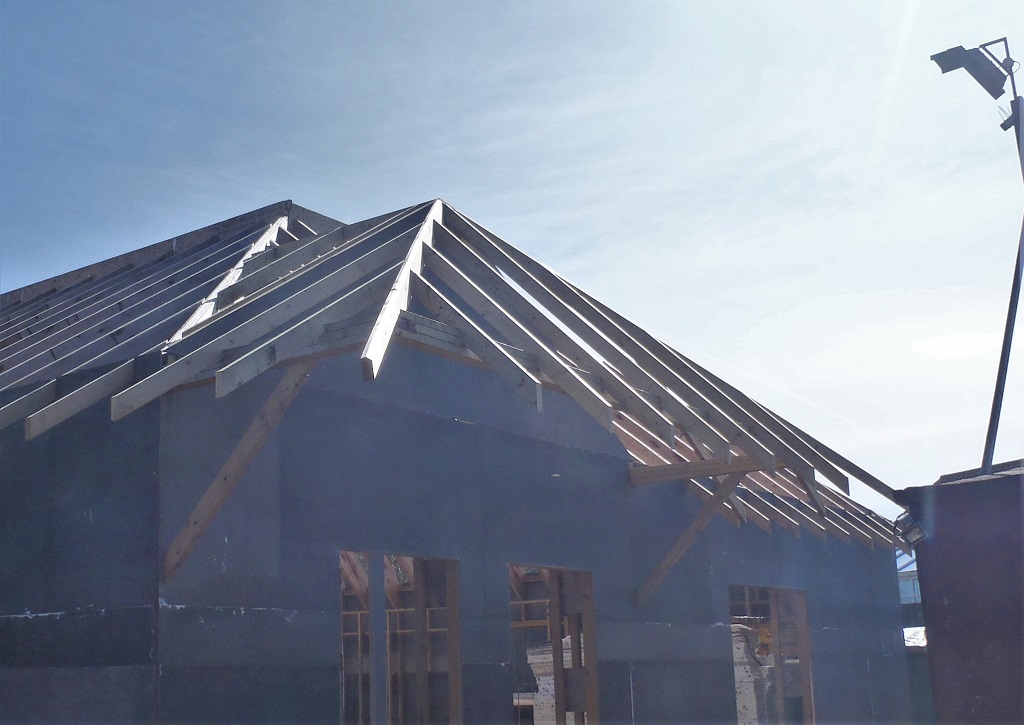
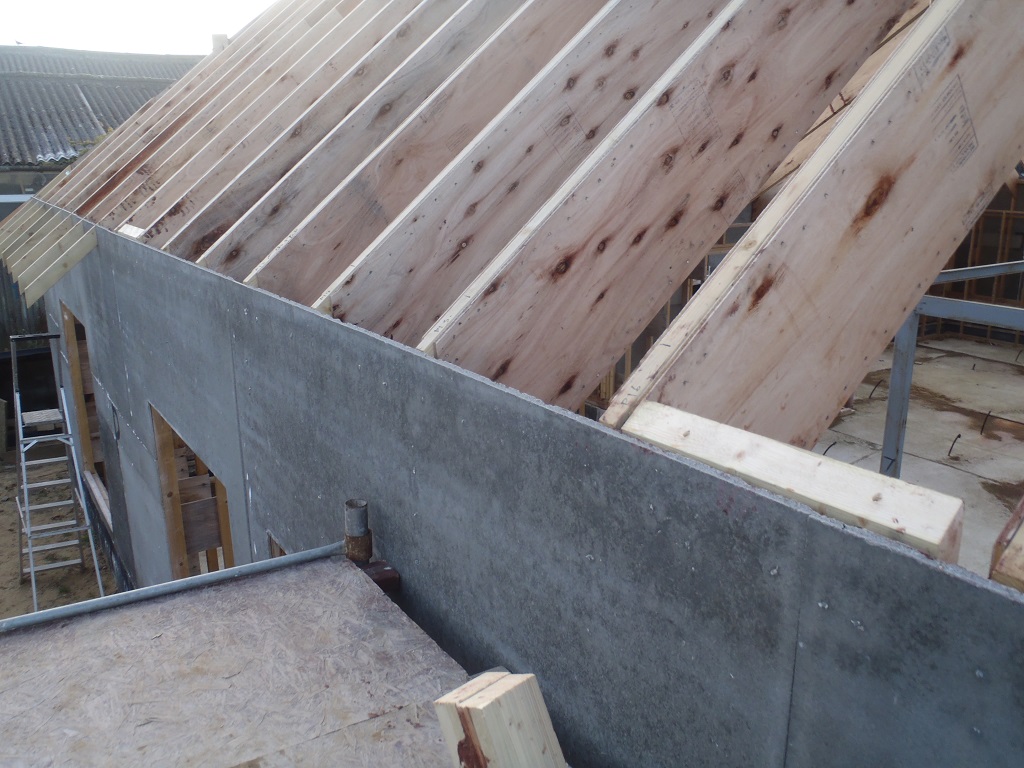
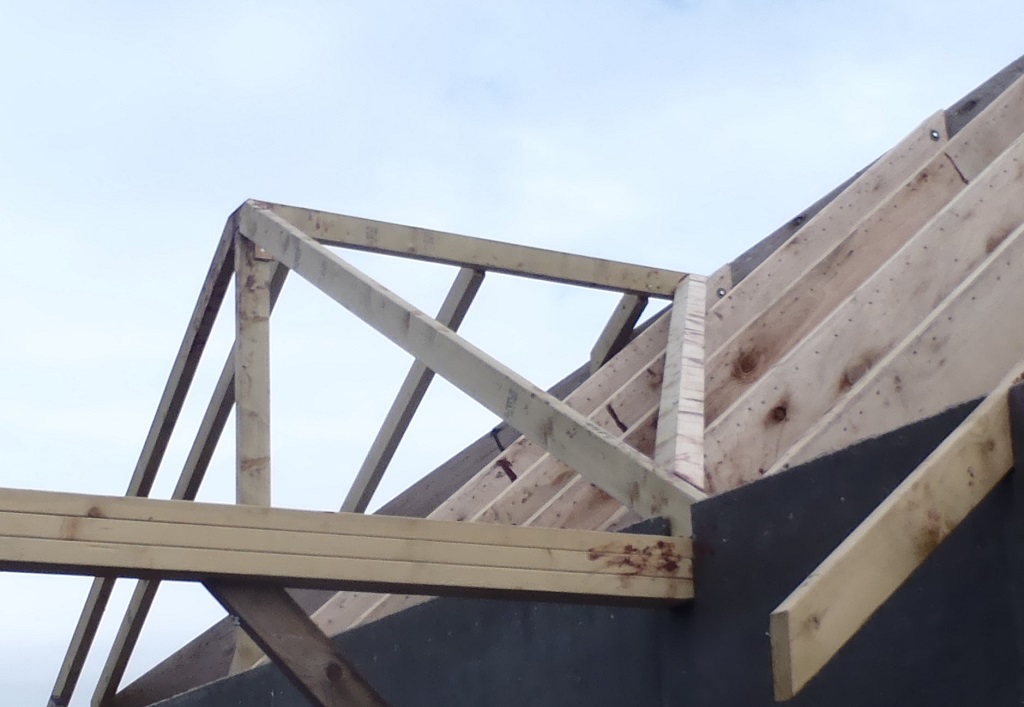
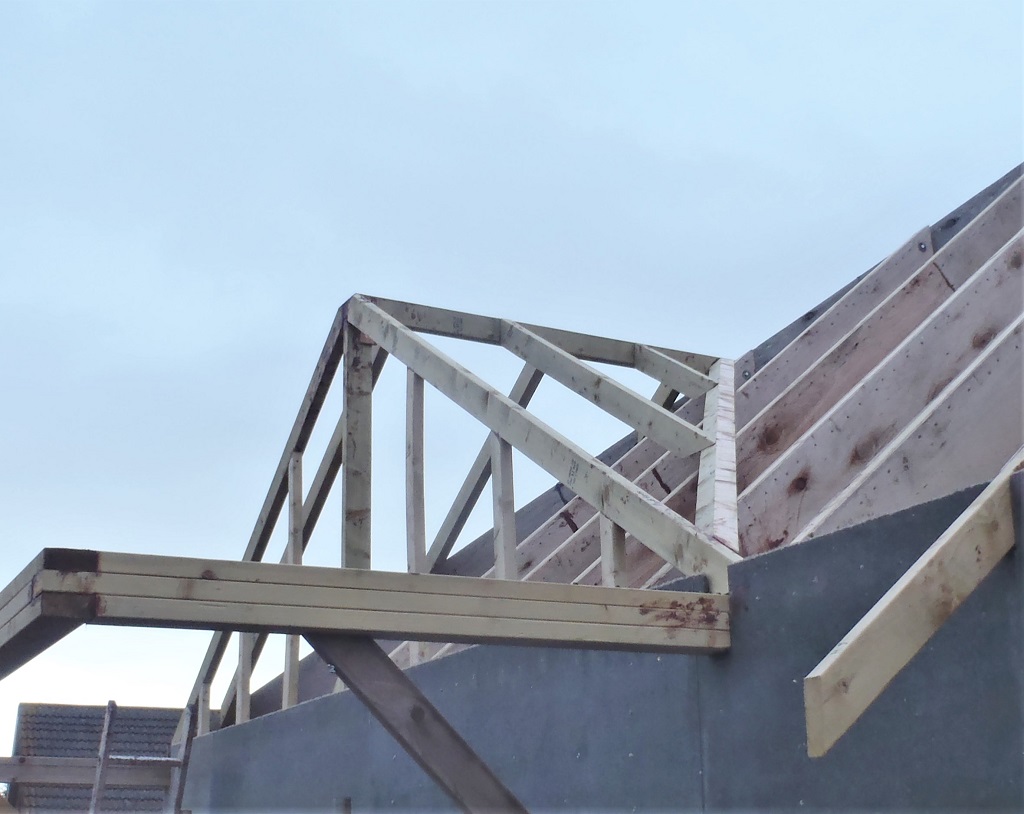
Tuesday morning was spent going around the eves cleaning the excess brown glue away from the rafters coming down to the back of the fascia, doing about half of the circuit before lunch.
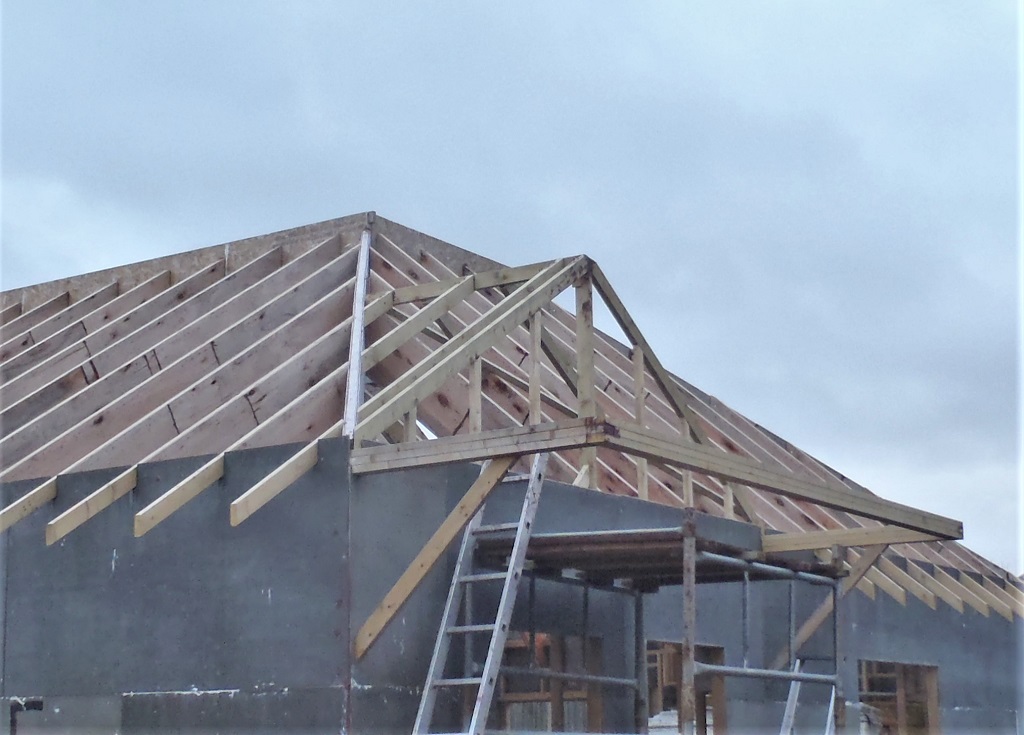
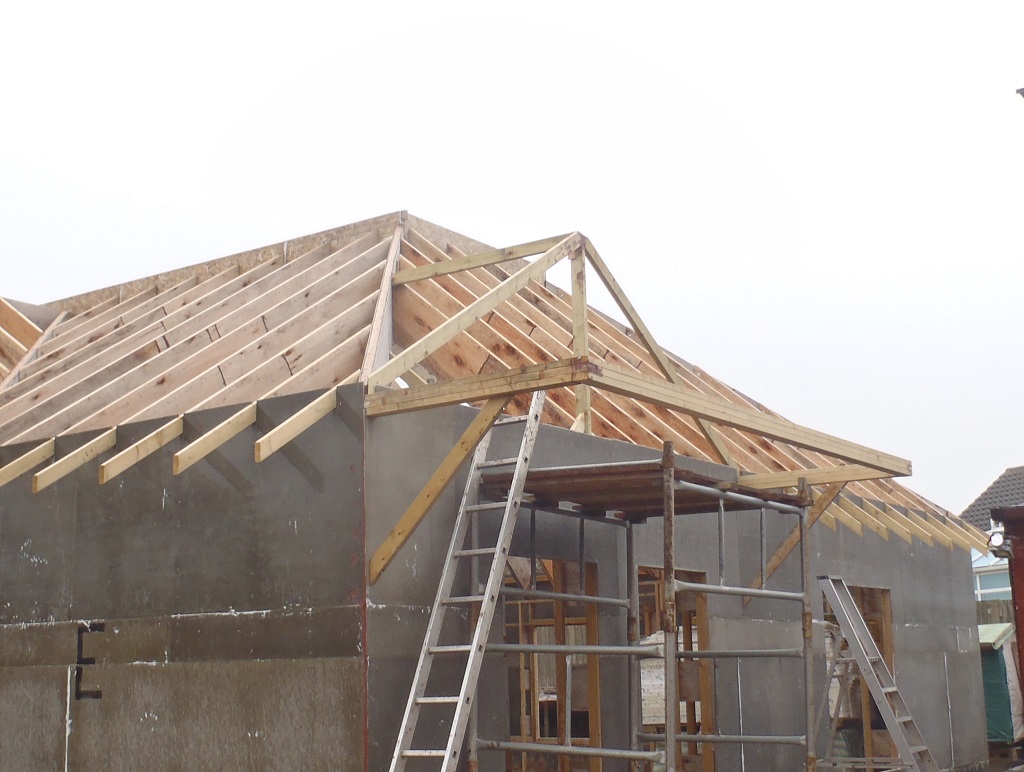
After lunch, we resumed our task of moving the platform modules to their new position.
Wednesday was spent all day adjusting the platform modules including moving the lift shaft into its final position (where it will serve us right to the end of completing the whole roof).
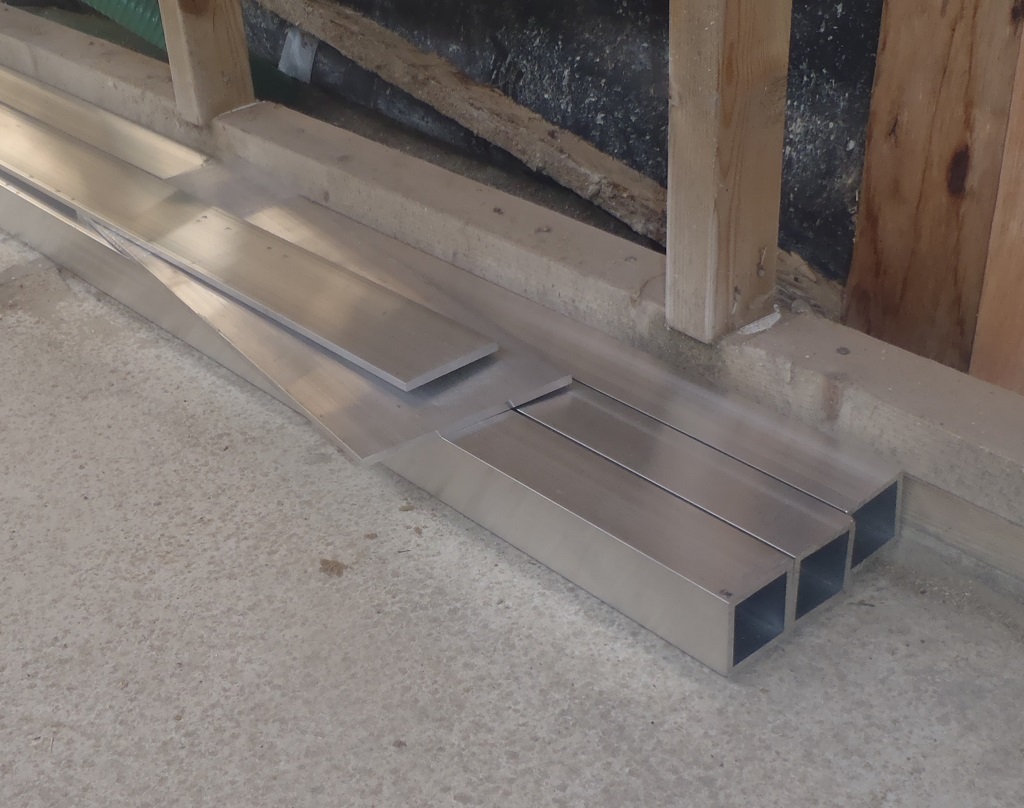
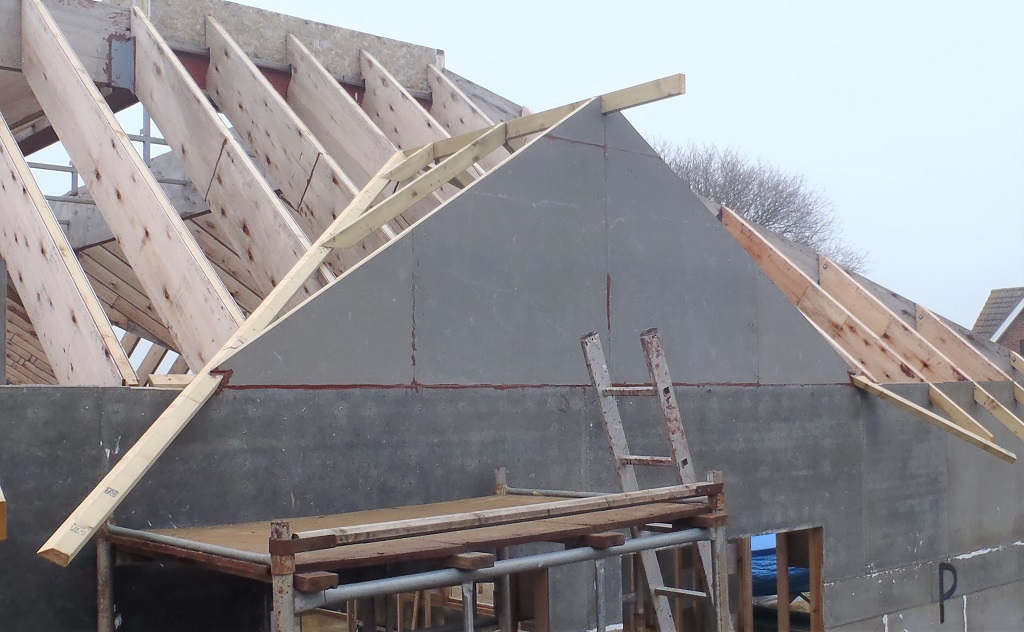
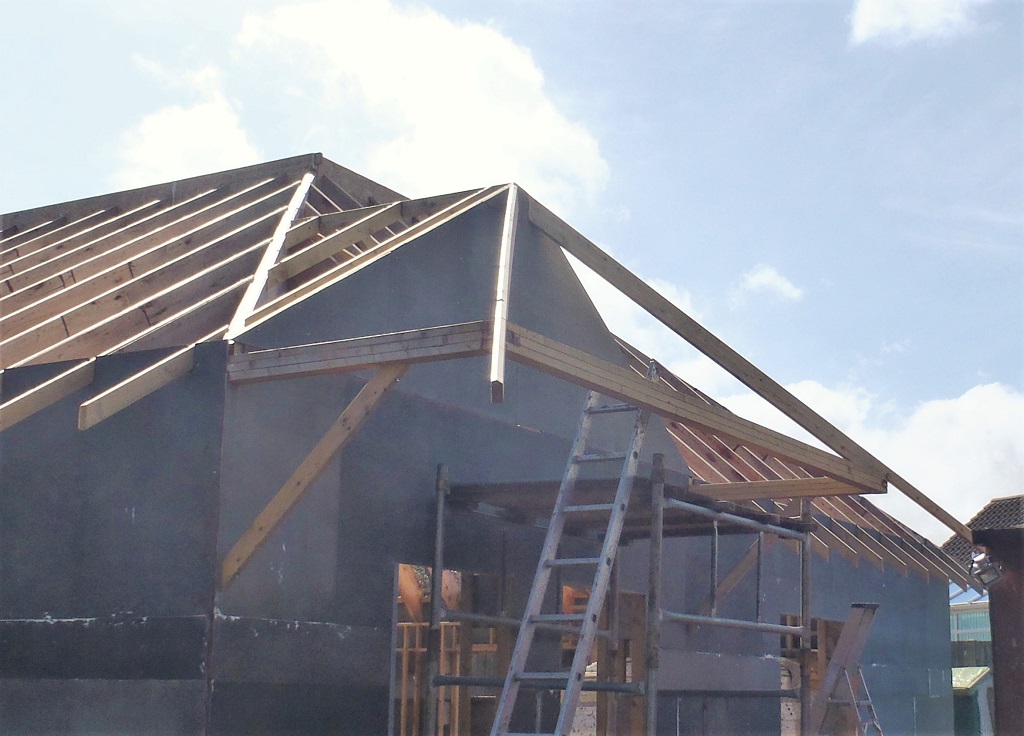
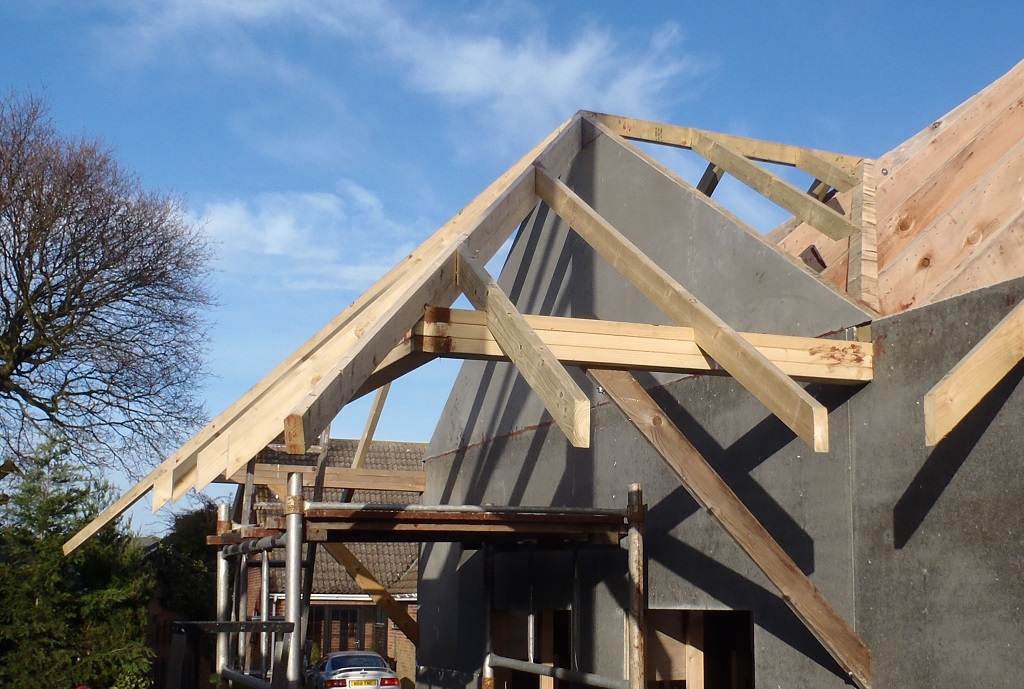
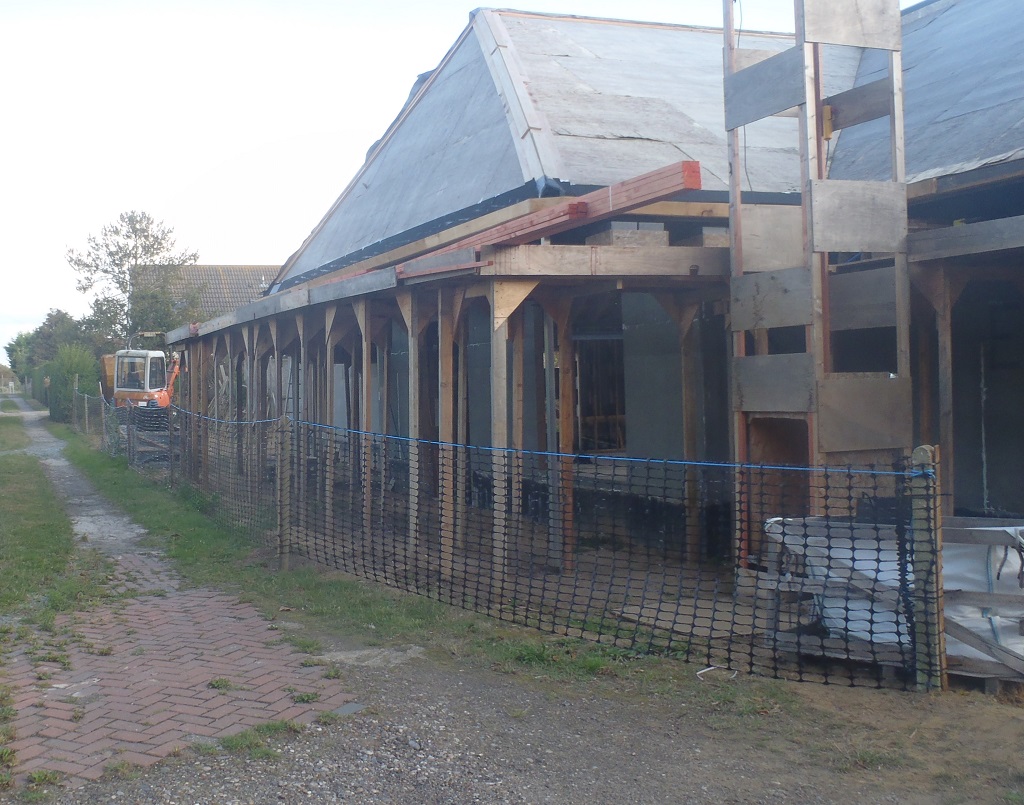
Thursday was another half workforce day, so the second set of the aluminium bracing support were made, this time for the Side Porch. These arms are angled at 53° from the wall surface about 6 feet off the ground and reaches out all the way to the corner of the framework beam.
We wanted to avoid having straight vertical posts supporting the porch so we can move vehicles around on our driveway without the fear of bumping into a leg and causing complicated damage to the overhanging porch and the roof. The angle was derived by calculation the stress and strain numbers on the 50mm square tube and the 53° position turned out to be the surprising optimum angle! Late afternoon, we installed one of the new arms on the E-F corner, all screwed using four stainless steel 80mm by 6mm hex head coach screws at each mounting plate.
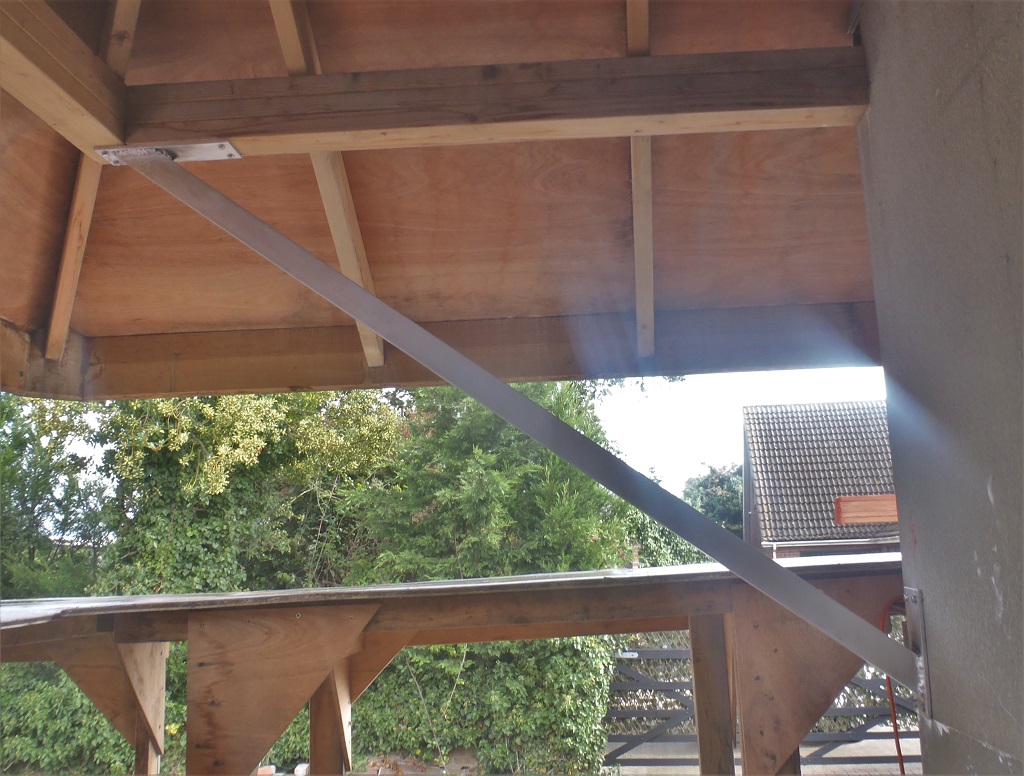
Angled-porch-support-EF
Friday, we put up the second arm, similar to the first arm and it was screwed with more stainless steel hex head coach screws.
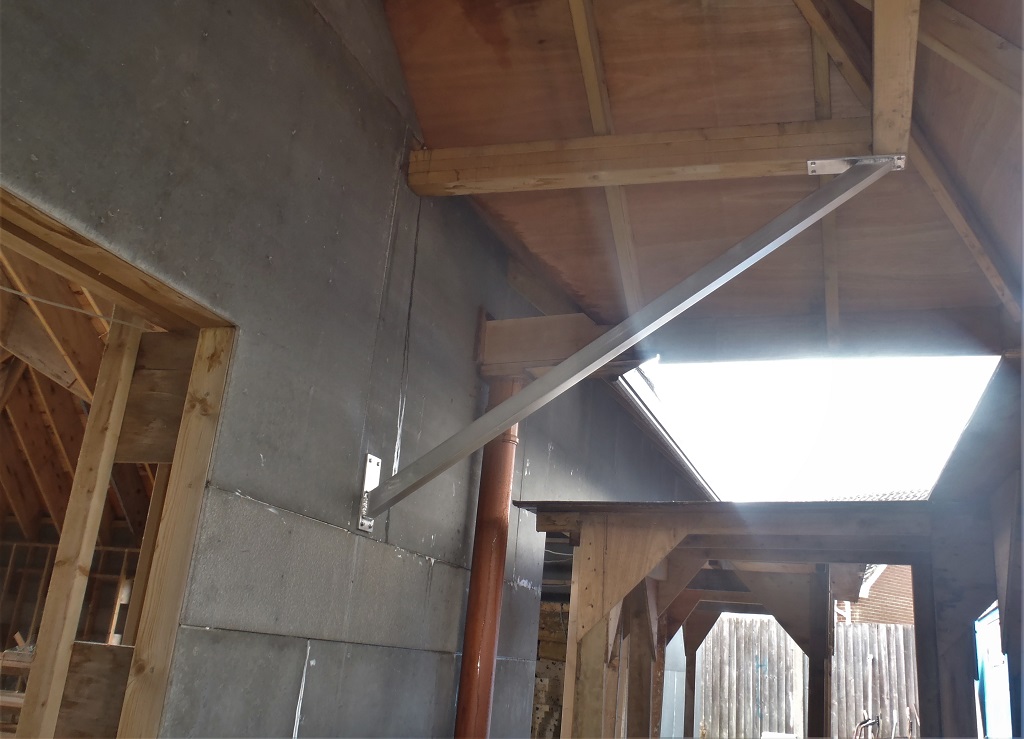
Angled-porch-support-FG
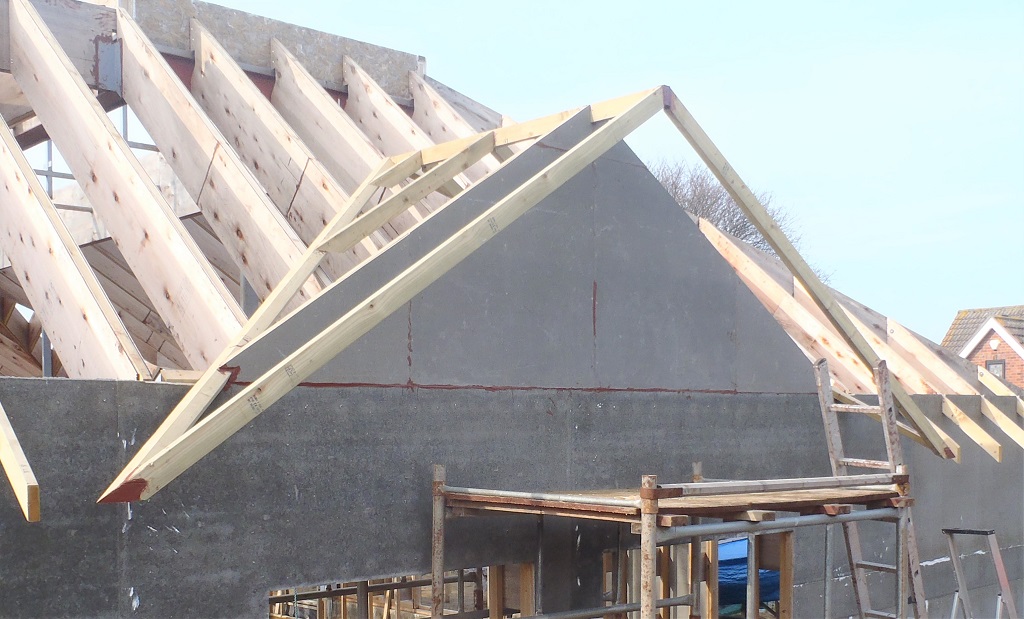
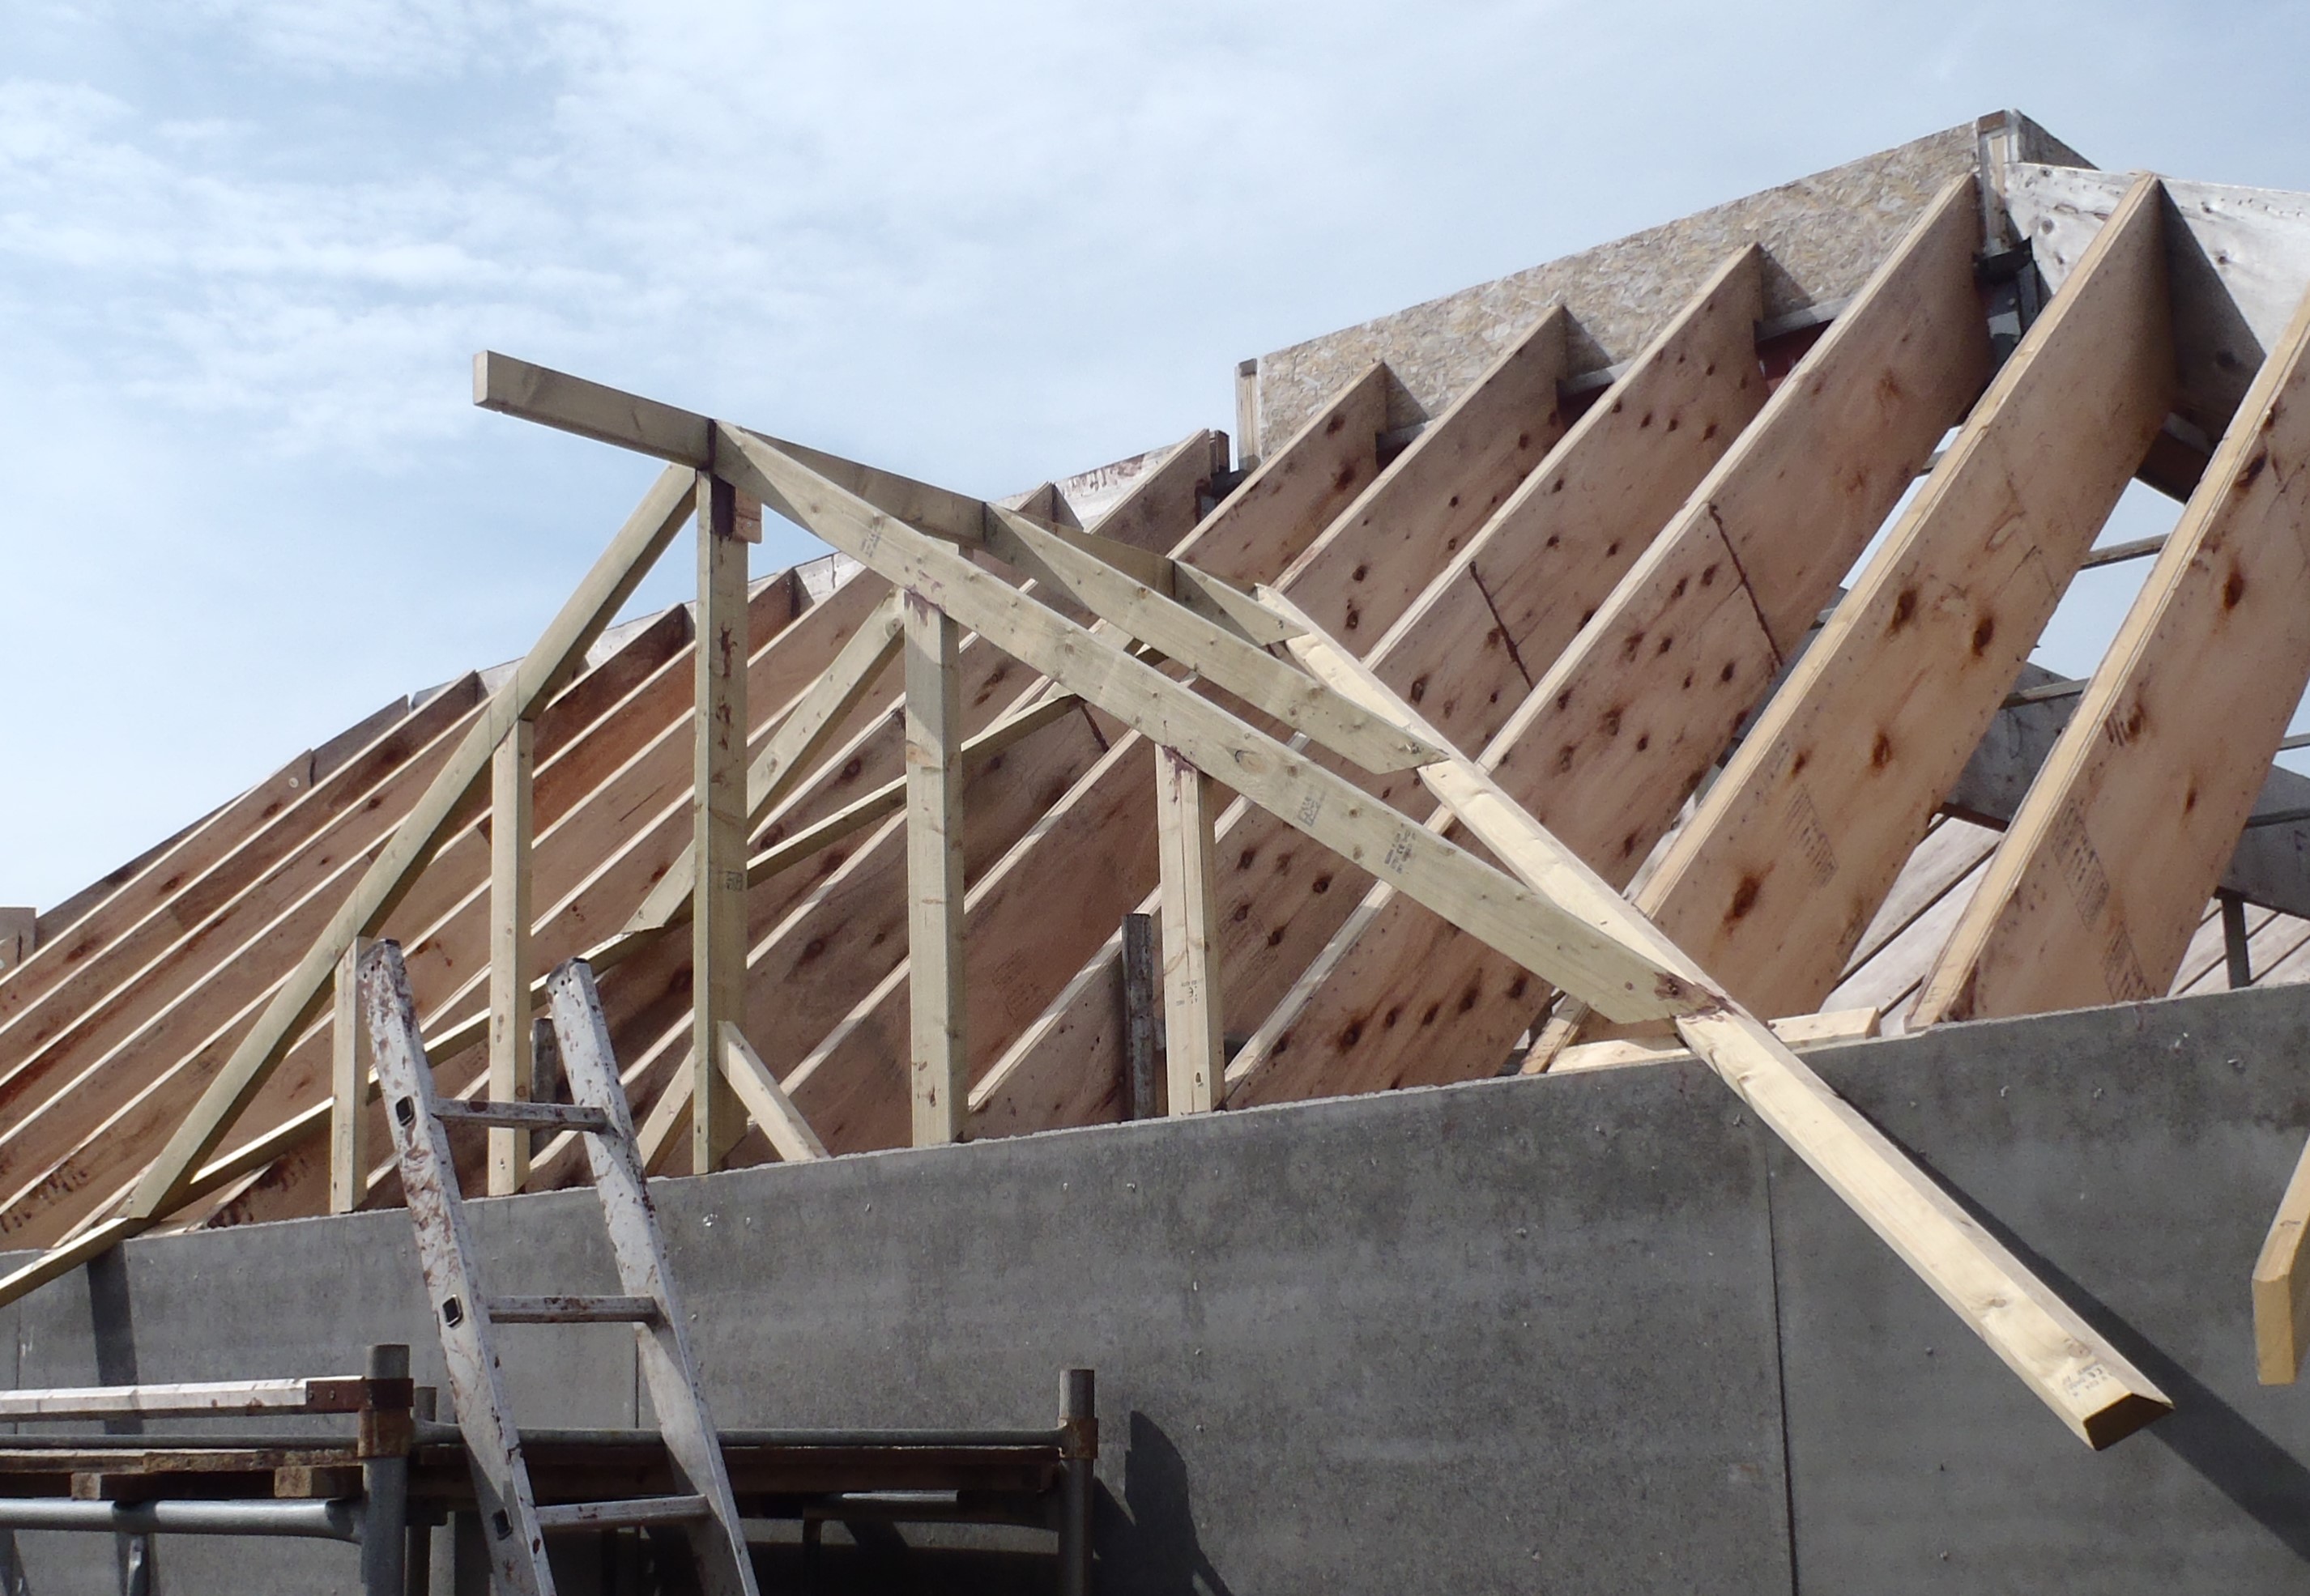
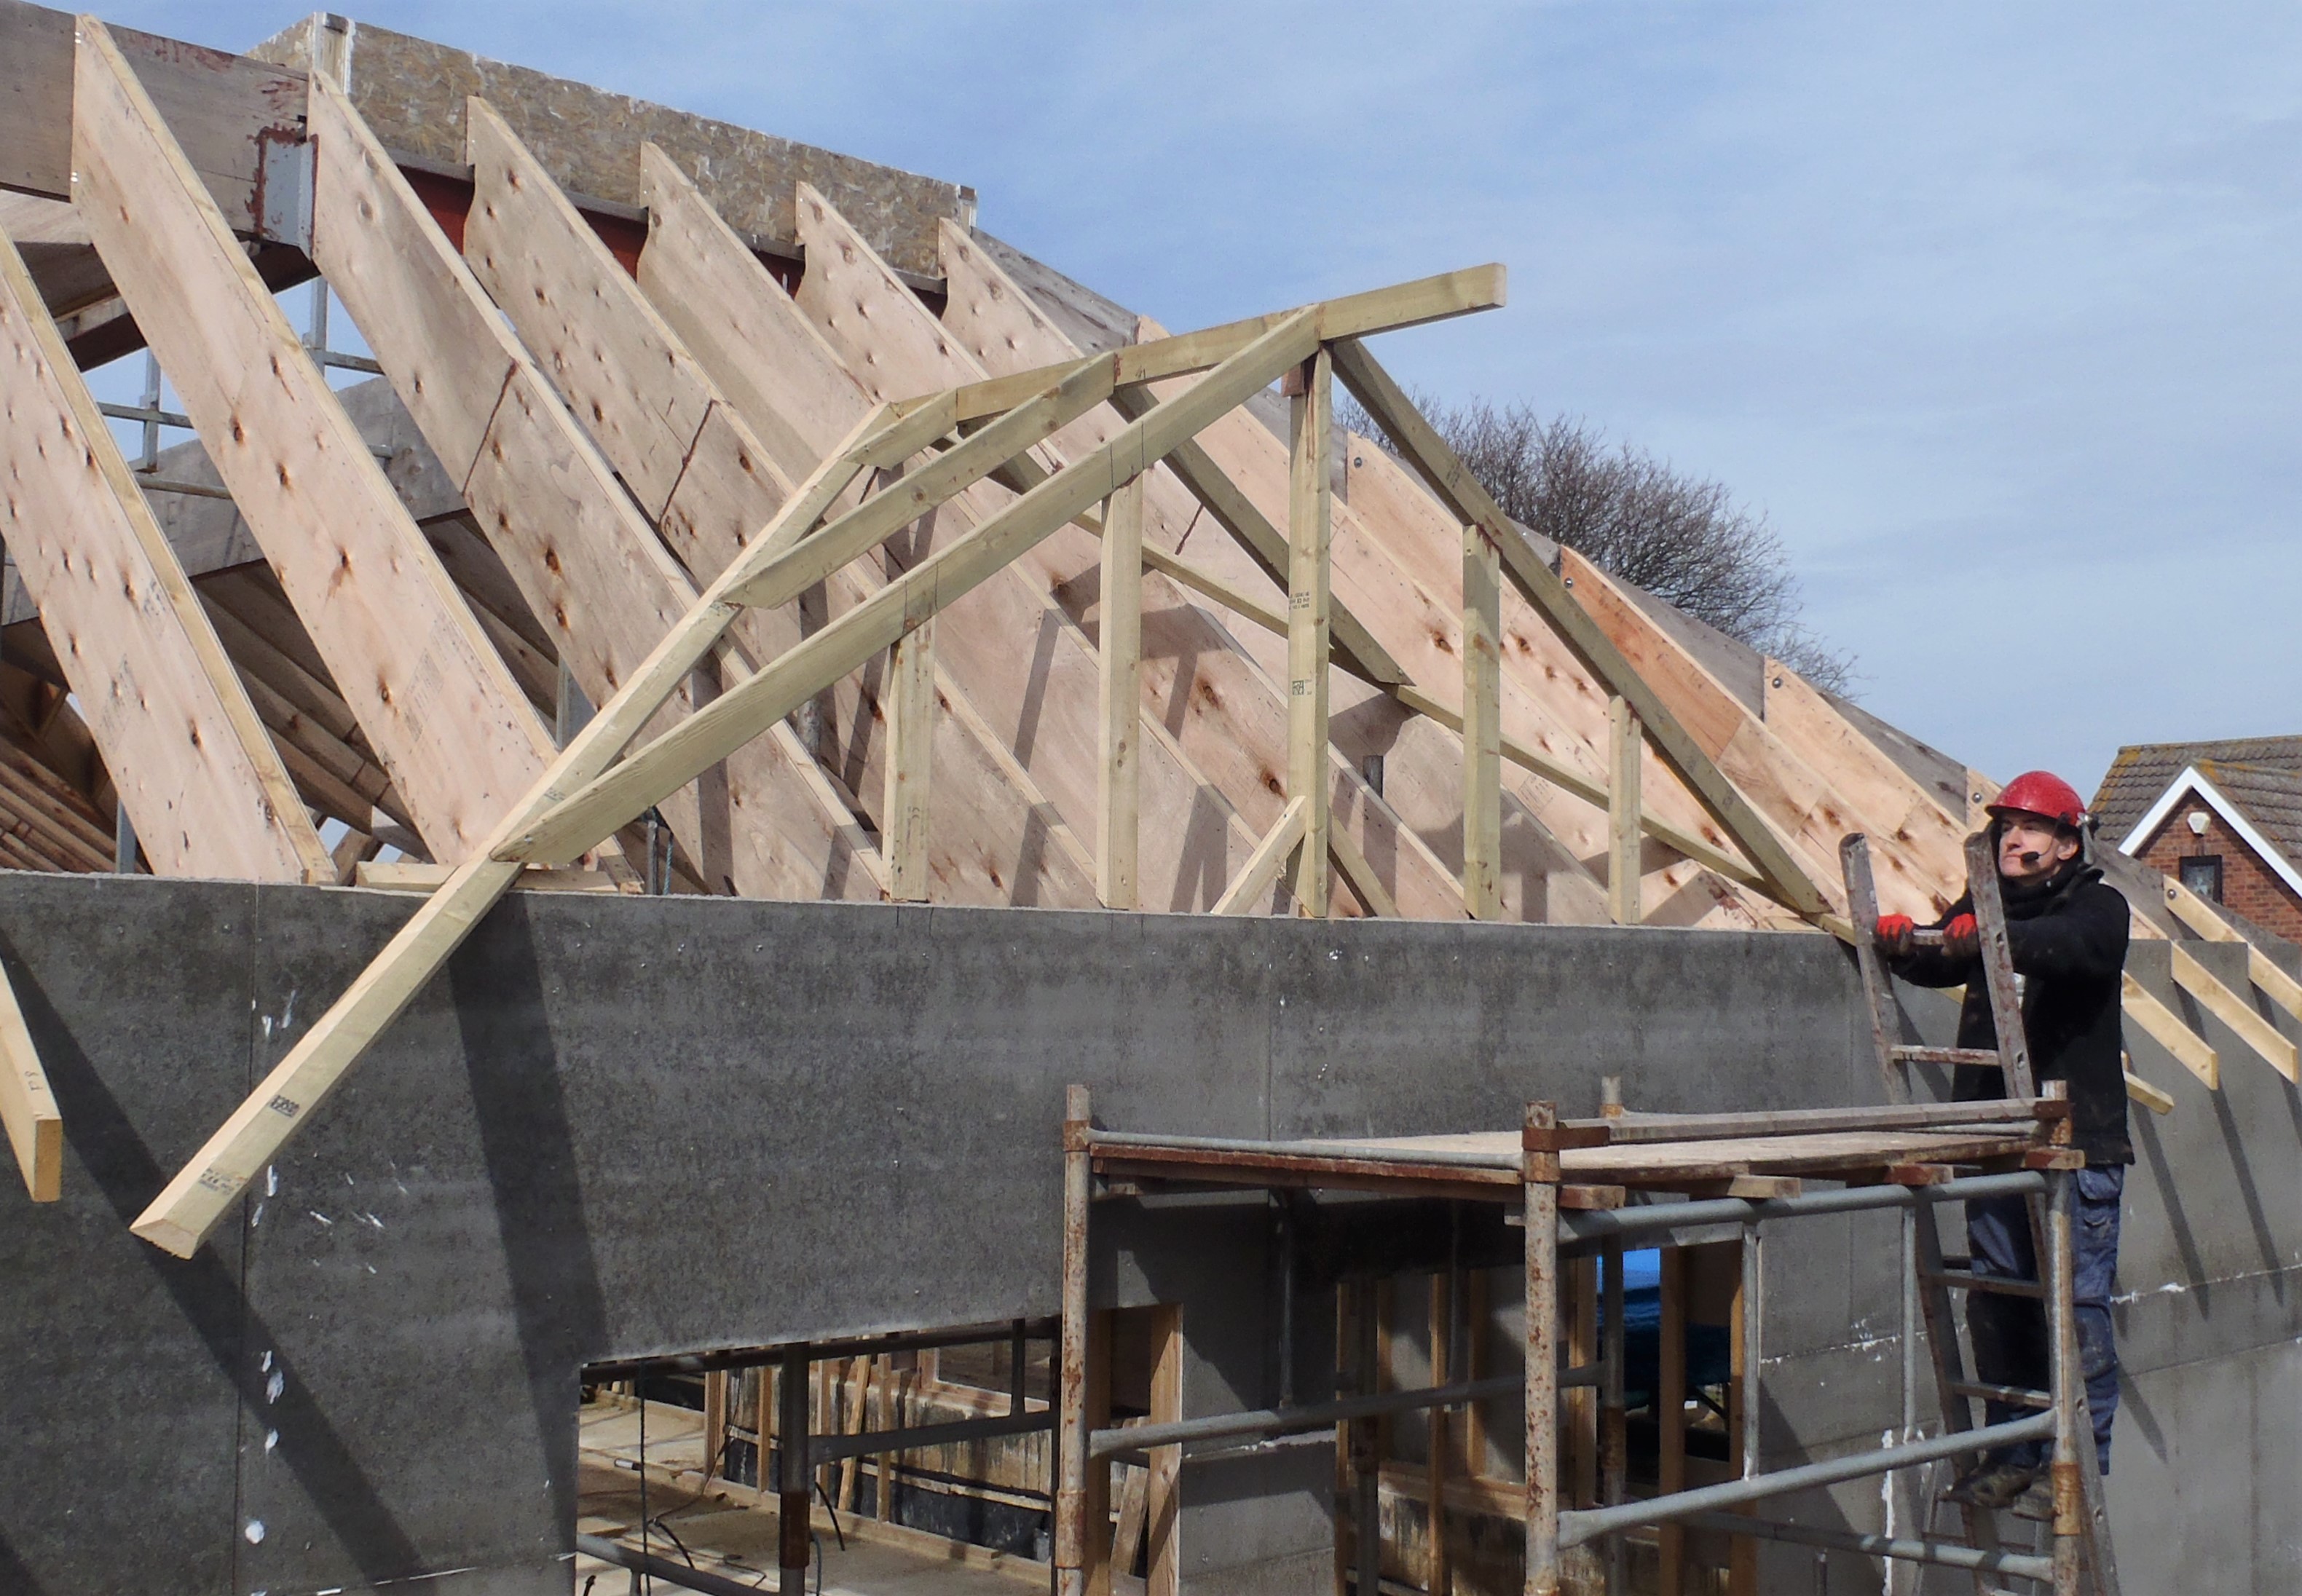
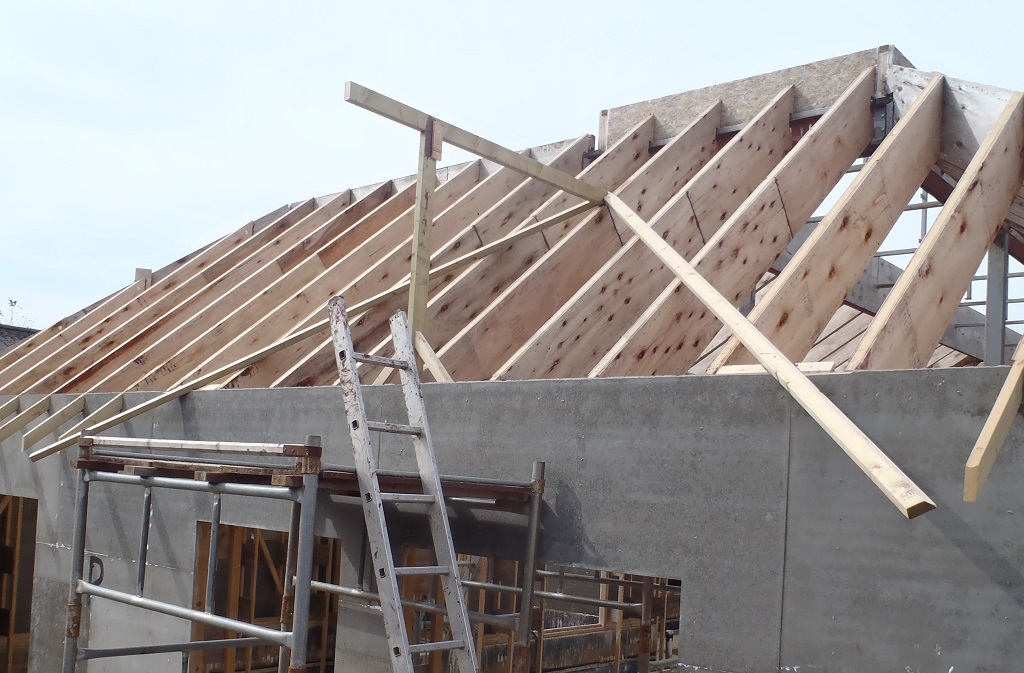
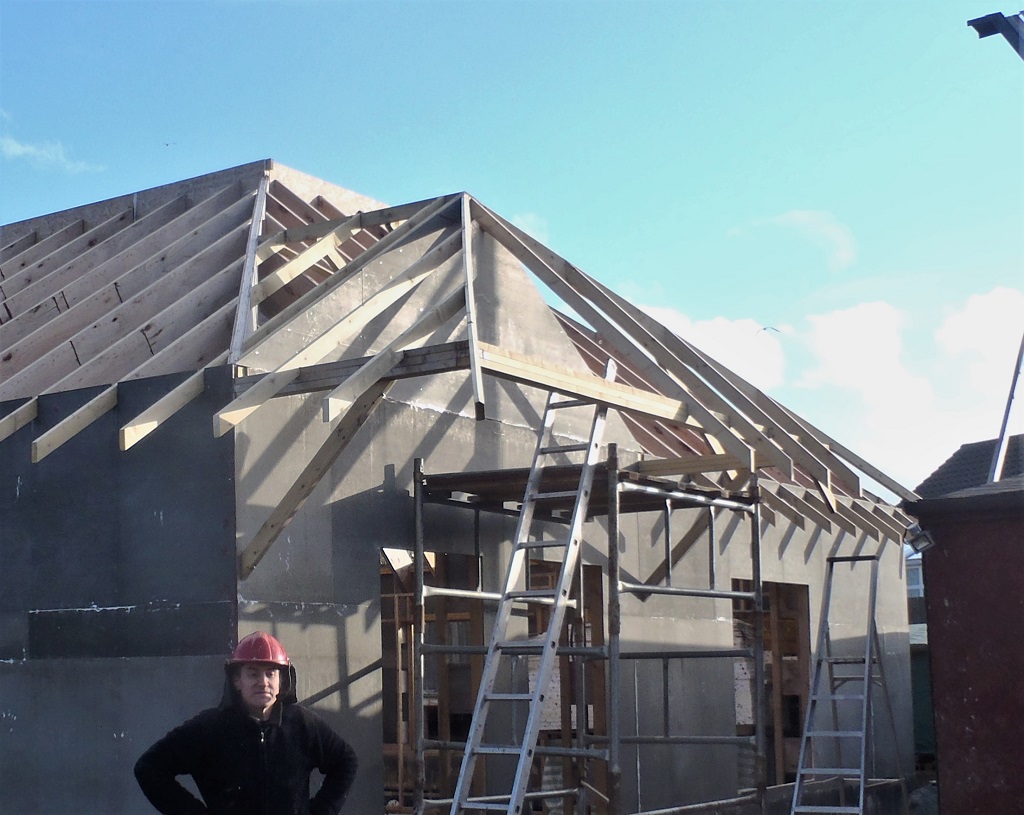
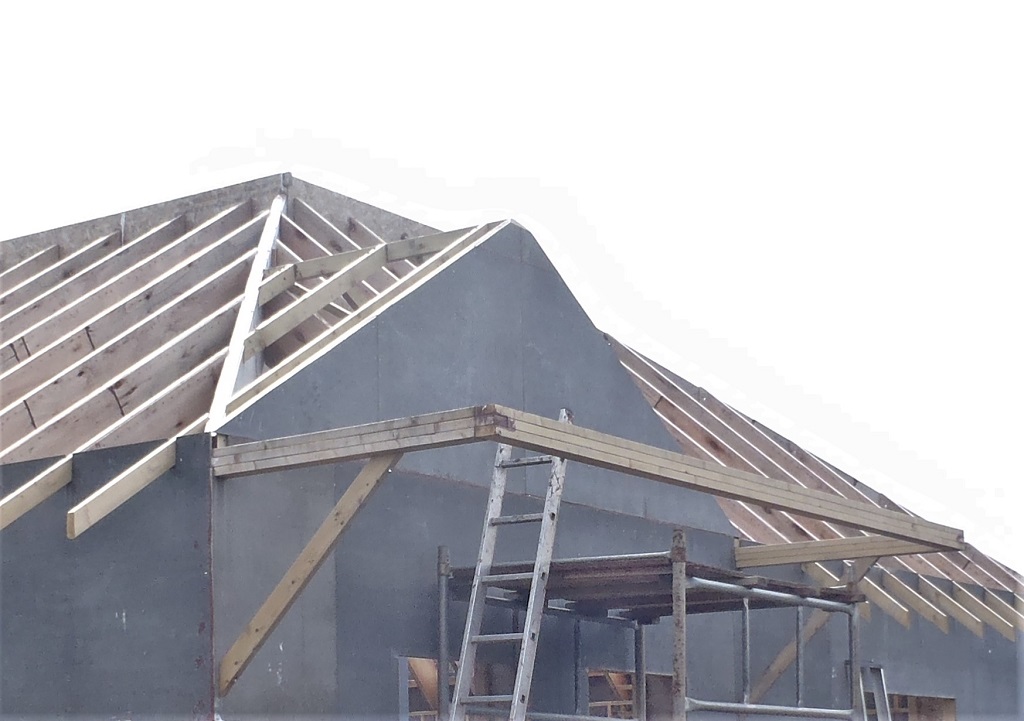
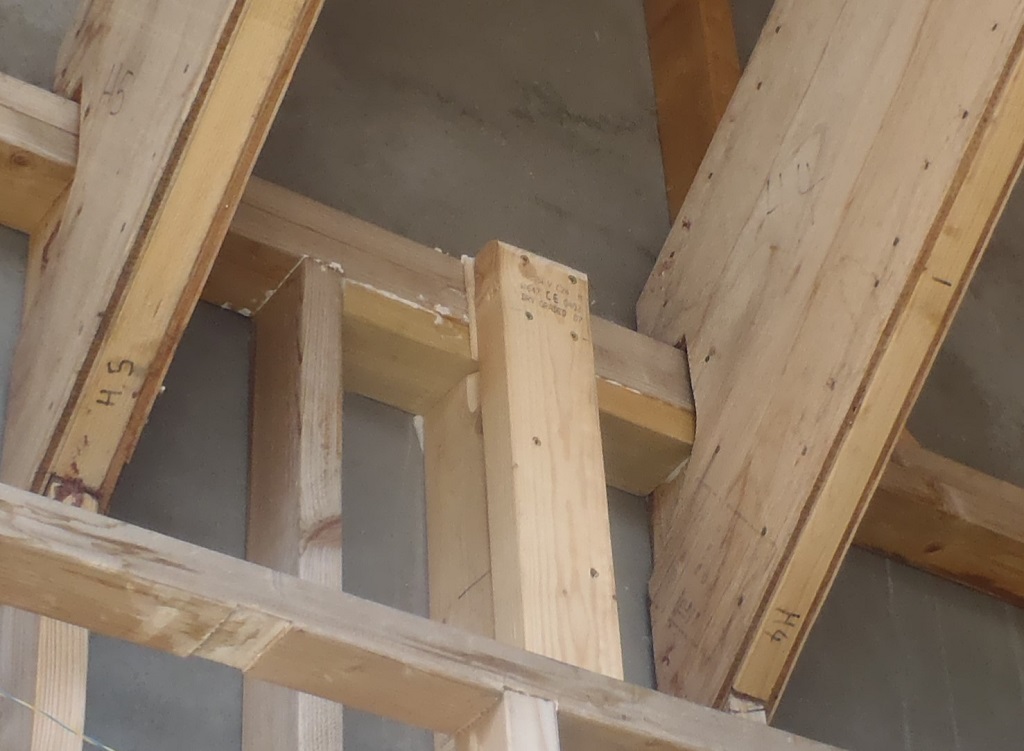
We had designed the porch with just two supports but discovered that we hadn’t fully appreciated in how flexible a 6metre beam would be and not having a third middle support point meant that we are likely to have a dip in our gutters especially after we have loaded the slates on to the roof! So we spent the day installing a middle horizontal additional support beam. We had to cut out a rectangular hole in the middle of the existing beam to allow a 89mm CLS timber to be inserted and a similar hole in the wall in between the Utility room’s window and door. That was the middle layer so two lengths were glued and clamped on top and underneath to stiffen it up. Behind the wall, we also put in a third layer underneath the two existing layers (of the top plate) and that was glued and clamped as well.
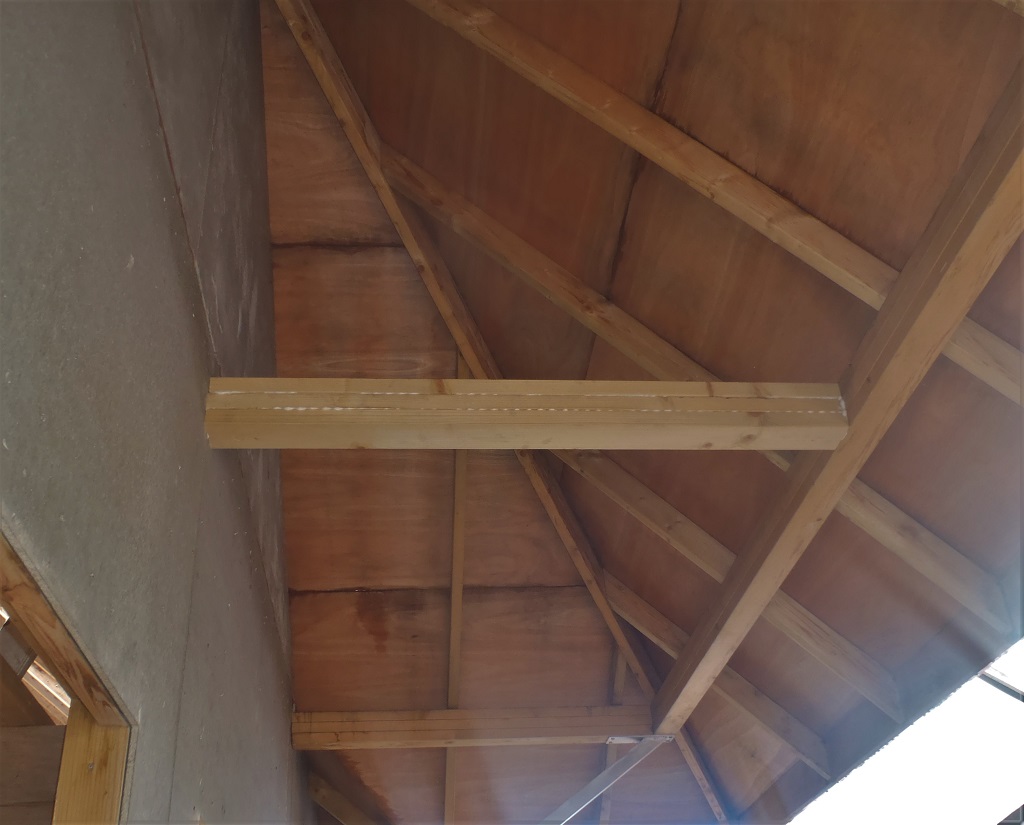
New-midspan-top-brace-on-F-porch
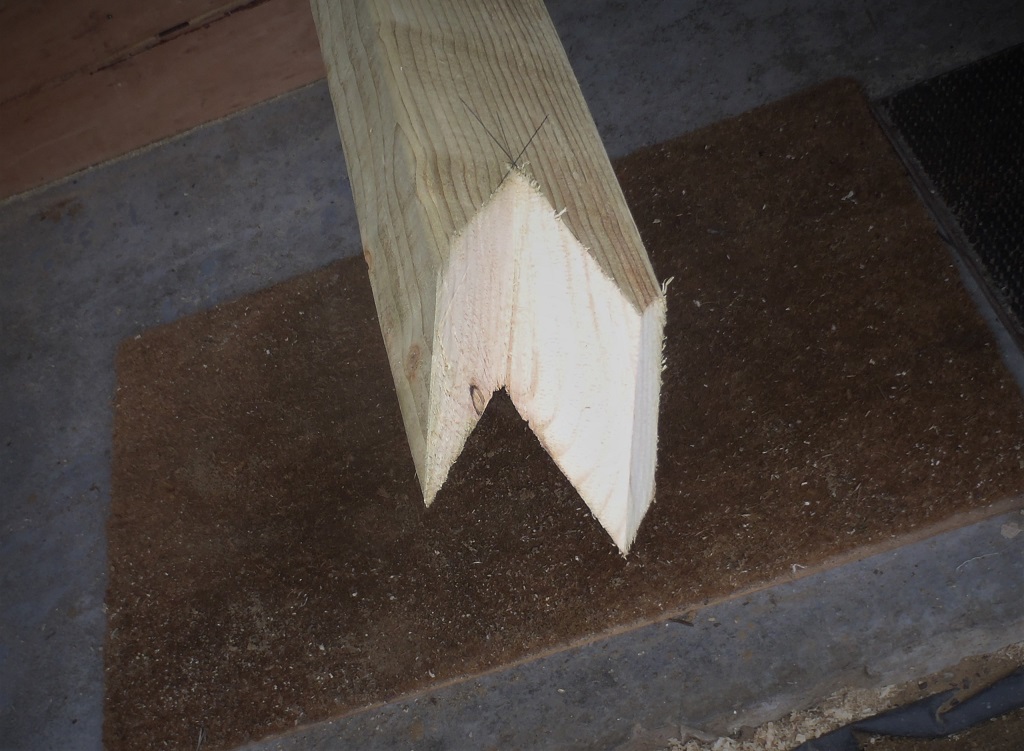
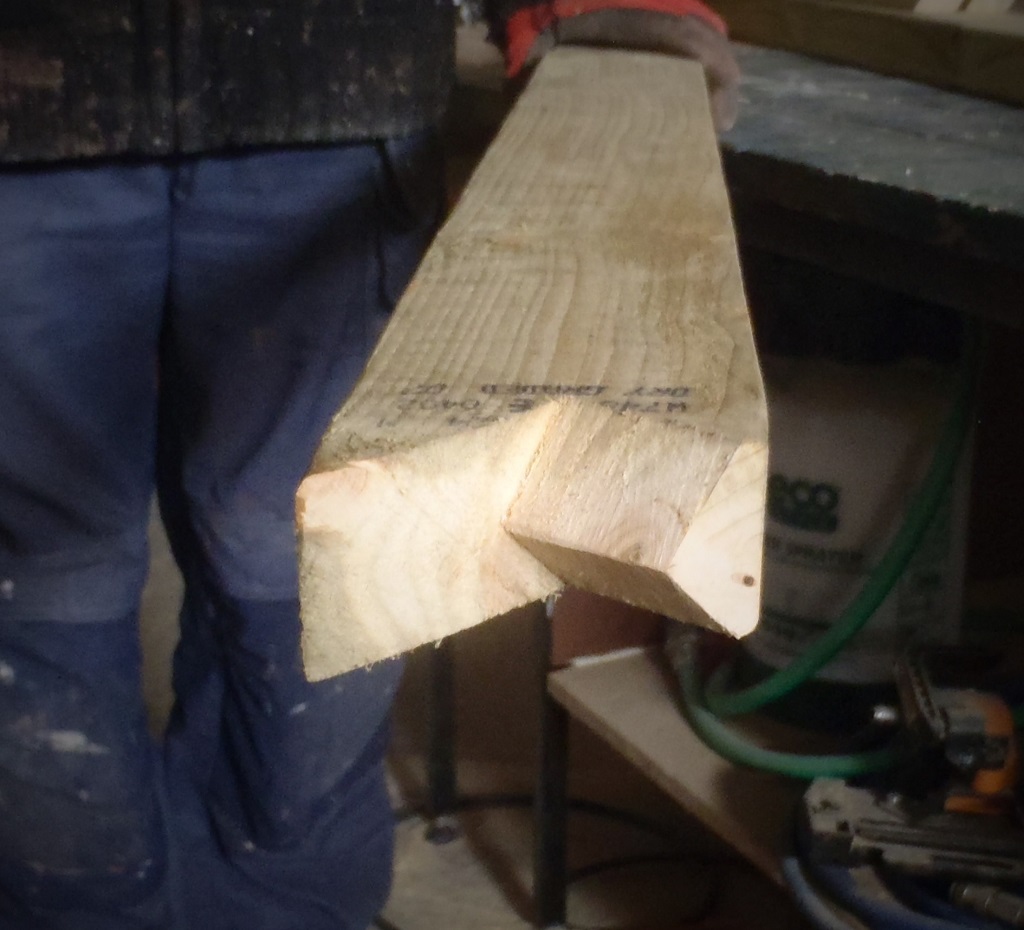
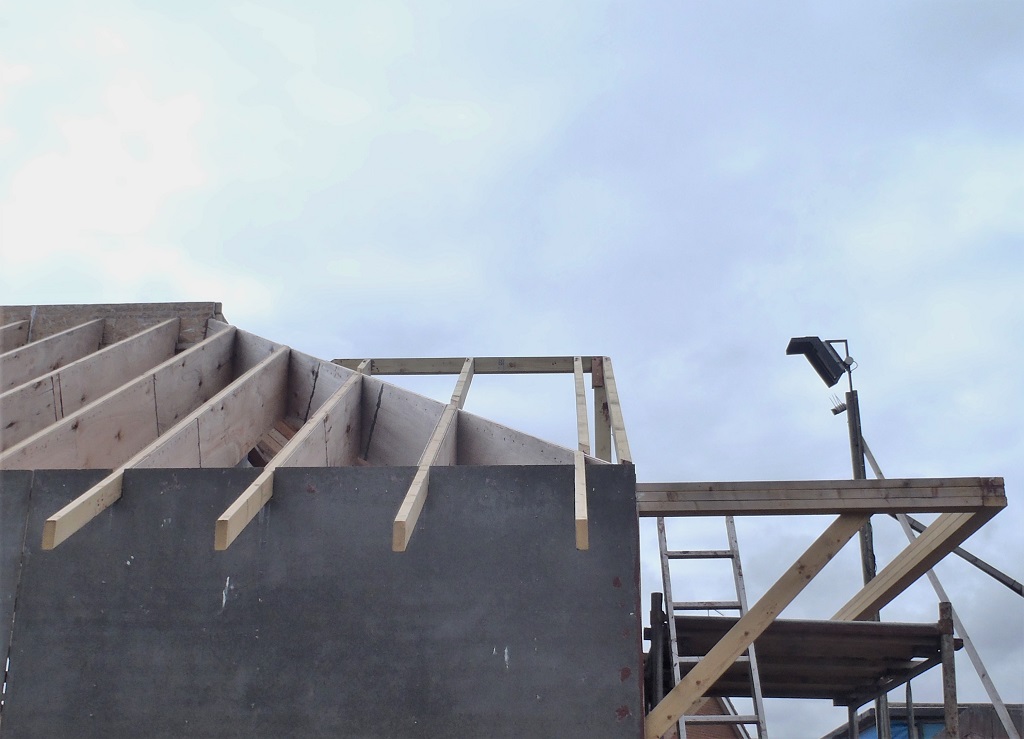
The last piece of structural piece of work to be executed was to provide a vertical post behind the cement board so we could screw the metal arm into place later on. This post forms the third side of the triangle that forms a combined structural element to hold up the middle of the Side Porch roof and gutters. The post is made up of three 95mm by 45mm regularised timber pieces, two of them glued together to produce a square core element and the third piece glued and screwed overlapping the front surfaces including the top and bottom timber layers of the original wall.
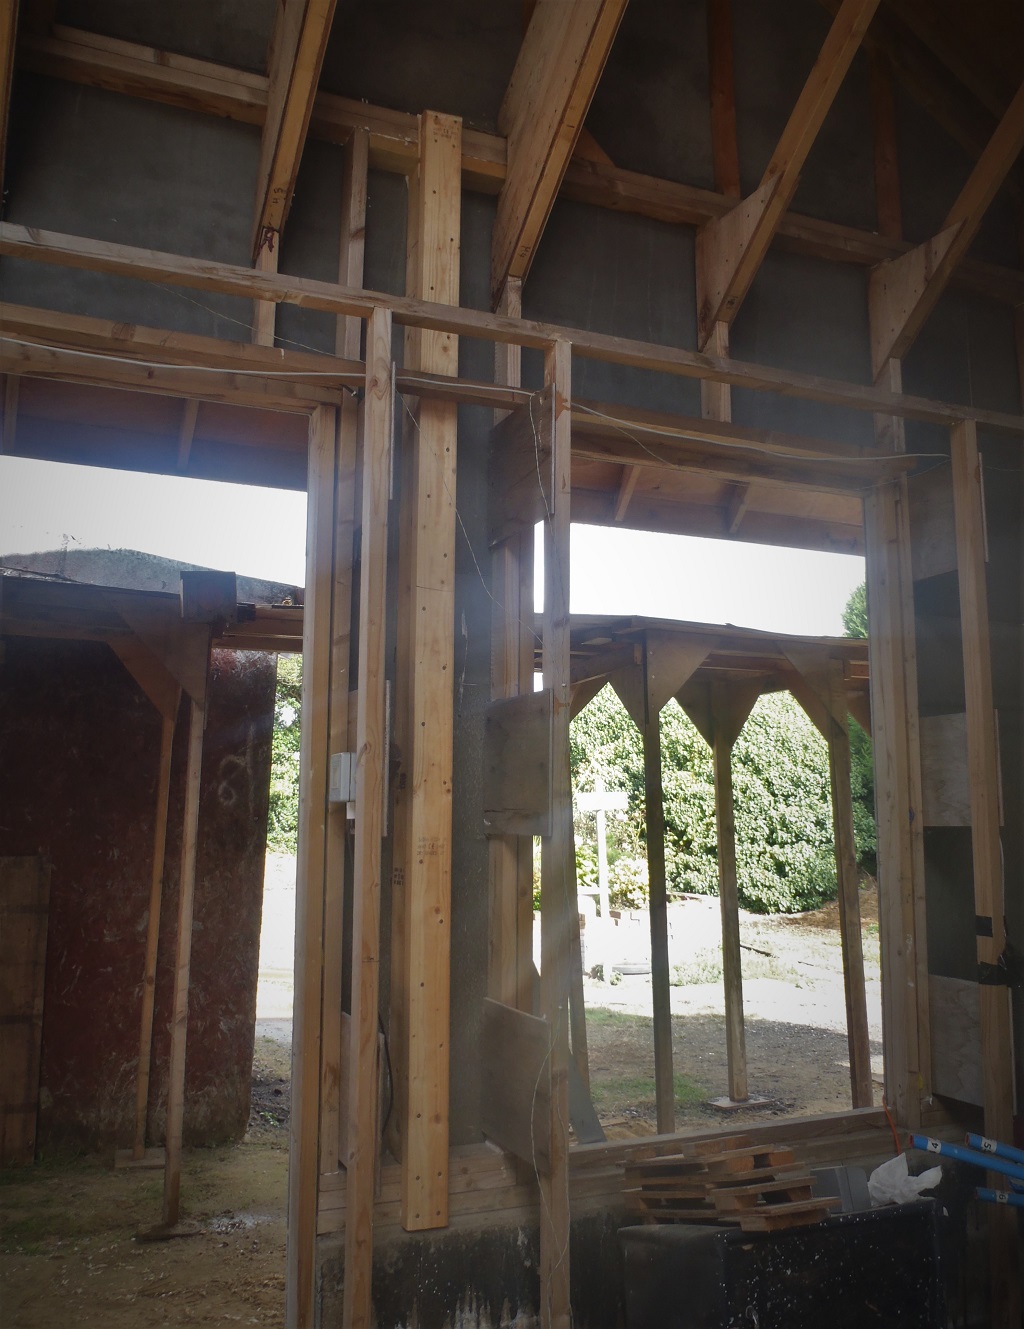
New-wall-post
Top-new-wall-post
On Saturday, we repaired the temporary Loke fence where some sections had torn the plastic webbing. One of the wooden posts proved to be fragile and rotten at ground level so we replaced that post with a new round post. Then using the left-over length of the fencing, replaced the torn sections and threaded a rope weaving in and out of the top line of the webbing to provide a stronger support for the plastic fence against strong winds.
Loke-edge-fence-renewed
The excess glue was cleared away off our new middle support beam and sanded it down hard to reduce the blobs of bubbled glue along the joins.
Finally, we finished setting up the platform modules with all the safety side strips and installing the motor into the lift shaft.
Scaffold-platforms-and-Lift-moved
We are ready to resume work next week on the roof now and get the Side Porch prepared for tiling and allow us to complete the Front Porch, at last!