This report is for the last two weeks of work, we had some of the days on other commitments, but we mostly worked on our roof with some in our workshop processing more oak during the wet days.
The first task was to put in our Rubber liner into the gutters, in section “A”, “B”, “C” and “D”,. It was a bit hit and miss in finding clear weather but we managed to complete this task over two afternoons.
The next task was to complete the Hips and Ridge lines, building up the layers to form the edge of the main slate surface and allow for our flashing slates to protect these edges.
Then we concentrated on putting up the breathable membrane on just the “A” and “B” sections, to allow us, later on, to get on with the job of putting up slates (which will, in turn, allow us to do another rearrangement of our working platforms so we can reach the remaining of the “E” section and go around the corner onto the “F” Side Door Porch).
The “A” roof is the largest section and it needs 55 rows of tile battens, each one being at least 10 metres long each. By the end of the 2 weeks, we have got that done with half the battens installed, but at least, we now have two sections rainwater proof.
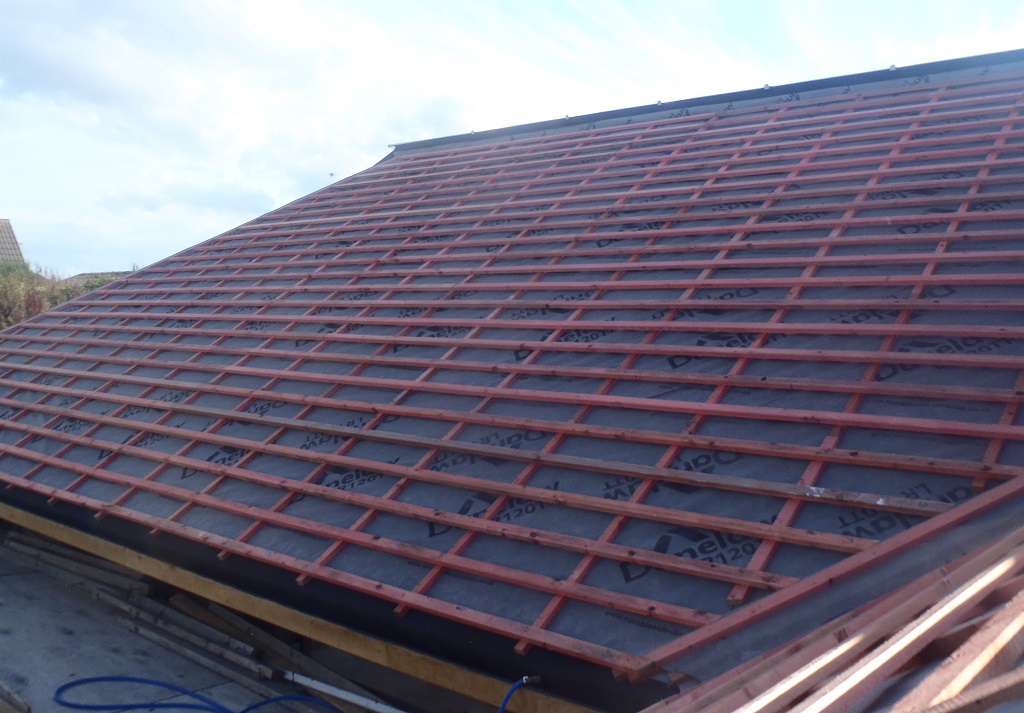
Roof-A-half-battened
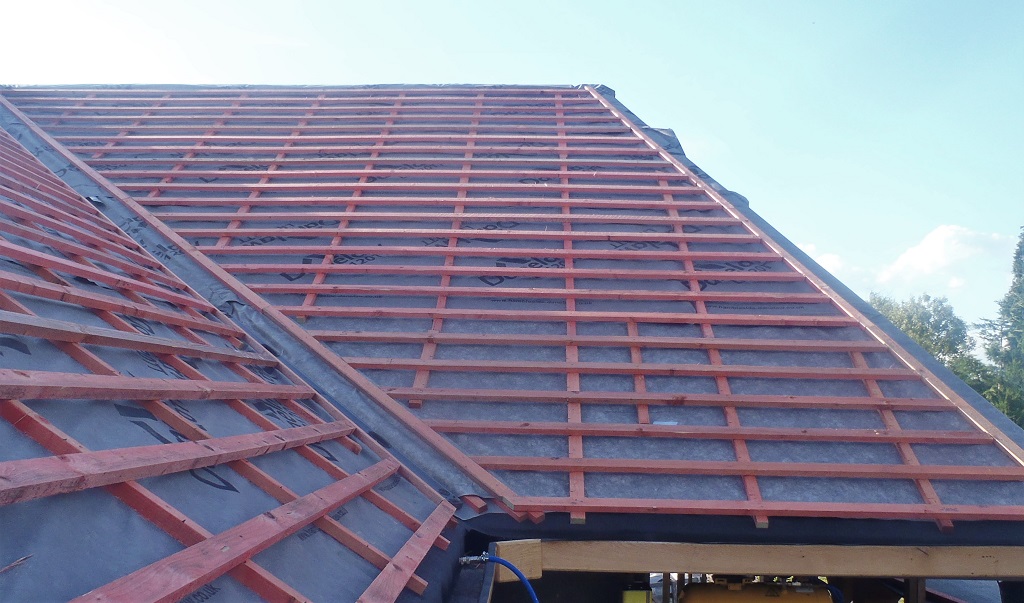
Roof-B-half-battened
When it was raining or strongly forecast to be (which amounted to about 4 days in total), we got on with the operation of planing our Oak timber to make the decorative Octagon shaped ‘pillar’ that stands on each side of each window. We had sliced wider planks in half with a 45degree cut and we had thought that we weren’t going to get very thick finished pieces because there seems to be lots of patches of “dips” and “bulges”. We did actually reject about ten planks anyway and got replacement ones from storage. We learnt a valuable lesson about Oak timber (well any timber!) and how random and natural they are!
We ended up with 54 finished, all 20mm thick after planing . Half are the slightly wider ones for the front facing piece and another 27 smaller ones for the angled piece going into the window frame.
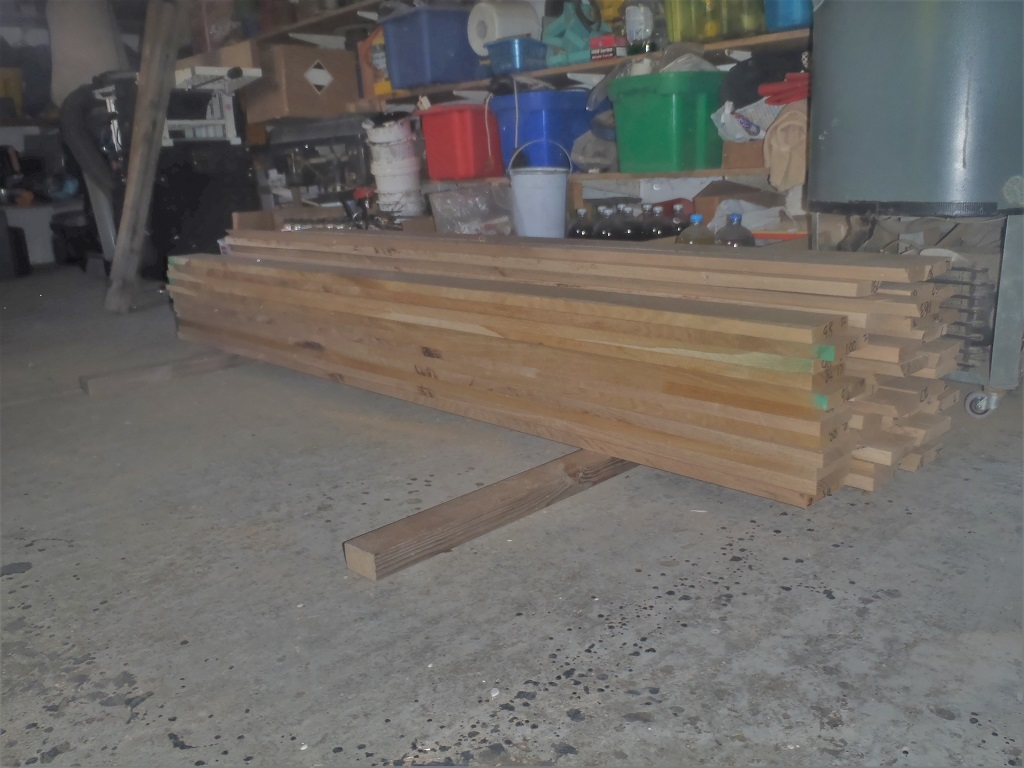
Oak-window-octagon-parts-planed
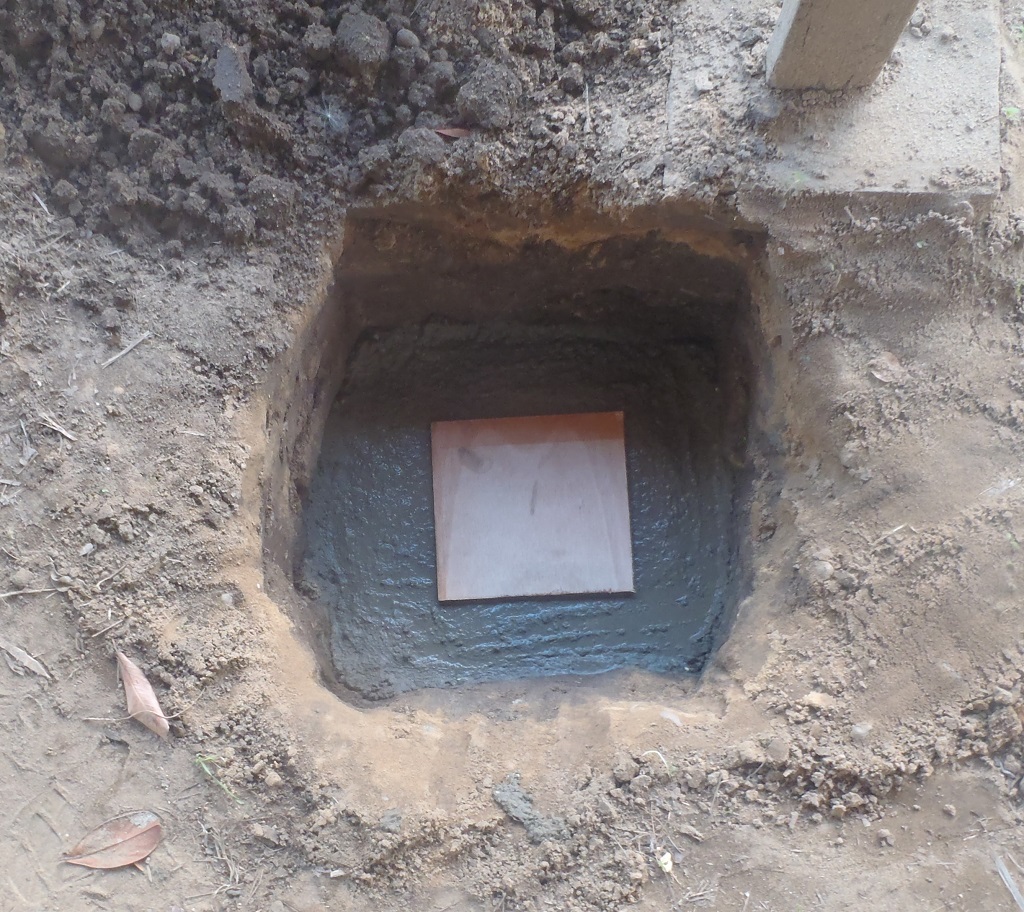
After the gutter rubber was installed we noticed that water collected in the front porch gutter i.e. the ‘C’ gutter, It was over 20mm deep before starting to flow away. This shows that the temporary legs we installed when we built the porch are not supporting the roof properly. We need to install proper support before loading hundreds of kilos of slates on the roof! We need strong legs which will stand up to being bashed by materials moving around, so we decided to use metal posts. As the posts go into the ground we wanted rust proof ones, we started looking at stainless steel and even got as far as trying to order some but the supplier did not deliver to our location. Whilst searching for other suppliers we looked at aluminium (which is as strong as Stainless steel) and found it was half the price of stainless so we bought Aluminium instead. The post will be 50mm square hollow tubes with 4mm thick walls with 6mm thick plates at the top and bottom. The final task of this period of work, was to dig three holes at the spots where the metal posts will go. The holes were dug down 450mm to the standard frost level point and concrete was poured in to form solid pads about 450mm square and 150mm thick. The metal posts will then stand on these pads and stretch up to connect to the framework forming the porch, about 3.2metres high.

1st-Hole-for-prch-post
2nd-Hole-for-prch-post

3rd-Hole-for-prch-post
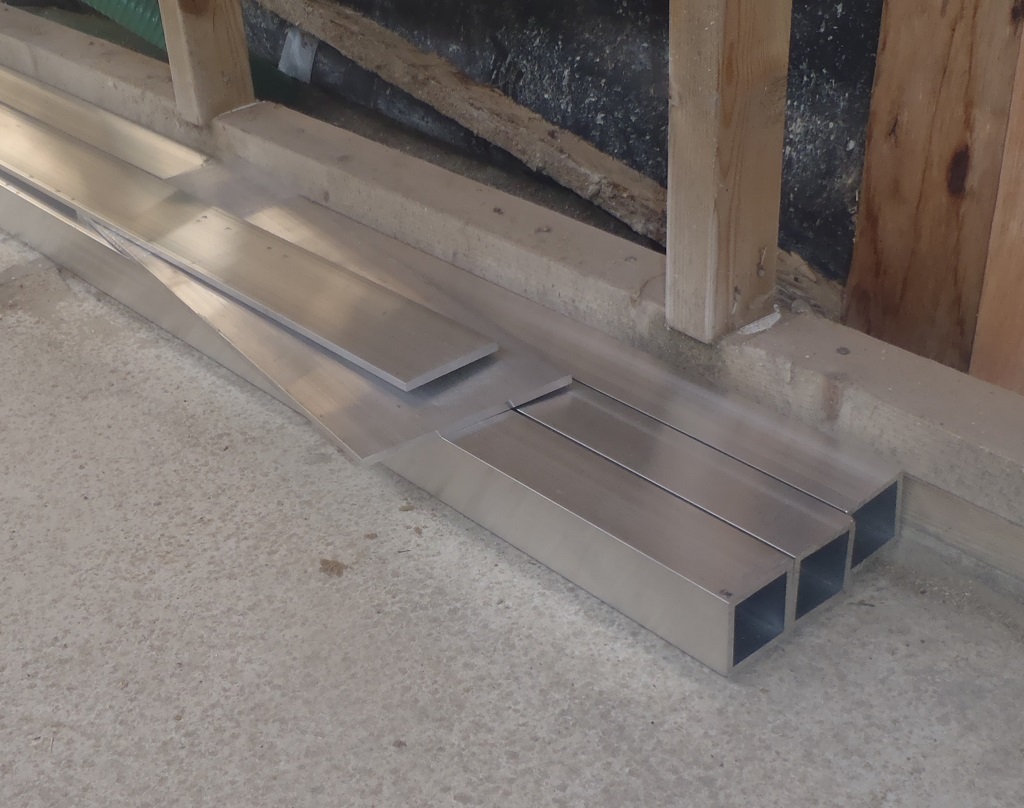
Aluminium-ready-for-porch-posts
Next week, we will carry on installing all the other half of the wooden battens for “A” and “B” roof sections while we wait for the concrete to cure and strengthen and start putting up Slates, firstly to finish off the last little bit of the “P” and around onto to “A”.
Leave a Reply
You must be logged in to post a comment.