Today, we went around drilling holes in the footplate we cut yesterday. We were delayed in starting as we had to do a quick indoor job for our manager as she wanted something else done first!!
We used our portable drill press with the mains powered drill as it the only tool that can be clamped into place. Then we screwed some pieces of small batten to make a template to fit over the 100mm wide timber, so thus automatically aligning our hole to be centred all the time. It was a simple job of pressing down at each spot and hey presto – one vertical hole! We had another template which fitted into the fresh hole and the strip of wood would just be the correct length to position the drill press ready for the next hole.
These pilot hole (6mm) were then used to guide the heavy duty SDS masonry drill and bore into the concrete wall. the SDS bit was 150mm long and the concrete screw were 120mm so we just drilled to the maximum depth of the SDS bit to provide clearance for the rubbish to drop in.
We used small pieces of the 10mm thick cement boards to line up the timber to the outer edge to make sure we will end up with a flushed joint between the cement panels and the concrete blocks.
After the masonry drilling, we then widened the hole in the timber to 8mm to allow the concrete screws (see photo below for an image of these screw) to slide through the timber without being caught by the thread. The impact driver was used to drive the concrete screws down.
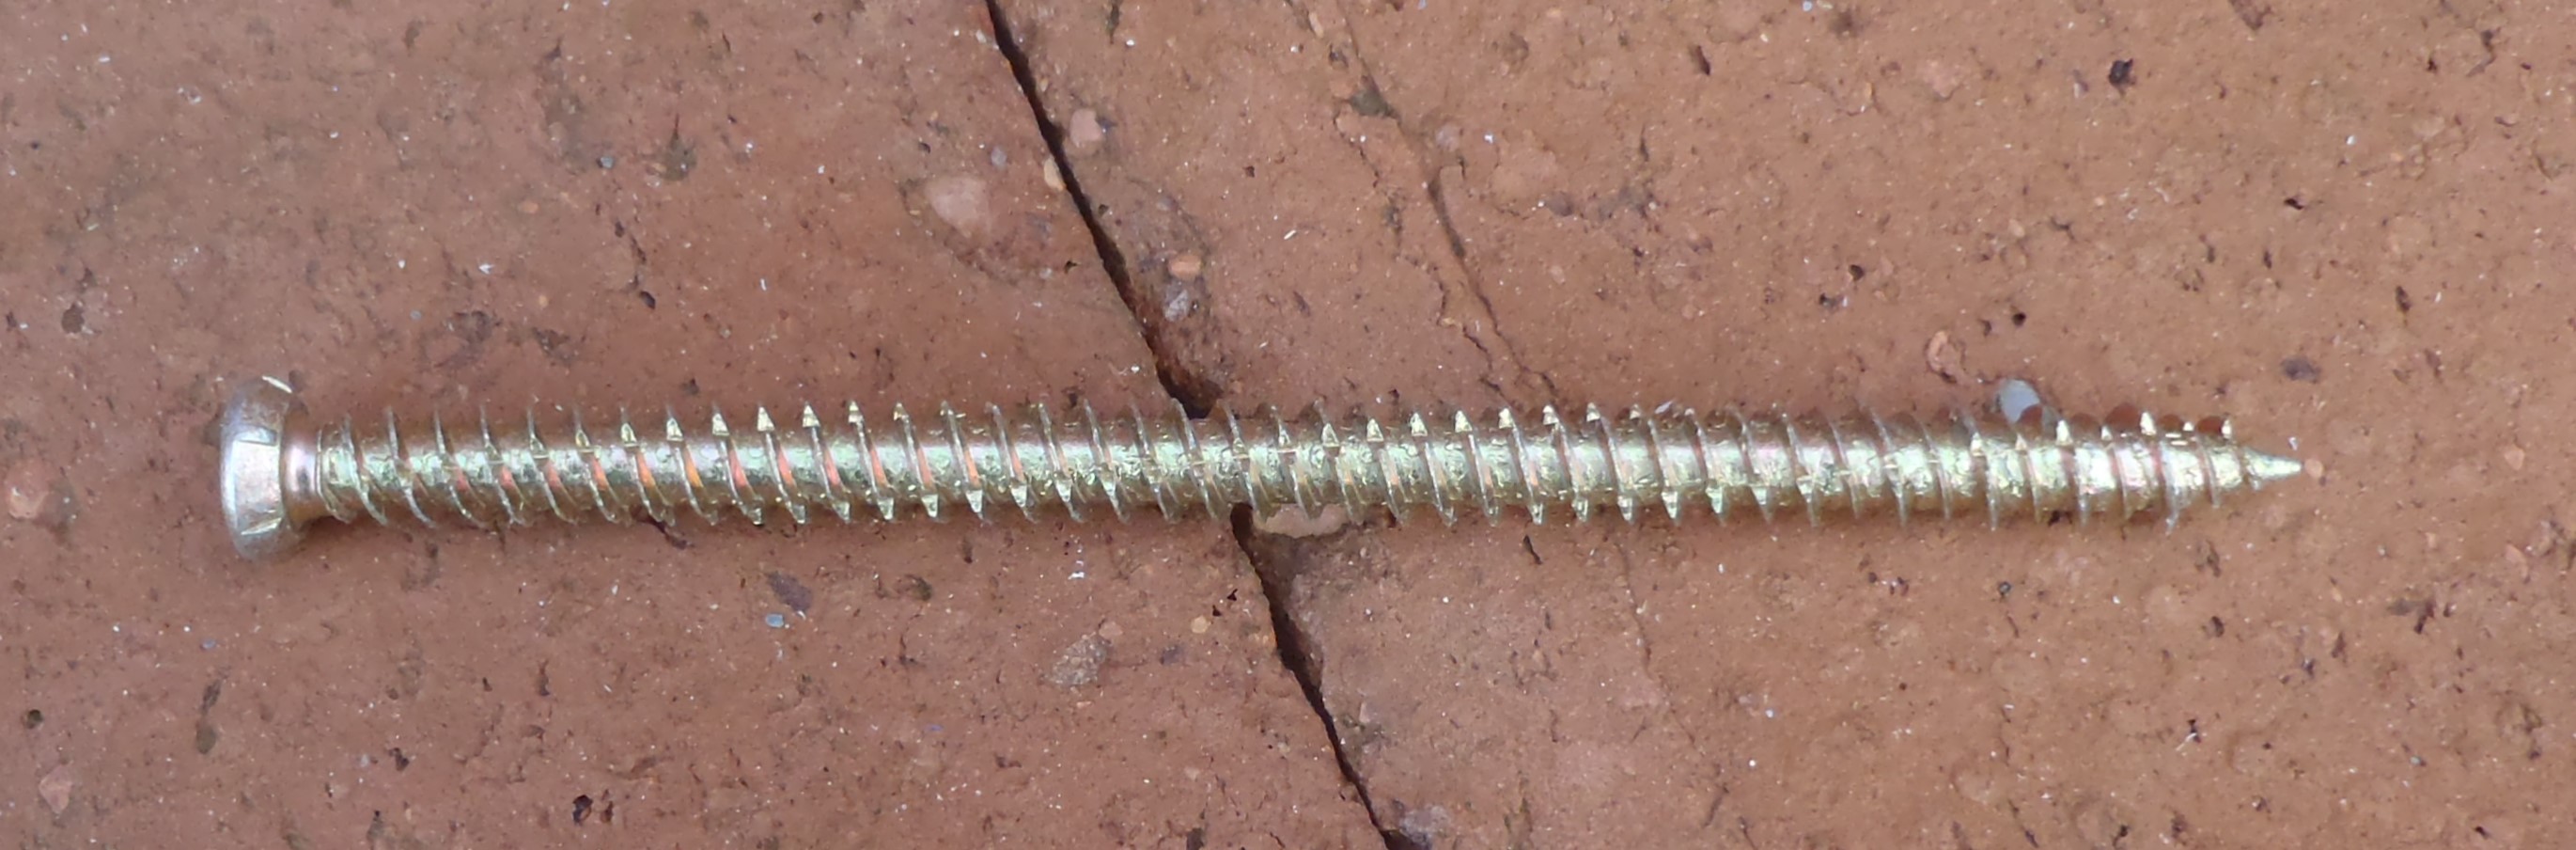
Concrete-Screw
After lunch, we had a slight accident where the new (only a couple of weeks old) mobile drill press fell off the wall and crashed down on the concrete floor and smashed the clamping mechanism around the electric drill!! Eek!
It was made of metal but it was cast and hence rather brittle! Damn!
We spent half an hour or so trying to mend it with super glue but it wouldn’t join together tight enough. We got out the epoxy glue and set it back together but of course we couldn’t use the drill press any more as the glue needed 12 hours to set hard! So we quickly adapted the bottom part of the template and filled the gap with another piece of batten and drilled a hole in the middle so we could carry on working with this useful template!
Then, we noticed that one of the long planks had a slight bow in it so we clamped it to bend it straight. But only after we had discovered that the reason we could not drive home the concrete screws fully, was the hole was full of masonry rubbish! So it was time to bring out another piece of equipment, namely the compressed air and the long air blasting probe to shift the heavy masonry dust out of the holes!!
But we decided that would be a separate job tomorrow as there were too many different steps already in the operation with mains power cables going across and that would have meant another item to cope with! Phew!
Anyway, we finished all the drilling right around the whole perimeter of the wall and we done 89 holes in the end.

First-layer-of-timber-screwed-down-on-walls
Tomorrow morning, we will go around with just the air blaster and battery powered masonry drill to clean out the 89 holes and allowed the concrete screws to go down fully with our impact driver without needing the hand held ratchet tool.