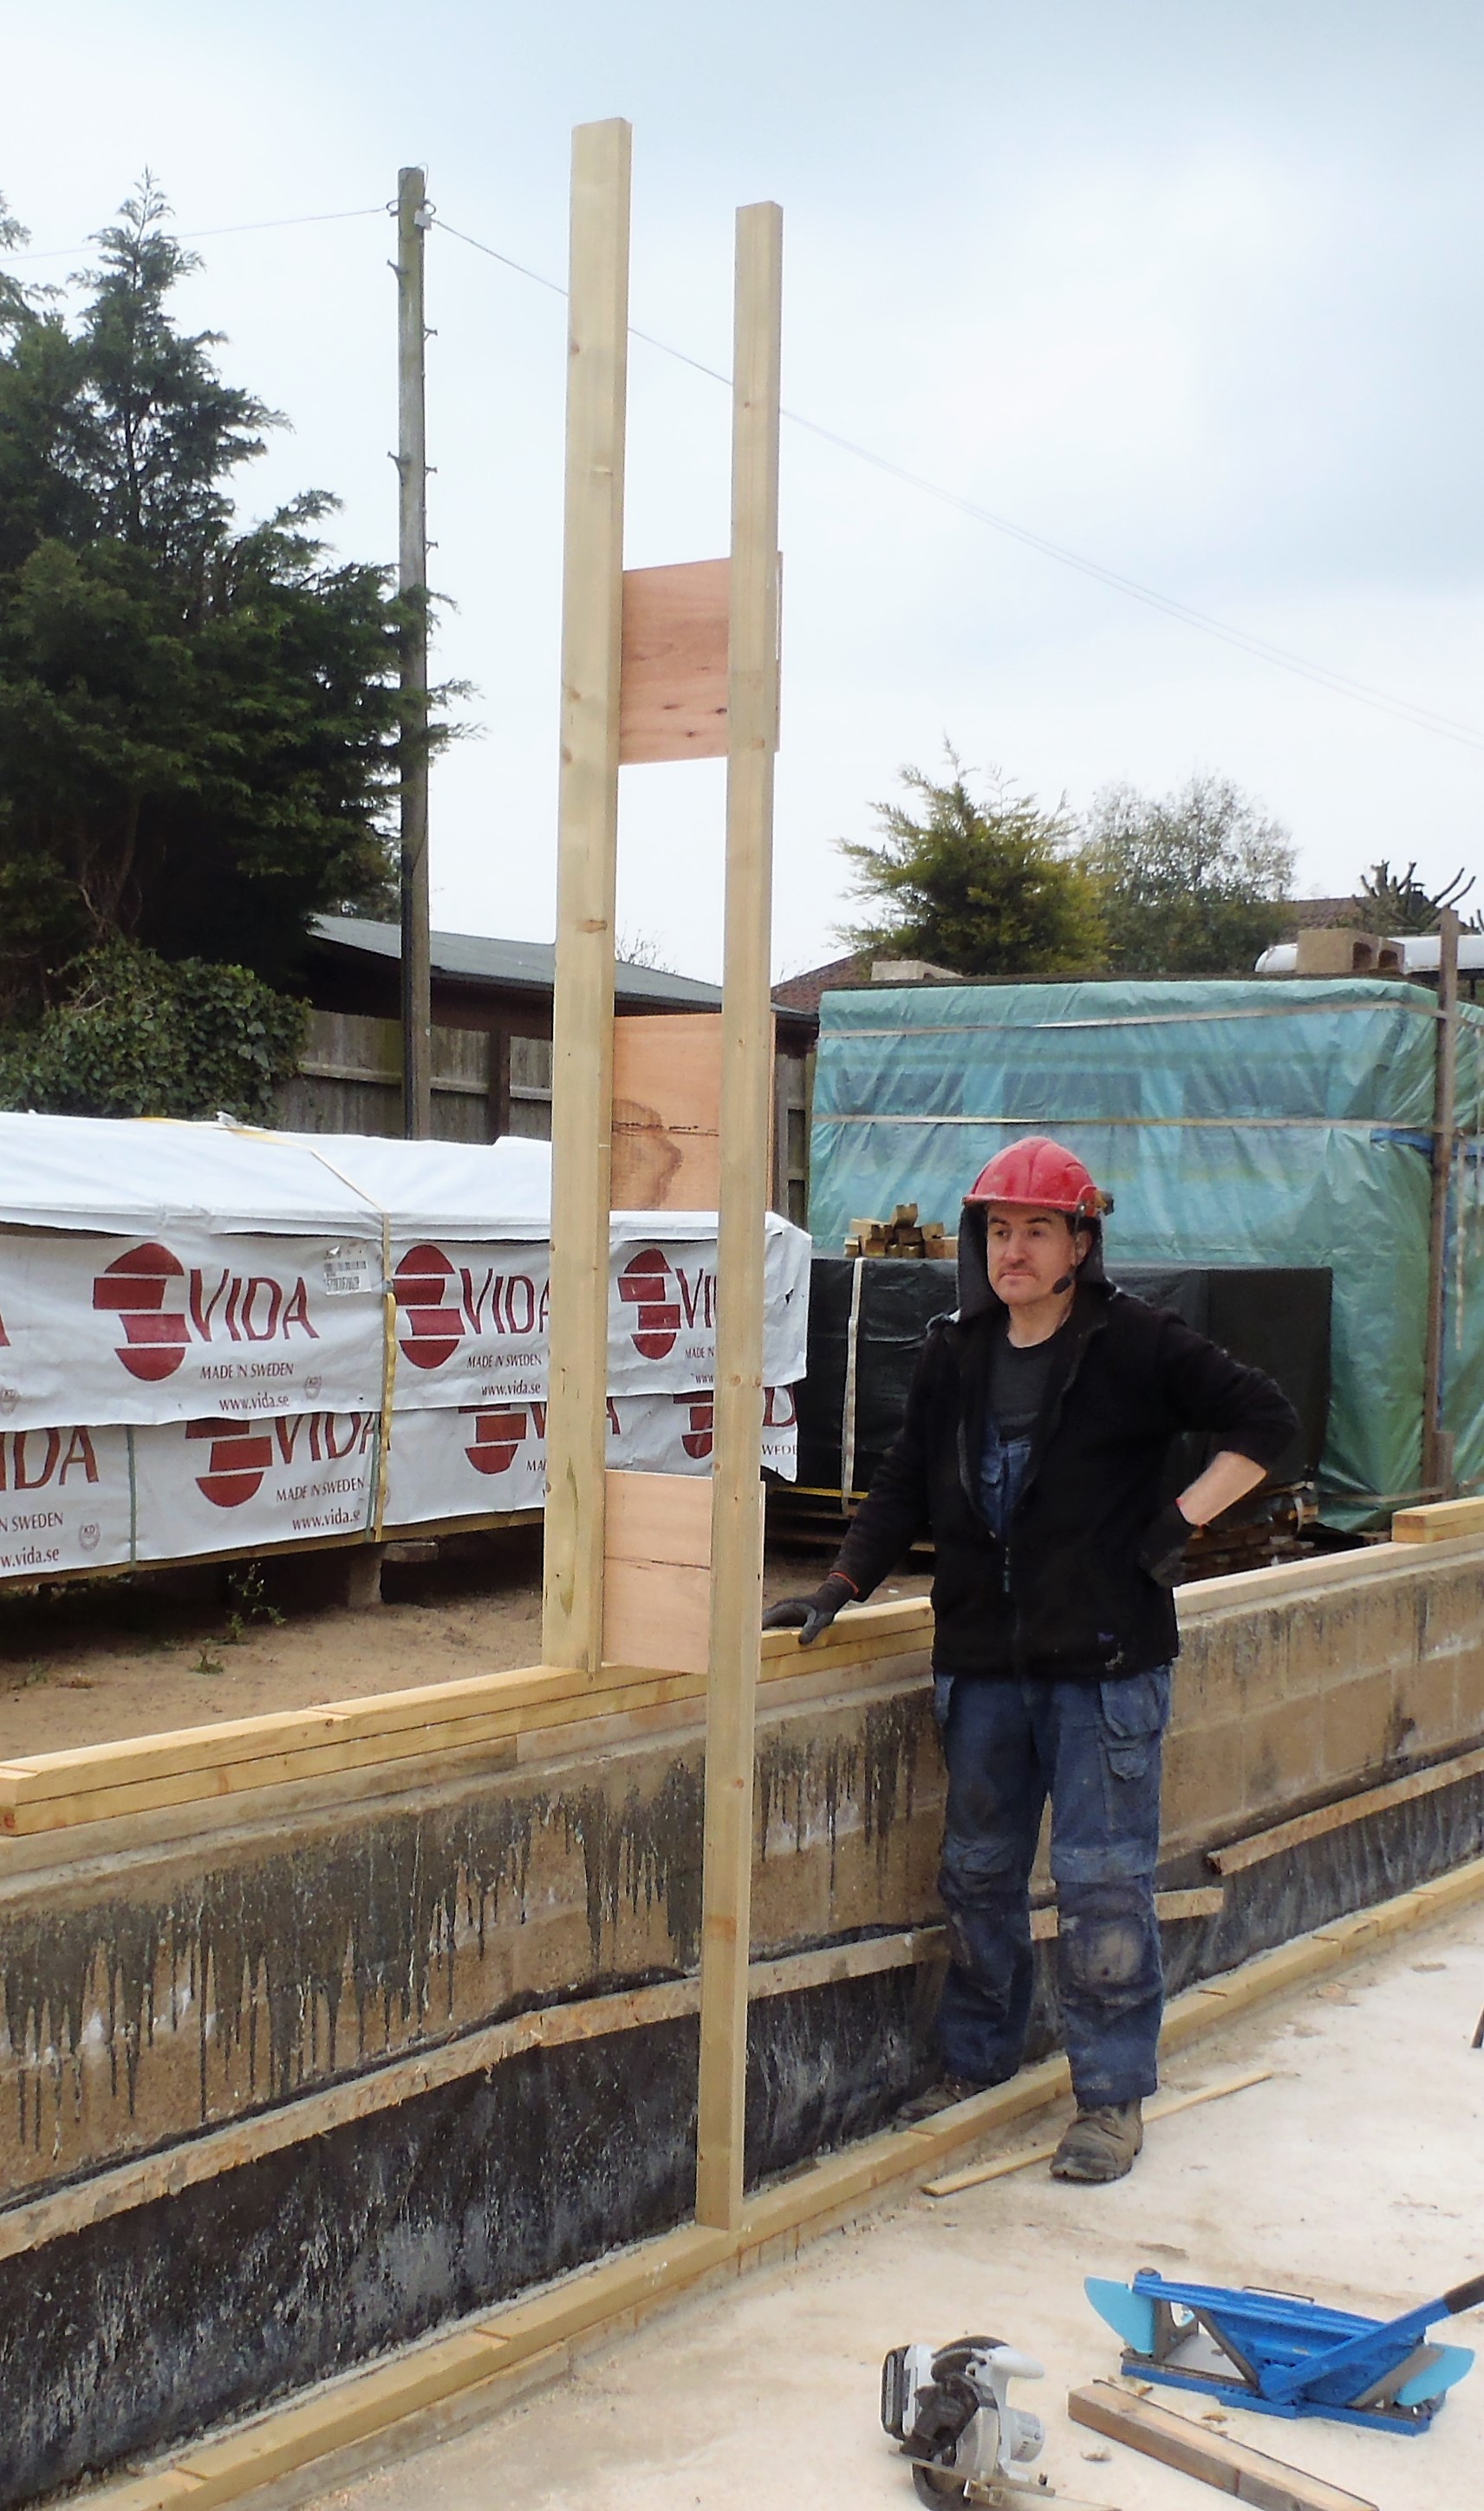
Today saw the start of the creation of the External Wall Legs. These legs forms the main structural load bearing elements for both the roof (on the outer leg) and the first floor support (on the inner leg).
First-leg-errected
As the photos shows, it is a very tall twin vertical lines of CLS timber, the outer one being 89mm wide and the inner one being 63mm wide, connected together with three plywood pieces measuring 300mm high and 370mm wide (this being the actual depth of the External wall).
We did a block job of cutting up 18 lengths of the 89mm CLS in our chop saw module to produce 34 required length of 2393 mm long pieces. As some of you may have noticed the odd difference between 18 and 34 and not 36 lengths, several of the timber that came off the pallet had cracks in them so we chopped them around these faults and had to fetch another piece from the stack.
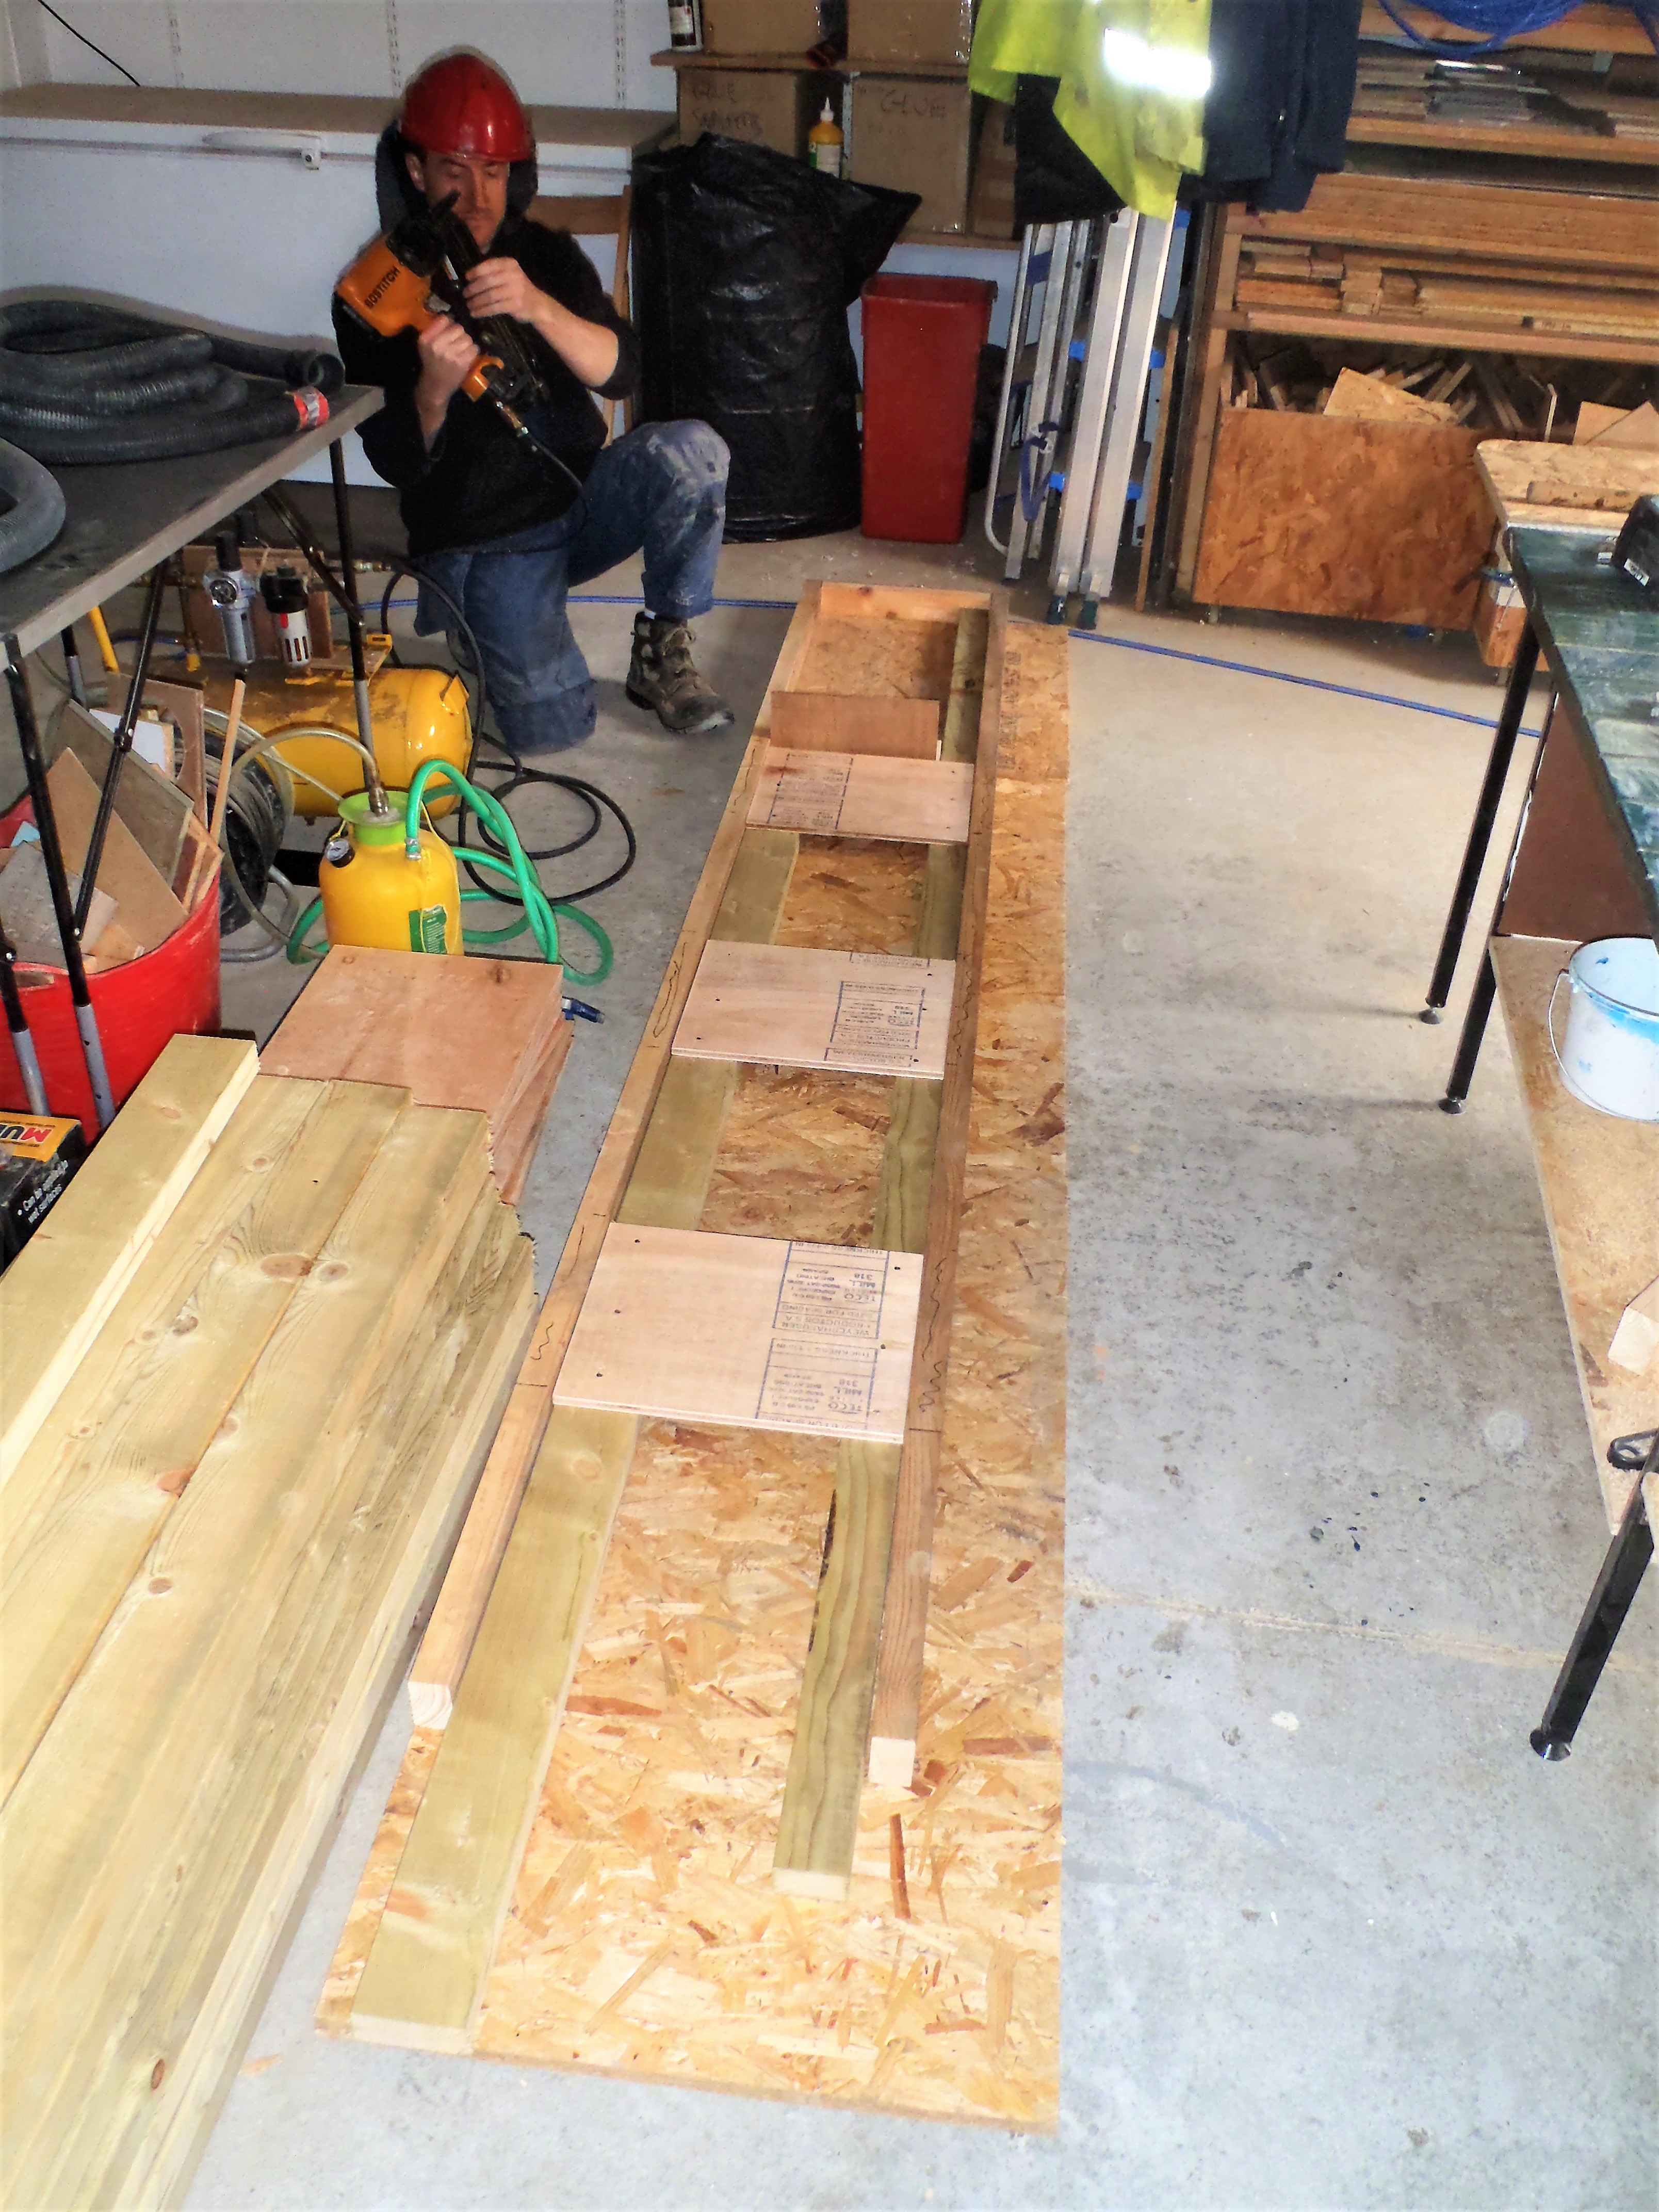
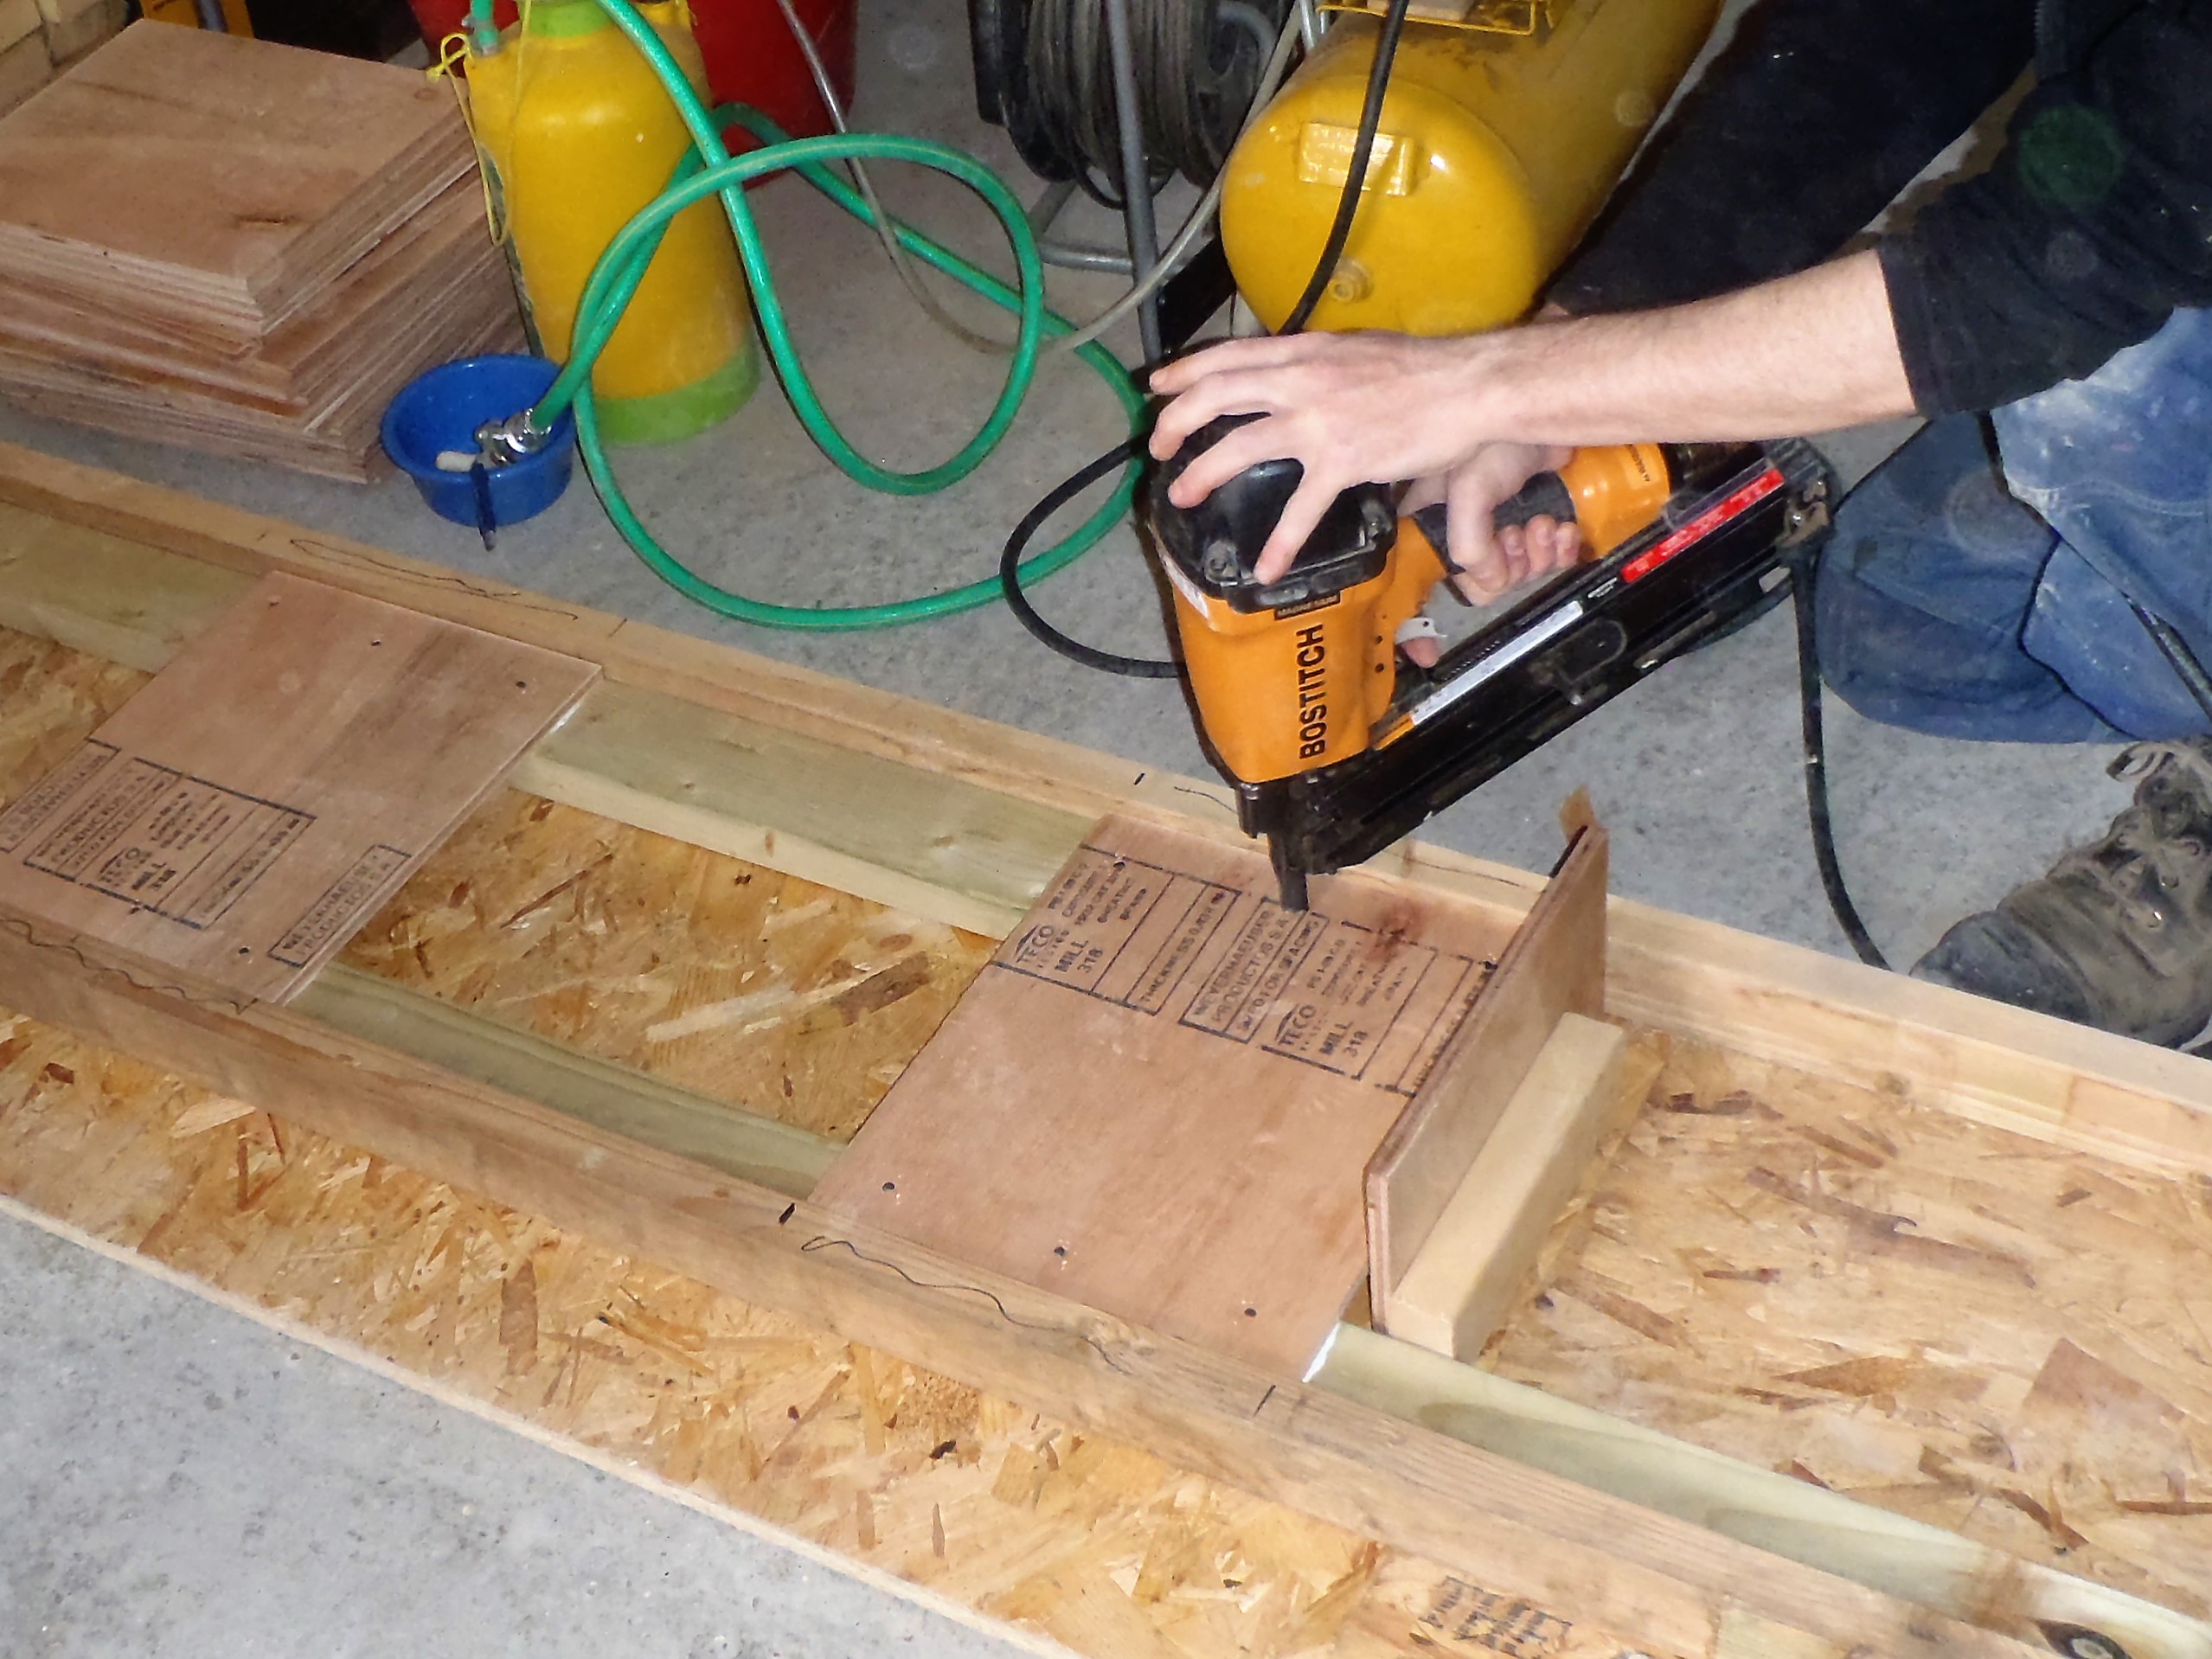
We made a jig to repeatedly position each of the parts in their correct location and have the three 11mm thick plywood spacers glued and nailed into the correct place each and every time.
Jig-for-legs
Then, getting one length of the 63mm CLS timber off the pallet, we sliced this down to 3060mm long and inserted this into our new jig template, along with a 89mm pieces we made earlier and glued and nailed the plywood pieces into place.
Nailing-spacers
Our first completed Leg element we took outside to test how it fitted and we discovered a mismatch with our expectations against the survey task we did on Monday. We had concluded that we needed a length of 840mm below the upper level but as we realised, it wasn’t enough! We had a mismatch with our measuring on that Monday and today. It seems that we should have doubled checked the method we used to calculate this required distance by using a different method and tools and we would have realised our mistake. We actually needed to increase our required distance to 850mm to make sure we can set the Leg perfectly vertical.
So this first Leg is now reassigned to be a Leg in the Utility Room beside the Window’s left hand side instead, it fitted nicely there – grin!!
Having made the adjustments to our jig, we made a second Leg and this time, we had the flexibility to shave little bits off the end of the inner leg, bit by bit, until the Leg was vertical. We used a combination of our battery powered circular saw and a heavy razor sharp guillotine to slice off large and thin slivers respectively. We also had a length of timber with sand paper stapled on one edge to help us clean up the slots and if necessary, rub the slot ever so slightly deeper to provide that final adjustment.
This Leg went into the Great Room on the wall labelled in O the number 8 slot, the wall is part of the extension facing our Swimming Lane.
Finally, we had time to make a third Leg and repeating the process we did on the previous leg, got this one fitted as well. This Leg went in also in the Great Room but this time on the Kitchen / Great Room Front Wall which is labelled A and Slot number of 7.
Tomorrow, we can now ramp up the production rate and do another 32 Legs to do all the Great Room Legs as they are all the same size, before we move onto the next wall.