This morning, we finished off the task of fixing the End Caps to the set of rafter bars we are preparing for the first batch, mainly for the whole of both of the front and back sections of the skylight, and just finishing off by drilling clearance holes near the ends of each bar, ready for the stainless steel screws to fix the bars down.
Next, we sliced up the small aluminium U channel pieces into 25 individual items, ready to be attached on the bottom edge of the plastic panes, this will help to stiffen up the fourth edge and help prevent a strong wind to lift up the overhanging portion of the polycarbonate panes and let in rain water into our skylight.
After lunch, we started on the task of drilling holes into the plastic panes, 77mm from the bottom edge, to allow us to clamp down this fourth edge using another aluminium strip that will be screwed into the wooden rim framework.
We made a template to consistently position where to drill these 8mm clearance holes (double the size of the screws to allow for movement in the plastic) and also we glued on the U channel pieces too.

Panels-drilled-for-fixing-and-edge-protected-1
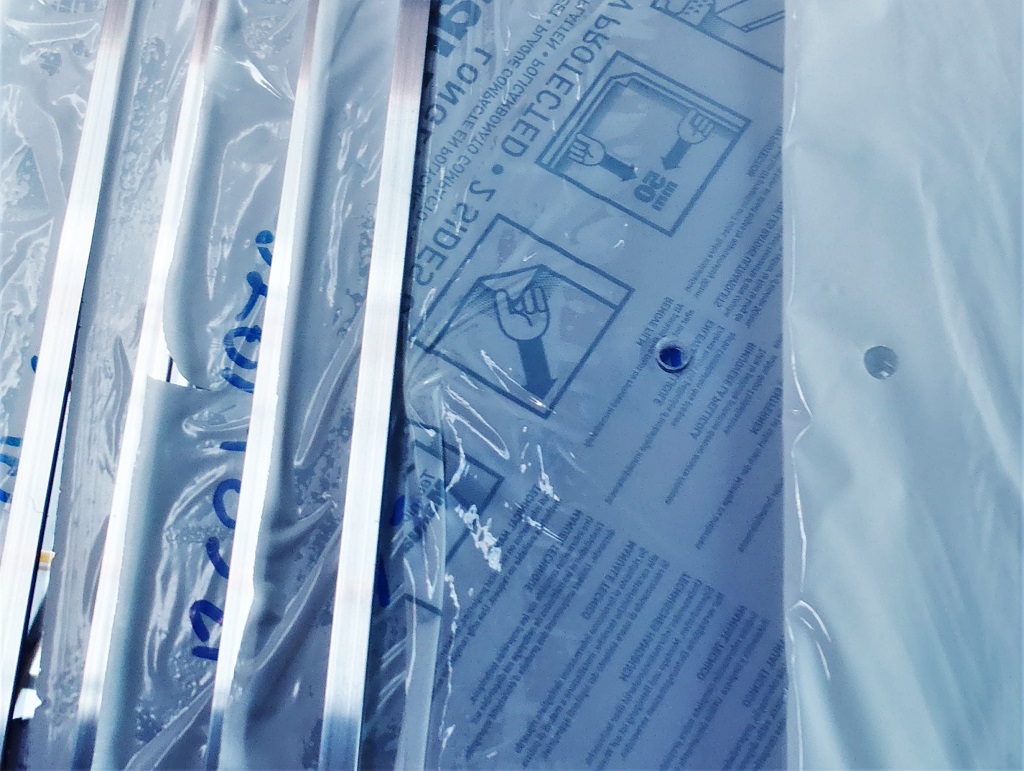
Panels-drilled-for-fixing-and-edge-protected-2
We got 24 of them all done including one of the special ones where we had to take the plastic pane up to the skylight to double check the accuracy and confirm that we needed to slice off 13mm sloping down to 0mm on one edge to fit properly. We got that done before the day ended. This adjustment was needed to accommodate our bent skylight!
On Saturday, we will do the other special one that is part of these main set and then we can start installing these completed unit up onto the skylight – Yippee!
Leave a Reply
You must be logged in to post a comment.