Today, the job was to connect the three rainwater inlet pipelines (from our two roofs) and the output pipe to the Filtration module. But first, a leak test was performed. Sprinkling water (from our garden hose) on to the wall above the seals, we noticed that there were a couple of leaks along the bottom edge. After carefully scraping away the sand and gravel and cleaning the joint, more white sealant was applied and forced it into the joint. All the edges was done to ensure that we don’t have another leak.
Next was connecting the rainwater pipeline coming from the garage which needed a simple right angled turn and head straight into the cabinet. Next was the white pipe (this is the clean water after filtration and supplying our underground tank) but we discovered that we needed a 30° turn to make it head perpendicular into the cabinet and no one sold this angle for 40mm diameter pipes (they had 90° and 45° and straight) but nothing else. so we had to go out and buy a flexible small length of pipe. We glued together the required pieces to form the pipeline to the underground storage tank (under the garage).
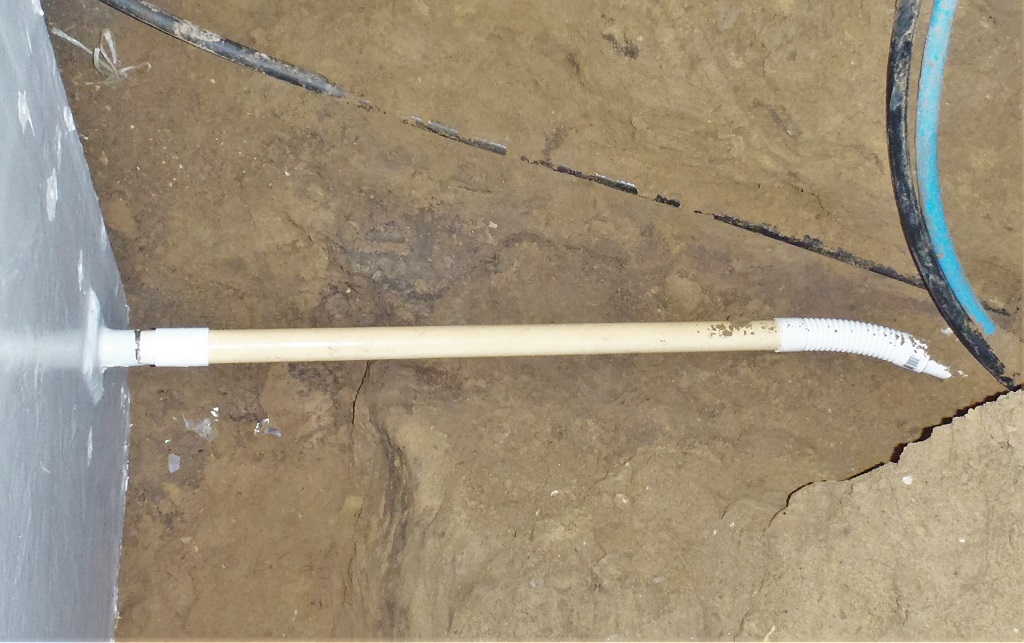
Output-to-the-rain-tank-with-bendy-joint
Finally, the last two rainwater pipelines (from the main house) were connected to the side of the cabinet.
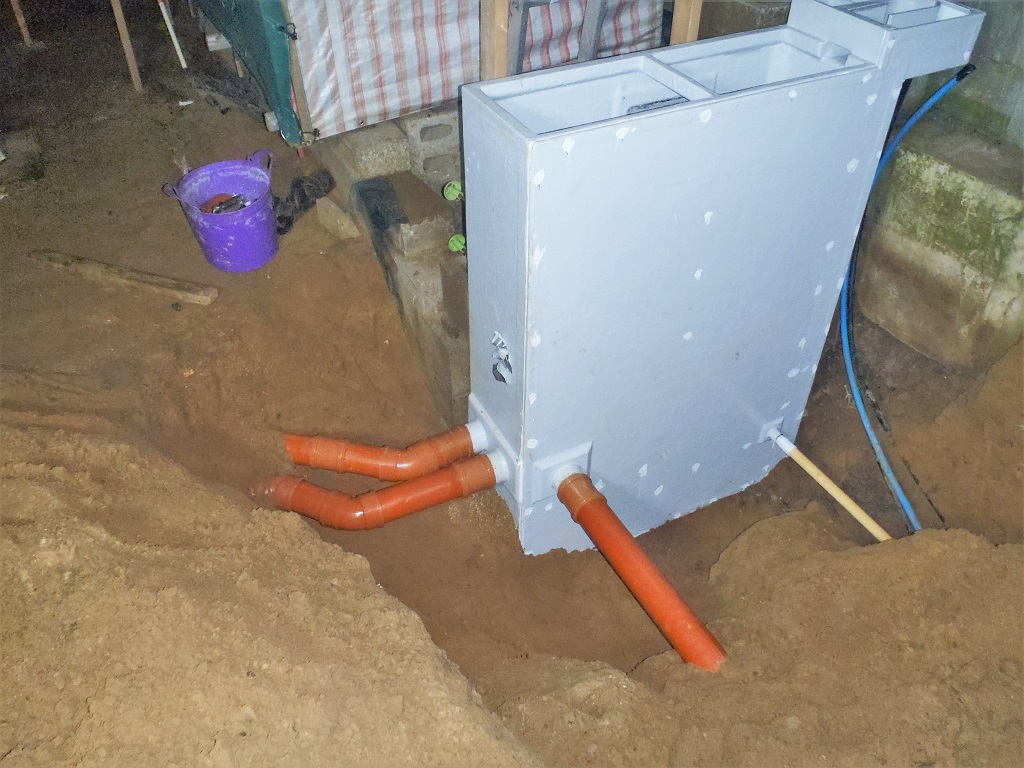
Filter-connected
All these joints had to have a slip type of connector which allowed the whole straight connector to slide almost fully onto the pipe, move or rotate the assembled pipeline into place and push the slip connector over the both pieces.
The last job tomorrow is to do further water leakage tests and then connect the soak-away pipeline to the back of the cabinet to takeaway overflowing water (on those very rare occasions of a very heavy thunderstorm).
Leave a Reply
You must be logged in to post a comment.