On Monday we went off to the local DIY store to buy a sheet of 75mm thick polystyrene foam board and we made a little portable “hot wire” cutter! We had to slice up the 8foot by 4foot sheet so it would fit inside our car! We cut 400mm wide strips, three of them and only just got that in!
Portable-Hot-Wire-to-cut-the-thick-Polystyrene-at-BQ
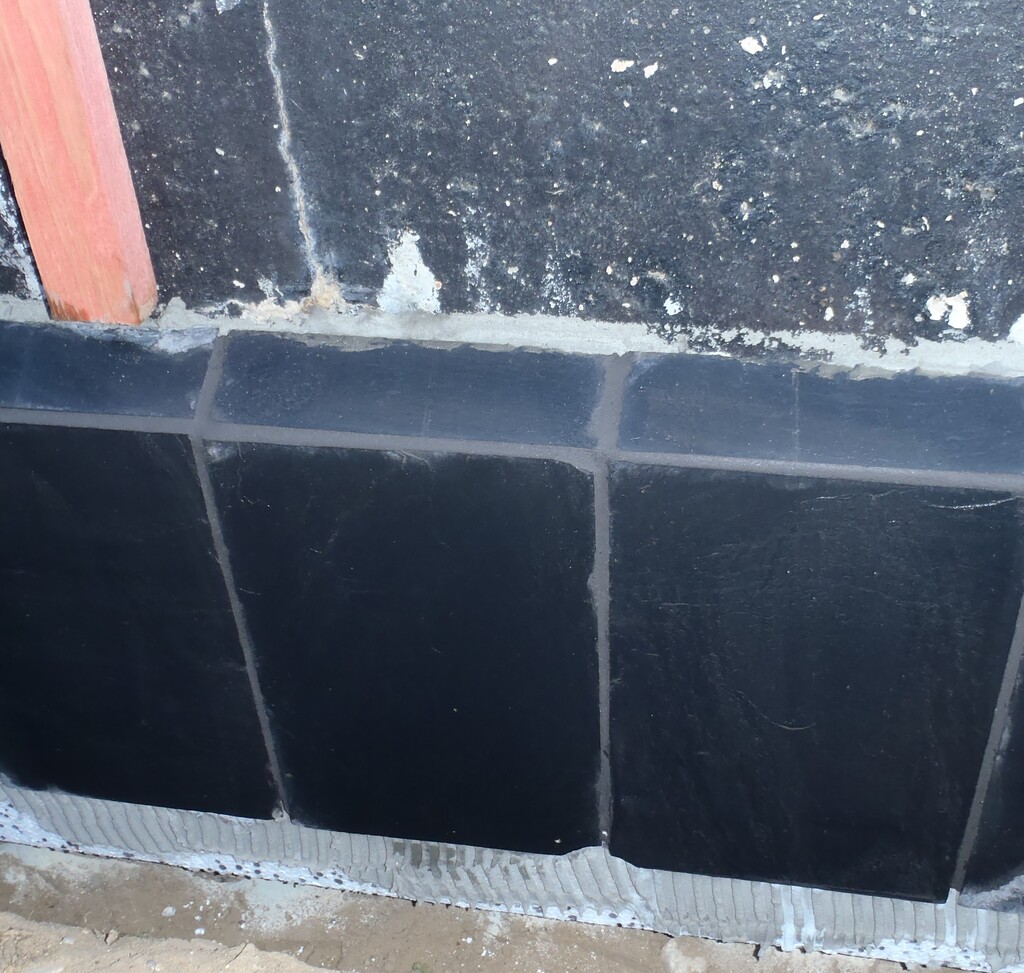
After another interruption, we resumed work on doing our Slate Ribbon today with the task of grouting the gaps between the slates.
Slates-Grouted-1
Slates-Grouted-2
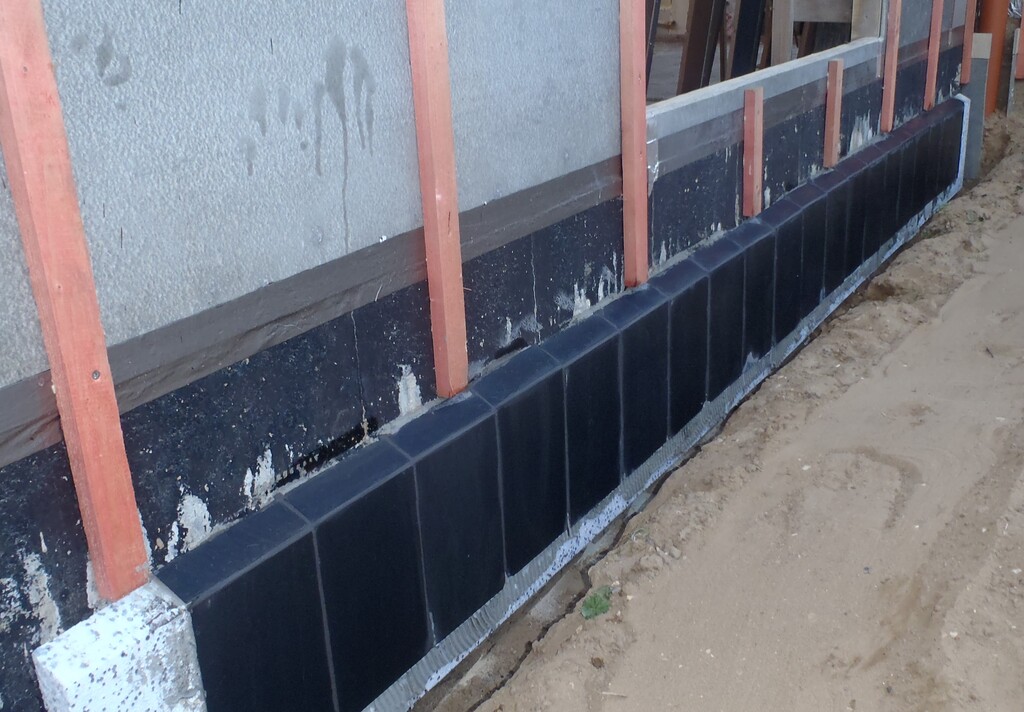
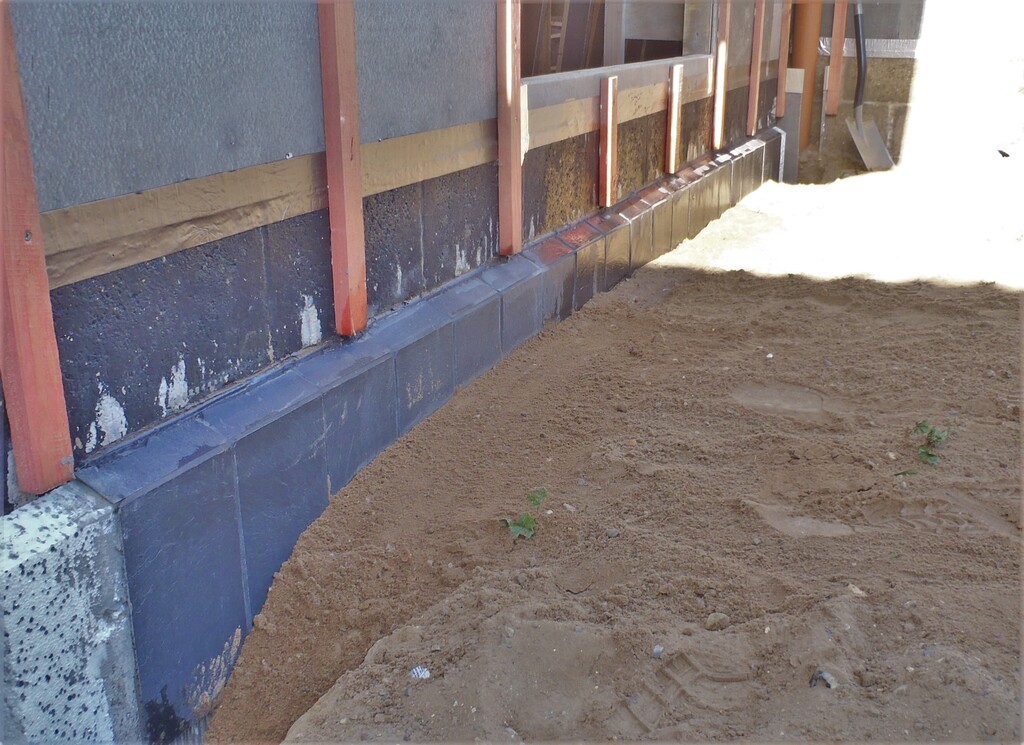
First thing this Tuesday morning, we went to apply the black mastic sealant along the top edge of the slates, so any rain water that manages to get pass the cladding, will get diverted away from the wall and not dribble behind our slates. Then after lunch, we scrubbed the slates to get rid of the grouting smears and then put back most of the sandy soil and levelled out the ground. We have left just the two ends to finish off when we have made the special corner pieces.
Dirt-Back-infront-of-the-slates
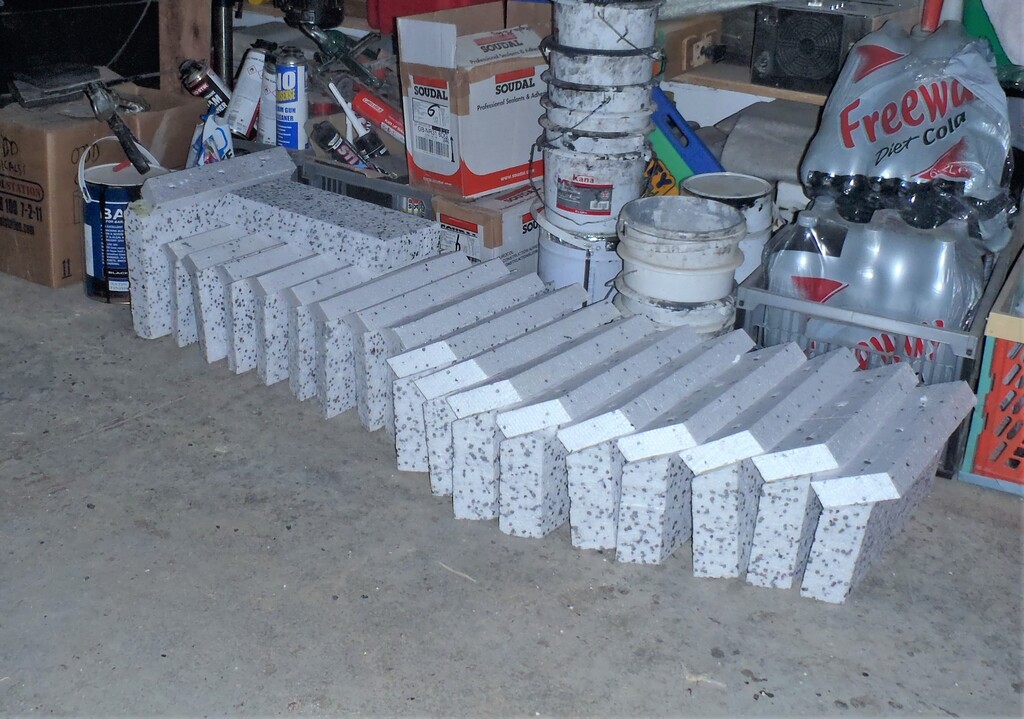
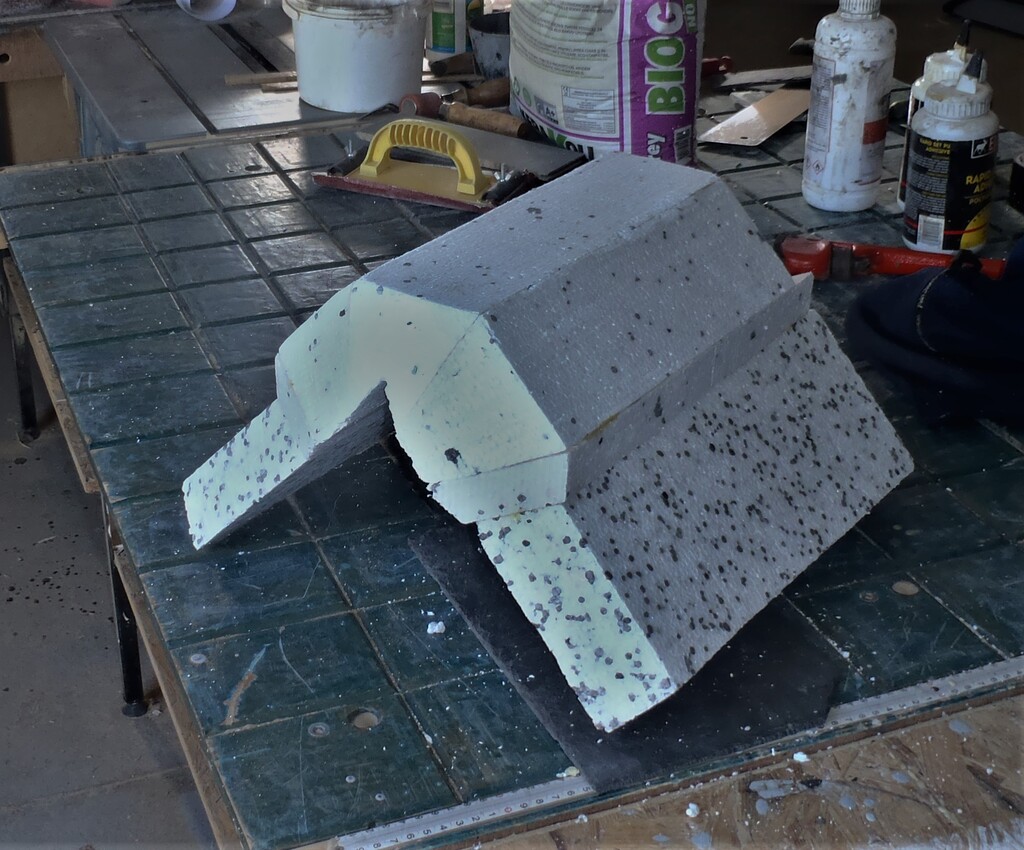
Talking about the special corners, that is what we have been making for the rest of the week. All day Tuesday was slicing up our 75mm (3inch) polystyrene foam board into various shapes, all featuring the octagon angle of 22.5 degrees. It was a case of passing through the hot wire which was set at the required angle (either 22.5 or 30 degrees, depending on the outcome required) and producing 27 octagon parts, 18 parallelograms pieces and 9 pairs of left and right hand strips.
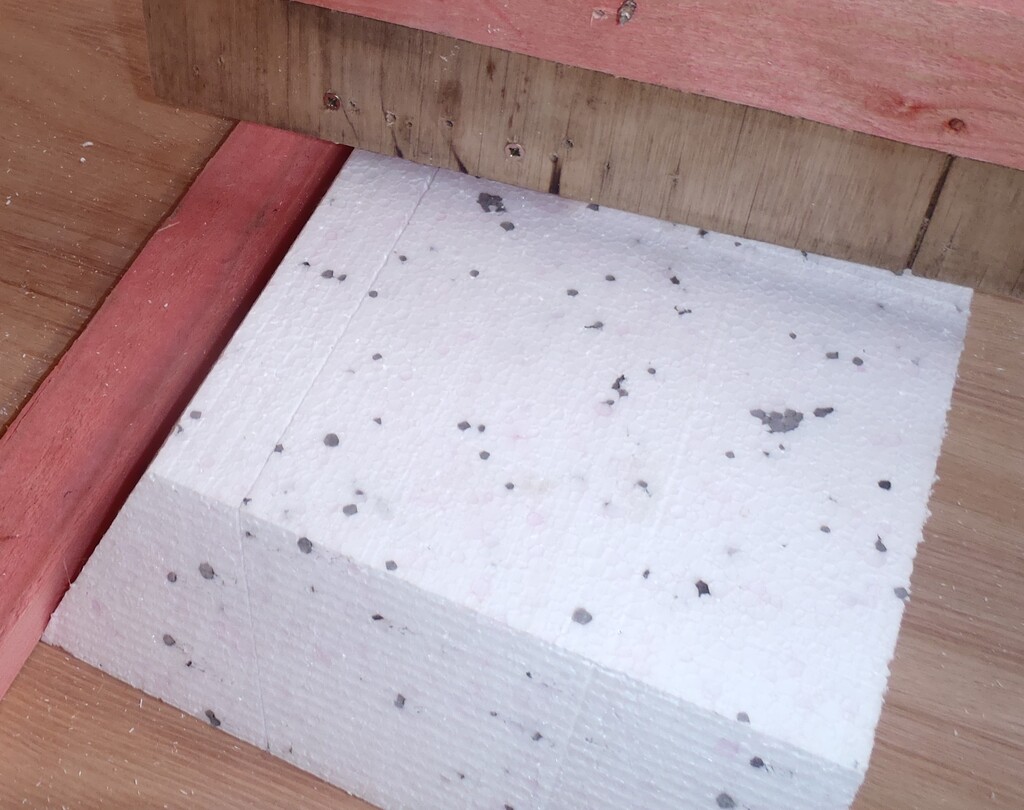
Thick-polystyrene-Octagon-parts-being-cut
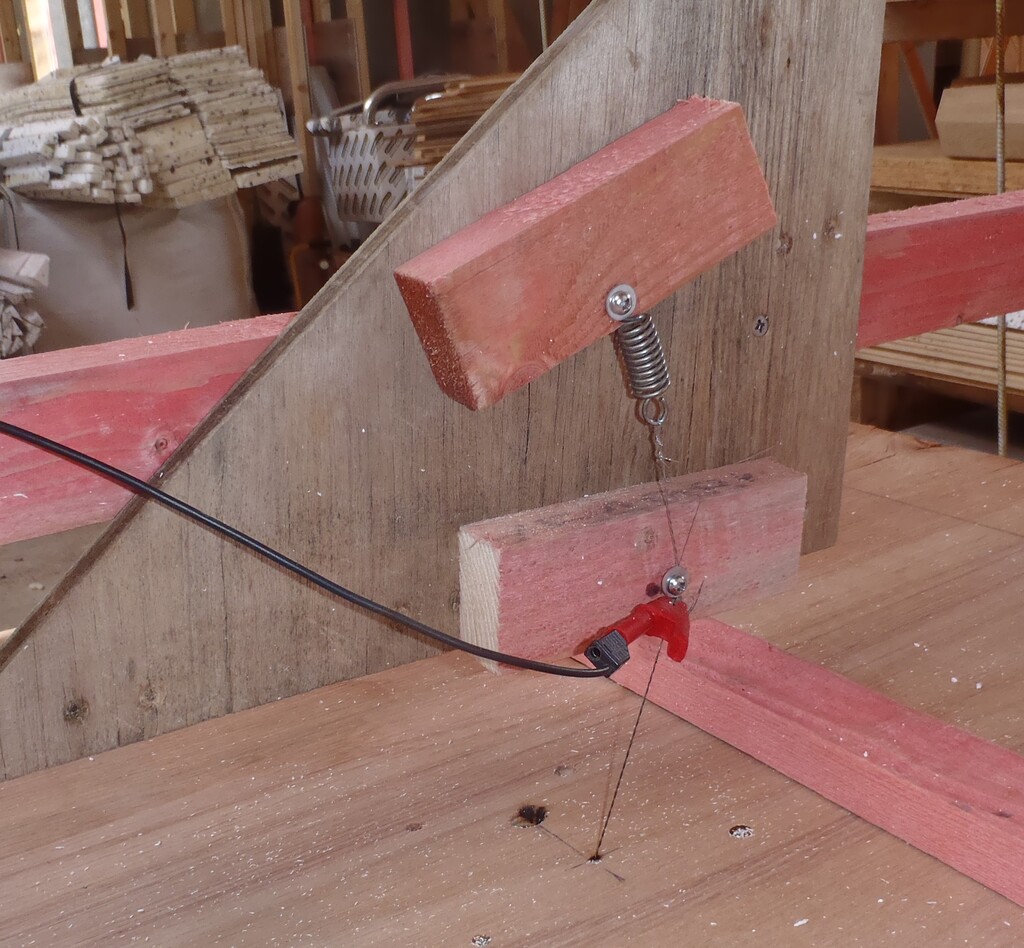
New-spung-loaded-hot-wire-for-cutting-22
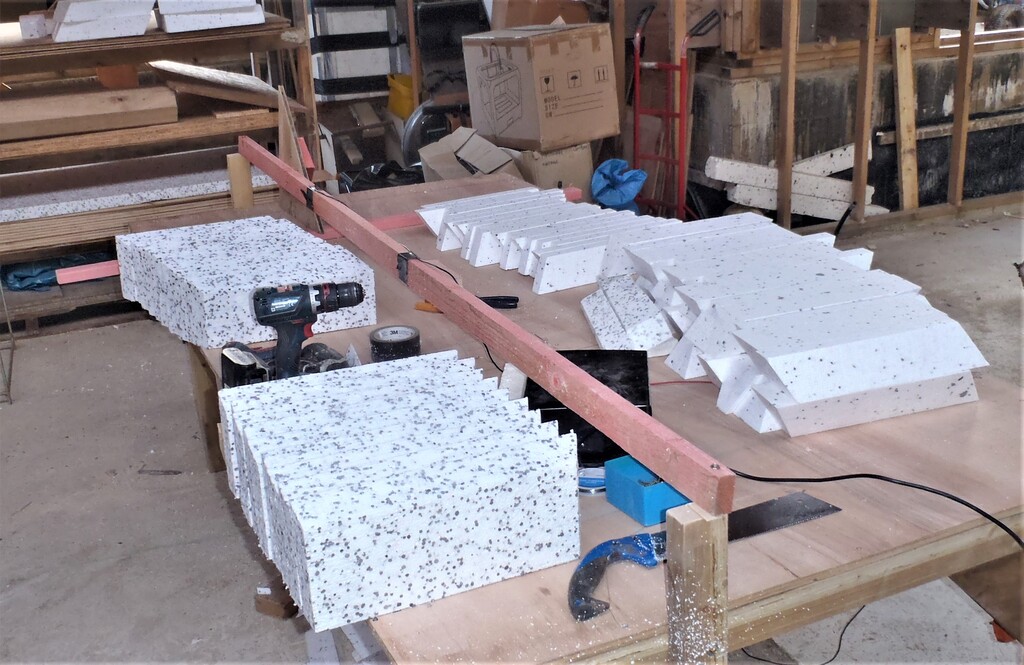
All-the-parts-for-the-external-corners-cut
After retiring back to the workshop, we proceeded to glue (using PU slow reacting type) to stick together 9 sets of the octagon pieces, three of them, to form a combined 90 degree corner object.
External-corner-Part-1-glued
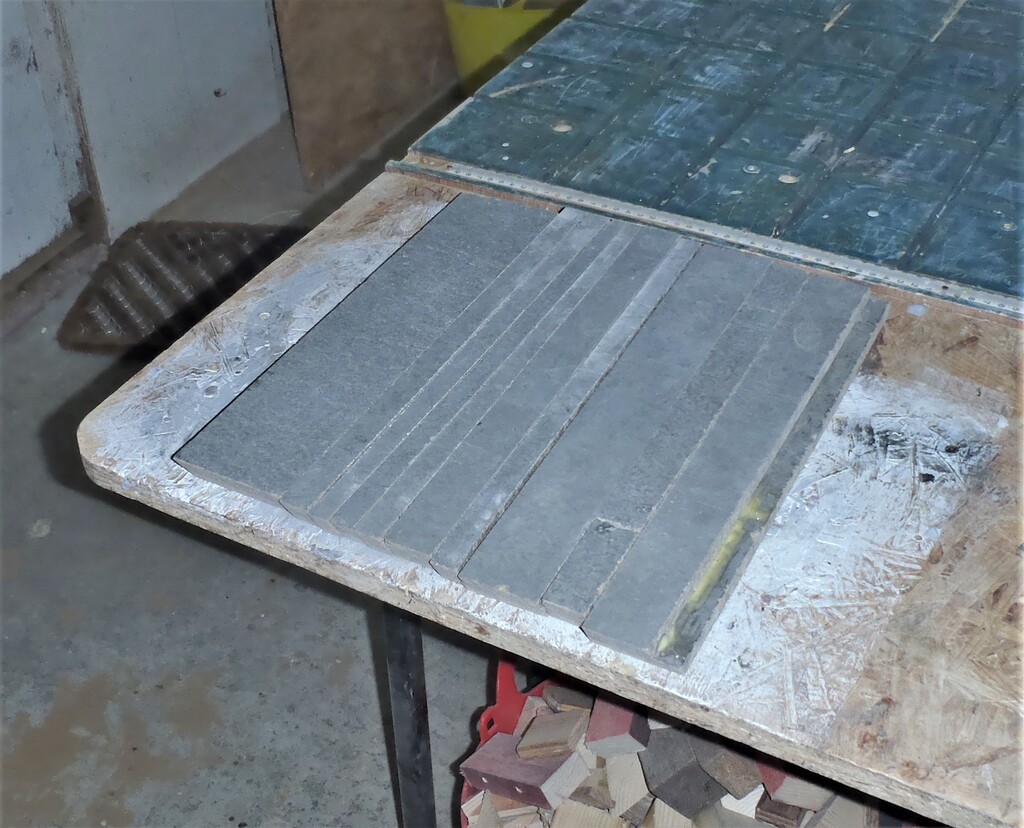
The next day, Wednesday, we salvaged a set of 12mm cement board pieces and one whole new sheet, to make a set of double layer sets. We wanted seven sets of 400mm high by 600mm wide and one odd set, also 400mm high but wider. The last one was using the salvaged pieces. We used our battery circular saw out in the house, on two trestle tables and among a cloud of cement dust, we sliced, sliced and sliced away to produce a heap of rectangular pieces. All of them were glued using our old PU slow glue and then clamped together to flatten everything together.
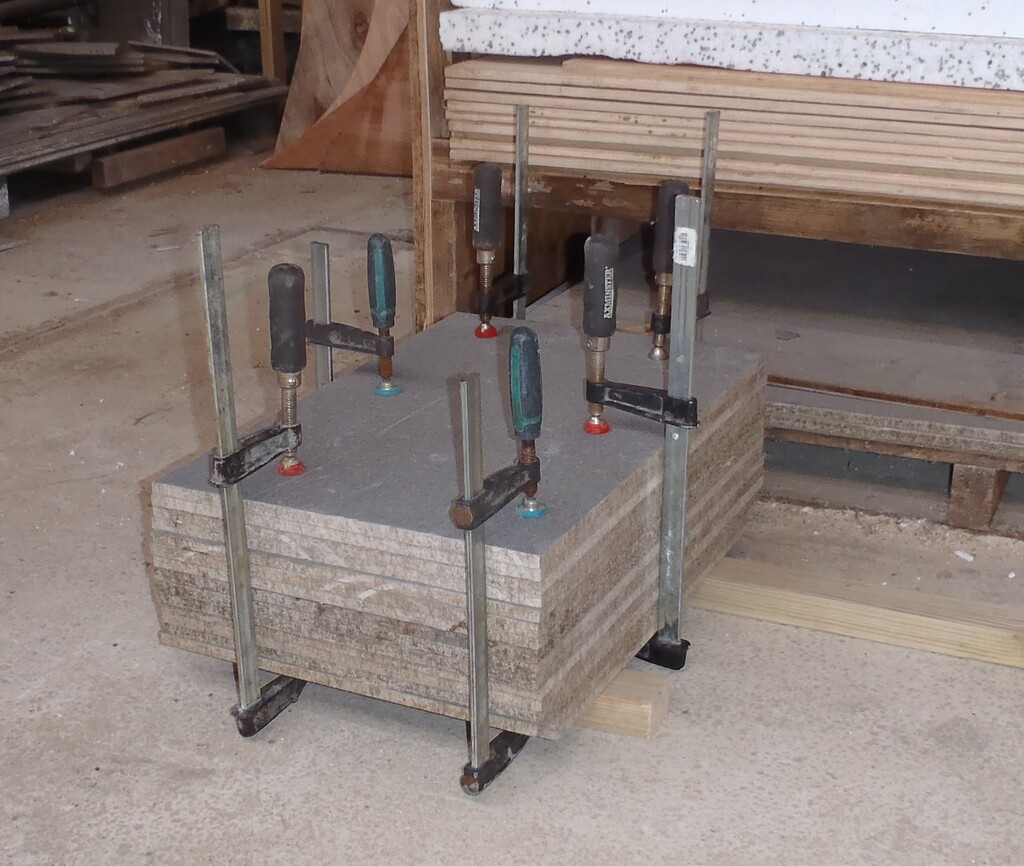
A-pile-of-glued-pairs-of-cement-board
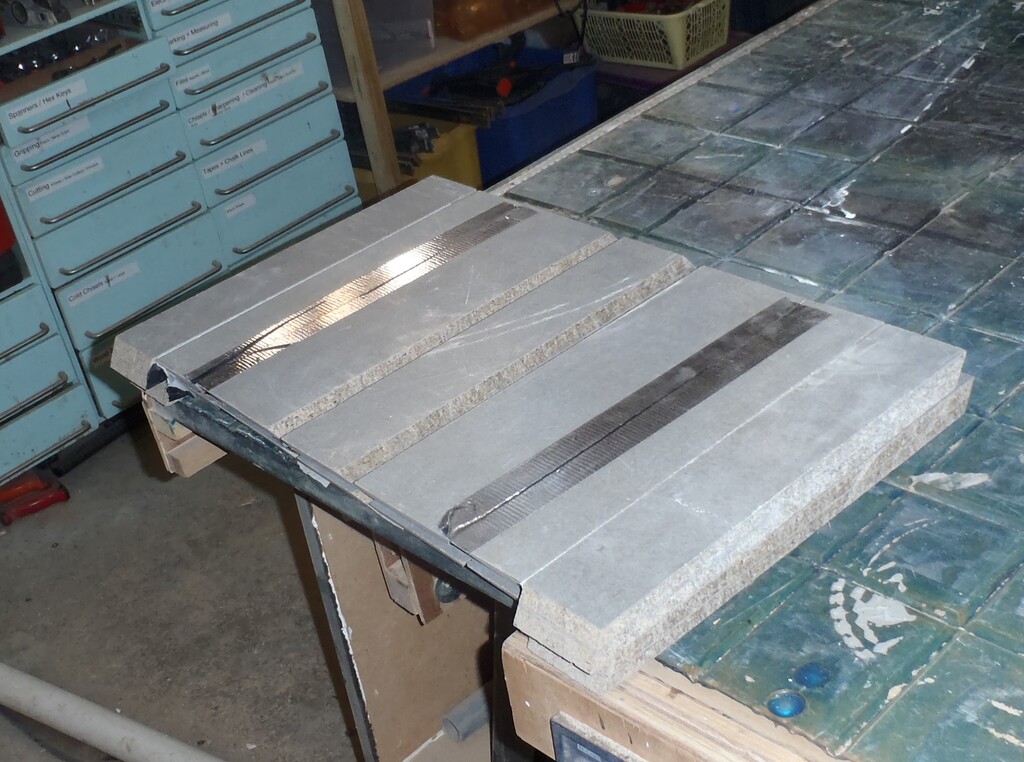
we then went back to the workshop to glued another 9 sets of left and right hand combined parts using the 50mm thick strips and the special parallelograms using the slow old PU glue (which we finally finished off!). We used 4inch nails, three in each, to secure the two pieces together while the glue cured.
External-corner-Part-2-glued
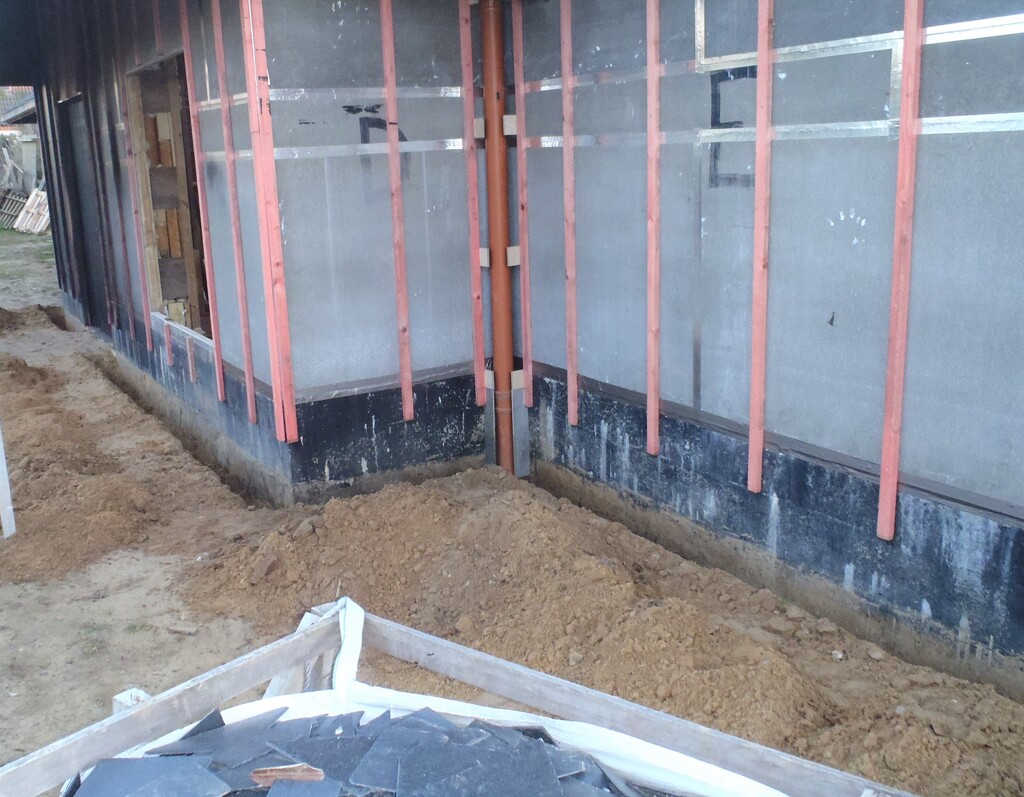
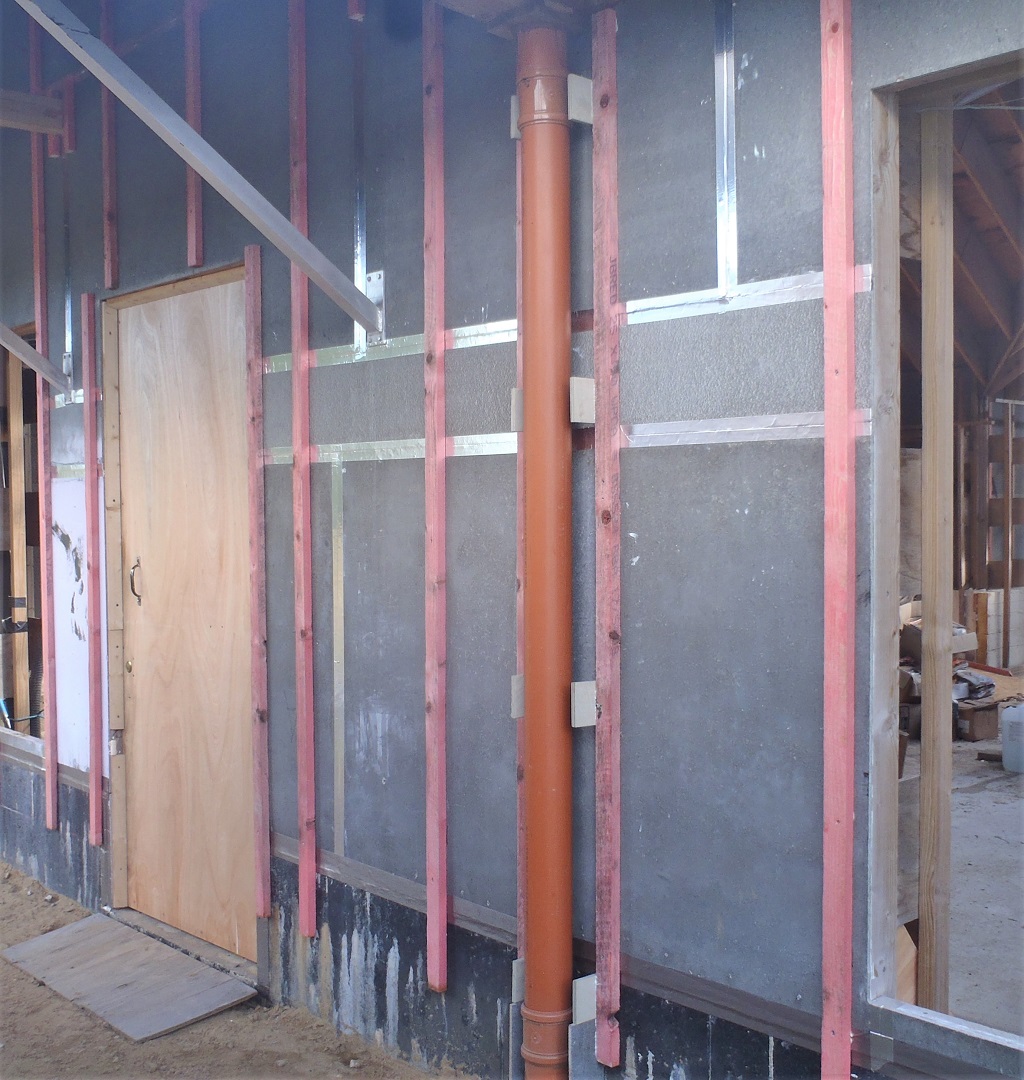
For the rest of the afternoon, while the glue needed its full 24 hours before ready to be handled, we went outside to dig and remove away a spade worth width of soil, and down to the rainwater pipes, from the wall of the house, so we are ready to install the polystyrene strips and the new special corners. We got almost all the way around the whole house, working from the back, up the side and half way along the front.
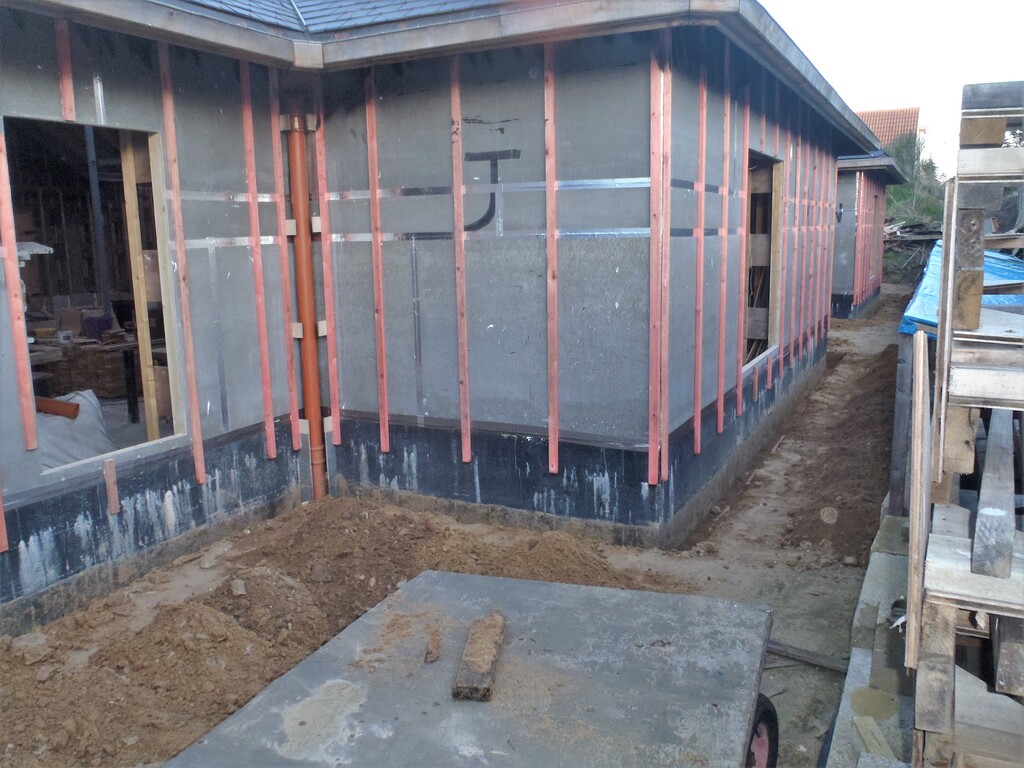
Base-of-the-wall-dug-out-1
Base-of-the-wall-dug-out-2
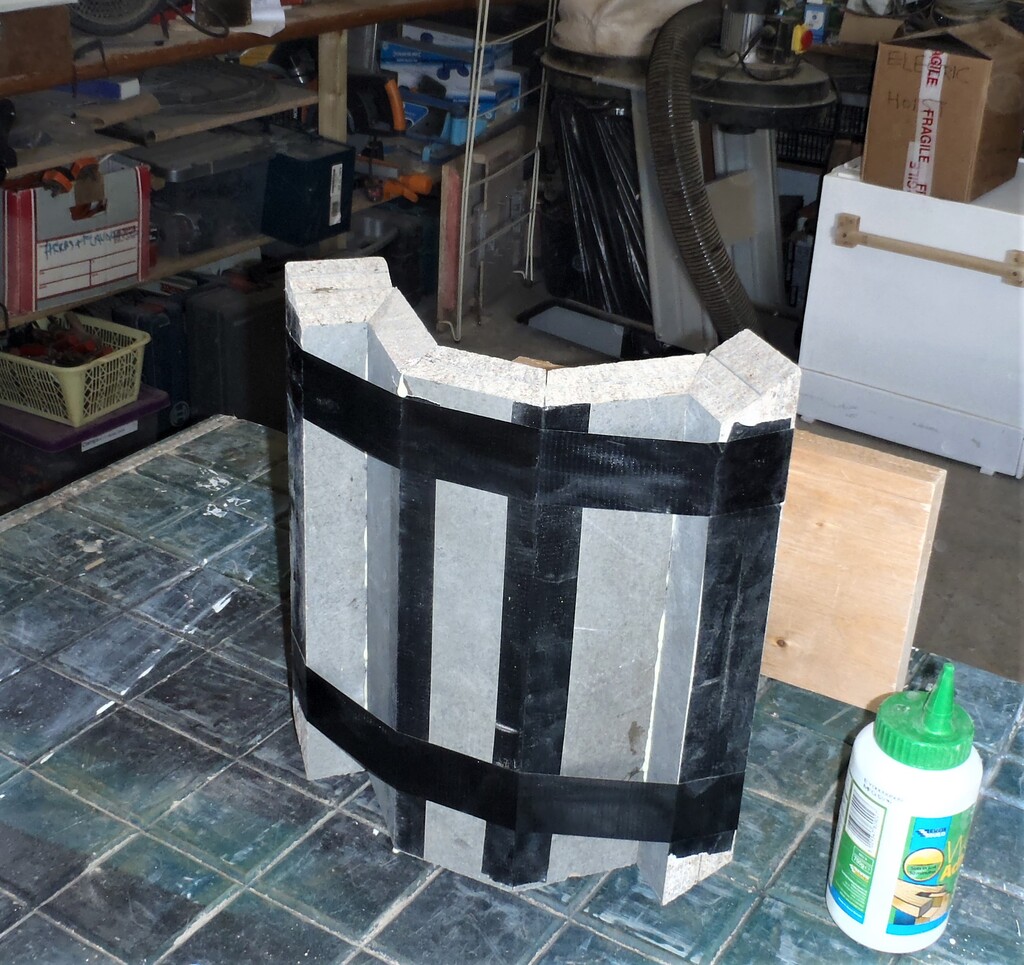
Thursday saw the completion of the special corners where we glued the two “wings” to the central module bit, using our usual old slow PU glue.
A-finished-external-corner
While that was curing, we finished off the digging outside, going along the front and around the corner to the stud wall for the conservatory.
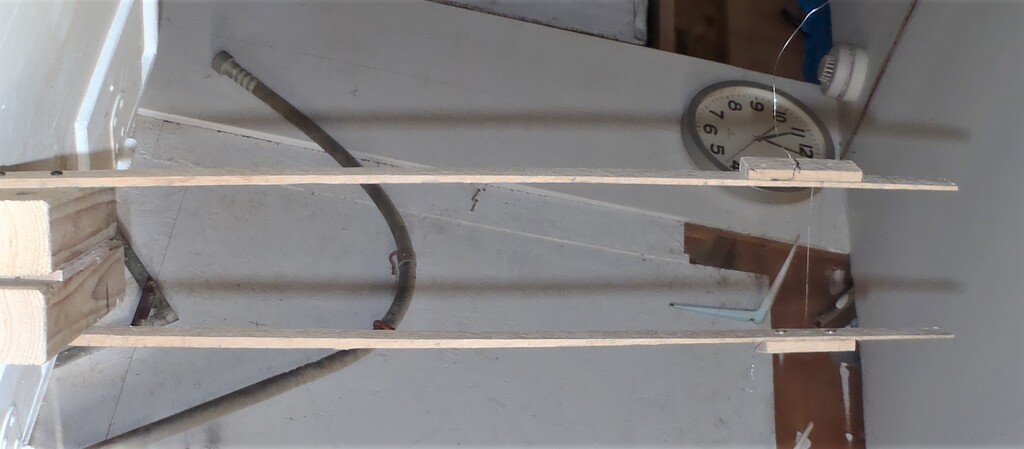
We had some interruptions in the day but we finished off by surveying all our inside corners and making sure that we had the correct dimensions, but only to discover that our attempt of putting on sticking out plywood strips didn’t quite turn out to be so accurately positioned as we were expecting. It will need a solution so we are back to the drawing board to discuss and analyse the problem. In conclusion, we decided that some will have to be adjusted (which is difficult because they are glued into place, so we will have to saw off the plywood pieces and put on new ones.
Pipe-cover-support-battens-for-G
On Friday, we had a good tidy up of the workshop so we could use our circular bench saw for the next job, which is to slice the cement boards that we made the other day, with a 30degree angle along the top and bottom edges.
Then we created a wooden jig to provide a right angle framework to support the track saw so we can achieve good accuracy and consistent perpendicular (right angle) cuts, with various tilt angles.
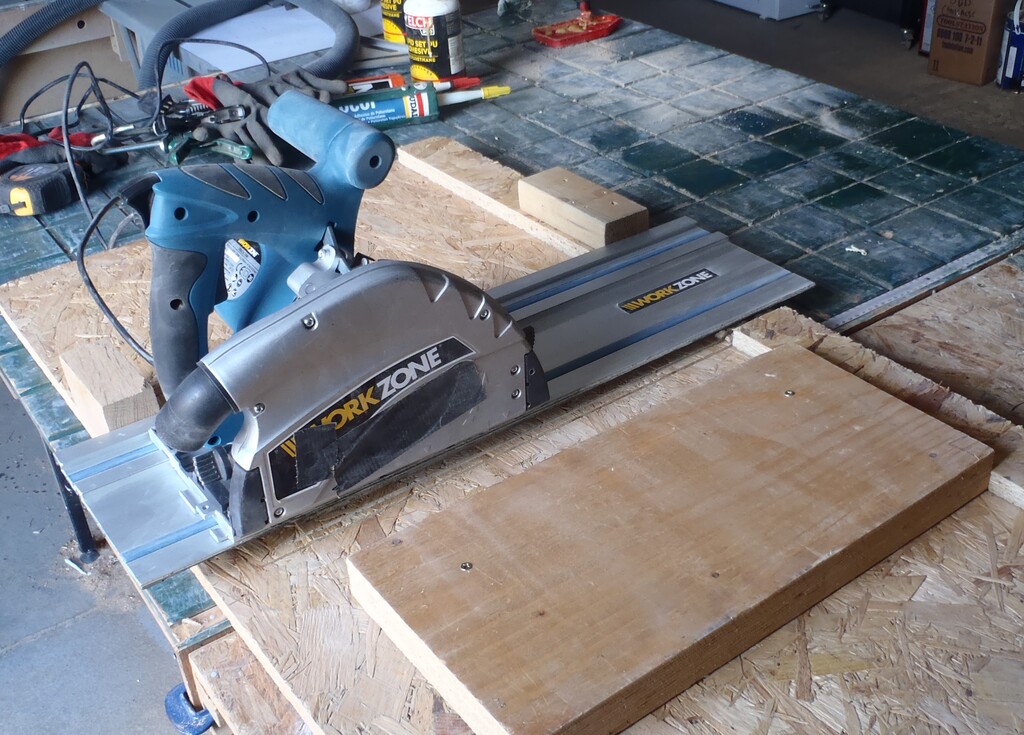
Cross-cut-jig-for-Track-Saw
We needed a mixture of 22.5degrees and 45degrees edges, depending on where the piece fits into the overall object when completed.
There are 10 regular octagon parts, with a face width of 92mm, and then 16 pieces of side wings plus a heap of narrow 50mm wide strips.
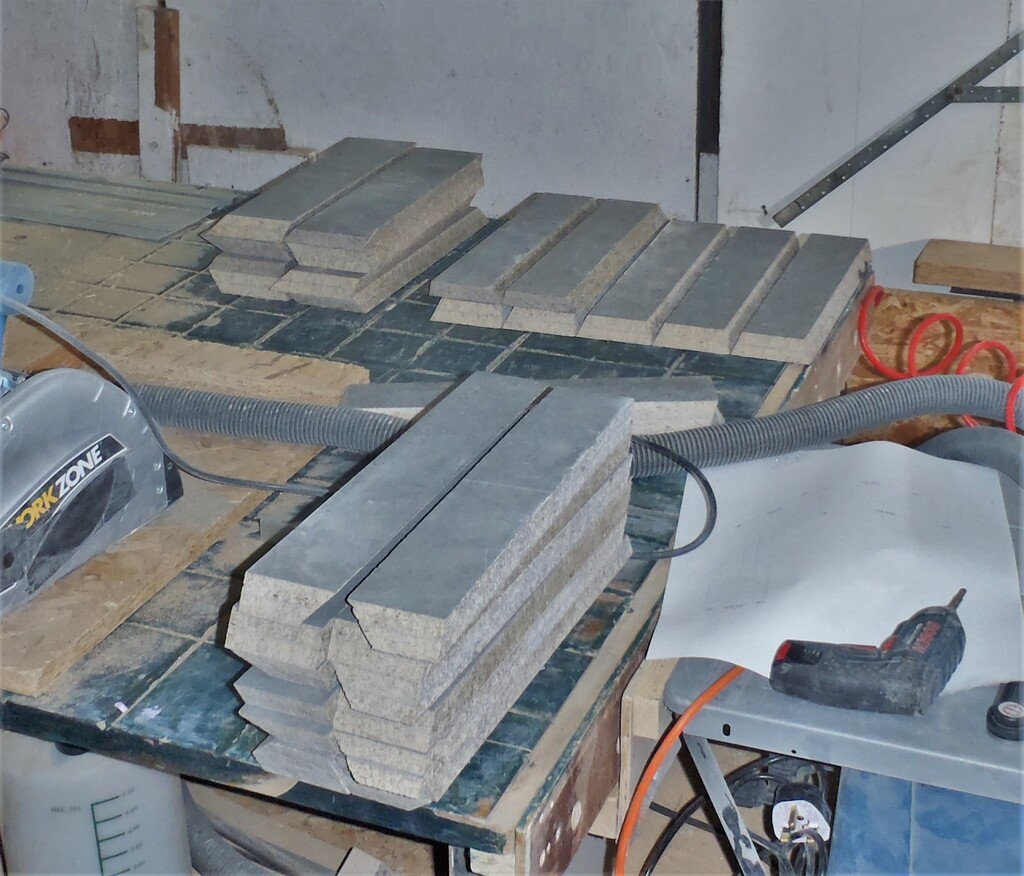
All-the-internal-corner-parts-cut
This-all-the-waste-from-the-glued-boards
The last day, Saturday, saw the completion of slicing operation of the double layered cement boards, into all the jigsaw pieces and then we glued together all the parts to make seven inside corner pieces and one special one for the “G” downpipe.
A-internal-corner-taped-together-ready-to-fold
Internal-corner-Folded-up-and-glued
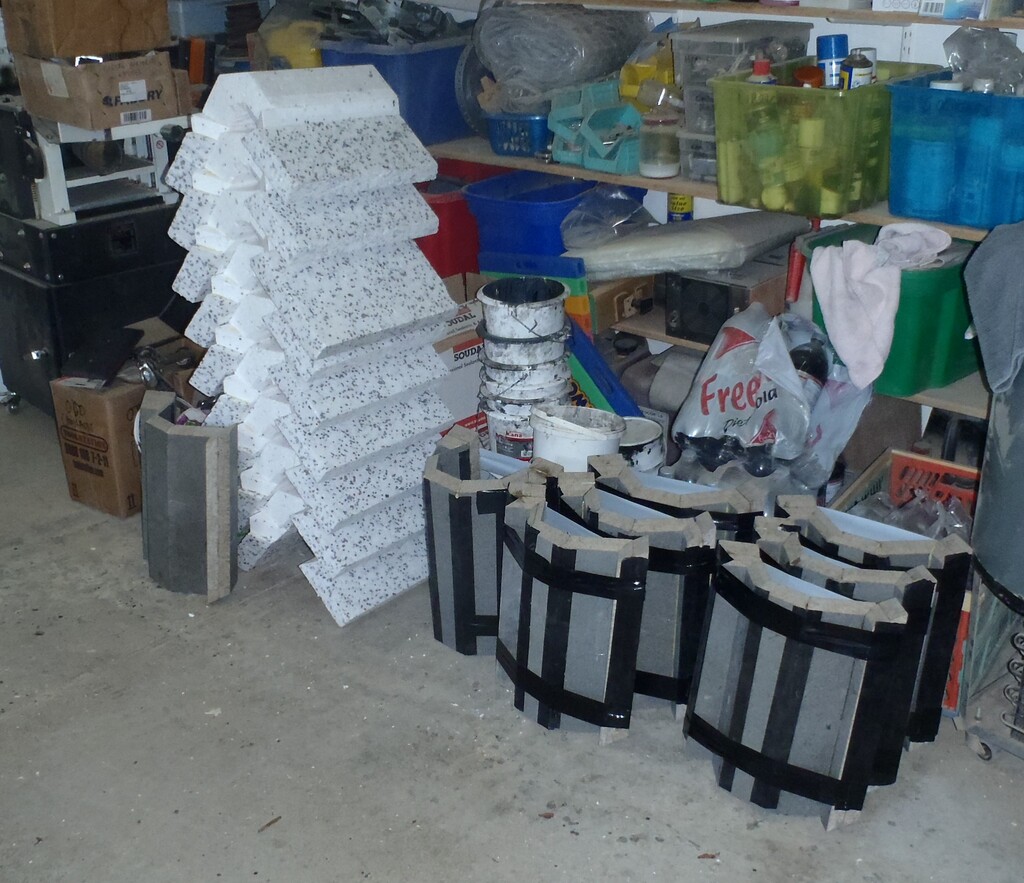
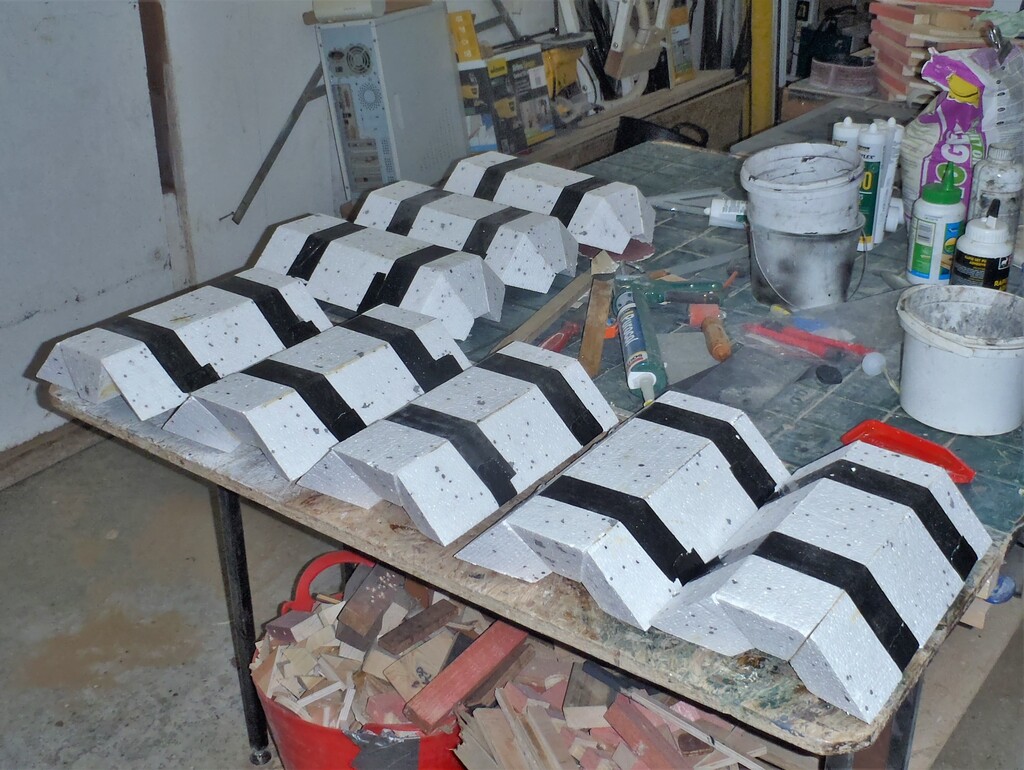
All-the-corners-made-and-ready-to-install
We had enough time left in the day for us to go and take our test piece that we made before lunch with fast acting glue, and get it installed into the “Q1” corner (the Conservatory stub wall and the first part of the Great Room wall that looks out over the patio .. or it will do when we have built it!). We actually went around all the inside corners around the house and test fitted our piece and it was not so bad as we first thought. Yes we had deliberately made the whole piece bigger by half an inch, but it is good that most now fitted.
So back at the “q1” corner, we proceeded to place the piece around the downpipe, sitting on a brick to get it positioned just right and then drilled the four holes. We applied some blobs of mastic in and around the drill holes and along the top edge and then screwed the whole thing tight to the wall.
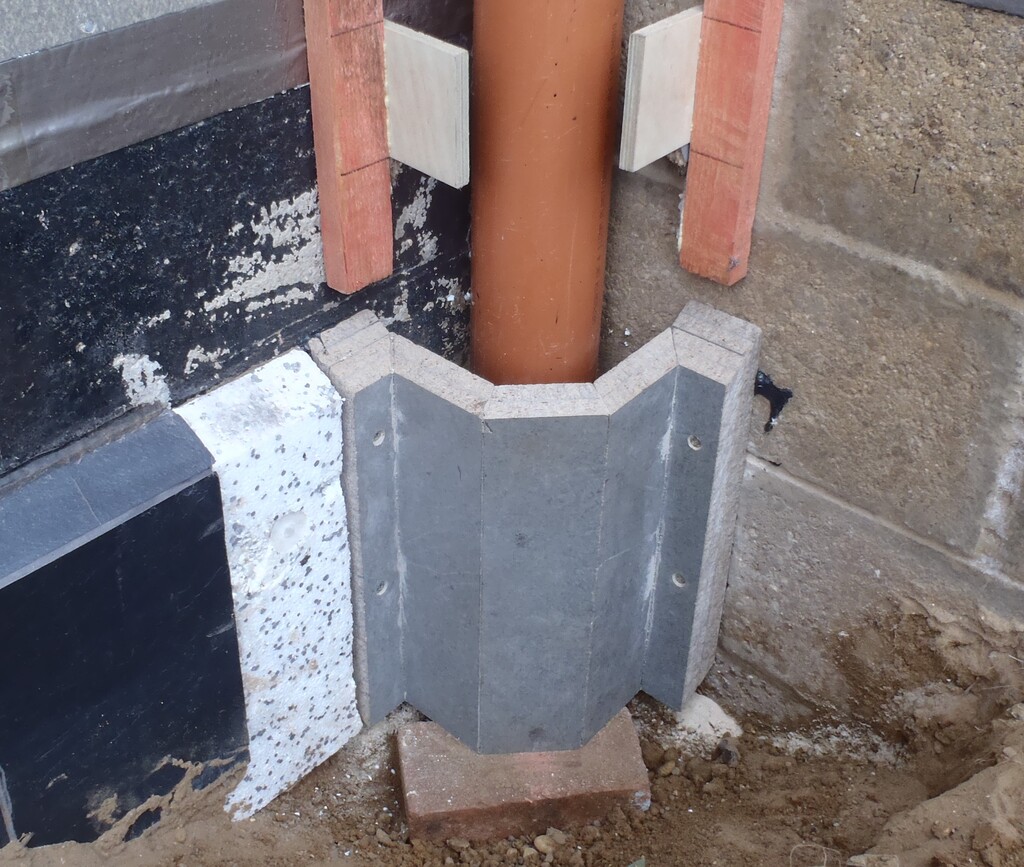
Internal-corner-installed
Next week, we will continue installing all these parts we have made in the workshop, along with all the strips of the 50mm polystyrene foam and cover all of it with slates; to form the skirt around the whole house.
Leave a Reply
You must be logged in to post a comment.