We started the second stage of construction of our Great Room floor construction, by continuing the task of putting all the various utility pipework snaking around under the floor. We put in the conduits to all the temperature sensors that we have scattered around the Energy Module, all coming back to the central Utility Chamber, we did four that were coming in from the patio side of the room. Then a couple of cold water connections were also fitted, providing an outside tap for the Patio area plus also an underground connection for sending any water supplies further into the gardens if we want. Also there is a couple of irrigation connections going up to the Eves. Finally, a 15mm water pipe installed to the connection points of the buried Energy Module itself.
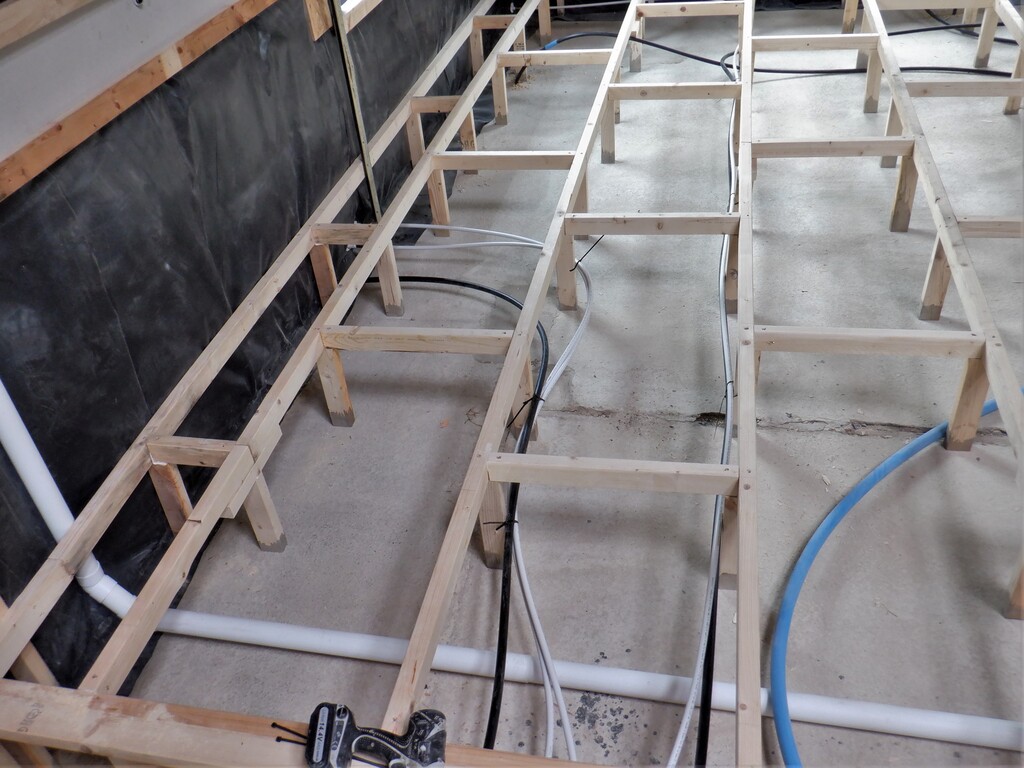
Cold-water-connections
EM-Temperature-sensor-conduits
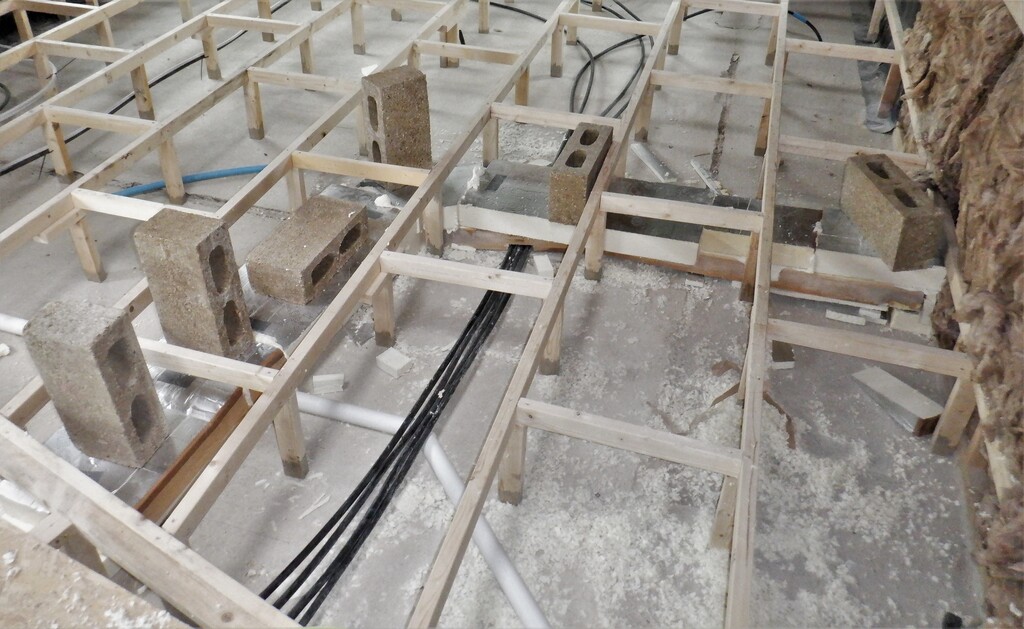
Next was to lay down 50mm to 60mm thick layer of PU foam down the Utility Chamber so there is some protection against the warm concrete or indeed maybe cold concrete and it becomes trouble for the Air Duct and Water pipes running inside the Utility Chamber cutting across the Great Room.
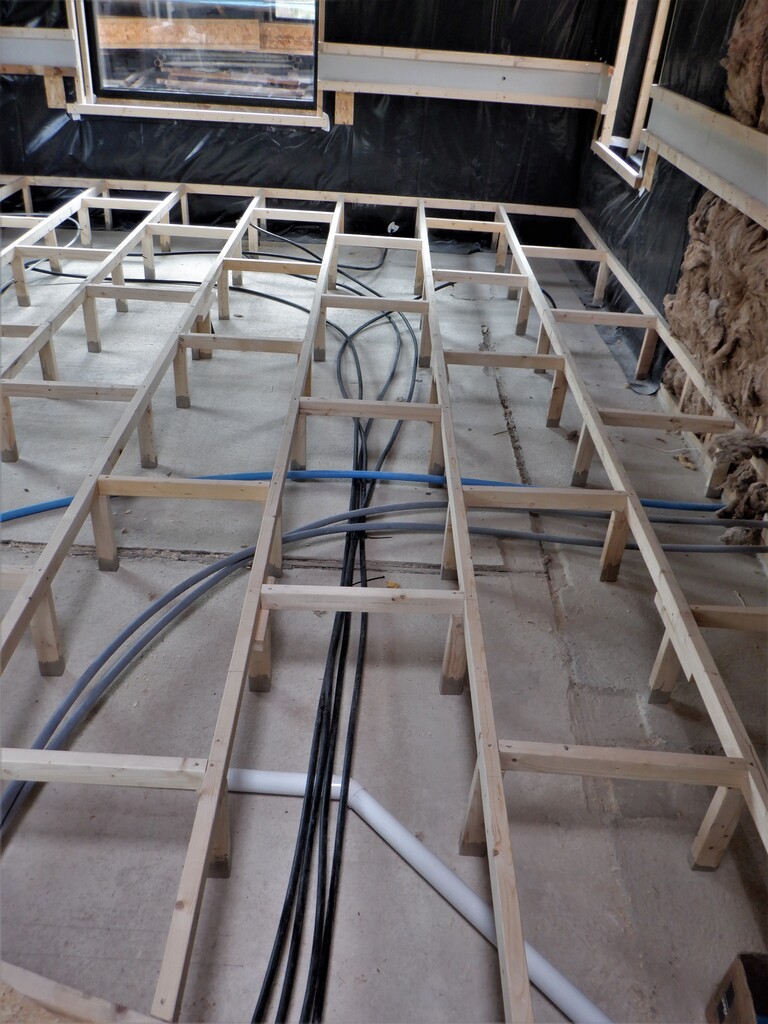
We also screwed on small pieces of battens across the central two legs that will perform a dual role of supporting the Air Ducting itself, but also provide tie up points to keep all the dozens of water pipes in a neat arrangement whilst travelling to and from the Utility Room and to various Energy Modules.
Then it was the turn of the hot water system, coming around from Bedroom One and curving to the middle of the Great Room, the two 28mm water pipes were wrapped in layers of PU foam boards to protect the heated water as much as possible from losing any energy. We had to lower the levels of the twin plastic pipes so it could fit under the main air ducting that is coming across the Great Room so there is not as much insulation as we normally have, but it is only for a short length and besides that, if our Energy Module get hot then there wouldn’t be so much temperature difference and hence not as much energy will be lost after all.
Hot-water-Insulated
The next job was to construct the Air Distributors, eight of them, to be located evenly around the edges of the room. We had to make two more jigs to help, as it was taking too long for the solvent to evaporate when we were gluing the various bits together. This Air Distributor is made using 40mm waste pipe plumbing parts, with a 68mm guttering pipe to allow us to connect the 50mm flexible air ducting into these distributors.
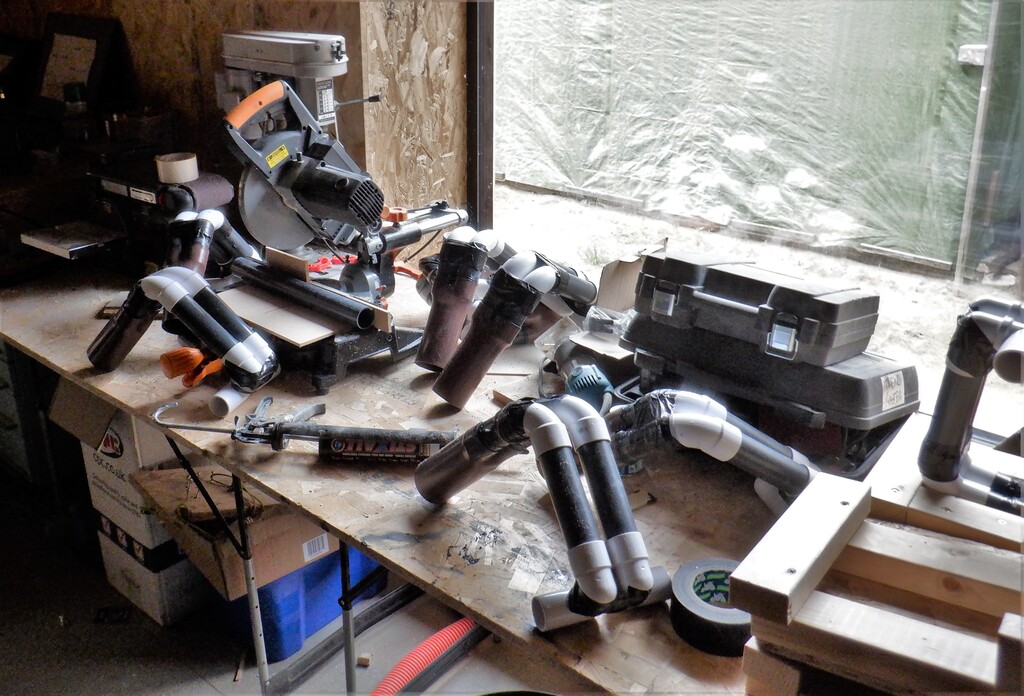
Making-Air-diffusers
We need a total of sixteen outlets for our Great Room, making sure that we had fresh air coming in easily and be able to cope with all the solar gain we would get from all the sunshine pouring in our five windows. The other eight modules will be done later on.
As part of this job, we built four Air Splitter chambers that takes a 100mm wide pipe and squashes the air down and splits it up into four separate 50mm pipes.
We installed two of them into the half of the Great Room we got completed, and connected the flexible plastic pipes, a purple 100mm pipe coming from the Utility Chamber and four orange 50mm pipes bending around and going off to four spread-out locations for each quarter of the room.
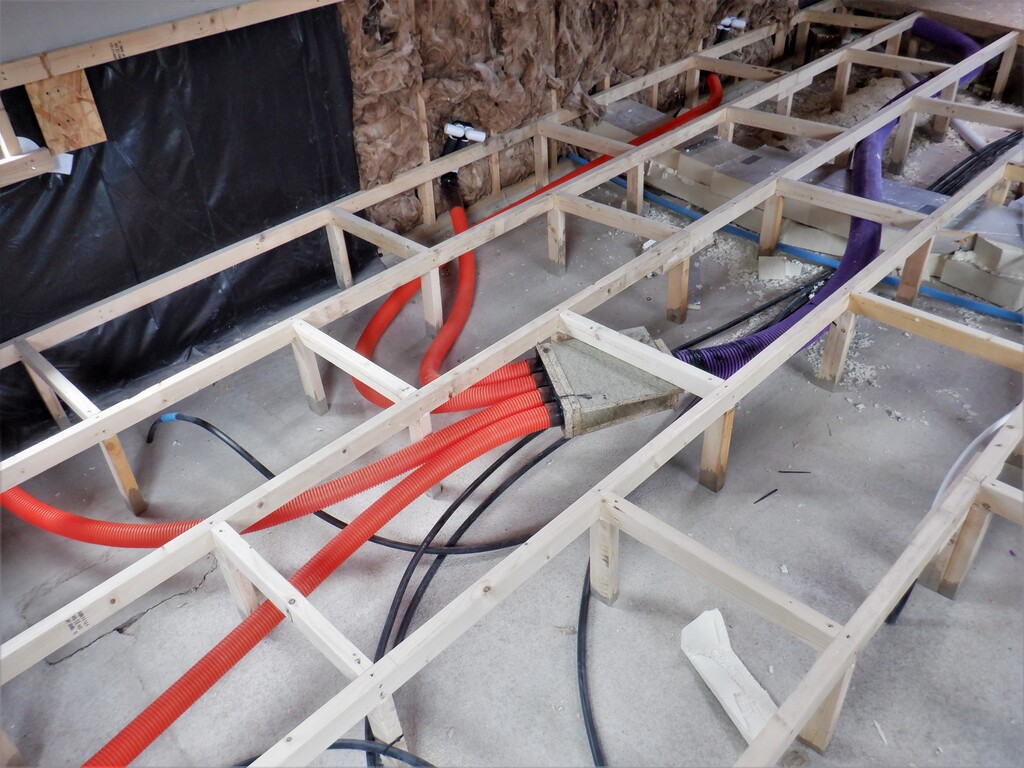
Air-distribution-to-Bedroom-side
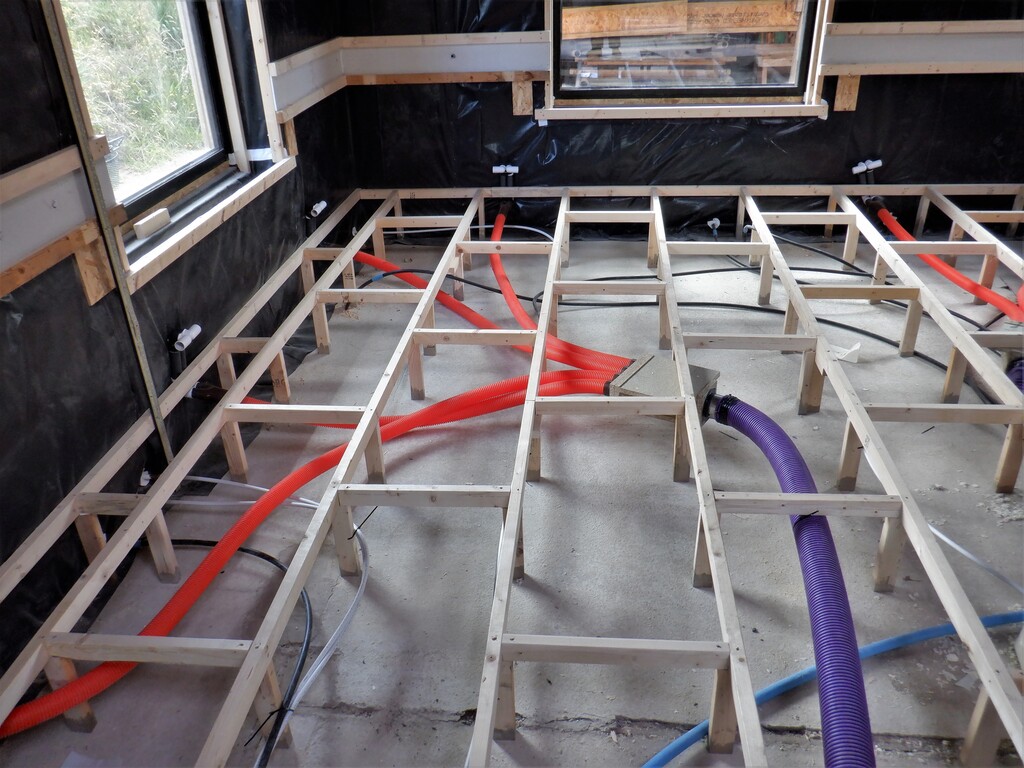
Air-distribution-to-Patio-side
We tested each quadrant with our portable air fan and turned it up to maximum speed to make sure that we didn’t get any resonating noises whistling down our tubes. We were able to get approximately 16metres per second of air flow from each distributor, which works out at about 20 litres per second, or a grand total of 320 litres per second for the whole room, without making too much whistling noises. This will achieve about five changes of the volume of the entire room per hour. This is very important on those very hot and sunny days during the summer!!
Then, we laid down eleven rows of floorboards, only screwed in a couple of places for each board. We did not want to permanently fix them down just yet because we will want to “throw” away our foam rubbish material when we get to populate the roof rafters and we will have loads of left-over pieces. We shred it all up into small fluffy chunks and place them under our floorboards to act as more insulation to keep our house warm but also to protect us from our Energy Modules which are likely to get very hot during the Summer months.
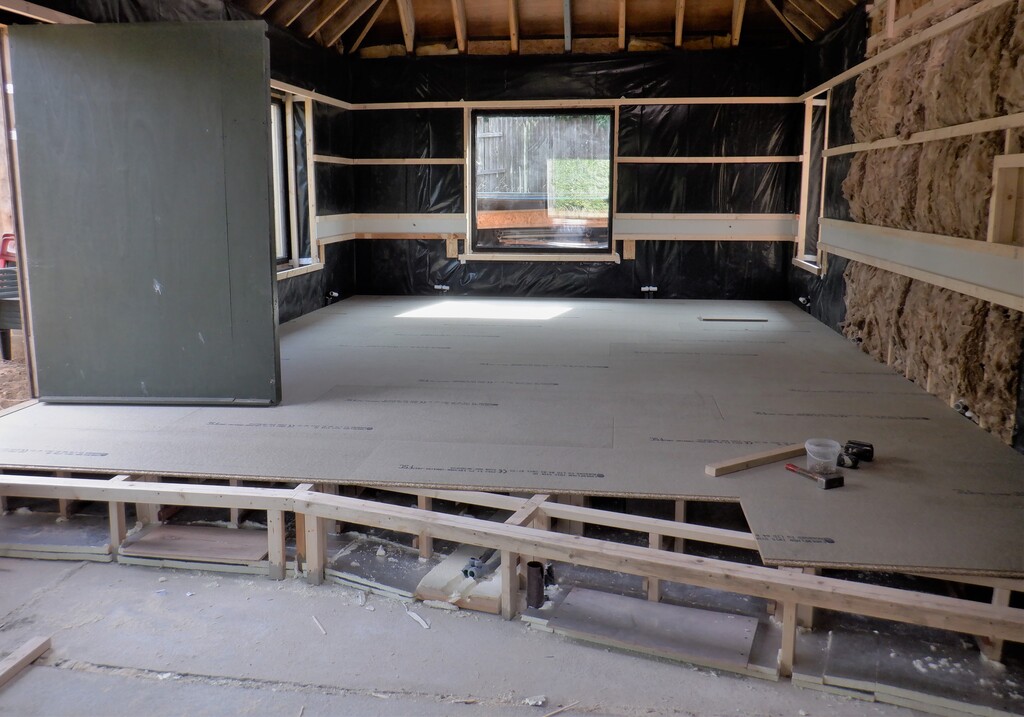
Half-the-floor-boards-loosly-laid
Now, we can make a start on laying out the other half of our Great Room, the left hand side from the hallway, but we need to make sure that we have got the air ducting that is coming from the Conservatory lying just in the correct place. That will be part of the next blog report!!
Leave a Reply
You must be logged in to post a comment.