We started the process of installing a heavy duty electrical Bus Bar that will carry the power from the Solar Panels via the Inverter to our battery packs in the Tech Cupboard. The inverter can handle up to 5kW, in either converting the solar energy into battery voltages (which is 50Volts) or is taking the battery power and converting it into mains 230Volts electricity. This means that the 50Volts bus bars will have to carry up to 100Amps to maximise the 5kWatts capabilities of the Inverter box. But, this 100Amps is only half the story, we are going to be wanting to distribute this source of power all over the house, to power the various pieces of equipment, like for example, all the lighting in all the rooms and also air duct heaters just to name one or two things. With this in mind, we need to have a ceiling of around 200Amps to make sure we can handle the peak loads at certain times of the day. We probably will never see that kind of power requirements, but, just in case.
With this in mind, 200Amps means that we need to have electric wiring that is about sixty-four square millimetres (64mm2) of copper wires in open air. Just for comparison, the usual domestic wiring for putting a ring mains around a room uses a 2.5mm2,to give about 20Amps. But, copper wires are very expensive and we need at least 25metres for the main part running from the Tech Cupboard and in both directions down the halls. So, we bought, several years ago, Aluminium solid metal bars measuring 19mm by 12mm (228 mm²). Aluminium is a pretty good conductor of electricity (although the alloy in the bars is not as good), so it’s not very far behind Copper in world terms.
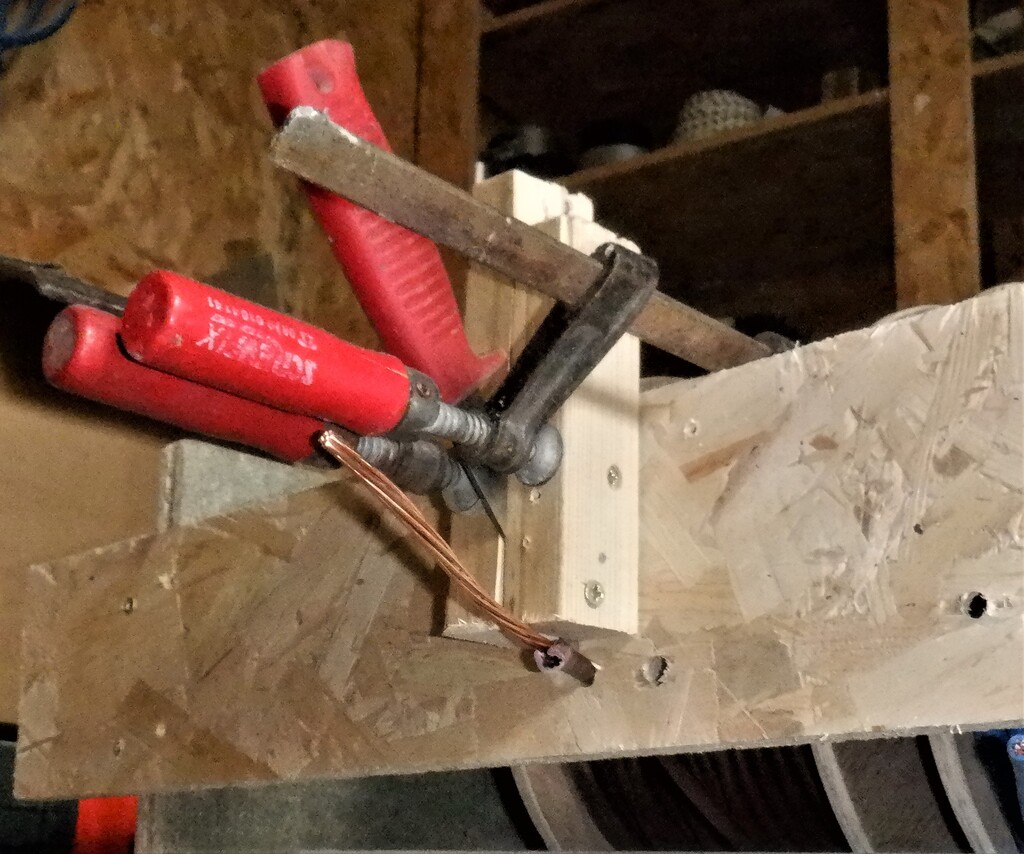
So we mapped out where we wanted the 50Volts bus bars to go down the hall, entering the Utility Room, avoiding the other pipes and conduits already there, turning the corner and heading for the Plant Cupboard at the other side of the room. It needed quite a few bends and we had already a heavy duty metal bar bender that we screwed down on to our work table in the Garage. We did have to heat up the Aluminium bars with a gas torch to help with the effort of bending in the 19mm direction. We also had our big table top vice mounted here on the table so we can give some of the bars a 90 degree twist, in order to get the direction going in the correct orientation.
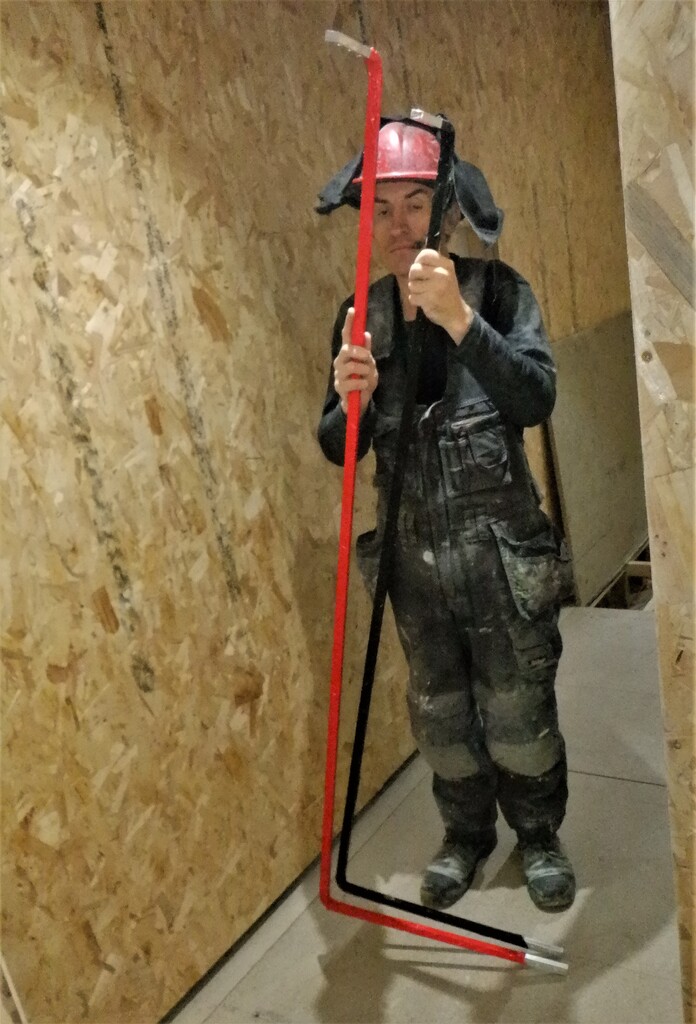
Multi-bend-bus-bars-from-utility-to-hall
Each section are then joined together by overlapping about 100mm of the two bars, rubbing the contact surfaces clean of oxidation and quickly applied a thin layer of zinc impregnated grease and clamped together using two nuts and bolts to squeeze the joint very tight indeed, forcing the grease to be expelled and leaving behind the zinc metal filings to ensure a good electrical low-resistance connection. The grease will also stop the join from oxidising over the years.
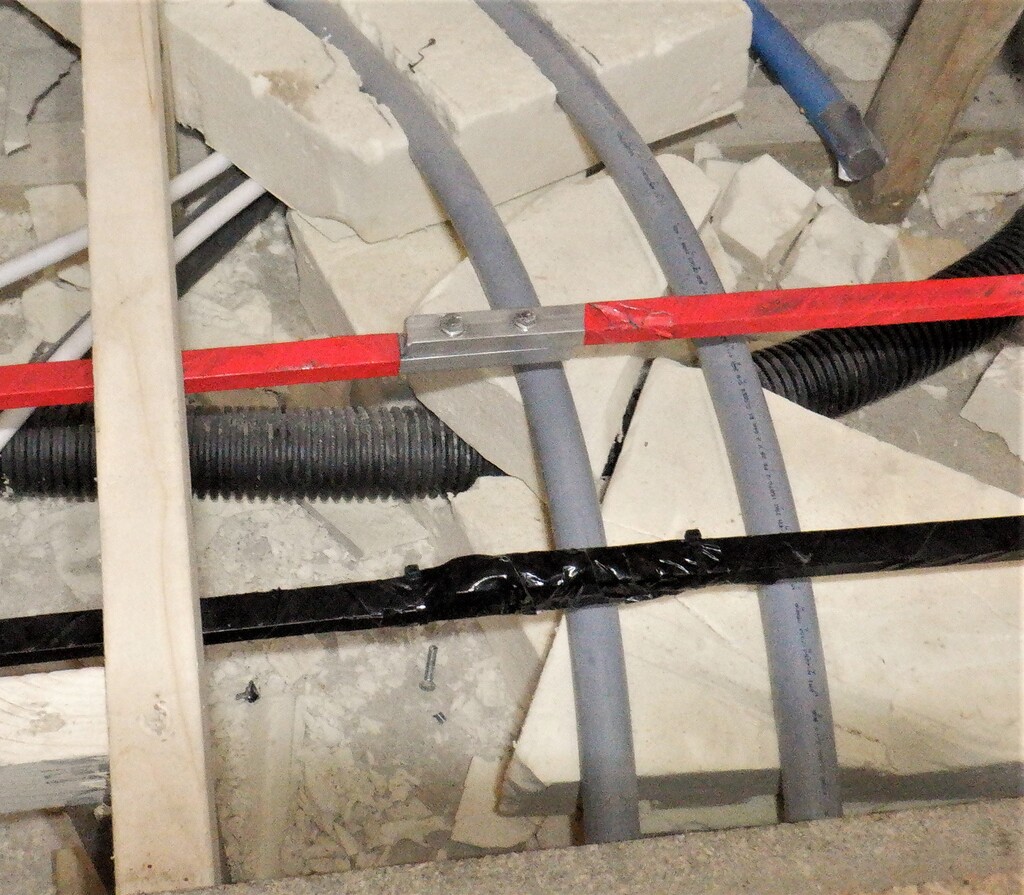
Busbar-joint-
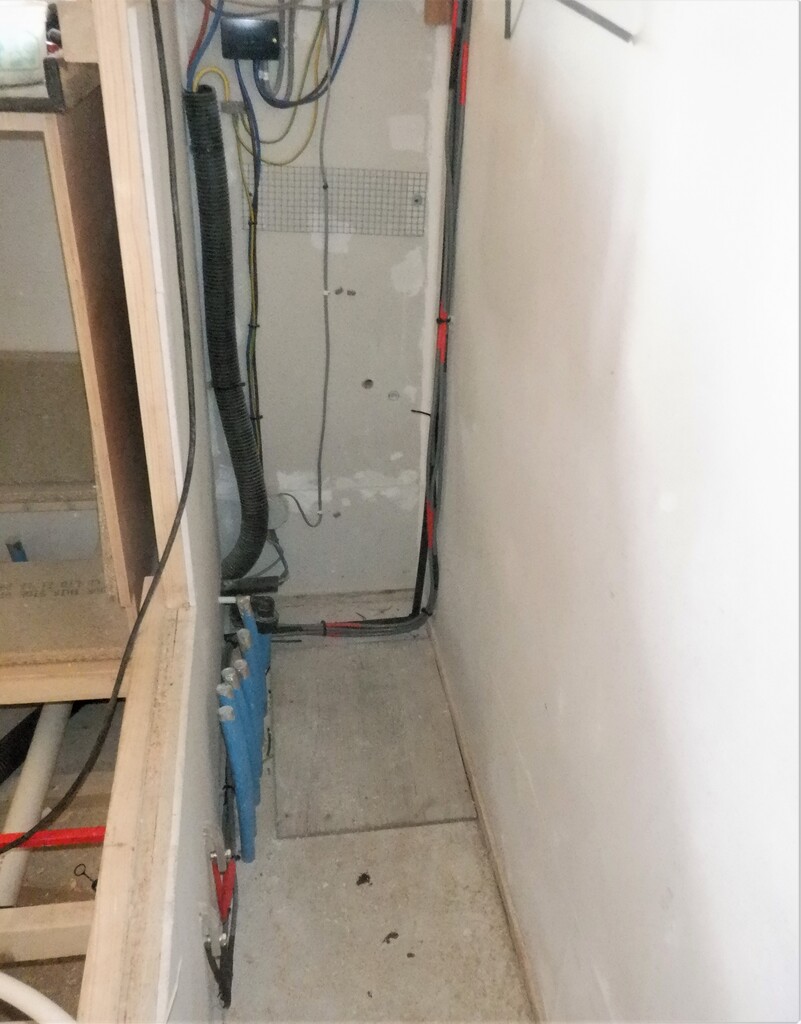
We now have a pair of aluminium bars running all the way from the Plant Cupboard in the Utility Room, across the room, into the hall and nearly all the way to the Kitchen, going pass the Tech Cupboard. They have been wrapped up in coloured duct tape to protect against accidental electric shorts.
Bus-bars-entering-the-plant-cupboard
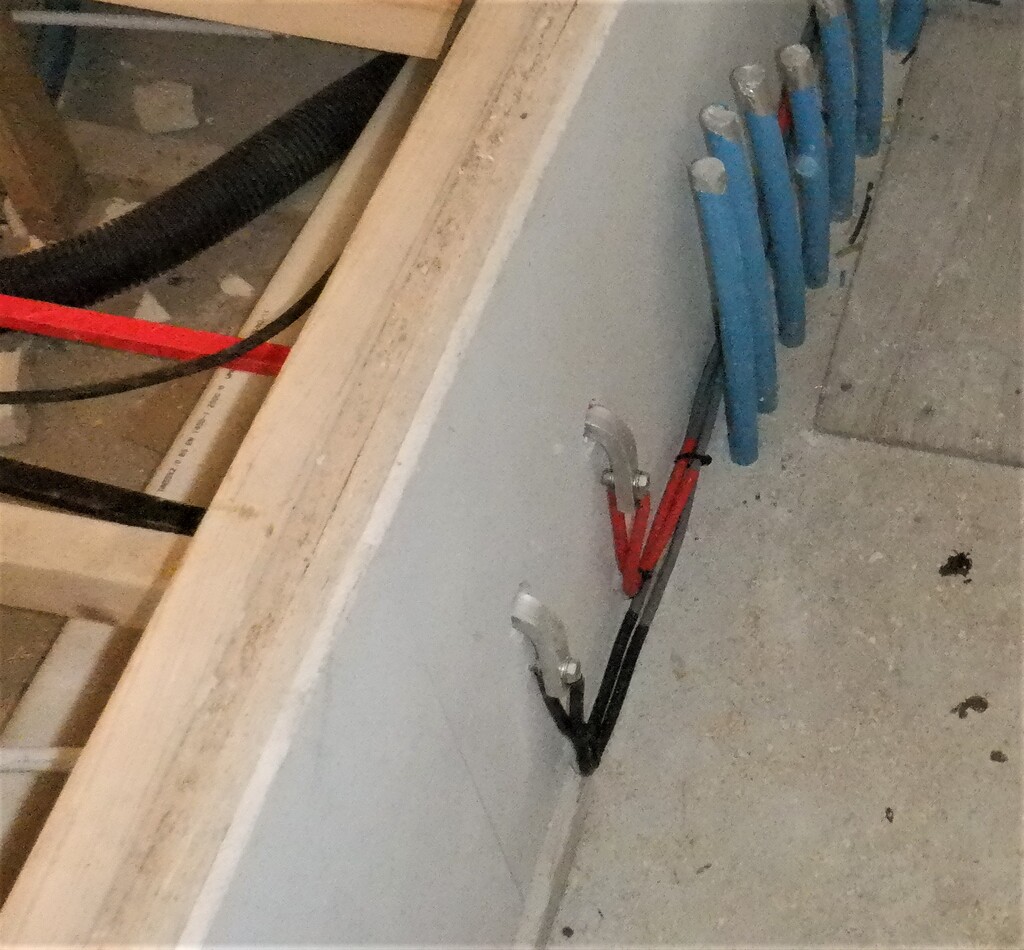
Then, we took a pair of twenty-five square millimetre (25mm2) cables and crimped mounting tags on the ends, and connected this pair to one of the aluminium bars coming into the Plant Cupboard, putting on red heat shrink tubing to colour code it. We did the same again but for the other aluminium bar, the negative side, colour coded as black. All four cables were then sent along inside the cupboard and then across and finally, up the wall to terminate in the cut-off switch that is located just underneath the Inverter box.
Changing-to-dual-25mm²-cables-to-connect-to-the-inverter
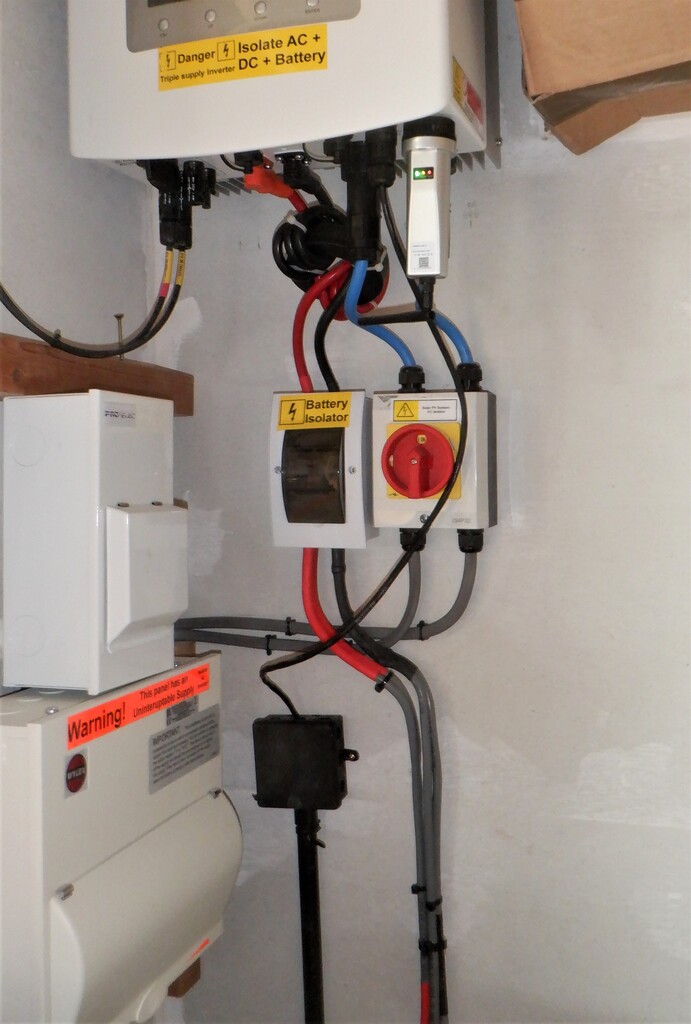
Through-a-isolation-switch
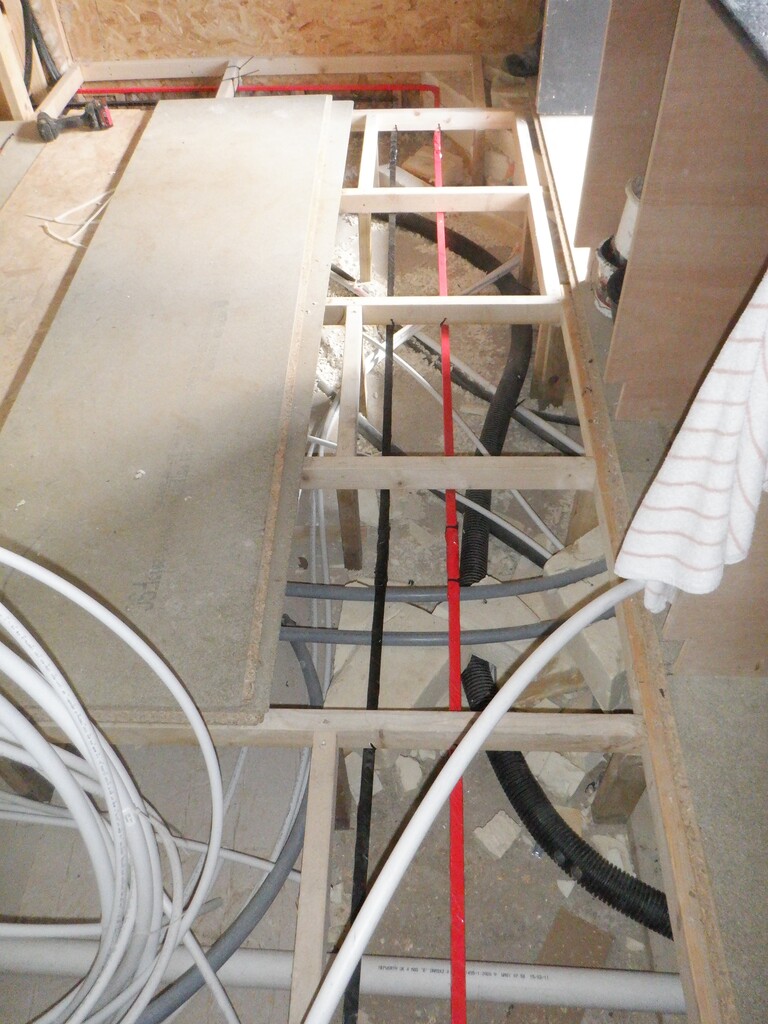
Acrross-utility-room
Down-to-the-bottom

Allong-the-hall

Past-the-Tech-cupboard
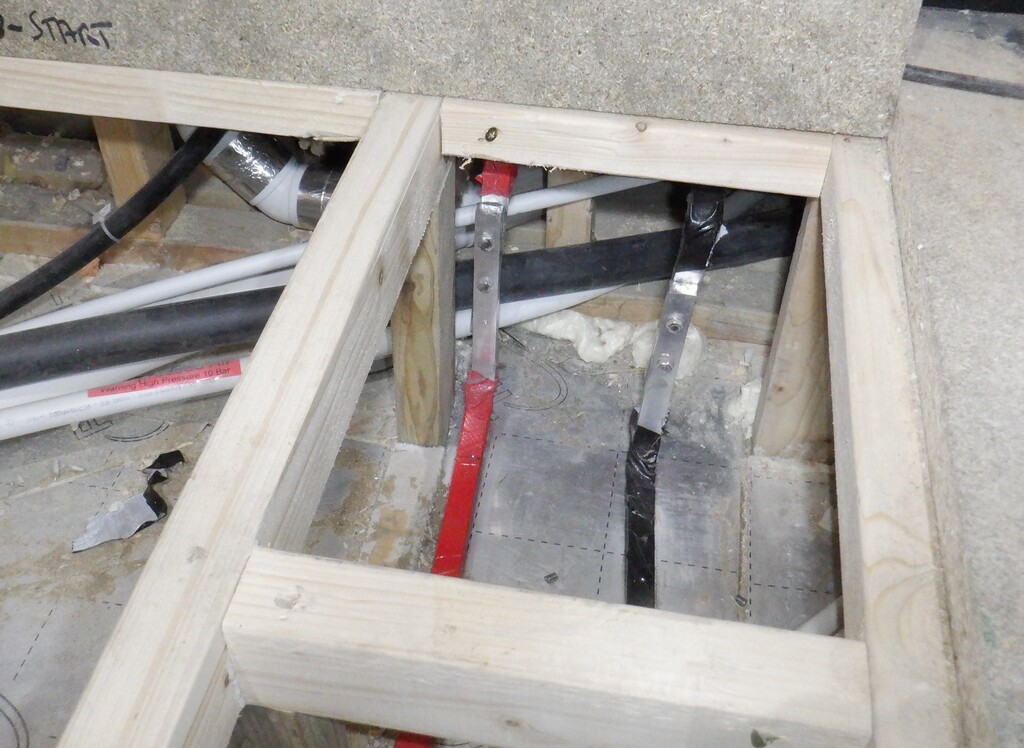
Next, we repeated a similar task, but this time, for the Tech Cupboard, and this time, we used four sixteen square millimetre (16mm2) wires, but this time, we stripped off the original insulation, joined two of them back together by spreading apart the individual strands and remerging them back together to form a single thirty-two square millimetre (32mm2) copper wire, recovered in a single piece of more coloured heat shrink tubing. We made two of these so the total capacity is sixty-four square millimetre (64mm2) which will be plenty to carry at least 200Amps. Again, we repeated this process and produced another twin wires set but in black for the negative side. These heavy duty cables were then bolted onto the aluminium bars out in the hall, just outside the Tech Cupboard and then threaded through drilled holes in the floorboards inside the cupboard, right flushed against the left side wall where we are going to have our battery cabinet.
Knife-slits-the-insulation
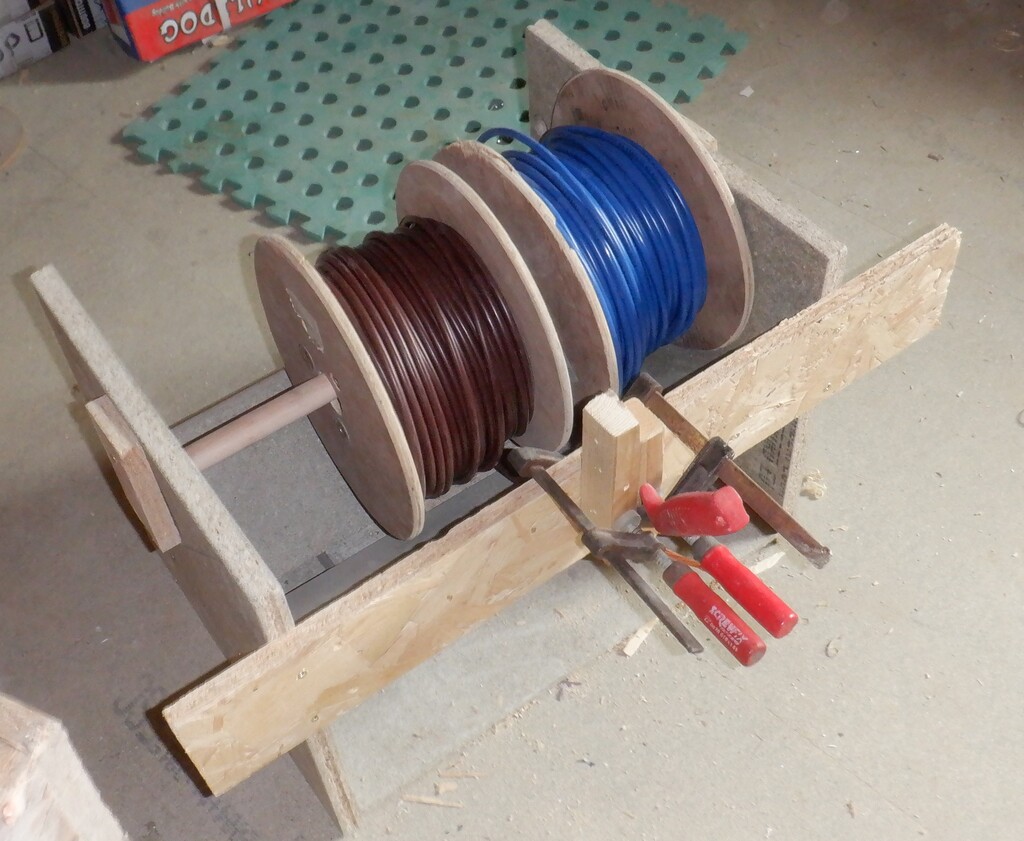
whilst-the-cable-in-unrolled
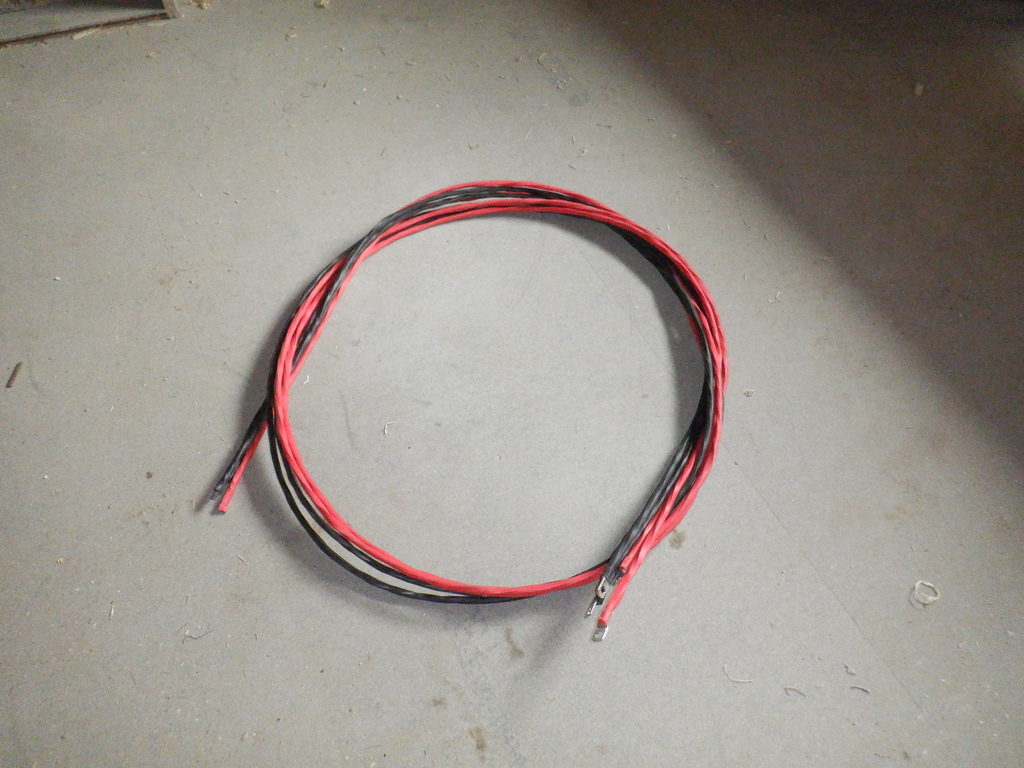
Made-up-32mm²-copper-cables
That concludes the main bus bars and connections to the two cupboards, next we will be designing and building the battery cabinet with four drawers and one shelf to store the battery cells, computers, display modules and charger modules.
Leave a Reply
You must be logged in to post a comment.